
Making Your Own Sugar Paste (Gumpaste/Fondant): A Simple Recipe

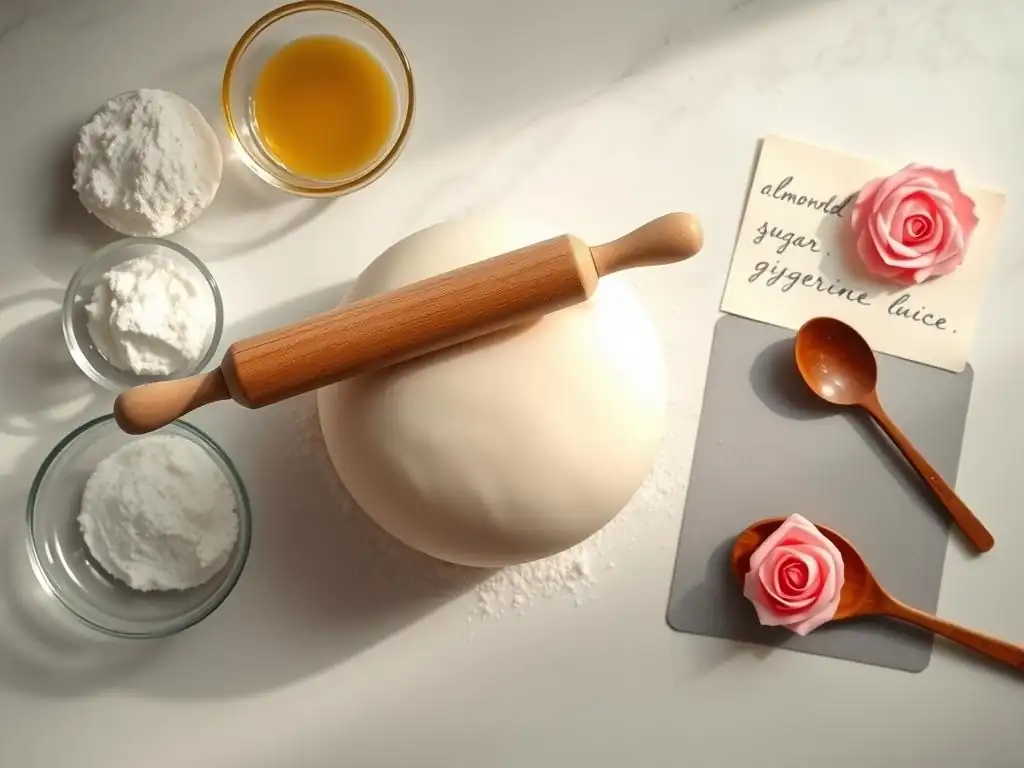
Welcome to BakeWithEase, your guide to unlocking the delicious world of baking! Ever wondered if you could create stunning sugar flowers and decorations? This is where your journey begins. Discover our easy gumpaste recipe for beginners and elevate your baking from simple treats to edible masterpieces. Intrigued? Let's dive in and reveal the secrets to crafting perfect sugar paste, even if you've never tried it before!
- Homemade Rolled Fondant: A Beginner's Guide
- Understanding Rolled Fondant
- Benefits of Making Your Own Rolled Fondant
- Simple Rolled Fondant Recipe
- Tips and Tricks for Working with Rolled Fondant
- Using Your Homemade Rolled Fondant
- Troubleshooting Common Fondant Problems
- Beyond the Basics: Enhancing Your Fondant Skills
- Conclusion: Enjoying the Art of Fondant
-
Frequently Asked Questions
- What exactly is gumpaste, and how does it differ from fondant?
- Is this "Easy Gumpaste Recipe Beginners" recipe truly beginner-friendly?
- What are the key ingredients required for this gumpaste recipe?
- How long will gumpaste decorations made with this recipe last?
- Can I add color to my gumpaste using this recipe?
- Final Reflection: The Sweetness of Creation and the Joy of Baking
- Unleash Your Inner Cake Artist: Create Stunning Sugar Paste Creations!
Homemade Rolled Fondant: A Beginner's Guide
Understanding Rolled Fondant
What is Rolled Fondant?
Rolled fondant is a pliable, dough-like sugar paste primarily used in cake decorating to create a smooth, professional-looking covering. Unlike buttercream or royal icing, which are spread or piped, fondant is rolled thin and draped over a cake, providing a flawless canvas. Its smooth texture and ability to hold shape make it ideal for achieving sharp edges and a clean finish on celebration cakes.
It's essentially a mixture of sugar, water, and often gelatin or marshmallows, with glycerin or shortening added for elasticity and pliability. While sometimes confused with gumpaste, fondant is softer, more elastic, and does not dry as hard, making it less suitable for intricate standing figures but perfect for covering large surfaces smoothly.
Uses for Rolled Fondant in Cake Decorating
The most common application for rolled fondant is completely covering cakes, from simple single tiers to elaborate multi-tiered wedding cakes. It seals the cake, keeping it moist, while providing a perfectly smooth surface that is impossible to achieve with most other icings. This smooth base is essential for adding further decorations like edible paint, airbrushing, or intricate piping.
Beyond covering, fondant is versatile for simple decorative elements. It can be rolled and cut into shapes using cookie cutters or templates for borders, polka dots, stripes, or letters. Beginners can easily create simple bows, ribbons, or basic dimensional shapes by rolling, cutting, and assembling pieces, adding a touch of elegance to any baked creation.
Benefits of Making Your Own Rolled Fondant
Cost Savings Compared to Store-Bought Fondant
One significant advantage of making your own rolled fondant is the potential cost savings. Purchasing pre-made fondant, especially in quantities needed to cover a standard cake, can be quite expensive. A 2-pound box of quality commercial fondant, enough for an 8-10 inch cake, might cost anywhere from $15 to $30 or more, depending on the brand and location.
In contrast, the ingredients for a similar amount of homemade fondant – primarily powdered sugar, gelatin, glycerin, and shortening – are relatively inexpensive pantry staples. Making a batch sufficient for an 8-inch cake might cost roughly $5 to $8 in raw ingredients. This difference becomes even more pronounced if you frequently bake or decorate larger cakes, making the initial effort a worthwhile investment over time.
Control Over Ingredients and Flavor
Making your own fondant gives you complete control over what goes into it. You can avoid artificial preservatives, flavors, or colors often found in commercial varieties. This is particularly beneficial for managing dietary restrictions or allergies, as you can select specific brands of ingredients or substitute components (like using vegetable shortening instead of butter-based).
Furthermore, homemade fondant offers superior control over flavor. While commercial fondants often have a standard, sometimes overly sweet or artificial taste, you can easily infuse your homemade version with natural extracts. Adding a few drops of pure vanilla, almond, lemon, or even a unique flavor like pistachio extract during the mixing process allows you to tailor the taste to complement your cake, enhancing the overall sensory experience.
Customization Options for Color and Texture
Homemade rolled fondant provides endless possibilities for customization, especially when it comes to color. Instead of buying multiple small tubs of pre-colored fondant, you can create virtually any shade imaginable using gel or paste food coloring. Simply knead the color into a portion of the white fondant until the desired hue is achieved, allowing for precise color matching to party themes or specific designs.
You also have some flexibility in adjusting the texture. If the fondant feels too stiff after resting, a tiny bit more shortening can be kneaded in to increase pliability. If it's slightly too sticky, a small amount of sifted powdered sugar can be incorporated. This ability to fine-tune the consistency ensures your fondant is perfect for rolling and covering, something difficult to achieve with a pre-packaged product.
Simple Rolled Fondant Recipe
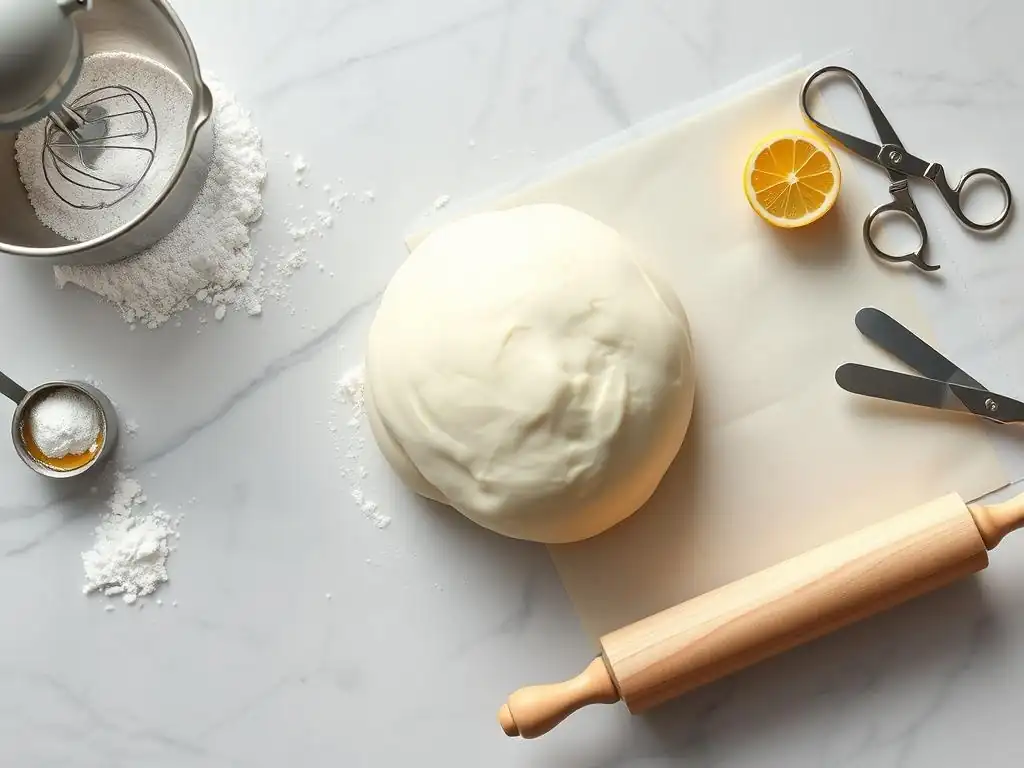
Ingredients for Homemade Rolled Fondant
The base of most easy rolled fondant recipes for beginners involves a few key components that work together to create its unique texture. Powdered sugar provides the bulk and sweetness, while gelatin (or melted marshmallows) gives it structure and elasticity. Glycerin is crucial for keeping the fondant pliable and preventing it from drying out too quickly, and shortening or vegetable oil adds smoothness and reduces stickiness.
Light corn syrup is often included to add a bit more flexibility and smoothness, helping to achieve that desirable satin finish when rolled out. Using high-quality, fresh ingredients will always yield the best results. Ensure your powdered sugar is lump-free by sifting it before use.
Rolled Fondant Ingredients Checklist:
- [ ] Approx. 1 lb (about 4 cups) Sifted Powdered Sugar (Icing Sugar), plus extra for kneading
- [ ] 1 tablespoon Unflavored Gelatin Powder
- [ ] 1/4 cup Cold Water
- [ ] 1 tablespoon Glycerin (Food Grade)
- [ ] 1 teaspoon Shortening (like Crisco) or Vegetable Oil
- [ ] 1 tablespoon Light Corn Syrup (Optional, for added flexibility)
- [ ] Pinch of Salt (Optional, balances sweetness)
Equipment Needed for Making Rolled Fondant
Making homemade rolled fondant doesn't require specialized equipment, making it accessible for beginners. You'll need basic kitchen tools for measuring and mixing. A medium-sized heatproof bowl for dissolving the gelatin and a large mixing bowl for combining ingredients are essential.
A sturdy surface for kneading is also crucial – a clean countertop dusted with a sugar/cornstarch mix or a large silicone pastry mat works well. While not strictly necessary, a stand mixer fitted with a dough hook can significantly reduce the effort required for kneading. You'll also need plastic wrap for storing the finished fondant.
Essential Tools for Rolled Fondant Preparation:
- [ ] Measuring cups and spoons
- [ ] Medium heatproof bowl (glass or metal)
- [ ] Large mixing bowl
- [ ] Sifter or fine-mesh sieve
- [ ] Spoon or spatula
- [ ] Clean countertop or pastry mat
- [ ] Rolling pin
- [ ] Plastic wrap
- [ ] Stand mixer with dough hook (Optional)
Step-by-Step Instructions: Making Rolled Fondant
Creating your own rolled fondant might seem daunting at first, but following a simple, step-by-step process makes it quite manageable, even for beginners. The key is to measure accurately, work cleanly, and be patient during the kneading stage. This easy fondant recipe breaks it down into simple parts.
The process involves preparing the liquid base, gradually incorporating the dry ingredients, kneading until smooth, and finally allowing the fondant to rest before use. Each step builds upon the last to transform simple ingredients into a workable sugar paste perfect for decorating.
Step 1: Preparing the Liquid Mixture
Begin by "blooming" the gelatin. Sprinkle the unflavored gelatin powder evenly over the cold water in your heatproof bowl. Let it sit for about 5-10 minutes; the gelatin will absorb the water and swell, becoming sponge-like. This process ensures the gelatin dissolves smoothly when heated.
Once bloomed, gently heat the gelatin mixture. You can do this by placing the bowl over a pot of simmering water (double boiler method) or microwaving it in short bursts (10-15 seconds), stirring in between, until the gelatin is completely dissolved and the liquid is clear, not boiling. Remove from heat and stir in the glycerin, shortening (or oil), corn syrup (if using), and salt (if using) until the shortening is melted and everything is well combined. Let this mixture cool slightly until it's warm but comfortable to touch.
Step 2: Combining Wet and Dry Ingredients
Sift the majority of the powdered sugar (about 3.5 to 3.75 cups of the total) into your large mixing bowl. Sifting is important to remove any lumps and aerate the sugar. Make a well in the center of the sifted sugar, creating a space to pour in the liquid mixture.
Pour the slightly cooled liquid mixture into the well in the powdered sugar. Using a sturdy spoon or spatula, start mixing from the center, gradually incorporating the sugar from the sides into the liquid. Continue mixing until a thick, shaggy dough starts to form. It will be very sticky at this stage, and you might need to use your hands to bring it together once it becomes too stiff for the spoon.
Step 3: Kneading and Developing the Fondant
Lightly grease your clean work surface (or stand mixer bowl) with shortening – avoid using powdered sugar at this stage as it can dry out the fondant prematurely. Transfer the shaggy dough onto the greased surface. Begin kneading the fondant much like you would bread dough, folding it over on itself and pressing down with the heels of your hands.
Gradually knead in the remaining sifted powdered sugar, a little at a time, until the fondant is smooth, pliable, and no longer excessively sticky. The goal is a consistency similar to playdough. This kneading process can take anywhere from 5 to 10 minutes by hand, or less if using a stand mixer with a dough hook. You'll know it's ready when it holds its shape but stretches without tearing easily.
Step 4: Resting and Preparing the Fondant for Use
Once your rolled fondant is smooth and elastic, it's crucial to let it rest. This resting period allows the ingredients to fully meld and the texture to stabilize, making it much easier to roll and work with later. Wrap the finished fondant tightly in several layers of plastic wrap, ensuring there are no air pockets whatsoever, as exposure to air will cause it to dry out and harden.
Store the well-wrapped fondant at room temperature, ideally for at least a few hours, but preferably overnight. Before using, knead the rested fondant briefly until it becomes pliable again. If it feels a bit stiff, you can warm it slightly by kneading it in your hands or microwaving it for just a few seconds (be very careful, it can heat unevenly). It's now ready for rolling and decorating!
Tips and Tricks for Working with Rolled Fondant
Achieving a Smooth and Elastic Texture
The key to smooth, crack-free fondant is proper preparation and handling. Ensure you knead the fondant thoroughly after mixing the ingredients; this develops its elasticity. If, during kneading or after resting, the fondant feels too stiff, incorporate a very small amount of additional shortening by kneading it in – think 1/4 teaspoon at a time.
Conversely, if the fondant feels too sticky, knead in a small amount of sifted powdered sugar until the desired consistency is reached. Always work quickly and keep any portion of fondant you are not actively using wrapped tightly in plastic wrap. Air is the enemy of smooth, pliable fondant and will cause it to dry and crack.
Coloring Fondant Effectively
For vibrant and consistent color, always use gel or paste food coloring when working with fondant. Liquid food coloring contains too much water, which can make the fondant sticky and affect its texture. To color fondant, take a portion and add a tiny amount of gel color using a toothpick. Knead the color into the fondant until it is evenly distributed.
Remember that the color may deepen slightly as the fondant rests, so start with a lighter shade than you ultimately desire. For intense colors like deep red or black, it might be easier to achieve the shade by starting with a pre-colored commercial fondant or using concentrated 'super' gel colors. Kneading in color can take a few minutes, so be patient. Wearing food-safe gloves can prevent staining your hands.
Preventing and Fixing Tears and Cracks
Tears and cracks in rolled fondant are usually a sign that it's either too dry, hasn't been kneaded enough, or is being rolled too thin or handled too roughly. To prevent this, ensure your fondant is pliable before you start rolling. If it feels stiff, gently warm it and knead in a tiny bit of shortening or glycerin. Don't roll the fondant thinner than about 1/8 inch (3-4mm) for covering cakes, as it loses structural integrity.
If you notice small cracks on the surface of a covered cake, you can often repair them by gently rubbing the area with a smooth tool, like a fondant smoother, or even your finger tip dipped in a tiny amount of shortening or water. The sugar crystals can sometimes be smoothed back together. For cracks that appear while rolling, the fondant is likely too dry and needs more kneading with a little added shortening.
Dusting Surfaces for Easy Rolling
To prevent rolled fondant from sticking to your work surface and rolling pin without drying it out, the best dusting agent is a mixture of powdered sugar and cornstarch (cornflour). A 50/50 blend works very effectively. The cornstarch helps absorb moisture, while the powdered sugar keeps it smooth.
Lightly dust your clean, dry work surface and your rolling pin with this mixture. As you roll the fondant, occasionally lift and move it, re-dusting the surface underneath if necessary. Avoid using excessive amounts of dust, as this can be incorporated into the fondant and make it dry or leave white marks on your finished piece. A little goes a long way.
Using Your Homemade Rolled Fondant
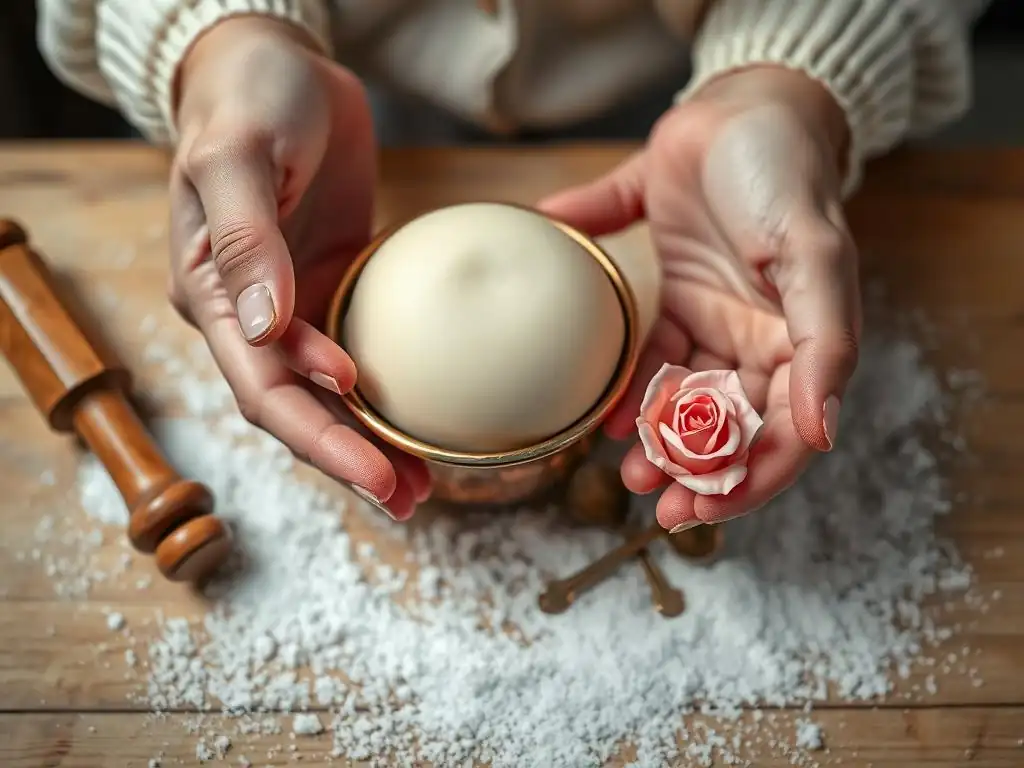
Covering a Cake with Fondant: A Smooth Finish
Covering a cake with your homemade rolled fondant is a rewarding step that gives your creation a professional look. First, ensure your cake is crumb coated with buttercream or ganache and chilled; this provides a smooth base for the fondant to adhere to. Roll your pliable fondant on a lightly dusted surface (using the sugar/cornstarch mix) to a size large enough to cover the cake's top and sides, typically about 1/8 inch thick.
Carefully lift the rolled fondant, either by gently rolling it onto your rolling pin and then unrolling it over the cake, or by using your hands to support it. Center it over the cake. Gently smooth the top surface first, then work your way down the sides, lifting and easing the fondant outwards to smooth away pleats and wrinkles. Use a fondant smoother to achieve a perfectly smooth finish and sharp edges. Trim the excess fondant around the base with a sharp knife or pizza cutter.
Creating Fondant Cutouts and Decorations
Homemade rolled fondant is perfect for creating simple cutouts and appliqués to decorate your cakes and cupcakes. Roll the fondant thinly, about 1/16 to 1/8 inch thick, on a surface lightly dusted with the sugar/cornstarch blend. Use cookie cutters, pastry wheels, or a sharp knife to cut out shapes like circles, stars, hearts, letters, or stripes.
To attach fondant cutouts to a fondant-covered cake, use a very small amount of water, edible glue, or clear alcohol (like vodka) brushed onto the back of the decoration. Too much liquid will dissolve the fondant. Gently press the cutout onto the cake surface. For cupcakes, you can cover the top with a circle of fondant and then add smaller cutouts on top.
Simple Modeling Techniques with Fondant
While gumpaste is the go-to for intricate, hard-drying figures, rolled fondant can be used for simpler modeling tasks. It's pliable enough to roll into balls, ropes, or simple shapes like leaves or petals. These decorations will remain softer and more flexible than gumpaste pieces, so they are best used for elements that lie flat on the cake or require minimal structural integrity.
You can roll thin ropes of fondant to create borders around the base or top of a cake. Twisting two different colored ropes together creates a simple, attractive trim. Basic shapes like spheres or cones can be formed by hand. Remember that because fondant remains soft, modeled pieces may need to be created closer to the time of serving or require internal support if they are not resting directly on the cake surface.
Troubleshooting Common Fondant Problems
Fondant is Too Sticky: Solutions
If your homemade rolled fondant feels excessively sticky after making or resting, it's likely due to too much liquid or not enough powdered sugar during the initial mixing. The primary solution is to gradually knead in more sifted powdered sugar. Add a tablespoon at a time, kneading thoroughly after each addition, until the fondant reaches a smooth, non-sticky consistency that feels like firm playdough.
Humidity can also contribute to stickiness. If you're working in a humid environment, try to work quickly and consider using a dehumidifier in your workspace if possible. Ensure your hands and work surface are lightly greased with shortening, not heavily dusted with sugar, as sugar can sometimes exacerbate stickiness initially before eventually drying it out unevenly.
Fondant is Too Dry: Solutions
Fondant that is too dry will feel stiff, crumbly, and prone to cracking when kneaded or rolled. This is usually caused by too much powdered sugar, not enough liquid or fat, or exposure to air. To remedy dry fondant, knead in a very small amount of shortening or glycerin. Start with just 1/4 teaspoon of shortening or a drop or two of glycerin, kneading it thoroughly.
You may need to warm the fondant slightly in your hands or microwave for just a few seconds (be cautious, as overheating is easy) to make it pliable enough to incorporate the added fat or glycerin. Prevention is easier than fixing: always wrap fondant tightly when storing and work efficiently to minimize its exposure to air.
Fondant is Cracking: Prevention and Repair
Cracking is a common issue with rolled fondant, often stemming from dryness or being handled too roughly when it's not pliable. Ensure the fondant is well-kneaded and warm enough to be flexible before you begin rolling. Avoid rolling it too thin, especially when covering a cake, as this weakens the structure.
If small cracks appear on the surface of a cake already covered with fondant, you can often smooth them out by gently rubbing the area with a fondant smoother or even your finger tip, sometimes moistened with a tiny bit of shortening or water. For cracks that appear while rolling out the fondant, the fondant itself is likely too dry and needs to be re-kneaded with a little added shortening or glycerin until it's pliable again before attempting to roll it out further.
Beyond the Basics: Enhancing Your Fondant Skills
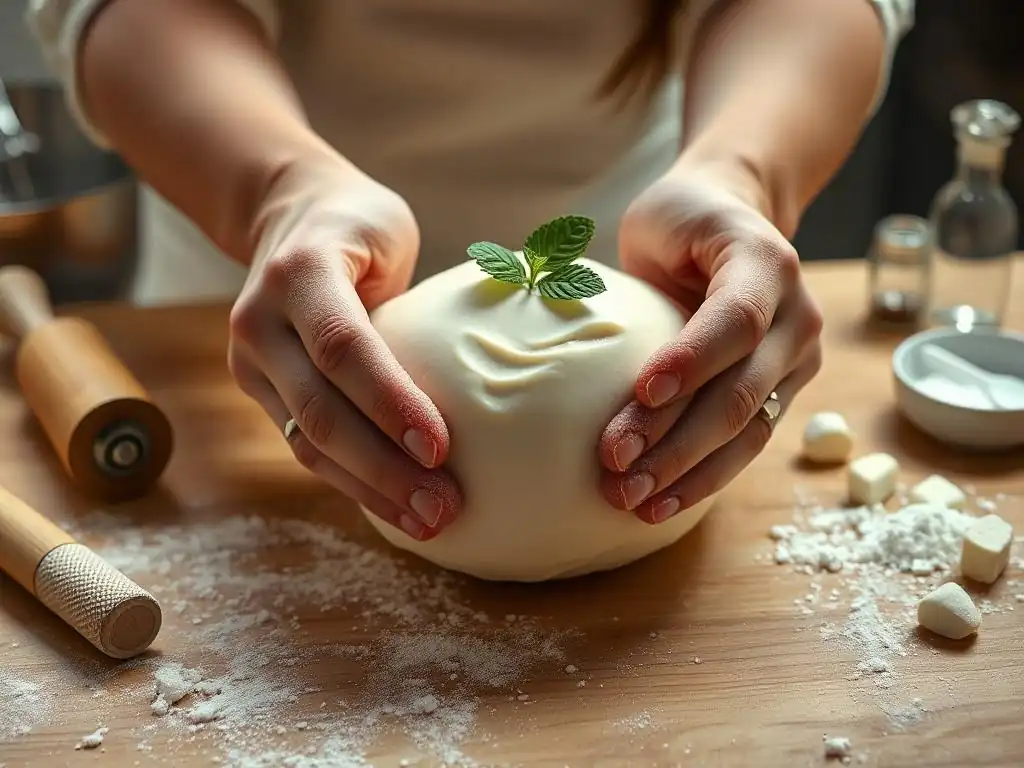
Adding Flavor Extracts to Fondant
One of the joys of making your own rolled fondant is the ability to customize its flavor, making it more palatable than some store-bought options. While vanilla is standard, you can easily add other flavor extracts to enhance your cake design. It's best to use oil-based or clear alcohol-based extracts, as water-based ones can affect the fondant's consistency.
Add a few drops of your chosen extract during the liquid mixing stage, or knead a small amount into the finished fondant. Popular choices include almond, lemon, orange, peppermint, or even a hint of coconut or coffee. Start with a small amount and add more to taste, creating a fondant that not only looks good but also tastes delicious.
Creating Marbleized Fondant
Marbleized fondant offers a visually striking effect with minimal effort, perfect for adding flair to cakes or decorations. To create it, take two or more contrasting colors of fondant – for example, white and a vibrant blue, or shades of gray and black for a stone effect. Roll each color into a log shape.
Twist the logs together, then fold the twisted log in half and twist again. Repeat this twisting and folding process just a few times. Then, gently knead and roll the fondant out. Stop kneading and rolling when you achieve a pleasing marble pattern; overworking it will cause the colors to blend completely. This technique is great for covering cakes, creating unique cutouts, or making decorative elements.
Working with Fondant Molds
Silicone fondant molds are fantastic tools for beginners and experienced decorators alike, allowing you to create intricate shapes like pearls, chains, lace patterns, or cameos with ease. Simply press a piece of well-kneaded fondant firmly into the mold, ensuring it fills all the details and cavities.
Scrape away any excess fondant from the back of the mold using an offset spatula or knife. For easier release, you can place the filled mold in the freezer for a few minutes to firm up the fondant. Then, gently flex the mold to pop out the perfectly formed shape. Attach the molded piece to your cake using a tiny dab of edible glue or water, adding instant sophistication to your design.
Conclusion: Enjoying the Art of Fondant
The Rewards of Homemade Cake Decorating
Mastering the art of making and working with homemade rolled fondant opens up a world of creative possibilities in cake decorating. The effort invested in creating your own fondant from scratch offers significant rewards, from the tangible cost savings compared to purchasing pre-made options to the invaluable control over ingredients and flavor.
There's immense satisfaction in transforming simple pantry staples into a smooth, pliable medium capable of giving your cakes a professional, polished finish. The ability to customize colors and add unique flavors means your creations can be truly one-of-a-kind, reflecting your personal touch and creativity. Presenting a cake covered in your own beautifully crafted fondant is a proud moment for any baker.
Encouragement for Continued Learning
Embarking on the journey of working with rolled fondant, especially making it yourself, can sometimes present challenges. Sticky batches, dry patches, or unexpected tears are part of the learning process. Don't be discouraged by imperfections; every attempt is a valuable lesson that builds your skill and intuition.
With practice, working with this versatile sugar paste will become more intuitive. Once you're comfortable covering cakes and making simple cutouts with your easy homemade fondant recipe, you can explore more advanced techniques. Consider experimenting with adding different flavor extracts, trying the marbleizing technique, or using molds for detailed decorations. Enjoy the process, keep practicing, and have fun bringing your cake decorating visions to life!
Frequently Asked Questions
What exactly is gumpaste, and how does it differ from fondant?
Gumpaste is a sugar dough primarily used for creating decorative elements in baking, whereas fondant is generally used to cover cakes. Gumpaste dries harder and holds its shape better.
Is this "Easy Gumpaste Recipe Beginners" recipe truly beginner-friendly?
Yes! This recipe is designed with beginners in mind, focusing on simple ingredients and easy-to-follow instructions. We aim to demystify the process of gumpaste creation.
What are the key ingredients required for this gumpaste recipe?
The recipe typically involves ingredients like powdered sugar, gum tragacanth (or CMC), cornstarch, glucose (or corn syrup), and shortening. Specific quantities are detailed in the recipe itself.
How long will gumpaste decorations made with this recipe last?
When stored properly in an airtight container, gumpaste decorations can last for several months. Keep them in a cool, dry place away from direct sunlight.
Can I add color to my gumpaste using this recipe?
Absolutely! Use gel food coloring for the best results. Add it a little at a time until you achieve your desired shade, ensuring even color distribution.
Final Reflection: The Sweetness of Creation and the Joy of Baking
The accessibility of creating beautiful, professional-looking cake decorations is now within everyone's reach. Making your own sugar paste, as demonstrated in this simple recipe, empowers home bakers to elevate their creations and unlock a world of artistic expression previously thought to be the domain of experts. This isn't just about following a recipe; it's about embracing a creative process.
The impact of readily available recipes like this one extends far beyond the kitchen. It fosters a sense of accomplishment and self-reliance, encouraging individuals to explore their creativity and connect with the rich history of cake decorating. The simple act of making something beautiful with your own hands is incredibly rewarding. The best things in life are homemade.
This sentiment rings particularly true when considering the satisfaction derived from crafting your own sugar paste and using it to transform a simple cake into a masterpiece.
Now, it's your turn. Don't be intimidated by the seemingly complex world of cake decorating. Take the leap, gather your ingredients, and experience the joy of creating your own sugar paste. Let this simple recipe be your springboard to a world of artistic expression and delicious possibilities. The sweetness of success awaits you!
Unleash Your Inner Cake Artist: Create Stunning Sugar Paste Creations!
Thanks for joining us on this sweet journey into the world of homemade sugar paste! You've now got the knowledge to create beautiful, edible decorations. Ready to put your new skills to the test?
- Craft your masterpiece: Use this recipe to create your first batch of sugar paste and decorate a cake or cookies. Let your creativity run wild!
- Share your sugar creations: Show off your beautiful work on social media – use #BakeWithEase and tag us! We’d love to see what you’ve made.
- Experiment with flavors and colors: Try adding extracts or food coloring to your next batch. What unique flavor combinations can you dream up?
Ready to transform your baking game? What delicious creation will you make first?