
Mastering the Marble: Tempering Chocolate on a Stone Surface Like a Pro.

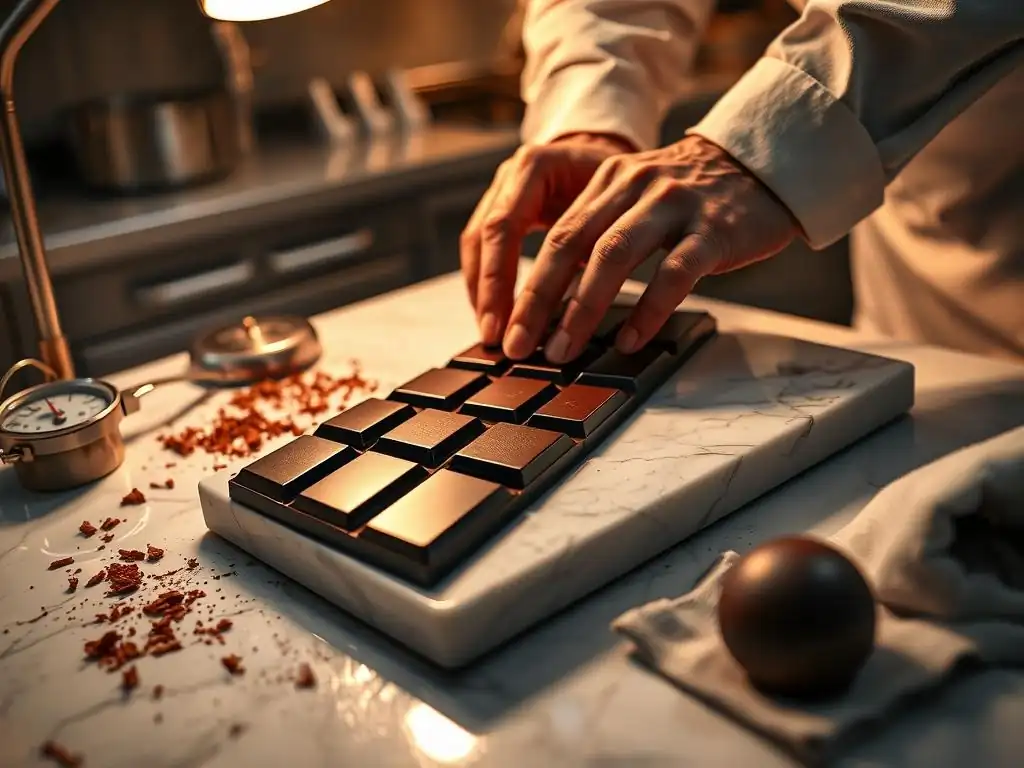
Welcome to BakeWithEase, where we transform baking challenges into delightful triumphs! Ever wondered how to achieve that flawless, swirling pattern in your desserts? Dive into our guide and unlock the secrets to creating a stunning tempered chocolate marble recipe, mastering the art of tempering chocolate on a stone surface like a true professional. Prepare to elevate your baking skills and impress with every marbled masterpiece!
- The Tempered Chocolate Marble Recipe: Detailed Instructions
-
Frequently Asked Questions
- What is tempered chocolate and why is it important for a marble effect?
- Why is a stone surface, like marble, recommended for tempering chocolate?
- Can I use a different method for tempering chocolate if I don't have a marble slab?
- What are the key signs that chocolate is properly tempered?
- What types of chocolate are best suited for creating a marble effect?
- Final Reflection: The Enduring Art of Tempered Chocolate
- Unleash Your Inner Chocolatier: Master the Art of Marble Tempering!
The Tempered Chocolate Marble Recipe: Detailed Instructions
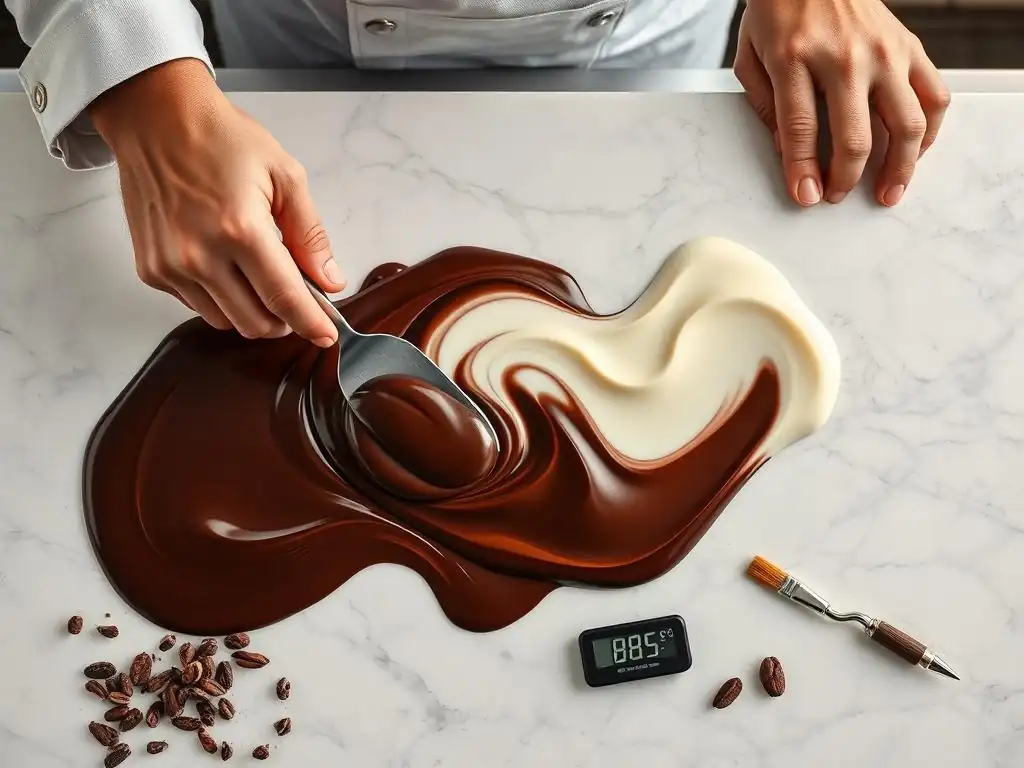
Step-by-Step Recipe for Perfectly Tempered Chocolate on Marble
Executing a successful tempered chocolate marble recipe begins with careful preparation and precise temperature control. For this method, we'll use approximately 500 grams of high-quality couverture chocolate, ideally with at least 30% cocoa butter content for optimal flow and shine. Start by finely chopping about two-thirds of the chocolate. This helps it melt more evenly and quickly.
Place this portion in a dry, heatproof bowl set over a pot of simmering water (a double boiler), ensuring the bottom of the bowl doesn't touch the water. Gently stir the chocolate as it melts. The goal is to reach an initial melting temperature, often around 45-50°C (113-122°F) for dark chocolate, slightly lower for milk (around 40-45°C / 104-113°F) or white chocolate (around 35-40°C / 95-104°F). Using a digital thermometer is crucial here.
Once the chocolate is fully melted and has reached its target initial temperature, remove the bowl from the heat. Carefully pour about two-thirds of the melted chocolate onto your clean, dry, cool marble slab. This is where the magic of the tempered chocolate marble recipe truly unfolds. Using a metal scraper and spatula, begin to spread the chocolate thinly across the surface of the marble, then gather it back together.
Repeat this process, continuously moving and working the chocolate. As you work it, the chocolate will cool rapidly due to contact with the stone, encouraging the formation of stable cocoa butter crystals. Monitor the temperature closely; you are aiming to cool the chocolate down to a working temperature range, typically 28-29°C (82-84°F) for milk and white chocolate, and 31-32°C (88-90°F) for dark chocolate. The chocolate should start to thicken slightly and become less fluid as it cools.
Tips and Tricks for Success: Achieving Consistent Results
Achieving perfectly tempered chocolate with the marble method relies heavily on environmental control and diligent technique. Ensure your working space is cool and dry, ideally between 18-20°C (65-68°F) with low humidity, preferably below 50%. Moisture is the enemy of chocolate tempering; even a tiny drop of water can cause the chocolate to seize, turning it into a thick, unworkable paste.
Therefore, every piece of equipment – the bowl, spatula, scraper, and especially the marble slab – must be absolutely dry. Starting with high-quality couverture chocolate, which contains a higher percentage of cocoa butter than standard chocolate chips or bars, significantly increases your chances of success with this tempered chocolate marble recipe.
Maintaining the correct temperature throughout the process is paramount. Use an accurate instant-read thermometer to monitor the chocolate's temperature at every stage: melting, cooling on the marble, and the final working temperature.
If, while working the chocolate on the marble, it cools too much and becomes too thick or starts to set prematurely (below the target working temperature), you can gently scrape it back into the remaining melted chocolate in the bowl (which should still be warm) or briefly place the bowl back over the warm water bath for just a few seconds to raise the temperature slightly, being careful not to overheat it. A reliable way to test if your tempered chocolate marble recipe is on track is the parchment paper test: dip the tip of a knife or spatula into the tempered chocolate and place a small blob on a piece of parchment paper.
Properly tempered chocolate will set firmly and evenly within 3-5 minutes at room temperature, exhibiting a beautiful glossy finish and a clean snap when broken. Streaks or dull spots indicate it is not in temper.
Frequently Asked Questions
What is tempered chocolate and why is it important for a marble effect?
Tempered chocolate is chocolate that has been heated and cooled to specific temperatures to stabilize its cocoa butter crystals. This gives it a shiny appearance and a crisp snap, crucial for the beautiful definition in a marble pattern.
Why is a stone surface, like marble, recommended for tempering chocolate?
A marble surface provides a cool and stable surface that helps to quickly cool the chocolate during the tempering process. This encourages the formation of the desired stable crystal structure necessary for properly tempered chocolate.
Can I use a different method for tempering chocolate if I don't have a marble slab?
Yes, alternative methods include the seed method and using a double boiler. However, the marble slab offers superior temperature control and is often preferred for the best results.
What are the key signs that chocolate is properly tempered?
Properly tempered chocolate will have a smooth, glossy sheen and a crisp snap when broken. It will also set quickly and evenly at room temperature, showing no streaks or blooms.
What types of chocolate are best suited for creating a marble effect?
Both dark and white chocolate work well for creating a marble effect, often used in combination. The contrasting colors highlight the marbling and create a visually appealing dessert; make sure they're high-quality chocolates for best results.
Final Reflection: The Enduring Art of Tempered Chocolate
The precise art of tempering chocolate, once a closely guarded secret of chocolatiers, is now within everyone's reach. Mastering this technique, as detailed in this guide, unlocks a world of possibilities, transforming simple chocolate into works of edible art with a satisfying snap and luxurious sheen. This isn't just about following a recipe; it's about understanding the science behind the process and gaining confidence in your culinary skills.
The impact of perfectly tempered chocolate extends far beyond the individual experience. It's a testament to the enduring power of traditional techniques in a world increasingly dominated by mass production. The satisfying crackle of a well-tempered chocolate shell, the smooth melt in your mouth – these sensory experiences connect us to a rich culinary history. The simplest things are often the most beautiful,
a sentiment perfectly captured by the elegance of a flawlessly tempered chocolate creation. This simple act of transforming raw ingredients into something exquisite speaks to a deeper human desire for beauty and craftsmanship.
Now, it's your turn. Don't just read about tempering chocolate on a marble surface; do it. Experiment with different types of chocolate, explore variations in techniques, and most importantly, enjoy the process. The journey of mastering this skill is as rewarding as the final product. Embrace the challenge, celebrate your successes, and share your creations with others. The world awaits your perfectly tempered masterpiece.
Unleash Your Inner Chocolatier: Master the Art of Marble Tempering!
Thanks for diving into the world of perfectly tempered chocolate! You've learned a valuable skill that will elevate your baking to the next level. Now it's time to put your knowledge into practice.
- Try tempering a small batch of your favorite chocolate today! Use what you learned to create a stunning chocolate treat – ganache, bonbons, or even just a beautifully finished bar.
- Share your tempered chocolate creations with us on social media! Use #BakeWithEaseMarbleTempering and show us your masterpieces. We'd love to see them!
- Consider experimenting with different types of chocolate to see how the tempering process varies. What discoveries will you make?
Ready to transform your chocolate skills? What delicious creation will you temper first?