
Using Molds for Professional Sugar Decorations: Simple Techniques

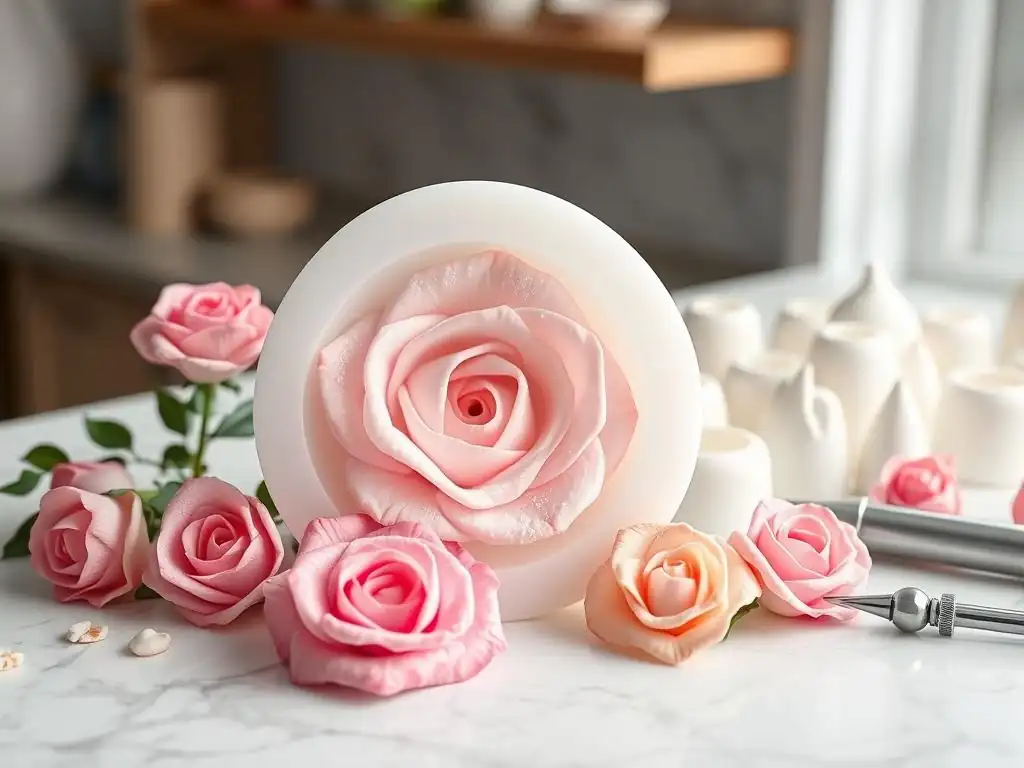
Welcome to BakeWithEase, your haven for all things baking! Ever wondered how professionals achieve those stunning sugar decorations? This article unlocks the secrets to using molds for creating truly impressive sugar art. Dive in to discover simple sugar mold decorating techniques that will elevate your baking from homemade to breathtaking, and leave your guests wondering where you learned your magic. Let's get started!
- Introduction to Sugar Mold Decorating Techniques for Bakers
- Essential Tools and Materials for Sugar Mold Decorating
- Simple Techniques for Perfect Sugar Mold Impressions
- Coloring and Finishing Sugar Mold Decorations
- Advanced Sugar Mold Decorating Techniques
- Troubleshooting Common Sugar Mold Decorating Issues
- Sugar Mold Decorating Ideas and Inspiration
- Caring for Your Sugar Molds
- Conclusion: Mastering Sugar Mold Decorating Techniques for Professional Results
-
Frequently Asked Questions
- What are the basic tools needed for sugar mold decorating techniques?
- How do I prevent sugar paste from sticking to the molds?
- What type of sugar paste is best for detailed sugar mold decorations?
- How do I color my sugar paste for mold decorating?
- How do I attach my sugar mold decorations to a cake or other baked good?
- Final Reflection: The Enduring Sweetness of Molding
- Unleash Your Inner Sugar Artist: Craft Stunning Decorations!
Introduction to Sugar Mold Decorating Techniques for Bakers
Elevate Your Baking with Sugar Mold Decorations
Adding intricate, professional-looking sugar decorations can transform a simple cake or cupcake into a showstopping masterpiece. While hand-sculpting requires significant skill and practice, employing sugar mold decorating techniques offers a fantastic shortcut to achieving stunning results with relative ease. Molds allow you to replicate complex shapes, delicate flowers, sharp geometric patterns, and even realistic figures consistently. Mastering these sugar mold decorating techniques opens up a world of creative possibilities, enabling bakers of all levels to produce sugar art that looks like it came straight from a professional patisserie.
Think about the impact of a beautifully adorned wedding cake or a birthday cake featuring edible sugar jewels. These elements often rely heavily on effective sugar mold decorating techniques. Even for smaller projects like cupcakes, a perfectly molded sugar flower or leaf can add that touch of elegance or fun. This approach not only saves time but also ensures uniformity across multiple decorations, which is crucial for large orders or events. By incorporating these sugar mold decorating techniques into your repertoire, you can significantly enhance the visual appeal of your baked goods and impress your friends, family, or customers.
Why Use Molds for Sugar Decorations? Speed and Consistency
The primary advantages of using molds for sugar decorations are speed and consistency. Hand-forming complex shapes can be incredibly time-consuming and achieving identical results repeatedly is challenging. With molds, you can produce dozens of identical decorations in a fraction of the time it would take to sculpt them by hand. For instance, molding 20 small sugar roses using a silicone mold might take less than 30 minutes, whereas hand-sculpting each one could take several hours, especially for a beginner. This efficiency is invaluable for busy bakers or those preparing for large events.
Furthermore, consistency is key to a professional finish. Using molds ensures that every decoration of the same design is uniform in size, shape, and detail. This is particularly important when creating repetitive patterns on a cake, like a border of pearls or a cascade of flowers. Relying on sugar mold decorating techniques guarantees that each element will fit together perfectly, creating a cohesive and polished look. This level of precision is difficult to achieve through freehand work, making molds an essential tool for anyone aiming for professional quality results in their sugar art.
Essential Tools and Materials for Sugar Mold Decorating
Types of Sugar Molds: Silicone, Acrylic, and Metal
Sugar molds come in various materials, each offering unique benefits for sugar mold decorating techniques. Silicone molds are perhaps the most popular due to their flexibility, which makes removing delicate sugar decorations incredibly easy. They are available in a vast array of shapes and sizes, from intricate lace patterns and detailed figures to simple letters and numbers. Silicone molds are durable, non-stick, and can be used with various sugar pastes, making them versatile for different sugar mold decorating projects.
Acrylic and metal molds, while less flexible than silicone, are also valuable tools. Acrylic molds are often used for creating sharp, geometric shapes or specific designs like cameos or brooches. They require careful preparation (like dusting with cornstarch) to ensure the sugar paste doesn't stick, but they can produce very clean, crisp edges.
Metal molds, often made of tin or aluminum, are typically used for simpler shapes or cookies, but some smaller metal molds exist for sugar work, particularly for creating firm shapes like buttons or buckles. Understanding the properties of each type helps you select the best mold for your specific sugar mold decorating techniques.
Choosing the Right Sugar Paste: Fondant, Gum Paste, Modeling Chocolate
Selecting the appropriate sugar paste is crucial for successful sugar mold decorating techniques. Fondant is a common choice, especially for beginners, as it's readily available and easy to work with. It's ideal for simpler molds or larger shapes where intricate detail isn't paramount. However, fondant is soft and takes longer to dry and harden, which can make delicate molded pieces prone to distortion or breakage.
Gum paste (also known as pastillage or flower paste) is much firmer than fondant and dries quickly to a hard, brittle consistency. This makes it perfect for creating delicate, detailed sugar mold decorations like intricate flowers, lace patterns, or thin leaves that need to hold their shape. Modeling chocolate is another excellent option.
It's pliable, easy to color, and holds detail beautifully. Unlike gum paste, it doesn't dry hard and brittle but maintains a fudge-like consistency, making it less prone to breakage and giving it a pleasant taste. The choice of paste depends on the desired outcome of your sugar mold decorating techniques – durability, detail level, drying time, and taste.
Other Necessary Tools: Cornstarch, Petal Dust, Edible Glue
Beyond the molds and sugar paste, several other tools are essential for effective sugar mold decorating techniques. Cornstarch (or confectioners' sugar) is vital as a release agent. Lightly dusting the mold helps prevent the sugar paste from sticking, ensuring a clean, sharp impression and easy removal. Use a soft brush to apply a thin, even layer and tap out any excess.
Petal dusts and edible luster dusts are used for coloring and adding realistic finishes to your molded sugar decorations. These fine powders can be brushed on dry or mixed with a clear alcohol (like vodka or lemon extract) or food-grade glycerin to create edible paints. Edible glue (or a mixture of CMC powder and water) is indispensable for assembling multi-part molded designs or attaching finished decorations to your cake or cupcakes. Having these basic tools on hand will greatly streamline your sugar mold decorating process and enhance the final appearance of your sugar art.
Simple Techniques for Perfect Sugar Mold Impressions
Preparing Your Sugar Paste for Molding: Kneading and Softening
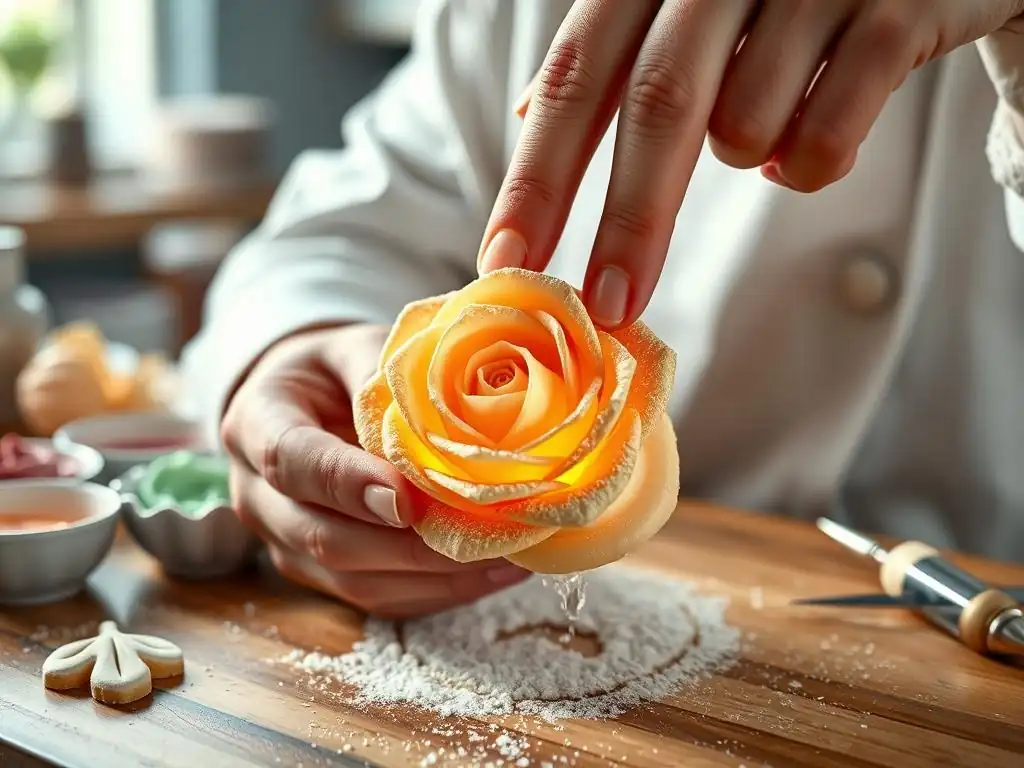
Proper preparation of your sugar paste is the first step to achieving perfect impressions using sugar mold decorating techniques. Whether you're using fondant, gum paste, or modeling chocolate, it needs to be soft, pliable, and free of cracks or dry spots. Start by kneading a small piece of the paste until it becomes smooth and elastic, much like kneading dough. This process warms the paste slightly, making it more workable and less likely to tear when pressed into the mold.
If the paste feels too stiff, you can knead in a tiny amount of vegetable shortening (like Crisco) or a specialized sugar paste softener. For instance, adding just a pea-sized amount of shortening to about 100 grams of fondant can make a significant difference in its flexibility. Conversely, if the paste is too soft or sticky, knead in a little cornstarch or confectioners' sugar.
The goal is a consistency that is firm enough to hold its shape but soft enough to capture fine details when pressed into the mold. This careful preparation is key to successful sugar mold decorating techniques.
Easy Steps: Pressing Sugar Paste into the Mold
Once your sugar paste is properly kneaded and the mold is lightly dusted with cornstarch, you're ready to press the paste into the mold. Take a small piece of the prepared paste – enough to slightly overfill the cavity you are working with. Start by pressing the paste into the deepest parts of the mold first, using your fingers or a small ball tool. This ensures that intricate details are captured accurately.
Work your way outwards, pressing the paste firmly and evenly into all areas of the mold cavity. Avoid trapping air bubbles; you can often see them forming as you press. If you spot one, gently lift the paste in that area and re-press it, or use a pin to prick the bubble before smoothing the paste back down.
Once the cavity is completely filled and the paste is flush with the back of the mold, use a sharp knife or a palette knife to carefully scrape away any excess paste from the surface. Holding the knife flat against the back of the mold helps create a clean, smooth finish. This simple process, central to sugar mold decorating techniques, is repeatable for every cavity.
Removing Sugar Decorations from Molds Without Damage: Freezing and Flexing
Removing delicate sugar decorations from molds without damaging them is often the trickiest part of sugar mold decorating techniques. For many silicone molds, especially those with intricate details or thin sections, chilling the molded paste is highly recommended. Place the filled mold in the freezer for just 5-15 minutes. This short time will firm up the paste enough to make it less prone to bending or tearing upon removal, but not so hard that it becomes brittle.
Once chilled, remove the mold from the freezer. If using a flexible silicone mold, gently flex the mold away from the edges of the sugar piece, working your way around. Then, carefully peel the mold away from the decoration. Avoid pulling the sugar piece itself.
For less flexible molds (acrylic or rigid silicone), you might need to carefully invert the mold and tap it gently. If the piece still doesn't release, it might need a few more minutes in the freezer. Handling the chilled piece gently until it comes to room temperature and firms up further is crucial for maintaining its perfect shape derived from your sugar mold decorating techniques.
Coloring and Finishing Sugar Mold Decorations
Techniques for Coloring Sugar Paste Before Molding: Gel Colors vs. Liquid Colors
Coloring your sugar paste before molding is an efficient way to achieve a base color for your sugar mold decorations. Gel food colors are highly concentrated and are the preferred choice for coloring fondant, gum paste, or modeling chocolate. They add vibrant color without significantly altering the consistency of the paste, unlike liquid food colors which can make the paste sticky and difficult to mold.
To color, take a small amount of gel color on a toothpick and knead it into the paste. Add color gradually until you achieve the desired shade. For example, to get a medium pink, you might only need a tiny amount of red gel color for 100 grams of white fondant.
Liquid food colors, while less ideal for coloring the bulk paste due to their water content, can be used for very pale shades or if that's all you have access to. If using liquid colors, use them sparingly and knead well. You might need to knead in a little extra cornstarch or confectioners' sugar to restore the paste's texture. Pre-coloring the paste using gel colors simplifies subsequent finishing steps and ensures that the color is uniform throughout the molded sugar decoration, a key aspect of professional sugar mold decorating techniques.
Applying Dusting Powders for Realistic Effects: Dry Dusting and Steam Activation
Dusting powders, such as petal dusts, pearl dusts, and luster dusts, are essential for adding depth, shading, and realistic effects to your molded sugar decorations. Dry dusting is the simplest method. Once your molded piece is dry (partially or fully, depending on the desired effect), use a soft, dry brush (like a makeup brush dedicated to food use) to apply the powder directly onto the surface.
Build up the color gradually, focusing on areas like the edges of petals or the contours of a figure to add dimension. For instance, dusting the tips of a molded sugar flower petal with a slightly darker shade of pink petal dust can make it look more lifelike.
Steam activation is another technique used with some dusting powders, particularly luster dusts. After dry dusting with luster dust, briefly hold the piece over steam from a kettle or steamer. Be very careful not to get it too wet. The steam activates the metallic or pearl particles in the dust, creating a brilliant, reflective shine. This technique is often used on molded sugar jewels or metallic elements in sugar mold decorating techniques. Experiment with different powders and techniques to see how they enhance your molded pieces.
Painting and Highlighting Sugar Mold Decorations: Using Edible Paints
For finer details, highlights, or opaque colors on your sugar mold decorations, edible paints are invaluable. You can purchase ready-to-use edible paints or create your own by mixing dusting powders (like petal dust or luster dust) with a clear alcohol (vodka, lemon extract) or a food-grade liquid like Rejuvenator Spirit. The alcohol evaporates quickly, leaving the color behind without making the sugar piece sticky. For a thicker, more opaque paint, mix the powder with a small amount of white food coloring gel or edible white paint.
Use fine brushes to apply the paint to specific areas of your molded decoration. This is perfect for adding pupils to molded sugar eyes, painting veins on leaves, or adding metallic highlights to jewelry pieces. For example, painting a molded sugar buckle with silver luster dust mixed with vodka gives it a realistic metallic look. Highlighting raised areas with a lighter color or a pearl dust can make the details pop. Painting adds another layer of artistry to your sugar mold decorating techniques, allowing for precise control over the final look.
Advanced Sugar Mold Decorating Techniques
Creating Multi-Layered Sugar Decorations with Molds: Assembling and Gluing
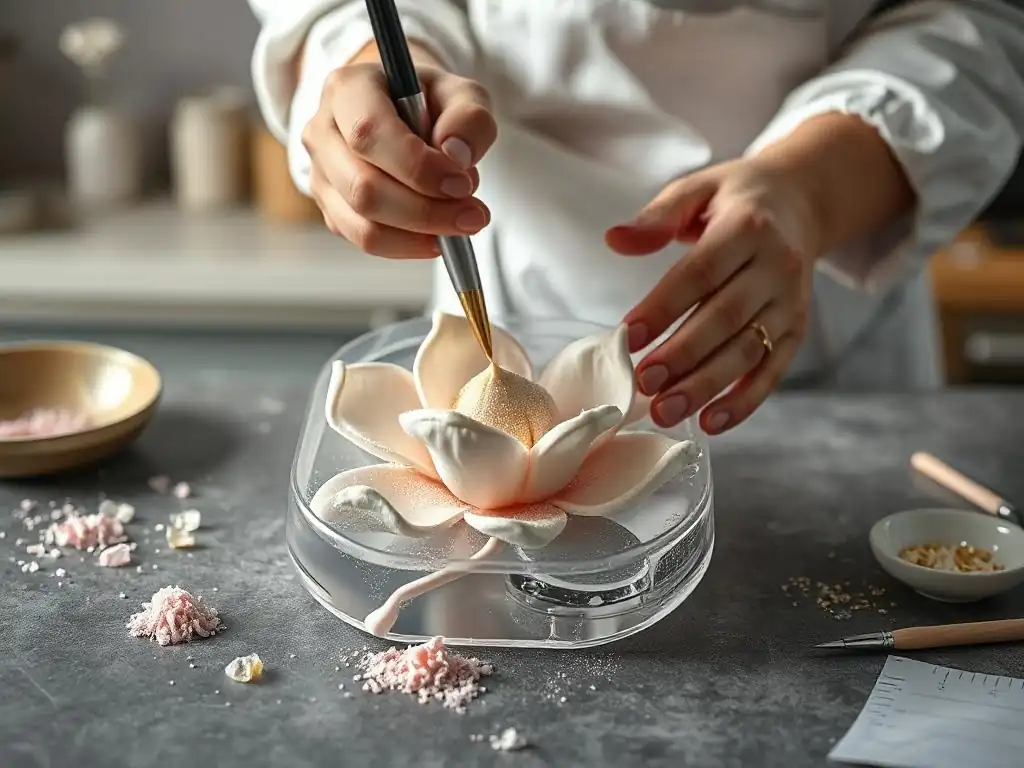
Some intricate designs require creating multiple molded pieces and assembling them into a complex sugar decoration. This multi-layered approach allows for greater depth and realism. For example, a large sugar flower might involve molding individual petals of different sizes, a center piece, and leaves separately. Once molded and partially dried (to maintain shape but still be pliable enough to attach), these pieces are assembled using edible glue.
Apply a small amount of edible glue to the areas that will be joined. A tiny brush or toothpick works well for precise application. Gently press the pieces together and hold them for a few seconds until they adhere.
For instance, when assembling a rose, you might start with a cone-shaped base (molded or hand-formed) and layer molded petals around it, overlapping them slightly and gluing them in place. Allowing each layer to set slightly before adding the next can prevent the piece from collapsing. This technique, while requiring patience, significantly elevates the complexity and beauty achievable with sugar mold decorating techniques.
Using Multiple Molds to Create Complex Designs: Planning and Execution
Combining pieces from different molds allows you to create unique and complex sugar designs that might not be available in a single mold. This requires careful planning and execution. You might mold a figure from one mold, add molded wings from another, and place them on a molded base decorated with molded flowers. The possibilities are virtually limitless when you combine elements from your collection of molds.
Start by sketching or visualizing your final design. Identify which parts you will mold from which molds. Mold all the necessary components, allowing them to dry to the appropriate consistency for assembly (sometimes partially dry, sometimes fully dry depending on the piece and how it will be attached).
Assemble the pieces using edible glue, supporting them as needed with foam blocks or crumpled paper while the glue dries. For example, creating a fantasy creature might involve molding a body, head, arms, and legs from different figure molds, adding molded horns and a tail, and attaching everything securely. This advanced application of sugar mold decorating techniques allows for truly custom creations.
Incorporating Edible Luster Dust and Glitters: Application Methods
Adding edible luster dusts and glitters is a fantastic way to bring sparkle and glamour to your sugar mold decorations. Luster dusts can be applied dry with a brush for a soft shimmer, or mixed with alcohol for a metallic paint-like finish, as mentioned earlier. For molded pieces that need a particularly strong metallic effect, applying multiple thin layers of luster dust paint is more effective than one thick layer.
Edible glitters, available in various colors and particle sizes, add significant sparkle. They can be sprinkled onto molded pieces while the sugar paste is still slightly tacky, or applied after drying using a thin layer of edible glue as an adhesive. For example, sprinkling clear or iridescent edible glitter onto molded sugar jewels after they've dried adds brilliant sparkle. Applying gold luster dust paint to molded chains or crowns creates a regal effect. Using these elements thoughtfully enhances the visual impact of your sugar mold decorating techniques, making your decorations truly shine.
Troubleshooting Common Sugar Mold Decorating Issues
Dealing with Air Bubbles in Sugar Mold Decorations: Tapping and Pricking
Air bubbles are a common frustration when using sugar mold decorating techniques, as they can leave unsightly holes or imperfections in your finished pieces. The best way to deal with air bubbles is to prevent them during the molding process. As you press the sugar paste into the mold, work the paste into the crevices first and press firmly, pushing the paste ahead of your fingers to force air out.
If you notice an air bubble trapped against the surface of the mold while the paste is still pliable, you can often release it by gently lifting the paste in that area and re-pressing, or by carefully pricking the bubble with a fine pin or needle and then smoothing the paste back down. If you discover small air bubbles after removing the piece from the mold, you can sometimes carefully fill them with a tiny amount of matching sugar paste or royal icing and smooth it with a damp brush, though this might not be invisible.
Careful pressing is the most effective strategy for preventing air bubbles during sugar mold decorating techniques.
Fixing Imperfect Impressions and Broken Pieces: Patching and Blending
Sometimes, despite your best efforts, a molded sugar decoration might have an imperfect impression or break during removal or handling. Don't despair! Many issues can be fixed with a little careful patching and blending. If a small section didn't fill completely or has a minor imperfection, you can often add a tiny amount of fresh sugar paste to the area and carefully smooth it into the existing piece using a damp brush or a modeling tool.
If a piece breaks, especially along a clean line, you can usually repair it using edible glue. Apply a small amount of glue to one broken edge and carefully press the pieces back together. Hold them in place until the glue sets slightly.
For delicate breaks, you might need to support the piece while the glue dries completely. Once the glue is dry, you can sometimes use a tiny amount of matching sugar paste or royal icing to fill any visible seam and blend it in with a damp brush. While not every break is fixable, many minor issues can be salvaged, saving your sugar mold decorating efforts.
Storing Finished Sugar Decorations: Humidity Control
Proper storage is essential for preserving your beautiful sugar mold decorations, especially those made with gum paste which is sensitive to moisture. Humidity is the enemy of dry sugar art. Exposure to high humidity can cause decorations to soften, lose shape, become sticky, or even melt. Store finished sugar mold decorations in an airtight container at room temperature, away from direct sunlight and moisture.
Adding a desiccant packet (like those found in shoe boxes or food packaging) to the storage container can help absorb excess moisture. Do not store sugar decorations in the refrigerator or freezer after they have dried and been removed from the mold, as condensation can form and damage them when they return to room temperature. Properly stored molded sugar pieces, particularly those made using gum paste, can last for months or even years, preserving the results of your sugar mold decorating techniques for future use.
Sugar Mold Decorating Ideas and Inspiration
Sugar Flowers and Leaves Using Molds
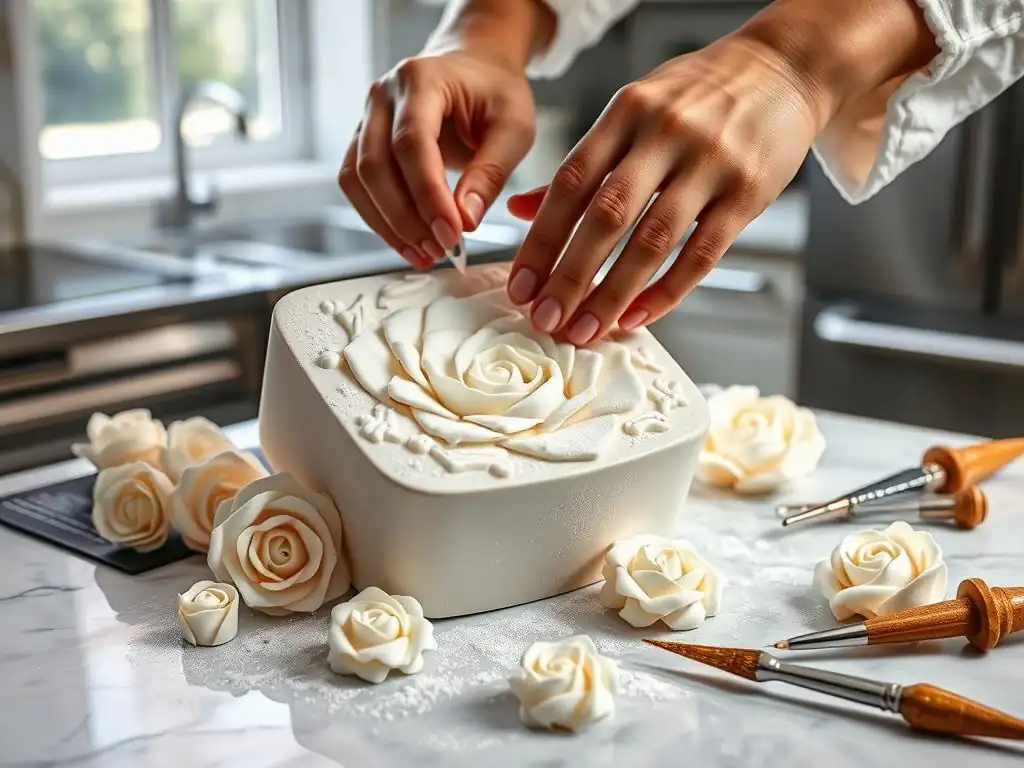
Molds are incredibly popular for creating realistic or stylized sugar flowers and leaves. From delicate roses and peonies to simple daisies and intricate tropical foliage, molds allow you to replicate the complex textures and shapes found in nature with ease. You can mold individual petals and leaves to assemble multi-layered flowers, or use molds that create a complete flower in one go.
Using petal dusts in varying shades is key to bringing these molded flowers and leaves to life. Dusting the centers, tips, and undersides adds depth and realism. For example, molding several different sizes of rose petals, dusting them with shades ranging from pale pink to deep red, and then assembling them creates a stunning, multi-dimensional sugar rose. Molding different types of leaves and dusting them with various shades of green and brown can add natural accents. Sugar mold decorating techniques for flora are fundamental for cake decorating.
Creating Edible Sugar Jewels and Gems
Molds designed for jewels, gems, and beads are perfect for adding sparkle and luxury to your baked goods. These molds typically have facets designed to catch the light. Clear isomalt is an excellent medium for creating realistic, hard sugar jewels that look like glass. Simply melt the isomalt and pour it into the mold. Once cooled, the resulting piece will be hard and transparent.
Alternatively, you can use modeling chocolate or firm fondant colored with metallic or vibrant gel colors. Once molded and dried, these can be painted with edible luster dusts or sprinkled with edible glitter to enhance their shine. Molding various shapes like diamonds, emeralds, rubies, or pearls allows you to create edible jewelry designs on your cakes, cupcakes, or cookies. Sugar mold decorating techniques for gems provide an easy way to add bling.
Designing Custom Sugar Embellishments for Cakes and Cupcakes
Beyond flowers and jewels, molds can be used to create a vast array of custom sugar embellishments. Think about molding intricate lace patterns to wrap around a cake tier, creating edible cameos for a vintage theme, molding letters or numbers for monograms or ages, or even molding small figures related to a party theme.
Using molds for borders is a simple way to add a professional finish to the edge of a cake. Molding small decorative elements like buttons, buckles, chains, or charms allows you to add specific details to themed cakes. For cupcakes, small molded elements like butterflies, hearts, or stars can quickly elevate their appearance. Exploring the wide variety of molds available provides endless inspiration for applying sugar mold decorating techniques to create unique and personalized edible art.
Caring for Your Sugar Molds
Cleaning and Storing Sugar Molds Properly
Proper care is essential to maintain the condition and extend the lifespan of your sugar molds, ensuring they are ready for your next sugar mold decorating project. After each use, clean your molds thoroughly. For silicone molds, warm soapy water is usually sufficient. Gently rub away any residual sugar paste. For molds with intricate details, a soft brush or even a cotton swab can help get into the crevices. Rinse thoroughly and let them air dry completely before storing.
Acrylic and metal molds may also be washed with warm soapy water. Ensure they are completely dry, as moisture can cause metal molds to rust. Avoid using abrasive cleaners or scrub brushes that could scratch the mold surface, as scratches can affect the impression quality and cause sugar paste to stick. Proper cleaning ensures that no residue from previous projects interferes with new sugar mold decorating techniques.
Extending the Lifespan of Your Sugar Molds
With good care, your sugar molds can last for many years. Beyond cleaning, proper storage is key. Store molds flat if possible, especially silicone molds, to prevent them from becoming misshapen. Avoid stacking heavy objects on top of them. Keep molds away from direct sunlight or extreme temperatures, which can degrade some materials over time.
If you have many silicone molds, consider storing them in clear plastic bins or bags to keep them organized and protected from dust. Avoid cutting directly on or in molds, as this can damage the surface. By treating your molds with care – cleaning gently, drying thoroughly, and storing properly – you ensure they remain in excellent condition, ready to help you execute flawless sugar mold decorating techniques for countless baking projects to come.
Conclusion: Mastering Sugar Mold Decorating Techniques for Professional Results
Mastering sugar mold decorating techniques is an accessible and rewarding way to add professional flair to your baked creations. From selecting the right mold and sugar paste to perfecting the impression and adding finishing touches, each step contributes to a successful outcome. We've covered essential tools, simple techniques for perfect impressions, methods for coloring and finishing, and even advanced approaches for multi-layered designs.
By practicing these sugar mold decorating techniques, you can consistently produce intricate, beautiful sugar decorations that would be challenging or impossible to create by hand in the same timeframe. Remember to troubleshoot common issues like air bubbles or breakage with patience and the suggested fixes. With a little practice and the guidance provided here, you'll be well on your way to using sugar mold decorating techniques to create stunning, professional-quality sugar art that will elevate all your baking projects.
Frequently Asked Questions
What are the basic tools needed for sugar mold decorating techniques?
You'll need sugar paste (also known as fondant or gum paste), sugar molds (silicone or plastic), cornstarch to prevent sticking, and a rolling pin.
How do I prevent sugar paste from sticking to the molds?
Lightly dust the sugar mold with cornstarch before pressing the sugar paste into it. Make sure to remove excess cornstarch with a soft brush.
What type of sugar paste is best for detailed sugar mold decorations?
Gum paste is generally preferred over fondant for intricate details because it dries harder and holds its shape better. It's more durable and less likely to droop.
How do I color my sugar paste for mold decorating?
Use gel food coloring for the most vibrant and concentrated color. Knead the color into the sugar paste thoroughly to achieve an even tone.
How do I attach my sugar mold decorations to a cake or other baked good?
Use a small amount of edible glue (made with tylose powder and water) or royal icing to adhere the sugar decorations to your baked creations. Ensure the surface is slightly damp for better adhesion.
Final Reflection: The Enduring Sweetness of Molding
The artistry of sugar mold decorating isn't just a fleeting trend; it's a testament to the enduring power of precision and creativity in the culinary arts. This detailed exploration of simple techniques has hopefully illuminated the accessibility and versatility of using molds to create stunning sugar decorations, transforming ordinary cakes and pastries into edible masterpieces. The ease with which intricate designs can be achieved opens up a world of possibilities for both seasoned bakers and enthusiastic beginners alike.
The impact of mold-based sugar decoration extends far beyond the individual cake; it's a reflection of our desire to elevate the everyday, to find beauty in the meticulous, and to share that beauty with others. The details are not the details. They make the design.
- Charles Eames. This quote perfectly encapsulates the essence of sugar mold decorating, where the seemingly small act of pressing sugar paste into a mold results in a significant enhancement of the overall aesthetic appeal. The precision and patience required foster a sense of accomplishment and pride, enriching the entire baking experience.
Now, it's your turn. Consider how you can incorporate these simple yet effective techniques into your own baking journey. Experiment with different molds, colors, and textures. Don't be afraid to push your creative boundaries and discover the unique artistry that lies within you. The sweetness of success, both in the creation and the sharing, awaits.
Unleash Your Inner Sugar Artist: Craft Stunning Decorations!
Thanks for taking the time to explore the world of professional sugar decorations with us! We hope you’ve gained valuable insights into the power of molds. Now it's time to put your newfound knowledge into practice.
- Dive into your first mold project: Choose a simple design from the article and give it a try. Even small successes build confidence!
- Share your creations: Post a picture of your finished masterpiece on social media – tag us @BakeWithEase so we can admire your work!
- Explore advanced molding techniques: Search online for tutorials focusing on more intricate mold designs, or look for a local cake decorating class.
Ready to transform your baking from good to amazing? What's the first mold you'll be experimenting with?