
The Autolyse Advantage: Boosting Gluten Development with Less Effort

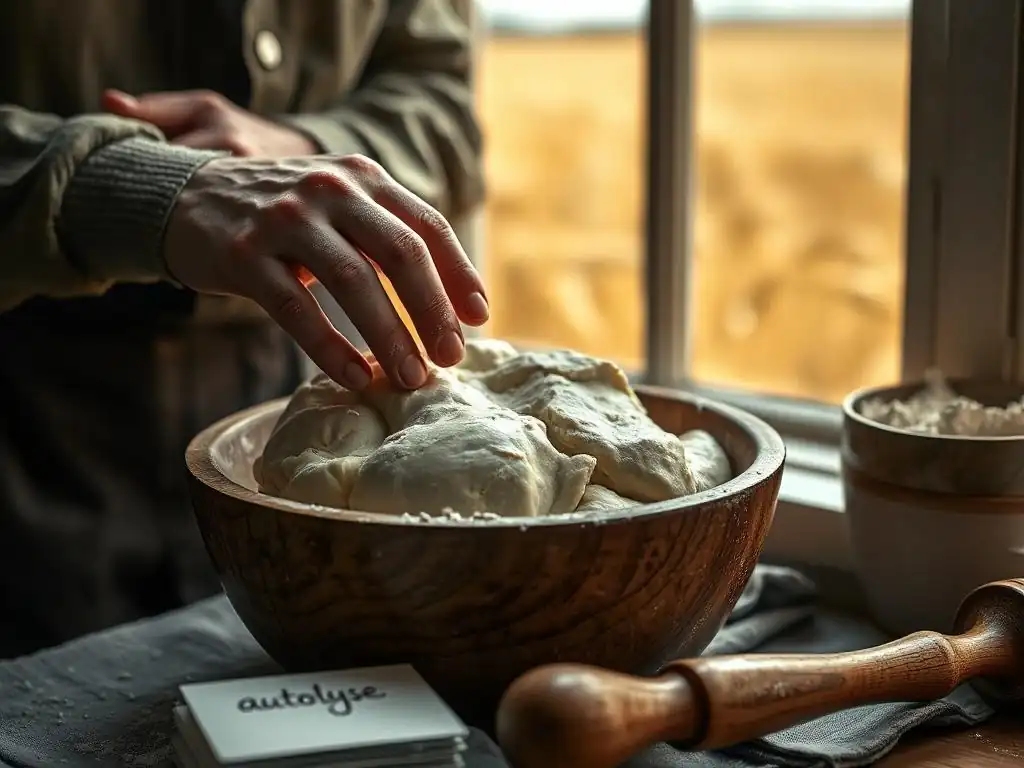
Welcome to BakeWithEase, your passport to baking brilliance! Ever wondered how to unlock incredible gluten development in your dough with minimal effort? Dive into our latest Baking Science Deep Dive and discover the secrets of autolyse. Prepare to be amazed as we reveal how this simple technique can transform your breads and pastries. Ready to bake smarter, not harder?
- Mastering Autolyse: Enhancing Dough Quality Through Pre-Hydration
- Understanding Autolyse: A Fundamental Baking Technique
- Autolyse for Improved Dough Strength and Workability
- Practical Guide to Autolyse: Step-by-Step Instructions
- Applying Autolyse to Different Baked Goods
- Troubleshooting Autolyse: Addressing Potential Challenges
- Advanced Autolyse Techniques for Experienced Bakers
- The Benefits of Autolyse: Simpler Baking and Superior Results
- Frequently Asked Questions
- Final Reflection: Unleashing the Power of Autolyse
- Unleash Your Baking Potential: Master Autolyse Today!
Mastering Autolyse: Enhancing Dough Quality Through Pre-Hydration
Autolyse, a simple yet powerful technique in baking, can dramatically improve the quality of your dough with surprisingly little extra effort. By simply mixing flour and water and letting it rest before adding other ingredients like salt and yeast, you unlock a process that leads to better gluten development, easier handling, and superior texture in your final baked goods. This method is applicable across various dough types, from rustic loaves to delicate pastries, making it a valuable addition to any baker's repertoire.
Understanding Autolyse: A Fundamental Baking Technique
Autolyse is a foundational step that involves hydrating the flour before the main mixing process. This initial rest period allows the flour to fully absorb the water, initiating enzymatic activity and setting the stage for more efficient gluten development. It's a technique favored by professional and home bakers alike for its ability to simplify kneading and enhance dough characteristics.
What is Autolyse and Why Use It?
Autolyse is the resting period given to a dough mixture consisting only of flour and water. This phase occurs before the addition of salt, yeast, or sourdough starter. The term "autolyse" comes from the Greek words "auto" (self) and "lysis" (to loosen or break down), referring to the self-acting enzymatic processes that occur during this rest.
The primary reason to use autolyse is to make the dough easier to work with and to improve the final product. By allowing the flour to hydrate and rest, the gluten network begins to form naturally without mechanical mixing. This initial relaxation makes the dough less sticky and more extensible, meaning it can be stretched more easily without tearing. Furthermore, it primes the dough for better gluten development once the remaining ingredients are added and mixing begins.
The Science of Autolyse: Hydration, Enzyme Activity, and Dough Relaxation
At a scientific level, autolyse facilitates two key processes: full hydration of the flour particles and activation of specific enzymes naturally present in the flour. When flour meets water, proteins like glutenin and gliadin start to absorb the liquid. The autolyse period ensures this hydration is thorough and uniform throughout the mass.
Simultaneously, enzymes like amylase and protease become active. Amylase begins breaking down starches into simpler sugars, which can later serve as food for yeast, contributing to fermentation and flavor. Protease enzymes act on the protein network, specifically the gluten proteins. They help to slightly break down and rearrange the complex protein chains, leading to a more extensible and less elastic dough. This partial breakdown is crucial for reducing the dough's resistance to stretching, making subsequent kneading or folding much more effective for achieving optimal autolyse dough gluten development.
Autolyse for Improved Dough Strength and Workability
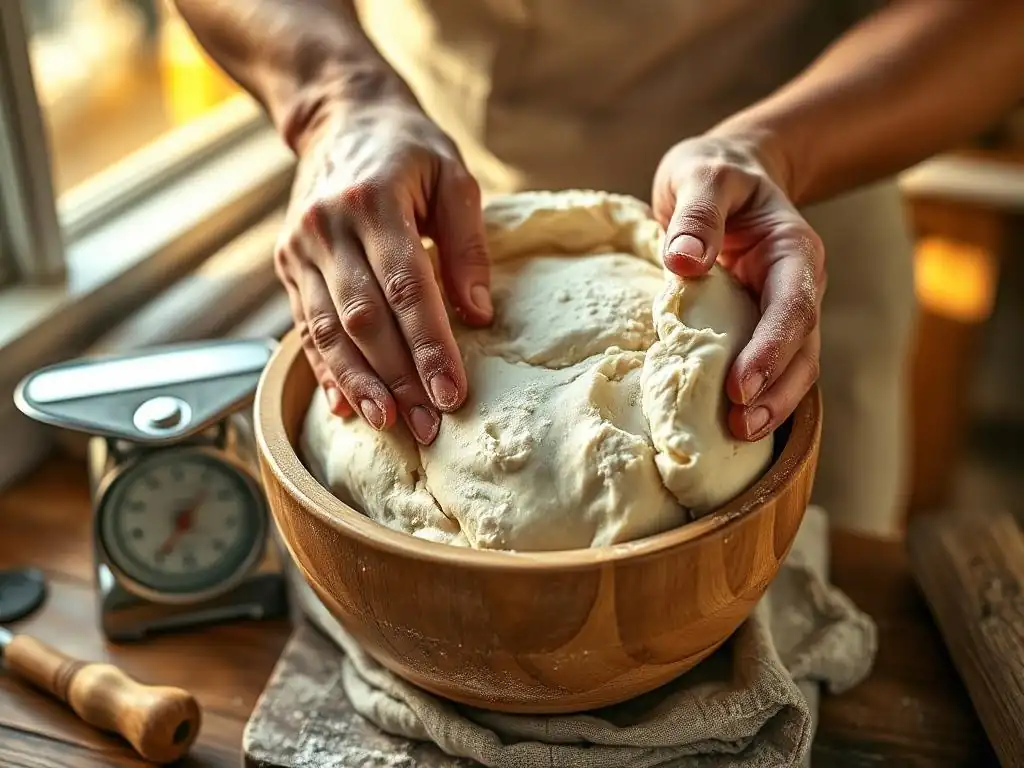
Implementing autolyse into your baking routine directly impacts the physical properties of your dough. It enhances its strength and makes it significantly more manageable during shaping and handling. This leads to less frustration and better results, particularly for high-hydration doughs that can otherwise be quite sticky and challenging.
How Autolyse Enhances Gluten Development
While autolyse itself doesn't create gluten (gluten forms when glutenin and gliadin proteins are hydrated and manipulated), it significantly enhances the conditions for gluten development. During the autolyse rest, the proteins fully hydrate and the protease enzymes begin their work, relaxing the dough. This pre-conditioning means that when you eventually start mixing or folding, the gluten proteins are already partially aligned and much more willing to link up and form strong, elastic strands.
Think of it like preparing materials before building. Autolyse is like laying out and organizing your building blocks. When you come back to assemble (mix), the pieces fit together much more easily and form a stronger structure. This leads to superior autolyse dough gluten development compared to mixing all ingredients from the start, resulting in a dough that holds its shape better and produces a loaf with a more open and airy crumb structure.
Autolyse vs. Traditional Mixing: Effects on Dough Structure
Traditional dough mixing involves combining all ingredients simultaneously and then kneading until the desired gluten development is achieved. This method relies heavily on mechanical action to force hydration and protein alignment. While effective, it can be less efficient, potentially requiring longer kneading times and sometimes leading to tougher dough if overmixed.
Autolyse, by contrast, front-loads the hydration and enzymatic relaxation. The dough is already partially developed and much more extensible before mechanical mixing begins. This means less intense or shorter mixing is needed to reach optimal gluten development.
The resulting dough structure is often more uniform and less stressed, which translates to a better rise and a more tender crumb in the final bake. For example, a dough mixed traditionally might require 10-15 minutes of vigorous kneading, whereas the same dough with a 30-minute autolyse might only need 5-7 minutes of gentle mixing or a few sets of stretch and folds to achieve comparable or even superior autolyse dough gluten development.
Autolyse and Reduced Mixing: Preventing Over-Development
One significant advantage of using autolyse is that it allows you to achieve excellent gluten development with less mechanical work. This reduced mixing is particularly beneficial because it lowers the risk of overmixing the dough. Overmixing can occur when dough is kneaded for too long or too intensely, leading to the gluten network becoming too tight and eventually breaking down. This results in a dough that is tough, tears easily, and produces baked goods with a dense, often gummy texture.
By using autolyse, you give the gluten proteins a head start in aligning themselves through simple hydration and enzymatic action. When you then proceed to mix or fold, you need less energy and less time to finish building the network. This gentler approach helps prevent the gluten from becoming overworked, ensuring you build a strong yet extensible network perfect for trapping gases produced during fermentation and achieving a beautiful rise and open crumb. This aspect of autolyse is crucial for optimizing autolyse dough gluten development while maintaining dough integrity.
Practical Guide to Autolyse: Step-by-Step Instructions
Incorporating autolyse into your baking process is straightforward and requires only a minor adjustment to your usual routine. It's a simple technique that yields significant rewards in dough quality and handling.
Flour and Water: Selecting the Right Ratio for Autolyse
The autolyse step involves mixing only the flour and water specified in your recipe. It's crucial to use all of the flour and all of the water (or liquid) called for in the recipe at this stage. Do not hold back any liquid.
The ratio of flour to water is determined by your recipe's overall hydration percentage. For example, if a recipe uses 500g of flour and 350g of water, the hydration is 70% (350/500 * 100). For the autolyse, you would simply mix the 500g of flour with the 350g of water until no dry spots remain. There is no need for vigorous kneading at this point; just ensure the flour is fully hydrated. The consistency will be shaggy and potentially sticky, which is normal.
- Use 100% of the flour.
- Use 100% of the water/liquid.
- Mix just until combined.
- Ensure no dry flour pockets.
Autolyse Duration: Determining the Optimal Time for Your Recipe
The optimal duration for autolyse can vary depending on the type of flour used, the recipe's hydration level, and the desired outcome. A common range for autolyse is anywhere from 20 minutes to 60 minutes at room temperature. Some bakers extend this period significantly, even for several hours, especially for doughs with lower hydration or those using a mix of flours.
For most standard bread doughs using white wheat flour, a 30-minute autolyse is often sufficient to see noticeable benefits. For whole wheat or rye flours, which absorb water more slowly and contain more active enzymes, a longer autolyse of 60 minutes or more can be particularly advantageous. Experimentation is key; try starting with 30 minutes and adjust based on how your dough feels. A longer autolyse generally leads to a more relaxed and extensible dough, which can further aid autolyse dough gluten development with less subsequent work.
Temperature Control: Managing Enzyme Activity During Autolyse
Temperature plays a role in the rate of enzyme activity during autolyse. Warmer temperatures (within a reasonable range, typically room temperature around 20-24°C or 68-75°F) will accelerate enzymatic action, while cooler temperatures will slow it down.
Most bakers perform autolyse at standard room temperature. If your kitchen is particularly warm, a shorter autolyse time might be appropriate. Conversely, in a cooler environment, you might benefit from a slightly longer rest. For extended autolyse periods (several hours), it's often recommended to perform the autolyse in the refrigerator to slow down enzyme activity and prevent premature fermentation if using a starter or levain later. However, for the typical 20-60 minute autolyse, room temperature is perfectly fine and standard practice.
Applying Autolyse to Different Baked Goods
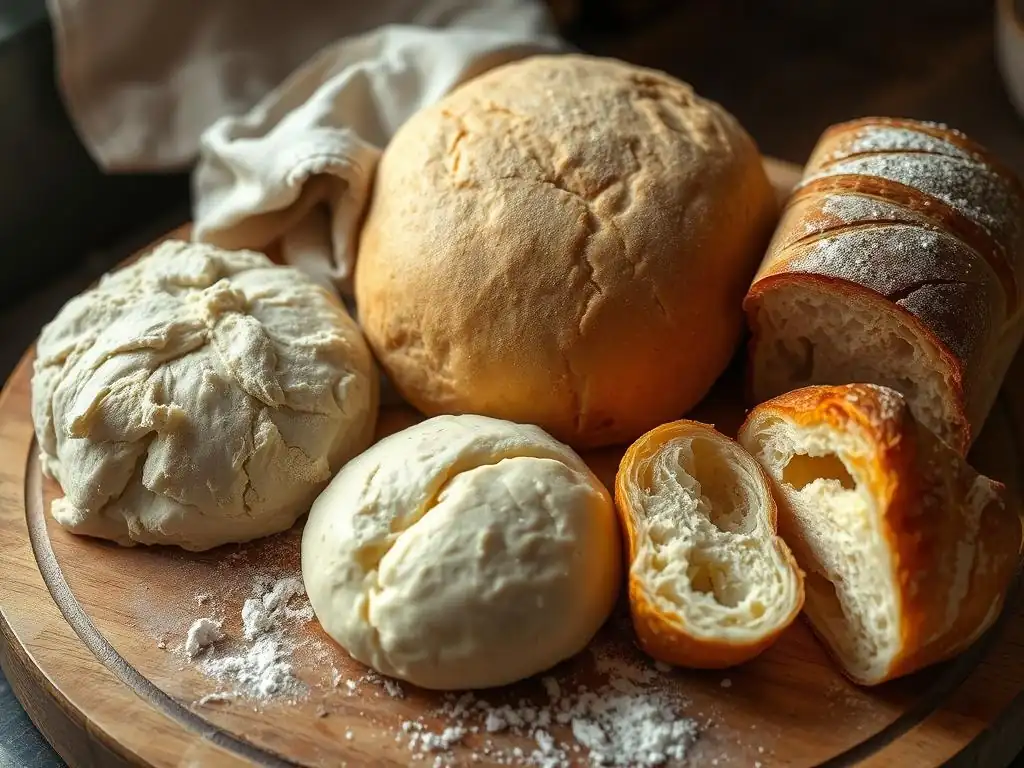
The autolyse technique isn't confined to a single type of bread. Its principles of pre-hydration and enzymatic action offer benefits across a wide range of doughs, improving everything from the structure of a rustic loaf to the chew of a pizza crust.
Autolyse in Bread Baking: Improving Crust, Crumb, and Flavor
Autolyse is most commonly associated with bread baking, and for good reason. Implementing a 20-60 minute autolyse rest for your bread dough can lead to significant improvements in the final loaf. The enhanced extensibility makes shaping easier, allowing you to build better tension in the dough, which contributes to oven spring.
The improved autolyse dough gluten development achieved with less mixing results in a more open and irregular crumb structure, a hallmark of artisanal bread. Furthermore, the enzymatic breakdown of starches during autolyse produces more simple sugars, which not only provide more food for the yeast (potentially leading to a better rise) but also contribute to better crust browning and a more complex flavor profile in the finished bread. Many bakers report a sweeter, more nuanced taste in loaves made with autolyse.
Autolyse in Sourdough: Enhancing Rise and Tang
Sourdough bakers often find autolyse particularly beneficial. Sourdough starters introduce additional enzymatic activity and acids, which can sometimes weaken the gluten network if not managed carefully. Autolyse helps to build initial strength and extensibility before the starter is added, creating a more robust foundation.
Using autolyse in sourdough can lead to a dough that is less sticky and easier to handle throughout the bulk fermentation and shaping stages. The enhanced gluten development allows the dough to trap the gases produced by the sourdough culture more effectively, resulting in better oven spring and a more open crumb.
While the tangy flavor comes primarily from the fermentation process, the healthier yeast activity supported by the sugars produced during autolyse can indirectly contribute to a more vigorous and well-developed sourdough tang. A typical sourdough might benefit from a 30-40 minute autolyse using all flour and water before the active starter is incorporated.
Autolyse in Pizza Dough: Creating a Chewier, More Flavorful Crust
For pizza dough, the goal is often a crust that is both airy and chewy, with a good balance of crispness on the outside and tenderness within. Autolyse can significantly contribute to achieving this desired texture. The extended hydration and enzymatic action help create a dough that is highly extensible, allowing you to stretch it thinly without tearing, which is essential for a good pizza base.
The improved autolyse dough gluten development results in a stronger network that can withstand high oven temperatures and trap steam effectively, contributing to the characteristic bubbles and charring of a great pizza crust. The partial breakdown of starches also contributes to flavor development, leading to a more complex and satisfying taste in the finished crust. A 20-30 minute autolyse is often sufficient for standard pizza dough recipes, making it easier to handle and stretch while enhancing the final chewiness.
Troubleshooting Autolyse: Addressing Potential Challenges
While autolyse is a simple technique, like any baking process, you might encounter minor issues. Understanding common challenges and their solutions will help you get the most out of this method.
Dough Too Sticky After Autolyse: Causes and Solutions
It's common for dough to feel relatively sticky immediately after the autolyse period, especially with higher hydration recipes (e.g., 75% hydration or more). The flour is fully hydrated, but the gluten network hasn't been fully developed through mixing yet. This initial stickiness is often temporary and should decrease as you proceed with mixing or folding.
- Causes: High hydration, insufficient rest time (enzymes haven't fully relaxed the dough yet), using certain flour types (like whole wheat) which absorb water differently.
- Solutions:
- Give it time: Proceed with your recipe's mixing or folding steps. As you work the dough, the gluten network will strengthen, and the stickiness will reduce.
- Slightly reduce hydration: If stickiness persists even after mixing/folding, consider slightly reducing the water in future batches (e.g., by 1-2%).
- Use wet hands/tools: When handling sticky dough, wet your hands or scraper slightly to prevent sticking. Avoid adding extra flour unless absolutely necessary during early stages.
Insufficient Dough Development: Adjusting Autolyse Parameters
If, after performing autolyse and subsequent mixing/folding, your dough still feels weak, tears easily, or lacks elasticity, you might not be achieving sufficient autolyse dough gluten development.
- Causes: Autolyse time too short, insufficient mixing/folding after autolyse, low protein flour, temperature too cold during autolyse.
- Solutions:
- Increase autolyse time: Try extending the autolyse period, perhaps from 20 minutes to 40 or 60 minutes. This gives enzymes more time to work and hydration to become uniform.
- Ensure proper mixing/folding: Autolyse reduces the need for vigorous mixing but doesn't eliminate it entirely. Make sure you are performing enough sets of stretch and folds or sufficient kneading after the autolyse period to finish building the gluten network.
- Check flour protein content: Using a flour with adequate protein (e.g., ~11-13% for bread flour) is essential for strong gluten development.
- Warm the environment: Ensure the autolyse is happening at a comfortable room temperature (20-24°C) to facilitate enzyme activity.
Over-Autolysed Dough: Recognizing and Mitigating the Effects
While it's harder to over-autolyse than to overmix, leaving the dough for excessively long periods at warm temperatures, especially with flours high in protease activity (like some whole wheat or rye flours), can potentially weaken the gluten network too much.
- Recognizing over-autolyse: The dough might feel overly slack, extremely sticky, and lack any resistance or structure even after initial mixing attempts. It might feel "dead" or soupy.
- Mitigating effects:
- Reduce autolyse time: Shorten the autolyse period in future attempts.
- Lower temperature: If performing a long autolyse (several hours), do it in the refrigerator to slow enzymatic activity.
- Adjust subsequent handling: If you suspect slight over-autolyse, you might need a bit more careful, possibly slightly longer, mixing or folding after adding other ingredients to try and rebuild some structure, but be cautious not to overmix mechanically.
Advanced Autolyse Techniques for Experienced Bakers
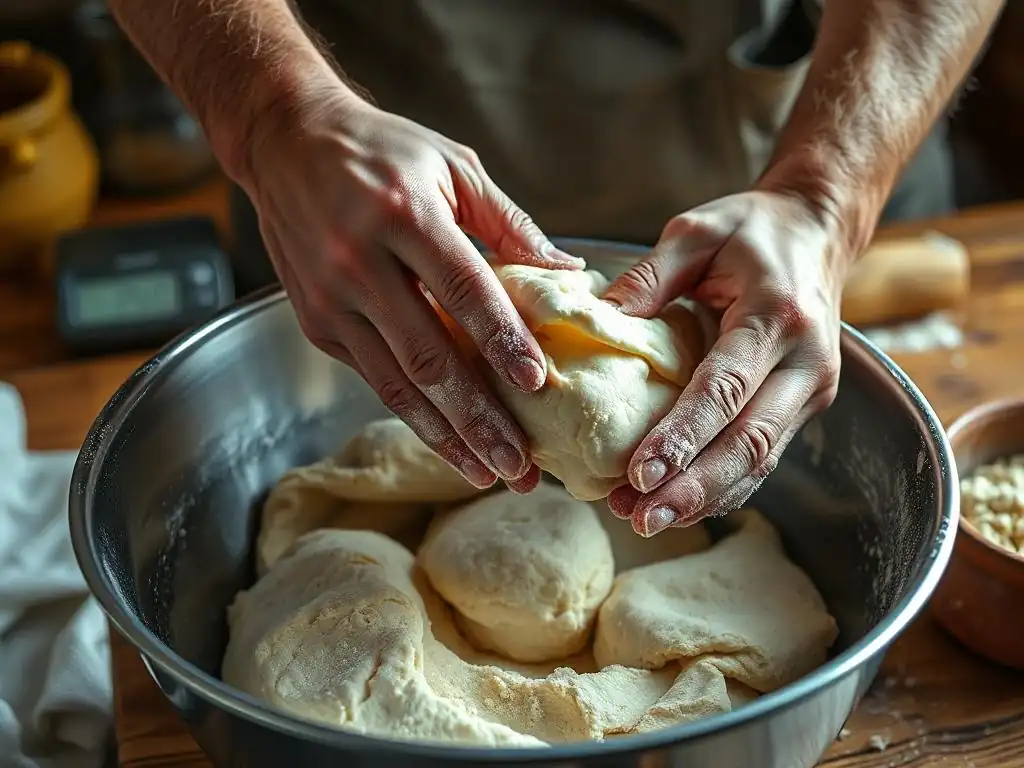
Once you're comfortable with the basic autolyse method, you can explore variations that offer further control and potential benefits for specific dough types or desired outcomes.
Salt-Included Autolyse: Benefits and Considerations
Traditionally, autolyse is performed with only flour and water because salt is known to tighten the gluten network, potentially hindering the relaxation that autolyse aims to achieve. However, some experienced bakers practice "salt-included autolyse" or "pseudo-autolyse," where salt is added along with the flour and water from the start.
- Benefits: Adding salt from the beginning can help control enzyme activity, particularly protease, which can be beneficial when working with flours high in these enzymes (like whole wheat) or when planning a very long autolyse. It can also feel more convenient as it bypasses the step of needing to incorporate salt later.
- Considerations: Including salt does inhibit the initial relaxation phase to some extent. The dough will likely feel less extensible right after the rest compared to a true flour-and-water autolyse. This method might require slightly more mechanical mixing or folding after the rest to achieve the desired autolyse dough gluten development. It's a trade-off between enzyme control/convenience and maximizing initial dough relaxation.
Autolyse with Different Flours: Exploring Wheat, Rye, and Spelt
The benefits and optimal duration of autolyse can vary significantly depending on the type of flour used. Different flours have different protein contents, enzyme levels, and water absorption rates.
- Whole Wheat & Rye: These flours contain the bran and germ, which are rich in enzymes, including proteases. They also absorb water more slowly. A longer autolyse (60 minutes or more, sometimes several hours, potentially refrigerated) is often recommended for these flours to ensure full hydration and to allow the enzymes to begin breaking down the complex structure, leading to a less dense final product and aiding autolyse dough gluten development in whole grain doughs.
- Spelt: Spelt is an ancient grain related to wheat but has a more fragile gluten structure. A shorter autolyse (20-30 minutes) is often sufficient, as too long a period could potentially lead to excessive gluten breakdown due to higher enzyme activity than refined wheat, making the dough weak.
- Bread Flour (High Protein): With its higher protein content, bread flour benefits significantly from autolyse, leading to excellent structure. Standard autolyse times (30-60 minutes) work well.
- All-Purpose Flour (Lower Protein): While still beneficial, doughs made with lower protein all-purpose flour might not show as dramatic an improvement in structure from autolyse compared to bread flour, but the relaxation and ease of handling benefits are still present.
Retarded Autolyse: Extending Autolyse for Enhanced Flavor
"Retarded autolyse" refers to an extended autolyse period, typically performed in the refrigerator for several hours (e.g., 4-12 hours or even longer). The cold temperature significantly slows down enzyme activity and prevents fermentation from starting if you're using a starter or yeast later.
This technique is less about rapid gluten development and more about maximizing the hydration and enzymatic breakdown of starches into sugars over a longer period. The extended enzymatic action can contribute to more complex flavor development, similar to a cold fermentation process. It also ensures incredibly thorough hydration, making the dough very relaxed and easy to work with after it warms up slightly. While it might not provide the rapid relaxation of a warm, short autolyse, it sets the stage for excellent autolyse dough gluten development and flavor in doughs that will undergo a long, slow fermentation anyway.
The Benefits of Autolyse: Simpler Baking and Superior Results
Incorporating autolyse into your baking routine is a relatively simple adjustment that can lead to significant improvements in both the process and the final product. It's a technique that empowers bakers to achieve professional-quality results with less physical effort.
Advantages of Autolyse: Summarizing the Key Benefits
Let's recap the compelling reasons to adopt the autolyse technique:
- Improved Dough Handling: The dough becomes less sticky and more extensible, making kneading, stretching, and shaping much easier.
- Enhanced Gluten Development: Autolyse primes the proteins, allowing for more efficient and effective autolyse dough gluten development with less mechanical work.
- Reduced Mixing Time: Because the dough is already partially developed, less time is needed for subsequent kneading or folding, reducing the risk of overmixing.
- Better Crumb Structure: Stronger, more uniform gluten allows the dough to trap gases effectively, resulting in a more open, airy, and desirable crumb.
- Improved Oven Spring: The enhanced structure and extensibility contribute to a better rise in the oven.
- Enhanced Flavor: Enzymatic activity breaks down starches into sugars, contributing to better crust browning and a more complex flavor profile.
- Increased Water Absorption: Allows certain flours, especially whole grains, to hydrate more fully, leading to a more tender product.
Autolyse Tips: Achieving Consistent and Predictable Outcomes
To get the best results from your autolyse, keep these practical tips in mind:
- Always use all the flour and all the water from your recipe during the autolyse step.
- Mix just until no dry flour remains; vigorous kneading is unnecessary at this stage.
- Cover the dough during autolyse to prevent a skin from forming. Plastic wrap, a damp towel, or a fitted lid works well.
- Pay attention to your dough's feel after autolyse. It should be more relaxed and stretchy than immediately after mixing.
- Experiment with autolyse times (20-60 minutes is a great starting point) based on your flour and recipe.
- Remember that you still need to mix or fold after autolyse to fully develop the gluten network, incorporate other ingredients, and achieve optimal autolyse dough gluten development.
Autolyse: A Powerful Tool for Improving Dough and Baked Goods
Autolyse is far more than just a resting period; it's a strategic step that leverages the natural properties of flour and water to fundamentally improve dough quality. By allowing for full hydration and initiating enzymatic processes, it makes dough easier to handle, enhances gluten development with less effort, and ultimately leads to superior baked goods with better structure, texture, and flavor. Whether you're a beginner or an experienced baker, incorporating autolyse into your routine is a simple way to elevate your bread, pizza, and other yeasted doughs. Embrace the autolyse advantage and experience the difference in your baking journey!
Frequently Asked Questions
What is autolyse and why is it important in baking?
Autolyse is a resting period where flour and water are mixed before other ingredients are added. This process helps hydrate the flour fully and promotes gluten development with less kneading.
How does autolyse contribute to better gluten development?
By allowing the flour to fully hydrate during autolyse, enzymes are activated that naturally break down starches and proteins. This makes it easier for the gluten to form a stronger network with less physical manipulation, resulting in improved dough elasticity.
What types of flour benefit most from autolysing?
Generally, all flours benefit, but higher protein flours like bread flour show the most noticeable improvement. Whole wheat flours also benefit as autolyse helps to soften the bran and improve dough texture.
How long should I autolyse my dough?
The ideal autolyse time varies, but typically ranges from 20 minutes to 1 hour. Some bakers even autolyse for several hours, but it's important to monitor the dough's consistency and adjust accordingly.
Can I autolyse dough in the refrigerator?
Yes, you can autolyse dough in the refrigerator for extended periods, even overnight. This slows down enzymatic activity and allows for a more gradual and controlled hydration. Remember to adjust your recipe and timing accordingly.
Final Reflection: Unleashing the Power of Autolyse
The simple act of allowing flour and water to rest together before adding other ingredients—autolyse—is revolutionizing bread baking, offering a pathway to superior gluten development with significantly less effort. This seemingly minor step unlocks a world of improved texture, flavor, and ease in bread making, impacting both professional bakers and home enthusiasts alike. The benefits extend beyond mere convenience; autolyse fundamentally alters the dough's structure, leading to a more manageable and ultimately more rewarding baking experience.
The impact of autolyse extends far beyond the kitchen; it represents a shift in our understanding of fundamental baking principles. It's a testament to the power of patience and observation in achieving excellence. The subtle changes in dough behavior during autolyse—the increased hydration, the smoother texture—are a visual representation of the complex chemical reactions taking place. This quiet transformation mirrors the transformative power of slow, deliberate processes in other aspects of life. The best things in life are worth waiting for,
a sentiment perfectly encapsulating the autolyse method.
Consider the implications of this simple technique. You, the baker, now hold the key to unlocking the full potential of your dough. Embrace the autolyse; experiment with different hydration levels and resting times; observe the changes in your dough. Don't just bake bread; understand the science and artistry behind it. By mastering autolyse, you're not just improving your bread; you're deepening your connection to the process, enriching your baking journey, and ultimately, creating something truly exceptional.
Unleash Your Baking Potential: Master Autolyse Today!
Thanks for taking the time to explore the power of autolyse! You've just unlocked a secret weapon for creating lighter, more flavorful bread. Ready to put your newfound knowledge into practice?
- Bake a loaf using the autolyse technique. Try the recipe suggested in the article – you'll be amazed by the difference!
- Share your autolyse baking journey with the BakeWithEase community on our forums – we'd love to see your creations!
- Experiment with different flours and hydration levels to see how autolyse affects your favorite bread recipes.
What delicious adventure will your next autolyse-enhanced loaf take you on?