
Cake Doesn't Release Cleanly? Troubleshooting Pan Prep

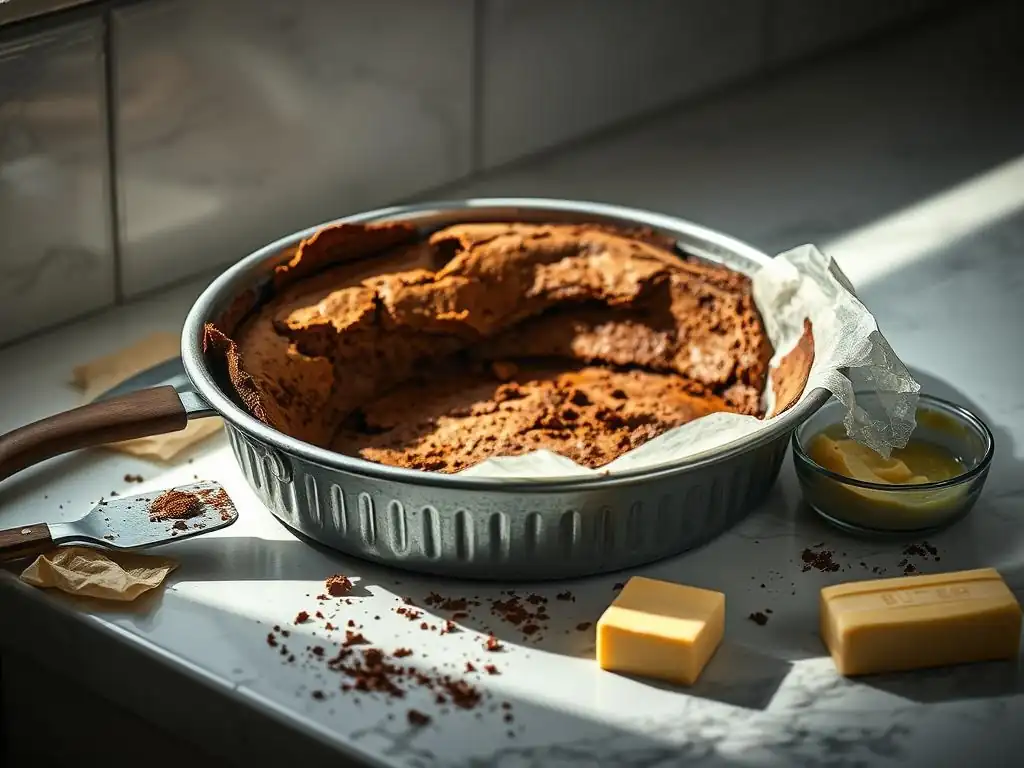
Welcome to BakeWithEase, your kitchen companion for turning baking dreams into delicious realities! Ever wrestled with a cake stubbornly clinging to its pan? This can be a baker's biggest frustration. Dive into our Baking Tips & Hacks section and discover the secrets to flawless baking with our essential guide on pan release baking tips. Unlock the key to perfectly released cakes and pastries every time. What's the secret ingredient to a clean release? Read on to find out!
- Cake Doesn't Release Cleanly? Troubleshooting Pan Prep for Perfect Bakes
- Introduction: Achieving Clean Cake Release Every Time with BakeWithEase
- Understanding Why Cakes Stick: Common Causes of Cake Sticking
- Pan Release Baking Tips: Mastering the Art of Cake Pan Preparation
- Troubleshooting Sticky Situations: What to Do When Your Cake Sticks
- Advanced Pan Release Techniques for Specialty Cakes
- Pan Care and Maintenance for Optimal Cake Release
- Alternative Solutions for Difficult Cakes
- Conclusion: Bake with Ease and Say Goodbye to Sticky Cakes
-
Frequently Asked Questions
- How crucial is pan preparation for a successful cake release?
- What are some common mistakes people make when preparing their baking pans?
- Besides greasing and flouring, what other pan release methods are effective?
- Can the type of pan material affect how well a cake releases?
- What should I do if my cake is already stuck in the pan despite my best efforts?
- Final Reflection: The Sweet Science of a Perfect Release
- Unlock Your Perfect Cake Release!
Cake Doesn't Release Cleanly? Troubleshooting Pan Prep for Perfect Bakes
Introduction: Achieving Clean Cake Release Every Time with BakeWithEase
There's little more disheartening in baking than carefully crafting a beautiful cake, only for it to stubbornly cling to the pan when you try to unmold it. A stuck cake can ruin hours of effort, leaving you with broken layers or missing chunks. Mastering pan release baking tips is fundamental to ensuring your cakes slide out effortlessly, preserving their perfect shape and texture. It's a skill that separates frustrating baking experiences from consistently successful ones.
At BakeWithEase, we believe everyone can achieve baking success. This article will guide you through the common reasons cakes stick and provide comprehensive strategies and pan release baking tips to prevent this common problem. From classic methods to modern conveniences and even homemade solutions, we'll cover everything you need to know to ensure your next cake releases cleanly, every single time. Say goodbye to stuck cakes and hello to picture-perfect bakes!
Understanding Why Cakes Stick: Common Causes of Cake Sticking
Insufficient Pan Greasing: A Primary Culprit
One of the most frequent reasons a cake refuses to release is inadequate pan preparation. A thin, uneven, or incomplete layer of grease simply isn't enough to create the necessary barrier between the cake batter and the pan surface. Often, bakers might grease the bottom but neglect the sides, or miss tricky corners and edges, which are prime spots for sticking. Without a continuous, effective layer of lubricant, the delicate cake structure can bond directly with the hot metal of the pan during baking.
For instance, if you're baking a standard 9-inch round cake, merely wiping the pan with a paper towel dipped in oil might not provide sufficient coverage, especially if the oil is used sparingly. A more robust application, ensuring every interior surface the batter will touch is coated, is crucial. Think of it as creating a non-stick shield – any gap in the shield is an invitation for disaster. Proper application of pan release baking tips always starts with thorough greasing.
Pan Material Matters: How Your Baking Pan Affects Release
The material of your baking pan significantly impacts how likely a cake is to stick and influences the best pan release baking tips to use. Dark metal pans, for example, absorb and distribute heat more quickly than lighter aluminum pans. While this can be great for achieving a dark, crisp crust, it also means the cake surface in contact with the pan gets hotter faster, potentially increasing the risk of sticking if the pan isn't prepped meticulously. Non-stick pans, while helpful, aren't foolproof; their coating can degrade over time or with improper cleaning, reducing their effectiveness.
Glass or ceramic pans also behave differently. They take longer to heat up but retain heat for a longer period after being removed from the oven. This sustained heat can sometimes cause the cake edges to become firmer and potentially stick if not released relatively soon after baking. Understanding these material properties helps you tailor your pan release baking tips – perhaps using slightly more grease for a dark pan or being extra careful with cooling times for glass.
Cake Batter Density and Stickiness: Adjusting for Better Release
Not all cake batters are created equal when it comes to pan release. Dense batters, such as those for pound cakes, fruit cakes, or some chocolate cakes, often contain more fat and sugar relative to flour and leavening. This composition can make them inherently stickier and more prone to adhering to the pan surface, especially along the bottom and sides. Similarly, recipes with high sugar content can caramelize slightly against the hot pan, creating a sticky bond that is difficult to break without damaging the cake.
When working with these types of batters, relying solely on a light spray might not be sufficient. These situations call for more robust pan release baking tips, such as the grease and flour method or the use of parchment paper on the bottom. Recognizing that a rich, dense batter presents a higher risk of sticking allows you to proactively apply more effective pan preparation techniques, significantly increasing your chances of a clean release.
Oven Temperature Inconsistencies and Their Impact on Cake Release
An oven that doesn't maintain a consistent temperature can contribute to sticking issues. Hot spots, where the oven temperature is significantly higher in certain areas, can cause parts of the cake adjacent to these spots to bake and set too quickly. This rapid setting can sometimes lead to the cake bonding more strongly with the pan surface in those specific areas, making overall release difficult. If your oven temperature fluctuates or is inaccurately calibrated (many home ovens can be off by 20-30°F), it creates an unpredictable baking environment.
Using an oven thermometer is a simple way to verify your oven's accuracy and identify potential hot spots. If you find your oven runs hot or has uneven heating, adjusting your baking temperature slightly downwards or rotating the pan halfway through baking can help ensure more even cooking. Consistent, even baking reduces the likelihood of areas sticking due to localized overheating, complementing your pan release baking tips.
Pan Release Baking Tips: Mastering the Art of Cake Pan Preparation
The Classic Grease and Flour Method: A Step-by-Step Guide
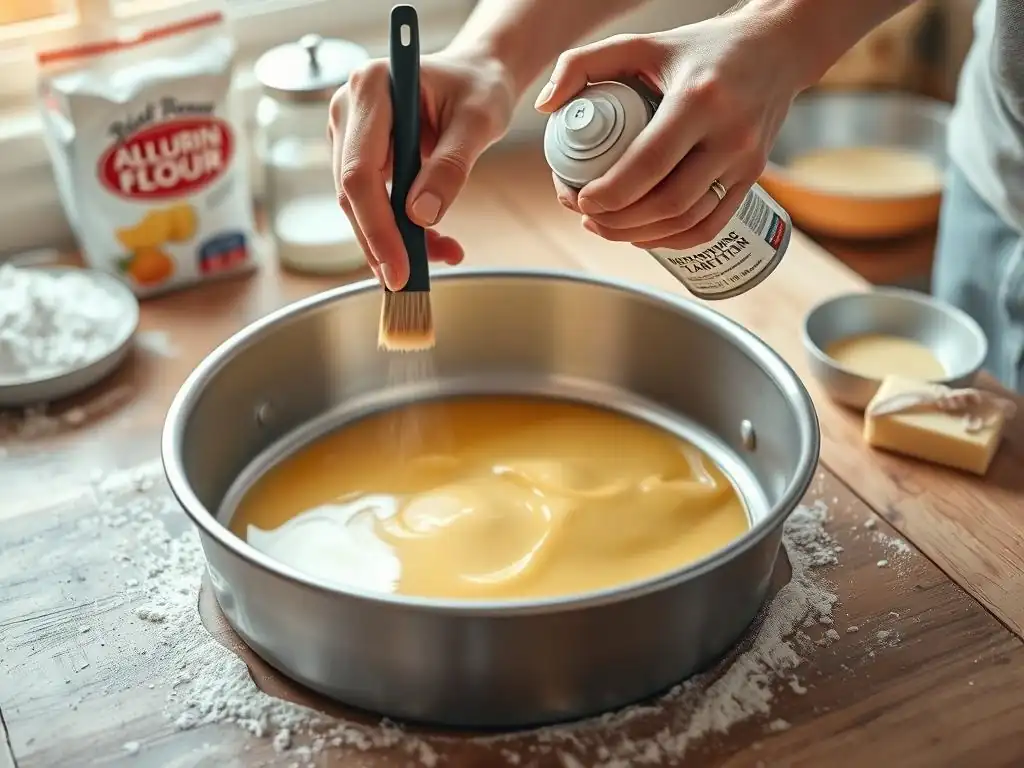
The grease and flour method is a time-tested and highly reliable technique for ensuring cakes release cleanly, particularly effective for standard non-chocolate cakes. It involves coating the pan's interior with a layer of solid fat, like butter or shortening, followed by a dusting of flour. The fat creates a primary non-stick layer, while the flour adheres to the fat, creating a dry barrier that prevents the moist cake batter from bonding directly with the greased surface.
Start by using a pastry brush, paper towel, or even your fingers to apply a solid, opaque layer of softened butter or shortening to every interior surface the batter will touch – the bottom, sides, corners, and up to the rim. Ensure there are no gaps or thin spots. For a 9-inch round pan, approximately 1 to 2 tablespoons of softened fat is usually sufficient to get good coverage.
Once greased, add a few tablespoons of flour to the pan, then tilt and rotate the pan, tapping gently, to distribute the flour evenly over the greased surfaces. Invert the pan over a sink or trash can and tap out any excess flour; too much flour can create a dry, powdery layer on the cake crust.
Choosing the Right Flour for Pan Coating
While all-purpose flour is the standard choice for the grease and flour method and works perfectly for most cakes, you might consider alternatives depending on your cake. For chocolate cakes, using cocoa powder instead of flour is a popular pan release baking tip. This prevents the white dusting from the flour from being visible on the dark chocolate crust, maintaining a uniform color.
When using cocoa powder, follow the same process: grease the pan thoroughly, then dust with unsweetened cocoa powder, tapping out the excess. For gluten-free cakes, use a gluten-free flour blend or a starch like rice flour or cornstarch for dusting. The key is to use a fine powder that will adhere to the grease and create a non-stick layer complementary to the cake's ingredients and appearance.
Evenly Coating the Pan for Optimal Release
Achieving an even coating of both grease and flour is paramount for successful cake release. Any area that is missed, or where the coating is too thin, becomes a potential sticking point. Pay particular attention to the junction where the bottom meets the sides, as batter tends to settle here, and it's a common area for cakes to stick. Also, ensure the grease goes all the way up the sides to the very top edge of the pan.
After adding the flour (or cocoa/alternative), be deliberate in rotating the pan to ensure the powder adheres to all the greased surfaces. A few firm taps on the bottom and sides of the inverted pan should dislodge any significant excess. The goal is a thin, even layer of powder covering the grease, not clumps or bare spots. This meticulous attention to detail in the coating phase is a fundamental pan release baking tip.
Using Baking Spray: Convenience and Effectiveness
Baking spray, which is typically an aerosol blend of vegetable oil and flour (or a similar non-stick agent), offers a convenient alternative to the traditional grease and flour method. It's quick to apply and can be very effective, especially for pans with intricate designs like Bundt pans, where getting an even grease and flour coating can be challenging. The aerosol format allows for a fine, relatively uniform mist.
To use baking spray effectively, shake the can well before use to ensure the oil and flour components are mixed. Hold the can upright, about 6-8 inches away from the pan surface. Apply a continuous, even mist to all interior surfaces, rotating the pan as you spray to cover the bottom, sides, and any central tubes or intricate patterns. Aim for a visible, uniform coating without creating large puddles of spray, which can lead to a gummy residue on the cake crust.
Selecting the Best Baking Spray for Different Cake Types
Not all baking sprays are created equal. Standard non-stick cooking sprays (like plain vegetable oil spray) can work but often lack the flour component that provides an extra layer of non-stick security, making them less reliable for cakes, especially those prone to sticking. Look specifically for "baking spray" or "non-stick spray with flour." These are formulated specifically for baking applications.
Some baking sprays are designed for specific uses, like those containing cocoa powder for chocolate cakes, similar to the grease and cocoa method. Choosing a spray with flour is generally the most effective pan release baking tip when opting for convenience. Ensure the spray hasn't expired, as its effectiveness can diminish over time.
Applying Baking Spray Properly for Complete Coverage
Proper application technique is key to maximizing the effectiveness of baking spray. Don't just give the pan a quick, light spritz. You need to ensure every nook and cranny is coated. For a round pan, start by spraying the center bottom, then move outwards in a circular motion to cover the entire bottom. Next, spray the sides, holding the can at an angle to reach both the vertical walls and the curve where the bottom meets the sides.
For Bundt pans or pans with intricate designs, take extra time to angle the spray nozzle to reach into all the crevices and details. It's often helpful to spray from several different angles to ensure no part of the surface is missed. A thorough, even application is one of the most straightforward pan release baking tips when using spray.
Parchment Paper Perfection: Creating a Foolproof Barrier
Using parchment paper on the bottom of a cake pan is one of the most foolproof pan release baking tips, especially for flat-bottomed pans like round or square cake pans. Parchment paper creates a physical barrier between the cake and the pan, ensuring the bottom of the cake will never stick. While it doesn't help with the sides, it eliminates the most common sticking point.
To use parchment paper, you first need to grease the bottom of the pan lightly. This helps the parchment paper adhere and prevents it from shifting. Then, place a circle (for round pans) or square (for square pans) of parchment paper cut to fit precisely on the bottom of the pan. You then grease and flour (or spray) the sides of the pan as you normally would. This combination ensures both the bottom and sides release cleanly.
Cutting Parchment Paper to Fit Your Cake Pan
Cutting parchment paper to fit a round cake pan perfectly is easy. Place the pan on top of the parchment paper and trace around the bottom edge with a pencil. Cut out the circle just inside the traced line. Alternatively, fold a square of parchment paper in half, then in half again, and then into a cone shape by folding the point down the center of the pan's radius. Place the tip of the cone at the center of the pan's bottom and cut the paper at the edge of the pan. When unfolded, you'll have a perfect circle.
For square or rectangular pans, simply measure the dimensions of the pan's bottom and cut a piece of parchment paper to match. These precise cuts are simple yet effective pan release baking tips for using parchment paper.
Ensuring the Parchment Paper Lies Flat for Smooth Sides
Once the parchment paper is cut, it's important to ensure it lies perfectly flat on the bottom of the pan. Any wrinkles or folds will transfer to the bottom of your cake, creating an uneven surface. Lightly greasing the bottom of the pan before placing the parchment paper helps it stick smoothly.
Press the parchment paper down firmly into the greased bottom, smoothing out any bubbles or wrinkles from the center outwards. Ensure the edges of the paper don't curl up the sides, as this could also create an imprint on the cake. A perfectly flat sheet of parchment paper on the bottom, combined with properly greased and floured sides, is a highly effective pan release baking tip.
The "Baking Goop" Method: A Homemade Pan Release Solution
"Baking Goop" (sometimes called "cake release") is a popular homemade mixture that combines flour, shortening, and vegetable oil into a paste. It's highly effective and can be stored at room temperature for extended periods, offering a convenient alternative to commercial sprays or repeated greasing and flouring. It's particularly favored for its reliability, especially for intricate pans.
A common recipe for Baking Goop is equal parts all-purpose flour, vegetable shortening (like Crisco), and vegetable oil. For example, you could whisk together 1 cup of flour, 1 cup of shortening, and 1 cup of vegetable oil until completely smooth and lump-free. This mixture creates a thick, paintable consistency that adheres well to pan surfaces and provides a robust non-stick layer.
Recipe for a Reliable Homemade Pan Release
Here is a standard recipe for Baking Goop:
- 1 cup All-Purpose Flour
- 1 cup Vegetable Shortening (solid, room temperature)
- 1 cup Vegetable Oil
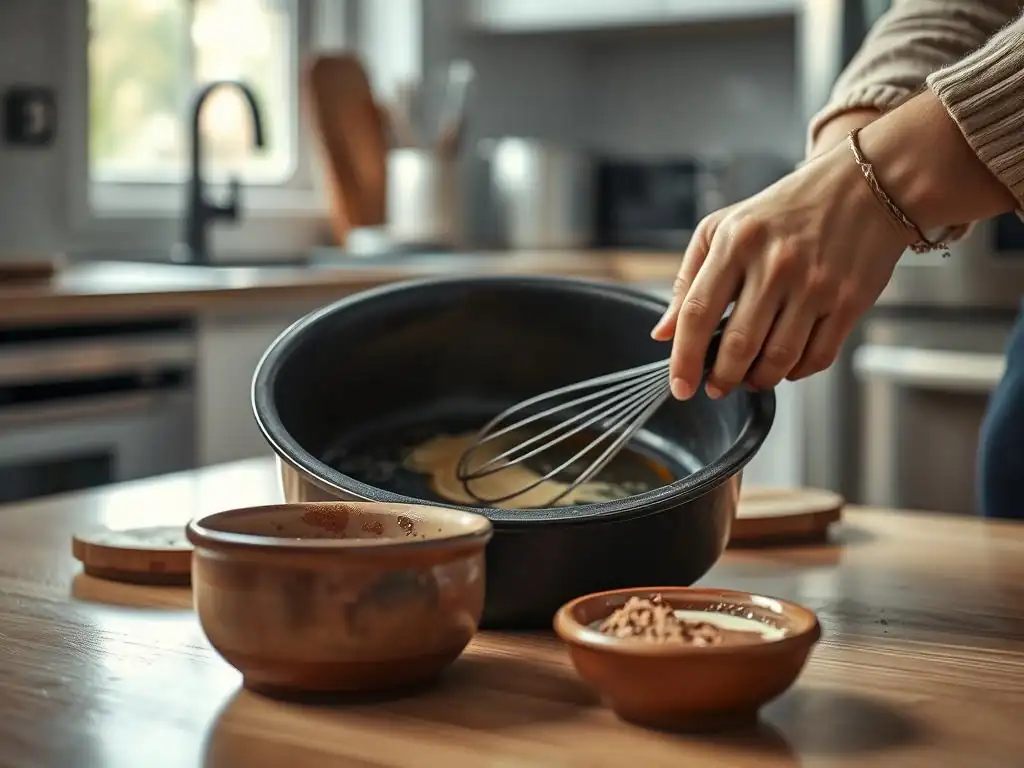
Combine the flour and shortening in a medium bowl. Use a whisk or an electric mixer on low speed to beat until the mixture is smooth and creamy, ensuring no lumps of shortening remain. Gradually add the vegetable oil while continuing to mix until the mixture is completely emulsified and has a smooth, paintable consistency. Store the goop in an airtight container (like a jar or plastic container) in a cool pantry. It does not require refrigeration and will keep for several months.
Application Tips for Baking Goop
Applying Baking Goop is similar to using softened butter or shortening, but its unique consistency makes it easy to spread. Use a pastry brush to paint a generous, even layer of the goop onto all interior surfaces of the pan, including the bottom, sides, and any central tubes or intricate designs. Ensure complete coverage, paying attention to corners and edges.
Unlike the grease and flour method, you don't need to tap out excess – the goop itself contains the flour component. Just paint a uniform layer. This method is particularly effective for Bundt pans or pans with detailed patterns, as the goop gets into all the crevices easily. Using Baking Goop is one of the most reliable pan release baking tips for consistent results.
Troubleshooting Sticky Situations: What to Do When Your Cake Sticks
Even with the best pan preparation, occasionally a cake might still stick. Don't panic! There are techniques you can try to gently coax the cake from the pan without destroying it. Patience and a gentle approach are key here; forcing a stuck cake will almost certainly lead to breakage.
Before attempting any release techniques, allow the cake to cool in the pan on a wire rack for the amount of time specified in the recipe (usually 10-20 minutes). Cooling allows the cake's structure to firm up slightly, making it less fragile. Attempting to unmold a hot cake is another common reason for sticking or breakage.
Gentle Detachment Techniques: Avoiding Cake Damage
Once the initial cooling time is up, place the wire rack over the pan and, holding both firmly together, quickly invert the pan and rack. Set the inverted pan down and let gravity work for a few minutes. Sometimes, a stubborn cake just needs a little time and weight distribution to release.
If the cake doesn't immediately drop out, resist the urge to shake it vigorously. Instead, gently tap the bottom and sides of the pan. You can use a wooden spoon or your hand, tapping evenly around the pan. Sometimes, a few strategic taps are enough to loosen the cake from the pan surface. These gentle actions are crucial pan release baking tips when a cake resists.
Using a Thin Knife or Spatula to Loosen the Edges
If tapping doesn't work, the cake is likely stuck around the edges. Carefully insert a thin, flexible metal spatula or a paring knife between the cake and the pan wall. Hold the knife or spatula vertically, pressing gently against the pan (not the cake), and slowly work your way around the entire perimeter of the cake, loosening it from the sides.
For pans with a center tube, like angel food cake or Bundt pans, you'll also need to run the knife around the center tube. Be careful not to cut into the cake itself. Once the sides are loosened, try inverting the pan again. This step addresses the most common sticking points and is a vital pan release baking tip for troubleshooting.
The Warm Towel Trick: Releasing Stubborn Cakes
For a truly stubborn cake, especially one stuck on the bottom, the warm towel trick can be effective. This method uses gentle heat and steam to encourage the cake to release from the pan base. It's particularly useful for pound cakes or dense fruit cakes that have a tendency to adhere firmly.
Boil some water and soak a kitchen towel in it. Wring out the excess water so the towel is damp but not dripping. Place the inverted cake pan (with the wire rack still underneath) onto the warm, damp towel. Let it sit for 5-10 minutes. The gentle heat transferred through the pan can help loosen any caramelized sugar or stuck spots on the bottom. After the time is up, remove the pan from the towel and try lifting the pan away from the cake again. This is a great last-resort pan release baking tip.
Advanced Pan Release Techniques for Specialty Cakes
Preparing Bundt Pans for Clean Release
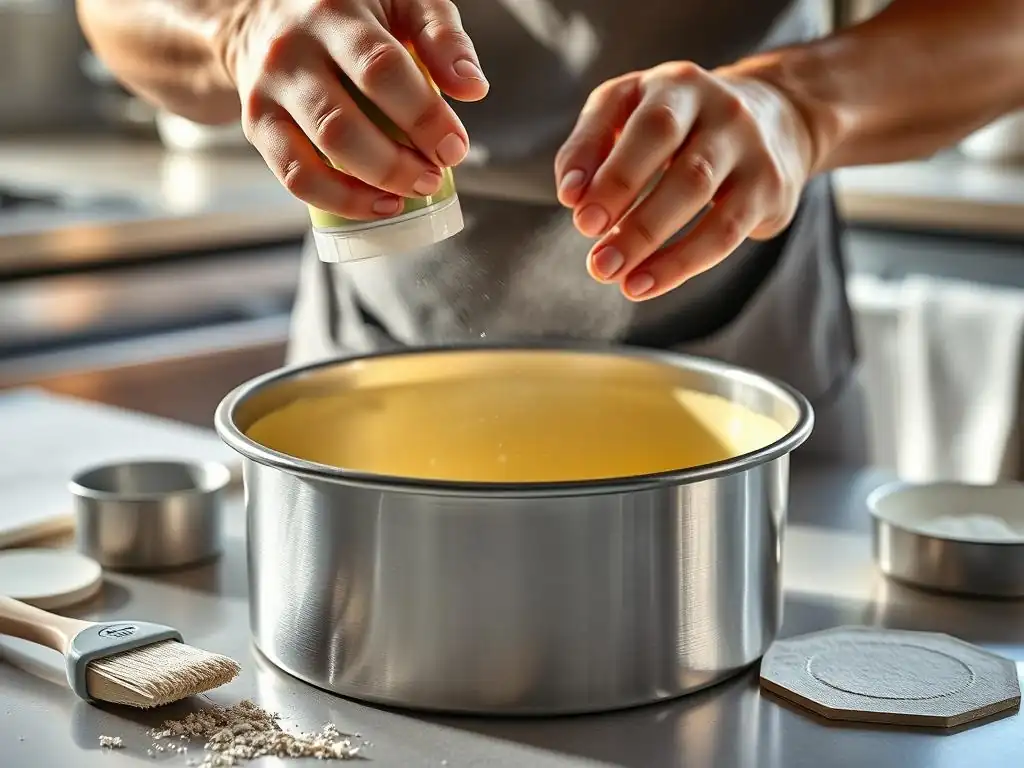
Bundt pans, with their intricate designs, present a unique challenge for clean release. Missing even a tiny crevice during preparation can result in a piece of the cake sticking, ruining the detailed pattern. The most reliable pan release baking tips for Bundt pans involve ensuring complete coverage of every surface.
Thorough greasing and flouring (or greasing and cocoa powder for chocolate Bundts) or using baking spray designed for intricate pans is essential. Apply the grease or spray generously, using a pastry brush to work it into all the grooves and details if using solid fat. Rotate the pan as you dust with flour or spray to ensure complete coverage.
Some bakers find that using Baking Goop is the most effective method for Bundt pans due to its thick, paintable consistency that gets into every nook and cranny. After baking, allow the Bundt cake to cool in the pan for only 10-15 minutes before inverting onto a wire rack; cooling too long in the pan can cause it to stick.
Releasing Cakes from Intricate or Detailed Pans
Beyond Bundt pans, other specialty pans have detailed shapes, like novelty cake pans or those with embossed designs. These require the same meticulous attention to detail in pan preparation as Bundt pans. Every curve, corner, and raised design must be thoroughly coated with your chosen pan release agent.
Using a pastry brush to apply a thick layer of grease or Baking Goop is often the most effective method for intricate pans, as it allows you to visually confirm that every part of the design is covered. Follow with a thorough dusting of flour or cocoa powder, rotating the pan and tapping gently to ensure the powder adheres to all greased surfaces. Baking spray can also work, but you must be extremely diligent in ensuring complete coverage from multiple angles. These specific pan release baking tips are crucial for preserving delicate cake designs.
Working with Springform Pans for Cheesecakes and Delicate Cakes
Springform pans are designed for delicate cakes like cheesecakes, tortes, and quiches, which cannot be easily inverted. They have a base and a ring that clasps around it, allowing the ring to be unclasped and removed after baking, leaving the cake on the base. While the sides are easily released by unclasping, the base still needs preparation to prevent sticking.
For cheesecakes, the bottom is typically lined with parchment paper over a lightly greased base before the ring is clasped on. The sides are usually not greased for cheesecakes, as the batter is meant to cling to the sides to prevent cracking. For other delicate cakes baked in springforms, the bottom should be lined with parchment paper, and the sides should be lightly greased and floured (or sprayed) before the batter is added. This combination ensures the cake releases cleanly from both the base and the sides when the ring is removed.
Pan Care and Maintenance for Optimal Cake Release
Cleaning Your Pans Properly to Prevent Residue Buildup
Proper pan care is a fundamental, often overlooked, aspect of pan release baking tips. Baked-on residue, caramelized sugar, or leftover grease from previous bakes can create rough spots on the pan surface, providing points for future cakes to stick. Even on non-stick pans, residue buildup can compromise the effectiveness of the coating.
Always clean your baking pans thoroughly after each use. Avoid using abrasive scrubbers or harsh chemicals, especially on non-stick surfaces, as these can damage the finish. For stubborn residue, soak the pan in hot, soapy water to loosen the grime. You can gently scrape off softened residue with a plastic scraper or sponge. Ensure all traces of cake bits, grease, and sugar are removed before drying.
Storing Your Pans to Maintain Their Non-Stick Properties
How you store your baking pans can also impact their long-term performance and non-stick properties. Stacking metal pans directly on top of each other, especially non-stick ones, can lead to scratches on the interior surface over time. These scratches can damage the non-stick coating or create rough areas where cakes are more likely to stick.
To prevent damage, place a layer of paper towels, a clean cloth, or pan protectors between stacked pans. This cushioning prevents metal-on-metal abrasion. Store pans in a dry place to prevent rust, particularly on metal pans. Proper storage helps maintain the integrity of the pan surface, complementing your pan release baking tips.
When to Replace Your Baking Pans for Best Results
Even with the best care, baking pans don't last forever. Over time, non-stick coatings can wear away, metal pans can become warped or scratched, and residue can become impossible to remove. If you notice that a particular pan is consistently causing cakes to stick, despite meticulous preparation, it might be time to replace it.
Signs that a non-stick pan needs replacing include visible scratches, flaking coating, or areas where the non-stick property has clearly diminished. Metal pans might show significant warping (which can cause uneven baking and sticking) or deep scratches. Investing in new, high-quality pans when needed is a practical pan release baking tip that can save you a lot of frustration.
Alternative Solutions for Difficult Cakes
Using Silicone Baking Pans: Pros and Cons
Silicone baking pans offer a completely different approach to pan release. Made from flexible, non-stick silicone material, they often require minimal or no greasing. Cakes baked in silicone pans typically release very easily simply by flexing the pan. This makes them appealing for intricate shapes or for bakers who want to minimize fat usage.
- Pros: Excellent non-stick properties (often requiring only a light spray or nothing at all), flexibility makes unmolding easy, available in many fun shapes, dishwasher safe.
- Cons: Can result in a less browned or crisp crust compared to metal pans, may require placing on a baking sheet for stability during baking (as they are flexible), can sometimes retain odors, quality varies between brands.
While silicone pans can be a great tool for easy release, some bakers prefer the crust development achieved in metal pans. It's worth experimenting to see if silicone meets your specific baking needs.
Adjusting Your Recipe to Improve Cake Release
Sometimes, minor adjustments to the cake recipe itself can help improve release, although this is less about pan prep and more about batter composition. Recipes that are particularly low in fat or high in sugar might be more prone to sticking. While you shouldn't drastically alter a recipe without understanding the potential impact, a slight increase in fat (like adding an extra tablespoon of butter or oil) might help, especially for very lean cakes.
Ensuring ingredients are at the correct temperature (like room temperature butter and eggs) helps create a well-emulsified batter, which can bake more evenly and potentially stick less. However, relying solely on recipe adjustments isn't a substitute for proper pan preparation. The most effective pan release baking tips always involve preparing the pan correctly first.
Conclusion: Bake with Ease and Say Goodbye to Sticky Cakes
Achieving a clean cake release is a fundamental skill that significantly elevates your baking success. By understanding why cakes stick and applying the appropriate pan release baking tips, you can avoid the frustration of damaged bakes and consistently produce beautiful, perfectly shaped cakes. Whether you prefer the classic grease and flour method, the convenience of baking spray, the security of parchment paper, or the reliability of homemade goop, there's a technique that will work for you.
Mastering Pan Preparation for Baking Success
Remember that the best pan release baking tips involve being thorough and paying attention to detail during the pan preparation phase. Ensure every surface is coated evenly and completely. Combine this with proper cooling techniques and gentle handling, and you'll find your cakes release effortlessly. Don't let sticky situations deter you; with practice and the strategies outlined here, you can master the art of pan preparation and bake with ease, enjoying perfectly released cakes every time. Happy baking!
Frequently Asked Questions
How crucial is pan preparation for a successful cake release?
Pan preparation is extremely crucial for a clean cake release. Improper preparation often leads to the cake sticking and tearing, affecting its appearance and texture. It is a fundamental step in baking.
What are some common mistakes people make when preparing their baking pans?
Common mistakes include using insufficient or the wrong type of grease, skipping the flouring step, or using a damaged or old pan. Uneven coating also contributes to sticking.
Besides greasing and flouring, what other pan release methods are effective?
Using baking parchment is highly effective, especially for delicate cakes. Another option is commercial pan release sprays, which provide a non-stick barrier.
Can the type of pan material affect how well a cake releases?
Yes, the material significantly impacts release. Non-stick pans are generally easier, but even they require proper preparation. Dark pans can also cause cakes to bake faster and potentially stick more.
What should I do if my cake is already stuck in the pan despite my best efforts?
Let the cake cool completely first. Then, try gently loosening the edges with a thin spatula before inverting. If that fails, try placing a hot, damp towel around the pan to create steam and loosen the cake.
Final Reflection: The Sweet Science of a Perfect Release
The seemingly simple act of releasing a cake from its pan is, in reality, a crucial element of baking success, impacting not only the cake's appearance but also the overall baking experience. A flawlessly released cake is a testament to careful preparation and a deep understanding of the interplay between ingredients, temperature, and pan preparation. It's more than just a pretty picture; it's a symbol of mastery over the baking process.
The quest for the perfect pan release has shaped my own baking journey, teaching me patience, precision, and the importance of attention to detail. It's a lesson that extends far beyond the kitchen; the meticulous preparation required mirrors the dedication needed in any pursuit of excellence. The difference between ordinary and extraordinary is that little extra.
This quote resonates deeply, as the seemingly small act of properly greasing and flouring a pan can elevate a bake from disappointing to delightful.
Now, armed with these troubleshooting tips, I invite you to embrace the challenge of achieving that perfect release. Don't be discouraged by setbacks; view each imperfect release as an opportunity to learn and refine your technique. Experiment with different greasing methods, explore various pan materials, and most importantly, remember the joy that comes from creating something beautiful and delicious. The next time you bake, remember the sweet science of a perfect release, and let it inspire you to achieve baking brilliance.
Unlock Your Perfect Cake Release!
Thanks for taking the time to explore our troubleshooting tips for those frustrating stuck cakes! We hope you now feel more confident in your baking abilities. Ready to put your new knowledge into action?
- Try our recommended pan prep technique on your next bake: We've highlighted the best methods in the article – put them to the test!
- Share your baking triumphs (and challenges!) with our community in the comments below. Let's learn from each other!
- Consider experimenting with different types of pans and baking sprays to discover your perfect combination.
What’s your go-to tip for preventing cakes from sticking?