
Cake Not Rising? Pinpointing the Problem

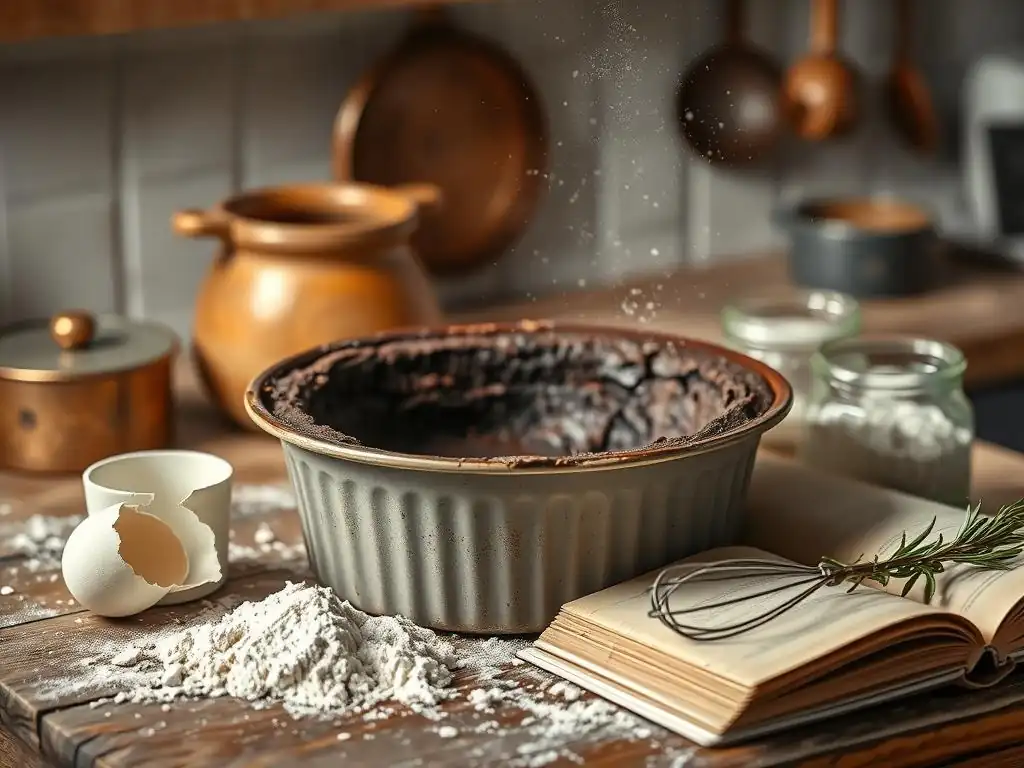
Welcome to BakeWithEase, your kitchen companion on the journey to baking brilliance! Ever wondered why your cake won't rise? That disheartening moment is more common than you think. Dive in as we unravel the secrets to fluffy, perfectly risen cakes, offering you actionable tips and troubleshooting techniques to conquer even the trickiest baking challenges. Ready to unlock the rising potential of your creations? Let's get baking!
- Cake Not Rising? Pinpointing the Problem - BakeWithEase
- Understanding Why Your Cake Won't Rise: A Troubleshooting Guide
- Common Culprits: Identifying the Reasons for a Flat Cake
- Troubleshooting Specific Cake Types: Targeted Solutions
- Prevention is Key: Ensuring a Perfect Rise Every Time
- Conclusion: Baking with Confidence – Achieving the Perfect Cake Rise
-
Frequently Asked Questions
- Why is my cake not rising, even though I followed the recipe exactly?
- How can I test if my baking powder or baking soda is still effective?
- What mixing techniques are most likely to cause a cake not to rise?
- What role does oven temperature play in a cake rising properly?
- Can the type of pan I use affect how well my cake rises?
- Final Reflection: The Sweet Science of a Successful Cake
- Unlock Your Baking Potential: Troubleshooting Cake Troubles
Cake Not Rising? Pinpointing the Problem - BakeWithEase
Understanding Why Your Cake Won't Rise: A Troubleshooting Guide
Introduction: The Disappointment of a Flat Cake
There's little more disheartening in the kitchen than pulling a cake out of the oven only to find it hasn't risen. You followed the recipe, measured the ingredients, and waited patiently, yet your beautiful batter turned into a dense, flat disc. This common baking woe can leave you scratching your head, wondering, "Why cake won't rise?" It's a question many bakers, from novices to experienced hands, have faced at some point.
But don't despair! A flat cake isn't a sign of failure; it's an opportunity to learn. Understanding the fundamental reasons why a cake might not rise is the first step to preventing it from happening again. By identifying the potential culprits, you can transform your baking results and consistently achieve that perfectly airy, light texture you crave. Let's dive into the science and common mistakes to troubleshoot your way to baking success.
The Science Behind Cake Rising: A Baker's Basic
The magic of a cake rising in the oven is primarily due to leavening. Leavening agents produce gas bubbles within the batter, which expand when heated, causing the cake structure to lift and become light. There are several types of leavening: chemical (like baking powder and baking soda), biological (yeast, though less common in typical cakes), and mechanical (air incorporated through whipping eggs or creaming butter and sugar).
Chemical leavening is the most frequent method in cakes. Baking soda (sodium bicarbonate) requires an acid to react and produce carbon dioxide gas. Baking powder, on the other hand, is a mix of baking soda, an acid (or two), and a starch; it reacts both when wet and when heated, providing a double lift. Mechanical leavening, like creaming butter and sugar until light and fluffy, traps tiny air pockets that expand in the oven. Understanding these processes is key to figuring out why cake won't rise when you expect it to.
Common Culprits: Identifying the Reasons for a Flat Cake
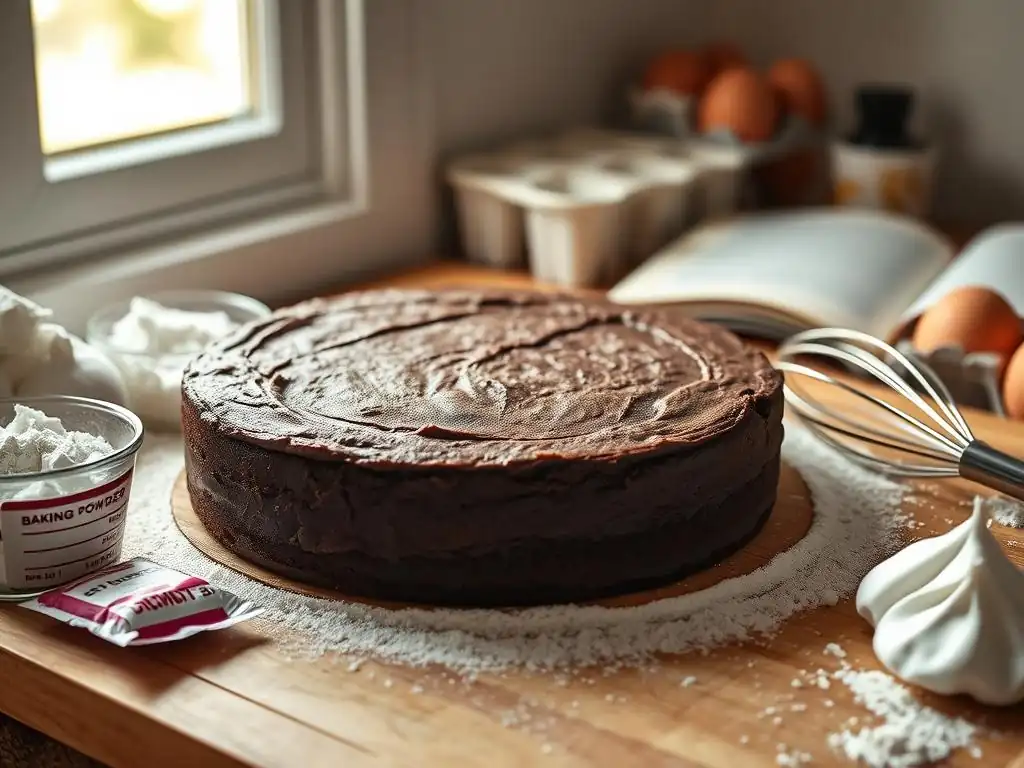
Expired Leavening Agents: The Baking Powder & Soda Issue
Leavening agents aren't immortal! Baking powder and baking soda lose their potency over time, especially if exposed to moisture or air. Using expired or weakened leaveners is a prime reason why cake won't rise. The chemical reaction needed to produce the carbon dioxide gas simply won't happen effectively, resulting in a dense, flat cake.
Checking the expiration date on the container is a good start, but it's not always accurate, particularly if the container has been open for a while. A general rule of thumb is that baking soda lasts about six months to a year once opened, while baking powder is typically good for 6-12 months. Storing them in airtight containers in a cool, dry place helps prolong their shelf life, but testing their activity before baking is the most reliable method.
Testing Your Baking Powder's Potency
To test if your baking powder is still active, you'll need a small amount of hot water. Simply place about half a teaspoon of baking powder into a small bowl or cup. Pour about a quarter cup of hot (not boiling) water over the baking powder.
If the baking powder is active, it should immediately fizz vigorously. You'll see bubbles forming rapidly, and the mixture will become foamy. If there's little to no reaction, or just a few weak bubbles, your baking powder has lost its power and is likely the reason why cake won't rise. Time to buy a new container!
Checking Baking Soda's Effectiveness
Testing baking soda requires an acidic ingredient, as baking soda needs acid to react. Vinegar or lemon juice are perfect for this test. Place about half a teaspoon of baking soda into a small bowl. Add about a teaspoon of white vinegar or lemon juice to the baking soda.
An active baking soda will immediately produce a strong, fizzy reaction, bubbling up significantly. If the reaction is weak or nonexistent, your baking soda is past its prime. Remember, baking soda is four times stronger than baking powder, so even a slightly weakened batch can significantly impact why cake won't rise as expected.
Incorrect Measurements: The Importance of Accurate Proportions
Baking is a science, and just like any scientific experiment, precision matters. Using too much or too little of key ingredients, especially flour and leavening agents, can drastically affect your cake's structure and rise. A common issue why cake won't rise is simply down to inaccurate measuring, which throws off the delicate balance of the recipe.
Measuring ingredients by volume (cups) can be notoriously inconsistent due to packing density, especially with flour. Using a kitchen scale to measure by weight is the most accurate method and highly recommended for consistent baking results. For example, a cup of all-purpose flour can weigh anywhere from 120g to 150g depending on how it's scooped and packed. That difference of up to 25% can turn a light batter into a dense one.
Measuring Flour Precisely: Avoiding Too Much Density
The standard method for measuring flour by volume is the "spoon and level" method. Gently spoon the flour into your measuring cup until it overflows, then level off the excess with a straight edge, like the back of a knife. Do not scoop directly from the bag, as this compacts the flour, adding too much to your recipe.
Using too much flour is a frequent cause of a dense cake that doesn't rise properly. Excess flour creates a heavy batter with too much structure, making it difficult for the leavening gases to lift it. Aiming for the standard weight of 120-130g per cup when using the spoon and level method, or better yet, using a scale, ensures you're adding the correct amount of dry ingredients.
Leavening Agent Ratios: Getting the Balance Right
The ratio of leavening agent to other ingredients is crucial. Too little baking powder or soda, and there isn't enough gas produced to lift the batter. Too much, and the cake can rise too quickly, then collapse, or develop an unpleasant soapy or metallic taste. A common ratio for baking powder is about 1 to 1.5 teaspoons per cup of flour, while baking soda is typically used in smaller amounts, often paired with an acidic ingredient.
If a recipe calls for both baking soda and baking powder, they serve different purposes. Baking soda reacts with acids in the batter (like buttermilk, brown sugar, or cocoa powder) and helps with browning and tenderizing. Baking powder provides the bulk of the lift. Getting these ratios wrong is a significant factor why cake won't rise evenly or at all. Always measure leavening agents carefully, preferably using leveling spoons.
Oven Temperature Problems: Too Hot or Too Cold?
An inaccurate oven temperature is a hidden culprit behind many baking failures, including why cake won't rise correctly. If the oven is too cool, the cake will rise slowly, allowing the batter to spread too much before the structure sets, leading to a flat, dense result. If the oven is too hot, the outside of the cake will set too quickly, trapping the inside batter and preventing it from rising fully, often resulting in a domed or cracked top and a dense interior near the bottom.
Many home ovens can be off by as much as 25-50°F (15-30°C) from the temperature they display. This variance can significantly impact baking outcomes. A recipe calling for 350°F (175°C) might actually be baking at 325°F (160°C) or 375°F (190°C), both of which can negatively affect the rise.
Calibrating Your Oven for Accurate Baking
The simplest way to check your oven's accuracy is with an inexpensive oven thermometer placed inside the oven. Place it on the middle rack and check the temperature after the oven has preheated for at least 15-20 minutes. Compare the thermometer reading to the oven's display.
If your oven consistently runs hot or cold, you can either adjust the temperature dial accordingly (e.g., if it reads 375°F but an oven thermometer shows 350°F, set the oven to 400°F for recipes calling for 375°F) or consider having it professionally calibrated. Knowing your oven's true temperature is essential for reliable baking and troubleshooting why cake won't rise.
Avoiding Premature Browning: The Role of Temperature
An oven that's too hot not only inhibits the full rise but also causes the cake's exterior to brown or even burn before the inside is cooked through. The crust sets too quickly, preventing further expansion. This is often visible as a cake that looks done on the outside but is still gooey or heavy inside.
Maintaining the correct, consistent temperature allows the cake to rise gradually and set properly from the edges towards the center. Using an oven thermometer and avoiding opening the oven door too frequently during baking (especially during the first two-thirds of the baking time) helps maintain a stable temperature, giving your cake the best chance to achieve its full, beautiful rise.
Overmixing the Batter: Developing Too Much Gluten
While mixing ingredients thoroughly is important, overmixing cake batter can be detrimental to its rise and texture. When flour is mixed with liquid, gluten begins to develop. Gluten provides structure, which is great for bread, but too much gluten in a cake can make it tough, dense, and less likely to rise properly.
Overmixing incorporates too much air initially, which might seem helpful, but it also overdevelops the gluten network. This strong, elastic network resists the expansion caused by the leavening agents, resulting in a cake that might rise slightly but then collapses or remains heavy and flat. The texture often becomes chewy rather than tender and light.
The Gentle Fold: Mastering the Mixing Technique
For most cake recipes, especially those using chemical leavening, the goal is to mix just until the ingredients are combined and no dry streaks of flour remain. This minimizes gluten development. The "creaming method" (beating butter and sugar) incorporates air initially, and subsequent wet and dry ingredients should be added and mixed gently.
Often, the final step involves folding in the dry ingredients or wet ingredients alternately. Folding is a technique where you gently cut through the mixture with a spatula, scooping from the bottom and folding it over the top. This incorporates the ingredients with minimal agitation, preserving the air bubbles created during creaming and preventing excessive gluten development. This gentle approach is crucial for achieving a light texture and preventing the issue of why cake won't rise due to toughness.
Gluten Development in Different Cake Types
The impact of overmixing varies depending on the type of cake. Cakes made with softer flours (like cake flour) or those with a high ratio of fat and sugar (like pound cake or butter cakes) are less prone to toughness from overmixing because fat and sugar inhibit gluten development.
However, cakes with a higher liquid-to-flour ratio, or those relying heavily on mechanical leavening from whipped eggs (like sponge cakes or genoise), are more susceptible. In sponge cakes, for instance, the structure comes from the egg foam, and overmixing after adding flour can deflate the foam and develop too much gluten, both of which lead to a significant problem with why cake won't rise.
Using Cold Ingredients: Inhibiting the Rising Process
Many cake recipes specifically call for ingredients like butter, eggs, and milk to be at room temperature. This isn't just a suggestion; it's a critical step that affects the chemistry and structure of your cake, significantly impacting its ability to rise. Using cold ingredients is another common reason why cake won't rise as expected.
Cold butter doesn't cream properly with sugar – it won't trap sufficient air bubbles, which are vital for mechanical leavening. Cold eggs don't emulsify as well, affecting the batter's texture and the distribution of fat, which can lead to a less tender crumb and inhibit the rise. Cold milk can seize the creamed butter mixture, again disrupting the delicate emulsion and structure needed for a good rise.
Room Temperature Matters: Eggs, Butter, and Milk
For most recipes, "room temperature" butter should be pliable but still cool to the touch, not greasy or melted. You should be able to dent it easily with your finger. Eggs can be brought to room temperature quickly by placing them in a bowl of warm water for 10-15 minutes. Milk can be warmed gently in the microwave or on the stovetop, ensuring it's just tepid, not hot.
Typically, "room temperature" for baking refers to around 68-72°F (20-22°C). Using ingredients at this temperature allows them to combine smoothly, create stable emulsions, and allows butter to cream effectively, trapping those essential air pockets needed for a light cake.
How Cold Ingredients Affect Cake Structure
Cold ingredients create a stiffer batter. This stiffness prevents the leavening agents from expanding the batter easily. Imagine trying to blow up a stiff balloon versus a pliable one – the pliable one is much easier to inflate. Similarly, a pliable, room-temperature batter is more receptive to the gases produced by leaveners and the expansion of trapped air bubbles.
Beyond the initial rise, using cold ingredients can also affect the final texture. A batter made with cold ingredients might result in a denser, less tender crumb because the fats haven't been properly distributed throughout the mixture. This contributes to the overall issue of why cake won't rise to its full potential and achieve that desired light and airy texture.
Troubleshooting Specific Cake Types: Targeted Solutions
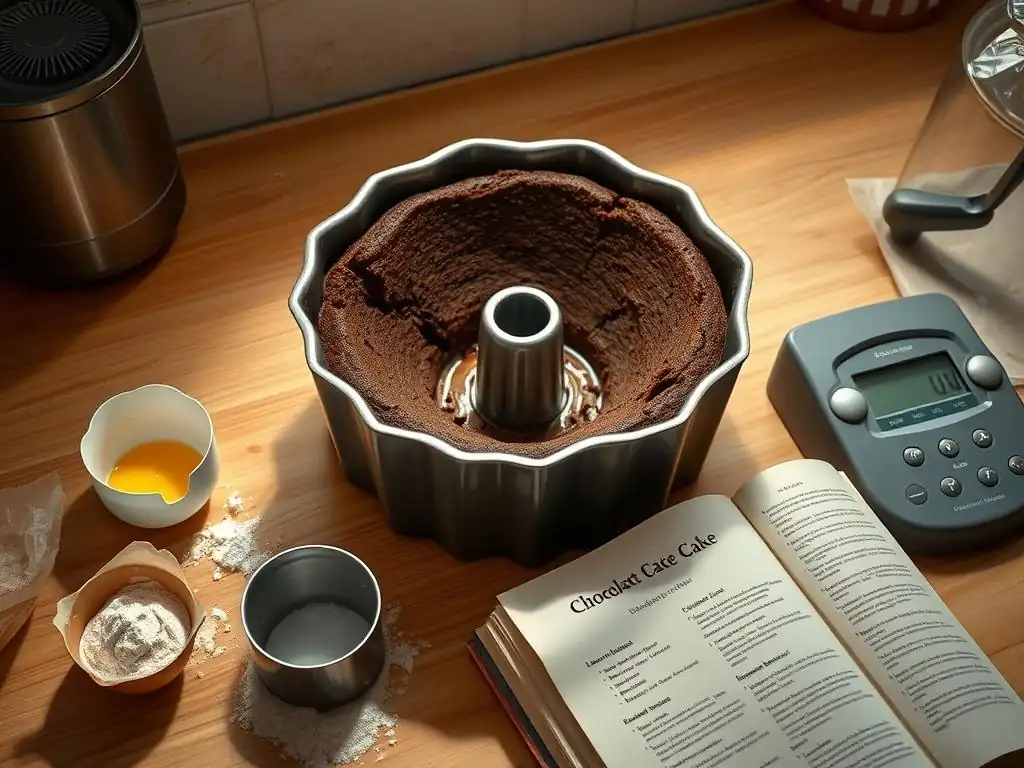
Butter Cakes Not Rising: Common Mistakes
Butter cakes, often made using the creaming method (beating butter and sugar together), rely heavily on both chemical leavening and the air incorporated during creaming. A primary reason why a butter cake won't rise is insufficient creaming. Butter and sugar must be beaten until light, fluffy, and pale in color – this can take 3-5 minutes with an electric mixer. If this step is rushed, not enough air is incorporated.
Another common mistake is adding wet ingredients too quickly or when they are cold. Adding cold eggs or milk rapidly can curdle the batter, causing the emulsion to break and inhibiting the rise. Ensure eggs and milk are at room temperature and add them gradually, mixing just until combined after each addition. Overmixing after adding flour is also a major issue, developing too much gluten and making the cake dense.
Sponge Cakes Not Rising: Achieving Airiness
Sponge cakes, like genoise or angel food cake, often rely solely or primarily on mechanically leavening from whipped eggs or egg whites. The air trapped in the foam provides the lift. The main reason why this type of cake won't rise is the deflation of this delicate foam. This can happen if the eggs aren't whipped sufficiently stiffly, if fatty residue is present on the bowls or whisks (fat inhibits egg white foaming), or if dry ingredients are folded in too aggressively, collapsing the air bubbles.
Folding flour into egg foam requires a very gentle touch. Sift the flour over the foam and use a large spatula to gently fold it in, cutting through the center and bringing batter from the bottom up and over. Work quickly but carefully to avoid deflating the mixture. Ensuring your egg whites are whipped to the correct stage (stiff, but not dry, peaks for angel food cake) and that no yolk contaminates egg whites is also vital.
Chocolate Cakes Not Rising: The Impact of Cocoa Powder
Chocolate cakes present unique challenges. Cocoa powder is dry and can make the batter denser, and depending on the type of cocoa, it can be acidic. Natural cocoa powder is acidic and reacts with baking soda, contributing significantly to the rise. Dutch-processed cocoa powder is neutral and requires baking powder for leavening, or baking soda used only in recipes containing other acids like buttermilk.
Using the wrong type of cocoa powder for the recipe's leavening system is a common reason why a chocolate cake won't rise properly. If a recipe calls for natural cocoa and baking soda, but you use Dutch-processed, the necessary acid isn't present for the soda to react fully. Similarly, if a recipe relies on Dutch-processed cocoa and baking powder, substituting natural cocoa might introduce too much acidity, leading to a potential imbalance. Ensure you use the specified type of cocoa powder and check your leavening agents are fresh.
Prevention is Key: Ensuring a Perfect Rise Every Time
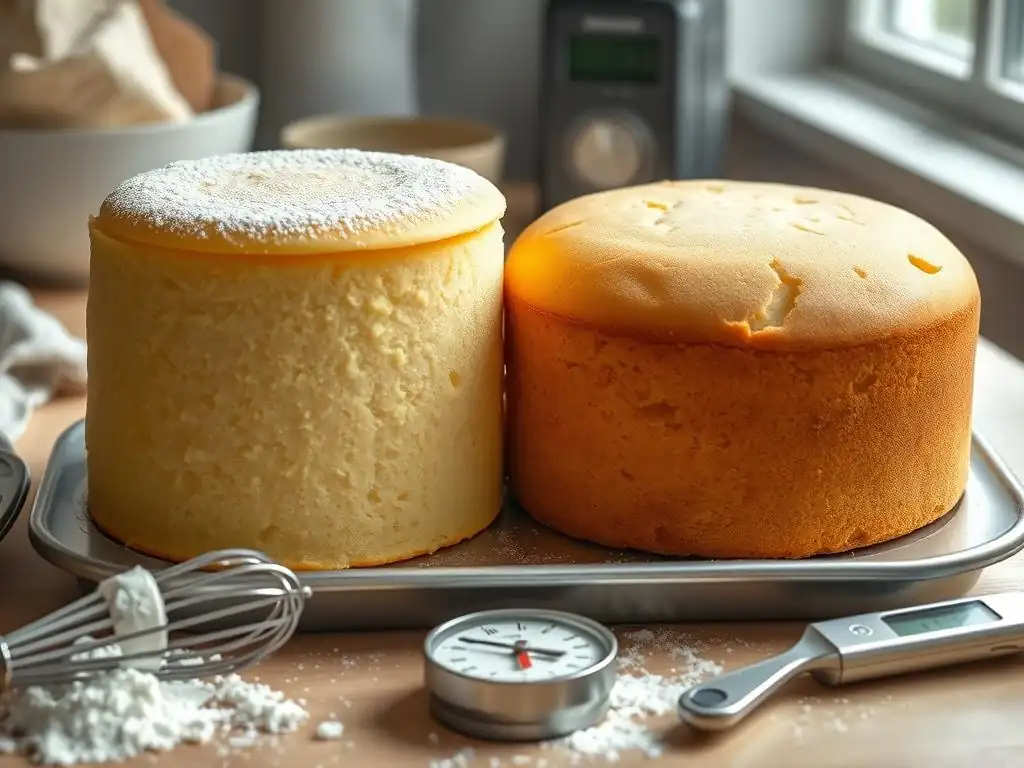
Avoiding the disappointment of a flat cake starts with understanding the potential pitfalls and implementing best practices consistently. By paying attention to ingredient quality, measurement accuracy, mixing technique, and oven performance, you can dramatically increase your chances of achieving a beautiful, well-risen cake every time. It's about building good habits in the kitchen.
Remember that even experienced bakers occasionally encounter issues. The key is to troubleshoot and learn from each bake. Keeping a baking journal where you note down ingredients used (including freshness dates of leaveners), oven temperature, and results can help you identify patterns and pinpoint exactly why cake won't rise in specific instances.
Best Baking Practices: A Checklist for Success
Here's a quick checklist to help you troubleshoot and prevent issues with why cake won't rise:
- [ ] Check expiration dates and test the potency of baking powder and baking soda.
- [ ] Measure ingredients accurately, preferably using a kitchen scale for dry ingredients like flour.
- [ ] Ensure all cold ingredients (butter, eggs, milk) are at room temperature unless the recipe specifies otherwise.
- [ ] Preheat your oven fully and use an oven thermometer to verify the temperature is accurate.
- [ ] Cream butter and sugar sufficiently until light and fluffy if using the creaming method (often 3-5 minutes).
- [ ] Avoid overmixing the batter once dry ingredients are added; mix only until just combined.
- [ ] For sponge cakes, ensure egg foam is stable and fold in dry ingredients gently.
- [ ] Use the correct type of cocoa powder specified in chocolate cake recipes.
- [ ] Avoid opening the oven door during the initial stages of baking.
- [ ] Follow the recipe instructions precisely, including pan size and baking time.
Choosing the Right Recipe: Understanding Cake Chemistry
Not all recipes are created equal. Some online recipes may have errors or imprecise instructions, which can be a root cause why cake won't rise. Opt for recipes from reputable sources, like established cookbooks or well-known baking websites, especially when you're starting out or trying a new type of cake.
Furthermore, understanding the basic chemistry of the recipe you're using can be incredibly helpful. Does it rely primarily on baking powder, baking soda, or whipped eggs for leavening? Are there acidic ingredients present? Knowing these details helps you anticipate potential issues and understand why certain steps are necessary. For instance, a recipe with buttermilk and baking soda needs that acid-base reaction for lift. Without the buttermilk, the cake likely won't rise.
Conclusion: Baking with Confidence – Achieving the Perfect Cake Rise
Facing a flat cake is frustrating, but understanding the common reasons why cake won't rise empowers you to fix the problem and improve your baking skills. From checking your leavening agents to perfecting your mixing technique and ensuring accurate oven temperatures, each step plays a vital role in achieving that desired light and airy texture.
By implementing these troubleshooting tips and best practices, you'll build confidence in the kitchen. Don't be afraid to experiment and learn from mistakes. Every bake is a chance to refine your technique. With a little patience and attention to detail, you'll consistently achieve beautiful, perfectly risen cakes that you'll be proud to share. Happy baking!
Frequently Asked Questions
Why is my cake not rising, even though I followed the recipe exactly?
There are several reasons! It could be due to expired leavening agents like baking powder or soda, improper oven temperature, or incorrect mixing techniques. Accurate measurements are also crucial for a successful rise.
How can I test if my baking powder or baking soda is still effective?
To test baking powder, add a teaspoon to hot water; it should fizz vigorously. For baking soda, mix a teaspoon with vinegar; a similar reaction should occur. If there's little to no reaction, it's time to replace them to ensure proper chemical leavening.
What mixing techniques are most likely to cause a cake not to rise?
Overmixing after adding the flour can develop gluten, leading to a tough, dense cake that doesn't rise well. Conversely, undermixing can result in uneven distribution of ingredients and poor air incorporation, both hindering the rise.
What role does oven temperature play in a cake rising properly?
An oven that's too cold won't provide enough heat to activate the leavening agents quickly, resulting in a flat cake. An oven that's too hot can cause the cake to rise too quickly and then collapse. Consistent and accurate temperature is key.
Can the type of pan I use affect how well my cake rises?
Yes! Different pan materials conduct heat differently. Dark pans can cause edges to bake faster, hindering even rising. Use the pan size and type recommended in the recipe for optimal heat distribution and cake structure.
Final Reflection: The Sweet Science of a Successful Cake
The seemingly simple act of baking a cake reveals a complex interplay of ingredients and technique; understanding this process is not just about achieving a perfect rise, but about mastering the fundamentals of baking and embracing the art of culinary precision. A perfectly risen cake, light and airy, is a testament to careful attention to detail, a delicious reward for understanding the science behind the recipe. But even more, it's a metaphor for the challenges we face in life – where careful planning and precise execution are key to achieving our goals.
The frustration of a sunken cake is a universal experience, a shared moment of culinary disappointment that transcends cultural boundaries. It's a reminder that even the simplest recipes require understanding and respect for the underlying principles. The best things in life are worth waiting for, and a perfectly risen cake is no exception.
This simple truth applies not just to baking, but to life's endeavors. The patience and persistence required to troubleshoot a failed cake are valuable skills transferable to any challenge we face. The process of diagnosis, from checking oven temperature to scrutinizing ingredient measurements, mirrors the problem-solving skills we use daily.
So, the next time your cake refuses to rise, don't despair. Instead, see it as an opportunity for learning and growth. Take the time to analyze what went wrong, adjust your technique, and try again. Remember the satisfaction of that first perfect bite, the reward for your perseverance. You have the power to bake a cake that rises to the occasion, and, more importantly, to rise to the challenges in your own life. Embrace the process, learn from your mistakes, and savor the sweet success.
Unlock Your Baking Potential: Troubleshooting Cake Troubles
Thanks for taking the time to explore the mysteries of cake-baking! We hope you now feel more confident in diagnosing and fixing those pesky rising issues. Ready to put your newfound knowledge to the test?
- Bake your perfect cake today! Try out a new recipe, focusing on the techniques and tips discussed.
- Share your baking triumphs (and challenges!) with our BakeWithEase community on social media. Let's learn from each other!
- Consider experimenting with a different flour type or baking powder brand to see how it impacts your results.
What unique ingredient are you excited to try in your next cake creation?