
Decoding Cake Problems: A Visual Guide

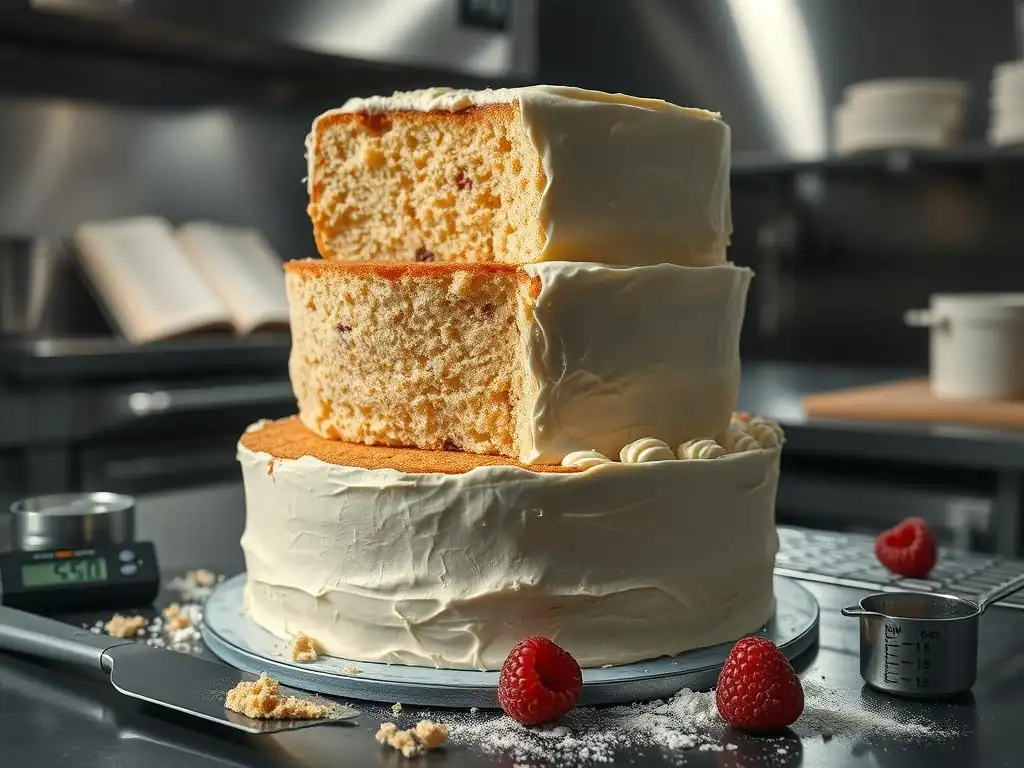
Welcome to BakeWithEase, your haven for effortless baking! Ever wondered why your cake sank in the middle, or why it's denser than a brick? Decoding Cake Problems: A Visual Guide unveils the secrets behind those baking blunders. Dive in to troubleshoot common cake problems and transform your baking mishaps into masterpieces. Ready to bake with confidence? Let's begin!
- Decoding Cake Problems: A Visual Guide - BakeWithEase
- Troubleshooting Common Cake Problems: A Visual Guide for Perfect Cakes
- Identifying Common Cake Baking Issues
-
Cake Troubleshooting: Solutions & Visual Examples
- Problem: Sunken Cake Center - Causes and Fixes
- Problem: Dry Cake - How to Achieve Moist Cakes
- Problem: Dense or Heavy Cake - Achieving a Light and Airy Texture
- Problem: Cracked Cake Top - Prevention and Solutions
- Problem: Uneven Cake Layers - Achieving Uniform Baking
- Problem: Sticky Cake - Understanding Underbaking
- Visual Guide to Correcting Cake Frosting Issues
- Advanced Cake Troubleshooting Techniques
- Conclusion: Bake with Confidence – Mastering Common Cake Issues
- Frequently Asked Questions
- Final Reflection: The Sweet Science of Cake Troubleshooting
- Unlock Your Inner Cake Boss!
Decoding Cake Problems: A Visual Guide - BakeWithEase
Troubleshooting Common Cake Problems: A Visual Guide for Perfect Cakes
Baking a cake should be a joyful experience, but sometimes, even with the best recipe, things don't turn out quite right. Understanding what went wrong is the first step to fixing it. This guide will help you identify common cake baking issues and provide practical solutions, making troubleshooting common cake problems much easier.
Whether you're dealing with a sunken center, a dry texture, or a cake that just won't rise, we'll walk you through the likely culprits and how to prevent them in the future. Mastering the art of baking involves learning from mistakes, and this visual guide (minus the actual images, of course!) is here to help you turn those baking mishaps into delicious successes.
Identifying Common Cake Baking Issues
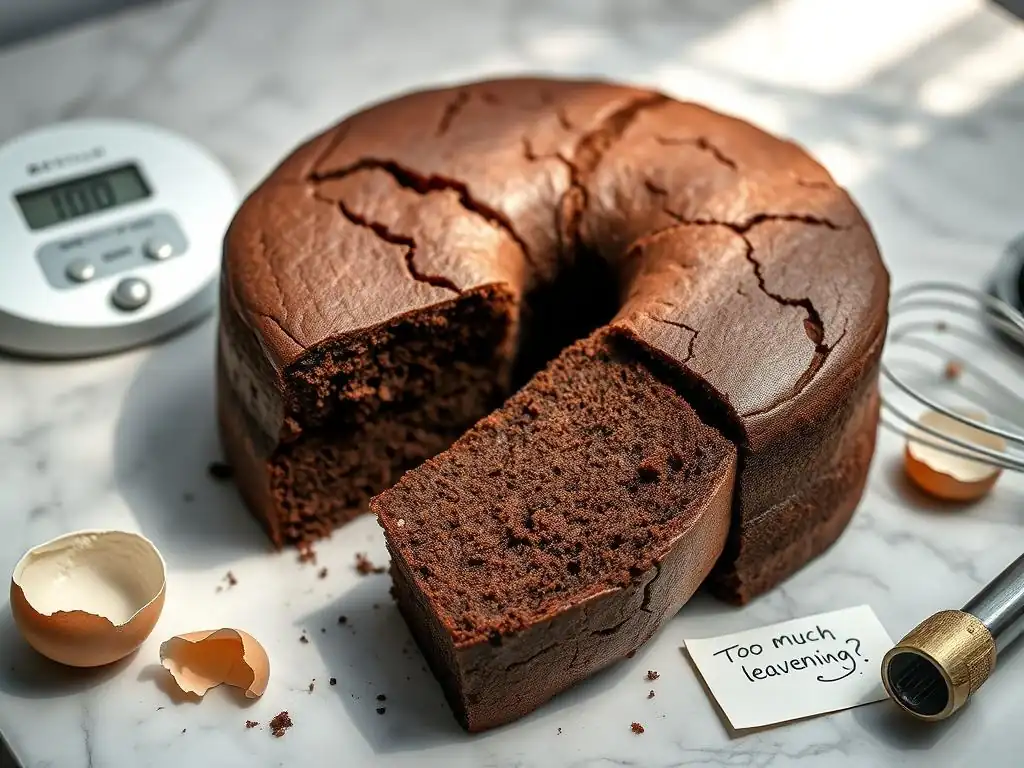
Before you can fix a cake problem, you need to understand what a perfect cake should look and feel like. Many issues stem from fundamental misunderstandings of ingredient interactions or baking processes. Recognizing the signs of a problem early on can save your bake.
This section focuses on helping you visually (through description) and practically identify common faults. By becoming familiar with the indicators of a less-than-perfect cake, you'll be better equipped to diagnose and address issues, improving your overall cake troubleshooting common cake problems skills.
Understanding Cake Textures: A Visual Reference
The ideal cake texture is often described as having a fine, even crumb that is moist and tender. When you slice into a perfect cake, the cut surface should look relatively uniform, without large tunnels or excessively dense areas. The cake should feel light when you pick it up.
In contrast, a cake with poor texture might be dense and heavy, with a tight crumb that feels dry or gummy in the mouth. Alternatively, it might have large, irregular holes, indicating issues with mixing or leavening. A spongy or rubbery texture often points to overmixing or incorrect ingredient ratios, particularly too much gluten development. Learning to recognize these textural cues is key to effective troubleshooting common cake problems.
Visual Guide to Cake Colors and Browning Issues
A perfectly baked cake typically has a beautiful golden to light brown crust, depending on the recipe and ingredients. The color is a result of the Maillard reaction and caramelization of sugars during baking. This even browning across the top and sides usually indicates that the cake has been baked through evenly.
Issues with color can range from a pale, underbaked look to a dark, burnt crust. A pale cake often suggests the oven temperature was too low or the baking time was insufficient, preventing proper browning and potentially resulting in an underbaked interior. Conversely, a cake that is too dark on the outside while potentially underdone inside points to an oven that is too hot, causing the exterior to brown too quickly before the heat penetrates to the center. Uneven browning can indicate oven hotspots or improper pan placement.
Common Cake Problems: A Quick Checklist
Here is a quick checklist of frequent issues encountered when baking cakes. Use this to quickly identify the problem you are facing and move towards a solution.
- [ ] Sunken center
- [ ] Cake is dry
- [ ] Cake is dense or heavy
- [ ] Cake top is cracked
- [ ] Cake layers are uneven
- [ ] Cake is sticky (underbaked)
- [ ] Frosting is runny
- [ ] Frosting is grainy
Identifying the specific problem is the first crucial step in troubleshooting common cake problems effectively. Once you know what's wrong, you can apply the right fix.
Cake Troubleshooting: Solutions & Visual Examples
This section delves into specific cake problems, offering detailed causes and solutions. While we can't provide actual images, the descriptions aim to help you visualize the issue and understand the recommended fixes. Mastering these techniques is vital for successful cake baking and troubleshooting common cake problems.
Problem: Sunken Cake Center - Causes and Fixes
A sunken center is one of the most frustrating cake failures. It looks exactly as it sounds – the middle of the cake dips down significantly while the edges may seem perfectly baked. This often happens after the cake has been removed from the oven.
The primary causes include opening the oven door too early (causing a sudden temperature drop), insufficient baking time (the structure hasn't set), too much leavening, or incorrect oven temperature. It can also be a sign of too much liquid or sugar in the batter relative to the flour.
Visual Examples of Sunken Cakes
Imagine a cake that has risen beautifully around the edges, perhaps even touching the top of the pan, but the entire central area has collapsed inwards, forming a crater. The edges might look done and firm, while the depressed center appears softer or even slightly wet. This visual cue is a clear sign of structural failure during the final stages of baking or cooling.
Another variation might be a less dramatic dip, more like a gentle concavity across the top, but still indicating the center didn't have enough strength to hold its rise. The severity of the sunken center often correlates with the degree of the underlying problem, from a slight underbake to a major structural collapse.
Troubleshooting Sunken Cake: Oven Temperature
An oven temperature that is too low means the cake takes longer to bake, and the leavening might lose its power before the cake's structure is set. Conversely, if the oven is too hot, the outside sets too quickly, trapping the undercooked interior which later collapses. Using an oven thermometer is crucial; many residential ovens can be off by as much as 50°F (about 10°C).
Ensure your oven is accurately preheated for at least 15-20 minutes before placing the cake inside. If your oven consistently runs hot or cold according to an external thermometer, adjust the temperature setting accordingly. For instance, if your oven reads 325°F when set to 350°F, set it to 375°F for your next bake. Consistent, accurate heat is paramount when troubleshooting common cake problems like sunken centers.
Troubleshooting Sunken Cake: Leavening Imbalance
Using too much baking powder or baking soda can cause the cake to rise too rapidly and too high before the structure (from flour and eggs) has a chance to stabilize. This excessive initial rise makes the cake unstable, and it's likely to collapse as it cools or is exposed to cooler air.
Double-check your recipe's leavening measurements. Ensure you are using fresh leavening agents (test baking powder by adding a teaspoon to hot water; it should fizz vigorously. Test baking soda by adding a teaspoon to a little vinegar; it should bubble immediately). Using the correct amount of fresh leavening, balanced with acidic ingredients if using baking soda, is critical to prevent over-rising and subsequent collapse, a common issue in troubleshooting common cake problems.
Problem: Dry Cake - How to Achieve Moist Cakes
A dry cake is crumbly, lacks tenderness, and can be unpleasant to eat. It feels like it absorbs all the moisture from your mouth. This is a very common issue, especially with beginner bakers.
Causes include overmixing the batter (developing too much gluten), using too much flour or not enough liquid/fat, overbaking, or baking at too high a temperature. The type of flour used can also play a role; high-protein flours absorb more liquid.
Visual Examples of Dry Cakes
A dry cake often looks crumbly when sliced. The cut surface might appear dull rather than having a slight sheen indicating moisture. When you take a bite, it feels dense and dusty in your mouth, and you might see small, dry particles flake off easily. The crust might also appear thicker and harder than desired.
If you press gently on the cake, it may not spring back at all, or it might crumble under slight pressure. Compared to a moist cake which feels tender and yields slightly, a dry cake feels rigid and brittle. Recognizing these characteristics is key to troubleshooting common cake problems related to moisture.
Troubleshooting Dry Cake: Moisture Retention
Ensuring adequate moisture involves balancing wet and dry ingredients and using ingredients that promote tenderness. Using the correct amount of fat (butter, oil), sugar, and liquid (milk, buttermilk, sour cream, yogurt) is crucial. Sugar is hygroscopic, meaning it attracts and holds onto moisture. Fats coat flour particles, inhibiting gluten development and contributing to tenderness.
Using oil instead of butter in some recipes can result in a moister cake, as oil is 100% fat, while butter is about 80% fat and contains water. Adding ingredients like sour cream, yogurt, or buttermilk can also significantly boost moisture due to their fat and acidity content, which tenderizes the crumb. Accurate measurement of ingredients, especially flour, is vital – too much flour is a frequent cause of dry cakes.
Troubleshooting Dry Cake: Baking Time
Overbaking is perhaps the most common reason for a dry cake. Even if the batter is perfectly balanced, leaving it in the oven for too long will inevitably dry it out as moisture evaporates. The cake continues to cook slightly even after being removed from the oven due to residual heat.
Start checking for doneness at the earliest time suggested in the recipe. Use the toothpick test: a toothpick inserted into the center should come out with moist crumbs attached, not wet batter, but not completely clean either (unless specified by the recipe, like for some brownies). Knowing when to pull the cake is a critical skill in troubleshooting common cake problems and ensuring a moist result.
Problem: Dense or Heavy Cake - Achieving a Light and Airy Texture
A dense or heavy cake lacks the desirable light, airy texture. It feels solid and brick-like compared to a fluffy cake. This often happens when the batter hasn't been properly aerated or has been overworked.
Common causes include under-creaming butter and sugar, using ingredients that are too cold, overmixing the batter once wet and dry ingredients are combined, using too much flour, or insufficient leavening. The type of flour can also contribute; bread flour, for example, is too high in protein for most cakes.
Visual Examples of Dense Cakes
A dense cake looks compact and tight when sliced. The crumb structure is very fine with little to no visible air pockets. It doesn't spring back when gently pressed and feels heavy for its size. The top might be flat or only slightly rounded, lacking the gentle dome of a well-risen cake.
Compared to a light cake with its delicate, open structure, a dense cake appears solid and almost uniform throughout. It can sometimes have a slightly gummy texture because the gluten structure is too strong or the starches haven't gelatinized correctly due to improper aeration. Recognizing this tight, heavy crumb is key when troubleshooting common cake problems related to texture.
Troubleshooting Dense Cake: Creaming Butter and Sugar
Creaming butter and sugar is a crucial step for incorporating air into the batter, which provides lift and contributes to a tender crumb. Butter and sugar should be creamed together until the mixture is visibly lighter in color and fluffy in texture. This process creates tiny air pockets that expand in the oven.
Ensure your butter is at room temperature (soft enough to indent easily with a finger, but not melted). Cream the butter and sugar for the time specified in the recipe, often 5-7 minutes with an electric mixer. If the recipe calls for it, add eggs one at a time, beating well after each addition to maintain the emulsion and air pockets. Insufficient creaming is a major cause of dense cakes.
Troubleshooting Dense Cake: Folding Techniques
Once the wet and dry ingredients are combined, overmixing develops gluten, which is desirable in bread but makes cakes tough and dense. For most cakes, you want to mix until just combined. When adding dry ingredients to wet, or vice versa, use a gentle folding technique with a spatula rather than beating vigorously.
Folding involves cutting down through the center of the bowl, scooping material from the bottom, and folding it over the top. Rotate the bowl and repeat until no streaks of dry ingredients remain. This minimizes gluten development and preserves the air incorporated during creaming and from leavening agents. Mastering this gentle touch is essential for achieving a light texture when troubleshooting common cake problems.
Problem: Cracked Cake Top - Prevention and Solutions
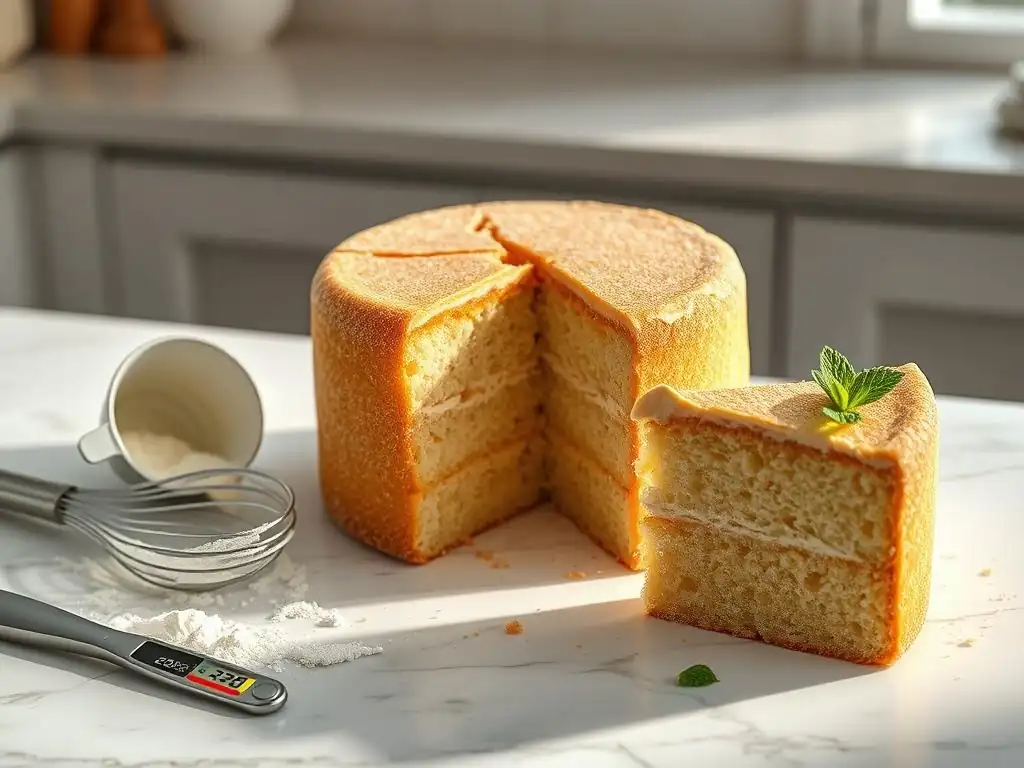
A large crack running across the top of your cake can be visually unappealing, although it doesn't necessarily affect the taste. It often indicates that the top crust set too quickly while the interior was still rising rapidly.
The most common causes are an oven temperature that is too high or a batter that is too thick or has insufficient liquid. If the top sets before the cake finishes rising, the pressure from the rising interior forces the crust to break.
Visual Examples of Cracked Cake Tops
Imagine a cake with a prominent fissure or split running across the surface, often down the middle. The edges of the crack might be slightly darker or drier than the rest of the crust because they were exposed directly to the oven heat. The surrounding cake top might have a normal dome or be relatively flat.
Sometimes, there isn't just one large crack but a network of smaller cracks across the surface. This usually indicates the same underlying issue – the top crust setting prematurely – but perhaps less severely or more evenly across the surface. While not a disaster, a cracked top is a clear visual cue for troubleshooting common cake problems related to oven heat and batter consistency.
Troubleshooting Cracked Cake Top: Oven Temperature
A primary culprit for a cracked top is an oven that is too hot. High heat causes the outside of the cake to bake and set rapidly, forming a firm crust. Meanwhile, the interior continues to rise as the leavening agents produce gas. This internal pressure, meeting the rigid crust, causes it to split.
Ensure your oven temperature is accurate using an oven thermometer. If your oven runs hot, reduce the temperature by 15-25°F (about 8-14°C). Baking at a slightly lower temperature for a slightly longer time allows the cake to rise more gradually and evenly, giving the top crust more flexibility to stretch without cracking. Using a cake pan wrapped with a damp baking strip can also help regulate the temperature around the edges, promoting more even rising.
Troubleshooting Cracked Cake Top: Batter Hydration
A batter that is too stiff or has insufficient liquid can also contribute to a cracked top. A drier batter will form a less flexible crust than a well-hydrated one. As the cake rises, the less pliable crust is more prone to splitting under pressure.
Ensure you are accurately measuring your liquid ingredients. If you live in a very dry climate, you might even need to slightly increase the liquid amount (like 1-2 tablespoons per standard recipe) to compensate for lower humidity. Avoid adding extra flour when the batter seems "too wet" unless the recipe specifically suggests a range or you are experienced enough to know the correct consistency. A properly hydrated batter is key when troubleshooting common cake problems like cracked surfaces.
Problem: Uneven Cake Layers - Achieving Uniform Baking
Uneven cake layers, where one side is significantly higher than the other, can make leveling and stacking cakes challenging. This issue often points to inconsistencies in how the cake is baked or prepared.
Causes typically include an oven that is not level, hotspots within the oven, placing the cake pan too close to a heating element or oven wall, or uneven distribution of batter in the pan. Sometimes, the pan itself might be warped.
Visual Examples of Uneven Cake Layers
An uneven cake layer looks like a wedge or a slope when viewed from the side. One edge or side of the cake is notably thicker or taller than the opposite side. The top surface might be higher on one side and lower on the other, creating a noticeable tilt.
When baked in multiple pans, the layers might consistently show the same slope if the problem is the oven's level or hotspot. If the slope varies between pans, it might be related to how the batter was spread or the pans were placed. Identifying this consistent tilt helps in troubleshooting common cake problems related to even baking.
Troubleshooting Uneven Cake Layers: Leveling Pans
If your oven is not perfectly level, gravity will cause the cake batter to settle slightly lower on one side, resulting in an uneven layer as it bakes. You can check if your oven racks are level using a small spirit level.
If the racks are not level, you might be able to adjust them or the oven's feet if it has them. As a temporary fix, try placing a heatproof tile or two under the lower side of the cake pan to help level it during baking. Ensuring the pan is level is a simple but effective step in troubleshooting common cake problems for uniform layers.
Troubleshooting Uneven Cake Layers: Oven Hotspots
Ovens often have hotspots – areas that are significantly hotter than others. Placing a cake pan in a hotspot will cause that side to bake faster and rise more quickly, leading to an uneven layer. Common hotspots are near the back wall or corners.
Rotate your cake pan halfway through the baking time. For example, if baking for 30 minutes, turn the pan 180 degrees after 15 minutes. Avoid placing pans directly against the oven walls. If you suspect significant hotspots, consider getting your oven calibrated professionally. Understanding and mitigating oven hotspots is crucial for even baking and effective troubleshooting common cake problems.
Problem: Sticky Cake - Understanding Underbaking
A sticky cake, particularly in the center, is a clear sign of underbaking. The starches haven't fully gelatinized, and the proteins haven't completely set, leaving a wet or gummy texture.
The cause is simply not baking the cake for long enough or at the correct temperature. This can be due to misjudging the baking time, an inaccurate oven temperature, or opening the oven door too frequently, which lowers the temperature and extends baking time.
Visual Examples of Sticky Cakes
When you cut into an underbaked, sticky cake, the knife or cake tester might come out coated in wet batter, especially from the center. The crumb in the middle might appear darker, denser, and wet, rather than having the lighter, set texture of a fully baked cake. The cake might also sink slightly in the center upon cooling.
If you press the top gently, it might feel overly soft or even liquidy underneath the surface. The cake might also stick excessively to the pan or cooling rack when you try to remove it. These visual and tactile cues are strong indicators when troubleshooting common cake problems related to doneness.
Troubleshooting Sticky Cake: Doneness Testing
The most reliable way to check for doneness is the toothpick or cake tester test. Insert a slender probe (like a toothpick, skewer, or cake tester) into the very center of the cake. For most cakes, it should come out with a few moist crumbs attached, but no wet batter. If it comes out clean, the cake might be slightly overbaked; if it comes out with wet batter, it needs more time.
Begin checking for doneness at the minimum time specified in the recipe. If it's not done, return it to the oven for 3-5 minute increments, testing each time, until the desired result is achieved. Trusting the internal signs of doneness rather than just the timer or the look of the crust is key to avoiding sticky cakes and successful troubleshooting common cake problems.
Troubleshooting Sticky Cake: Cooling Rack Use
Allowing the cake to cool properly is also part of ensuring it finishes setting and doesn't become gummy. Most recipes advise letting the cake cool in the pan for a specified time (often 10-20 minutes) before inverting it onto a wire cooling rack to cool completely.
Cooling on a wire rack allows air circulation around the entire cake, preventing moisture from accumulating on the bottom, which can lead to stickiness. If the cake is left in the pan too long, condensation can form. If it's removed too early, it might collapse or stick. Follow the recipe's cooling instructions carefully to ensure the cake sets properly and avoid stickiness.
Visual Guide to Correcting Cake Frosting Issues
Even if your cake bakes perfectly, frosting issues can still derail your decorating plans. Frosting problems are often related to consistency and texture. Let's look at how to tackle common frosting challenges.
Frosting consistency is paramount for both spreading and piping. Too thin, and it runs everywhere; too thick, and it's hard to work with. Texture issues, like graininess, can ruin the smooth finish you're aiming for. Mastering frosting consistency is an important aspect of the overall process, even if it's not strictly troubleshooting common cake problems in the bake itself.
Problem: Runny Frosting - Achieving the Right Consistency
Runny frosting is thin, lacks body, and slides off the cake rather than holding its shape. This makes it impossible to pipe or create smooth layers.
The most common cause is too much liquid (milk, cream, juice) added to the frosting base, or the butter used was too warm, causing the frosting to become greasy and loose. High room temperature can also make frosting too soft.
Visual Examples of Runny Frosting
Imagine trying to spread frosting on a cake, and it simply pools or drips down the sides instead of staying put. If you try to pipe it, the shapes collapse immediately into amorphous blobs. The frosting looks glossy and thin, lacking the opaque, structured appearance of properly made frosting.
When you scoop it with a spoon, it pours easily rather than holding a soft peak or dollop shape. This inability to hold shape is the primary visual indicator of runny frosting, making it clear you need to adjust its consistency by troubleshooting common cake problems related to liquid balance.
Troubleshooting Runny Frosting: Powdered Sugar Ratio
The quickest fix for runny frosting is to add more powdered sugar (also known as confectioners' sugar or icing sugar). Powdered sugar contains cornstarch, which helps stabilize the frosting and absorb excess liquid.
Gradually add 1-2 tablespoons of powdered sugar at a time, mixing on low speed until just combined, then check the consistency. Repeat until the frosting reaches your desired thickness. Be careful not to add too much, or the frosting can become stiff and dry. This incremental addition is key to getting the consistency just right.
Troubleshooting Runny Frosting: Butter Temperature
If your frosting is butter-based (like buttercream) and looks greasy and runny, it's likely because the butter was too warm, possibly even slightly melted. Warm butter doesn't emulsify properly with the other ingredients, leading to a separated, loose frosting.
If the frosting is too warm, place the mixing bowl in the refrigerator for 10-15 minutes, then re-whip it. The cooling will firm up the butter, allowing it to emulsify correctly when re-whipped. If it's still too loose, you may need to add a little more powdered sugar once the butter has firmed up. Using room temperature butter (not warm or melted) from the start is crucial for successful buttercream.
Problem: Grainy Frosting - Smoothing Techniques
Grainy frosting has an unpleasant gritty texture caused by undissolved sugar crystals. This is a common issue with frostings made primarily with powdered sugar.
Causes include using poor quality powdered sugar that contains larger crystals, not mixing the frosting long enough to dissolve the sugar, or adding liquid too quickly.
Visual Examples of Grainy Frosting
Grainy frosting looks less smooth and satiny compared to well-made frosting. If you look closely, especially in good light, you might even see tiny sugar crystals. The primary sign, however, is the texture when you taste it – it feels gritty on your tongue, rather than smooth and creamy.
While not always obvious visually unless the graininess is severe, the texture is the defining characteristic. This gritty feel indicates that the sugar hasn't been fully integrated or dissolved into the fat and liquid components, pointing to a need for troubleshooting common cake problems related to ingredient quality and mixing.
Troubleshooting Grainy Frosting: Sugar Quality
The quality of your powdered sugar makes a difference. Some brands are ground more finely than others. Look for powdered sugar that feels very soft and fine between your fingers, without any noticeable grit.
Sifting your powdered sugar before adding it to the frosting can help break up clumps and aerate it slightly, which can aid in dissolving. While sifting isn't a guaranteed fix for inherently coarse sugar, it's a good practice to ensure smoothness.
Troubleshooting Grainy Frosting: Mixing Duration
Often, grainy frosting simply hasn't been mixed long enough. The friction and action of the mixer help the sugar crystals dissolve into the liquid and fat components of the frosting.
Once all ingredients are added, scrape down the bowl and beat the frosting on medium speed for several minutes (3-5 minutes is often sufficient, but it can vary). The frosting should become visibly smoother and glossier as it's mixed. If after several minutes it's still grainy, you can try adding a tablespoon of warm liquid (milk, cream, or melted butter) and mixing for another minute or two; the warmth can help dissolve stubborn crystals. Patience in mixing is key to achieving a silky smooth frosting.
Advanced Cake Troubleshooting Techniques
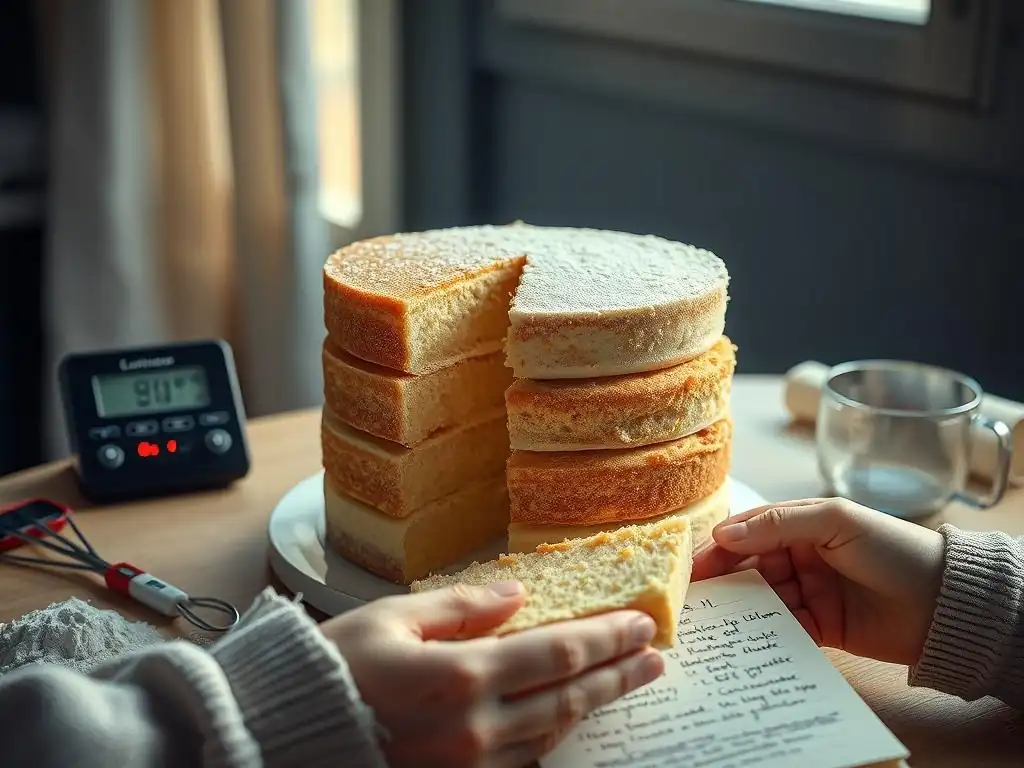
Beyond the common issues, mastering cake baking involves a deeper understanding of ingredient functions and oven dynamics. These advanced techniques build on the basics and are invaluable for consistent success and expert troubleshooting common cake problems.
Understanding how different ingredients interact and how your specific oven behaves will elevate your baking skills. This knowledge allows you to predict potential problems and make minor adjustments to recipes based on factors like humidity, altitude, or ingredient substitutions.
Understanding Ingredient Interactions for Baking Success
Every ingredient in a cake recipe plays a specific role. Flour provides structure through gluten. Sugar adds sweetness, tenderness (by interfering with gluten), moisture (hygroscopic), and aids in browning. Fats (butter, oil) add richness, moisture, tenderness, and contribute to leavening through creaming. Eggs provide structure, richness, color, and help with emulsification and leavening. Liquids dissolve sugar and salt, hydrate starch and protein, and contribute to leavening when they turn to steam. Leavening agents (baking powder, baking soda) produce gas, causing the cake to rise.
Understanding these roles helps you predict what might happen if you alter a recipe. For example, reducing sugar too much can result in a tougher, drier cake that doesn't brown well. Substituting oil for butter can yield a moister cake but may affect flavor and texture. Knowing the function of each component is fundamental to effective troubleshooting common cake problems when adapting or creating recipes.
Mastering Oven Temperature for Cake Perfection
Oven temperature is arguably the single most important factor in successful cake baking after proper batter preparation. An accurate and consistent temperature ensures the cake rises properly, sets evenly, and browns beautifully without drying out or burning.
Invest in a good quality oven thermometer and place it in the center of your oven. Check it regularly, as oven thermostats can be inaccurate. If your oven temperature fluctuates significantly, try to bake cakes on a rack in the center of the oven and avoid opening the door unnecessarily. For ovens with significant temperature variations, professional calibration might be necessary for consistent results. Precise temperature control is non-negotiable for effective troubleshooting common cake problems.
Troubleshooting Gluten-Free Cake Challenges
Baking gluten-free cakes introduces unique challenges, primarily related to achieving structure and preventing dryness without the binding network that gluten provides. Gluten-free flours often absorb liquid differently, and recipes rely on alternative binders and precise liquid ratios.
Common issues include cakes that are crumbly, dense, or gummy. Using a balanced blend of gluten-free flours (not just one type) is often necessary. Xanthan gum or guar gum is frequently added as a binder, but too much can result in a gummy texture. Ensuring adequate moisture through ingredients like yogurt, sour cream, applesauce, or oil is crucial. Gluten-free batters often benefit from slightly longer resting times before baking to allow flours to hydrate fully. Troubleshooting common cake problems in gluten-free baking requires attention to these specific ingredient properties and techniques.
Conclusion: Bake with Confidence – Mastering Common Cake Issues
Baking perfect cakes consistently comes with practice and learning from your experiences. By understanding the common pitfalls and how to address them, you can approach your next baking project with greater confidence. This guide provides the knowledge needed for effective troubleshooting common cake problems.
Remember to always use accurate measurements, ensure your ingredients are at the correct temperature, and trust your oven thermometer. Don't be discouraged by a less-than-perfect bake; each one is an opportunity to learn and improve. With these tips and techniques, you're well on your way to mastering the art of cake baking!
Frequently Asked Questions
### Why did my cake sink in the middle?
A sunken cake is often due to underbaking or too much liquid. Ensure your cake is fully baked by using a toothpick test and avoid adding excessive liquid to the batter.
### My cake is dry, what went wrong?
Dry cake can result from overbaking, using too much flour, or not enough fat. Be careful to measure ingredients accurately and avoid overbaking the cake.
### What causes a tough cake?
Tough cakes are frequently caused by overmixing the batter, which develops too much gluten. Gently mix until just combined to prevent a tough texture.
### Why did my cake crack on top?
A cracked cake top is often due to the oven being too hot or the cake being too close to the heating element. Try lowering the oven temperature or moving the rack to a lower position.
### How can I prevent my cake from sticking to the pan?
To prevent sticking, grease and flour your cake pan thoroughly. Alternatively, you can use parchment paper to line the bottom of the pan for easy release.
Final Reflection: The Sweet Science of Cake Troubleshooting
The seemingly simple act of baking a cake is, in reality, a delicate dance of chemistry and precision. A perfectly risen, moist, and flavorful cake is a testament to understanding the subtle nuances of ingredients and technique, while a collapsed, dry, or oddly textured one highlights the importance of troubleshooting. This guide has explored the most common cake calamities, providing visual aids to help bakers identify and rectify these issues.
The impact of a successful bake extends far beyond the simple pleasure of eating cake. It's a source of comfort, celebration, and connection. Baking, particularly when shared, fosters a sense of community and accomplishment. A cake is a celebration of life, a symbol of joy and togetherness.
This simple act, when mastered, can bring immense satisfaction and joy, and understanding the common pitfalls only enhances the experience. The ability to troubleshoot effectively empowers bakers to confidently experiment and create their own unique masterpieces.
Now, armed with this knowledge, I invite you to embrace the challenges of baking. Don't be afraid to experiment, to learn from your mistakes, and to celebrate your successes. Each failed cake is a lesson learned, a step closer to baking perfection. Remember the visual cues, apply the solutions, and most importantly, enjoy the process. The journey of becoming a confident baker is as rewarding as the delicious results.
Unlock Your Inner Cake Boss!
Thanks for taking the time to explore the world of perfect cakes with us! We hope you gained valuable insights into troubleshooting common baking mishaps. Ready to put your new skills to the test?
- Bake your dream cake: Choose your favorite recipe and try out the techniques you learned today. Don't be afraid to experiment!
- Share your baking journey: Post a picture of your masterpiece on social media and tag us – we’d love to see it! Use #BakeWithEase to connect with other bakers.
- Challenge a friend: Send this article to a fellow baking enthusiast and see if they can conquer a tricky cake challenge too.
What's the first cake you're going to master now that you have these new skills?