
Make Your Own Chocolate Chunks: An Easy Technique

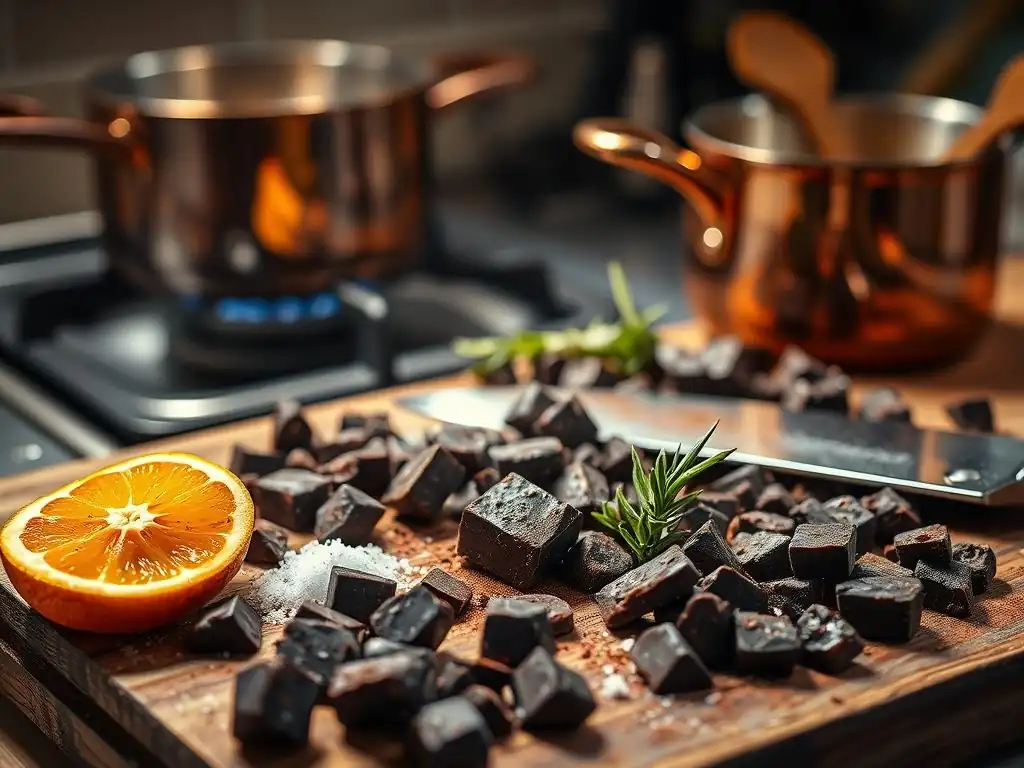
Welcome to BakeWithEase, your haven for stress-free baking! Ever wondered how to elevate your homemade treats with that perfect, gooey chocolate chunk? This week, we're diving into a simple yet game-changing technique – crafting your very own easy chocolate chunk recipe. But what makes homemade chunks so much better, and how can you avoid common pitfalls? Read on to unlock the secrets and transform your baking game today!
- Make Your Own Chocolate Chunks: An Easy Technique for Baking
- Introduction to Homemade Chocolate Chunks
- Easy Chocolate Chunk Recipe: Step-by-Step Guide
- Melting the Chocolate: Achieving the Right Consistency
- Creating the Chocolate Chunks: Simple Techniques
- Cooling and Storing Your Homemade Chocolate Chunks
- Using Your Homemade Chocolate Chunks in Baking Recipes
- Troubleshooting Your Chocolate Chunks: Common Issues and Solutions
- Conclusion: Enjoy the Taste of Homemade Chocolate Chunks in Your Baking
-
Frequently Asked Questions
- How does this technique make creating chocolate chunks easier than buying them?
- What type of chocolate is best for making chocolate chunks using this method?
- Can I use this method to make chocolate shavings instead of chunks?
- What's the best way to store homemade chocolate chunks?
- How long will homemade chocolate chunks last?
- Final Reflection: The Sweetness of Homemade Simplicity
- Unleash Your Inner Chocoholic: Craft Your Perfect Chocolate Chunks!
Make Your Own Chocolate Chunks: An Easy Technique for Baking
Introduction to Homemade Chocolate Chunks
Making your own chocolate chunks might sound fancy, but it's surprisingly simple and incredibly rewarding. Forget about those uniform, sometimes waxy store-bought bits; crafting your own allows for unparalleled freshness and customization. This easy chocolate chunk recipe technique is a game-changer for any baker looking to elevate their sweet treats, from classic cookies to rich brownies. It's about taking control of your ingredients and adding a personal touch that truly makes a difference in the final product.
Diving into the world of homemade chocolate chunks opens up a new dimension in your baking adventures. It's a process that requires minimal effort and basic kitchen tools, yet the impact on your baked goods is significant. Whether you're a seasoned pro or just starting out, mastering this simple skill will enhance the flavor, texture, and overall quality of everything you bake with chocolate. Let's explore why making your own is such a fantastic idea and how you can easily achieve delicious results right in your kitchen.
Why Make Your Own Chocolate Chunks? Benefits for Baking
Creating your own chocolate chunks offers several distinct advantages that can significantly improve your baking results. Firstly, you have complete control over the quality of chocolate used. Unlike pre-packaged chunks which can sometimes contain additives or lower-quality cocoa, you can select premium chocolate bars with higher cocoa percentages or specific flavor profiles that you love. This means a richer, more nuanced chocolate flavor in your cookies, muffins, and other baked goods. Anecdotally, many bakers report a noticeable difference in taste when switching to homemade chunks made from high-quality couverture chocolate compared to standard baking chips.
Secondly, making your own chunks allows for unique textures and sizes. You're not limited to the standard chip size; you can create large, irregular chunks that melt into glorious pools of chocolate in your baked goods, or smaller shards for a more even distribution.
This control over size and shape directly impacts how the chocolate melts and integrates into the dough or batter, providing delightful pockets of gooeyness or consistent chocolatey goodness throughout. Plus, it can be more cost-effective in the long run if you buy larger bars of chocolate, potentially saving you around 10-20% compared to buying pre-made chunks, depending on brand and quantity.
The Superior Taste and Texture of Freshly Made Chunks
The difference in taste and texture between homemade and store-bought chocolate chunks is often quite remarkable. When you make your own, you're working with fresh chocolate that hasn't been sitting on a shelf for months. This freshness translates into a cleaner, more vibrant chocolate flavor that hasn't degraded over time. You can taste the specific notes of the cocoa beans – whether it's fruity, earthy, or nutty – more distinctly.
Texture is another key differentiator. Store-bought chips and chunks often contain stabilizers to help them maintain their shape during baking. While this prevents them from spreading completely, it can also result in a less satisfying melt. Homemade chunks, especially if made from good quality chocolate bars, tend to melt more fully and lusciously, creating those sought-after gooey centers and rich streaks of chocolate throughout your baked goods. The irregular shapes also contribute to a more dynamic texture experience with every bite.
Easy Chocolate Chunk Recipe: Step-by-Step Guide
Ready to make your own? This easy chocolate chunk recipe is incredibly straightforward. The process involves just a few steps: selecting your chocolate, melting it properly, letting it set, and then chopping it into your desired chunk size. It's a low-fuss method that yields high-reward results, perfect for anyone looking to upgrade their baking ingredients without a lot of extra work.
Follow along with these simple steps, and you'll have a batch of beautiful, homemade chocolate chunks ready to go into your next baking project. This technique is versatile and forgiving, making it ideal for beginners. Don't be intimidated; if you can melt chocolate, you can make your own chunks!
Ingredients You'll Need for Perfect Chocolate Chunks
The primary ingredient for your homemade chocolate chunks is, unsurprisingly, chocolate! You'll want to use high-quality chocolate bars or couverture chocolate wafers. Avoid using standard chocolate chips, as they are designed not to melt completely and won't give you the best texture for chopping into chunks. A good starting point is about 8 to 12 ounces (approximately 225 to 340 grams) of chocolate, which will yield a decent batch for a few recipes.
Choose the type of chocolate based on your preference and the recipe you plan to use them in. Dark chocolate with a cocoa percentage between 60% and 75% is popular for its intense flavor. Milk chocolate offers a sweeter, creamier option. White chocolate, while technically not chocolate (as it contains no cocoa solids), can also be used to make delicious white chocolate chunks. Ensure the chocolate you choose is fresh and free from any signs of blooming (white streaks or spots), which indicates the fat has separated.
Equipment Required for Making Chocolate Chunks at Home
You likely already have most, if not all, of the equipment needed for this easy chocolate chunk recipe. You'll need a sturdy cutting board and a sharp chef's knife for chopping the set chocolate. A baking sheet or large plate lined with parchment paper or wax paper is essential for spreading and cooling the melted chocolate. This prevents the chocolate from sticking and makes cleanup much easier.
For melting the chocolate, you'll need either a microwave-safe bowl (preferably glass or ceramic) or a double boiler setup. A double boiler can be as simple as a heatproof bowl set over a pot of simmering water. You'll also want a flexible spatula or spoon for stirring the chocolate as it melts and for spreading it out. That's really it – no fancy gadgets required, just basic kitchen tools.
Melting the Chocolate: Achieving the Right Consistency
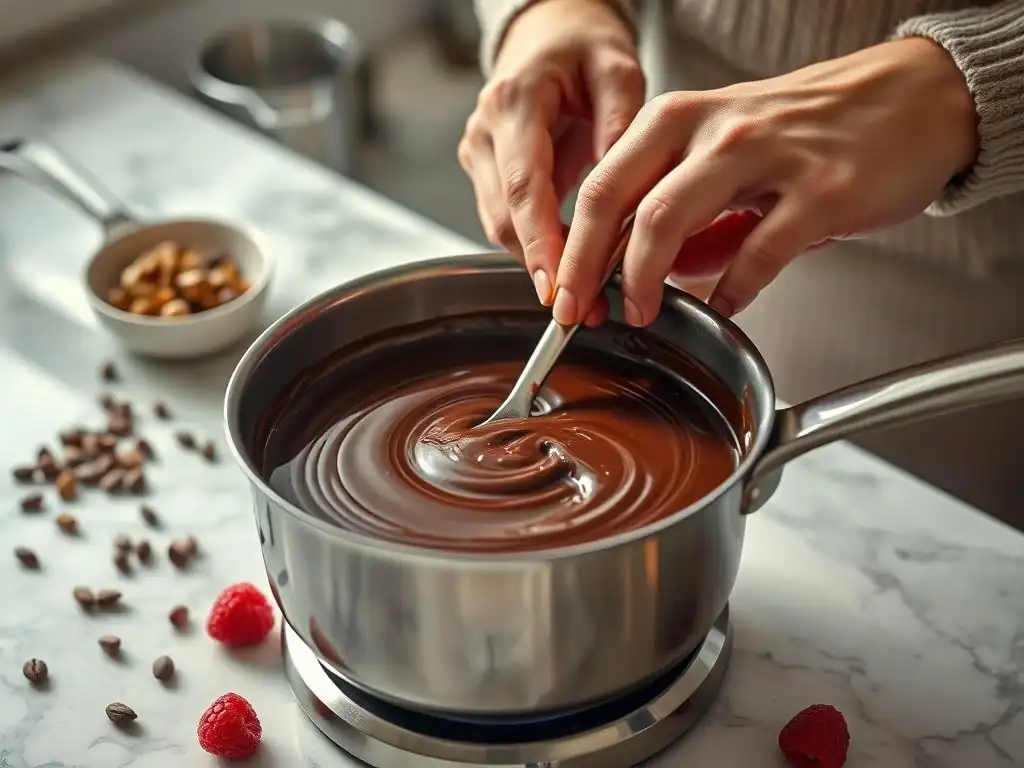
Melting the chocolate correctly is a crucial step in this easy chocolate chunk recipe. The goal is to achieve a smooth, fluid consistency without overheating or burning the chocolate. Overheated chocolate can become grainy or seize, making it difficult to work with. Taking your time and using gentle heat is key to success here.
Pay attention to the type of chocolate you're melting, as different types have different melting points. Dark chocolate melts at a higher temperature than milk or white chocolate, so it might take slightly longer or require a bit more heat, while white chocolate is more prone to scorching and needs very low, careful heat.
Choosing the Best Chocolate for Your Chunks (Dark, Milk, or White)
The "best" chocolate depends entirely on your personal taste and the recipe you're making. For a classic chocolate chip cookie with deep flavor, many bakers prefer dark chocolate chunks (60-70% cocoa). The slight bitterness balances the sweetness of the cookie dough beautifully. Brands like Ghirardelli, Callebaut, or Valrhona are popular choices for their quality and flavor profile.
If you prefer a sweeter, creamier chunk, milk chocolate is an excellent choice. It melts into rich, comforting pockets in baked goods. For contrast or specific recipes like red velvet cookies, white chocolate chunks add a sweet, vanilla note. Experimenting with different brands and cocoa percentages is part of the fun! Remember, the quality of your final chunks is directly related to the quality of the chocolate you start with.
Techniques for Melting Chocolate: Double Boiler vs. Microwave
There are two primary methods for melting chocolate for your homemade chunks: the double boiler and the microwave. Both are effective, but they require slightly different approaches.
- Double Boiler: This is often considered the gentlest method. Fill a pot with about an inch or two of water and bring it to a simmer (not a rolling boil). Place your chopped chocolate in a heatproof bowl that fits snugly over the pot without touching the water. The steam from the simmering water will gently and evenly heat the bowl, melting the chocolate. Stir occasionally with a dry spatula until completely smooth. This method offers excellent control and reduces the risk of burning.
- Microwave: Melting chocolate in the microwave is faster but requires more attention to avoid burning. Place your chopped chocolate in a microwave-safe bowl. Heat on medium power (around 50%) in short intervals, typically 30 seconds at first, then decreasing to 15-second or even 10-second intervals as the chocolate starts to melt. Stir thoroughly after each interval, even if the chocolate doesn't look fully melted, as residual heat will continue the process. Stop heating when only a few small lumps remain, and stir until completely smooth.
**Melting Chocolate Quick Tips:**

*   Always start with finely chopped chocolate for even melting.
*   Ensure your bowls and utensils are completely dry; even a single drop of water can cause chocolate to seize.
*   Stir frequently to distribute heat.
*   Remove the chocolate from the heat source (or microwave) while a few small lumps are still present and let residual heat finish the job.
Tempering Chocolate: A Quick Guide for Shiny, Snappy Chunks (Optional)
Tempering chocolate is a process of melting, cooling, and reheating chocolate to specific temperatures to stabilize the cocoa butter crystals. While not strictly necessary for an easy chocolate chunk recipe meant for baking (as the chocolate will melt again in the oven), tempering results in chocolate that is shiny, snaps cleanly when broken, and is less prone to blooming. If you plan to use your chunks for applications where they remain solid at room temperature, like decorating or mixing into trail mix, tempering is recommended.
A simplified tempering method involves melting about two-thirds of your chocolate gently (using the double boiler or microwave method described above) until smooth, reaching a temperature of around 115-120°F (46-49°C) for dark chocolate, 105-110°F (40-43°C) for milk, and 100-105°F (37-40°C) for white. Remove from heat and stir in the remaining one-third of the chopped chocolate (called "seeding").
Stir continuously until all the chocolate is melted and the temperature drops to the working temperature: around 88-91°F (31-32°C) for dark, 86-88°F (30-31°C) for milk, and 82-84°F (28-29°C) for white. This method helps align the cocoa butter crystals for that desirable snap and shine.
Creating the Chocolate Chunks: Simple Techniques
Once your chocolate is perfectly melted and smooth, it's time to turn it into chunks. This is where the magic happens and where you get to decide the size and shape of your glorious chocolatey additions. The most common and easiest method involves spreading the chocolate into a slab and then chopping it.
This part of the easy chocolate chunk recipe is very forgiving. Don't worry about making perfect shapes – the charm of homemade chunks is their irregularity! Embrace the different sizes and angles; they contribute to the unique melt pockets in your baked goods.
The Spreading Method: Creating a Chocolate Slab
The spreading method is incredibly simple. Pour your melted chocolate onto a baking sheet or large plate that you've lined with parchment paper or wax paper. Use your spatula or an offset spatula to spread the chocolate into a thin, even layer. The thickness is up to you and will determine the final thickness of your chunks. A thickness of about 1/4 to 1/2 inch (0.6 to 1.2 cm) is usually ideal for baking chunks.
Try to spread it as evenly as possible to ensure uniform cooling, but don't stress about making it perfectly smooth or rectangular. The goal is just to create a relatively flat surface of chocolate that will harden. Once spread, leave the sheet at room temperature or briefly place it in the refrigerator or freezer to set completely.
The Chopping Technique: Achieving Uniform Chunk Sizes
Once the chocolate slab is completely set and firm (it should snap cleanly when broken, not bend), it's time to chop it into chunks. Carefully slide the set chocolate off the baking sheet onto your cutting board.
Using a sharp chef's knife, begin chopping the chocolate slab into pieces. You can aim for roughly uniform sizes, or embrace irregularity. For classic chocolate chip cookies, aim for pieces ranging from about 1/4 inch to 3/4 inch (0.6 to 1.9 cm) in size. Some larger pieces are great for creating those dramatic molten chocolate pockets. Simply guide your knife through the chocolate, breaking it into pieces. Avoid a sawing motion; a firm press or chop works best. Gather the chunks as you go, and transfer them to a container.
Variations: Adding Flavors and Textures to Your Chocolate Chunks (Nuts, Sea Salt, etc.)
This easy chocolate chunk recipe can be easily customized with additions to create unique flavor combinations. Before the chocolate fully sets after spreading it into a slab, you can sprinkle toppings over the surface.
Consider adding:
- Chopped Nuts: Toasted pecans, walnuts, or almonds add a delightful crunch.
- Sea Salt Flakes: A sprinkle of flaky sea salt creates a wonderful sweet and salty contrast.
- Dried Fruit: Small pieces of dried cherries, cranberries, or orange peel can add bursts of flavor.
- Spices: A pinch of cinnamon, chili powder, or cardamom can infuse the chocolate with warmth.
Simply sprinkle your desired additions evenly over the melted chocolate slab before it sets. Once the chocolate is firm, chop it as usual, and the additions will be incorporated into your homemade chocolate chunks.
Cooling and Storing Your Homemade Chocolate Chunks
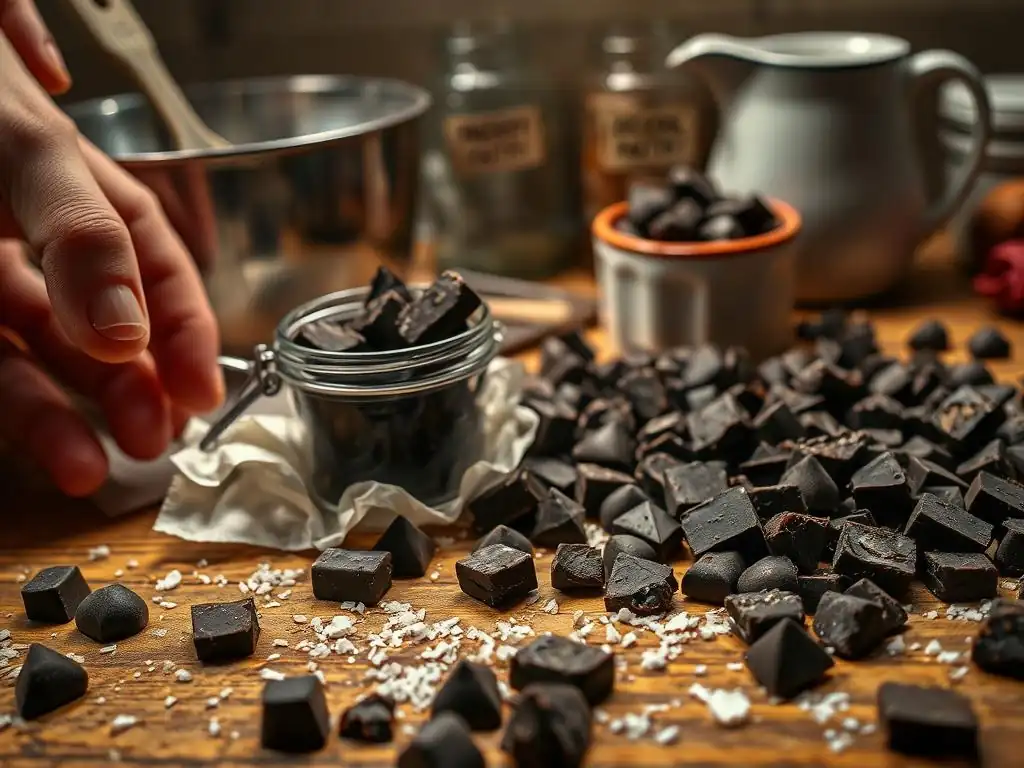
Properly cooling and storing your homemade chocolate chunks is essential to maintain their texture and freshness. You've put in the effort to make them; now let's make sure they stay in peak condition until you're ready to bake with them.
While it might be tempting to rush the cooling process, allowing the chocolate to set correctly is key to achieving a good texture for chopping. And storing them properly will prevent them from clumping or developing bloom.
How to Properly Cool Your Chocolate Chunks for Optimal Texture
After spreading your melted chocolate slab, it needs to cool and solidify completely. The best way to achieve optimal texture for chopping is to let it set at room temperature if your kitchen is cool (around 68-70°F or 20-21°C). This allows the cocoa butter crystals to set slowly and properly, contributing to a better snap when you chop it. This can take anywhere from 1 to 3 hours, depending on the thickness of the slab and the room temperature.
If you're in a hurry, you can place the baking sheet in the refrigerator for 15-30 minutes, or the freezer for 5-10 minutes. However, be cautious not to leave it in the cold for too long, as excessive chilling can cause condensation to form on the chocolate when it's brought back to room temperature, potentially leading to sugar bloom (a white, dusty appearance) or affecting its melting properties in baking.
Best Practices for Storing Chocolate Chunks to Maintain Freshness
Once your chocolate slab is set and chopped into glorious chunks, transfer them to an airtight container. Glass jars or plastic containers with tight-fitting lids work well. The goal is to protect the chocolate from air, moisture, and strong odors, which chocolate can easily absorb.
Store the sealed container in a cool, dry place, away from direct sunlight and fluctuating temperatures. A pantry or cupboard is ideal. Avoid storing chocolate in the refrigerator long-term, as the humidity can cause sugar bloom, and it can absorb odors from other foods. If you must refrigerate (e.g., in a very hot climate), place the airtight container inside another sealed bag to protect it from moisture and odors, and allow it to come to room temperature before using in baking.
Shelf Life of Homemade Chocolate Chunks
Homemade chocolate chunks, when stored properly in an airtight container in a cool, dry place, can last for several weeks, typically up to 1-2 months. The exact shelf life depends on the quality of the chocolate used and the storage conditions. High-quality dark chocolate tends to last longer than milk or white chocolate due to its lower milk and sugar content.
While they might technically be safe to use for longer, the quality (flavor and texture) can degrade over time. For the best results in your baking, aim to use your homemade chunks within a month or two of making them. If you notice any off smells, significant blooming, or signs of melting and re-solidifying (which can happen if they get too warm), they might not perform as well in your recipes.
Using Your Homemade Chocolate Chunks in Baking Recipes
Now for the best part – using your beautiful, homemade chocolate chunks! This easy chocolate chunk recipe yields chunks that are perfect for a wide variety of baked goods. Because they are made from solid chocolate bars rather than compound chocolate or chips designed to hold their shape, they melt into wonderfully gooey, rich pockets.
Swapping out store-bought chips or chunks for your homemade versions will instantly elevate the quality of your baked goods. Get ready for compliments!
Chocolate chip cookies are perhaps the most classic use for chocolate chunks, and using homemade ones takes them to a whole new level. Replace the amount of chocolate chips called for in your favorite recipe with an equal weight of your homemade chunks. For example, if a recipe calls for 1 cup (about 6 ounces or 170g) of chocolate chips, use 6 ounces (170g) of your homemade chunks.
During baking, these irregular chunks will melt and spread more than standard chips, creating delicious pools and streaks of intensely flavored chocolate throughout the cookie. This results in a more dynamic texture and a richer chocolate experience with every bite. Try using a mix of dark and milk chocolate chunks for added complexity!
Adding Chocolate Chunks to Brownies, Cakes, and Muffins
Beyond cookies, homemade chocolate chunks are fantastic in brownies, cakes, and muffins. Stirring them into brownie batter creates pockets of molten chocolate that ooze when you cut into them. A typical brownie recipe using an 8x8 inch pan might call for 1 cup (about 6 ounces) of chocolate chips; substitute with your homemade chunks for a richer result.
For cakes and muffins, fold the chunks gently into the batter just before portioning into pans. This ensures they are distributed throughout. In muffins, larger chunks are particularly delightful, providing significant bites of chocolate. A standard batch of 12 muffins often uses around 1/2 to 3/4 cup (3-4.5 ounces or 85-125g) of chips; using your homemade chunks will enhance both flavor and texture.
Incorporating Chocolate Chunks into Other Baked Goods
The possibilities don't stop there! You can incorporate your homemade chocolate chunks into:
- Scones: Fold them into the dough for delicious chocolatey bursts.
- Bread or Babka: Add them to sweet bread doughs before shaping and baking.
- Granola Bars: Mix them into your homemade granola bar mixture after baking so they don't melt completely.
- Hot Chocolate Bombs: Use larger, tempered chunks inside the sphere for a fun surprise.
- Pancakes or Waffles: Sprinkle them into the batter on the griddle or iron.
Using your own chunks means you can tailor the type and size of chocolate precisely to the recipe, unlocking new levels of flavor and texture in all your favorite baked treats.
Troubleshooting Your Chocolate Chunks: Common Issues and Solutions
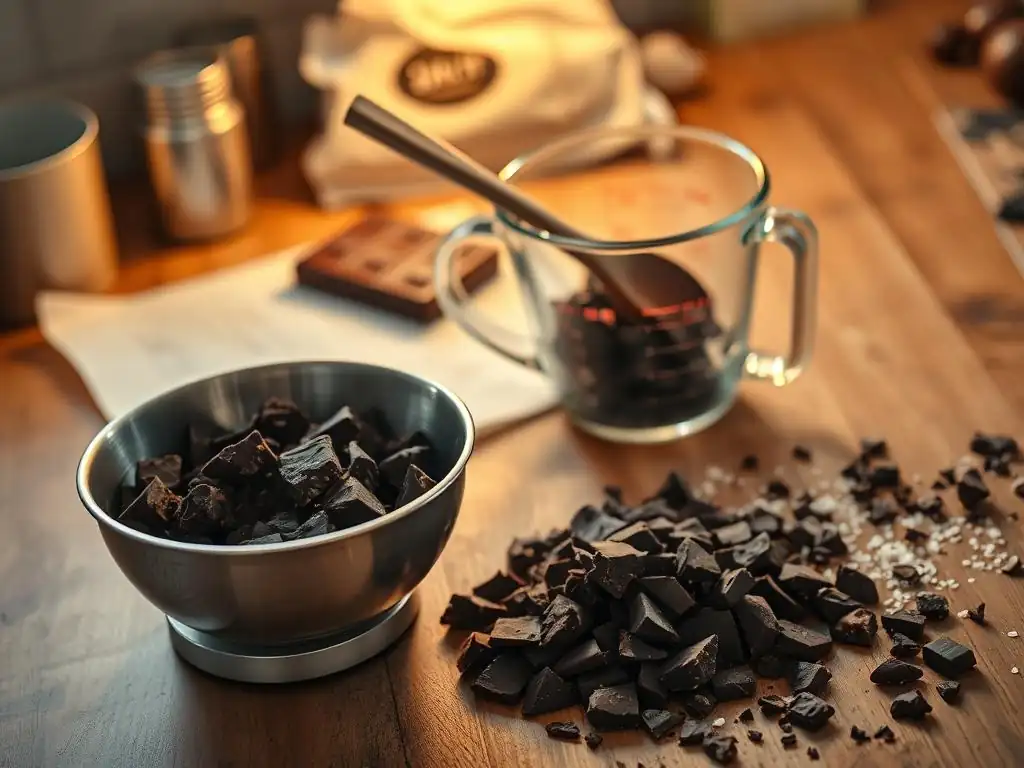
Even with an easy chocolate chunk recipe, sometimes things don't go exactly as planned. Dealing with chocolate can be a bit finicky, but most common issues have simple solutions. Don't get discouraged if your first batch isn't perfect; practice makes perfect!
Understanding potential pitfalls and how to fix them will make your chocolate chunk making process smoother and more successful in the future.
Chocolate Not Melting Smoothly?
If your chocolate isn't melting into a smooth, fluid consistency, there are a few potential culprits:
- Overheating: If the chocolate gets too hot, it can become grainy or seize into a thick, clumpy paste. This is more common with the microwave method or if the water is boiling too vigorously in a double boiler. Solution: If it's just slightly grainy, sometimes adding a tiny amount (1/2 teaspoon) of a neutral oil or melted shortening and stirring vigorously can help smooth it out. If it's severely seized and clumpy, it might be unsalvageable for melting smoothly, but you could potentially chop it very finely and use it in recipes where it will be fully melted into a liquid, like ganache or hot chocolate.
- Water Contamination: Even a single drop of water or steam getting into the melting chocolate can cause it to seize instantly. Solution: Unfortunately, seized chocolate due to water contamination is very difficult to recover for use as chunks. Prevention is key – ensure all your equipment is bone dry and use a double boiler setup where the bowl fits snugly and no steam can escape into the chocolate.
- Uneven Heating: If using the microwave, not stirring frequently enough can lead to hot spots and uneven melting. Solution: Always stir well after each short heating interval.
Chunks Too Soft or Too Hard?
The texture of your final chunks depends on how the chocolate is cooled and set.
- Chunks Too Soft: If the chunks are too soft or melty at room temperature, especially if you didn't temper the chocolate, this is often normal. They are designed to melt easily in baking. However, if they are excessively soft and difficult to chop cleanly, the chocolate might not have been fully set, or it might be too warm in your kitchen. Solution: Ensure the chocolate slab is completely firm before chopping. If needed, chill it briefly in the refrigerator or freezer, but be mindful of condensation. If using untempered chocolate, expect it to be softer than tempered chocolate at room temperature.
- Chunks Too Hard/Brittle: If the chunks shatter excessively when chopped, this could be due to being overly chilled in the freezer, or it might indicate your chocolate was tempered (which gives it a harder snap). Solution: If they were frozen, let the slab warm up slightly at room temperature for a few minutes before chopping. If they are tempered, the clean snap is a desired characteristic!
Achieving the Perfect Chunk Size and Shape
Getting the chunk size just right is part of the fun and flexibility of this easy chocolate chunk recipe.
- Chunks are Too Small: If you end up with more shards and small bits than distinct chunks, you might be chopping too finely or using a sawing motion. Solution: Use a firm, decisive chopping motion with a sharp knife. Aim to break the chocolate slab into larger pieces first, then chop those pieces down to your desired size.
- Chunks are Too Large: If your chunks are massive, they might not distribute well in smaller baked goods like muffins or smaller cookies. Solution: Simply continue chopping the larger pieces down to a more manageable size.
- Uneven Sizes: Some variation in size is expected and desirable with homemade chunks! However, if some pieces are tiny crumbs and others are huge, you might need to be more deliberate in your chopping. Solution: After the initial rough chop, go back through the pile and chop any overly large pieces, while leaving the smaller ones as they are.
Conclusion: Enjoy the Taste of Homemade Chocolate Chunks in Your Baking
Making your own chocolate chunks using this easy technique is a simple yet impactful way to elevate your baking. From selecting high-quality chocolate to customizing with flavors and textures, you have complete control over one of the most important ingredients in many beloved recipes. The difference in taste and texture that homemade chunks bring to cookies, brownies, and more is truly noticeable and rewarding.
This easy chocolate chunk recipe isn't just about saving money or having a project; it's about enhancing the quality of your ingredients and, by extension, the quality of your finished baked goods. It's a skill that's easy to master and adds a layer of artisanal charm to your kitchen creations.
The Satisfaction of Baking with Your Own Ingredients
There's a unique satisfaction that comes from baking with ingredients you've prepared yourself. Whether it's homemade vanilla extract, cultured buttermilk, or these easy chocolate chunks, using your own components adds a personal touch and often results in superior flavor. Knowing exactly what went into your chocolate chunks – just quality chocolate and maybe a few chosen additions – gives you confidence in the deliciousness and wholesomeness of your baked goods.
So, next time your recipe calls for chocolate chunks, consider taking a few extra minutes to whip up a batch of your own. You'll be amazed at the difference it makes. Happy baking with your wonderful homemade chocolate chunks!
Frequently Asked Questions
How does this technique make creating chocolate chunks easier than buying them?
This technique allows you to customize the size and shape of your chocolate chunks. It also ensures you use high-quality chocolate that you choose yourself, rather than relying on pre-made options.
What type of chocolate is best for making chocolate chunks using this method?
It's best to use baking chocolate bars or couverture chocolate with a high cocoa percentage. This provides the best flavor and melting properties for achieving ideal chunks.
Can I use this method to make chocolate shavings instead of chunks?
Yes, by adjusting the cutting technique, you can easily create chocolate shavings. Use a vegetable peeler or a sharp knife at a shallow angle to achieve thin shavings.
What's the best way to store homemade chocolate chunks?
Store your chocolate chunks in an airtight container in a cool, dry place. Avoid direct sunlight or heat, as this can cause them to melt or bloom.
How long will homemade chocolate chunks last?
Homemade chocolate chunks, when stored properly, can last for several weeks. However, the flavor is best within the first week or two.
Final Reflection: The Sweetness of Homemade Simplicity
The ease of making your own chocolate chunks is not just a kitchen hack; it's a gateway to a richer, more satisfying chocolate experience. Forget the pre-packaged, mass-produced versions – the control you gain over ingredients and flavor profiles is truly transformative. This simple technique unlocks a world of culinary creativity, allowing you to tailor your chocolate to your exact preferences.
The impact of homemade treats extends beyond the immediate gratification of a delicious bite. It fosters a connection to the process of food creation, reminding us of the simple pleasures found in making something with our own hands. The best things in life are homemade.
This sentiment rings especially true when it comes to the deeply satisfying experience of creating something as universally loved as chocolate. From the aroma filling your kitchen to the pride in presenting your perfectly crafted chunks, the entire process is imbued with a unique sense of accomplishment.
Now, I invite you to take this newfound knowledge and embark on your own chocolate-making journey. Experiment with different types of chocolate, add nuts, spices, or dried fruits – the possibilities are endless! Don't be afraid to get creative and personalize your chocolate chunks to reflect your unique taste. The joy lies not only in the delicious result but also in the journey of creation itself. So, grab your ingredients, and let the sweet adventure begin!
Unleash Your Inner Chocoholic: Craft Your Perfect Chocolate Chunks!
Thanks for joining us on this chocolatey adventure! We hope you now feel empowered to create delicious, customized chocolate chunks for all your baking needs. Ready to take your chocolate game to the next level?
- Master the art of homemade chocolate chunks: Experiment with different flavors and add-ins—sea salt, nuts, dried fruit—to personalize your creations. This is your chance to really get creative in the kitchen!
- Share your chocolate chunk masterpieces: Show off your creations on social media using #BakeWithEaseChocolate – we’d love to see what you come up with!
- Dive deeper into our baking library: Explore more easy-to-follow recipes and techniques on BakeWithEase.com for endless baking inspiration!
What unique flavor combination will you create with your freshly made chocolate chunks?