
StepbyStep: Calibrating Your Oven and Scale Together for Foolproof Results

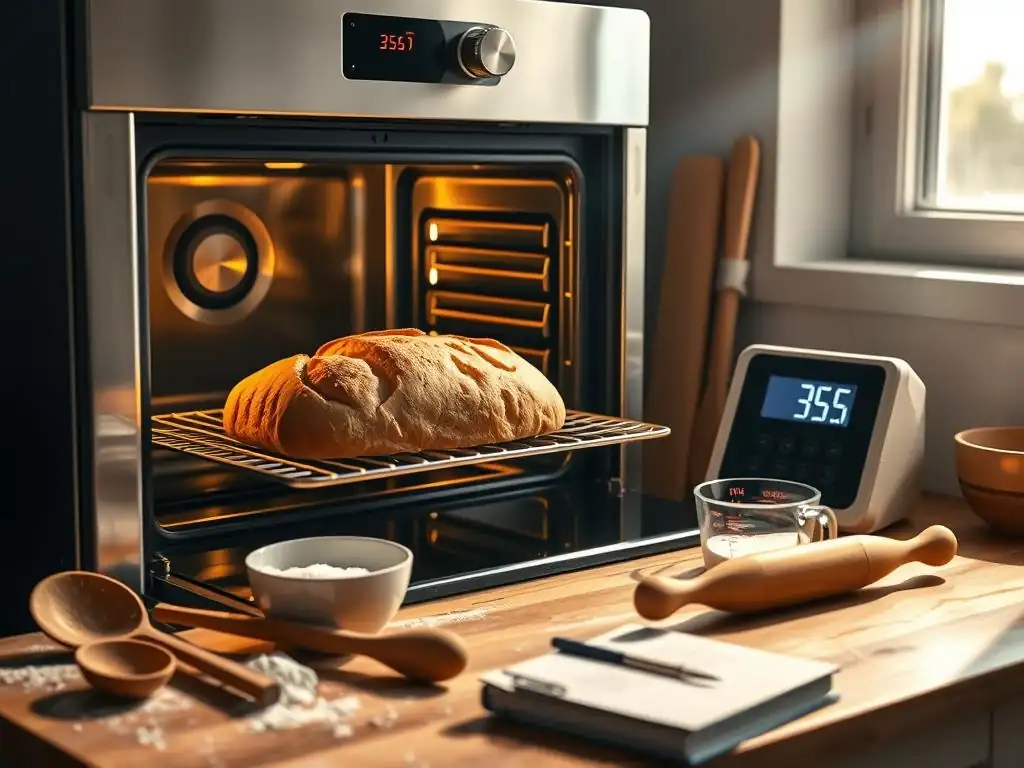
Welcome to BakeWithEase, where simplifying baking is our specialty! Are you tired of inconsistent results in the kitchen? Discover the surprisingly simple secret to foolproof baking in our latest article. Learn how oven scale calibration can transform your baking from unpredictable to perfect, ensuring every recipe achieves its full potential. Get ready to unlock a new level of precision and consistency – let’s get baking!
- Step-by-Step: Calibrating Your Oven and Scale Together for Foolproof Baking
- Introduction: Achieving Baking Perfection Through Oven and Scale Calibration
-
Part 1: Understanding Oven Calibration for Precise Baking
- Identifying Oven Temperature Discrepancies: Is Your Oven Lying to You?
- Tools Needed for Oven Calibration: Oven Thermometer and Screwdriver
- Step 1: Preparing Your Oven for Calibration
- Step 2: Placing the Oven Thermometer for Accurate Readings
- Step 3: Monitoring and Recording Oven Temperature Fluctuations
- Step 4: Adjusting Your Oven Thermostat (If Possible)
- Dealing with Ovens Without Adjustable Thermostats: Alternative Strategies
- Common Oven Calibration Mistakes to Avoid
-
Part 2: Mastering Scale Calibration for Accurate Ingredient Measurement
- Why a Calibrated Scale is Essential for Consistent Baking Results
- Types of Kitchen Scales: Digital vs. Analog
- Tools Needed for Scale Calibration: Calibration Weights and User Manual
- Step 1: Preparing Your Scale for Calibration
- Step 2: Using Calibration Weights to Test Scale Accuracy
- Step 3: Adjusting Your Scale Based on Calibration Results
- Troubleshooting Common Scale Calibration Issues
- Maintaining Your Scale for Long-Term Accuracy
- Part 3: Combining Oven and Scale Calibration for Foolproof Baking
- Part 4: Advanced Techniques for Precision Baking
- Conclusion: Unlock Baking Success with a Calibrated Oven and Precise Measurements
-
Frequently Asked Questions
- How does oven and scale calibration contribute to foolproof baking?
- Why is it important to calibrate both my oven and my scale, not just one?
- What tools do I need to calibrate my oven and scale effectively?
- How often should I calibrate my oven and scale for optimal baking results?
- What are some common signs that my oven or scale needs calibration?
- Final Reflection: The Sweet Science of Precision Baking
- Unlock Baking Perfection: Take Control of Your Kitchen!
Step-by-Step: Calibrating Your Oven and Scale Together for Foolproof Baking
Introduction: Achieving Baking Perfection Through Oven and Scale Calibration
Why Accurate Oven Temperature and Ingredient Measurement are Crucial for Baking Success
Baking is often described as a science, and like any science, precision is paramount. Slight deviations in temperature or ingredient ratios can drastically alter the outcome of your baked goods, turning a perfectly risen cake into a dense doorstop or delicate cookies into burnt hockey pucks. Imagine following a recipe that calls for baking at 350°F (175°C) for 20 minutes; if your oven is actually running 50°F hot, your bake time will be significantly shorter, or your item will burn before it's cooked through. Conversely, a cool oven can lead to underbaked, soggy results.
Similarly, ingredient measurement is the foundation of any recipe. Flour, sugar, butter, and leavening agents all interact in specific ways, and the balance is critical. Using too much flour can make dough or batter tough and dry, while too little might result in a weak structure that collapses. Even seemingly small errors, like being off by just 10-15 grams of flour in a standard cookie recipe, can noticeably change the texture and spread of the cookie. This highlights why relying on accurate tools for both heat and mass is non-negotiable for consistent, high-quality baking.
The Synergistic Effect of Calibrated Oven and Scale for Foolproof Results
Achieving truly foolproof baking results comes from a harmonious relationship between your tools: a properly calibrated oven and a precisely measured ingredient list. These two elements work together; an accurate temperature ensures the chemical reactions in your batter or dough occur correctly and at the right pace, while accurate measurements ensure those reactions have the right building blocks in the correct proportions. When both your oven and scale are calibrated, you eliminate major variables that could sabotage your efforts.
Consider baking a delicate soufflé or a temperamental sourdough loaf. These recipes are highly sensitive to both temperature and hydration (water content, often measured by weight). If your oven is off by 20°F and your scale is off by 5 grams on your flour measurement, the combined effect can be disastrous. By performing regular oven scale calibration for foolproof baking, you gain confidence that your tools are reliable, allowing you to focus on technique and ingredients, leading to consistently delicious outcomes every time you bake.
Part 1: Understanding Oven Calibration for Precise Baking
Identifying Oven Temperature Discrepancies: Is Your Oven Lying to You?
It's a common frustration: you follow a recipe to the letter, set your oven to the specified temperature, and yet your baked goods don't turn out as expected. Often, the culprit isn't you, but your oven's internal thermostat. Many home ovens, even relatively new ones, can have temperature variances ranging from 15°F to as much as 50°F (about 8°C to 28°C) from the set temperature. This discrepancy can fluctuate throughout the baking cycle and even vary depending on where items are placed on the racks.
Signs that your oven temperature might be inaccurate include food consistently burning on the outside before the inside is cooked, baked goods taking significantly longer or shorter to cook than the recipe suggests, or uneven browning across a single sheet of cookies or tray of muffins. These inconsistencies are strong indicators that your oven is not heating precisely to the temperature you set, making oven scale calibration a critical step towards achieving reliable baking outcomes.
Tools Needed for Oven Calibration: Oven Thermometer and Screwdriver
To accurately check and potentially adjust your oven's temperature, you'll need a few simple tools. The most important is a reliable oven thermometer. Look for one designed specifically for monitoring oven temperatures, preferably one you can hang or stand on the rack. Digital oven thermometers often provide more precise readings and can track temperature over time, which is very helpful. Analog thermometers are also suitable and generally more affordable.
The second tool, a screwdriver, might be necessary if your oven's thermostat has an adjustment screw. Not all ovens offer this feature, but many do, particularly older models or commercial-style ranges. The type of screwdriver (Phillips or flathead) will depend on the specific screw used on your oven's control panel. Always consult your oven's manual before attempting any internal adjustments. Having these tools ready allows you to systematically assess and correct your oven's heating accuracy as part of your oven scale calibration routine.
Step 1: Preparing Your Oven for Calibration
Before you begin testing your oven's temperature, ensure it's clean. Food debris or spills can affect heat distribution and provide inaccurate readings. Remove all racks except one, placing it in the center position. This ensures the thermometer is positioned in the most representative spot within the oven cavity.
Make sure the oven is completely cool before starting. Opening a hot oven can cause significant temperature drops, and you want to start from ambient temperature to see how the oven heats up and stabilizes. This preparation step is simple but vital for obtaining meaningful data during your oven scale calibration process.
Step 2: Placing the Oven Thermometer for Accurate Readings
Position your oven thermometer on the center rack you left inside. Ensure it's not touching the oven walls, floor, or ceiling, as these surfaces can be hotter or cooler than the air temperature. If you're using a hanging thermometer, hang it from the center of the rack. If it's a standing thermometer, place it in the middle of the rack.
Close the oven door gently after placing the thermometer. Avoid opening the door unnecessarily during the test, as this will release heat and skew your readings. Proper placement of the thermometer is key to getting an accurate picture of the air temperature inside your oven, a fundamental part of oven scale calibration.
Step 3: Monitoring and Recording Oven Temperature Fluctuations
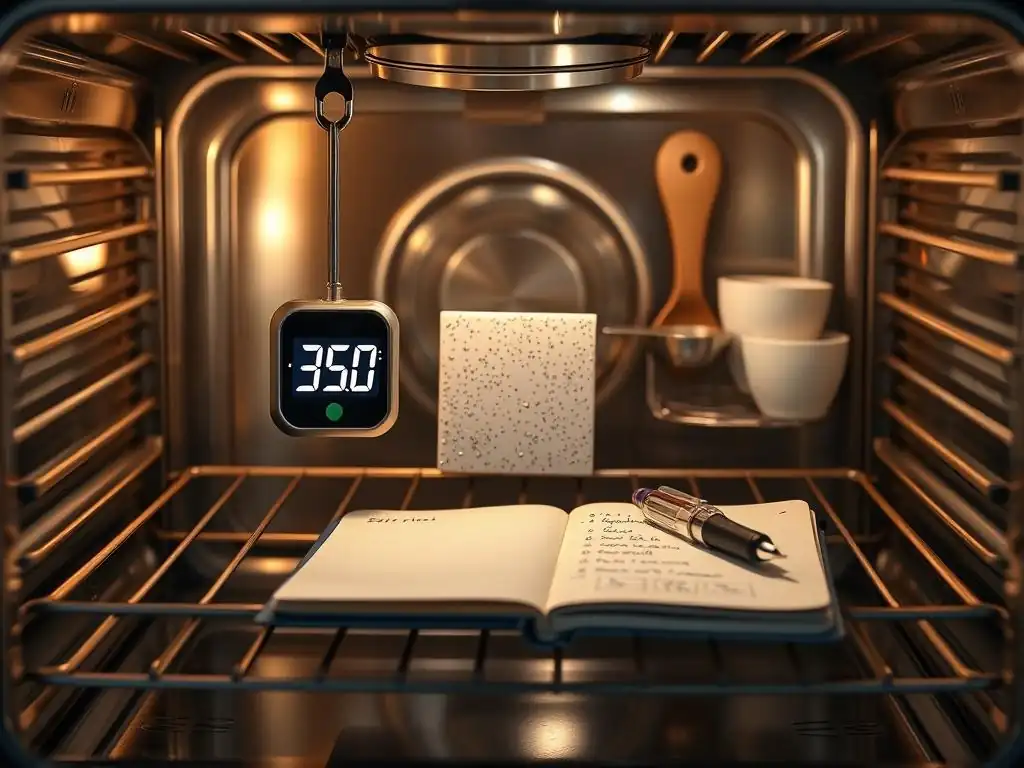
Turn your oven on to a common baking temperature, such as 350°F (175°C). Allow the oven to preheat completely and then wait an additional 20-30 minutes for the temperature to stabilize. Ovens often overshoot the set temperature during the initial heating phase before settling down.
Once stable, begin monitoring the thermometer. Note the temperature displayed at several points over the next hour. Ovens cycle on and off to maintain temperature, so you'll likely see the temperature fluctuate slightly. Record the highest and lowest temperatures you observe, as well as the average temperature during this period. Compare this average to the temperature you set. A variance of more than 10-15°F (about 5-8°C) indicates your oven needs calibration or temperature adjustment consideration. This data is essential for informed oven scale calibration.
Step 4: Adjusting Your Oven Thermostat (If Possible)
Many modern ovens allow for a temperature offset adjustment through the control panel, often found within the settings menu. Consult your oven's user manual for specific instructions on how to access this feature. If your testing showed your oven averages 330°F when set to 350°F (a 20°F discrepancy), you would adjust the thermostat setting by +20°F.
Older ovens may have a physical adjustment screw behind the temperature dial. This usually involves carefully prying off the knob and using a small screwdriver to turn a screw. Turning it one way increases the temperature, the other decreases it. Always refer to your specific oven's manual for guidance on this process, as incorrect adjustments could damage the thermostat. Making this adjustment is a direct way to improve your oven's accuracy, complementing your efforts in oven scale calibration for foolproof baking.
Dealing with Ovens Without Adjustable Thermostats: Alternative Strategies
If your oven lacks an adjustable thermostat or the adjustment doesn't correct the issue sufficiently, don't despair! You can still achieve accurate baking results. The simplest method is to note the average temperature discrepancy you measured and adjust your recipes accordingly. For example, if your oven consistently runs 25°F cool when set to 350°F, you know you should set it to 375°F (190°C) when a recipe calls for 350°F.
Another strategy is to use your reliable oven thermometer every time you bake. Place it inside the oven before preheating and monitor it to ensure the oven reaches and maintains the actual desired temperature, adjusting your oven's dial as needed based on the thermometer's reading. While less convenient than a direct adjustment, this ensures you are always baking at the correct temperature, which is paramount for foolproof baking, regardless of your oven's internal calibration.
Common Oven Calibration Mistakes to Avoid
One frequent mistake is checking the temperature too soon after the oven signals it has preheated. Ovens often reach the set temperature quickly, but the internal air temperature may still be fluctuating significantly. Always wait an additional 20-30 minutes after the preheat signal for the temperature to stabilize before taking readings.
Another error is placing the thermometer too close to the heating elements or walls, which don't reflect the true ambient air temperature. Ensure the thermometer is centered on the rack. Finally, relying on a single temperature reading is insufficient; ovens cycle, so observing the range of fluctuation over a period (like an hour) gives a much more accurate picture of your oven's typical performance. Avoiding these pitfalls ensures your oven scale calibration efforts are based on solid data.
Part 2: Mastering Scale Calibration for Accurate Ingredient Measurement
Why a Calibrated Scale is Essential for Consistent Baking Results
Measuring ingredients by weight is vastly more accurate than measuring by volume (cups and spoons), especially for dry ingredients like flour. A cup of flour can weigh anywhere from 100 to 150 grams depending on how packed it is, while 100 grams of flour is always 100 grams. This precision is fundamental in baking, where ingredient ratios are often delicately balanced. Even small errors in measurement can impact texture, rise, and flavor.
A scale that is not properly calibrated can introduce errors into even weight-based measurements. If your scale consistently reads 5 grams light, every ingredient you measure will be slightly less than required. Over several ingredients in a recipe, these small errors can compound, leading to noticeable differences in the final product. Regular scale calibration, combined with oven calibration, is a cornerstone of achieving genuinely foolproof baking.
Types of Kitchen Scales: Digital vs. Analog
Kitchen scales primarily come in two types: digital and analog. Digital scales are the most popular choice for baking precision. They provide readings on an LCD screen, often in grams, ounces, pounds, and sometimes milliliters. They are generally easy to use, have a "tare" function (to zero out the weight of a container), and are quite accurate, typically measuring in increments of 1 gram or 0.1 ounces.
Analog scales, while charmingly traditional, use a needle on a dial to show weight. They are less precise than digital scales, often measuring in larger increments (e.g., 5 grams or ¼ ounce), and can be harder to read exactly. For the level of precision required for foolproof baking, especially for sensitive recipes, a digital scale is highly recommended. Whichever type you use, understanding its accuracy and performing scale calibration is key.
Tools Needed for Scale Calibration: Calibration Weights and User Manual
To calibrate your kitchen scale, the primary tool you'll need are known calibration weights. These are precision weights specifically designed for testing the accuracy of scales. They come in various standard sizes, such as 50g, 100g, 200g, 500g, or 1kg. It's best to use weights that match the typical range of ingredients you measure for baking.
The second crucial tool is your scale's user manual. This manual will provide specific instructions on how to enter calibration mode (if your scale has this feature) and the specific weight or weights required for calibration. Not all scales are user-calibratable; some are factory-calibrated and cannot be adjusted manually. If yours can be calibrated, the manual is indispensable for guiding you through the process correctly as part of your oven scale calibration efforts.
Step 1: Preparing Your Scale for Calibration
Ensure your scale is placed on a flat, stable, and level surface. Uneven surfaces can affect the scale's sensors and lead to inaccurate readings. Avoid placing the scale near vibrating appliances (like a running mixer) or in direct sunlight or drafts, which can also interfere with sensitive digital components.
Make sure the scale platform is clean and free of any debris. Turn the scale on and allow it a few moments to warm up if it's a digital model. If it has a tare function, press it to ensure the display reads zero before placing any weight on it. This preparation ensures you start the scale calibration process from a neutral and stable point.
Step 2: Using Calibration Weights to Test Scale Accuracy
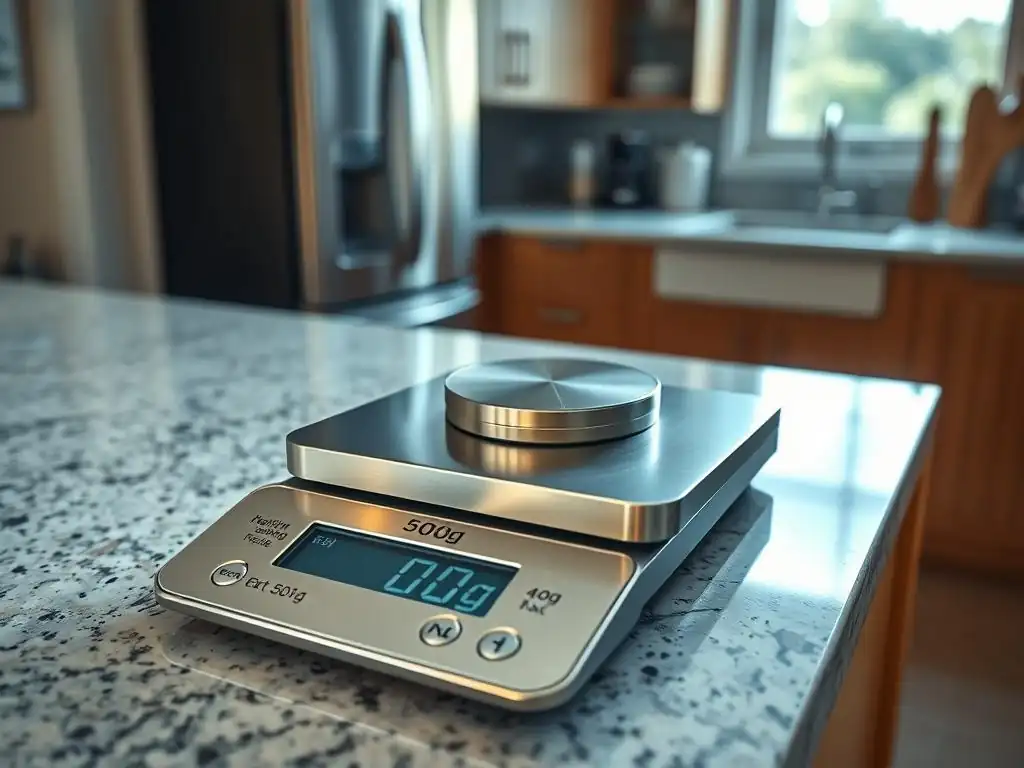
Once your scale is prepared, place a known calibration weight on the center of the scale platform. Note the reading. Does it exactly match the weight of the calibration weight? For example, if you place a 100-gram calibration weight, does the scale display precisely 100.0g?
Test with a couple of different weights if you have them, covering a range relevant to your baking needs (e.g., a small weight like 50g and a larger one like 500g). Record the scale's reading for each weight. Significant discrepancies (more than ±0.5g for small weights or ±1-2g for larger weights on a standard kitchen scale) indicate that your scale is out of calibration and needs adjustment or replacement. This testing phase provides the data needed for effective oven scale calibration.
Step 3: Adjusting Your Scale Based on Calibration Results
If your scale has a calibration function (check your manual! ), follow the specific steps provided. This usually involves entering a special mode, placing a designated calibration weight on the scale when prompted, and waiting for the scale to register and adjust itself. Some scales require a specific weight (often printed on the scale or in the manual), while others might walk you through placing different weights.
If your scale cannot be user-calibrated, you have two options: either note the consistent discrepancy (e.g., "this scale always reads 3g light") and mentally or manually adjust your measurements, or consider replacing the scale with one that is more accurate or user-calibratable. For serious bakers aiming for foolproof results, a consistently accurate scale is a worthwhile investment, complementing your oven scale calibration.
Troubleshooting Common Scale Calibration Issues
One common issue is using an incorrect calibration weight or placing it incorrectly on the scale. Always use the weight specified in the manual and place it gently and centrally on the platform. Another problem can be environmental factors; vibrations or drafts can cause readings to fluctuate. Ensure your workspace is stable and still during calibration.
If a digital scale isn't calibrating or giving erratic readings, try replacing the batteries. Low battery power is a frequent cause of inaccuracy in digital scales. If issues persist after following the manual's calibration steps and checking environmental factors and batteries, the scale may be faulty and require professional service or replacement. Addressing these issues is part of maintaining accurate tools for oven scale calibration and reliable baking.
Maintaining Your Scale for Long-Term Accuracy
Regular cleaning and careful handling are essential for maintaining your scale's accuracy over time. Avoid exposing the scale to excessive moisture or extreme temperatures. Do not overload the scale beyond its maximum capacity, as this can damage the internal sensors.
Store your scale in a safe place where it won't be dropped or have heavy objects placed on it. For digital scales, remove batteries if storing for an extended period to prevent corrosion. Periodically repeat the calibration test (Step 2) using your known weights, perhaps every few months or if you suspect it has been dropped or damaged. This proactive maintenance ensures your scale remains a reliable partner in your oven scale calibration efforts.
Part 3: Combining Oven and Scale Calibration for Foolproof Baking
The Interplay Between Oven Temperature and Ingredient Ratios
Baking success is a delicate dance between heat and chemistry. Accurate ingredient ratios provide the necessary structure, leavening, moisture, and flavor compounds. The oven's temperature then acts as the catalyst, providing the energy needed for proteins to coagulate, sugars to caramelize, leavening agents to produce gas, and starches to gelatinize.
If the temperature is too high, these reactions happen too quickly, potentially burning the outside before the inside is cooked or causing leavening to escape too fast, resulting in a dense crumb. If the temperature is too low, the reactions occur too slowly, leading to underbaked centers, poor rise, or pale, unappealing results.
When your scale is perfectly calibrated, you know you're starting with the right amount of each ingredient. When your oven is also calibrated, you know you're applying the correct amount of heat for the right duration. This powerful combination means that if a recipe consistently works for others, it is much more likely to work for you. This synergy, achieved through diligent oven scale calibration, is the secret to unlocking consistent, foolproof baking results.
Recipe Adjustments Based on Calibrated Oven and Scale Data
Once you know the true temperature of your oven and the exact accuracy of your scale, you can make informed adjustments to recipes if necessary. If your oven consistently runs 15°F hot despite adjustments, you might choose to reduce the recommended baking temperature in recipes by 15°F. For instance, if a recipe calls for 350°F, you'd set your oven to 335°F (168°C) to achieve the target temperature.
Similarly, if you cannot calibrate your scale perfectly and it consistently reads slightly off (e.g., 2g heavy on every measurement), you might mentally subtract 2g from the weight of each ingredient you measure, or make a note to yourself. While ideally, your tools are perfectly calibrated, understanding their precise deviations allows you to compensate, bringing you closer to foolproof baking by effectively implementing oven scale calibration data.
Let's consider baking a batch of classic chocolate chip cookies. A typical recipe might call for 225g all-purpose flour, 170g unsalted butter, 150g granulated sugar, 100g brown sugar, 1 large egg, 1 tsp vanilla extract, ½ tsp baking soda, ¼ tsp salt, and 300g chocolate chips, baked at 375°F (190°C) for 9-11 minutes.
If your scale consistently reads 5g light and your oven runs 25°F cool when set to 375°F, your cookies are likely to spread too much (due to slightly less flour) and bake slower, perhaps not browning properly or achieving the desired chewiness. By performing oven scale calibration: you'd discover the scale error and the oven temperature error. For foolproof results, you would then weigh out 230g flour (to get the actual 225g) and set your oven to 400°F (205°C) to hit the target 375°F. This precise adjustment, informed by calibration, transforms potentially mediocre cookies into perfect ones.
Common Scenarios and Solutions: When Things Still Go Wrong
Even with calibrated tools, baking can present challenges. If your bakes are still inconsistent, consider other factors. Is your leavening agent (baking soda or powder) fresh? These lose potency over time, typically after 6-12 months once opened. Are you using the correct type of flour (all-purpose, bread flour, cake flour) as specified in the recipe? Different flours have different protein contents that affect structure.
Environmental factors like humidity can also impact baking, particularly for delicate items like meringues or pie crusts. High altitude requires specific recipe adjustments due to lower atmospheric pressure. If you've calibrated your oven and scale and checked ingredient freshness and type, systematically explore these other variables. Sometimes, the issue isn't the tools, but the technique or external conditions, even when you've mastered oven scale calibration for foolproof baking.
Part 4: Advanced Techniques for Precision Baking
Using a Baking Stone or Steel for Even Heat Distribution
A baking stone or steel is a dense material placed on an oven rack that absorbs and retains heat exceptionally well. When you place dough or a baking sheet on it, the stone/steel transfers this heat rapidly and evenly to the bottom of your baked good. This is particularly beneficial for breads and pizzas, promoting a strong oven spring and a crisp bottom crust.
For cookies, biscuits, or pastries baked on a sheet pan, a stone or steel underneath the pan helps stabilize the temperature and provides more consistent heat from below, compensating somewhat for hot spots or fluctuations in the oven's cycling. While not a substitute for oven scale calibration, using a stone or steel can further enhance heat consistency, contributing to more uniform and reliable results.
Utilizing Oven Bags for Moisture Control
Oven bags, typically used for roasting meats, can also be surprisingly useful in certain baking applications, particularly for ensuring moisture retention. Placing a cake or bread dough inside an oven bag during part of the baking process can create a steamy environment, preventing the surface from drying out too quickly. This is especially helpful for recipes prone to developing a hard crust prematurely.
Using an oven bag can help keep the interior of baked goods moist and tender while still allowing the exterior to brown towards the end of the baking time (by opening or removing the bag). This technique, while not directly related to oven scale calibration, is another tool in the precision baker's arsenal for controlling the baking environment and achieving specific textures.
Understanding Altitude Adjustments for Baking
Baking at high altitudes (generally above 3,000 feet or about 900 meters) requires specific recipe modifications due to lower atmospheric pressure and reduced humidity. Lower pressure causes leavening gases to expand more rapidly and allows liquids to evaporate more quickly. This can lead to cakes collapsing, cookies spreading excessively, and dry, crumbly textures.
Common high-altitude adjustments include reducing leavening agents, decreasing sugar and liquid, and increasing flour and oven temperature slightly. For example, a cake baked at 5,000 feet might require reducing baking powder by 10-25%, increasing flour by a few tablespoons, and raising the oven temperature by 15-25°F. Understanding these adjustments, in conjunction with precise oven scale calibration, is crucial for successful baking in mountainous regions.
Fine-Tuning Recipes Based on Repeated Baking Experiments
Even with perfectly calibrated tools, baking is also an art refined through practice. Once your oven and scale are reliable, use them to systematically test and fine-tune your favorite recipes. Bake the same recipe multiple times, making only one small change each time – perhaps slightly adjusting the baking time, temperature, or a single ingredient quantity.
Keep detailed notes on the changes made and the results (texture, appearance, flavor, bake time). This iterative process, built upon the foundation of accurate oven scale calibration, allows you to truly master a recipe and tailor it to your specific preferences and oven's unique characteristics, leading to personalized foolproof baking success.
Conclusion: Unlock Baking Success with a Calibrated Oven and Precise Measurements
The Long-Term Benefits of Consistent Oven and Scale Calibration
Investing time in oven scale calibration yields significant long-term benefits for any baker, from novice to expert. It removes major sources of variability, transforming baking from a guessing game into a predictable process. You'll experience fewer failed attempts, save money on wasted ingredients, and gain immense confidence in your abilities.
Consistently accurate results mean you can reliably recreate your favorite treats and confidently tackle more complex recipes. Oven scale calibration allows you to truly understand how ingredient ratios and temperature interact, deepening your baking knowledge and skill. It's an essential practice for anyone serious about achieving foolproof baking results consistently.
Resources for Further Learning and Baking Expertise
To continue your journey towards baking mastery, explore reputable baking websites, cookbooks from experienced authors, and online baking courses. Many resources offer detailed explanations of baking science, ingredient functions, and advanced techniques.
Engage with baking communities online or locally to share experiences, ask questions, and learn from others. Consistent practice, combined with a commitment to precision through oven scale calibration and continuous learning, is the recipe for unlocking your full potential in the wonderful world of baking.
Frequently Asked Questions
How does oven and scale calibration contribute to foolproof baking?
Oven and scale calibration ensures accurate temperature and ingredient measurements, which are crucial for consistent and predictable results in baking. Discrepancies can lead to underbaked or overbaked goods.
Why is it important to calibrate both my oven and my scale, not just one?
While accurate ingredient measurement is important, an accurate oven temperature is equally vital. If your oven isn't heating correctly, even the best recipes will fail. Calibrating both ensures a complete system of accuracy.
What tools do I need to calibrate my oven and scale effectively?
For your oven, you'll need an oven thermometer. For your scale, you'll need known weights for comparison, such as coins or certified calibration weights.
How often should I calibrate my oven and scale for optimal baking results?
It's recommended to calibrate your oven and scale at least twice a year, or any time you suspect their accuracy may be off, such as after moving the oven or dropping the scale.
What are some common signs that my oven or scale needs calibration?
Signs include inconsistent baking results, ingredients measuring differently than expected, or your oven consistently taking longer or shorter to bake items than the recipe suggests.
Final Reflection: The Sweet Science of Precision Baking
Mastering the art of baking isn't just about following a recipe; it's about understanding the fundamental relationship between your oven and your scale. A perfectly calibrated system ensures consistent, delicious results, transforming baking from a gamble into a predictable and rewarding experience. This precision elevates baking from a hobby to a true craft.
The impact of accurate measurement in baking extends far beyond the individual kitchen. It speaks to a broader appreciation for detail and the interconnectedness of seemingly small elements. A slight inaccuracy in temperature or weight can dramatically alter the final product, highlighting the importance of meticulousness in any creative endeavor. The difference between something good and something great is attention to detail.
– Charles R. Swindoll. This quote perfectly encapsulates the essence of achieving foolproof baking results. The journey to mastering this precision is a testament to patience and the pursuit of excellence.
Now, it's your turn. Take a moment to reflect on your own baking process. Are you confident in the accuracy of your tools? Consider investing the time to calibrate your oven and scale; the reward—consistent, delicious baked goods—is well worth the effort. Embrace the science behind the art, and unlock a new level of satisfaction in your culinary creations. The journey to perfect baking begins with a single, precise measurement.
Unlock Baking Perfection: Take Control of Your Kitchen!
Thanks for taking the time to learn how to calibrate your oven and scale for consistently amazing baked goods! You've just gained a powerful skill to elevate your baking game. Now it's time to put your new knowledge into action.
- Primary Action: Immediately calibrate your oven and scale using the methods described in the article. Note your findings and any adjustments you made.
- Share your calibration experience! Tell us about your results and any surprises you encountered on our BakeWithEase community forum (Imagine the delicious discussions! ).
- Experiment with a new recipe! Choose a challenging recipe you've always wanted to try and see how much more precise your results are.
Ready to transform your baking? What's the first recipe you'll be tackling with your perfectly calibrated tools?