
Troubleshooting HighAltitude Bread Baking Issues

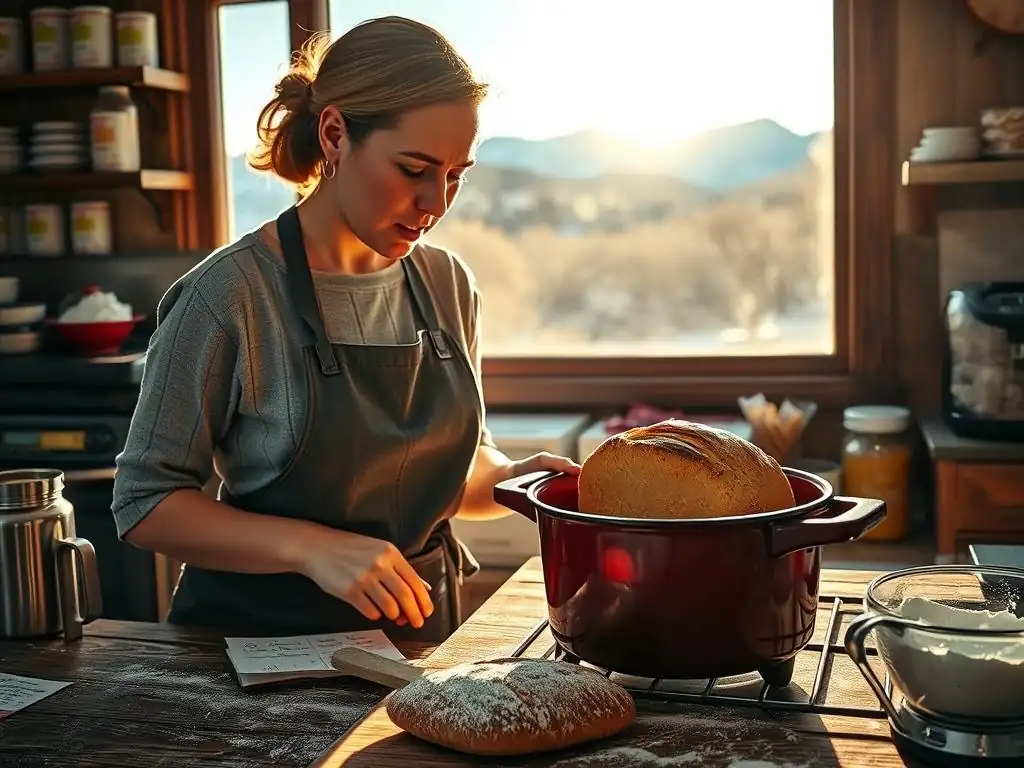
Welcome to BakeWithEase, your trusted guide to baking bliss! Are you struggling to get that perfect rise when baking bread at high altitude? Don't let thin air deflate your dreams! Discover proven techniques and troubleshooting tips to conquer the unique challenges of altitude and achieve bakery-worthy loaves, every time. Dive in and let's elevate your baking game!
- Troubleshooting High-Altitude Bread Baking Issues: A BakeWithEase Guide
- Understanding High-Altitude Bread Baking Challenges
- Common High-Altitude Bread Baking Problems and Solutions
- Mastering High-Altitude Bread Baking Techniques
- High-Altitude Bread Baking: Key Takeaways for Success
-
Frequently Asked Questions
- What are the main challenges of baking bread at high altitude?
- How can I adjust my bread recipe for high altitude baking?
- Why does my high-altitude bread collapse after rising?
- What ingredients are most affected by high altitude when baking bread?
- Where can I find more detailed information about specific high-altitude bread baking recipes?
- Final Reflection: Rising Above the Challenges of High-Altitude Baking
- Unlock Your High-Altitude Baking Success!
Troubleshooting High-Altitude Bread Baking Issues: A BakeWithEase Guide
Baking bread is a rewarding experience, but if you live at a higher elevation, you might encounter unique challenges. The physics of high-altitude environments significantly impact how ingredients behave, especially yeast and gases. Don't worry! High altitude bread baking is absolutely achievable with a few simple adjustments. This guide from BakeWithEase will help you understand the 'why' behind the issues and provide practical, friendly solutions to achieve delicious loaves, no matter how high you are.
Understanding High-Altitude Bread Baking Challenges
Why is Baking Bread at High Altitude Different?
Living at higher altitudes means lower atmospheric pressure. Think of it like this: the air is thinner, and there's less weight pushing down on everything, including your bread dough. This reduced pressure has a direct effect on leavening agents like yeast. Yeast produces carbon dioxide gas, which makes bread rise. At lower pressure, these gas bubbles expand more easily and rapidly than they do at sea level. A recipe designed for sea level won't behave the same way when subjected to these conditions.
Consider baking at 5,000 feet (about 1,500 meters) above sea level compared to sea level. The atmospheric pressure is roughly 15% lower. This seemingly small difference profoundly impacts the rising process. Not only do the gas bubbles expand faster, but water also boils at a lower temperature. At sea level, water boils at 212°F (100°C), but at 5,000 feet, it boils closer to 203°F (95°C), and even lower at higher elevations. This affects how moisture behaves within your dough and during baking.
The Science Behind High Altitude and Bread Dough
The primary scientific principles at play in high altitude bread baking relate to gas expansion and moisture evaporation. The lower atmospheric pressure allows the carbon dioxide produced by yeast to expand more and faster. This can lead to dough over-proofing very quickly, resulting in a weak structure that can't support the expanded gases during baking. The dough might rise beautifully initially, but then collapse because the gluten network isn't strong enough to hold the larger bubbles.
Furthermore, the lower boiling point of water at altitude means moisture evaporates from the dough more rapidly during baking. This can lead to drier bread with a thicker crust, as the interior cooks at a lower temperature while the exterior loses moisture quickly. The increased evaporation also concentrates sugars and salts, potentially affecting the flavor and yeast activity. Understanding these fundamental scientific differences is the first step to successfully adapting standard bread recipes for high altitude bread baking.
Common High-Altitude Bread Baking Problems and Solutions

Problem 1: Bread Dough Rises Too Quickly at High Altitude
At high elevations, the reduced atmospheric pressure allows yeast-produced gases to expand with less resistance. This causes the dough to rise much faster than it would at sea level, sometimes doubling in bulk in half the time specified in a standard recipe. While a quick rise might seem desirable, it often leads to over-proofing. Over-proofed dough develops too many large, unstable gas bubbles, weakening the gluten structure and potentially causing the bread to collapse during baking or result in a crumb with large, uneven holes.
A common consequence of rapid rising is a lack of flavor development. The yeast works through the sugars too quickly, not allowing time for the complex flavors created by slower fermentation to develop. You might get a loaf that looks okay initially but tastes bland or has a yeasty, alcoholic off-flavor. Successfully managing the pace of the rise is critical for both the structure and the taste of your high altitude bread baking efforts.
Solution: Reducing Yeast for High-Altitude Bread
To slow down the rapid rise, you can reduce the amount of yeast called for in the recipe. A common guideline for high altitude bread baking is to decrease the yeast by about 10-25%. For example, if a recipe calls for 2 teaspoons of active dry yeast, try using 1.5 to 1.8 teaspoons instead. This reduces the initial gas production rate, allowing the dough to rise more slowly and build a stronger structure.
You can also consider using less instant yeast or switching to active dry yeast, which typically requires proofing and is slightly slower acting than instant yeast. Another technique is to use cooler liquids when activating the yeast or mixing the dough. Cooler temperatures naturally slow down yeast activity, providing another way to control the pace of the rise in high altitude bread baking.
Solution: Shortening Proofing Times at Higher Altitudes
Since the dough rises faster, you must monitor its progress closely and shorten the proofing times accordingly. Don't rely solely on the clock; rely on visual cues. The dough is ready for the next step when it has doubled (or nearly doubled) in size and passes the "poke test."
The poke test involves gently pressing two fingers into the dough about half an inch deep. If the indentation springs back immediately, the dough needs more time. If it stays indented or springs back very slowly, it's ready. At high altitude, this might happen in 30-45 minutes for the first rise, instead of the 60-90 minutes a sea-level recipe specifies. Be vigilant and check your dough often to prevent over-proofing, a frequent pitfall in high altitude bread baking.
Problem 2: Bread Collapses During Baking at High Altitude
One of the most frustrating issues in high altitude bread baking is when your beautifully risen loaf collapses in the oven. This often happens because the rapid rise at altitude creates large, fragile gas bubbles. When the bread enters the hot oven, these bubbles expand even more dramatically before the gluten structure has a chance to set. If the gluten network is too weak to support this rapid expansion, the loaf caves in, leaving you with a dense, deflated result instead of a lofty, airy bread.
This collapse is a direct consequence of the pressure difference and the accelerated fermentation. The dough reaches its maximum volume too quickly without developing sufficient structural integrity. It's like inflating a balloon too fast – it pops or becomes unstable. Preventing this requires techniques that strengthen the dough's ability to hold its shape against the lower atmospheric pressure during the crucial initial phase of baking, known as oven spring.
Solution: Strengthening Gluten Development in High-Altitude Dough
A strong gluten network is essential for providing structure and preventing collapse. At high altitudes, you may need to knead your dough slightly longer than a sea-level recipe suggests. Aim for a dough that is smooth, elastic, and passes the windowpane test – you should be able to stretch a small piece thinly enough to see light through it without it tearing.
Using a bread flour with a higher protein content (around 12-14%) can also help build a stronger structure compared to all-purpose flour (typically 10-12% protein). Some bakers at very high elevations even add a small amount of vital wheat gluten (about 1-2 teaspoons per cup of flour) to boost the protein content and enhance the dough's ability to hold the expanding gases during high altitude bread baking.
Solution: Baking at a Higher Temperature for Better Structure
Increasing the oven temperature can help set the gluten structure more quickly during the initial phase of baking (oven spring). A common recommendation for high altitude bread baking is to increase the baking temperature by about 15-25°F (8-14°C) compared to a sea-level recipe. For instance, if a recipe calls for 375°F (190°C), try baking at 390°F (200°C) or 400°F (205°C).
The higher temperature provides a rapid burst of heat that helps the crust set faster, creating a supportive shell for the expanding interior. This quick setting helps prevent the loaf from collapsing before the internal structure is firm. Be sure to monitor your bread closely, as the higher temperature might also mean a slightly shorter overall baking time.
Problem 3: Dry and Crumbly Bread at High Altitude
Due to the lower boiling point of water at higher elevations, moisture evaporates from the dough and the baking bread more rapidly than at sea level. This accelerated evaporation can lead to bread that is dry, dense, and crumbly, lacking the moist, tender crumb you desire. The crust might also become excessively thick and hard, rather than pleasantly chewy.
The drier air at altitude can also contribute to the surface of the dough drying out during proofing, which can restrict expansion and lead to a tougher crust. Combating this dryness is a key aspect of successful high altitude bread baking, ensuring your final loaf is enjoyable to eat and has a pleasant texture.
Solution: Increasing Liquid Content for High-Altitude Bread
To compensate for the increased evaporation, you'll often need to add more liquid to your dough. Start by adding 1-2 tablespoons of extra water or milk per cup of flour used in the recipe. Observe the dough as you mix and knead; it should feel slightly wetter and stickier than you might expect from a sea-level recipe.
The exact amount of extra liquid needed will vary depending on your specific altitude, the flour you use, and the humidity in your kitchen. It's often best to hold back a small amount of the flour initially and add it only if needed, incorporating the extra liquid until the dough reaches the desired consistency – hydrated but still manageable. Proper hydration is crucial for achieving a tender crumb in high altitude bread baking.
Solution: Adding Fat to Combat Dryness in High-Altitude Baking
Incorporating a small amount of fat, such as butter, oil, or shortening, can significantly improve the moisture retention and tenderness of high altitude bread. Fat coats the gluten strands, interfering slightly with their development and resulting in a more tender crumb. It also helps keep the bread soft and moist for longer by inhibiting staling.
If your recipe doesn't include fat, try adding a tablespoon or two per loaf. If it already contains fat, you might consider slightly increasing the amount by 25-50%. For example, if a recipe calls for 2 tablespoons of butter, try using 2.5 or 3 tablespoons. This simple addition can make a noticeable difference in combating dryness and achieving a more palatable texture in high altitude bread baking.
Problem 4: Dense and Heavy Bread at High Altitude
Dense, heavy bread can be a result of several factors at high altitude, including insufficient rise, collapsed structure, or improper ingredient balance. If the dough doesn't rise adequately (perhaps due to insufficient yeast activity or cold temperatures), or if it rises too quickly and then collapses (as discussed in Problem 2), the resulting loaf will be dense because the gas cells necessary for a light texture are either too small, too few, or have deflated.
Additionally, incorrect sugar levels can impact yeast activity, and inadequate mixing or kneading can prevent proper gluten development, both of which contribute to a heavy crumb. Addressing these potential issues is vital for achieving the airy, light texture characteristic of well-made bread, even when tackling high altitude bread baking.
Solution: Adjusting Sugar Levels for Proper Yeast Activity
Sugar serves as food for yeast, but too much can actually slow down yeast activity by drawing moisture away from the yeast cells through osmosis. At high altitude, where ingredients are more concentrated due to faster water evaporation, the proportion of sugar relative to other ingredients might become too high, potentially inhibiting your yeast.
Consider slightly reducing the sugar in your recipe, perhaps by 10-15%. For example, if a recipe calls for 2 tablespoons of sugar, try using 1.5 to 1.8 tablespoons. This adjustment ensures the sugar doesn't overwhelm the yeast and allows for more balanced fermentation and gas production, contributing to a lighter texture in your high altitude bread baking.
Solution: Ensuring Proper Mixing and Kneading for Lightness
Proper mixing and kneading are fundamental to developing a strong gluten network, which is crucial for trapping gases and creating a light, airy crumb. At high altitude, where the dough needs extra support against lower pressure, ensuring sufficient gluten development is paramount.
Knead your dough until it is smooth, elastic, and passes the windowpane test. This might take slightly longer than at sea level. Whether you're kneading by hand or machine, make sure the dough is well-developed. A properly kneaded dough can hold the expanding gases effectively, preventing collapse and resulting in a lighter loaf. Conversely, under-kneaded dough will result in a dense, heavy texture, a common issue in high altitude bread baking if not addressed.
Mastering High-Altitude Bread Baking Techniques
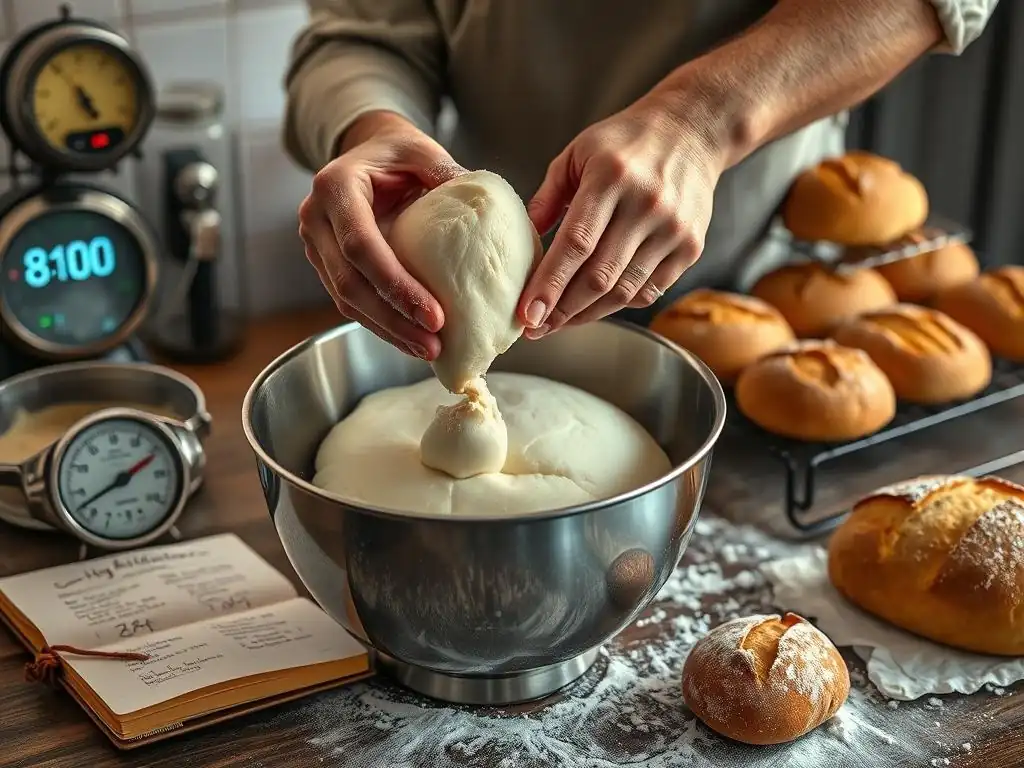
Beyond specific problem-solving, adopting certain techniques can significantly improve your high altitude bread baking results overall. These methods focus on precision, hydration management, and adjusting baking parameters to suit the unique environment.
Precise Measurement for High-Altitude Baking Recipes
Precision in measuring ingredients becomes even more critical at high altitudes. Small errors can be magnified due to the altered atmospheric conditions. Using a digital kitchen scale to weigh your ingredients, especially flour and liquids, is highly recommended over volume measurements (cups and spoons). Weighing provides a much more consistent and accurate amount of each ingredient every time.
For instance, a cup of flour can vary significantly in weight depending on how it's scooped and leveled (ranging from 4 ounces to 5 ounces or more). Using a scale ensures you're using the exact amount specified, typically around 4.25 ounces (120 grams) per cup unless otherwise noted. This consistency is vital when making the necessary adjustments for high altitude bread baking.
The Importance of Dough Hydration at High Altitudes
As mentioned earlier, increased evaporation at altitude requires careful attention to dough hydration. The dough should feel slightly stickier than a sea-level dough. It's often helpful to reserve a small amount of the liquid (e.g., 1/4 cup) when initially mixing the dough and add it gradually only if needed to achieve the correct consistency.
Conversely, avoid adding too much extra flour during kneading, as this will make the dough dry and dense. A well-hydrated dough allows for better gluten development and helps keep the finished bread moist. Learning to judge the correct dough consistency by feel is a skill that improves with practice and is essential for successful high altitude bread baking.
Adjusting Baking Times for High-Altitude Bread
While you often increase the baking temperature at high altitude, the total baking time might actually be slightly shorter or remain the same, depending on the specific recipe and altitude. Because water boils at a lower temperature, the internal temperature of the bread reaches its peak slightly sooner. The higher oven temperature also contributes to faster cooking.
Monitor your bread closely during baking. Use visual cues like the color of the crust (deep golden brown) and the sound when tapping the bottom of the loaf (hollow sound) to determine doneness. For ultimate accuracy, use an instant-read thermometer inserted into the center of the loaf; most lean bread is done when the internal temperature reaches 200-210°F (93-99°C). Trust your thermometer and your senses over the clock when adjusting baking times for high altitude bread baking.
High-Altitude Bread Baking: Key Takeaways for Success
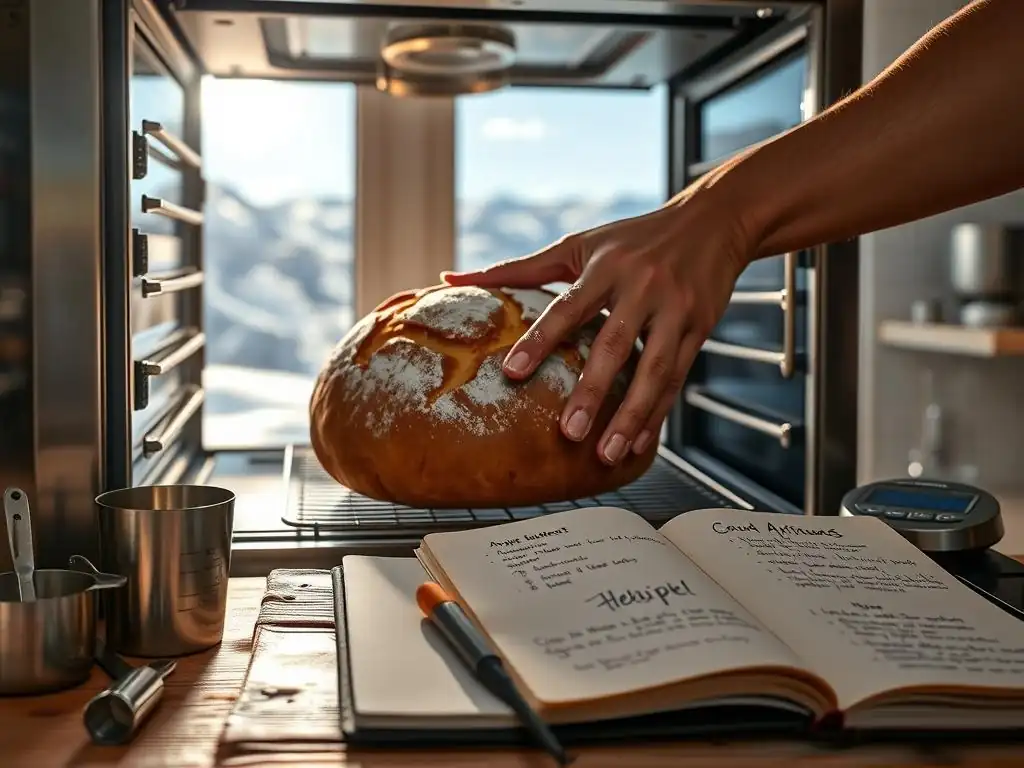
Successfully navigating high altitude bread baking involves understanding the basic physics at play and making informed adjustments to standard recipes. It requires patience, observation, and a willingness to experiment. Don't be discouraged by initial failures; each attempt teaches you more about how your specific environment affects the baking process.
High altitude bread bakingpresents unique challenges due to lower atmospheric pressure and increased evaporation.- Yeast activity is faster, leading to quicker rising times.
- Moisture evaporates more rapidly, potentially resulting in dry bread.
- The lower boiling point affects internal cooking.
Summary of Solutions for Common Bread Baking Issues at Altitude
Here's a quick recap of the key strategies to implement when adapting recipes for high altitude bread baking:
- For fast rising/over-proofing:
- Reduce yeast by 10-25%.
- Use cooler liquids.
- Shorten proofing times and rely on the poke test.
- For collapsing bread:
- Strengthen gluten by kneading longer or using higher protein flour/vital wheat gluten.
- Increase baking temperature by 15-25°F (8-14°C).
- For dry/crumbly bread:
- Increase liquid content by 1-2 tablespoons per cup of flour.
- Add or increase fat (butter, oil) in the recipe.
- For dense/heavy bread:
- Slightly reduce sugar (10-15%).
- Ensure proper mixing and kneading for full gluten development.
[ ] Reduce yeast amount
[ ] Increase liquid content
[ ] Strengthen gluten development
[ ] Increase oven temperature
[ ] Monitor proofing closely
[ ] Use precise measurements (scale)
By applying these adjustments and paying close attention to your dough, you'll be well on your way to mastering the art of high altitude bread baking and enjoying delicious, perfectly baked loaves no matter your elevation. Happy baking!
Frequently Asked Questions
What are the main challenges of baking bread at high altitude?
At higher altitudes, lower air pressure causes dough to rise faster and dry out more quickly. This can lead to a collapsed structure and a crumbly texture if not adjusted for.
How can I adjust my bread recipe for high altitude baking?
Common adjustments include reducing the yeast, increasing the liquid, and potentially adding a bit more flour. You might also need to bake at a slightly higher temperature.
Why does my high-altitude bread collapse after rising?
This often happens because the dough rises too quickly due to the lower air pressure. Reducing the yeast helps control the rise.
What ingredients are most affected by high altitude when baking bread?
Yeast activity is significantly impacted, as is the rate of moisture evaporation. This affects the gluten development and final texture.
Where can I find more detailed information about specific high-altitude bread baking recipes?
BakeWithEase.com offers step-by-step guides and tips tailored for high-altitude baking, covering various bread types and techniques.
Final Reflection: Rising Above the Challenges of High-Altitude Baking
The quest for perfectly risen bread at high altitude is far more than a culinary pursuit; it's a testament to human ingenuity and adaptation. Mastering the art of high-altitude baking requires a deep understanding of how reduced atmospheric pressure affects the behavior of yeast and gluten, a challenge that continues to fascinate and frustrate home bakers alike. This article has explored the key factors—from adjusting ingredient ratios to modifying baking times and temperatures—that are crucial to achieving success in the rarified air.
The impact of altitude on baking extends beyond the simple act of creating a loaf; it speaks to our relationship with our environment and the resourcefulness needed to thrive in challenging conditions. Baking is a science, but it's also an art. It's about understanding the ingredients and the process, and adapting to the environment you're in.
This quote, though not directly about high-altitude baking, perfectly encapsulates the spirit of this endeavor. The ongoing struggle and eventual triumph over the unique challenges of high-altitude baking mirrors our own personal journeys, reminding us that perseverance and adaptation are key to overcoming obstacles.
Now, I invite you to take what you've learned and apply it to your own kitchen. Don't be discouraged by initial failures; embrace the learning process. Experiment with different techniques, adjust your recipes based on your specific altitude, and most importantly, enjoy the journey of transforming simple ingredients into something truly special. The perfectly risen loaf at high altitude is a symbol of your dedication and a delicious reward for your efforts. So, gather your ingredients, preheat your oven, and rise to the challenge!
Unlock Your High-Altitude Baking Success!
Thanks for taking the time to explore the world of high-altitude baking with us! We hope you now feel more confident tackling those tricky altitude adjustments. Ready to put your new knowledge into practice?
- Bake your best high-altitude loaf yet! Try out one of the recipes we discussed, making sure to adjust for your specific elevation. This is your chance to put your new skills to the test!
- Share your baking triumphs (and even your flour-covered mishaps!) with our community on social media using #BakeWithEaseHighAltitude. Let's learn from each other!
- Consider experimenting with a different flour type—perhaps one you haven’t tried before. You might discover your new favorite high-altitude baking secret!
What exciting high-altitude baking adventure awaits you next?