
What to Do When Your Dough Rises Too Slowly


Welcome to BakeWithEase, your kitchen companion for conquering any baking challenge! Ever wondered why your dough seems to be taking forever to rise? Slow dough rising can be frustrating, but it's a common hurdle even experienced bakers face. Dive into our latest article, "What to Do When Your Dough Rises Too Slowly," and unlock the secrets to speeding up your fermentation process. We'll guide you through troubleshooting and techniques, ensuring your next bake rises to perfection. Ready to discover the solutions? Let's get baking!
- What to Do When Your Dough Rises Too Slowly: BakeWithEase Guide
- Understanding Slow Dough Rising Problems
- Troubleshooting Slow Dough Rising: A Step-by-Step Guide
- Common Culprits Behind Slow Dough Rising
- Fixing Slow Dough Rising: Practical Solutions
- Preventing Slow Dough Rising in Future Bakes
- What Happens If Dough Rises Too Slowly?
- Advanced Techniques for Improving Dough Rise
- Conclusion: Mastering the Art of Dough Rising
-
Frequently Asked Questions
- What are the most common causes of slow dough rising?
- How can I ensure my yeast is active before starting a dough?
- What temperature is ideal for dough proofing to avoid slow rising?
- If my kitchen is cold, what's a simple way to create a warmer environment for faster dough rising?
- Is it possible to over-knead dough, and how does that affect the rising process, impacting slow dough rising problems?
- Final Reflection: The Patience of the Baker, the Triumph of the Loaf
- Unlock Your Baking Potential: Faster, Fluffier Results Await!
What to Do When Your Dough Rises Too Slowly: BakeWithEase Guide
Understanding Slow Dough Rising Problems
Identifying the Signs of Slow Dough Fermentation
Recognizing slow dough rising problems early can save your bake. The most obvious sign is simply a lack of significant volume increase over the expected proofing time. While recipes often specify doubling in size, this can take anywhere from 1 to 4 hours depending on the dough type (lean vs. enriched), yeast amount, and ambient temperature.
If your dough has barely expanded after the initial hour or two, and the recipe suggested a much faster rise, you're likely experiencing slow fermentation. The dough may also appear dense and feel heavy compared to a properly proofing dough which feels airy and light.
Another indicator is the 'poke test'. Gently press your finger into the dough about half an inch deep. If the indentation springs back immediately and completely, the dough is under-proofed and rising slowly. A properly proofed dough will spring back slowly, leaving a slight indentation. Dough that is rising too slowly might not show any significant change in the indentation, indicating minimal gas production. The surface might also appear tight and less bubbly than expected.
Why is My Dough Not Rising? Common Causes Explained
Several factors can contribute to frustrating slow dough rising problems. At the heart of fermentation is yeast activity, and yeast are living organisms highly sensitive to their environment. The most frequent culprits include using expired or inactive yeast, proofing the dough in an environment that is too cold, or having incorrect ratios of key ingredients like salt and sugar, which can inhibit yeast function. Think of yeast as needing the right temperature, food, and hydration to thrive and produce the carbon dioxide gas that makes dough rise.
Beyond yeast viability and temperature, the composition of your dough plays a significant role. Too much salt (typically over 2.5% of the flour weight) can kill yeast or severely slow it down by drawing out moisture.
Similarly, excessive sugar (often over 10-15% of flour weight in rich doughs) can also inhibit yeast through osmosis, although yeast does feed on sugar. The hydration level (water-to-flour ratio) also matters; a very stiff, low-hydration dough (like 55% hydration for bagels) will inherently rise slower than a wetter dough (like 75%+ hydration for ciabatta) because there's less water for the yeast and gluten development.
Troubleshooting Slow Dough Rising: A Step-by-Step Guide
Step 1: Check the Dough Temperature
The temperature of your dough is perhaps the most critical factor influencing yeast activity and thus, dough rise. Yeast thrives in a warm, but not hot, environment. The optimal temperature range for most yeast activity is between 75°F and 85°F (24°C to 29°C).
Below 70°F (21°C), yeast becomes sluggish, and below 50°F (10°C), activity is very slow, essentially putting the yeast into a dormant state, which is sometimes used intentionally for flavor development in cold fermentation over many hours (12-48+ hours in a refrigerator around 38-40°F or 3-4°C). Conversely, temperatures above 90°F (32°C) can cause yeast to ferment too quickly, producing off-flavors, and temperatures above 130°F (54°C) will start to kill the yeast. Using an instant-read thermometer to check the internal temperature of your dough is the most accurate way to know if temperature is causing your slow dough rising problems.
If your dough temperature is below the ideal range, you need to warm it up safely. Avoid placing the dough directly onto a hot surface or in a hot oven, as this can kill the yeast unevenly. A safe method is to place the dough in an oven that is turned off, with only the oven light on (which typically raises the temperature inside to a gentle 75-85°F).
Another common technique is to place the dough in a turned-off microwave or oven with a cup of freshly boiled water next to it; the steam creates a warm, humid environment. You can also use a heating pad on its lowest setting, placing a towel between the pad and the dough container to prevent direct heat transfer. Aim to bring the dough temperature into the 75-85°F range and monitor it.
Step 2: Verify Your Yeast's Activity
Inactive or expired yeast is a frequent cause of slow dough rising problems. Yeast is a living organism, and its viability decreases over time, especially if stored improperly. While instant yeast can often be mixed directly into the dry ingredients, active dry yeast typically requires 'blooming' first to ensure it's alive and to hydrate it. Even if using instant yeast, if your dough isn't rising, it's worth performing a simple test on the yeast packet or jar you used.
To test yeast activity, dissolve 1 teaspoon of sugar in 1/4 cup of warm water. The water temperature is crucial here – it should be between 105°F and 115°F (40°C to 46°C) for active dry yeast, slightly lower for instant yeast if testing it this way, but this range is safe for both. Stir in about 2 teaspoons of the yeast you used in your recipe.
Let it sit for 5-10 minutes. If the yeast is active, it will consume the sugar and produce carbon dioxide, resulting in a frothy, bubbly layer on top that rises significantly, often reaching at least half an inch high.
If you see minimal or no foam, your yeast is likely dead or inactive, and this is the reason for your slow dough rising problems. You cannot revive truly dead yeast; you'll need to discard it and use fresh yeast from a new packet or jar.
Step 3: Assess the Baking Environment
Even if your dough starts at the right temperature, the ambient temperature of its proofing environment will significantly impact its rise speed. A cold kitchen (below 70°F or 21°C) will drastically slow down fermentation, turning a 1.5-hour rise into a 3 or 4-hour ordeal. Drafts can also negatively affect the dough, cooling its surface and potentially forming a skin that restricts expansion. Maintaining a consistently warm environment is key to predictable dough rise.
Creating a warm, draft-free proofing environment is essential to avoid slow dough rising problems. As mentioned earlier, a turned-off oven with the light on is a popular method, often providing a stable temperature of 75-85°F (24-29°C). Another technique is to place the covered dough in a warm spot, like on top of the refrigerator or near a radiator (but not too close to overheat it).
Using a proofing box, if you have one, provides precise temperature and humidity control. Adding a cup of hot water to the proofing environment (like the oven or microwave) also adds beneficial humidity, preventing the dough surface from drying out and forming a crust, which can impede the dough's ability to expand freely.
Step 4: Examine Your Ingredients and Recipe
Sometimes, the issue isn't just temperature or yeast viability, but the balance of ingredients in your recipe. Different types of flour behave differently; whole wheat and rye flours contain bran and germ that can interfere with gluten development and absorb more water, often resulting in a slower rise compared to dough made solely with white bread flour. Enriched doughs containing significant amounts of fat (butter, oil), sugar, eggs, or dairy tend to rise slower than lean doughs (just flour, water, salt, yeast) because these ingredients can coat the yeast and interfere with gluten formation.
If you suspect your ingredients or recipe might be causing slow dough rising problems, review the ratios carefully. Ensure you haven't accidentally added too much salt or sugar. If using whole grains, understand that the rise will naturally be slower and may require slightly more yeast or longer proofing times.
If you're consistently facing slow rise with a specific recipe, consider slightly increasing the hydration (adding a little more water) or slightly increasing the yeast quantity in future attempts, especially if it's a rich dough or you're baking in a cooler environment. For example, a standard loaf might use 1-2 teaspoons of instant yeast; increasing to 2.5 teaspoons could help.
Common Culprits Behind Slow Dough Rising
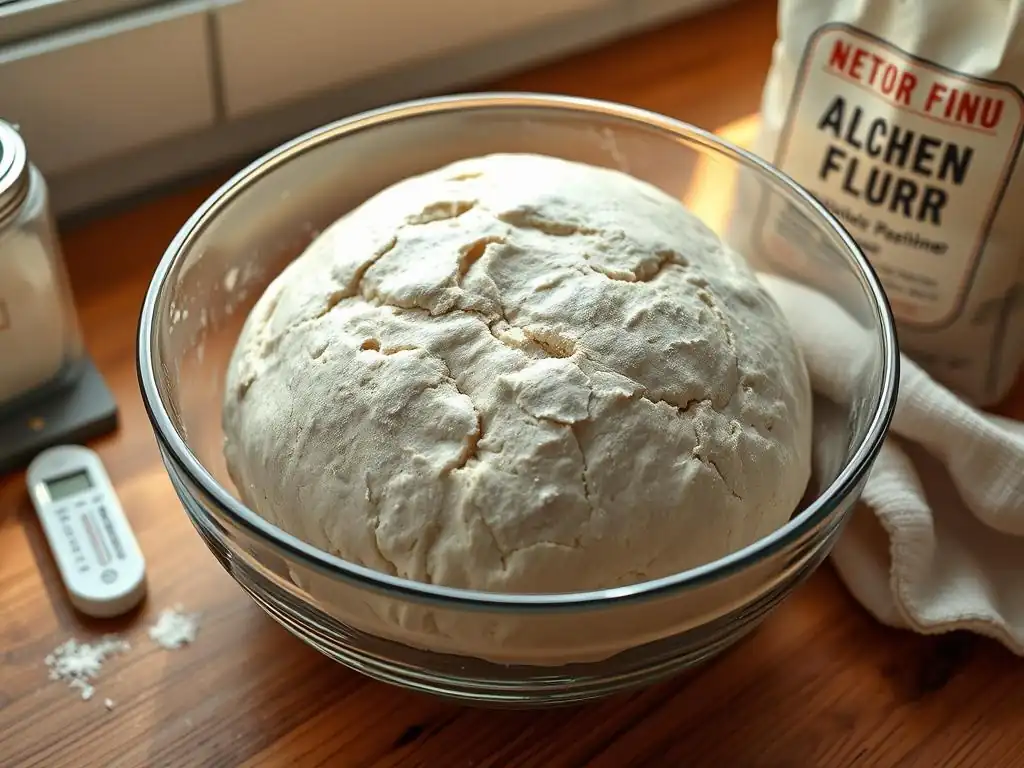
Expired or Inactive Yeast: The Most Common Cause
When troubleshooting slow dough rising problems, the first suspect should almost always be the yeast itself. Yeast are living microorganisms, and their lifespan is finite. If your yeast is past its expiry date or hasn't been stored correctly, its activity level will be significantly reduced, leading to sluggish or non-existent fermentation. Yeast is best stored in an airtight container in the refrigerator or freezer, which dramatically extends its shelf life compared to room temperature storage once opened. Active dry yeast stored improperly at room temperature might lose significant potency within a few months.
Performing the simple sugar test (as described in Step 2) is the definitive way to check if your yeast is still viable. If it doesn't foam up within 10 minutes in warm, sugary water, it's no longer potent enough to leaven your bread effectively. Using inactive yeast guarantees slow dough rising problems, and the only solution is to use fresh, active yeast. Always check the expiry date on the package before beginning your bake.
Cold Temperatures: Inhibiting Yeast Activity
Yeast activity is highly dependent on temperature. Just as cold temperatures can preserve food, they can also slow down or halt the metabolic processes of yeast. If your kitchen is cold, say below 70°F (21°C), your dough will rise much more slowly than if it were proofing in a warmer spot. This is a deliberate technique used in 'cold fermentation' to develop flavor over many hours in the refrigerator, but unintentional cold during a standard proofing period (meant to take 1-3 hours) is a primary cause of slow dough rising problems.
The ideal temperature range for bulk fermentation (the first rise) is typically between 75°F and 85°F (24°C to 29°C). Even a few degrees below this range can add significant time to the proofing process. Ensuring a consistently warm environment, as discussed in Step 3, is crucial for achieving the expected rise time and avoiding frustratingly slow dough rise. Monitor the ambient temperature and, ideally, the dough's internal temperature.
Too Much Salt or Sugar: Affecting Yeast Fermentation
While both salt and sugar are essential ingredients in most bread recipes, too much of either can negatively impact yeast activity. Salt controls the rate of fermentation and strengthens gluten, but in high concentrations (typically above 2.5% of the flour weight), it creates an osmotic pressure that draws water out of yeast cells, inhibiting their function or even killing them. This is why salt is often added after the initial mixing or bloomed yeast has been incorporated.
Sugar acts as food for yeast, but like salt, excessive amounts (generally over 10-15% of the flour weight in very rich doughs) can also exert osmotic pressure on yeast cells, slowing down fermentation. Rich doughs with high sugar and fat content inherently rise slower than lean doughs and may require slightly more yeast or longer proofing times to overcome this inhibition. Accurately measuring ingredients is key to preventing these types of slow dough rising problems.
Incorrect Hydration: Balancing Water and Flour
The hydration level of your dough (the ratio of water to flour by weight) affects its consistency and, consequently, its rise speed. A very stiff dough with low hydration (e.g., 55-60% hydration) is denser and has less free water available for the yeast to access and for gluten development. This results in a slower rate of gas production and expansion compared to a higher hydration dough (e.g., 70-80% hydration), which is softer and more extensible.
While higher hydration can lead to a faster rise and potentially a more open crumb structure, it also makes the dough stickier and harder to handle. Understanding the typical hydration range for the type of bread you're making is important. If a recipe consistently results in slow dough rising problems despite correct temperature and active yeast, check if the hydration level is appropriate for the flour used and the intended outcome. Sometimes, simply adding a little more water can help speed things along, provided the dough can still be managed.
Fixing Slow Dough Rising: Practical Solutions
Warming the Dough: Safe and Effective Methods
If you've identified that your dough is too cold, safely warming it up is the most direct solution to slow dough rising problems. The goal is to gently bring the internal dough temperature into the optimal range of 75-85°F (24-29°C) without overheating it. As mentioned, placing the dough in a turned-off oven with the light on is effective; the light bulb provides just enough heat. You can also place the covered dough on a wire rack over a pan of hot water (not boiling) in the oven, creating a warm, steamy proofing box.
Another method is to use a heating pad on its lowest setting. Place a thick towel or folded cloth between the heating pad and the bowl containing the dough to prevent direct, intense heat, which can kill the yeast or cause uneven fermentation. Monitor the dough temperature periodically with an instant-read thermometer. Avoid microwaving the dough or placing it directly in contact with hot surfaces. Patience is key; let the gentle warmth gradually raise the dough temperature and reignite yeast activity.
Extending Proofing Time: When Patience is Key
Assuming your yeast is active and your ingredients are balanced correctly, slow dough rising problems in a cool environment can often be solved by simply allowing more time. Yeast activity slows down significantly at lower temperatures (below 70°F or 21°C), but it doesn't stop entirely. A dough that might double in 1.5 hours at 80°F could take 3, 4, or even 5 hours at 65°F (18°C).
Instead of strictly adhering to the time specified in the recipe, focus on the dough's appearance and feel. Use the poke test to check for readiness – the dough should look significantly increased in volume (though maybe not perfectly doubled in a cool environment) and when gently poked, the indentation should spring back slowly, not immediately. If your environment is cool, extend the proofing time until the dough reaches the desired state of fermentation. Waiting patiently is often the simplest fix for temperature-induced slow dough rising problems.
Adding a Dough Enhancer: Vital Wheat Gluten, Ascorbic Acid
For persistent slow dough rising problems, particularly with recipes using whole grains or those that are heavily enriched, incorporating a small amount of a dough enhancer can help. Vital wheat gluten is a common enhancer made from dried gluten protein; adding 1-2% of the flour weight (e.g., 1-2 teaspoons per cup of flour) can strengthen the dough's structure, allowing it to better trap the gases produced by yeast and achieve a higher rise. This is especially useful when using lower-protein flours or significant amounts of whole wheat.
Ascorbic acid (Vitamin C) is another enhancer, often used commercially. A very small amount (just a pinch or a crushed Vitamin C tablet) acts as an oxidant, strengthening the gluten network. It can also potentially boost initial yeast activity. While not necessary for basic bread recipes, these enhancers can provide an extra lift and improve the dough's ability to rise, mitigating issues that lead to slow dough rising problems in challenging dough formulations. Use them according to package directions or specific recipe recommendations.
Adjusting Yeast Quantity: Active Dry vs. Instant Dry Yeast Guidelines
The type and amount of yeast used can significantly impact the rise speed. Instant dry yeast is typically more potent and faster-acting than active dry yeast. Generally, you can use about 25% less instant yeast than active dry yeast by weight. If a recipe calls for active dry yeast and you're using instant, you might need slightly less, but if you're experiencing slow dough rising problems, ensure you're using the correct conversion or even slightly more.
If you consistently encounter slow dough rise with a particular recipe or in a specific environment (like a cool kitchen), slightly increasing the amount of yeast can help. For a standard loaf using around 3-4 cups of flour, increasing the yeast by 1/4 to 1/2 teaspoon can provide a needed boost. However, avoid adding excessive amounts of yeast, as this can lead to an overly rapid rise that compromises flavor development and can result in an unpleasant yeasty taste in the final bread. Balance is key.
Preventing Slow Dough Rising in Future Bakes
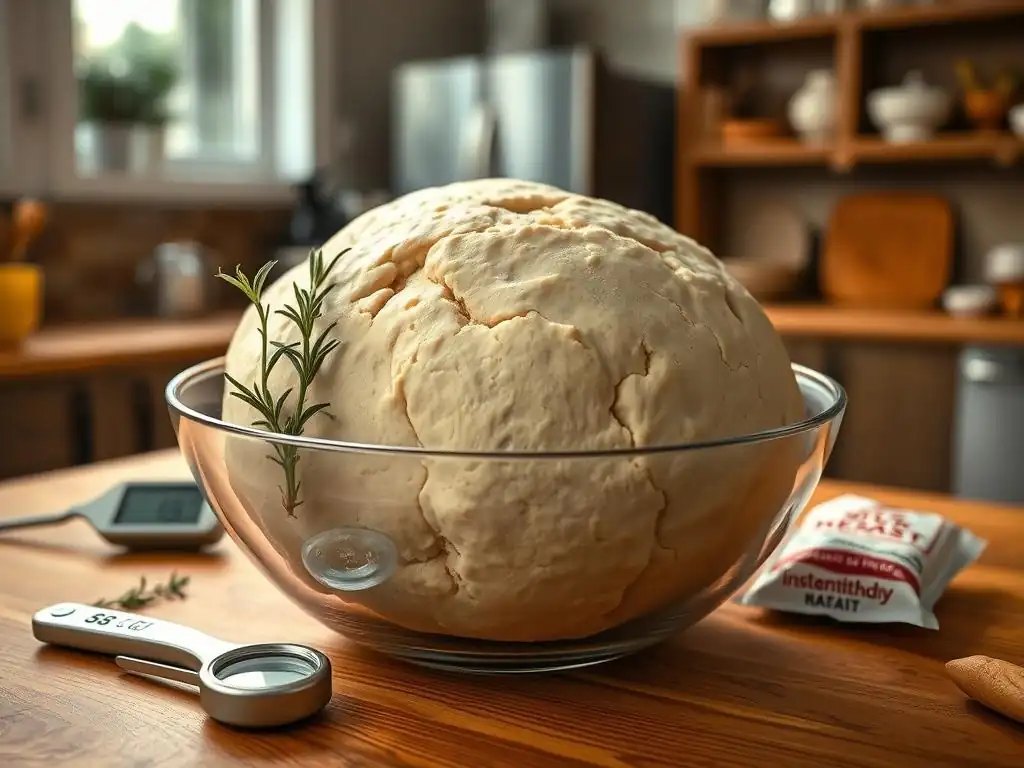
Storing Yeast Properly: Maintaining Yeast Viability
One of the most effective preventative measures against slow dough rising problems is ensuring your yeast is fresh and active before you even start baking. Proper storage is paramount. Yeast should be stored in an airtight container to protect it from moisture and air. For maximum shelf life, store it in the refrigerator or, even better, the freezer.
Active dry yeast can last up to a year or two in the freezer, while instant yeast can last even longer, potentially up to three years. Storing yeast at room temperature, especially after the package has been opened, significantly reduces its lifespan, often to just a few months. By keeping your yeast cold and airtight, you minimize the risk of starting your bake with inactive yeast, thereby preventing a common cause of slow dough rising problems.
Investing in a Reliable Thermometer: Monitoring Dough Temperature
Guessing temperatures is a frequent source of baking inconsistencies, including slow dough rising problems. A small investment in an instant-read thermometer can dramatically improve your results. Use it to accurately measure the temperature of the water when blooming active dry yeast (ideally 105-115°F or 40-46°C).
More importantly, use it to check the internal temperature of your dough during bulk fermentation. Knowing if your dough is truly in the optimal 75-85°F (24-29°C) range allows you to make informed decisions about where to proof it or if you need to take steps to warm it. Monitoring temperature removes guesswork and helps you diagnose slow dough rising problems quickly if they occur.
Understanding the Role of Each Ingredient: Optimizing Your Recipes
Developing a deeper understanding of how each ingredient interacts within the dough matrix empowers you to troubleshoot and adapt recipes, minimizing the likelihood of slow dough rising problems. Learn how different flours (all-purpose, bread flour, whole wheat, rye) affect gluten development and water absorption. Understand that fats and sugars in enriched doughs slow fermentation.
Knowing the typical percentage ranges for salt (1.5-2.5% of flour weight) and sugar (up to 10-15% before significant inhibition) helps you identify potential issues in a recipe before you even start mixing. This knowledge allows you to anticipate challenges, like a naturally slower rise with whole wheat flour, and adjust your expectations or techniques proactively.
Documenting Your Baking Process: Learning from Experience
Keeping a simple baking journal can be an invaluable tool for identifying patterns and preventing future slow dough rising problems. For each bake, record key details: the recipe used, type and brand of flour and yeast, water temperature, room temperature, initial dough temperature, proofing location, proofing time, and the outcome (did it rise well? was it slow? ).
Reviewing your notes helps you connect causes and effects. Did the dough rise poorly on days the kitchen was below 70°F? Did a specific batch of yeast seem less active? Did changing flour brands affect the rise time? This systematic approach turns troubleshooting into a learning process, helping you refine your techniques and consistently achieve successful dough rises.
What Happens If Dough Rises Too Slowly?
The Impact on Bread Texture and Flavor
When dough rises too slowly due to factors like inactive yeast or cold temperatures (and not intentional cold fermentation), the primary impact is on the final bread's texture and volume. Insufficient fermentation means the yeast hasn't produced enough carbon dioxide gas to properly inflate the dough and create a light, airy structure. The gluten network may also not have developed sufficiently to capture the gas effectively.
The result is typically a dense, heavy loaf with poor oven spring and a tight crumb structure. Instead of large, irregular holes characteristic of well-risen bread, the crumb will be uniform and compact. Flavor development is also affected. While intentional slow fermentation (like cold retarding) enhances complex flavors, unintentional slow rise due to problems like inactive yeast can lead to underdeveloped flavor or, if the yeast is stressed but still somewhat active, potentially produce off or overly yeasty notes.
Can You Still Bake with Slowly Risen Dough? Explain Outcomes
Yes, you can generally still bake dough that has risen too slowly, but you should manage your expectations for the final product. Baking a significantly under-risen dough will result in a loaf that is denser, flatter, and heavier than intended. It won't achieve the desired volume or open texture.
Think of it this way: the oven spring (the final burst of rising in the oven) relies on the dough having a developed gluten structure filled with gas from fermentation. If the initial rise was poor due to slow dough rising problems, there's less gas and a potentially weaker structure to support expansion in the oven.
While the dough will still bake through, the outcome will be compromised, often resembling what bakers might call a "brick" – edible, but not the light, airy bread you were hoping for. It's usually better to try and correct the slow rise (by warming it or waiting longer) before baking if possible.
Advanced Techniques for Improving Dough Rise
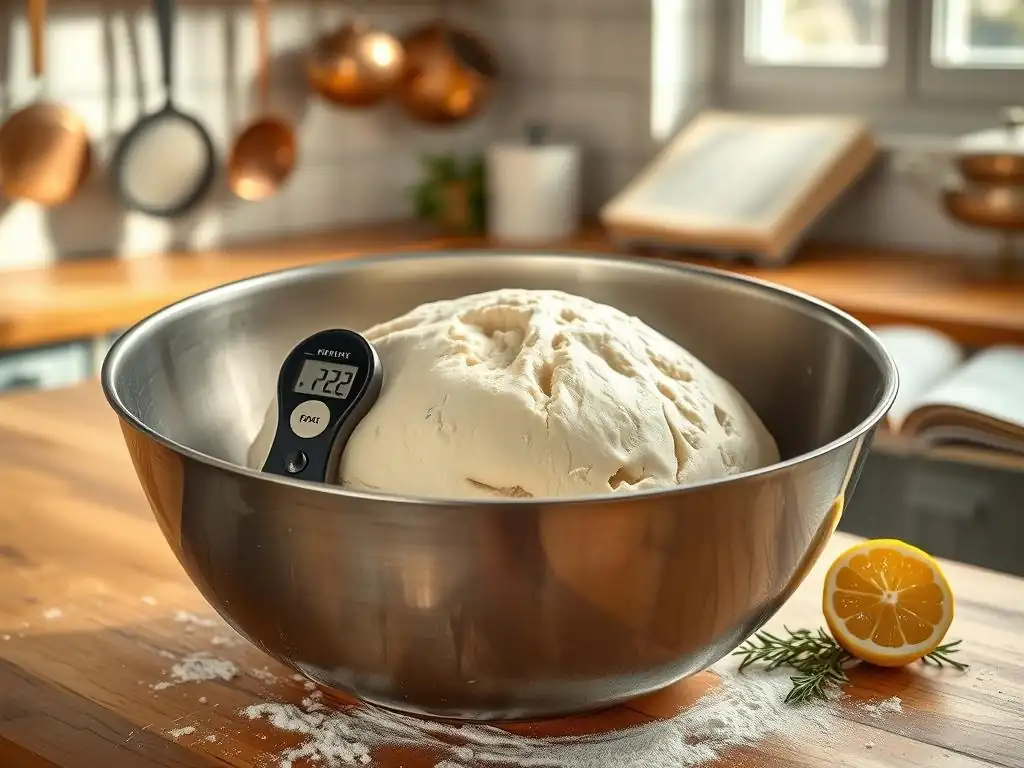
Using a Sourdough Starter: Naturally Enhancing Dough Rise
Shifting from commercial yeast to a sourdough starter is an advanced technique that can fundamentally change your approach to dough rise and often results in a more robust loaf. A sourdough starter is a living culture of wild yeast and lactic acid bacteria. These organisms work together to leaven the dough and develop complex flavors. The bacteria produce acids that strengthen the gluten network, enabling it to trap gas more effectively and leading to excellent oven spring, even with higher hydration doughs.
While sourdough fermentation is typically slower than commercial yeast (bulk fermentation often takes 4-12 hours at room temperature, depending on starter activity and temperature), a healthy, active starter provides reliable leavening power that can overcome some of the issues associated with commercial yeast variability or sensitivity, helping to avoid certain types of slow dough rising problems. Maintaining a vigorous starter by regular feeding is key to its leavening strength.
Employing the Bulk Fermentation Method: Extended Fermentation Techniques
Focusing on the bulk fermentation phase (the first rise before shaping) using techniques like 'stretch and folds' can significantly improve dough structure and rise. Instead of simply letting the dough sit until it doubles, this method involves periodic gentle stretching and folding of the dough every 30-60 minutes for the first 2-3 hours of the rise. This builds gluten strength gradually, allowing the dough to develop a stronger framework capable of holding more gas.
Extended bulk fermentation allows the yeast activity to unfold more slowly and deliberately, building flavor and structure over a longer period, often 3-5 hours or even more at room temperature, depending on the dough and environment. Rather than relying solely on visual cues like doubling, experienced bakers also assess the dough's feel – it should become airy, slightly domed, and show signs of gas production (bubbles). This controlled, slower approach to the initial rise can lead to better results and fewer unexpected slow dough rising problems.
Incorporating Pre-Ferments: Poolish, Biga, Pâte Fermentée
Using a pre-ferment is a technique where a portion of the flour, water, and yeast from the main recipe is mixed hours or even a day in advance and allowed to ferment separately before being added to the final dough. Common examples include poolish (equal parts flour and water by weight, with a small amount of yeast), biga (lower hydration than poolish), and pâte fermentée (a piece of dough reserved from a previous batch).
Adding a pre-ferment jumpstarts the fermentation process in the final dough. The yeast in the pre-ferment are already highly active and contribute a significant amount of leavening power from the start. This can lead to a more vigorous and reliable rise in the main dough, helping to mitigate potential slow dough rising problems. Pre-ferments also contribute desirable flavors and aromas to the final bread, adding another layer of complexity.
Conclusion: Mastering the Art of Dough Rising
Key Takeaways for Preventing and Addressing Slow Dough Rising Problems
Mastering dough rise is a fundamental skill in baking, and encountering slow dough rising problems is a common hurdle for bakers of all levels. The most critical factors influencing yeast activity are the yeast's viability, the dough's temperature, and the temperature of the proofing environment. Always start by checking that your yeast is active using the simple sugar test and ensure your dough and proofing space are adequately warm, ideally in the 75-85°F (24-29°C) range.
Beyond temperature and yeast, pay attention to your ingredients – too much salt or sugar can inhibit fermentation, and different flours or hydration levels will naturally affect rise speed. When faced with a slow rise, the simplest fixes are often the most effective: safely warm the dough and, if necessary, patiently extend the proofing time until the dough shows the proper signs of readiness (volume increase, poke test results). By understanding these key principles, keeping your yeast fresh, monitoring temperatures, and learning from each bake, you can confidently tackle slow dough rising problems and consistently achieve beautifully risen bread.
Frequently Asked Questions
What are the most common causes of slow dough rising?
Several factors can contribute, including cold temperatures, using old or inactive yeast, and insufficient kneading to develop gluten.
How can I ensure my yeast is active before starting a dough?
You can test your yeast by mixing it with warm water and a little sugar. If it foams within 5-10 minutes, it's active and ready to use; otherwise, it should be replaced.
What temperature is ideal for dough proofing to avoid slow rising?
The ideal temperature for proofing dough is generally between 75-85°F (24-29°C). A warm environment helps the yeast thrive and ferment properly.
If my kitchen is cold, what's a simple way to create a warmer environment for faster dough rising?
You can proof your dough in a slightly warmed oven (turned off!) or in a microwave with a cup of hot water. The humidity and warmth will encourage rising.
Is it possible to over-knead dough, and how does that affect the rising process, impacting slow dough rising problems?
Yes, over-kneading can damage the gluten structure, making it difficult for the dough to rise properly. Avoid excessive kneading for optimal results.
Final Reflection: The Patience of the Baker, the Triumph of the Loaf
The struggle with slow dough rising is more than just a baking problem; it's a metaphor for life's unexpected delays. A perfectly risen loaf represents not only culinary success but also the perseverance needed to achieve any goal, no matter how long it takes. The frustration of a stubbornly slow rise mirrors the challenges we face when our plans are unexpectedly stalled.
The journey of baking, much like life, is filled with unpredictable variables. Temperature fluctuations, ingredient inconsistencies, even the subtle changes in atmospheric pressure can impact the rise of our dough. This mirrors the unpredictable nature of our own personal journeys. The oak sleeps in the acorn; the bird waits in the egg; and in the highest vision of the soul a waking angel stirs. Dreams are the seedlings of realities.
This quote beautifully captures the potential held within even the slowest of rises, the promise of something beautiful waiting to unfold.
So, the next time your dough rises slower than expected, remember this: patience is not passive waiting, but active engagement with the process. Don't be discouraged by the delay; instead, use it as an opportunity to learn, adapt, and appreciate the subtle nuances of the craft. Take a moment to reflect on your own "slow rises," those moments when progress seems stalled.
What lessons can you glean from the wait? What adjustments can you make to ensure a more successful outcome? Embrace the process, and you'll find that the final product, whether a perfectly risen loaf or a personal triumph, will be all the sweeter for the wait.
Unlock Your Baking Potential: Faster, Fluffier Results Await!
Thanks for taking the time to learn about troubleshooting slow-rising dough! We hope you now feel more confident in tackling your next baking project. Ready to put your new knowledge into practice?
- Try a new recipe: Use our website's search bar to find a recipe specifically designed for faster rising times — many incorporate techniques we discussed!
- Share your baking wins (or challenges!): Let us know on social media how your next batch of dough turns out using #BakeWithEase. We love to see your results!
- Experiment with different yeast: Consider trying a different brand or type of yeast to see if it speeds up the process for you. It might be just the ticket!
Ready to achieve those perfectly fluffy loaves? What’s your next baking adventure?