
Enhancing Yeast Activity with Natural Yeast Boosters and Enzymes

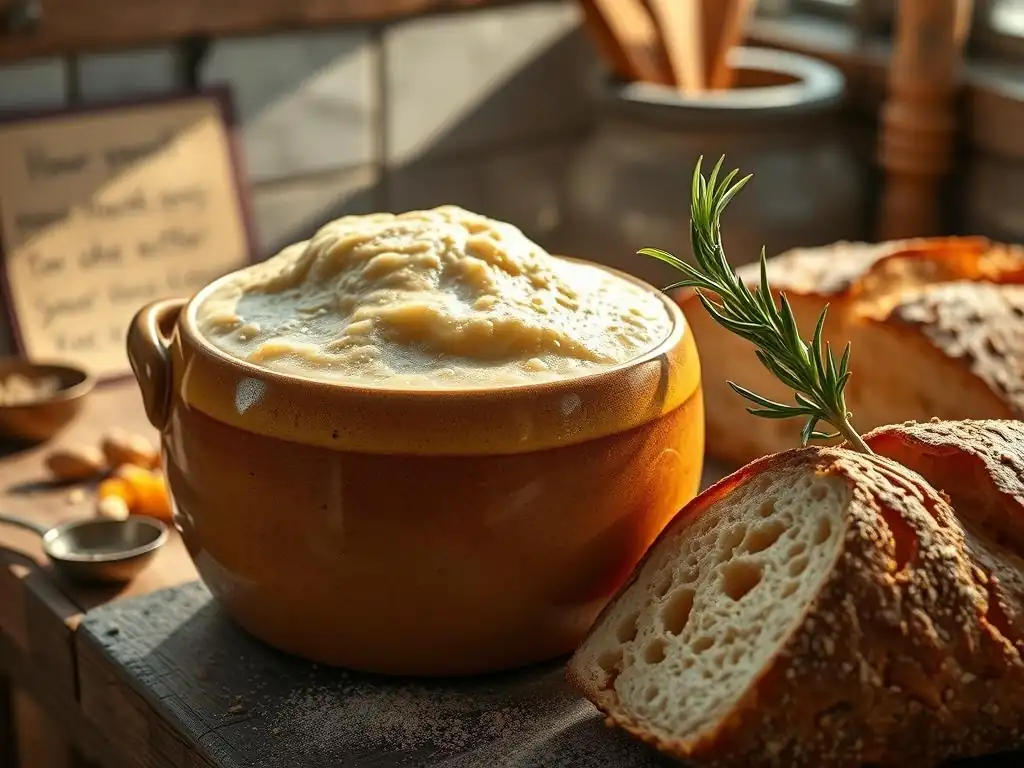
Welcome to BakeWithEase, your partner in creating baking magic! Ever wondered how to coax the best rise out of your sourdough? Unlock the secrets to a vibrant and active starter with our guide on natural yeast boosters. Discover how simple ingredients and a little knowledge can transform your sourdough game, leading to exceptional flavor and texture. Read on to learn more and take your baking to the next level!
- Enhancing Bread Flavor and Texture: A Guide to Fermentation Techniques
- Enhancing Flavor Through Pre-Ferments
- Popular Pre-Ferment Techniques
- Autolyse: Enhancing Dough Hydration and Gluten Development
- Long Fermentation: Developing Complex Flavors
- Sourdough Fermentation: Cultivating Wild Yeasts and Bacteria
- Recipe Optimization: Integrating Fermentation Techniques
- Tips for Effectively Managing Fermentation
- Fermentation Techniques vs. Commercial Additives: A Comparison
- Storing Pre-Ferments for Future Use
- Conclusion: Mastering Fermentation for Exceptional Bread
-
Frequently Asked Questions
- What are natural yeast boosters and why are they important for sourdough baking?
- Can you provide examples of natural yeast boosters commonly used in sourdough recipes?
- How do natural enzymes contribute to the sourdough baking process?
- How much natural yeast booster should I add to my sourdough recipe?
- Where can I find reliable sourdough recipes that incorporate natural yeast boosters?
- Final Reflection: Unlocking the Power of Nature in Sourdough Baking
- Unleash Your Inner Baker: Boost Your Bread Baking!
Enhancing Bread Flavor and Texture: A Guide to Fermentation Techniques
The Role of Fermentation in Bread Making
Fermentation is the alchemical process where yeast or a sourdough starter consumes sugars in the flour, producing carbon dioxide gas and a host of organic acids and alcohols. This gas is trapped within the gluten network of the dough, causing it to rise and giving the finished bread its open, airy crumb structure. Beyond leavening, fermentation is crucial for developing the complex flavors and aromas that define great bread. Without adequate fermentation, bread would be dense, bland, and have a short shelf life.
This transformative process breaks down complex carbohydrates into simpler sugars, making them available for the yeast. It also modifies the proteins in the flour, contributing to the dough's elasticity and extensibility, which are vital for achieving good volume and texture. The byproduct acids, such as lactic and acetic acid in sourdough, not only contribute to flavor but also help preserve the bread and influence the crust color and texture during baking. A well-fermented dough is the foundation for a truly exceptional loaf.
Factors Affecting Fermentation Speed and Flavor
Several key factors influence how quickly fermentation proceeds and the resulting flavor profile. Temperature is perhaps the most significant; yeast activity increases with warmth, typically peaking between 75°F and 85°F (24°C to 29°C). Colder temperatures slow fermentation dramatically, which is often used intentionally in long, cold proofs to develop more complex flavors. The amount and activity level of the leavening agent (commercial yeast or sourdough starter) also play a direct role in speed. A higher percentage of yeast or a very active starter will ferment dough much faster than a small amount or a sluggish starter.
Hydration levels in the dough also impact fermentation. Wetter doughs tend to ferment faster than stiff doughs because the yeast has easier access to the sugars. The type of flour used matters too; whole wheat flour ferments more quickly than refined white flour due to higher enzyme activity and available nutrients.
Salt, while essential for flavor and controlling yeast activity, slows fermentation; recipes typically use between 1.8% and 2.2% salt relative to the flour weight. Sugars, up to a certain point (around 5-10%), can speed up fermentation by providing readily available food for the yeast, but excessive sugar can actually inhibit yeast activity.
Enhancing Flavor Through Pre-Ferments
What are Pre-Ferments?
Pre-ferments, also known as starters or levains (though levain often specifically refers to sourdough), are a portion of the dough mixed hours or even days before the final dough is prepared. They consist of flour, water, and a small amount of yeast or starter, allowed to ferment for a period. This initial fermentation step develops flavor compounds and increases yeast activity before the main dough is mixed, effectively giving the fermentation process a head start. Common types include biga, poolish, and pâte fermentée.
The hydration and fermentation time of a pre-ferment can vary widely, influencing the final bread's characteristics. A stiff pre-ferment like biga (around 50-60% hydration) ferments more slowly and contributes structure and a nutty flavor. A liquid pre-ferment like poolish (100% hydration) ferments faster and adds a delicate sweetness and open crumb. Using a pre-ferment allows bakers to manage fermentation more precisely and build layers of flavor that are difficult to achieve with a direct mix method alone.
Benefits of Using Pre-Ferments
Incorporating pre-ferments into a bread recipe offers numerous benefits, primarily centered on enhancing flavor, texture, and dough handling. The extended, initial fermentation period allows enzymes in the flour more time to break down starches, producing more sugars for the yeast and creating complex flavor molecules. This results in bread with deeper, more nuanced taste profiles compared to a straight dough. For instance, a poolish can contribute slightly sweet, alcoholic notes, while a biga often lends a more robust, slightly acidic flavor.
Beyond flavor, pre-ferments improve the dough's structure and extensibility. The acids produced during the pre-ferment stage strengthen the gluten network, leading to better oven spring and a more desirable crumb structure, often with larger, irregular holes. Using a pre-ferment can also improve the bread's keeping quality; the increased acidity slightly lowers the pH, which inhibits mold growth. Pre-ferments act as a natural yeast booster, providing a highly active inoculum for the final dough, which can lead to more reliable and vigorous fermentation.
Popular Pre-Ferment Techniques
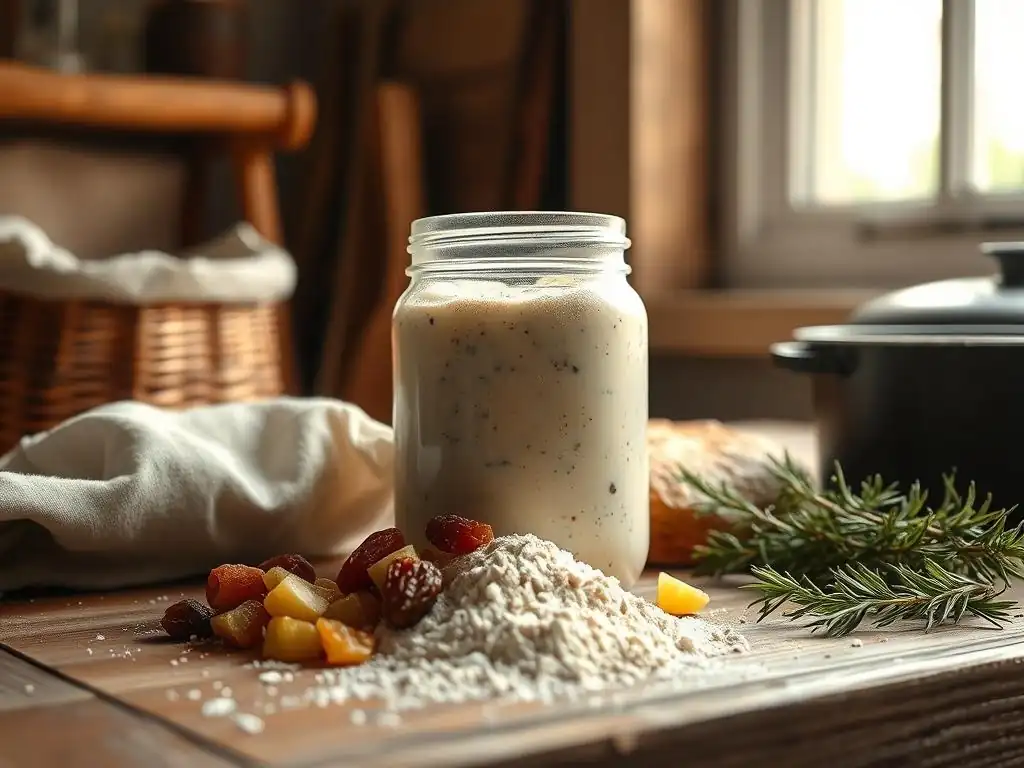
Biga: A Stiff Italian Pre-Ferment
Biga is a traditional Italian pre-ferment characterized by its relatively low hydration, typically ranging from 50% to 60% water relative to the flour weight. It is mixed with a small amount of commercial yeast (often less than 1% of the flour weight in the biga) and fermented for a long period, often 12 to 16 hours at room temperature or even longer in the refrigerator. The stiffness of the biga slows down fermentation, allowing for a gradual development of flavor and acidity.
This stiff consistency contributes significant structure to the final dough. Biga is particularly favored in Italian breads like ciabatta, pane toscano, and some rustic loaves, where it helps achieve a chewy texture and a well-developed, nutty flavor. The lower hydration means it can be mixed relatively quickly, often just until the ingredients are combined, without needing extensive gluten development in the pre-ferment itself. When added to the final dough, the biga integrates slowly, requiring adequate mixing to achieve a smooth consistency.
Poolish: A Liquid Pre-Ferment
Poolish is a French pre-ferment known for its high hydration, typically mixed at 100% hydration (equal weights of flour and water). Like biga, it uses a small amount of commercial yeast and is fermented for several hours, often 8 to 12 hours at room temperature, or longer in cooler conditions. The liquid nature of poolish allows for faster fermentation compared to biga, and it reaches its peak activity when the surface shows numerous bubbles and might start to collapse slightly in the center.
The high hydration of poolish contributes to a more open and tender crumb in the final bread. It imparts a delicate, slightly sweet, and alcoholic flavor profile. Poolish is commonly used in French breads such as baguettes, as well as rolls and softer loaves where a light texture and subtle flavor enhancement are desired. Its liquid state means it disperses easily in the final dough mix, simplifying the dough development process.
Pâte Fermentée: An Old Dough Pre-Ferment
Pâte Fermentée, meaning "fermented dough" in French, is perhaps the simplest pre-ferment conceptually: it's simply a piece of dough reserved from a previous batch. This "old dough" already contains all the components of a basic bread dough – flour, water, salt, and leavening (either commercial yeast or sourdough starter). It's typically saved from a batch made a day or two prior and stored in the refrigerator until needed.
Using pâte fermentée is an excellent way to improve the flavor and structure of a new batch of dough while also reducing waste. Because it already contains salt, it contributes not just leavening power and flavor compounds but also a bit of seasoning to the new dough. It adds complexity and a slight tang similar to a mild sourdough. Pâte fermentée is versatile and can be incorporated into various bread recipes, offering a reliable method for enhancing bread quality with minimal extra effort.
Autolyse: Enhancing Dough Hydration and Gluten Development
Understanding the Autolyse Process
Autolyse is a technique introduced by French professor Raymond Calvel. It involves mixing just the flour and water from a bread recipe and letting the mixture rest for a period, typically 20 minutes to an hour. During this resting phase, without the presence of salt or yeast, two natural enzymes present in flour – protease and amylase – become active. Amylase breaks down starches into simpler sugars, which will later feed the yeast, while protease begins to break down some of the protein structure.
Crucially, the autolyse allows the flour to fully and evenly hydrate. The gluten-forming proteins (gliadin and glutenin) begin to bond and align without the mechanical effort of kneading. This initial development occurs passively, making the subsequent mixing or kneading much easier and more efficient. Salt is excluded initially because it tightens the gluten structure, counteracting the relaxing effect desired during autolyse. Yeast is also excluded to prevent fermentation from starting before the gluten structure has a chance to develop passively.
Benefits of Autolyse in Bread Baking
Implementing an autolyse step offers several significant advantages in bread making. Firstly, it dramatically reduces the amount of kneading required to develop the gluten network. After an autolyse, dough becomes incredibly pliable and smooth, requiring only a few minutes of mixing or folding to achieve full development, compared to potentially 10-15 minutes or more for a non-autolysed dough. This is less taxing on both the baker and the dough, preventing oxidation and potential tearing of the gluten.
Secondly, autolyse improves the dough's extensibility and elasticity. The partial breakdown by protease makes the dough more relaxed and easier to shape, while the passive gluten development leads to a stronger, more cohesive network capable of trapping gas more effectively. This often results in increased loaf volume and a more open crumb structure. Autolyse can also allow for incorporating a slightly higher hydration level into the dough, as the flour has more time to absorb the water fully, leading to a moister crumb.
Long Fermentation: Developing Complex Flavors
Understanding the Principles of Long Fermentation
Long fermentation refers to extending the dough's bulk fermentation or proofing period significantly, often from a few hours at room temperature to 12-72 hours or more under refrigeration. The principle is to slow down yeast activity using cold temperatures, allowing enzymes and microbial activity (especially in sourdough) to work over an extended duration. This slow process enables a more thorough breakdown of starches and proteins and the gradual production of a wider range of flavor compounds compared to rapid fermentation.
During long fermentation, enzymes like amylase continue to break down complex carbohydrates, providing a steady supply of simple sugars for the yeast and bacteria. The slow activity of yeast and lactic acid bacteria (LAB) results in the accumulation of organic acids, such as lactic and acetic acid, which contribute depth, tang, and complexity to the flavor.
The dough also develops a stronger gluten network as it rests, leading to improved structure and gas retention. This method is a natural yeast booster in the sense that it maximizes the flavor potential from the existing leavening agents and flour enzymes over time.
Benefits of Extended Fermentation
The primary benefit of extended fermentation is the development of profoundly complex and nuanced flavors. The slow breakdown of ingredients creates aromatic compounds that simply don't have time to form during a quick rise. This is particularly evident in sourdough baking, where long, cold fermentation accentuates the characteristic tang and depth from the LAB. A sourdough recipe benefits immensely from an extended cold proof, allowing the natural yeast boosters (the wild yeast and bacteria) to work their magic slowly.
Beyond flavor, long fermentation improves the dough's structure and handling. The gluten network strengthens over time, making the dough easier to shape and resulting in better oven spring and a more desirable crumb structure, often with a more open, irregular pattern. The increased acidity from organic acids also helps preserve the bread, extending its shelf life and keeping it fresh longer. Furthermore, for some individuals, long fermentation can make bread easier to digest due to the breakdown of starches and proteins.
Sourdough Fermentation: Cultivating Wild Yeasts and Bacteria
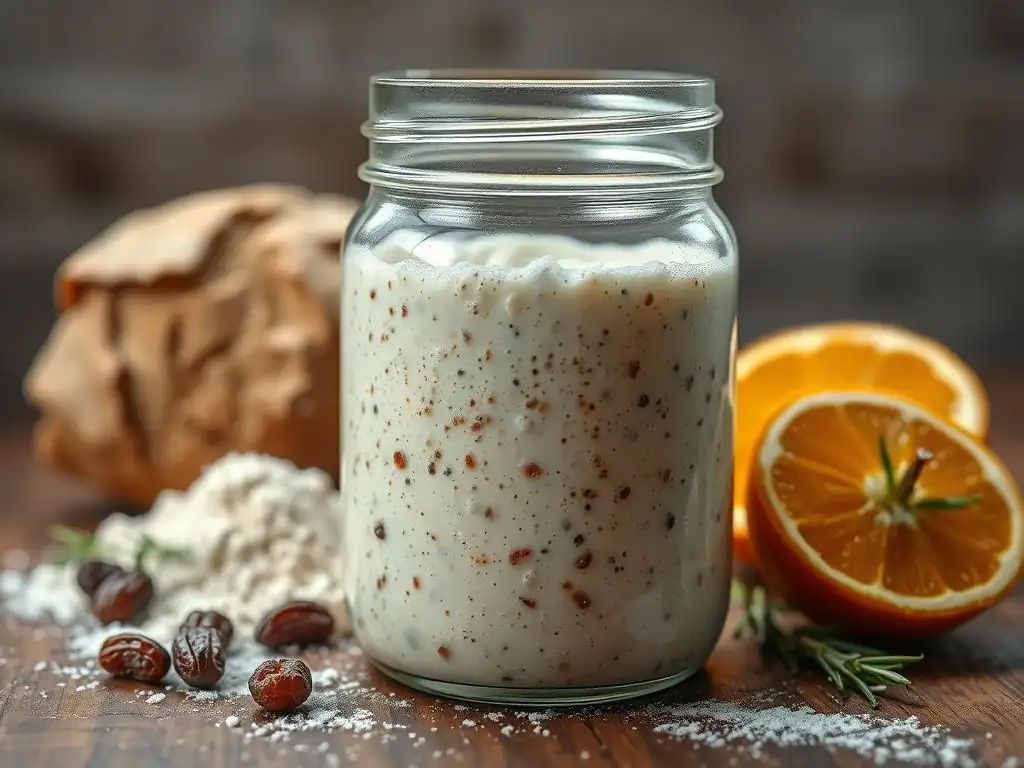
Understanding Sourdough Starters
A sourdough starter is a living culture of wild yeast and lactic acid bacteria (LAB) cultivated in a mixture of flour and water. Unlike commercial yeast, which contains a single or few specific strains of Saccharomyces cerevisiae, a starter is a complex ecosystem. The wild yeasts provide the leavening power by producing carbon dioxide, while the LAB produce organic acids, primarily lactic and acetic acid, which give sourdough its characteristic tangy flavor and contribute to the dough's structure and keeping qualities.
Creating and maintaining a starter involves regularly feeding it with fresh flour and water, typically at least once a day when kept at room temperature or less frequently if stored in the refrigerator. This feeding process removes waste products and provides new nutrients for the microorganisms to consume, keeping the culture active and healthy. The ratio of flour, water, and existing starter (the refresh ratio), as well as the temperature, significantly impact the balance between yeast and bacteria activity and the resulting flavor profile. A well-maintained starter is the ultimate natural yeast booster for sourdough baking.
Managing Sourdough Starter Activity
Successfully baking with sourdough hinges on understanding and managing your starter's activity. A healthy, vigorous starter will double or triple in volume within a few hours of being fed (at warm room temperature, around 75-80°F or 24-27°C) and appear bubbly and light. This peak activity stage, often referred to as when the starter is "ripe," is the ideal time to use it in a sourdough recipe to ensure proper leavening. Using a starter before or after its peak can lead to slow or failed rises.
Temperature is a crucial factor in managing activity; warmer temperatures accelerate fermentation, while colder temperatures slow it down. The hydration of the starter (the ratio of water to flour) also plays a role; a stiffer starter (lower hydration) tends to favor acetic acid production (more tang), while a liquid starter (higher hydration) favors lactic acid (milder tang). Regular feeding with fresh, unbleached flour provides the necessary nutrients. Understanding your starter's rhythm and responsiveness to feeding and temperature is key to consistent sourdough baking, effectively managing these natural yeast boosters.
Recipe Optimization: Integrating Fermentation Techniques
Developing a Bread Recipe Using Pre-Ferments
Integrating a pre-ferment into a standard bread recipe involves adjusting the hydration and flour quantities in the final dough mix to account for what's already in the pre-ferment. For example, if a recipe calls for 500g flour and 350g water (70% hydration), and you decide to use a 100g poolish (50g flour, 50g water), your final dough mix would use the remaining 450g flour and 300g water, plus the poolish, salt, and any additional yeast or starter. The pre-ferment is typically added to the mixing bowl along with the water for the final dough.
When developing a recipe with a pre-ferment, consider the desired characteristics of the final bread. A biga is good for structure and nutty flavor in rustic loaves, often used at 20-30% of the total flour weight. A poolish is excellent for open crumb and delicate flavor in baguettes or soft rolls, commonly used at 25-50% of the total flour weight. Pâte fermentée can be used at 15-30% of the total flour weight and adds a pleasant tang and structure. The pre-ferment should be mature but not collapsed when added to the final dough.
Incorporating Autolyse into Your Baking Process
Adding an autolyse step to a bread recipe is relatively straightforward. Simply measure out the total flour and the total water required for the recipe. Mix these two ingredients together in your mixing bowl until no dry flour remains. The mixture will look shaggy and undeveloped. Cover the bowl and let it rest for the chosen duration, typically 20 minutes to an hour. For doughs with a high percentage of whole grains, a longer autolyse (up to several hours) can be beneficial.
After the autolyse period, add the remaining ingredients – yeast or starter, salt, and any other additions like fats, sugars, or inclusions – to the bowl. Proceed with mixing or kneading as usual. You will notice that the dough develops gluten much more quickly and easily than if you had mixed all ingredients from the start. This technique can be applied to almost any bread recipe, including a sourdough recipe, to improve dough handling, structure, and volume without altering the fundamental ingredient ratios.
Tips for Effectively Managing Fermentation
Controlling Temperature for Optimal Fermentation
Temperature is the baker's most powerful tool for controlling fermentation speed and flavor development. Yeast activity is highly sensitive to temperature. For faster fermentation, maintain dough temperature in the warm range, ideally 75-80°F (24-27°C). This can be achieved by using warm water, fermenting in a warm room, or using a proofing box. Warmer fermentation is suitable for recipes requiring a quicker turnaround or for boosting a sluggish natural yeast booster like a cool sourdough starter.
For slower, more controlled fermentation and enhanced flavor development, particularly in a sourdough recipe, cooler temperatures are preferred. Refrigeration (around 38-45°F or 3-7°C) dramatically slows yeast activity while allowing acid production by LAB to continue, developing complex flavors over 12-72 hours. Even a few degrees difference at room temperature can significantly alter fermentation time; learning how temperature affects your specific dough is crucial for consistent results.
Monitoring Dough Development and Adjusting as Needed
Effective fermentation management requires keen observation of the dough. During bulk fermentation, monitor the dough's volume increase – it should typically increase by 50% to 100% depending on the recipe and desired outcome. The dough should become noticeably lighter, puffier, and often show bubbles on the surface. For many doughs, performing a "poke test" is helpful: gently press a floured finger into the dough; if the indentation springs back slowly but not completely, it's usually ready for shaping.
If fermentation is progressing too quickly (e.g., doubling well before the expected time), the temperature might be too high, or too much leavening was used. You can slow it down by moving the dough to a cooler spot or the refrigerator. If it's too slow, the temperature might be too low, or the yeast/starter is not active enough. Moving it to a warmer spot or performing a series of stretch-and-folds to redistribute nutrients can help. Learning to read the dough's signs is more reliable than strictly following time guidelines, as environmental factors vary.
Troubleshooting Common Fermentation Issues
One common issue is slow or stalled fermentation. This can be caused by using inactive yeast or starter, water that is too hot (killing the yeast) or too cold, insufficient mixing, or adding salt directly onto the yeast. To troubleshoot, ensure your leavening is active (perform a float test for starter or proof commercial yeast), check water temperature, ensure salt is incorporated evenly, and consider if the dough temperature is too low. Increasing the ambient temperature or giving the dough a few extra folds can sometimes reactivate a sluggish fermentation.
Conversely, over-fermentation occurs when dough ferments for too long or at too high a temperature. The dough may appear very large, might have a domed top that collapses easily, smells overly acidic or alcoholic, and the gluten structure can break down, making the dough difficult to handle and resulting in a dense, gummy crumb.
If dough is slightly over-proofed during the final rise, you might try a very gentle reshape or baking immediately, though significant over-fermentation is difficult to correct. Prevention is key: monitor dough carefully, especially in warm conditions, and use cold fermentation when a longer period is desired.
Fermentation Techniques vs. Commercial Additives: A Comparison
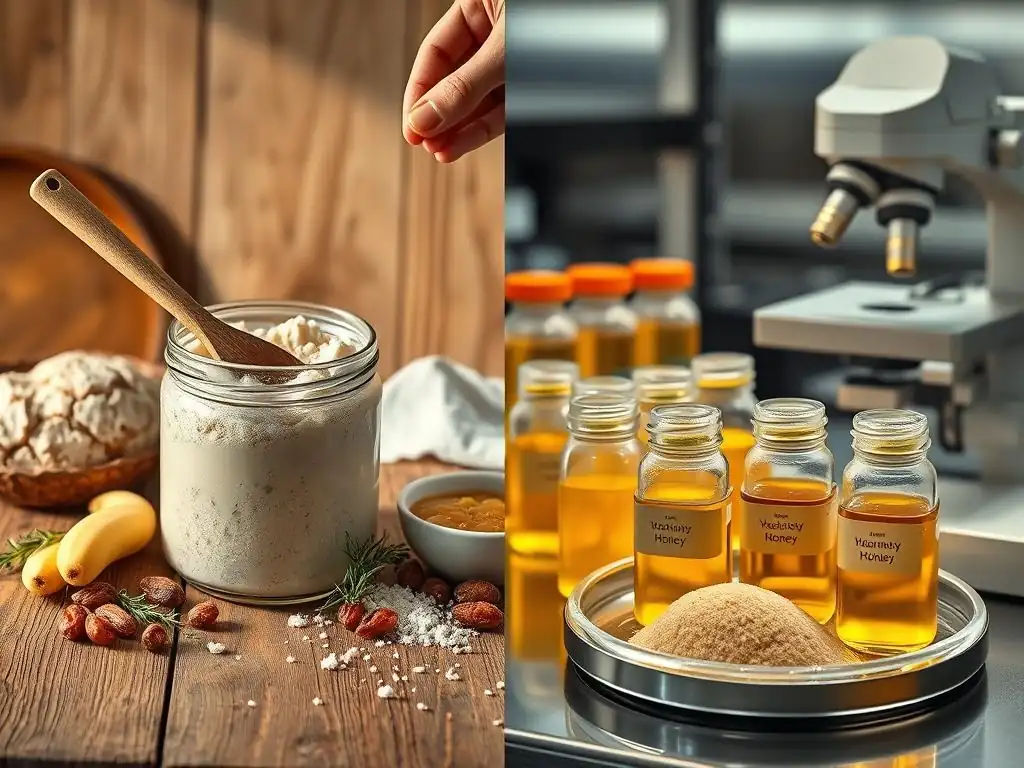
Advantages and Disadvantages of Each Approach
Fermentation techniques like pre-ferments, autolyse, long fermentation, and sourdough rely on time, temperature control, and the natural activity of yeast, bacteria, and flour enzymes to enhance bread. The primary advantage is the development of complex, nuanced flavors and aromas that are difficult to replicate artificially. These methods also improve texture, structure, and often the digestibility and shelf life of the bread through natural processes.
They require fewer ingredients (just flour, water, salt, leavening) and appeal to bakers seeking a more traditional, natural approach, particularly relevant when aiming for a natural yeast boosters sourdough recipe. The main disadvantages are the time required, the need for temperature control, and the learning curve associated with managing living cultures like sourdough.
Commercial additives, often marketed as "dough enhancers" or "yeast boosters," typically contain ingredients like ascorbic acid (Vitamin C), vital wheat gluten, enzymes (like amylase or protease), emulsifiers (like DATEM or lecithin), and sometimes extra yeast nutrients or sugars. Their main advantage is speed and consistency; they can accelerate fermentation, improve volume, create a more predictable structure, and sometimes compensate for lower-quality flour with minimal effort or knowledge of fermentation science.
However, they generally do not contribute to the complex flavor development achieved through long, slow fermentation, can result in a less desirable crumb texture (sometimes too uniform), and involve using ingredients that some bakers prefer to avoid for dietary or philosophical reasons.
Choosing the Right Option for Your Baking Goals
The choice between relying on natural fermentation techniques and using commercial additives depends entirely on your baking goals, priorities, and constraints. If your primary goal is to produce bread with deep, complex flavors, superior texture, and improved digestibility using minimal, natural ingredients, then mastering fermentation techniques is essential. This approach is ideal for artisan loaves, sourdoughs, and anyone who enjoys the process of slow food. Achieving a great natural yeast boosters sourdough recipe inherently relies on optimizing these natural methods.
If, however, your priority is speed, consistency, and reliability, perhaps in a commercial setting or for simple, everyday loaves where time is limited, commercial additives can be a practical tool. They can help ensure a good rise and acceptable texture even under less-than-ideal conditions or with less experience. Many home bakers find a balance, perhaps using traditional methods for special loaves and a quicker approach for daily bread. Understanding what each method contributes allows you to make an informed decision based on the desired outcome for your bread.
Storing Pre-Ferments for Future Use
Best Practices for Preserving Pre-Ferments
Pre-ferments like biga, poolish, or pâte fermentée can often be stored for later use, providing convenience for future baking sessions. The refrigerator is the best place to store pre-ferments, as the cold temperature significantly slows down fermentation, preserving their activity and flavor profile for a longer period. Store the pre-ferment in an airtight container to prevent it from drying out and to keep it from absorbing odors from the refrigerator.
A biga or pâte fermentée can typically be stored in the refrigerator for up to 3-4 days, sometimes longer. A poolish, being more liquid, is often best used within 24-48 hours from refrigeration, as its rapid fermentation can lead to quicker degradation.
When ready to use a stored pre-ferment, remove it from the refrigerator an hour or two before mixing the final dough to allow it to come closer to room temperature. While pre-ferments can sometimes be frozen, this can damage the yeast cells and may result in less vigorous activity upon thawing, making refrigeration the preferred method for short-term storage.
Conclusion: Mastering Fermentation for Exceptional Bread
Mastering fermentation is the key to unlocking the full potential of your bread baking. By understanding the role of yeast, bacteria, and enzymes, and by skillfully employing techniques like pre-ferments, autolyse, and long fermentation, you can transform simple ingredients into loaves with incredible flavor, texture, and aroma. Whether you are cultivating a vibrant sourdough starter as a natural yeast booster or managing the temperature for a perfect overnight rise, these techniques empower you to control the subtle chemical and biological processes that define truly great bread.
Embracing these methods moves beyond merely causing dough to rise; it's about cultivating complex flavors naturally, improving dough handling, and achieving superior results without reliance on commercial additives. From the chewy interior of a biga-based loaf to the tangy depth of a long-fermented sourdough recipe, the journey of mastering fermentation is rewarding, leading to bread that is not only delicious but also a testament to the baker's skill and patience. Experiment with these techniques, observe your dough, and discover the profound difference that controlled fermentation makes.
Frequently Asked Questions
What are natural yeast boosters and why are they important for sourdough baking?
Natural yeast boosters are ingredients that encourage yeast activity in sourdough starters and doughs. They are important because they help ensure a strong rise and flavorful bread, especially when working with less active starters or in colder environments.
Can you provide examples of natural yeast boosters commonly used in sourdough recipes?
Common natural yeast boosters include fruit purees (like apple or grape), honey or maple syrup, and sprouted grains. These ingredients contain sugars and enzymes that provide the yeast with extra food and promote fermentation.
How do natural enzymes contribute to the sourdough baking process?
Natural enzymes, often found in ingredients like malt extract or sprouted grains, help break down complex starches into simpler sugars. This makes it easier for the yeast to consume food and produce carbon dioxide, leading to a better rise.
How much natural yeast booster should I add to my sourdough recipe?
The amount of yeast booster depends on the specific recipe and the activity of your starter. Start with a small amount, such as a tablespoon or two, and adjust based on the dough's response. Overdoing it can affect the flavor negatively.
Where can I find reliable sourdough recipes that incorporate natural yeast boosters?
Websites like BakeWithEase.com offer a variety of sourdough recipes that incorporate natural yeast boosters. Look for recipes specifically designed to enhance yeast activity or those that include ingredients known for their enzymatic properties.
Final Reflection: Unlocking the Power of Nature in Sourdough Baking
The quest for the perfect sourdough loaf is a journey fueled by understanding the intricate dance of yeast and flour. This exploration into natural yeast boosters and enzymes reveals a path towards consistent, flavorful results, a crucial element for both novice and experienced bakers alike. The impact of these natural ingredients extends far beyond simply improving rise; they unlock the full potential of your sourdough starter, leading to a richer, more complex flavor profile.
The influence of sourdough baking, and the pursuit of its perfect expression, extends far beyond the kitchen. It's a testament to the enduring connection between humans and nature, a connection that's often lost in the fast-paced world of modern convenience. Sourdough, with its reliance on naturally occurring microorganisms, represents a return to traditional methods and a deeper appreciation for the subtle nuances of fermentation. Bread is the staff of life,
a simple phrase that speaks volumes about its fundamental role in human sustenance and culture. This journey into natural yeast boosters underscores the importance of understanding this process, not just for better bread, but for a deeper connection to the food we consume.
Now, consider your own sourdough journey. What techniques have you employed to enhance your starter's activity? What flavors are you striving to achieve? This article provides a foundation; now it's time to experiment, to explore the diverse world of natural yeast boosters and enzymes, and to discover the unique character your sourdough can express. Embrace the process, learn from each bake, and enjoy the rewarding journey of crafting bread that is both delicious and deeply connected to the natural world.
Unleash Your Inner Baker: Boost Your Bread Baking!
Thanks for taking the time to explore the world of natural yeast boosters and enzymes! You've now got the knowledge to create truly amazing bread. Ready to put your new skills to the test?
- Experiment with a new recipe! Try incorporating some of the natural boosters mentioned in the article into your favorite bread recipe and see the difference. Note the changes in rise, texture, and flavor.
- Share your baking triumphs (and challenges!) with our community in the comments below. We'd love to hear about your experiences!
- Dive deeper into enzyme science. Research different enzymes and their impact on dough to become a true bread-baking expert!
Ready to elevate your baking game? What unique yeast booster will you try first?