
The Case of the Collapsed Cake: What Went Wrong?

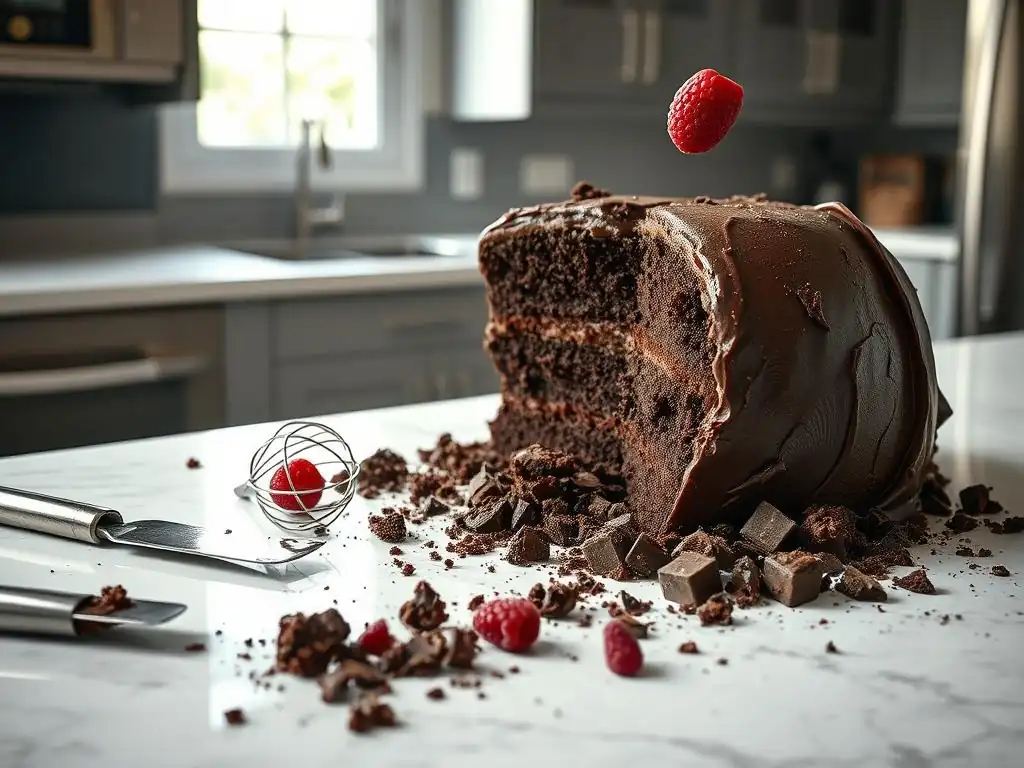
Welcome to BakeWithEase.com, where baking becomes a joy, not a chore! Ever stared in disbelief at a cake that promised perfection but delivered a disaster? You're not alone! In this article, we're diving deep into the mysteries of collapsed cake troubleshooting tips. Discover the common culprits behind sunken centers and learn how to rescue your next baking masterpiece. Let's unravel the secrets and turn baking fails into future triumphs!
- The Case of the Collapsed Cake: What Went Wrong? - BakeWithEase.com
- Investigating the Ingredients: Root Causes of Cake Issues
- The Baking Process: Identifying Errors in Technique
- External Factors: Overlooked Contributors to Cake Failure
-
Collapsed Cake Troubleshooting Tips: Step-by-Step Solutions
- Correcting Flour Measurement: Precision is Key
- Balancing Leavening Agents: Finding the Right Ratio
- Adjusting Fat and Sugar: Optimizing Cake Texture
- Mastering Mixing Techniques: Avoiding Overmixing
- Ensuring Accurate Oven Temperature: Using an Oven Thermometer
- Adapting to Altitude and Humidity: Baking in Challenging Environments
- Rescue Mission: Salvaging a Slightly Collapsed Cake
- Preventing Future Cake Disasters: Best Baking Practices
- Final Thoughts: Mastering the Art of Baking
-
Frequently Asked Questions
- How can I prevent my cake from collapsing in the center?
- What role does oven temperature play in cake collapses?
- Is it possible that overmixing the batter is the cause of my collapsed cake?
- Can using old or expired baking powder cause a cake to collapse?
- What are some common mistakes beginners make that contribute to collapsed cakes?
- Final Reflection: The Sweet Science of Baking Success
- Uncover Your Baking Brilliance!
The Case of the Collapsed Cake: What Went Wrong? - BakeWithEase.com
A sunken cake can be one of the most frustrating experiences for any baker. You spend time measuring, mixing, and anticipating that perfect rise, only to pull a sad, cratered creation from the oven. This common baking mishap happens to everyone at some point, from novice bakers just starting out to seasoned pros who might overlook a small detail. Understanding why cakes collapse is the first step in preventing it from happening again and mastering your baking skills.
Troubleshooting collapsed cakes involves examining every stage of the baking process, from ingredient selection and preparation to the actual baking and cooling. It's like being a detective in your kitchen, looking for clues in the texture, the crust, and the shape of the failed cake. This guide from BakeWithEase.com will walk you through the most frequent culprits behind a sunken cake top and provide actionable collapsed cake troubleshooting tips to help you achieve consistent, beautiful results every time.
Why Did My Cake Sink? Common Causes of Cake Collapse
Cakes collapse for a variety of reasons, often due to a combination of factors rather than a single isolated issue. One primary cause is insufficient structural support for the amount of leavening used. Imagine building a house – if the foundation isn't strong enough to support the roof, it will eventually buckle.
Similarly, if the cake's structure (provided by flour, eggs, etc.) can't hold up the lift created by baking powder or soda, the center is likely to sink as it cools. This can happen if there's too much leavening, too little flour, or if the gluten structure wasn't properly developed.
Another major contributor to a sunken cake is temperature fluctuation or premature removal from the oven. Cakes need consistent heat to set properly. If the oven door is opened too early, especially in the last third of baking time, the sudden drop in temperature can shock the delicate structure, causing it to fall.
Similarly, if the cake isn't fully baked through, the center will still be liquid or unstable, and once removed from the heat, it simply won't have the strength to hold its shape, inevitably leading to a collapse in the middle. Identifying these common issues is key to effective collapsed cake troubleshooting.
Investigating the Ingredients: Root Causes of Cake Issues
Incorrect Flour Measurement: A Common Baking Mistake
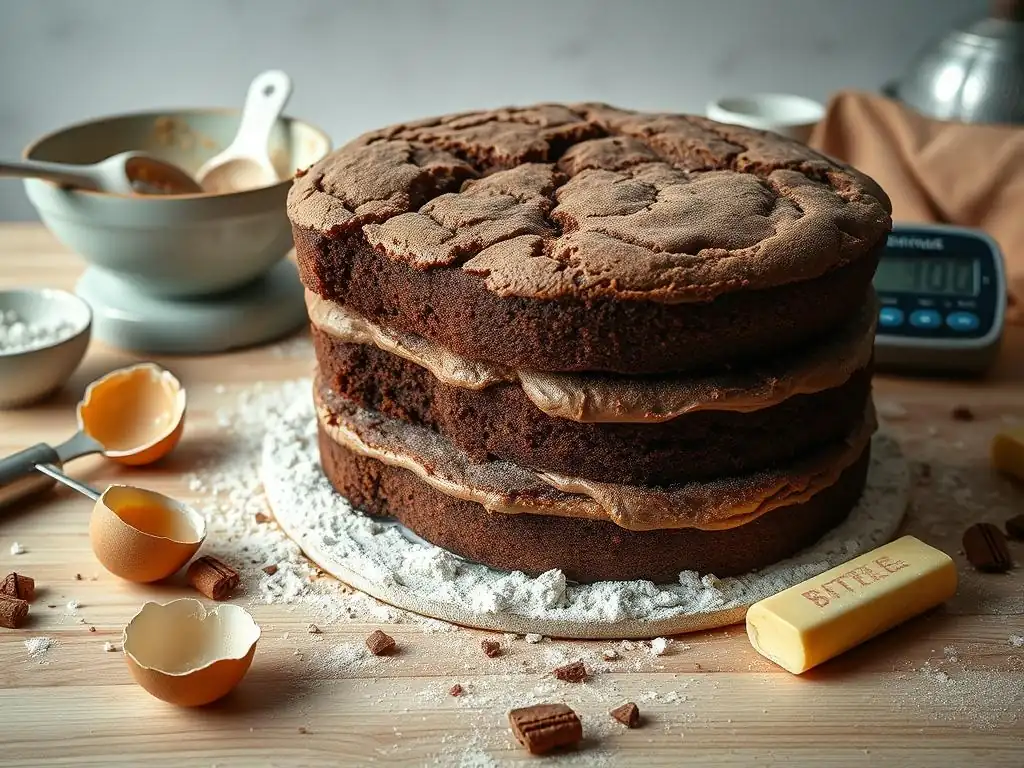
Measuring flour accurately is more critical than many beginners realize. Using too little flour means there isn't enough structure to support the lift from leavening agents, leading to a weak batter that can't hold its shape during baking or cooling. Conversely, using too much flour can result in a dry, dense cake, though it's less likely to cause a dramatic collapse unless combined with other issues like insufficient liquid.
A standard cup of all-purpose flour, properly measured by spooning into the cup and leveling, weighs approximately 120-125 grams. Simply scooping flour directly from the bag with the measuring cup can pack it down, adding 20-30% more flour by weight, drastically altering the recipe balance.
Precision in flour measurement is a fundamental collapsed cake troubleshooting tip. Experienced bakers often weigh their ingredients using a kitchen scale for maximum accuracy. If you're not using a scale, practice the spoon-and-level method: gently spoon flour from its container into your dry measuring cup until it overflows, then level off the excess with a straight edge, like the back of a knife. This ensures you're using the amount the recipe intended, providing the necessary structural integrity for your cake.
Leavening Agent Imbalance: Too Much or Too Little?
Leavening agents, like baking powder and baking soda, are responsible for the rise and lightness of your cake. However, getting the balance wrong is a frequent cause of failure. Using too much leavening can cause the cake to rise too quickly and too high before the internal structure is set.
It's like inflating a balloon too fast – it expands rapidly but is fragile. Once removed from the oven, this overly airy structure doesn't have the strength to support itself and collapses dramatically, often leaving a gummy layer at the bottom. For instance, a standard vanilla cake recipe calling for 2 teaspoons of baking powder might collapse if 3 or 4 teaspoons were used instead.
On the other hand, using too little leavening, or using expired leavening, will result in a dense cake with minimal rise, but typically not a collapse in the center. Expired baking powder, for example, loses its chemical reactivity. You can test its freshness by adding a teaspoon to a small bowl of hot water; it should bubble vigorously. If it doesn't, it's time for a new can. Ensuring your leavening is fresh and measured precisely (level teaspoons, not heaping) is a key part of collapsed cake troubleshooting tips.
Fat Content Problems: Impact on Cake Structure
The amount and type of fat (butter, oil, shortening) in a cake recipe play a significant role in its texture and structure. Fat tenderizes the cake by coating flour particles, preventing gluten development. While essential for moisture and tenderness, too much fat can weaken the cake's structure, making it more prone to collapse.
A recipe designed for a certain ratio of flour to fat might fail if the fat content is significantly increased without adjusting other ingredients. For example, adding an extra half cup of butter to a standard 8-inch cake recipe could upset the delicate balance required for stability.
Furthermore, the state of the fat matters. Creaming butter and sugar incorporates air, which contributes to the cake's rise and structure. If butter is too cold or too warm, it won't cream properly, resulting in less incorporated air and a weaker structure. Using melted butter instead of softened butter when the recipe specifies creaming will also yield a denser cake with less initial lift, potentially leading to a sunken center if the leavening isn't enough to compensate. Paying attention to the fat's temperature and the creaming process is vital in collapsed cake troubleshooting.
Sugar's Role: How It Affects Cake Stability
Sugar is more than just a sweetener in baking; it contributes to tenderness, moisture, color, and even structure by interfering with gluten development and raising the coagulation temperature of eggs and flour. However, like fat, too much sugar can weaken the cake's structure. Sugar is hygroscopic, meaning it attracts and holds moisture. An excessive amount of sugar can make the cake too moist and tender, lacking the necessary firmness to hold its shape, especially in the center where it takes longest to bake and set. Recipes with very high sugar-to-flour ratios require careful handling and precise baking temperatures.
Conversely, drastically reducing the sugar in a recipe without making other adjustments can result in a tougher, drier cake, but typically not a collapse. The balance of sugar with other ingredients like flour, eggs, and fat is crucial for creating a stable crumb structure. For instance, a recipe designed with a 1:1 ratio of sugar to flour by weight might become unstable if the sugar is increased to a 1.5:1 ratio without adjusting other components. Understanding sugar's multifaceted role helps in effective collapsed cake troubleshooting.
The Baking Process: Identifying Errors in Technique
Oven Temperature Issues: Too Hot, Too Cold, or Uneven?
An inaccurate oven temperature is a leading cause of baking failures, including collapsed cakes. If the oven is too hot, the cake's crust sets too quickly before the inside has a chance to bake and rise properly. The inside continues to expand against the rigid crust, creating internal stress, and the center may eventually sink.
Conversely, an oven that is too cool will cause the cake to rise slowly, and the structure may not set before the leavening agents lose their power, resulting in a dense, sunken cake. An oven thermostat can be off by as much as 50°F (approx. 28°C), significantly impacting results.
Uneven heating within the oven is also problematic. Hot spots can cause parts of the cake to bake faster than others, leading to an inconsistent rise and potential collapse where the cake is underbaked. Using an oven thermometer is an essential collapsed cake troubleshooting tip. Place it in the center of your oven to verify the actual temperature. If your oven runs hot or cold, you'll need to adjust the dial accordingly. Rotating the cake halfway through baking can also help ensure more even cooking, though this should be done carefully and quickly.
Mixing Methods Matter: Overmixing vs. Undermixing
The way ingredients are combined significantly impacts cake structure. Most cakes use either the creaming method (beating butter and sugar) or the reverse creaming method (mixing dry ingredients with fat before adding wet). Overmixing is a common mistake, particularly after flour has been added. Mixing flour activates gluten development. While some gluten is needed for structure, overmixing creates too much, resulting in a tough, dense cake. More relevant to collapse, excessive mixing can sometimes incorporate too much air too quickly, similar to too much leavening, leading to an initial high rise followed by a fall.
Undermixing can also cause problems. If wet and dry ingredients aren't sufficiently combined, you can end up with pockets of unmixed ingredients or a batter lacking the necessary emulsion and structure. For example, if butter and sugar aren't creamed enough, insufficient air is incorporated, leading to a denser cake. If ingredients aren't scraped down from the sides of the bowl, some parts of the batter will be inconsistent. Following the recipe's mixing instructions precisely, often mixing just until combined, is a crucial collapsed cake troubleshooting step.
Opening the Oven Too Soon: A Recipe for Disaster
Patience is a virtue in baking, especially when it comes to keeping the oven door closed. Opening the oven door, especially in the first 20-25 minutes of baking for a standard cake, causes a sudden rush of cooler air into the oven. This temperature drop can shock the delicate cake structure, which is still setting, causing it to deflate and collapse in the center. It's incredibly tempting to peek, but resisting this urge is vital for a successful bake.
Most recipes will provide a minimum baking time before you should even consider checking for doneness. Wait until at least the lower end of the suggested baking time has passed, and you can visibly see that the cake has risen significantly and the edges are starting to pull away from the pan. Then, open the door quickly and minimally to insert a toothpick into the center. If it comes out clean or with a few moist crumbs, the cake is likely done. Learning when not to open the oven is a fundamental collapsed cake troubleshooting tip.
Pan Size and Preparation: Ensuring Proper Cake Support
Using the correct size baking pan is more important than you might think. If the pan is too small for the amount of batter, it will be overfilled. As the cake rises, the batter will spill over the sides or rise too high, creating an unstable structure that is prone to collapsing in the center. The excess depth of batter also means the center takes much longer to bake, increasing the risk of it being underdone when the edges are ready. A pan filled more than two-thirds full is likely overfilled.
Conversely, using a pan that is too large can cause the cake to bake too quickly and dry out, though it's less likely to cause a collapse unless the recipe relies heavily on the pan's sides for support during rising. Proper pan preparation (greasing and flouring, or lining with parchment paper) ensures the cake doesn't stick and shrinks evenly as it cools, preventing structural stress that could lead to cracks or minor collapses. Always check the recipe's specified pan size and fill it appropriately – typically no more than 2/3 or 3/4 full.
External Factors: Overlooked Contributors to Cake Failure
Altitude Adjustments: Baking at Higher Elevations
Baking at high altitudes (generally considered above 3,000 feet or approx. 900 meters) presents unique challenges that can easily lead to collapsed cakes if the recipe isn't adjusted. At higher elevations, atmospheric pressure is lower.
This means gases expand more readily, causing leavening agents to work faster and the cake to rise higher, potentially before the structure is set. The lower boiling point of water at altitude (water boils around 202°F or 94°C at 5,000 ft, compared to 212°F or 100°C at sea level) also affects baking, as moisture evaporates faster, potentially drying out the cake before the center is fully cooked.
Collapsed cake troubleshooting tips for high altitude often involve reducing leavening agents (baking powder/soda), decreasing sugar, increasing liquid (like milk or water), and sometimes increasing flour or egg for added structure. For example, a recipe calling for 2 tsp baking powder at sea level might only need 1.5 tsp at 5,000 ft. Baking temperatures may also need to be increased slightly (by about 15-25°F or 8-14°C) to help the structure set faster before the cake over-expands. Ignoring altitude can almost guarantee a collapsed cake with standard recipes.
Humidity's Influence: Adjusting for Moisture Levels
Humidity, the amount of moisture in the air, can also impact baking results, though its effect is often less dramatic than altitude. In very humid environments, flour absorbs more moisture from the air. This can slightly alter the dry-to-wet ingredient balance in your batter, potentially making it a bit too moist and heavy, which could contribute to a sunken center, especially in delicate cakes. Ingredients like sugar also absorb moisture from the air, which can affect their weight and behavior in the recipe.
While major recipe adjustments aren't usually needed for typical humidity fluctuations, in extremely humid conditions, some bakers find it helpful to slightly reduce the liquid in the recipe (perhaps by a tablespoon or two per cup of liquid) or slightly increase the flour (by a tablespoon or two per cup of flour). Keeping dry ingredients stored in airtight containers helps prevent them from absorbing excess moisture before use. Being aware of how environmental moisture affects your ingredients is part of comprehensive collapsed cake troubleshooting.
Cooling Process Crucial: Preventing Cake Collapse Post-Bake
The baking process doesn't end when the cake comes out of the oven. The cooling phase is just as critical for maintaining its structure. While the cake is hot, its internal structure is still delicate and somewhat pliable. Removing it from the pan too soon, or cooling it in a drafty location, can cause a sudden temperature change that makes the structure contract too quickly or unevenly, leading to a sunken center or sides. A hot cake also continues to cook slightly from its residual heat as it cools in the pan.
Most recipes advise letting a cake cool in its pan on a wire rack for a specific amount of time (typically 10-20 minutes for layer cakes) before attempting to invert it. This allows the structure to stabilize enough to support itself outside the pan. Cooling on a wire rack ensures air circulation around the entire pan, promoting even cooling.
Transferring the cake to a wire rack to cool completely after the initial pan cooling is also important to prevent steam from condensing on the bottom, which can make the cake soggy and potentially contribute to structural weakness. Rushing the cooling process is a common error in collapsed cake troubleshooting.
Collapsed Cake Troubleshooting Tips: Step-by-Step Solutions
Correcting Flour Measurement: Precision is Key
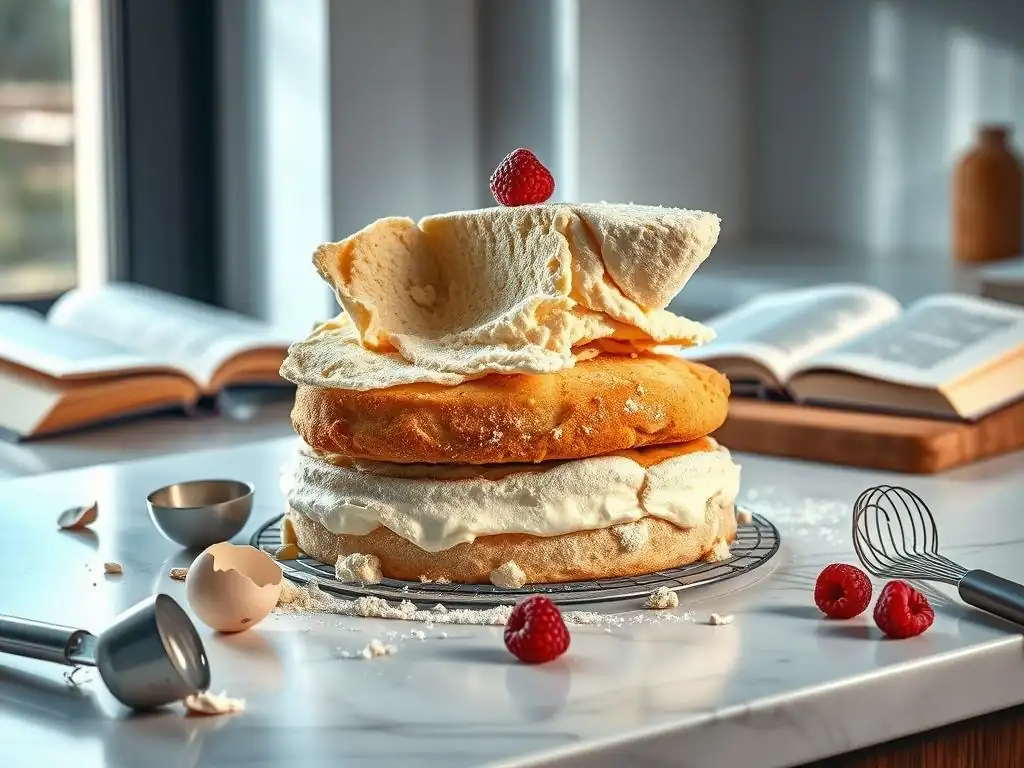
To prevent collapsed cakes due to incorrect flour measurement, make precision a habit. Always use the spoon-and-level method for dry measuring cups: gently spoon flour into the cup until it overflows, then level off the excess with a straight edge. Avoid scooping directly from the bag, which compacts the flour and adds too much.
For best results, especially with sensitive recipes, invest in a simple digital kitchen scale. Weighing ingredients, particularly flour (1 cup all-purpose flour is about 120-125g), provides the most consistent results. Many modern recipes provide measurements in grams, which is ideal for accuracy.
Balancing Leavening Agents: Finding the Right Ratio
Ensure your baking powder and baking soda are fresh. Test baking powder by adding a teaspoon to hot water – it should fizz vigorously. Test baking soda by adding a quarter teaspoon to a tablespoon of vinegar – it should bubble immediately. Replace if they don't react.
Measure leavening agents precisely using level measuring spoons. Avoid heaping spoons. If you suspect too much leavening is the issue based on rapid, high rise followed by collapse, slightly reduce the amount in your next bake of that recipe (e.g., reduce by 1/4 to 1/2 teaspoon for a typical cake).
Adjusting Fat and Sugar: Optimizing Cake Texture
Follow the recipe's instructions regarding the state of the fat (softened, melted, etc.) and the creaming process carefully. Ensure butter is at the correct temperature for creaming (usually cool room temperature, about 65-68°F or 18-20°C). Creaming butter and sugar for the specified time (often 3-5 minutes until light and fluffy) incorporates essential air.
Avoid making significant, uncalculated reductions or increases to fat and sugar in a recipe, as this can disrupt the structural balance. If you need to modify for dietary reasons, look for recipes specifically developed for those changes, as they will have accounted for the impact on structure.
Mastering Mixing Techniques: Avoiding Overmixing
Mix cake batter only until the ingredients are just combined, especially after adding flour. Stop the mixer and scrape down the sides and bottom of the bowl frequently to ensure everything is incorporated evenly.
For most cakes, once the flour is added, mix on a low speed just until no dry streaks remain, then stop. A few small lumps are acceptable and often preferable to overmixing. Overmixing develops too much gluten, leading to toughness, and can also contribute to structural weakness.
Ensuring Accurate Oven Temperature: Using an Oven Thermometer
Always use an independent oven thermometer to verify your oven's temperature. Place it in the center of the oven and check it before preheating is complete and periodically during baking.
If your oven runs consistently hot or cold, preheat it to the temperature indicated by your thermometer, adjusting the oven dial as needed. For example, if you want 350°F (175°C) and your thermometer reads 325°F (160°C) when the dial is set to 350°F, set the dial to 375°F (190°C) next time.
Adapting to Altitude and Humidity: Baking in Challenging Environments
For high-altitude baking (above 3,000 ft), consult high-altitude baking charts or recipes specifically developed for your elevation. Common adjustments include:
- Reduce baking powder: 1/8 to 1/4 tsp per tsp at sea level.
- Reduce sugar: 1-3 tablespoons per cup.
- Increase liquid: 1-4 tablespoons per cup.
- Increase flour: 1-2 tablespoons per cup (sometimes).
- Increase oven temperature: 15-25°F (8-14°C).
For high humidity, you might slightly reduce liquid or slightly increase flour (1-2 tablespoons per cup) if consistently experiencing issues. Store dry ingredients in airtight containers. These collapsed cake troubleshooting tips for environmental factors require some experimentation based on your specific location.
Rescue Mission: Salvaging a Slightly Collapsed Cake
Frosting to the Rescue: Hiding Minor Imperfections
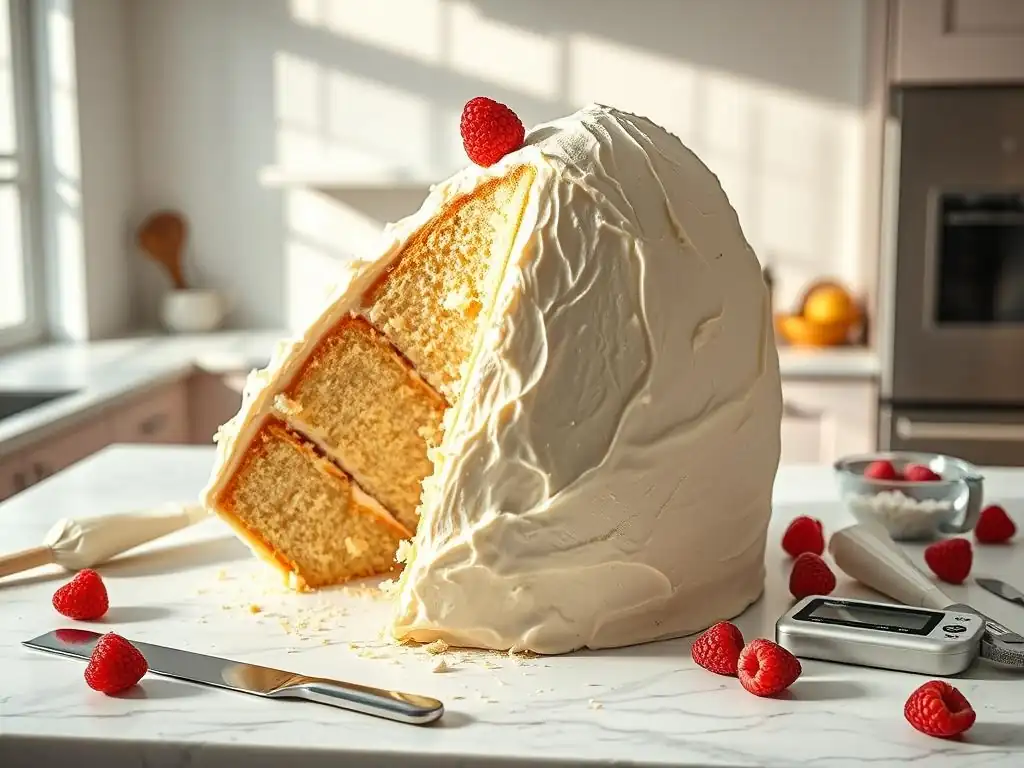
If your cake has a minor dip or crack, don't despair! Frosting is a baker's best friend for hiding imperfections. A thick layer of buttercream or ganache can easily fill in a slight crater or cover up a crack, making your cake look perfectly presentable.
Leveling the top of the cake can help. If the edges are higher than the sunken center, you can carefully slice off the raised edges to create a flat surface. The removed cake scraps are perfect for tasting or using in other ways. Then, proceed with frosting as usual. No one needs to know about the little dip underneath!
Transforming a Collapsed Cake: Making Trifles or Cake Pops
For cakes with more significant collapse or structural issues, a full layer cake might not be feasible, but the delicious flavor is still there! Transform your collapsed cake into another delightful dessert. Cut or crumble the cake into pieces.
These pieces are perfect for making trifles, layered with pudding, whipped cream, and fruit. Alternatively, mix the crumbled cake with frosting to create cake pops or cake balls. These transformations are excellent ways to salvage a baking project and result in equally tasty treats, proving that even a collapsed cake can have a happy ending.
Preventing Future Cake Disasters: Best Baking Practices
Check Your Ingredients: Freshness and Accuracy
Always start with fresh ingredients. Check the expiration dates on your leavening agents (baking powder, baking soda, yeast) and flour. Stale ingredients can significantly impact the rise and texture of your cake.
Ensure all ingredients are at the correct temperature specified by the recipe (room temperature eggs, softened butter, etc.). Cold ingredients don't emulsify properly, affecting batter consistency and structure. Measure everything accurately using appropriate tools (dry measuring cups for dry ingredients, liquid measuring cups for liquids, and measuring spoons for smaller amounts, or ideally, a scale for dry ingredients).
Follow the Recipe Carefully: Precision is Paramount
Read the entire recipe through before you start. Pay close attention to details regarding mixing times, ingredient temperatures, pan size, oven temperature, and baking time ranges. Baking is often a science, and small deviations can lead to unexpected results.
Don't substitute ingredients unless the recipe offers specific alternatives, as different ingredients behave differently. For example, substituting baking soda for baking powder requires understanding the chemical reactions involved and adjusting other ingredients like acids. Following the recipe's instructions precisely is one of the most effective collapsed cake troubleshooting tips there is.
Monitor Oven Temperature: Consistent Heat is Essential
Use an oven thermometer religiously. Preheat your oven for the recommended time (usually 15-20 minutes after it indicates it's reached the set temperature) to ensure it's fully heated and the temperature is stable.
Avoid opening the oven door unnecessarily during baking. Only check the cake towards the end of the minimum specified baking time. If you need to rotate the cake for even baking, do so quickly and minimize the time the door is open.
Practice Makes Perfect: Improving Baking Skills Over Time
Every baker encounters failures, including collapsed cakes. Don't let a setback discourage you. Each attempt is a learning opportunity. Analyze what might have gone wrong using the collapsed cake troubleshooting tips you've learned.
Keep a baking journal to note variables like oven temperature, ingredient brands, humidity, and any deviations you made from the recipe. This can help you identify patterns and refine your technique over time. The more you bake, the better you'll become at recognizing potential issues and achieving consistent success.
Final Thoughts: Mastering the Art of Baking
Baking is a rewarding journey, and understanding common problems like the dreaded collapsed cake is a vital part of mastering the craft. By paying close attention to ingredient quality and measurement, refining your mixing and baking techniques, and considering external factors like altitude, you can significantly reduce the likelihood of your cakes sinking.
Remember that even experienced bakers face challenges. The ability to troubleshoot, learn from mistakes, and adapt is what truly makes a great baker. With patience, practice, and the right knowledge, you'll be baking beautiful, perfectly risen cakes consistently.
Baking Troubleshooting: Resources for Continued Learning on BakeWithEase.com
For more in-depth guides on specific ingredients, techniques, and how to fix other common baking issues, explore the Baking Tips & Hacks section on BakeWithEase.com. We offer a wealth of resources to help you troubleshoot problems, understand the science behind baking, and improve your skills.
Check out our articles on topics like "Why Are My Cookies Flat?" or "Dealing with Dry Bread" for more collapsed cake troubleshooting tips applied to different baked goods. Our goal is to empower you with the knowledge to bake with confidence and ease, turning potential failures into successful learning experiences. Happy baking!
Frequently Asked Questions
How can I prevent my cake from collapsing in the center?
A collapsed cake is often due to insufficient structure during baking. Make sure to measure ingredients accurately and avoid opening the oven door too often, which can cause temperature fluctuations.
What role does oven temperature play in cake collapses?
Oven temperature is crucial. An oven that's too hot can cause the cake to rise rapidly and then collapse. Conversely, an oven that's too cold may not allow the cake to set properly.
Is it possible that overmixing the batter is the cause of my collapsed cake?
Yes, overmixing can develop too much gluten in the batter. This results in a tough, elastic structure that rises quickly and then falls, leading to a collapsed cake.
Can using old or expired baking powder cause a cake to collapse?
Absolutely. Baking powder is a leavening agent, and if it's expired, it won't produce enough gas to properly rise the cake, resulting in a dense, collapsed final product.
What are some common mistakes beginners make that contribute to collapsed cakes?
Beginners often underbake their cakes, leading to a wet center that collapses after cooling. Also, failing to cream butter and sugar properly can impact the cake's overall structure and stability.
Final Reflection: The Sweet Science of Baking Success
The seemingly simple act of baking a cake reveals a complex interplay of ingredients, techniques, and timing; a collapsed cake, therefore, isn't just a culinary mishap, but a valuable lesson in precision and understanding. A perfectly risen cake is a testament to careful attention to detail, while a fallen one offers a potent opportunity for learning and improvement. This isn't just about avoiding soggy bottoms; it's about mastering the fundamentals of baking.
The enduring appeal of baking lies in its ability to transform simple ingredients into something beautiful and delicious. Yet, the frustration of a collapsed cake is a common experience, highlighting the delicate balance required in the process. The best things in life are worth fighting for, and a perfectly risen cake is certainly one of them.
This sentiment, while playful, underscores the dedication and patience required to achieve baking mastery. The journey of troubleshooting a collapsed cake is a microcosm of the larger human experience: facing setbacks, learning from mistakes, and ultimately, achieving success through perseverance.
Now, consider your own baking experiences. Have you ever faced a culinary catastrophe? What did you learn from it? I encourage you to embrace the challenges of baking, to view each failed attempt not as a defeat, but as a stepping stone towards perfecting your craft. Remember the lessons outlined in this article, and approach your next baking endeavor with renewed confidence and a spirit of experimentation. The perfectly risen cake awaits!
Uncover Your Baking Brilliance!
Thanks for joining us on this delicious journey into cake troubleshooting! We hope you gained valuable insights into preventing those frustrating collapses. Ready to put your new knowledge to the test?
- Bake your best cake yet! Try the recipe suggested in the article, paying close attention to the techniques we discussed. Let's see that perfect rise!
- Share your baking triumphs (and challenges!) with our community on social media using #BakeWithEaseTriumphs – we’d love to see your creations!
- Consider exploring our other articles on cake decorating techniques to elevate your baking game even further.
What's your biggest baking challenge, and how will you conquer it next time?