
Troubleshooting Brioche That Won't Rise Properly

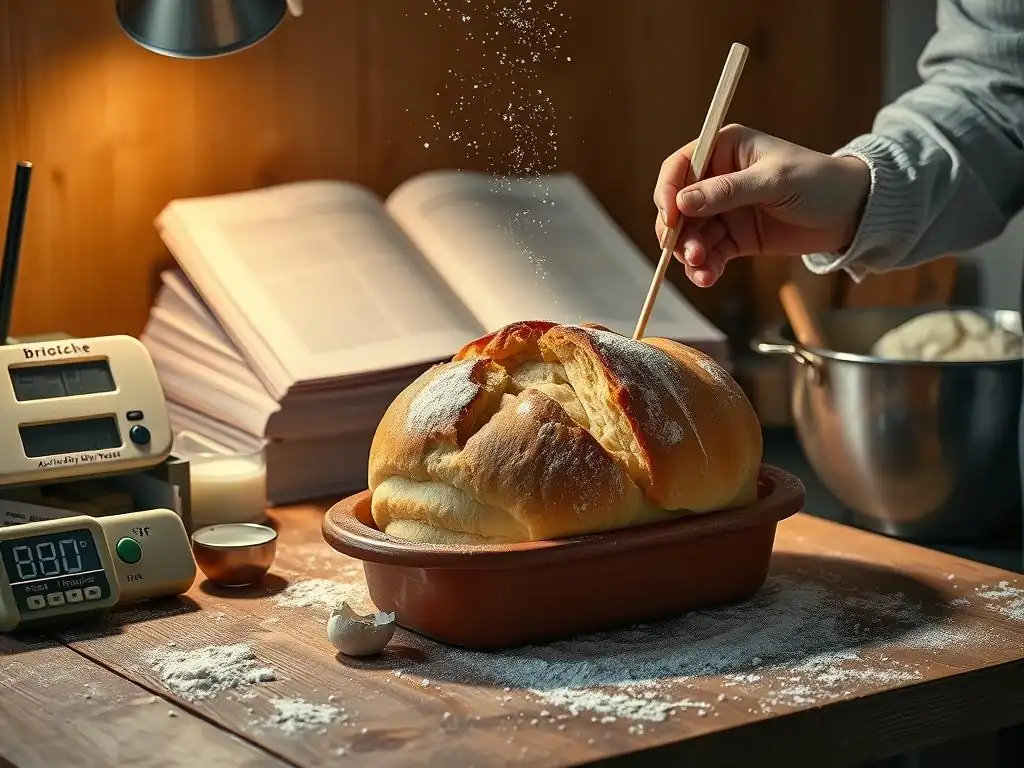
Welcome to BakeWithEase, your trusted guide to baking bliss! Ever faced the frustrating mystery of a brioche dough that just won't rise? You're not alone! This article dives deep into the common culprits behind brioche rising problems and offers practical, easy-to-implement solutions to ensure your next loaf is a golden, airy masterpiece. Ready to unlock the secrets to perfect brioche? Let's get baking!
- Troubleshooting Brioche That Won't Rise Properly: BakeWithEase's Guide
- Understanding Brioche Rise: Key Factors for a Perfect Loaf
- Brioche Rising Problems Solution: A Step-by-Step Troubleshooting Guide
- Yeast Issues and Their Impact on Brioche Rise
- Kneading and Gluten Development: Crucial for Brioche's Texture and Rise
- Temperature's Role: Optimizing Conditions for Brioche Proofing
- Hydration Levels: Balancing Moisture for a Successful Brioche Rise
- Baking Techniques for a Perfectly Risen Brioche
- Preventing Future Brioche Rising Problems: Tips and Tricks
- Common Brioche Baking Mistakes and How to Avoid Them
- Frequently Asked Questions
- Final Reflection: Embracing the Art of Brioche Baking
- Unlock Your Brioche's Full Potential!
Troubleshooting Brioche That Won't Rise Properly: BakeWithEase's Guide
Understanding Brioche Rise: Key Factors for a Perfect Loaf
The Science Behind Brioche Dough Rising
Brioche is an enriched dough containing 20–30% butter and 4–6% sugar by weight, which significantly alters its fermentation kinetics. Unlike lean doughs, brioche relies on osmotic balance: sugar draws water from yeast cells, potentially slowing fermentation if the ratio exceeds optimal thresholds. When you mix 500 g of flour with 125 g of butter and 40 g of sugar, you create an environment where yeast metabolism must work harder to break down simple sugars into carbon dioxide and ethanol, contributing to that signature airy crumb.
Additionally, the high fat content acts as a tenderizer by coating gluten strands, reducing their strength and elasticity. This tenderness is desirable in the final loaf but can hinder gas retention during proofing. In practical terms, if your initial dough temperature (IDT) is below 24 °C (75 °F), you may notice a sluggish rise; conversely, temperatures above 30 °C (86 °F) risk yeast overactivity and gas bubble collapse, leading to uneven volume.
Common Reasons Why Brioche Fails to Rise
Often, brioche that won’t rise brings two common culprits: inactive yeast and insufficient gluten structure. For instance, using yeast past its expiry date by even two months can reduce gas production by up to 50%. A simple float test—dissolving a teaspoon of yeast in 100 ml of 38 °C (100 °F) water—should result in foaming within 5–10 minutes. Lack of foam indicates the need for fresh yeast.
Another frequent issue is inadequate gluten development stemming from under- or over-kneading. Under-kneaded dough lacks the network to trap CO₂, while over-kneaded dough becomes tight and brittle, resisting expansion. Artisanal bakers aiming for a windowpane stretch of 15 cm typically knead enriched dough for 12–15 minutes by mixer on speed 2, compared to 8–10 minutes for lean doughs.
Brioche Rising Problems Solution: A Step-by-Step Troubleshooting Guide
Problem 1: Brioche Dough Not Rising At All
Solution 1.1: Check Your Yeast - Is it Active?
First, perform the yeast float test: dissolve 7 g of active dry yeast in 50 ml of 38 °C water with a pinch of sugar. Within 5–7 minutes, you should see frothy bubbles. If not, discard the yeast.
“Nothing stops a rise faster than dead yeast,” advises pastry chef Claire Ptak, known for her brioche doughnut recipe.
Next, ensure you’re using the correct yeast type. Active dry yeast requires pre-hydration, whereas instant yeast can be mixed directly into flour. Switching from active dry to instant can cut proofing time by 15–20%.
Solution 1.2: Temperature Control - Is it Warm Enough?
Brioche prefers a proofing temperature between 24 °C and 28 °C (75–82 °F). If your kitchen is cooler, you can:
- Use a warming drawer set to 27 °C
- Place the dough in an oven with the light on
- Use a proofing box at 28 °C for 1–2 hours
If the dough remains flat after 90 minutes, check room temperature with an instant-read thermometer. ❧ Dough below 21 °C will extend proofing by at least 50%.
Solution 1.3: Gluten Development - Did You Knead Enough?
Under-developed gluten means poor gas retention. To confirm, perform the windowpane test: stretch a small ball of dough until it’s semi-translucent without tearing. If it tears at 5 cm, continue mixing in 2-minute increments.
- Aim for 12–15 minutes of mixer time on low speed
- Incorporate butter slowly in 4–5 additions once initial gluten forms
If you see shiny, elastic strands, your dough is ready to bulk ferment.
Problem 2: Brioche Rising Too Slowly
Solution 2.1: Adjust Proofing Time - Patience is Key
Sometimes, a slow rise is simply due to enriched dough’s nature. Standard bulk fermentation may take 2–3 hours at room temperature. If your dough has only gained 20% volume in 90 minutes, extend proofing by 30-minute intervals and note the total time for future batches.
Keep a log:
- Date
- Room temperature
- Rise percentage after each 30 minutes
Using this method, a home baker in Seattle recorded a consistent 2 hour 45 minute proof at 21 °C, leading to a light, open crumb.
Solution 2.2: Warm Environment - Creating the Ideal Proofing Conditions
A DIY proofing bowl can be made by placing dough in a sealed container lined with a damp towel. Fill a shallow pan with hot water (not boiling), and set it beneath the bowl in your oven with the light on.
Tip: Maintain humidity above 75% to prevent crust formation on the surface, which can impede expansion.
Solution 2.3: Dough Hydration - Is the Dough Too Dry or Wet?
Standard brioche hydration sits around 60–65% (e.g., 300 g water per 500 g flour). If your dough is too dry, it won’t expand easily; too wet, and it collapses. Adjust water in 5 ml increments, noting how each batch behaves. In high-altitude areas (above 1,500 m), bakers often increase hydration by 2–3% to compensate for lower air pressure.
Problem 3: Brioche Rising Unevenly
Solution 3.1: Consistent Temperature - Avoiding Cold Spots
Uneven rises often come from drafty proofing areas. Measure multiple spots in your proofing box or oven using infrared thermometers. Aim for a maximum variance of ±1 °C. If you detect cold corners, rotate the dough halfway through proofing.
Solution 3.2: Proper Shaping - Ensuring Even Distribution
After the first rise, degas gently and divide dough into equal-weight portions— 80 g for individual rolls or 500 g for a loaf. Use a scale to ensure uniform shapes. Evenly sized pieces bake and proof more consistently, reducing the chance of one section rising faster than another.
Solution 3.3: Oven Temperature - Maintaining a Steady Bake
Preheat your oven to 180 °C (356 °F) for at least 20 minutes before baking. Use an oven thermometer to confirm the internal temp. Avoid opening the door in the first 15 minutes; every 10-second interruption can drop the temperature by up to 20 °C, causing the brioche to deflate.
Yeast Issues and Their Impact on Brioche Rise
Identifying Inactive Yeast: Tests and Solutions
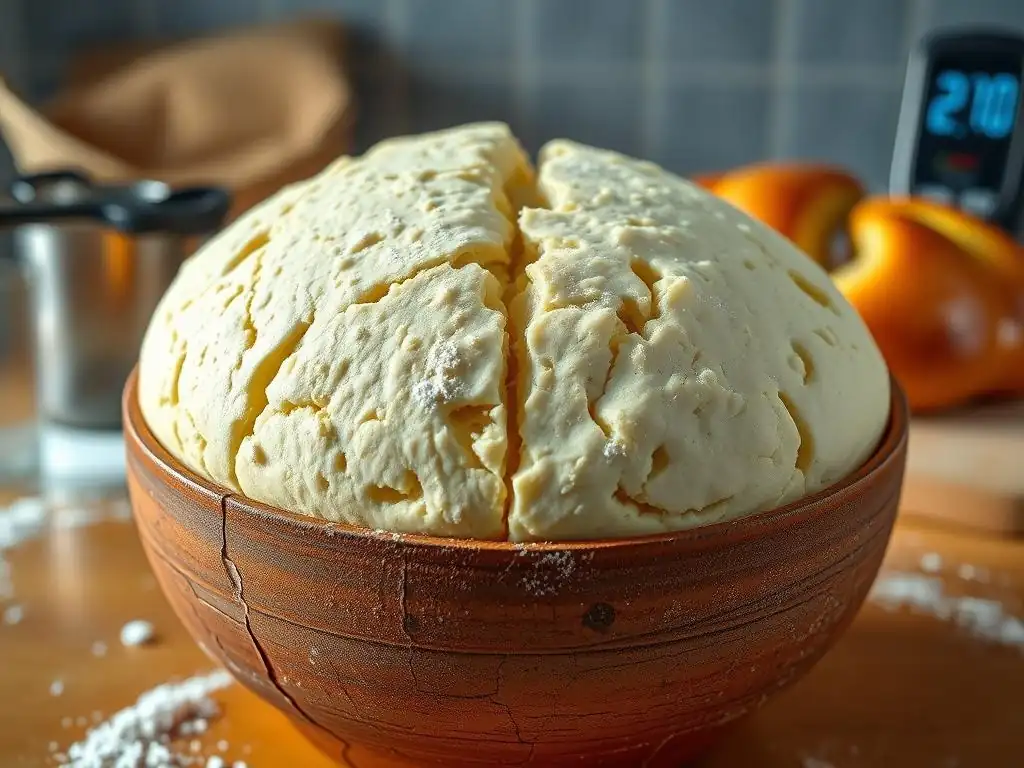
Aside from the float test, you can perform a sugar-yeast test: mix 5 g yeast, 5 g sugar, and 50 ml water at 38 °C. After 10 minutes, you should see at least 2 cm of foam. No foam means replace the yeast. Always store yeast in the fridge at 4 °C to extend its viability by 3–4 months.
If you regularly face inactive yeast, consider switching to vacuum-sealed packs of instant yeast, which can last up to 12 months unopened.
Choosing the Right Yeast for Brioche: Active Dry vs. Instant
- Active Dry Yeast: Larger granules, needs activation in warm water. Proofing time: +15 minutes.
- Instant Yeast: Finer granules, mixed directly with flour. Proofing time: –10 minutes.
Professional bakers at Poilâne in Paris prefer instant yeast for reliability. Home bakers might opt for active dry if they enjoy the ritual of proofing and testing potency.
Kneading and Gluten Development: Crucial for Brioche's Texture and Rise
Proper Kneading Techniques for Brioche Dough
Use a stand mixer fitted with a dough hook. Start on speed 1 to combine ingredients, then switch to speed 2 once the dough forms a cohesive mass. Knead for 12–15 minutes total, pausing every 5 minutes to scrape down the bowl. Look for a smooth, slightly tacky surface indicative of well-developed gluten strands.
Hand-kneading is possible but requires about 25–30 minutes of folding and stretching on a lightly oiled surface. Incorporate butter in 4–5 stages to ensure even distribution.
The Windowpane Test: Ensuring Adequate Gluten Development
To perform this test, pinch off a walnut-sized dough piece and gently stretch it. A fully kneaded dough will form a thin membrane that lets light pass through without tearing at a 15–20 cm span. If it tears at 5–10 cm, knead for an additional 3–5 minutes and retry.
Note: Overworked dough will feel tense and spring back immediately, signaling you to rest for 10 minutes before final shaping.
Temperature's Role: Optimizing Conditions for Brioche Proofing
Ideal Proofing Temperatures for Brioche
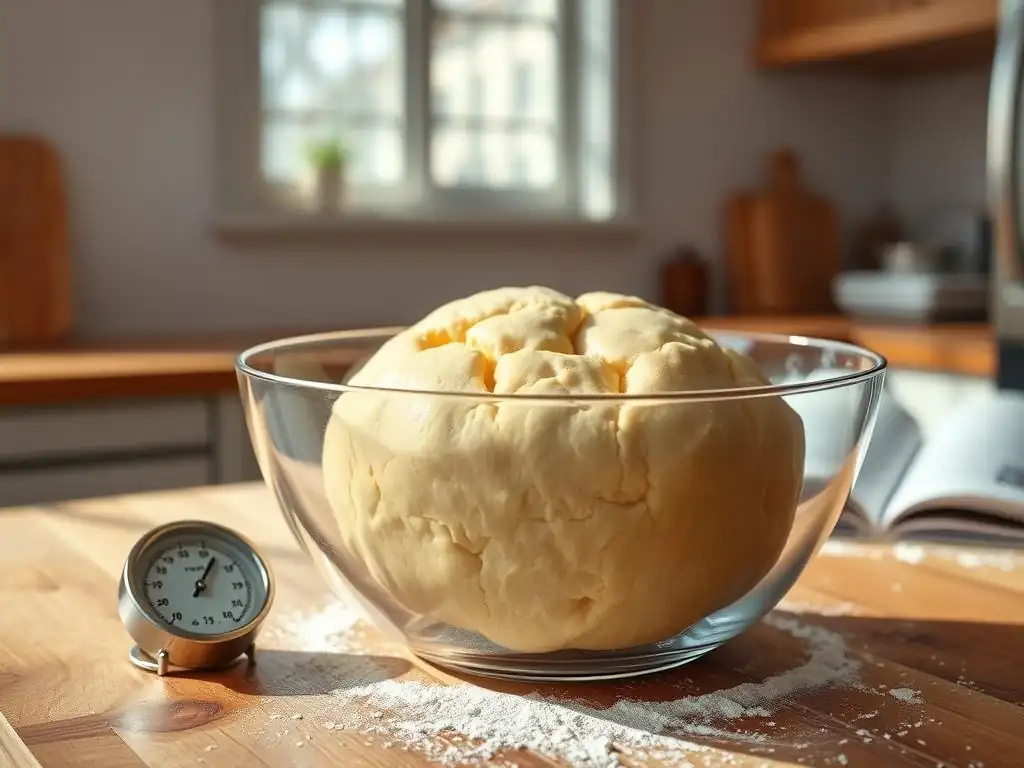
The optimal range for brioche proofing is 24–28 °C (75–82 °F). Within this window, yeast activity peaks and gluten remains elastic. In cooler climates, a proofing box with a 50 W incandescent bulb can maintain stable warmth without drying the dough.
Creating a Warm and Draft-Free Proofing Environment
Drafts and fluctuating temps can cause surface skinning. To avoid this:
- Cover bowls with cling film or damp towels
- Use a rising bucket with a sealed lid
- Place a small bowl of hot water nearby to keep humidity above 75%
Hydration Levels: Balancing Moisture for a Successful Brioche Rise
Determining the Correct Hydration for Your Brioche Recipe
Typical brioche hydration ratios range from 60% to 65%. For a 500 g flour base, that’s 300–325 g of liquid (milk or water). Milk improves crumb softness but adds fats and sugars; for every 100 g milk, reduce butter by 5 g to maintain structure.
Adjusting Hydration Based on Flour Type and Environment
Different flours absorb water at varying rates.
- Bread flour (12.5% protein) holds 62–65% hydration.
- All-purpose flour (10.5% protein) holds 58–62%.
In humid climates (above 70% RH), reduce water by 5–10 ml to prevent overly slack dough.
Baking Techniques for a Perfectly Risen Brioche
Proper Oven Temperature and Baking Time
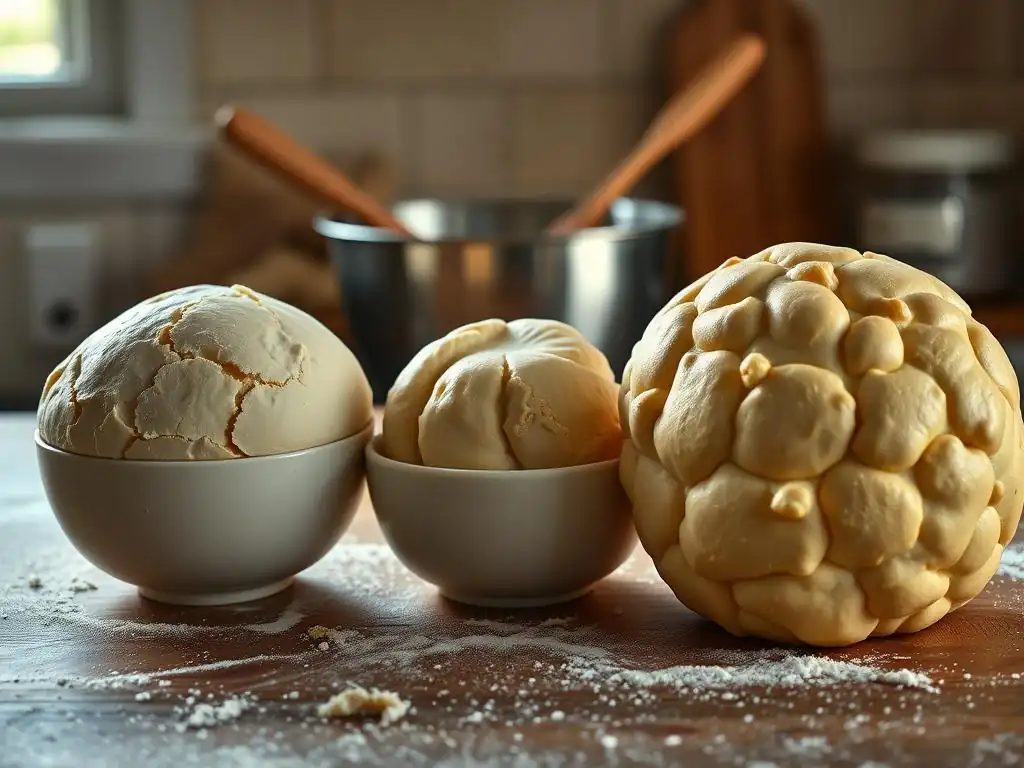
Preheat to 180 °C (356 °F) and bake for 25–30 minutes for a standard 500 g loaf. Monitor internal temperature with a probe; the center should reach 93 °C (200 °F). If crust browns too quickly, lower temperature to 170 °C after 15 minutes.
Steam Baking: Enhancing Crust and Rise
Introduce steam in the first 10 minutes by:
- Placing an empty tray on the oven floor and pouring 100 ml of boiling water into it
- Using a spray bottle to mist the walls before closing the door
Steam keeps the crust pliable, allowing full oven spring and a glossy finish.
Preventing Future Brioche Rising Problems: Tips and Tricks
Accurate Measurements: The Importance of Precision
Use a digital scale (±1 g accuracy) for all ingredients. Even a 2 g error in salt (1% of 200 g flour) can hinder yeast activity. Track your adjustments in a baker’s journal to replicate successes.
High-Quality Ingredients: Investing in Success
- Flour: Opt for 12–13% protein bread flour from brands like King Arthur or Bob’s Red Mill.
- Butter: European-style butter (82% fat) yields richer dough and better gas retention.
Careful Monitoring: Observing the Dough's Progress
Document bulk rise times, dough temperature, and ambient conditions. Set smartphone reminders for each proofing stage. Over time, patterns will emerge, helping you troubleshoot faster.
Common Brioche Baking Mistakes and How to Avoid Them
Over-Proofing vs. Under-Proofing: Recognizing the Signs
- Over-Proofed dough: Collapses easily, large gas pockets, sour aroma.
- Under-Proofed dough: Tight crumb, small irregular holes, resistance to shape.
Use the finger dent test: a light poke should spring back slowly, leaving a slight indentation.
Over-Kneading vs. Under-Kneading: Finding the Balance
- Over-Kneaded dough: Very elastic, snaps back, tight crumb.
- Under-Kneaded dough: Tears during windowpane test, dense final loaf.
Aim for a “just right” feel—pliable yet structured.
Ready to conquer your brioche rising problems? Follow BakeWithEase’s detailed solutions for a perfectly airy, buttery loaf every time!
Frequently Asked Questions
Why is my brioche dough not rising?
A brioche dough that doesn't rise is often due to inactive yeast, cold temperatures, or too much fat inhibiting the yeast. Ensure your yeast is fresh and active, and keep the dough in a warm place.
How do I know if my yeast is still good?
You can test your yeast by mixing it with warm water and a little sugar. If it doesn't foam or bubble within 5-10 minutes, it's likely dead and needs replacing. This is a crucial step!
What is the ideal temperature for proofing brioche dough?
The optimal temperature for proofing brioche is between 75-80°F (24-27°C). Too cold, and the yeast will be sluggish. Too hot, and you risk killing the yeast.
I added all the ingredients correctly, but it still isn't rising. What could be the issue?
Over-mixing or under-mixing can affect the dough's structure. Also, using ingredients that are too cold can slow down the yeast activity. Always use room-temperature eggs and butter.
Can I salvage brioche dough that hasn't risen adequately?
Yes, you can try placing the dough in a slightly warmer location (but not too hot!) for a longer proofing time. You could also try adding a tiny amount of fresh yeast to reactivate the process, but this is risky.
Final Reflection: Embracing the Art of Brioche Baking
The journey of mastering brioche baking is as much about understanding the science behind rising as it is about the joy of creating something delicious. In today's fast-paced world, where instant gratification often overshadows the beauty of patience, the art of baking brioche serves as a reminder that some things take time and care to achieve perfection. The challenges we face when our brioche refuses to rise properly are not just culinary hurdles; they are opportunities for growth, learning, and ultimately, success.
The intricacies of brioche baking reflect broader themes in our lives and culture, where perseverance and attention to detail can lead to rewarding outcomes. As we navigate through the complexities of dough, yeast, and temperature, we are reminded that every setback is a stepping stone toward mastery. Success is not final, failure is not fatal: It is the courage to continue that counts.
– Winston S. Churchill. This quote resonates deeply within the context of baking, illustrating that the path to achieving our goals—be it in the kitchen or in life—requires resilience and a willingness to learn from our mistakes.
As you reflect on your own baking experiences, consider how the lessons learned from troubleshooting brioche can be applied to your everyday challenges. Embrace the process, celebrate the small victories, and remember that every rise and fall is part of the journey. Whether you're a seasoned baker or just starting out, let the art of brioche inspire you to approach your endeavors with patience and creativity. The next time you face a rising problem, take a moment to appreciate the journey and the delicious rewards that await you at the end.
Unlock Your Brioche's Full Potential!
Thanks for taking the time to learn the secrets of perfect brioche! We hope you now feel more confident in tackling this delicious bread. Ready to bake your best brioche yet?
- Master the art of proper proofing: Try adjusting your proofing temperature and time based on your environment and dough consistency for perfect rise! This small change can dramatically improve your results.
- Share your baking journey: Snap a photo of your gorgeous brioche and share it on social media using #BakeWithEaseBrioche – let's inspire each other!
- Explore our other bread recipes: Discover new baking adventures with our collection of easy-to-follow recipes. You might just find your new favorite!
What unique ingredient or technique will you try in your next brioche attempt to achieve that perfect airy crumb?