
Flaky GlutenFree Pastry: It's Possible with These Substitutions

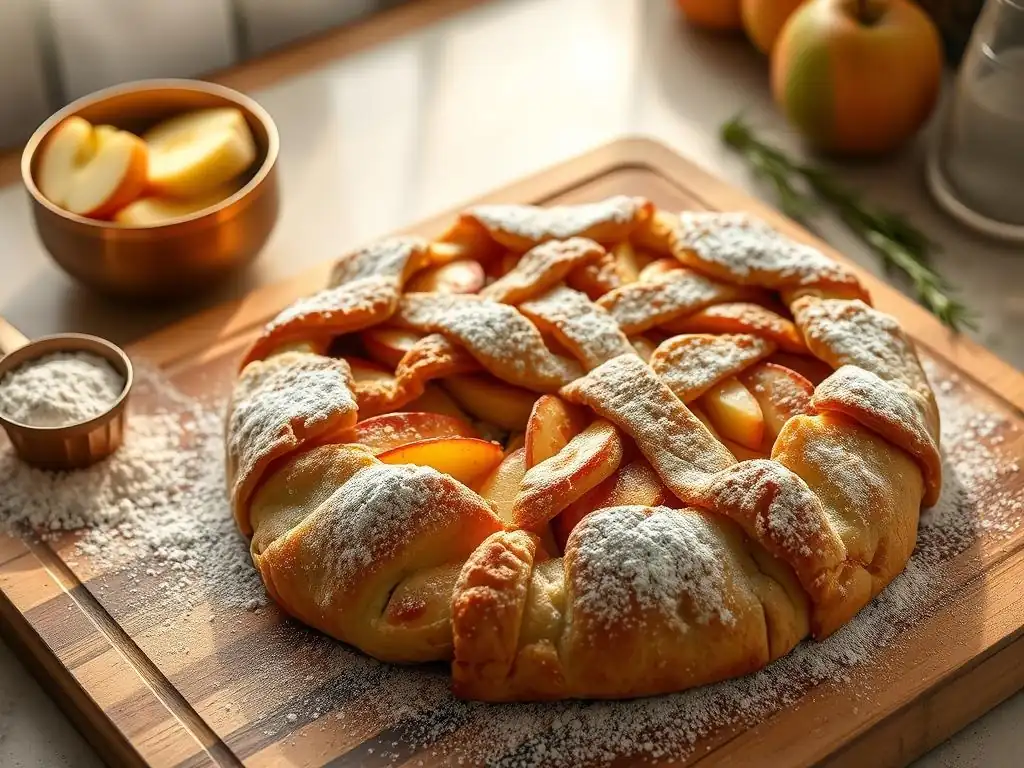
Welcome to BakeWithEase, your companion in the delightful world of baking! Ever dreamed of crafting perfectly flaky pastries, even while navigating gluten sensitivities? It's more achievable than you think! Discover our Glutenfree pastry recipe tips and unlock the secrets to creating delectable, guilt-free treats. Ready to transform your baking and amaze your taste buds? Let's get started!
- Flaky Gluten-Free Pastry: Achieving Success with Specific Flour Blends
- Understanding the Challenges of Gluten-Free Pastry
- Key Gluten-Free Flour Substitutions for Flaky Pastry
- The Importance of Fat in Gluten-Free Pastry
- Liquid Considerations for Gluten-Free Pastry Dough
- Mastering the Gluten-Free Pastry Technique
- Gluten-Free Pastry Recipe Tips for Success
- Troubleshooting Common Gluten-Free Pastry Problems
- Gluten-Free Pastry Recipe Variations
- Achieving Perfect Flaky Gluten-Free Pastry: A Summary of Key Substitutions
-
Frequently Asked Questions
- What makes gluten-free pastry challenging to bake?
- What are some key gluten-free flour substitutions for pastry?
- What role does fat play in gluten-free pastry compared to traditional pastry?
- Are there any special techniques for handling gluten-free pastry dough?
- Where can I find easy-to-follow gluten-free pastry recipes suitable for beginners?
- Final Reflection: Mastering the Art of Gluten-Free Pastry
- Unlock Your Gluten-Free Pastry Potential!
Flaky Gluten-Free Pastry: Achieving Success with Specific Flour Blends
Understanding the Challenges of Gluten-Free Pastry
The Role of Gluten in Traditional Pastry
Traditional pastry relies heavily on gluten, a protein network formed when wheat flour is mixed with water and kneaded. This network provides elasticity and structure, allowing the dough to be rolled thinly without tearing and trapping steam during baking to create those desirable flaky layers. Think of it as the scaffolding that holds the delicate fat layers apart. Without gluten, achieving a similar texture requires understanding its function and finding alternative ways to replicate its effects.
In classic techniques like puff pastry or rough puff, the gluten structure helps maintain the distinct layers formed by folding butter into the dough. As the pastry bakes, the water in the butter turns to steam, expanding and separating these layers, resulting in the airy, crispy texture we love. This elastic quality is a fundamental difference when approaching gluten-free pastry, as typical gluten-free flours lack this inherent extensibility.
Why Gluten-Free Flours Behave Differently
Gluten-free flours are derived from a variety of sources like rice, corn, potato, tapioca, sorghum, and nuts. Unlike wheat flour, they do not contain the gliadin and glutenin proteins that combine to form gluten. Consequently, doughs made solely with a single gluten-free flour often lack elasticity, can be crumbly, and may not hold their shape well during rolling and baking. This is why achieving a flaky glutenfree pastry requires a different approach to ingredients and technique.
The absorption rates and starch content of gluten-free flours vary significantly. Some flours absorb a lot of liquid (like brown rice flour), while others absorb less (like white rice flour or starches). This variability means that a simple 1:1 substitution for wheat flour rarely works in pastry recipes. Crafting a successful gluten-free blend that mimics the properties needed for flaky pastry involves carefully balancing different flours and starches to provide structure, tenderness, and binding capabilities.
Key Gluten-Free Flour Substitutions for Flaky Pastry
Blending Gluten-Free Flours for Optimal Texture
Creating a successful gluten-free pastry often hinges on using a blend of flours and starches rather than a single type. A common strategy is to combine a 'structure' flour (like rice or sorghum) with a 'binding' starch (like tapioca or potato) and sometimes a 'tenderizing' flour (like almond or oat). A typical starting ratio might be around 40-50% structure flour, 30-40% starch, and 10-20% other flours. This blend aims to provide enough structure to roll the dough while also allowing for tenderness and the ability to hold together.
Experimentation is key when developing your perfect gluten-free pastry recipe tips. Different blends yield slightly different results. For instance, a blend higher in brown rice flour might be nuttier but slightly tougher, while a blend higher in white rice flour and starches might be lighter but potentially more fragile. Using accurate measurements, often by weight, is crucial here to ensure consistency between batches as you fine-tune your preferred flour combination.
Rice Flour: Achieving Crispness
Rice flour, both white and brown, is a staple in many gluten-free flour blends. White rice flour is finely ground and has a neutral flavor, contributing structure without being heavy. Brown rice flour includes the bran, offering more fiber and nutrients, and a slightly nutty flavor, but can sometimes make baked goods a bit gritty. In gluten-free pastry, rice flour provides a base structure and, importantly, contributes to the crispness of the final baked product.
Using too much rice flour, especially brown rice flour, can result in a dry, crumbly dough that is difficult to roll. However, when used in moderation as part of a blend (perhaps 20-30% of the total flour mix), it helps give the pastry a pleasant bite and prevents it from being overly soft or gummy. Its fine texture, particularly white rice flour, helps distribute fat particles effectively, which is vital for creating layers.
Tapioca Starch: Binding and Elasticity
Tapioca starch (or tapioca flour) is derived from the cassava root and is a crucial component in many gluten-free pastry blends. It acts as a binder, helping to hold the other flours together and providing a much-needed elasticity that is missing without gluten. This elasticity makes the dough more pliable and easier to handle, reducing breakage during rolling and shaping. It also contributes to a slightly chewy texture, which can be desirable in some pastry applications.
When heated, tapioca starch becomes somewhat gelatinous, which aids in creating a tender crumb and preventing the pastry from being too crumbly. It's often used in conjunction with other starches like potato or cornstarch. A common ratio might include tapioca starch making up 10-20% of the total flour weight in a pastry blend. Including tapioca starch is one of the key glutenfree pastry recipe tips for improving dough workability.
Potato Starch: Lightness and Structure
Potato starch, extracted from potatoes, is another common starch used in gluten-free baking blends. It is lighter and finer than potato flour (which contains the whole potato) and contributes to a light, tender texture in baked goods. In pastry, potato starch helps provide structure and stability without making the dough heavy. It works well in combination with rice flour and tapioca starch to create a balanced blend.
Like tapioca starch, potato starch aids in binding and improves the overall texture. It can help create a slightly crisp exterior while keeping the interior tender. Using too much potato starch can make the dough sticky, so it's important to balance it with flours. A typical blend might include potato starch at around 15-25% of the total flour weight, working synergistically with other components to achieve that desired flakiness.
Sorghum Flour: Providing a Neutral Flavor and Structure
Sorghum flour, made from the ancient grain sorghum, is gaining popularity in gluten-free baking due to its neutral flavor and relatively fine texture. It offers more protein and fiber than rice flour and can add a desirable tender crumb to baked goods. In gluten-free pastry blends, sorghum flour can serve as a structure flour, contributing stability and preventing the pastry from being too delicate or crumbly.
Using sorghum flour can help create a dough that is easier to roll out compared to blends relying solely on rice flours. It doesn't have the strong flavor that some alternative flours like buckwheat or teff might impart, making it versatile for both sweet and savory pastries. Including sorghum flour as part of your gluten-free pastry recipe tips can improve the handling properties of the dough, often used in proportions similar to rice flour, perhaps 20-30% of the total blend.
The Importance of Fat in Gluten-Free Pastry
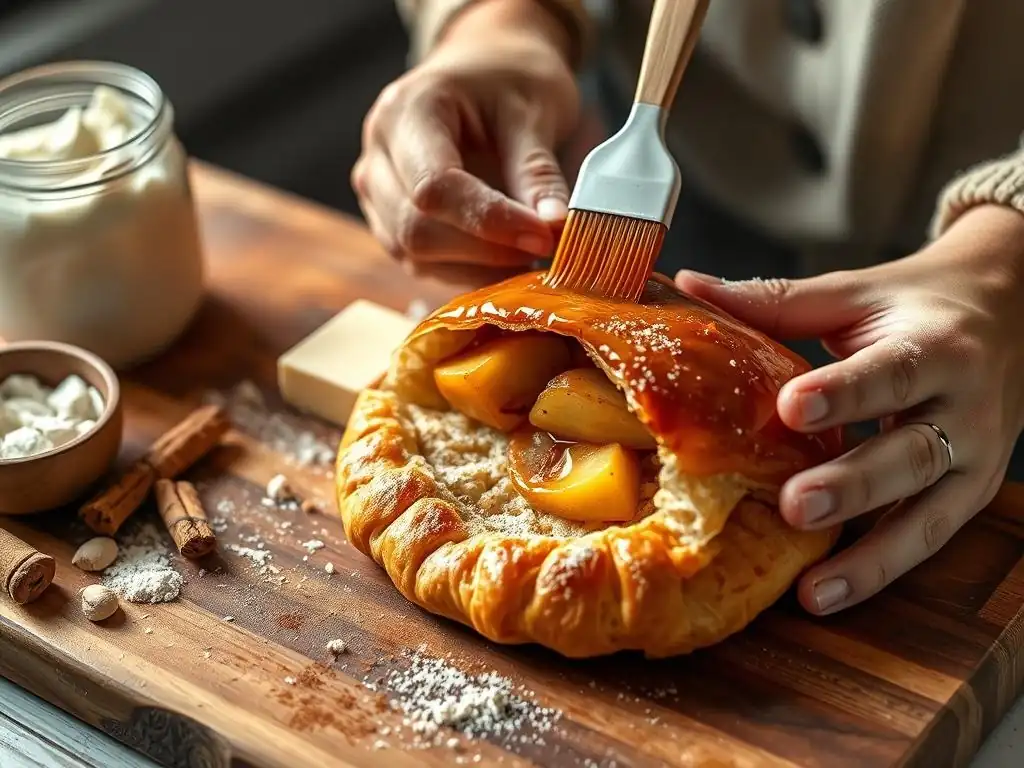
Choosing the Right Fat: Butter, Shortening, or Coconut Oil?
The type of fat you use significantly impacts the flakiness and flavor of gluten-free pastry, just as it does in traditional pastry. Cold fat particles are crucial; as they melt in the oven, they create steam pockets that separate the dough layers. Unsalted butter is a popular choice for its flavor, but its lower melting point can make it slightly trickier to work with, potentially requiring more chilling time. High-quality, cold butter is often preferred for the best flavor and browning.
Vegetable shortening has a higher melting point than butter, which can make it easier to create and maintain distinct fat pockets throughout the dough. This often results in very pronounced flakiness. However, shortening lacks the rich flavor of butter. Some bakers prefer a blend of butter and shortening to get the best of both worlds: flavor from the butter and enhanced flakiness from the shortening. Solid coconut oil (often refined to be neutral in flavor) can also be used, offering a plant-based alternative, but its melting point varies greatly depending on the type, which can affect results.
Fat to Flour Ratio: A Crucial Element for Flakiness
The ratio of fat to flour is fundamental to achieving flaky pastry, whether gluten-free or traditional. A higher fat ratio generally leads to a more tender and potentially flakier pastry because the fat inhibits the binding of the flour particles. A common starting point for a flaky crust is a fat-to-flour ratio of roughly 1:1 by weight, or slightly less fat by volume due to density differences. For example, 200 grams of flour might require around 180-200 grams of cold fat.
Getting this ratio right is one of the most important glutenfree pastry recipe tips. Too little fat, and the pastry will be tough and dry; too much, and it can become greasy and difficult to handle. The goal is to have distinct pieces of cold fat distributed throughout the flour, ranging in size from small peas to flattened shards, depending on the desired flakiness level. These fat pieces are what create the steam and separation during baking.
Keeping the Fat Cold: Essential for Gluten-Free Success
Maintaining the cold temperature of the fat is arguably the most critical step for achieving flaky gluten-free pastry. Cold fat, cut into pieces and distributed throughout the flour, melts slower in the oven than warmer fat. This slower melting process allows the water within the fat to turn into steam, which then forces apart the layers of dough, creating flakiness. If the fat is too warm and melts into the flour before baking, you'll end up with a more cookie-like or mealy texture rather than distinct layers.
Ensure your butter, shortening, or coconut oil is very cold, ideally straight from the refrigerator or even briefly from the freezer. Work quickly when cutting the fat into the flour to prevent it from warming up from your hands or the room temperature. Some bakers even chill their flour blend and equipment (like bowls or pastry blenders) beforehand. If at any point the dough feels warm or the fat seems too soft, pop it back into the refrigerator or freezer for 10-15 minutes before continuing.
Liquid Considerations for Gluten-Free Pastry Dough
Water vs. Milk: Which Works Best?
The liquid added to gluten-free pastry dough helps hydrate the flours and starches, bringing the mixture together into a cohesive dough. Ice water is the most common choice for flaky pastry, both gluten-free and traditional. Water contains no fat, allowing the fat in the recipe (butter, shortening) to remain in distinct pieces, which is essential for flakiness. Using ice water also helps keep the overall dough temperature low, preventing the fat from melting prematurely.
While milk can be used in some pastry recipes, it contains fat and proteins that can interfere with the formation of distinct fat pockets, potentially resulting in a less flaky crust. Milk can also promote browning more quickly due to its sugar content. For maximum flakiness, sticking to ice water is generally the recommended approach. The amount of liquid needed can vary depending on the specific gluten-free flour blend used, as different flours absorb moisture differently. Start with a minimum amount and add just enough until the dough comes together.
Adding Acid: Vinegar or Lemon Juice for Tenderizing
Adding a small amount of acid, such as apple cider vinegar or lemon juice, to the ice water is a common glutenfree pastry recipe tip for improving tenderness. While in traditional pastry, acid can help tenderize the gluten network (by slightly inhibiting its formation), its role in gluten-free pastry is slightly different. It's believed that acid can help break down some of the starches in the gluten-free flour blend, leading to a more tender crumb.
Typically, only a small amount is needed, perhaps 1-2 teaspoons per cup of liquid. The acid also helps inhibit enzymatic activity in some flours which could otherwise lead to a tougher texture. Don't worry, the amount is small enough that it generally doesn't impart a noticeable flavor to the finished pastry, especially in savory applications or sweet pastries with fillings. It's a simple addition that can make a noticeable difference in the final texture.
Ice Water: Maintaining Dough Temperature
Using ice water is a critical step directly tied to keeping the fat cold and achieving flakiness. The colder the water, the less it will warm up the fat and flour mixture as you bring the dough together. Ideally, fill a cup with water and ice cubes and let it sit for 5-10 minutes before measuring out the required amount of liquid. You want the water itself to be just above freezing.
Measure the ice water carefully. Too much liquid will make the dough sticky and difficult to handle, potentially leading to a tough crust. Too little liquid will result in a dry, crumbly dough that won't come together. It's better to err on the side of slightly too little and add more one teaspoon at a time until the dough just holds together when squeezed. Remember, the goal is a shaggy dough that just comes together, not a smooth, uniform ball.
Mastering the Gluten-Free Pastry Technique
The Cut-In Method: Distributing Fat Evenly
The "cut-in" method is fundamental to flaky pastry. This technique involves incorporating cold fat into the dry flour mixture until the fat is broken down into smaller pieces and coated with flour. For gluten-free pastry, this is crucial for creating the distinct fat pockets that yield flakiness. The size of the fat pieces influences the type of flakiness; pea-sized pieces tend to create a more uniform, tender crumbliness, while larger, flattened shards (like quarters) lead to more pronounced, separated layers.
Use a pastry blender, two knives, or even your fingertips (working quickly!) to cut the fat into the flour. Avoid using your hands too much, as their warmth can melt the fat. The mixture should resemble coarse meal with visible pieces of fat dispersed throughout. This step is where the foundation for flakiness is laid, so take your time and ensure the fat is properly incorporated while remaining cold. This is a key technique among proven glutenfree pastry recipe tips.
Handling the Dough: Gentle and Patient Approach
Gluten-free pastry dough, lacking the elastic network of gluten, can be more delicate and prone to crumbling or tearing. Therefore, a gentle and patient approach is essential during mixing and handling. Once the liquid is added, mix just until the dough comes together. Overmixing will not develop gluten (as there is none! ), but it can lead to a tough texture by overworking the starches and potentially melting the fat.
Gather the dough gently into a disc or rectangle, depending on its intended use. Avoid kneading or manipulating it excessively. If the dough feels too dry, add a tiny amount more ice water (half a teaspoon at a time). If it's too sticky, chill it or dust lightly with your gluten-free flour blend, but avoid adding too much extra flour, which can make it tough. Handle it minimally and keep it cold throughout the process.
Resting the Dough: Allowing Hydration and Relaxation
Resting the gluten-free pastry dough in the refrigerator is a non-negotiable step for success. This resting period, typically 30-60 minutes or longer, serves several purposes. First, it allows the liquids to fully hydrate the gluten-free flours and starches. This makes the dough less crumbly and easier to roll out. Second, it allows the fat to firm up again after being handled, ensuring those crucial cold fat pockets are ready to create steam in the oven.
Chilling the dough also helps the flavors meld and makes the dough less sticky. Wrapping the dough tightly in plastic wrap prevents it from drying out and forming a crust. A well-rested dough is significantly easier to work with, less likely to crack or tear during rolling, and sets you up for a much flakier result. Don't skip this step – it's one of the simplest yet most effective glutenfree pastry recipe tips.
Gluten-Free Pastry Recipe Tips for Success
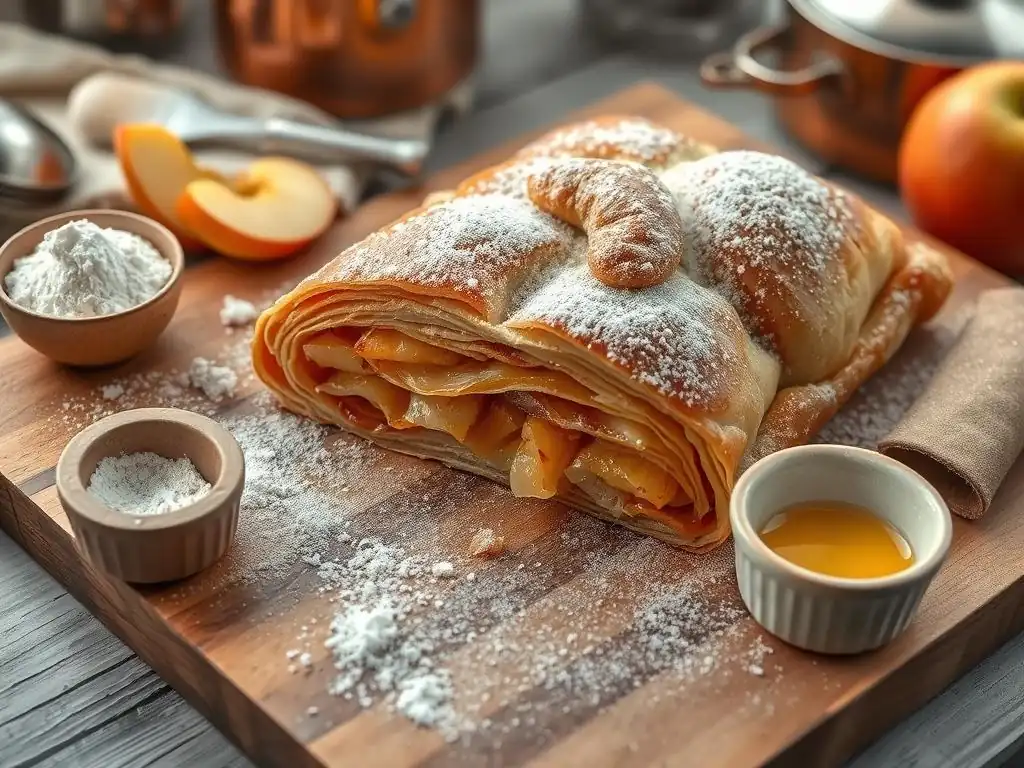
Measuring Ingredients Accurately
Accuracy in measuring ingredients, especially the gluten-free flour blend and fat, is paramount for consistent gluten-free pastry results. Using a digital kitchen scale to weigh ingredients is highly recommended over volume measurements (cups), as the density of gluten-free flours can vary significantly depending on how they are scooped or packed. For example, a cup of tapioca starch weighs less than a cup of brown rice flour.
Weighing ensures you use the exact ratios intended in the recipe, which is critical for achieving the right dough consistency and the desired flakiness. Small variations in the amount of flour or fat can drastically change the outcome. Invest in a scale; it's one of the best investments you can make for successful gluten-free baking, particularly when following detailed glutenfree pastry recipe tips.
Working on a Cold Surface
Keeping the dough and the fat cold throughout the rolling process is vital. Working on a cold surface helps prevent the fat from melting into the dough, preserving the distinct layers needed for flakiness. If possible, roll out your dough on a marble or granite pastry board that has been chilled, or even a metal baking sheet kept in the freezer for a few minutes.
If you don't have a naturally cold surface, you can improvise. Placing a regular cutting board over a few ice packs can help cool it down. Working in a cooler room environment also helps. If the dough starts to feel soft or sticky while you're rolling, stop and place it back in the refrigerator (still on the cold surface or parchment paper) for 10-15 minutes to firm up before continuing.
Blind Baking: Preventing a Soggy Bottom
For pies, tarts, and quiches with wet fillings, blind baking (or pre-baking) the gluten-free pastry crust is often necessary to prevent a soggy bottom. Gluten-free crusts can be particularly susceptible to absorbing moisture from fillings. Blind baking involves partially or fully baking the crust before adding the filling. This sets the structure and creates a barrier against moisture.
To blind bake, line the chilled pastry shell with parchment paper and fill it with pie weights, dried beans, or rice. This prevents the crust from shrinking or puffing up. Bake according to the recipe's instructions (often around 15-20 minutes at 375-400°F or 190-200°C) until the edges are set. For a fully baked crust, remove the weights and paper and continue baking for another 5-10 minutes until lightly golden. This step is a non-negotiable glutenfree pastry recipe tip for many pie and tart applications.
Rolling Techniques: Using Parchment Paper and Gentle Pressure
Gluten-free pastry dough can be more fragile than its wheat counterpart, making rolling a bit trickier. Rolling the dough between two sheets of parchment paper is a highly effective technique to prevent sticking and make handling easier. This eliminates the need for excess dusting flour, which can dry out the dough.
Place the chilled dough disc/rectangle between two sheets of parchment paper. Roll from the center outwards, rotating the dough frequently to ensure an even thickness. Apply gentle, even pressure; pressing too hard can cause the dough to crack or tear. If cracks appear at the edges, gently press them back together. If the dough becomes too soft or difficult to roll, slide the parchment and dough onto a baking sheet and chill it again before continuing. Patience is key!
Pre-Baking Tips for Extra Crispness
For certain applications, like tart shells that will be filled with a no-bake filling or savory quiches, achieving an extra-crisp crust is desirable. Beyond blind baking, you can enhance crispness by ensuring the oven is fully preheated to the correct temperature before baking. A hot oven helps the fat melt quickly and create steam, contributing to layers.
Some bakers brush the blind-baked crust with a thin layer of egg wash (egg mixed with a little water or milk) or melted butter after removing the pie weights and before the final few minutes of baking. This can help create a golden, slightly crisp surface. Ensuring the filling isn't excessively wet and allowing the baked tart or pie to cool properly before slicing also helps maintain the crispness of the gluten-free pastry.
Troubleshooting Common Gluten-Free Pastry Problems
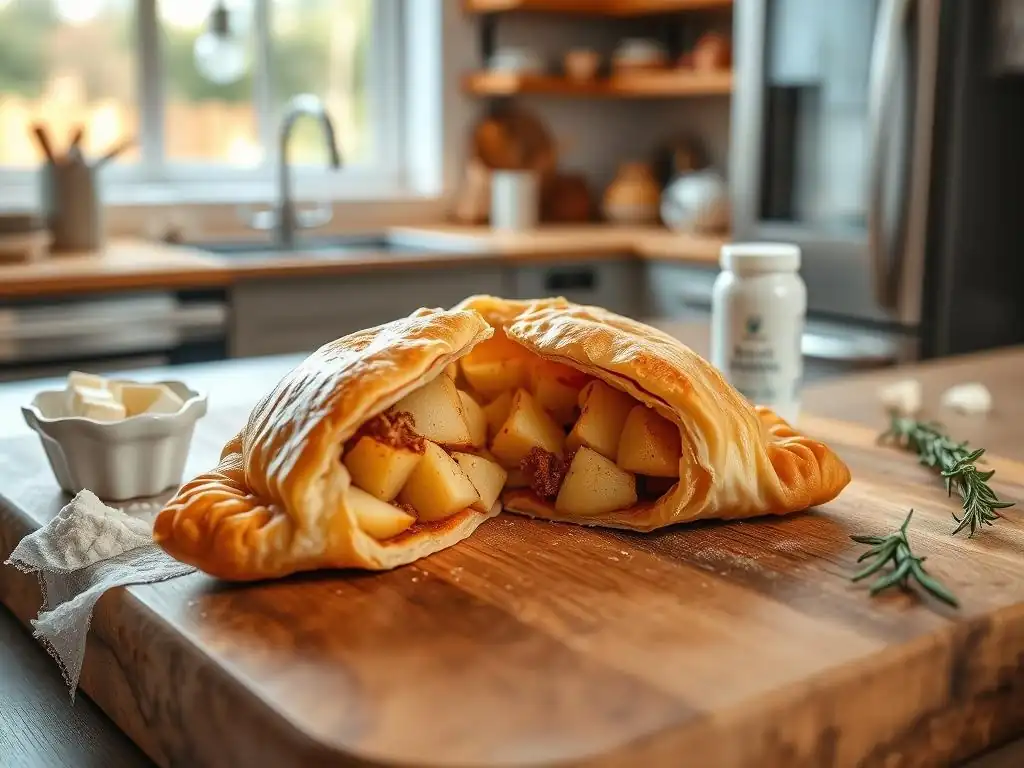
Dough Too Dry: Adding More Liquid
If your gluten-free pastry dough feels crumbly and won't come together even after gentle mixing, it likely needs more liquid. Gluten-free flours absorb moisture differently, and factors like humidity can affect the required amount. The key is to add liquid very gradually.
- Add ice water one teaspoon at a time.
- Mix gently with a fork or your hands after each addition.
- Stop adding liquid as soon as the dough just holds together when squeezed without crumbling.
- Avoid adding a large amount at once, as it's difficult to correct overly wet dough.
Dough Too Sticky: Adjusting Flour Blend
Conversely, if your dough is excessively sticky and difficult to handle, it might have too much liquid or an imbalance in your flour blend (perhaps too much starch). While chilling can help firm it up, sometimes you need to adjust the dry ingredients slightly.
- Chill the dough thoroughly (at least 30 minutes). Cold dough is less sticky.
- Lightly dust your work surface and rolling pin with a bit more of your gluten-free flour blend.
- If the dough is still unmanageably sticky, you may need to gently work in a tiny amount (e.g., 1-2 tablespoons) of your flour blend. However, adding too much extra flour can make the crust tough.
- For future batches, slightly reduce the liquid or slightly increase the proportion of a more absorbent flour (like rice or sorghum) in your blend.
Pastry Not Flaky: Fat Not Cold Enough or Overworked Dough
The most common reasons for a gluten-free pastry that isn't flaky are related to the fat and how the dough was handled.
- Fat wasn't cold enough: If the fat melted into the flour instead of staying in distinct pieces, you won't get layers. Ensure your fat is very cold, work quickly, and keep everything chilled.
- Dough was overworked: Overmixing the dough after adding liquid or handling it too much during rolling can melt the fat and prevent layers from forming. Mix minimally until just combined and handle gently.
- Not enough fat: Ensure you're using the correct ratio of fat to flour (aiming for roughly 1:1 by weight for flaky crust).
- Not rested enough: Skipping or shortening the chilling time means the fat isn't firm and the flours aren't fully hydrated, impacting flakiness and handling.
Gluten-Free Pastry Recipe Variations
Sweet Gluten-Free Pastry Dough
Sweet gluten-free pastry dough is the base for countless desserts like fruit pies, tarts, and turnovers. The basic formula using a gluten-free flour blend, cold fat, and ice water remains the same, but sugar is added to the dry ingredients. Granulated sugar provides sweetness and can also contribute slightly to tenderness by interfering with starch binding.
- A typical amount of sugar for a sweet crust might be 1-3 tablespoons per cup of flour blend.
- Vanilla extract or a pinch of salt can also enhance the flavor.
- This dough can be used for single-crust pies (like pumpkin or pecan) or double-crust pies (like apple or cherry).
Savory Gluten-Free Pastry Dough
Savory gluten-free pastry dough is used for quiches, savory tarts, hand pies, or even as a topping for pot pies. The main difference from sweet dough is the omission or significant reduction of sugar and often a slightly higher salt content.
- Omit sugar entirely or add just a pinch (around 1/2 teaspoon per cup of flour) to balance flavors.
- Increase salt slightly compared to a sweet dough.
- Herbs or spices (like black pepper, dried thyme, or rosemary) can be incorporated into the dry flour blend for added flavor, particularly useful in glutenfree pastry recipe tips for savory dishes.
- This dough forms the perfect base for fillings like cheese and vegetable quiche or meat pies.
Gluten-Free Apple Pie Recipe
- Ingredients:
- 2.5 cups (approx 300g) Gluten-Free Pastry Flour Blend (e.g., 1 cup white rice flour, 3/4 cup sorghum flour, 1/2 cup tapioca starch, 1/4 cup potato starch)
- 1 teaspoon Salt
- 1-3 tablespoons Sugar (for sweet crust)
- 1 cup (225g) Cold Unsalted Butter, cut into cubes (or mix of butter/shortening)
- 1/2 cup Ice Water + 1 teaspoon Apple Cider Vinegar
- Filling: 6-8 cups sliced apples, 1/2 cup sugar, 2 tablespoons gluten-free flour blend or cornstarch, 1 teaspoon cinnamon, pinch nutmeg, 1 tablespoon lemon juice, 2 tablespoons butter (cut into small pieces)
- Instructions (Summary):
- Combine dry ingredients for crust.
- Cut in cold fat until mixture resembles coarse meal with some larger pieces.
- Gradually add ice water/vinegar until dough just comes together.
- Divide dough in half, shape into discs, wrap, and chill for at least 60 minutes.
- Prepare apple filling.
- Roll out one dough disc between parchment paper and transfer to a 9-inch pie plate. Trim edges.
- Pour filling into crust. Dot with butter pieces.
- Roll out second dough disc for top crust (solid or lattice). Place over filling. Crimp edges. Cut vents if using a solid top.
- Bake at 400°F (200°C) for 20 minutes, then reduce temperature to 375°F (190°C) and bake for another 30-40 minutes, or until crust is golden and filling is bubbly. Cover edges with foil if browning too quickly.
- Let cool completely before slicing (crucial for the filling to set).
Achieving Perfect Flaky Gluten-Free Pastry: A Summary of Key Substitutions
Embracing Gluten-Free Baking with Confidence
Achieving flaky gluten-free pastry is not just possible; it's a rewarding skill to master. By understanding the role of gluten and how gluten-free flours behave differently, you can confidently approach baking with these substitutions. The journey involves selecting the right blend of gluten-free flours and starches, carefully controlling the temperature of your fat and liquid, and employing specific techniques like the cut-in method and proper chilling.
Remembering these key glutenfree pastry recipe tips will significantly increase your success rate. Accurate measurement, keeping ingredients cold, using a gentle touch, and allowing ample resting time are fundamental. Don't be discouraged by initial attempts that aren't perfect. Baking is a science and an art, and gluten-free baking adds a unique layer of complexity. With practice and attention to these details, you'll be creating delicious, flaky gluten-free pastry that rivals traditional versions, opening up a world of pies, tarts, and savory bakes for everyone to enjoy.
Frequently Asked Questions
What makes gluten-free pastry challenging to bake?
Gluten-free pastry is challenging because it lacks gluten, a protein that provides structure and elasticity. This absence can result in a crumbly or dense texture.
What are some key gluten-free flour substitutions for pastry?
Common substitutions include rice flour, tapioca starch, and almond flour. Blending these flours often yields better results than using a single gluten-free flour.
What role does fat play in gluten-free pastry compared to traditional pastry?
Fat is even more critical in gluten-free pastry. It helps to bind the ingredients and create a tender, flaky texture, compensating for the lack of gluten.
Are there any special techniques for handling gluten-free pastry dough?
Yes, gluten-free dough is often more delicate and sticky. Chilling the dough thoroughly and using parchment paper for rolling can make it easier to handle.
Where can I find easy-to-follow gluten-free pastry recipes suitable for beginners?
Websites like BakeWithEase.com offer step-by-step guides and recipes specifically designed for bakers of all levels, including those new to gluten-free baking.
Final Reflection: Mastering the Art of Gluten-Free Pastry
The quest for a flawlessly flaky gluten-free pastry is a challenge many home bakers face, but it's a challenge that can be overcome. This article has explored several key substitutions and techniques that can elevate your gluten-free baking from disappointing crumbles to delightfully delicate pastries. The pursuit of this seemingly simple goal highlights a larger truth: innovation and adaptation are crucial in the culinary world, especially when navigating dietary restrictions.
The journey of perfecting gluten-free pastry has profoundly impacted my own baking philosophy. It's taught me the importance of understanding the why behind traditional techniques, not just the how. By understanding the role gluten plays in traditional pastry, we can more effectively find suitable replacements that mimic its desired properties. The most important thing is to try and inspire people to cook by making it easy and fun.
- Julia Child. This quote resonates deeply, as mastering gluten-free pastry requires patience, experimentation, and a willingness to embrace the unexpected results along the way.
Now, it's your turn. Don't be intimidated by the perceived difficulty of gluten-free baking. Take the knowledge gained from this article, experiment with different flours and techniques, and discover the joy of creating delicious, flaky pastries that you can proudly share. Embrace the challenge, celebrate your successes, and remember that every slightly imperfect pie crust is a step closer to mastering the art of gluten-free baking. The journey itself is as rewarding as the final, flaky result.
Unlock Your Gluten-Free Pastry Potential!
Thanks for taking the time to explore the world of flaky, delicious gluten-free pastries! You've now got the knowledge to create amazing treats, even without gluten. Ready to put your new skills to the test?
- Bake your dream gluten-free pie: Start with your favorite recipe (or try one of ours!) and swap in the ingredients we highlighted. This is your chance to create something truly special.
- Share your creations: Show off your baking prowess and inspire others! Snap a picture of your masterpiece and share it on social media using #GlutenFreeBakingWins.
- Explore other gluten-free recipes: Discover more delicious gluten-free recipes on our website – we've got tons more where that came from!
So, what amazing gluten-free pastry will you bake first?