
Get Your Cake to Rise High: Troubleshooting Guide

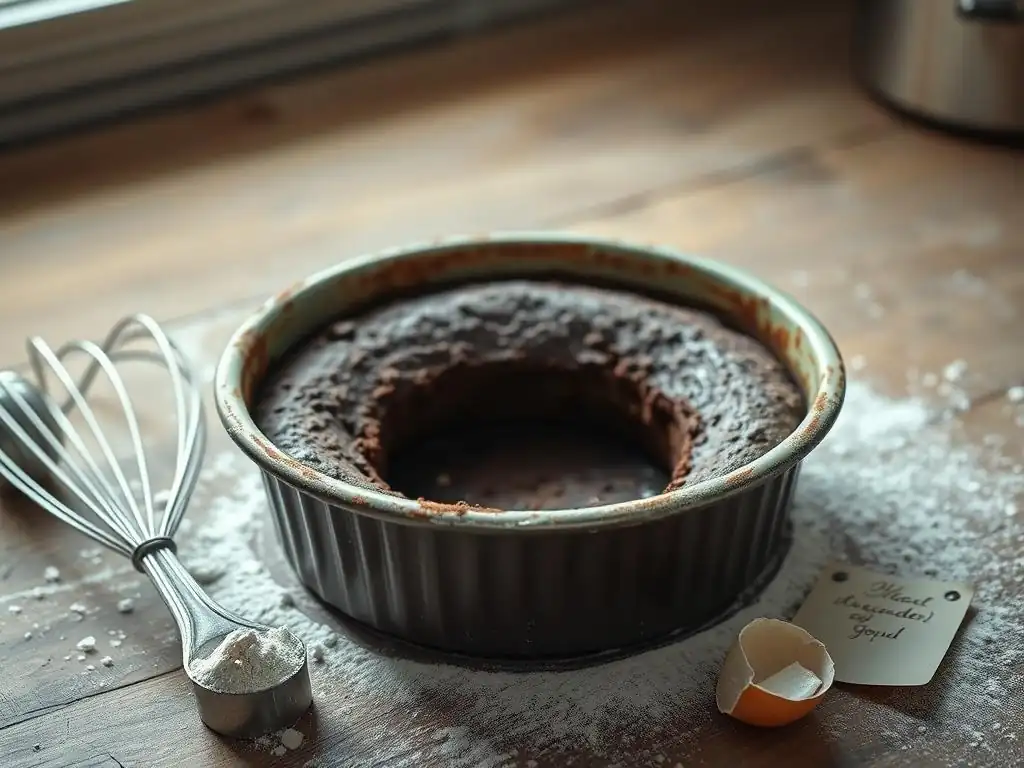
Welcome to BakeWithEase, your partner in creating delicious baked goods! Ever wondered why your cake won't rise to its full, fluffy potential? You're in the right place. Dive into our comprehensive guide, filled with expert tips and troubleshooting techniques, and unlock the secrets to perfectly risen cakes every time. Let's get baking!
- Introduction: Understanding Why Your Cake Isn't Rising
- The Science Behind Cake Rising: Key Factors
-
Common Culprits: Why Cakes Fail to Rise Properly
- Expired or Inactive Leavening Agents: Baking Powder and Baking Soda Troubleshooting
- Incorrect Measurements: The Importance of Accurate Ingredient Ratios
- Overmixing the Batter: Gluten Overdevelopment Issues
- Oven Temperature Fluctuations: Inconsistent Baking Conditions
- Using the Wrong Pan Size: Affecting Heat Distribution
- Troubleshooting Specific Scenarios: Cake Rise Problems and Solutions
-
Prevention is Key: Tips for Ensuring a High-Rising Cake Every Time
- Using Fresh Ingredients: Prioritizing Quality for Optimal Results
- Accurately Measuring Ingredients: Employing Proper Techniques
- Gentle Mixing Techniques: Avoiding Overmixing
- Maintaining Consistent Oven Temperature: Calibrating and Monitoring
- Following the Recipe Carefully: Understanding Ingredient Ratios
- Advanced Techniques for Cake Rise: Elevating Your Baking Skills
- Conclusion: Achieving Cake Baking Success with BakeWithEase
-
Frequently Asked Questions
- Why is my cake not rising even though I followed the recipe exactly?
- What role does baking powder/baking soda play in cake rising, and how can I ensure they are effective?
- Is the oven temperature crucial for a cake to rise properly?
- How does overmixing affect the texture and rise of a cake?
- What other ingredients can influence a cake's ability to rise besides leavening agents?
- Final Reflection: The Sweet Science of a Successful Cake
- Unlock Your Baking Potential: Take the Next Step!
Introduction: Understanding Why Your Cake Isn't Rising
BakeWithEase's Guide to Perfect Cake Height
Few things are as disappointing in the kitchen as pulling a flat, dense cake from the oven after following a recipe. It’s a common frustration for bakers of all levels, and understanding why cake won’t rise is the first step toward achieving those beautifully tall, fluffy layers you dream of. At BakeWithEase, we believe every baking challenge is an opportunity to learn and improve, turning baking woes into wins.
This guide is designed to walk you through the fundamental reasons behind cake rise failures. We'll explore the science that makes cakes rise, identify the most frequent mistakes, offer specific troubleshooting tips for common scenarios, and provide preventative measures to help you bake with confidence. Get ready to unlock the secrets to sky-high, perfectly textured cakes every time you bake!
The Science Behind Cake Rising: Key Factors
Leavening Agents: The Engine of Cake Rise
Leavening agents are the unsung heroes of cake rise. Ingredients like baking powder and baking soda produce gases, primarily carbon dioxide, when they react with moisture and/or heat. These gases create tiny bubbles within the batter. As the cake bakes, the heat causes these gas bubbles to expand, pushing the batter upwards and making the cake rise.
Baking powder is a complete leavener containing both an acid and a base, often designed to react in two stages: once when mixed with liquid and again when heated. Baking soda, on the other hand, is a base that requires an acid ingredient (like buttermilk, yogurt, brown sugar, or vinegar) in the batter to react and produce gas.
Using the correct type and amount of leavening, and ensuring it's active, is absolutely critical to avoid a cake that won’t rise. A typical recipe for a standard 8-inch cake might call for 1 to 2 teaspoons of baking powder or 1/2 to 1 teaspoon of baking soda combined with an acid.
Gluten Development: Building the Cake's Structure
Flour contains proteins called glutenin and gliadin. When flour is mixed with liquid, these proteins form a network called gluten through agitation (mixing). This gluten network provides the structural framework that traps the expanding gas bubbles produced by the leavening agents, allowing the cake to hold its shape as it rises and sets during baking.
However, the amount of gluten development is key. For cakes, you want a tender, delicate crumb, which means minimizing gluten development after the dry ingredients are added. Overmixing the batter after adding flour can create too much gluten, resulting in a tough, dense cake that struggles to rise properly because the structure is too rigid to expand easily. Cake flour, with its lower protein content (around 7-9% compared to 10-12% in all-purpose), is often preferred for tender cakes precisely because it forms less gluten.
Oven Temperature: Crucial for Proper Baking
The oven temperature plays a vital role in the cake's rise and structure setting. The heat activates the second stage of double-acting baking powder and causes the gas bubbles to expand. Simultaneously, the heat causes the proteins in the flour and eggs to coagulate and the starches to set, solidifying the cake's structure around the expanded bubbles.
If the oven temperature is too low, the cake will rise slowly, and the structure might not set before the leavening gases dissipate, leading to collapse. If it's too high, the outside of the cake can set too quickly, forming a crust that prevents the inside from rising fully, or resulting in a burnt exterior and underbaked interior. Baking a cake at the correct and consistent temperature, typically between 325°F and 375°F (160°C to 190°C), is essential for an even rise and proper texture.
Ingredient Balance: The Foundation of a Successful Cake
A cake recipe is a carefully balanced formula where the ratio of wet ingredients (like eggs, milk, oil) to dry ingredients (flour, sugar, leavening) is crucial for texture and rise. The fat and sugar tenderize the cake and contribute to moisture, while the liquid activates leavening and hydrates the flour for gluten development.
An imbalance can easily lead to a cake that won’t rise. Too much flour or not enough liquid can create a stiff batter that's too heavy to lift. Too much sugar or fat can weaken the structure, causing the cake to collapse. Following the recipe's precise measurements is fundamental; even minor deviations can disrupt the delicate chemistry required for a successful, high-rising cake. For instance, adding an extra 1/2 cup of milk to a standard 2-cup flour recipe could significantly impact the batter consistency and final rise.
Common Culprits: Why Cakes Fail to Rise Properly
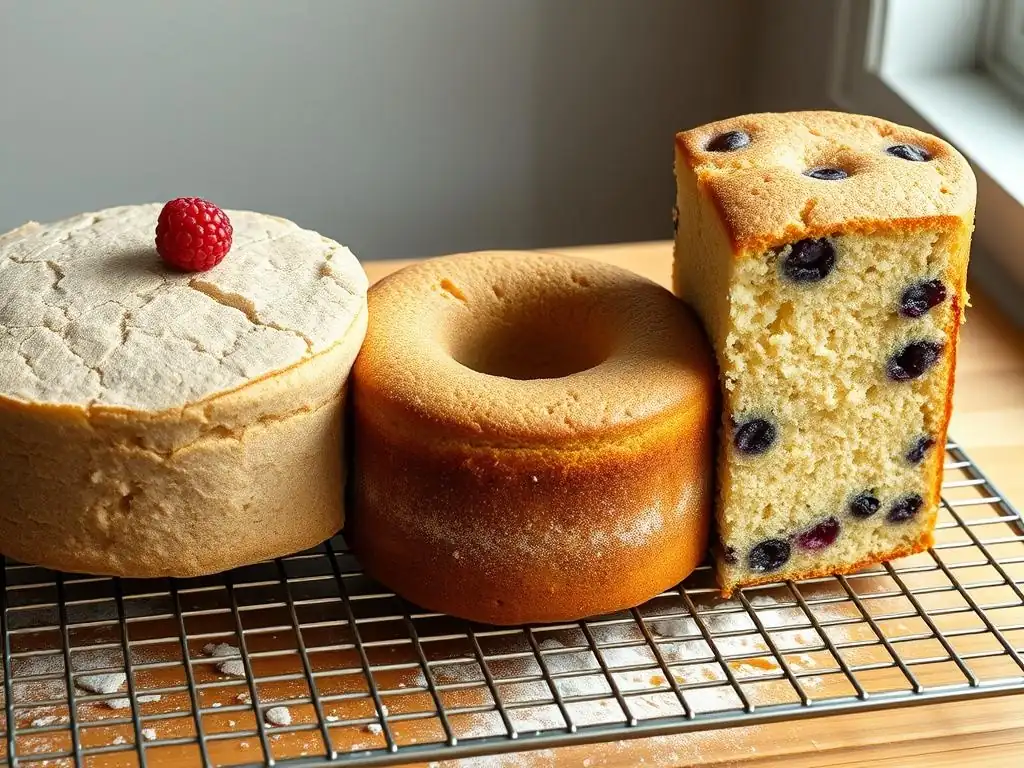
Expired or Inactive Leavening Agents: Baking Powder and Baking Soda Troubleshooting
One of the most frequent reasons why cake won’t rise is using leavening agents that have lost their potency. Baking powder and baking soda don't last forever, and exposure to moisture or air can deactivate them over time, often within 6-12 months of opening.
Testing Baking Powder Activity
To test if your baking powder is still active, place about a teaspoon of it into a small bowl and pour about 1/4 cup of hot tap water over it. Fresh, active baking powder should fizz vigorously and immediately. If you see little to no reaction, your baking powder is likely expired and won't provide the necessary lift for your cake.
Store baking powder in a tightly sealed container in a cool, dry place, away from steam and humidity from cooking, as moisture can trigger its reaction prematurely. Using inactive baking powder is a primary suspect when your cake falls flat.
Checking Baking Soda Freshness
Testing baking soda requires an acid. Place about a teaspoon of baking soda into a small bowl and add a few tablespoons of vinegar or lemon juice. Active baking soda will bubble up strongly right away. A weak or absent reaction indicates it's past its prime and won't react effectively with the acidic ingredients in your cake batter.
Baking soda can sometimes last a bit longer than baking powder, perhaps up to a year or more, but its effectiveness can still diminish. Ensure it's stored in a sealed container. Also, confirm that your recipe includes a sufficient acidic ingredient (like buttermilk, yogurt, sour cream, molasses, brown sugar, or citrus juice) to activate the baking soda you use.
Incorrect Measurements: The Importance of Accurate Ingredient Ratios
Baking is often described as a science because precise measurements are crucial. Eyeballing ingredients or using improper measuring techniques can significantly alter the balance of the recipe, leading to a cake that won’t rise as intended or has a poor texture.
Measuring Flour Accurately
Flour is particularly susceptible to inaccurate measurement. Scooping flour directly from the bag with your measuring cup can compact it, adding significantly more flour than intended – sometimes as much as 25% more by weight. This results in a batter that is too stiff and heavy to rise properly.
The recommended method for measuring flour is the "spoon and level" technique: gently spoon flour into your dry measuring cup until it overflows, then use a straight edge (like the back of a knife) to level off the excess without packing the flour down. For the most accuracy, consider using a kitchen scale; 1 cup of all-purpose flour typically weighs between 120 and 130 grams.
Liquid to Dry Ingredient Balance
The ratio between liquid and dry ingredients dictates the batter's consistency. Too much dry ingredient (often due to over-measured flour) results in a stiff batter that lacks the necessary moisture to create steam for lift and is too dense for leavening gases to expand effectively.
Conversely, too much liquid can make the batter too thin and weak to support the structure as it rises, potentially leading to a cake that collapses. Maintaining the balance specified in the recipe is vital for a batter that has the right consistency to rise high and evenly.
Overmixing the Batter: Gluten Overdevelopment Issues
While mixing is necessary to combine ingredients and initiate gluten development, overmixing, especially after the flour is added, is a common mistake that results in a dense, tough cake and is a significant reason why cake won’t rise properly.
Understanding Gluten's Role in Cake Texture
As mentioned, gluten provides structure. In bread baking, extensive mixing or kneading develops a strong, elastic gluten network. For cakes, however, you want a tender, soft crumb, which requires minimal gluten development after the flour is incorporated. Overworking the batter strengthens the gluten network too much, making it rigid and preventing the delicate air bubbles from expanding fully.
This overdeveloped gluten creates a tough texture and actively inhibits the cake's ability to rise light and airy. It's a frequent culprit behind a cake that is heavy and doesn't achieve sufficient height.
Gentle Mixing Techniques for Tender Cakes
To avoid overmixing, mix the batter only until the ingredients are just combined. As soon as you no longer see streaks of dry flour, stop mixing. Use the lowest speed on an electric mixer or mix gently by hand with a spatula or whisk.
Techniques like the creaming method (beating butter and sugar to incorporate air before adding dry ingredients) and gently folding in dry ingredients help minimize the need for extensive mixing after flour is added, protecting the delicate batter structure and promoting a better rise.
Oven Temperature Fluctuations: Inconsistent Baking Conditions
An oven that doesn't maintain a consistent and accurate temperature is a major obstacle to consistent baking results and can explain why cake won’t rise correctly or bakes unevenly. Oven thermostats can be inaccurate, sometimes by 25°F, 50°F, or even more.
Calibrating Your Oven for Accurate Temperature
Invest in an inexpensive oven thermometer and place it inside your oven to verify the actual temperature. Preheat your oven to the recipe's specified temperature and check the thermometer after 15-20 minutes. If your oven consistently runs hot or cold, you'll know to adjust the dial accordingly (e.g., set it 25°F higher or lower than required) or consider professional calibration.
Baking a cake at the wrong temperature directly impacts the leavening process and structure setting. Too cool, and the cake bakes slowly, potentially collapsing. Too hot, and it sets too fast on the outside, hindering internal rise or burning.
Avoiding Opening the Oven Door Too Often
Opening the oven door, especially during the critical first two-thirds of the baking time, allows hot air to escape and cool air to rush in. This sudden drop in temperature can shock the delicate, rising cake structure, causing it to sink in the middle or preventing it from rising further.
Resist the temptation to peek constantly. Most cakes are quite fragile during their initial rise. Rely on your oven light and window to check progress. Only open the door towards the end of the baking time when you need to test for doneness.
Using the Wrong Pan Size: Affecting Heat Distribution
Cakes are designed for specific pan sizes for a reason. The size and shape of the pan affect the depth of the batter and how heat distributes through it, which in turn affects the cake's rise and baking time.
Choosing the Right Pan for Your Recipe
If a recipe calls for an 8-inch round pan and you use a 9-inch round, the batter will be spread thinner. This means the cake will bake faster and likely won't rise as high because the batter doesn't have the depth to build vertical structure. Conversely, using a pan that's too small will overfill it, potentially causing the batter to overflow as it rises or leading to an underbaked center because heat struggles to penetrate the deep batter.
A standard 8-inch round cake pan holds approximately 6 cups of batter, while a 9-inch round holds about 8 cups. Using the pan size specified in the recipe ensures the intended batter depth and allows the cake to rise and bake according to the recipe developer's testing. This mismatch is a common, yet often overlooked, reason why cake won’t rise properly.
Adjusting Baking Time for Different Pan Sizes
If you must use a different pan size, be prepared to adjust the baking time. A larger pan with thinner batter will bake faster, so start checking for doneness 10-15 minutes earlier than the recipe states. A smaller pan with deeper batter will take longer, requiring potentially 15-20 minutes or more of extra baking time.
Also, consider the pan material and color. Dark metal pans absorb more heat and bake faster than shiny metal or glass pans. Using the pan recommended in the recipe minimizes variables and helps achieve the expected rise and texture.
Troubleshooting Specific Scenarios: Cake Rise Problems and Solutions
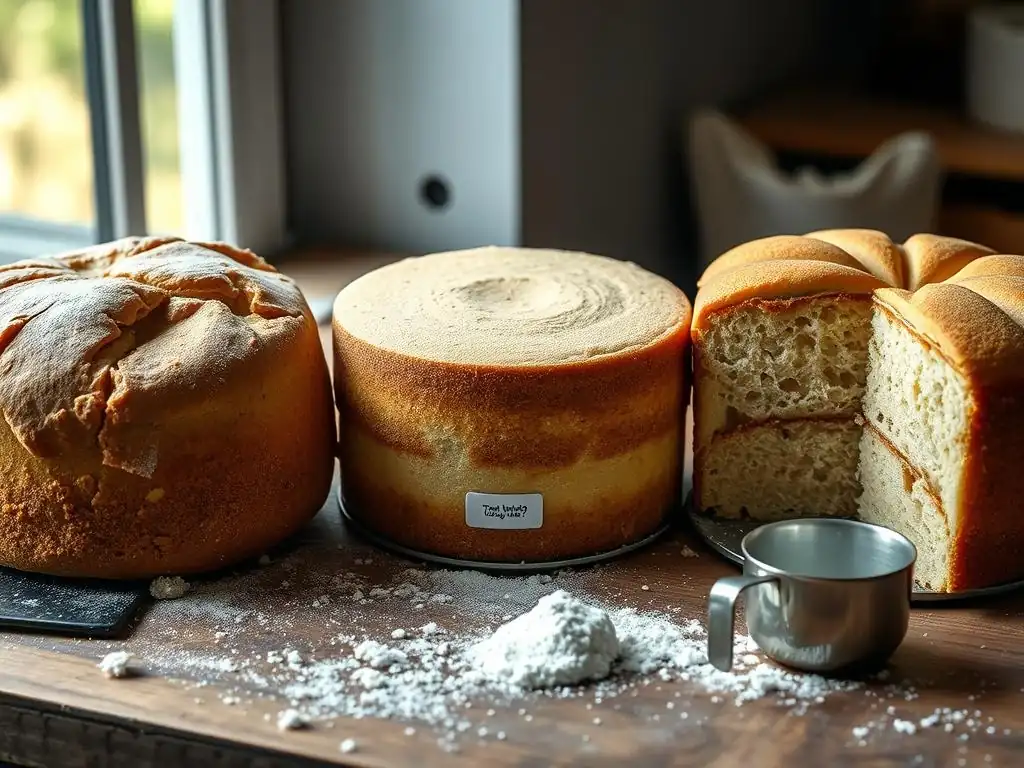
Cake Rises Initially, Then Collapses: Common Causes and Fixes
It's particularly frustrating when your cake looks beautiful and high in the oven, only to sink dramatically in the middle as it cools. This indicates an issue with the structure setting properly.
Too Much Leavening Agent: Adjusting the Ratio
While essential for rise, using excessive amounts of baking powder or baking soda can sometimes cause a cake to rise too rapidly and too high before the structure has set. The large, quickly expanding bubbles become unstable, and the weak structure cannot support them, leading to collapse.
Review your recipe and measurements carefully. If you accidentally added double the required leavening, this is a likely cause. Stick strictly to the specified amounts; more leavening does not equal a higher cake, it often equals a collapsed one.
Underbaking: Ensuring the Cake is Fully Cooked
The most common reason for a cake sinking in the middle is simply that it wasn't baked long enough. The outer edges may look done and feel firm, but the center is still liquid or too moist to support the cake's structure once it's removed from the heat.
Always test the cake for doneness before removing it from the oven. Insert a toothpick, skewer, or cake tester into the very center of the cake. It should come out clean or with a few moist crumbs attached, but no wet batter. The cake should also spring back lightly when touched in the center. If it looks done but tests wet, continue baking for a few more minutes and test again.
Temperature Shock: Allowing the Cake to Cool Gradually
Removing a very hot cake from a warm oven and placing it directly into a significantly cooler environment (like a cold countertop) can cause the air bubbles within the cake to contract too quickly. This rapid temperature change can weaken the still-delicate structure, especially in the center, leading to sinking.
Follow the recipe's cooling instructions carefully. Most cakes benefit from cooling in the pan on a wire rack for 10-15 minutes before being inverted onto the rack to cool completely. This gradual cooling allows the internal structure to stabilize.
Cake is Dense and Flat: Addressing Lack of Rise
If your cake consistently comes out heavy and doesn't rise much at all, it points to issues preventing the batter from expanding and setting with an open, airy structure. This is a classic scenario for why cake won’t rise adequately.
Insufficient Leavening: Increasing Baking Powder or Baking Soda
A flat, dense cake is often the result of insufficient or inactive leavening. Check the expiration dates on your baking powder and baking soda and perform the freshness tests mentioned earlier. Ensure you added the correct amount specified in the recipe and didn't accidentally omit it.
If your leavening is fresh and measured correctly, the issue could be that the recipe itself is under-leavened, or there isn't enough acid present to activate the baking soda if that's the primary leavener. For a cake using 2 cups of flour, you'd typically expect leavening equivalent to at least 1 to 1.5 teaspoons of double-acting baking powder.
Overmixing: Preventing Gluten Overdevelopment
As discussed, overmixing develops too much gluten, creating a tough, inelastic batter that resists the expansion caused by leavening. The result is a cake that simply cannot rise high because its structure is too dense and rigid.
Focus on mixing techniques that minimize agitation after adding flour. Mix only until the dry ingredients are just incorporated, using low speed or folding gently by hand. A slightly lumpy batter is preferable to an overmixed smooth one for a tender, higher-rising cake.
Using Cold Ingredients: Ensuring Proper Emulsification
Using cold ingredients, particularly butter and eggs, directly from the refrigerator can hinder proper emulsification and air incorporation. Cold butter doesn't cream effectively with sugar to create those crucial initial air pockets, and cold eggs don't blend smoothly into the batter, potentially leading to a less stable structure.
Most cake recipes work best with ingredients at room temperature (around 68-72°F or 20-22°C). This allows butter to cream properly, sugar to dissolve partially, and eggs to incorporate evenly, creating a smooth, emulsified batter that holds air well and rises more consistently.
Uneven Cake Rise: Achieving a Level Cake Top
Sometimes the cake rises, but one side is significantly higher than the other, or it develops a large dome in the center with cracks. This usually relates to uneven heat distribution or pan issues.
Rotating the Cake During Baking: Promoting Even Heat Distribution
Ovens often have hot spots or uneven heating patterns. If your cake consistently rises higher on one side, it's likely receiving more heat on that side. Rotating the cake pan halfway through the baking time can help ensure it bakes more evenly.
Only rotate the cake after its structure has set enough to withstand the movement, typically no earlier than two-thirds of the way through the total baking time. Rotating too soon can still cause collapse.
Using Baking Strips: Insulating the Pan Sides
Metal cake pans heat up quickly, causing the edges of the cake to bake and set faster than the center. This can force the remaining batter to rise only in the middle, creating a dome and potentially cracks.
Moistened baking strips (fabric strips wrapped around the outside of the pan) insulate the sides, causing the edges to bake at a similar rate to the center. This encourages the cake to rise more evenly across the entire surface, resulting in a flatter top. You can purchase commercial baking strips or make your own from old towels.
Sinking in the Middle: Identifying and Correcting the Issue
A cake that sinks in the middle after cooling is often underbaked, but other factors can contribute.
Underbaking: Extending Baking Time
As mentioned earlier, underbaking is the primary culprit for a sunken center. The middle simply hasn't reached the temperature required for the proteins and starches to set and support the structure.
Ensure you test for doneness by inserting a skewer into the deepest part of the cake (usually the center). If it comes out wet, it needs more time. If the edges are getting too dark, you can loosely tent the cake with foil and continue baking until the center is done.
Excessive Moisture: Adjusting Liquid Ingredients
While less common than underbaking, an excessive amount of liquid in the batter can also lead to a sunken middle. An overly wet batter struggles to build a strong enough internal structure to support its own weight as it cools, particularly in the dense center.
Double-check your liquid measurements. If you've made substitutions (like using applesauce instead of oil) or added extra liquid, this could be the cause. Ensure your measuring cups are correct for liquids (read at eye level). If you suspect excessive moisture is a recurring issue with a specific recipe, you might try slightly reducing the liquid next time, but always ensure adequate baking time first.
Prevention is Key: Tips for Ensuring a High-Rising Cake Every Time
Avoiding the pitfalls is easier than fixing them. By incorporating these preventative measures into your baking routine, you'll dramatically reduce instances of a cake that won’t rise.
Using Fresh Ingredients: Prioritizing Quality for Optimal Results
Always start with fresh, high-quality ingredients. This is particularly important for leavening agents. Check the expiration dates on your baking powder and baking soda and perform the freshness tests periodically. Stale leavening is a guaranteed path to a flat cake.
Ensure your flour, sugar, eggs, and dairy are also fresh and stored correctly. Fresh ingredients contribute to better flavor, texture, and reliable chemical reactions essential for a proper rise.
Accurately Measuring Ingredients: Employing Proper Techniques
Precision in measurement is fundamental to baking success. Use dry measuring cups for dry ingredients (spoon and level flour!) and liquid measuring cups for liquids (read at eye level on a flat surface).
Using a kitchen scale for dry ingredients, especially flour, provides the most consistent results and eliminates the variability of volume measurement. Accurate ratios ensure the batter has the correct balance of structure, moisture, and leavening power.
Gentle Mixing Techniques: Avoiding Overmixing
Be mindful of how you mix your batter, particularly after adding flour. Overmixing develops too much gluten, leading to a tough, dense cake that struggles to rise.
Mix only until the dry ingredients are just incorporated. Use a low speed on your mixer or fold gently by hand. The goal is to combine, not to develop elasticity like you would for bread dough.
Maintaining Consistent Oven Temperature: Calibrating and Monitoring
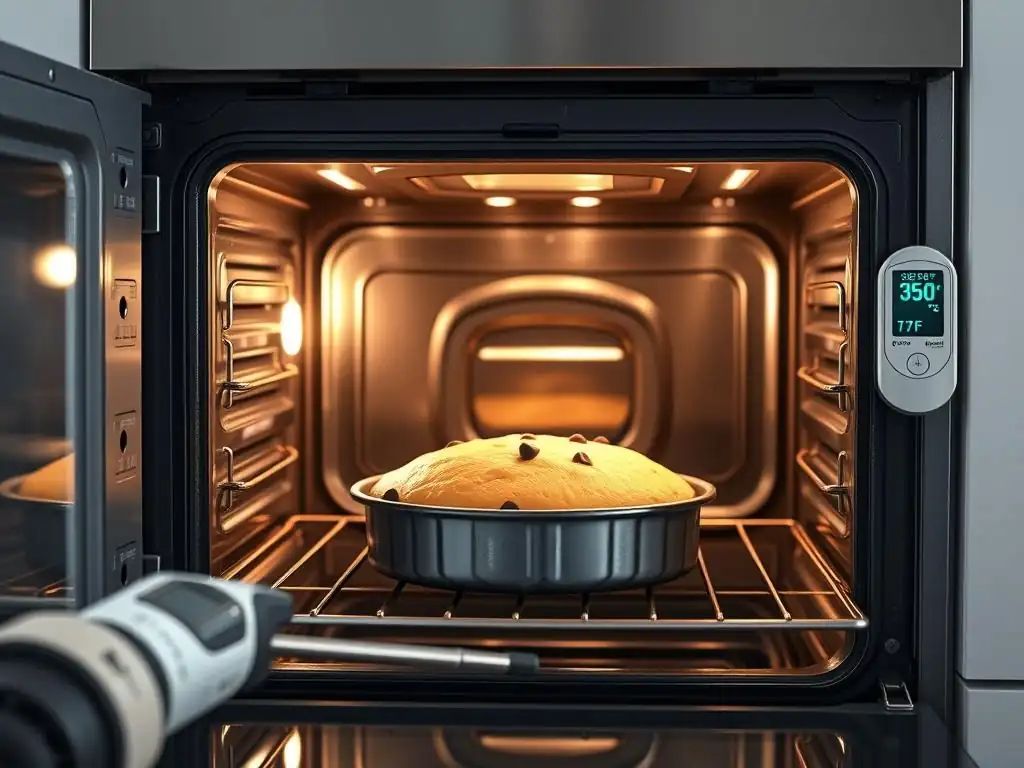
Know your oven! Use an oven thermometer to check its accuracy and adjust your baking temperature accordingly if needed. Preheat your oven fully before putting the cake in.
Avoid opening the oven door unnecessarily during baking, especially in the first half to two-thirds of the time. Consistent heat is crucial for the leavening to work effectively and for the structure to set properly.
Following the Recipe Carefully: Understanding Ingredient Ratios
Treat the recipe as a guide developed through testing. Read it thoroughly before you begin, measure all ingredients accurately, and follow the steps in order.
Understand why each ingredient is there and how it contributes to the final cake. This knowledge will not only help you achieve a good rise but also empower you to troubleshoot if something unexpected happens and your cake won’t rise as you hoped.
Advanced Techniques for Cake Rise: Elevating Your Baking Skills
Once you've mastered the basics, explore these techniques to further enhance your cake's rise and texture.
Using Cake Flour: Achieving a Tender Crumb
Cake flour is a finely milled flour with a lower protein content (around 7-9%) than all-purpose flour (10-12%). This lower protein means less potential for gluten development when mixed, resulting in a softer, more tender cake crumb.
While not all recipes require it, using cake flour can contribute to a lighter texture and often a slightly better rise in delicate cakes where minimal gluten is desired. Some recipes specifically call for it, or you can find guides on how to substitute it for all-purpose flour with minor adjustments (often removing a tablespoon or two of flour per cup and replacing it with cornstarch).
Employing the Creaming Method: Incorporating Air into the Batter
The creaming method, where softened butter and sugar are beaten together until light and fluffy, is a foundational technique for many cakes. This process physically incorporates countless tiny air bubbles into the fat mixture.
These air bubbles expand significantly in the oven's heat, contributing a substantial portion of the cake's rise alongside the chemical leavening. Ensure your butter is properly softened (press your finger into it, it should indent easily but not be greasy or melted) and cream for the time specified in the recipe, often 3-5 minutes or longer, until the mixture is pale yellow and significantly increased in volume.
Folding Ingredients Gently: Preserving Air Bubbles
Folding is a gentle technique used to combine ingredients without deflating the air bubbles that have been incorporated through creaming or leavening. It involves using a spatula to cut down through the center of the mixture, scoop along the bottom of the bowl, and lift the ingredients up and over, turning the bowl as you go.
This motion minimizes agitation and helps maintain the airy structure of the batter. Folding dry ingredients into wet, or incorporating whipped egg whites or cream, is crucial for preserving lightness and ensuring a good rise.
The Importance of Room Temperature Ingredients: Promoting Emulsification
Using ingredients at room temperature (typically 68-72°F or 20-22°C) is vital for proper emulsification and air incorporation. Softened butter creams best with sugar, creating a stable structure of air pockets. Room temperature eggs emulsify smoothly into the butter-sugar mixture, contributing to a stable batter that holds air effectively.
Cold ingredients can cause the batter to curdle, resulting in a less smooth texture and potentially affecting the evenness of the rise. Plan ahead to let butter and eggs sit out for 30-60 minutes. If you're short on time, you can soften butter quickly by cutting it into small pieces or gently warming eggs in a bowl of warm water for 5-10 minutes.
Conclusion: Achieving Cake Baking Success with BakeWithEase
Understanding why cake won’t rise involves recognizing the interplay between your ingredients, your techniques, and your oven. By focusing on using fresh leavening, measuring accurately, mixing gently, and ensuring your oven temperature is correct, you address the most common reasons for a flat cake.
Baking is a skill that improves with practice and knowledge. Don't be discouraged by a cake that doesn't rise perfectly every time. Use this guide from BakeWithEase as your resource, learn from each bake, and apply these troubleshooting tips and preventative measures. Soon, you'll be consistently achieving those beautiful, high-rising cakes that are a joy to behold and even more delightful to eat! Happy Baking!
Frequently Asked Questions
Why is my cake not rising even though I followed the recipe exactly?
Several factors could be at play. It could be due to expired baking powder or baking soda, incorrect oven temperature, or overmixing the batter, which develops too much gluten.
What role does baking powder/baking soda play in cake rising, and how can I ensure they are effective?
These are leavening agents that produce gas bubbles, causing the cake to rise. Check their expiration dates and store them properly. A quick test is to add a small amount to hot water; if it fizzes, it's still active.
Is the oven temperature crucial for a cake to rise properly?
Absolutely! An incorrect oven temperature can significantly impact the rise. If it's too low, the cake won't rise adequately. If it's too high, the cake might rise quickly and then collapse.
How does overmixing affect the texture and rise of a cake?
Overmixing develops the gluten in the flour, resulting in a tough cake with a poor rise. Mix only until the ingredients are just combined to maintain a tender crumb.
What other ingredients can influence a cake's ability to rise besides leavening agents?
The balance of wet and dry ingredients, as well as the fat content, play a role. Too much fat can weigh down the cake, while insufficient liquid can hinder the leavening process.
Final Reflection: The Sweet Science of a Successful Cake
The seemingly simple act of baking a cake reveals a complex interplay of ingredients, technique, and even a touch of magic. A perfectly risen cake, light and fluffy, is a testament to understanding these elements; a fallen cake, a humbling lesson in the precision required. This guide has explored the common pitfalls that lead to baking disappointments, offering solutions to help you achieve that coveted, lofty peak.
The quest for the perfect cake transcends mere culinary skill; it's a reflection of our desire for creation and the satisfaction of a job well done. The frustration of a sunken cake mirrors the larger challenges we face in life – the feeling that our efforts haven't yielded the desired results. But just as we can troubleshoot a baking mishap, we can learn to analyze and overcome obstacles in other areas of our lives. The only way to do great work is to love what you do.
- Steve Jobs. This applies equally to baking a cake as it does to pursuing our passions.
So, the next time you find yourself facing a baking challenge, remember the lessons learned here. Don't be discouraged by a fallen cake; instead, see it as an opportunity to learn, to refine your technique, and to ultimately achieve the sweet success you deserve. Embrace the process, celebrate the small victories, and most importantly, enjoy the journey of baking – and of life itself.
Unlock Your Baking Potential: Take the Next Step!
Thanks for taking the time to explore our troubleshooting guide! We hope you gained valuable insights into achieving perfectly risen cakes. Now it's time to put that knowledge into action.
- Bake your dream cake today! Choose your favorite recipe, and put your newfound troubleshooting skills to the test. Don't be afraid to experiment!
- Share your baking triumphs (and even your flops!) with our community. Let us know what you baked and any challenges you overcame. We’d love to hear from you!
- Explore more of our baking resources: Discover additional tips and recipes on our website, to continue elevating your baking game.
What delicious creation will you bake first, armed with these troubleshooting tips?