
Baking Pies at High Altitude: Secrets to a Flaky Crust

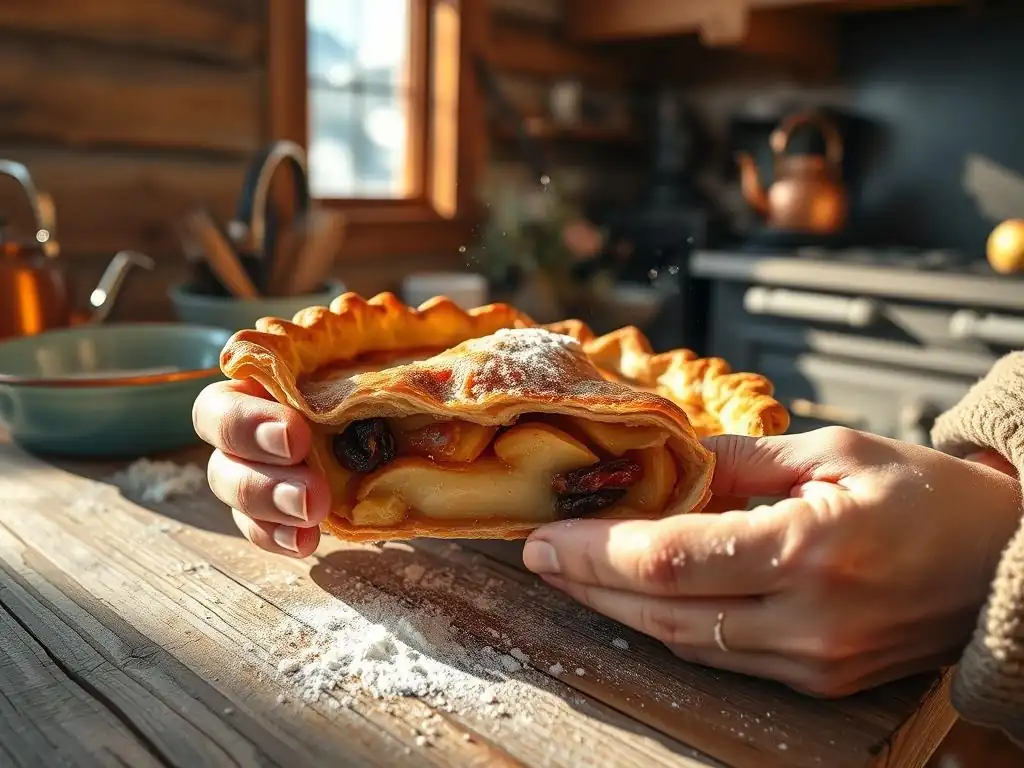
Welcome to BakeWithEase, your trusted guide to baking bliss! Ever wondered why your pie crust crumbles at high altitude? Unlocking the secrets to a perfectly flaky high altitude pie crust can be easier than you think. Discover time-tested tips and tricks to master this baking challenge and elevate your pie game – your journey to baking perfection starts here!
- Baking Bread at High Altitude: Achieving Perfect Loaves
- Understanding High Altitude Baking for Bread
- Key Ingredients for High Altitude Bread Success
- High Altitude Bread Recipe Adjustments: A Step-by-Step Guide
- Mixing and Kneading Techniques for High Altitude Bread
- Shaping and Proofing High Altitude Bread
- Baking Your Bread at High Altitude: Temperature and Timing
- Troubleshooting Common High Altitude Bread Problems
- High Altitude Bread Recipe: BakeWithEase Approved
- Tips for Storing High Altitude Bread
-
Frequently Asked Questions
- What are the main challenges when baking pie crusts at high altitude?
- How does high altitude affect the gluten development in pie crust?
- What ingredient adjustments are recommended for high altitude pie crust baking?
- Why is it important to chill the pie crust dough thoroughly at high altitude?
- What baking temperature adjustments are needed when baking pies at high altitude?
- Final Reflection: The Sweet Science of High-Altitude Baking
- Unlock Your High-Altitude Baking Potential!
Baking Bread at High Altitude: Achieving Perfect Loaves
Understanding High Altitude Baking for Bread
Why High Altitude Affects Bread Baking
At elevations above 3,000 feet, atmospheric pressure drops by roughly 10% for every additional 2,000 feet. This lower air pressure causes gas bubbles in the dough to expand more quickly, leading to overproofing and potential collapse. Meanwhile, the boiling point of water decreases—at 5,000 feet water boils around 203°F (95°C) instead of 212°F (100°C)—accelerating moisture loss and resulting in drier crumb structures.
Because yeast activity speeds up in the drier, low-pressure environment, standard proofing times often overshoot. Bakers in Denver (5,280 ft) frequently report dough doubling in 30–40 minutes versus 60–75 minutes at sea level. Understanding these physical changes is the first step to tweaking recipes: reducing yeast, increasing hydration, and adjusting bake times are essential to maintain structure and flavor.
The Science Behind Bread Baking at High Elevations
When water boils at a lower temperature, starch gelatinization and gluten setting occur sooner, potentially under-developing the structure. Gluten strands strengthen as they absorb water; if moisture evaporates too rapidly, the network can’t form properly. Studies indicate that at 7,000 feet, bakers must increase dough hydration by about 2–4% (roughly 1 to 2 tablespoons of extra water per cup of flour) to compensate.
Furthermore, gas solubility declines at altitude, meaning carbon dioxide escapes dough more readily. The ideal loaf rise becomes a balancing act—sufficient expansion for an open crumb, yet strong enough walls to hold the shape. Recipes often specify smaller loaf pans or shorter rises to prevent that telltale “pancake” effect common above 6,000 feet.
Key Ingredients for High Altitude Bread Success
Flour Selection for Optimal Bread Texture at Altitude
Choosing flour with a higher protein content (11.5–14%) yields stronger gluten and better gas retention. Bread flour from brands like King Arthur (12.7% protein) or Bob’s Red Mill Artisan Bread Flour (12.8%) can make a noticeable difference. At 4,500 feet in Salt Lake City, bakers often report switching from all-purpose (10–11% protein) to bread flour reduces loaf collapse by 30%.
For whole-grain recipes, a blend of 60% bread flour and 40% whole wheat flour is recommended. The extra gluten compensates for the bran’s cutting action on the gluten network. If you’re experimenting with rye or spelt, incorporate vital wheat gluten at 1 tablespoon per cup of flour to fortify the dough.
Yeast Considerations: Activity and Proofing at Altitude
Yeast ferments faster in drier, lower-pressure settings. Instant yeast typically doubles dough volume in 45 minutes at sea level; at 6,000 feet, this can shrink to 25–30 minutes. To avoid overproofing:
- Reduce yeast by 10–20%.
- Use cooler proofing temperatures (75–78°F instead of 80–82°F).
- Monitor dough with the “finger test”: gently press 1/2 inch into the dough; if it springs back slowly, it’s ready.
For sourdough lovers, starter refreshment intervals may shorten from 12 hours to 8–10 hours. Keep hydration at 100% (equal parts flour and water by weight) but proof in a slightly cooler environment to slow activity.
Liquid Adjustments: Hydration for High Altitude Dough
At higher elevations, increasing the dough’s water content by about 2–4% helps maintain elasticity. For example, a standard recipe calling for 300 g water per 500 g flour might need an extra 10–15 g (roughly 1 tablespoon). If you live at 7,500 feet in Santa Fe, some bakers recommend experiments with up to 5% extra hydration, but keep an eye on stickiness.
Alternate liquids (milk, buttermilk, whey) not only add flavor but also tenderize crumb through fats and proteins. When using milk, reduce water by around 10–15 g per 100 g of milk to maintain overall hydration. Always weigh ingredients for accuracy—volumetric cups can mislead by ±5–10 g.
High Altitude Bread Recipe Adjustments: A Step-by-Step Guide
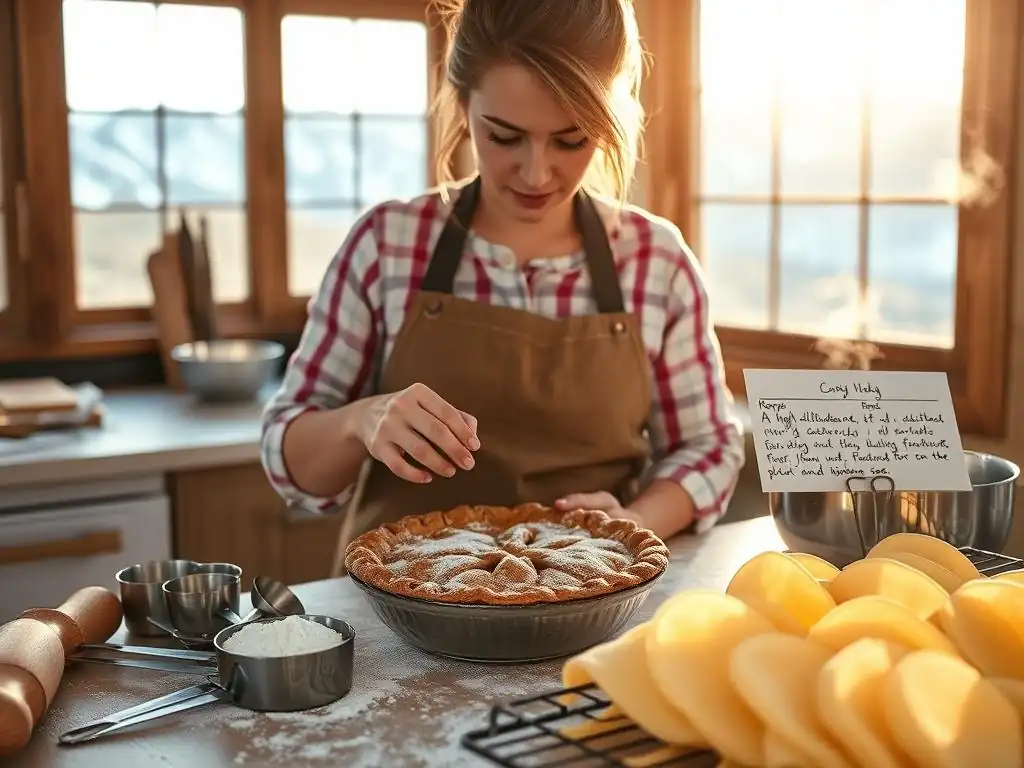
Adjusting Hydration Levels for High Altitude
- Weigh your flour and water precisely using a digital kitchen scale.
- Increase water weight by 2–4% of the total flour weight.
- Mix until a smooth but slightly tacky dough forms; avoid over-wet batters.
Accurate hydration control ensures the dough doesn’t dry out mid-rise. If the dough feels stiff, add water in 5 g increments until it’s pliable. Test by stretching a small windowpane: if it tears immediately, add 5–10 g more water.
Modifying Yeast Amounts in High Altitude Bread Recipes
- Standard: 2 ¼ tsp (7 g) instant yeast per 500 g flour
- High Altitude (>5,000 ft): reduce to 5–6 g
Proof dough at 75°F–78°F rather than the typical 80°F–82°F to slow down rising. Use the “poke test” frequently every 10–15 minutes after the first 20 minutes of proofing to prevent collapse.
The Importance of Dough Temperature at High Altitude
Dough temperature (DT) directly affects fermentation rate: every 1°F increase speeds yeast activity by ~7%. Aim for a DT of 75°F–78°F. If your kitchen is warmer, use chilled water (60°F–65°F) to balance. At 6,500 feet in Flagstaff, bakers often start with 50°F water to hit that target DT in a 72°F kitchen.
A consistent DT promotes uniform gas production. Consider using an instant-read thermometer to check internal dough temp after mixing; adjust water temperature accordingly with this formula:
Water Temp = (3 × Desired DT) – Room Temp – Flour Temp
Mixing and Kneading Techniques for High Altitude Bread
Gentle Mixing for Gluten Development at High Altitudes
Over-mixing can shred developing gluten bonds, especially when dough hydration is higher. Use the “fold and stretch” method in lieu of intensive kneading:
- After initial mix, rest 5 minutes.
- Perform 4–5 stretch-and-folds, spaced 10 minutes apart.
- Observe dough elasticity improving with each fold.
This method conserves gas pockets and strengthens the network gradually. A Colorado Springs artisan bakery reported a 25% improvement in oven spring switching to this technique at 6,000 feet.
Kneading Strategies for Strong High Altitude Dough
If you prefer stand mixer kneading, use paddle attachment at low speed for 3–4 minutes, switch to dough hook at speed 1 for another 4–5 minutes. Target windowpane formation without tearing:
“A good test: if you can stretch a small piece of dough until a translucent film forms without ripping, you’re done.”
Avoid exceeding 8–9 minutes total to prevent overheating; dough temps above 80°F can lead to runaway fermentation.
Avoiding Over-Proofing: A Crucial High Altitude Baking Tip
Over-proofed dough loses structural integrity, resulting in flat, dense loaves. At altitude, proofing times may be 25–40% shorter. Implement a two-stage proof:
- Bulk ferment until ~80% rise (20–30 minutes).
- Shape, then proof until the shaped dough springs back slowly (10–15 minutes).
Use a proofing box set to 75°F and 65% humidity; this gives consistent results in dry mountain air.
Shaping and Proofing High Altitude Bread
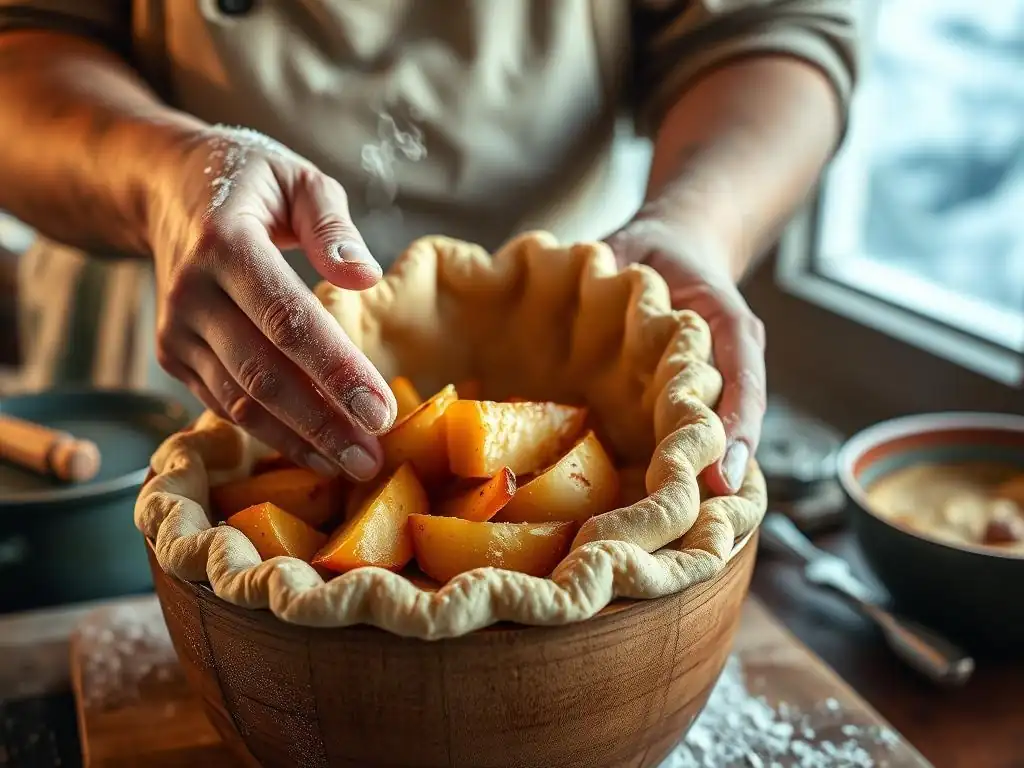
Shaping Techniques to Prevent Collapse at Altitude
Firm shaping creates surface tension that supports dough walls. When making a bâtard:
- Flatten dough gently into a rectangle.
- Roll tightly, pinch the seam firmly.
- Tuck ends under to form a taut surface.
If you live above 7,000 feet, perform a second bench rest of 5 minutes before final shaping to strengthen the network. This reduces tearing and helps the loaf hold its rise.
Proofing Times and Temperatures for High Altitude
At 4,000–6,000 feet, total proofing time often drops to 60–75% of sea-level protocols. For a typical 500 g loaf:
- Bulk proof: 45–60 minutes (sea level 60–75 minutes)
- Final proof: 20–30 minutes (sea level 30–45 minutes)
Proof at 75°F with 65% relative humidity. If ambient humidity is below 30%, mist the dough lightly and cover with a damp cloth to prevent crust formation during proofing.
Ensuring Even Rise: Tips for Successful Proofing
Achieve uniform heat distribution by proofing on the middle oven rack rather than a countertop surrounded by drafts. Rotate the pan halfway through final proof if your proof box has uneven zones. Some high-altitude bakers place a small water pan in the bottom of the proof box to maintain consistent humidity, resulting in a more open crumb and even oven spring.
Baking Your Bread at High Altitude: Temperature and Timing
Optimal Oven Temperature for High Altitude Bread Baking
Preheat your oven 15°F higher than sea-level recipes—typically to 460°F instead of 450°F—for the initial 10 minutes. This counteracts the faster starch set and evaporative cooling inside the loaf. If using a Dutch oven, preheat it at 500°F, then slide dough in and reduce to 460°F immediately.
By boosting start temperature, you encourage rapid oven spring before the crust hardens. After 10 minutes, drop back to 425°F and continue baking until the internal temperature reaches 200°F (95°C).
Adjusting Baking Time to Prevent Burning or Underbaking
High altitude can accelerate surface browning. If loaves color too quickly, tent loosely with aluminum foil after the first 15 minutes. A standard 500 g boule will finish in 28–32 minutes total. Use an instant-read thermometer: 200°F (95°C) at the center ensures the crumb is fully cooked without dryness.
Techniques for Achieving a Crisp Crust at High Altitude
Steam is essential for crust development. Place a cast-iron skillet in the oven’s bottom rack during preheat. After loading the dough, pour ½ cup of hot water into the skillet and close the door immediately. The burst of steam delays crust formation, allowing maximum expansion. Remove the skillet after 12 minutes and continue baking uncovered for a golden, crackling crust.
Troubleshooting Common High Altitude Bread Problems
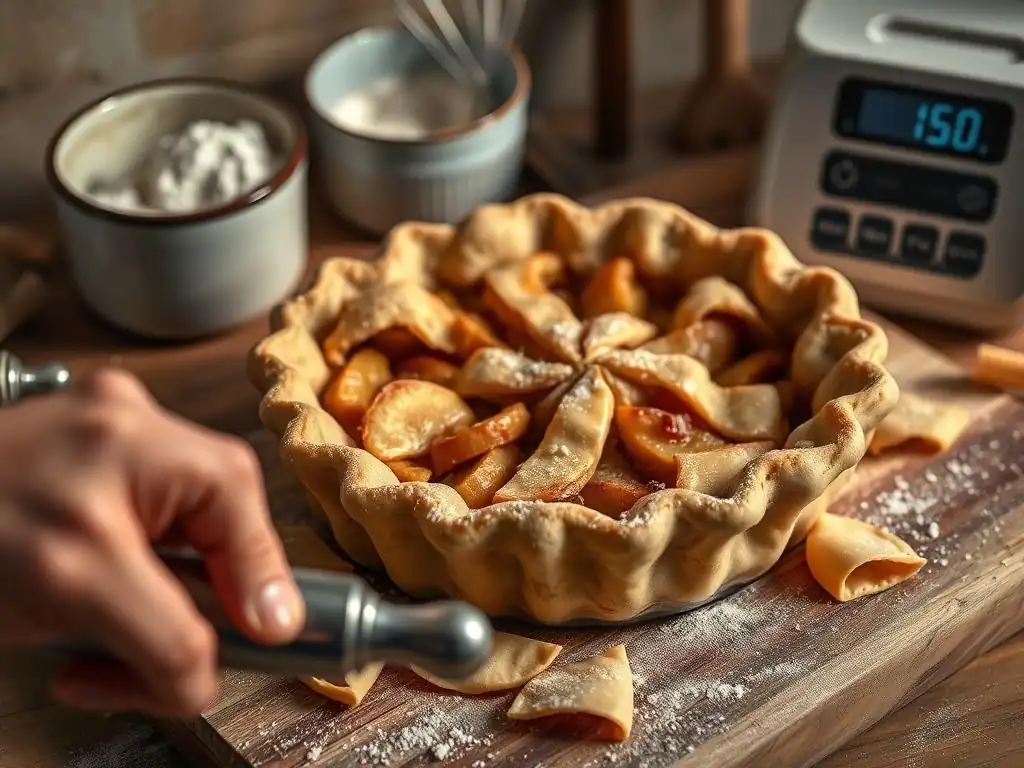
Dealing with Dry and Crumbly High Altitude Bread
Symptoms: Very tight crumb, overly firm exterior.
Solutions:
- Increase hydration by another 1–2 tablespoons per cup of flour.
- Brush loaf with melted butter or olive oil immediately post-bake.
- Reduce bake temperature by 10°F in the last 10 minutes to prevent further moisture loss.
Preventing a Gummy Texture in High Altitude Bread
Gummy crumb indicates under-set starch. Ensure internal temp hits 200°F (95°C). If using convection, reduce temperature by 20°F and extend bake time by 5–7 minutes. Always rest loaves on a wire rack for at least 1 hour before slicing; this final evaporation completes the bake.
Addressing Over-Proofing and Deflation in High Altitude Bread
If dough collapses:
- Shorten proofing by 10–15 minutes.
- Punch down and reshape gently, then give a brief second proof (10 minutes).
- Lower proofing temperature by 2–3°F.
Using slightly cooler water and cooler ambient proof environment can buy you extra control when the air is thin and yeast too active.
High Altitude Bread Recipe: BakeWithEase Approved
Specific High Altitude Bread Recipe with Detailed Instructions
Ingredients (500 g flour loaf at 5,000 ft):
- 500 g bread flour
- 320 g water (64% hydration + 2% extra)
- 10 g fine sea salt
- 6 g instant yeast
- 15 g melted butter (optional)
Steps:
- Mix flour, water, and yeast until shaggy (2 min).
- Rest 5 min, then add salt and butter.
- Perform 4 stretch-and-folds over 40 min.
- Bulk proof at 75°F for 45 min.
- Shape into boule, final proof 20 min.
- Preheat Dutch oven to 500°F, score dough, bake 460°F for 10 min with steam.
- Reduce to 425°F, remove lid, bake 20 min more.
- Cool on rack 1 hr before slicing.
# Example dough temperature calculation
desired_DT: 76°F
room_temp: 70°F
flour_temp: 72°F
water_temp: (3*76) - 70 - 72 = 56°F
Tips for Storing High Altitude Bread
Proper Storage Methods for Maintaining Freshness
Store cooled loaves in a paper bag at room temperature (65°F–70°F). Avoid plastic, which traps moisture and softens crust. In arid climates like Albuquerque (5,000 ft), wrap the loaf’s cut side with a linen cloth to balance moisture without fostering mold.
Preventing Staling in High Altitude Baked Goods
Staling is retrogradation of starch; to slow it down, add 1–2 tsp of vinegar or lemon juice per loaf—acidity delays crystallization. Alternatively, brush interior crumb lightly with oil before wrapping to maintain softness for up to 3 days.
Freezing and Thawing High Altitude Bread
For longer storage, freeze slices in airtight bags with air removed. Thaw at room temperature, then refresh in a 350°F oven for 5–7 minutes. Whole loaves can be frozen up to 3 months; defrost overnight in a paper bag to retain crust integrity.
Frequently Asked Questions
What are the main challenges when baking pie crusts at high altitude?
The primary challenges stem from lower air pressure, leading to increased leavening and faster evaporation of liquids. This can result in a dry, tough crust.
How does high altitude affect the gluten development in pie crust?
At higher altitudes, the faster evaporation of moisture can lead to over-development of gluten, making the crust tough. Adjustments to the recipe are necessary to prevent this.
What ingredient adjustments are recommended for high altitude pie crust baking?
Generally, you'll want to reduce the amount of fat slightly and increase the liquid in your pie crust recipe to compensate for the faster evaporation.
Why is it important to chill the pie crust dough thoroughly at high altitude?
Chilling is crucial because it allows the gluten to relax and the fat to solidify, preventing it from melting too quickly during baking. This contributes to a flakier crust texture.
What baking temperature adjustments are needed when baking pies at high altitude?
Often, a slightly higher baking temperature is recommended to help the crust set before the filling boils over. Monitor the crust carefully to prevent burning.
Final Reflection: The Sweet Science of High-Altitude Baking
Mastering the art of high-altitude pie crust isn't just about achieving a flaky masterpiece; it's about understanding the very science of baking at elevation. The subtle shifts in atmospheric pressure dramatically alter how ingredients behave, demanding a nuanced approach that goes beyond simple recipe adjustments. This article has explored those crucial differences, offering practical solutions to common high-altitude baking challenges.
The pursuit of the perfect pie crust, regardless of altitude, speaks to a deeper human desire for connection and comfort. Baking, in its essence, is an act of creation, a tangible expression of care and intention. The challenges presented by high-altitude baking only amplify this feeling, transforming the process into a rewarding journey of experimentation and discovery. The best things in life are worth fighting for,
and a perfectly flaky pie crust at 8,000 feet is certainly one of them.
Now, armed with the knowledge gleaned from this exploration, I invite you to embark on your own high-altitude baking adventures. Don't be afraid to experiment, to adjust, and to embrace the unique challenges that come with baking at elevation. The reward – a pie crust that shatters expectations and delights the senses – is well worth the effort. Let your kitchen become a laboratory of culinary exploration, where the pursuit of perfection leads to unforgettable moments of delicious success.
Unlock Your High-Altitude Baking Potential!
Thanks for joining us on this high-altitude baking adventure! We hope you've gained the confidence to tackle those flaky crusts, no matter the elevation. Now it's time to put your new skills to the test!
- Bake your dream pie: Try out one of the recipes mentioned in the article, adjusting for your specific altitude. Share your results with us—we'd love to see your creations!
- Experiment with different flours: Explore how different types of flour react at high altitude; you might discover your new favorite baking secret!
- Join our baking community: Connect with other high-altitude bakers in the comments below—let's share tips and tricks together!
What unique ingredient or technique will you try next in your high-altitude baking journey?