
Mastering Bread Baking Above Sea Level: Tips for a Perfect Loaf

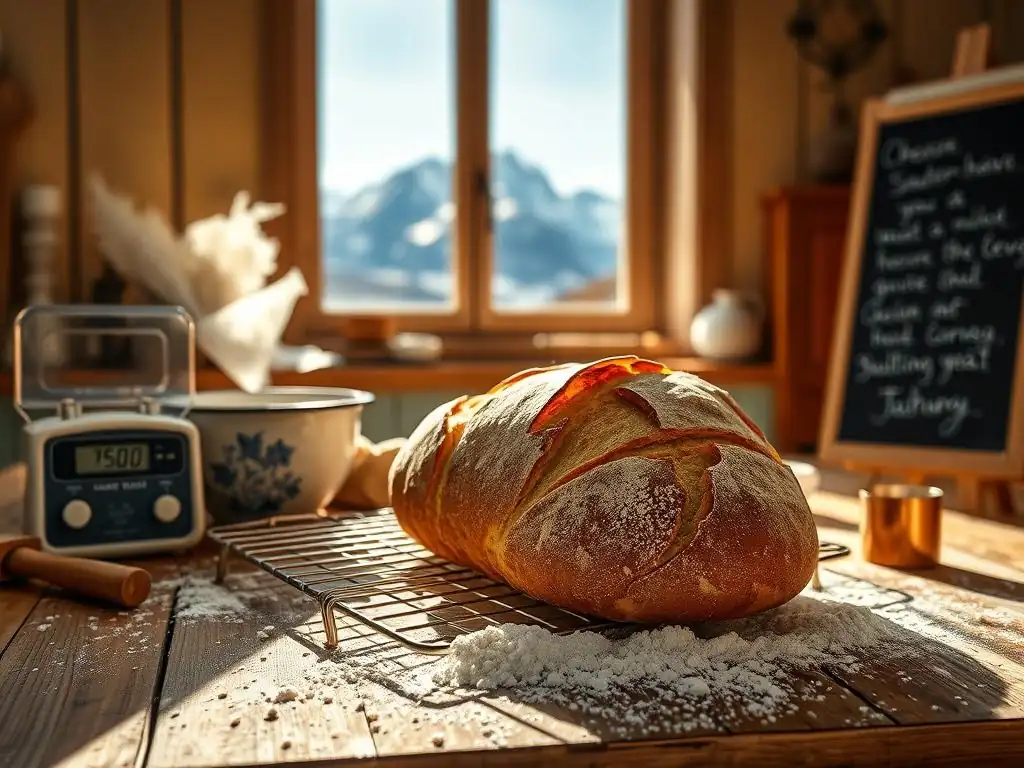
Welcome to BakeWithEase, your trusted guide to the delightful world of baking! Ever wondered why your bread behaves differently at higher elevations? Dive into our latest article on perfect bread baking altitude and unlock the secrets to achieving a beautifully risen loaf, no matter where you are. Discover simple adjustments that can transform your baking experience and say goodbye to flat, dense bread forever. Ready to elevate your baking game? Let's get started!
- Introduction: The Altitude Baking Challenge
- Understanding Altitude's Impact on Bread Dough
- Key Adjustments for Perfect Bread Baking at Altitude
- Essential Bread Baking Techniques for High Elevations
- Troubleshooting Common High-Altitude Bread Baking Problems
- High-Altitude Bread Baking Recipes to Try
- Essential Tools and Ingredients for High-Altitude Bread
- Conclusion: Achieving Bread Baking Success at Any Altitude
-
Frequently Asked Questions
- How does altitude affect bread baking?
- What's the most common adjustment needed when baking bread at higher altitudes?
- Should I adjust the baking temperature or time at higher altitudes?
- What can I do if my bread is rising too quickly at a high altitude?
- How does the liquid content of my dough need to be adjusted at higher altitudes?
- Final Reflection: Reaching New Heights in Baking (and Life)
- Unleash Your High-Altitude Baking Potential!
Introduction: The Altitude Baking Challenge
Why Bread Baking at High Altitude Requires Adjustments
Baking bread in locations significantly above sea level presents unique challenges that can dramatically affect the outcome of your loaf. The primary factor is the difference in atmospheric pressure. As altitude increases, the air pressure decreases. This lower pressure allows gases, like the carbon dioxide produced by yeast during fermentation, to expand more readily and rapidly than they would at sea level. Without proper adjustments, this can lead to dough that rises too quickly, resulting in a weaker structure and potential collapse during or after baking.
Furthermore, the lower humidity often found at higher elevations contributes to increased moisture evaporation from your dough. This can cause the dough to dry out faster during mixing, proofing, and baking, leading to a dense, crumbly, or tough final product. Understanding these environmental differences is the first step towards achieving perfect bread baking altitude results, transforming potential problems into opportunities for delicious success.
High-Altitude Bread Baking: Your Guide to Perfect Loaves
Achieving a perfect bread baking altitude loaf requires adapting your standard recipes and techniques. While it might seem daunting at first, these adjustments are logical responses to the environmental conditions. By modifying ingredients like yeast and liquid, and adjusting techniques such as proofing time and oven temperature, you can counteract the effects of lower pressure and increased evaporation.
This guide will walk you through the science behind high-altitude bread baking and provide practical tips and adjustments. Whether you're dealing with a few thousand feet or significantly higher elevations, these principles will help you troubleshoot common issues and consistently bake beautiful, well-structured, and delicious bread. Mastering these techniques ensures that your baking is a joy, regardless of where you live.
Understanding Altitude's Impact on Bread Dough
Lower Air Pressure and its Effect on Bread Baking
At higher altitudes, the atmospheric pressure is lower. This means there is less resistance pushing down on your bread dough. Consequently, the carbon dioxide gas produced by the yeast expands more easily and rapidly. Imagine blowing up a balloon at sea level versus high altitude; the balloon at high altitude would expand more with the same amount of breath due to less external pressure. This accelerated expansion in bread dough can lead to an overly airy structure initially, which may not be strong enough to support itself.
This rapid gas expansion affects not only the initial rise but also the oven spring – the final burst of rising that occurs when the dough hits the hot oven. While some oven spring is desirable, excessive expansion due to low pressure can cause the gluten structure to stretch too thin, potentially leading to a loaf that rises dramatically but then collapses, resulting in a dense band at the bottom or a sunken top crust. Achieving perfect bread baking altitude means managing this expansion effectively.
Faster Rising Times: A High-Altitude Bread Baking Consideration
A direct consequence of lower air pressure is that bread dough ferments and rises much faster than it does at sea level. The yeast is working at the same pace (assuming similar temperatures), but the gas it produces expands with less resistance. This means that a recipe calling for a 60-90 minute rise at sea level might achieve the same volume increase in just 30-45 minutes or even less at altitudes above 5,000 feet (approx. 1,500 meters).
If you follow standard timing without observing the dough itself, you risk over-proofing. Over-proofed dough can collapse easily, either before baking or during oven spring, because the gluten structure has been stretched beyond its capacity to hold the gas. Learning to judge proofing by the dough's appearance and feel, rather than strictly by time, becomes crucial for perfect bread baking altitude.
Increased Evaporation: Combating Dryness in High-Altitude Bread
Higher elevations often correlate with lower humidity levels. This drier air draws moisture out of everything, including your bread dough. During mixing, the dough can feel dry and stiff even if you've added the standard amount of liquid. During the long fermentation process and proofing, moisture continues to evaporate from the surface, potentially leading to a tough crust prematurely or inhibiting proper rise.
Furthermore, water boils at a lower temperature at high altitude (e.g., around 203°F or 95°C at 5,000 feet, compared to 212°F or 100°C at sea level). While the internal temperature of bread still needs to reach a certain point for doneness, this lower boiling point affects moisture dynamics within the dough during baking. To counteract moisture loss and ensure a tender crumb, adjustments to liquid content are often necessary for perfect bread baking altitude.
Key Adjustments for Perfect Bread Baking at Altitude
Reducing Yeast: Controlling Rise in High-Altitude Bread
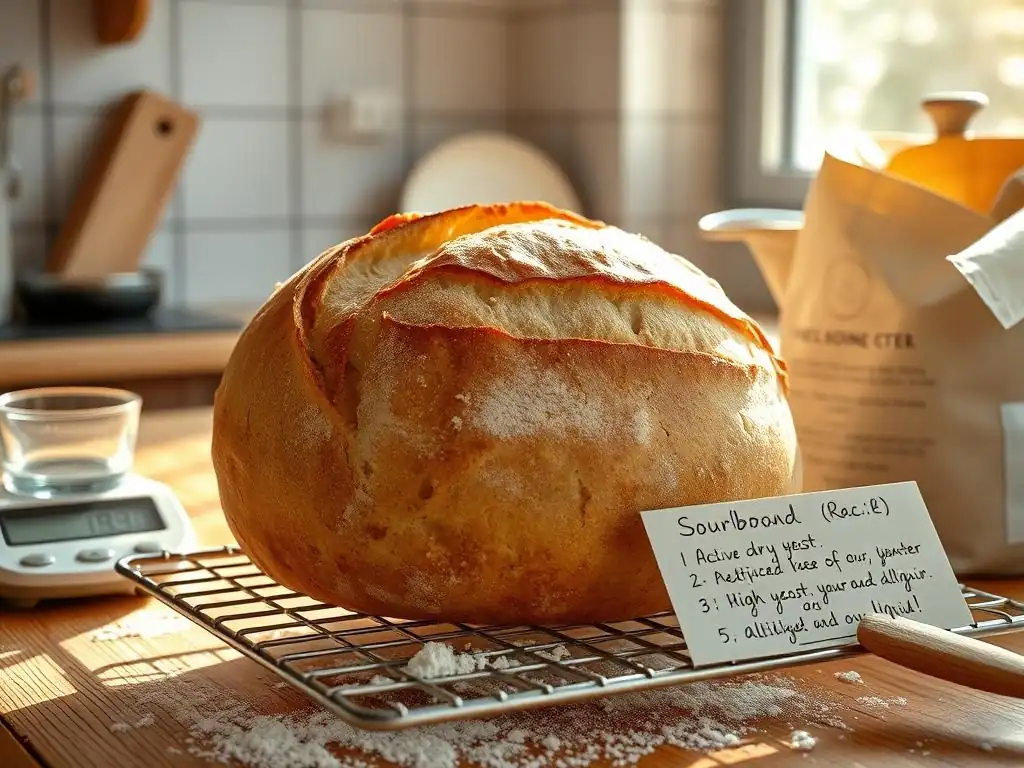
To manage the faster rise caused by lower atmospheric pressure, the most common adjustment is to reduce the amount of yeast used in your recipe. By using less yeast, you slow down the rate of gas production, allowing the gluten structure more time to develop and strengthen alongside the fermentation process. This helps prevent the dough from over-proofing too quickly and collapsing.
A general guideline is to reduce the yeast by about 1/4 to 1/2 teaspoon per cup of flour, especially at altitudes above 3,000 feet (approx. 900 meters). For example, if a recipe for two loaves using 6 cups of flour calls for 2 teaspoons of active dry yeast, you might start by reducing it to 1.5 teaspoons. Experimentation is key, as the ideal reduction can vary based on your specific altitude and ambient temperature. Finding the right balance is vital for perfect bread baking altitude.
Increasing Liquid: Hydrating Your Dough at Higher Elevations
Due to increased evaporation in the drier high-altitude air, your bread dough will typically require more liquid than it would at sea level. Adding extra water, milk, or other liquids helps ensure the dough remains adequately hydrated throughout mixing, kneading, and proofing, promoting a tender crumb and preventing it from becoming dry and dense.
Start by adding 1 to 2 tablespoons of extra liquid per cup of flour, particularly for altitudes between 3,000 and 7,000 feet (approx. 900 to 2,100 meters). For instance, if a recipe uses 4 cups of flour, you might add an extra 4-8 tablespoons (1/4 to 1/2 cup) of liquid.
Observe the dough's consistency during mixing; it should be slightly stickier than you might be used to at sea level. You can always add a little more liquid if needed, but it's harder to correct if you add too much initially. Proper hydration is fundamental to perfect bread baking altitude.
Strengthening Gluten: Adding Vital Wheat Gluten for Structure
In the high-altitude environment, the rapid expansion of gases puts extra strain on the gluten network in your dough. To help the dough maintain its structure and prevent collapse, particularly in enriched or whole grain loaves, adding vital wheat gluten can be beneficial. Vital wheat gluten is a concentrated protein extracted from wheat flour, and adding a small amount significantly boosts the dough's elasticity and strength.
Adding about 1 teaspoon of vital wheat gluten per cup of flour can make a noticeable difference, especially when using lower-protein all-purpose flour or significant amounts of whole wheat or other non-wheat flours. This extra gluten provides the necessary scaffolding to support the vigorous rise and helps achieve better volume and a more consistent crumb structure, contributing to perfect bread baking altitude.
Lowering Oven Temperature: Preventing Over-Browning
At high altitudes, water boils at a lower temperature, which affects how heat is transferred within the dough. Also, the drier air can cause the crust to form and brown more quickly, potentially before the interior of the loaf is fully cooked. To compensate, it is often recommended to slightly lower your oven temperature compared to sea-level recipes.
A common adjustment is to reduce the baking temperature by 15-25°F (approx. 8-14°C). So, if a recipe calls for baking at 400°F (200°C), you might try 375°F (190°C). This allows the bread to bake through more evenly without the crust over-browning prematurely. You may also need to slightly increase the baking time to ensure the internal temperature reaches the target (typically 190-210°F or 88-99°C, depending on the bread type). Adjusting oven temperature is a key step for perfect bread baking altitude results.
Essential Bread Baking Techniques for High Elevations
Proper Mixing Techniques for Altitude Bread
Given the need for slightly more liquid and the potential addition of vital wheat gluten at high altitudes, proper mixing is crucial to develop a strong gluten network. Ensure all ingredients are well incorporated, and knead the dough thoroughly until it is smooth, elastic, and passes the windowpane test (where a small piece can be stretched thin enough to see light through it without tearing). Over-mixing can sometimes be an issue, but under-mixing is more common and will result in a weak structure unable to support the faster rise.
Because the dough might feel a bit stickier with the added liquid, resist the urge to add too much extra flour during kneading. Use a bench scraper to manage sticky dough, or lightly oil your hands and the work surface. Developing sufficient gluten strength during mixing is foundational for achieving perfect bread baking altitude.
Proofing Bread Dough at High Altitude: Tips and Tricks
Proofing times will be significantly shorter at high altitude. Instead of relying solely on the time specified in a recipe, learn to judge proofing by the dough's appearance and feel. The dough should roughly double in size (though some bakers prefer slightly less than double for altitude baking to maintain structure) and should feel light and airy. The "poke test" is invaluable: gently press a finger into the dough; if the indentation springs back slowly and only partially, it's likely ready. If it springs back immediately, it needs more time. If it stays indented completely, it might be over-proofed.
Consider using cooler liquids or proofing in a slightly cooler spot to slow down the fermentation process, giving the gluten more time to develop alongside the rise. Monitoring the dough closely is far more important than watching the clock for perfect bread baking altitude.
Shaping Techniques for Elevated Baking
With potentially faster rising and dough that might be slightly weaker due to rapid expansion, careful shaping is essential. Aim for tight, well-structured shapes that create surface tension. This tension helps the loaf hold its form and provides structure during the vigorous oven spring. For loaves baked in pans, ensure the dough fits the pan appropriately – not too small, which can lead to over-expansion, and not too large, which can result in a dense, squashed loaf.
For freeform loaves like boules or bâtards, techniques like pre-shaping and then final shaping with sufficient tension are critical. Allowing a brief rest (bench rest) between pre-shaping and final shaping helps the gluten relax just enough to allow for tight shaping without tearing. Proper shaping provides the necessary support for a perfect bread baking altitude loaf.
Baking Time Adjustments: Achieving the Ideal Internal Temperature
While you've lowered the oven temperature to prevent over-browning, you may need to slightly increase the baking time to ensure the interior is fully cooked. The best way to determine if your bread is done is by checking its internal temperature with an instant-read thermometer. Most lean bread (like sourdough or baguettes) is done when the internal temperature reaches 200-210°F (93-99°C). Enriched bread (containing eggs, milk, or butter) is typically done between 190-200°F (88-93°C).
Baking time is less reliable at high altitude than internal temperature. A loaf that looks perfectly golden brown might still be undercooked inside. Always use a thermometer for accuracy. Additionally, rotating your loaf halfway through baking can help ensure even browning in ovens with hot spots. Achieving the correct internal temperature guarantees a fully cooked, perfect bread baking altitude loaf.
Troubleshooting Common High-Altitude Bread Baking Problems
Dough Rising Too Quickly
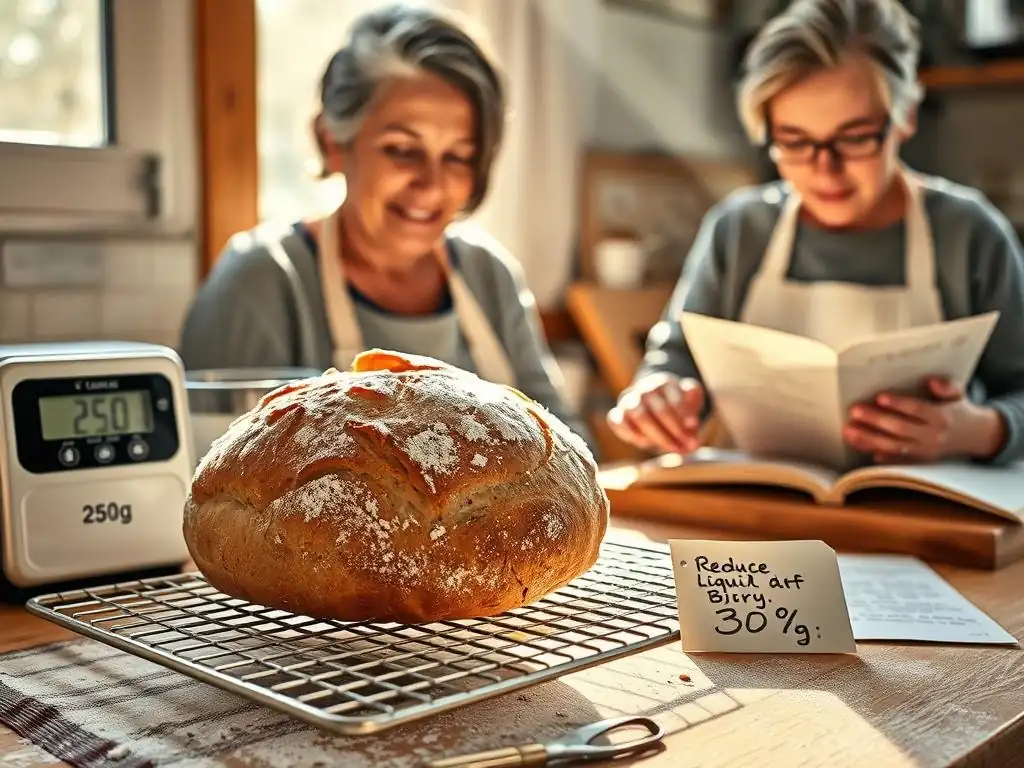
If your dough is consistently rising much faster than anticipated and potentially collapsing, the primary culprit is usually too much yeast for the altitude. The rapid expansion overwhelms the gluten structure.
- Reduce the amount of yeast further in your next attempt. Try cutting it by another 1/4 teaspoon per cup of flour.
- Consider using cooler water or milk when mixing the dough, as cooler temperatures slow down yeast activity.
- Proof the dough in a cooler location in your kitchen.
Dense and Heavy Bread
A dense, heavy loaf can stem from several high-altitude issues: over-proofing (leading to collapse), under-proofing (not enough gas production), insufficient liquid (dry dough), or weak gluten development.
- Ensure you are adding enough extra liquid for your altitude; the dough should be slightly sticky.
- Knead thoroughly to develop a strong gluten network. Consider adding vital wheat gluten if your flour protein content is low.
- Monitor proofing carefully using the poke test, ensuring the dough is adequately, but not excessively, risen.
Dry and Crumbly Bread
Dryness is a hallmark of baking in low-humidity, high-altitude environments. This results in a crumbly texture and potentially a hard, thick crust.
- Increase the amount of liquid in your recipe. You may need more than the initial recommended 1-2 tablespoons per cup of flour, depending on your specific altitude and humidity.
- Consider adding a small amount of fat (like butter or oil) to the dough, which can help retain moisture.
- Ensure the dough is covered well during proofing to prevent surface evaporation.
Collapsed Loaf
A loaf that rises beautifully and then sinks, either before or during baking, is typically a sign of over-proofing or weak gluten structure unable to support the rapid expansion.
- Significantly reduce the amount of yeast used. This is often the most effective solution.
- Strengthen the dough by ensuring sufficient kneading or adding vital wheat gluten.
- Pay close attention to the poke test during proofing and bake the dough slightly before it reaches maximum volume, as it will get a significant boost from oven spring.
High-Altitude Bread Baking Recipes to Try
High-Altitude Sandwich Bread Recipe
A basic sandwich bread is an excellent starting point for adapting to high-altitude baking. Using the adjustments discussed – reduced yeast, increased liquid, potential vital wheat gluten – allows you to practice managing the faster rise and hydration needs.
- Start with a standard sea-level recipe.
- Reduce the yeast by 25-40%.
- Increase the water or milk by 1-2 tablespoons per cup of flour.
- Knead well until elastic.
- Proof until just doubled (or slightly less), monitoring closely.
- Bake at a slightly lower temperature (e.g., 375°F instead of 400°F), checking for an internal temperature of 190-200°F.
High-Altitude Sourdough Bread Recipe
Sourdough baking at high altitude requires similar adjustments, primarily focusing on managing the faster fermentation. The wild yeast and bacteria in sourdough starter are also affected by the lower pressure.
- Use a less active starter initially, or use a smaller amount of starter than a sea-level recipe calls for.
- Increase hydration slightly, as sourdough often uses higher hydration doughs already, which can dry out faster.
- Monitor bulk fermentation and proofing times carefully; they will be shorter. Use the poke test and visual cues.
- Consider a cooler environment or longer cold fermentation in the refrigerator to slow the process and develop flavor.
- Bake in a Dutch oven or with steam to promote good oven spring at the adjusted lower temperature. Achieving perfect bread baking altitude with sourdough is highly rewarding.
High-Altitude Whole Wheat Bread Recipe
Whole wheat flour has less gluten potential than white bread flour, making whole wheat bread at high altitude particularly susceptible to density and dryness if not adjusted.
- Ensure you use 100% whole wheat flour or a blend that includes high-protein white bread flour.
- Adding vital wheat gluten (around 1 teaspoon per cup of whole wheat flour) is highly recommended to strengthen the dough.
- Increase liquid significantly, potentially by 2-3 tablespoons per cup of flour, as whole wheat absorbs more liquid than white flour and altitude increases evaporation.
- Knead thoroughly to develop the limited gluten present.
- Proof carefully, as whole wheat dough can be harder to judge visually; focus on the poke test and dough feel.
Essential Tools and Ingredients for High-Altitude Bread
Vital Wheat Gluten: A High-Altitude Baking Essential
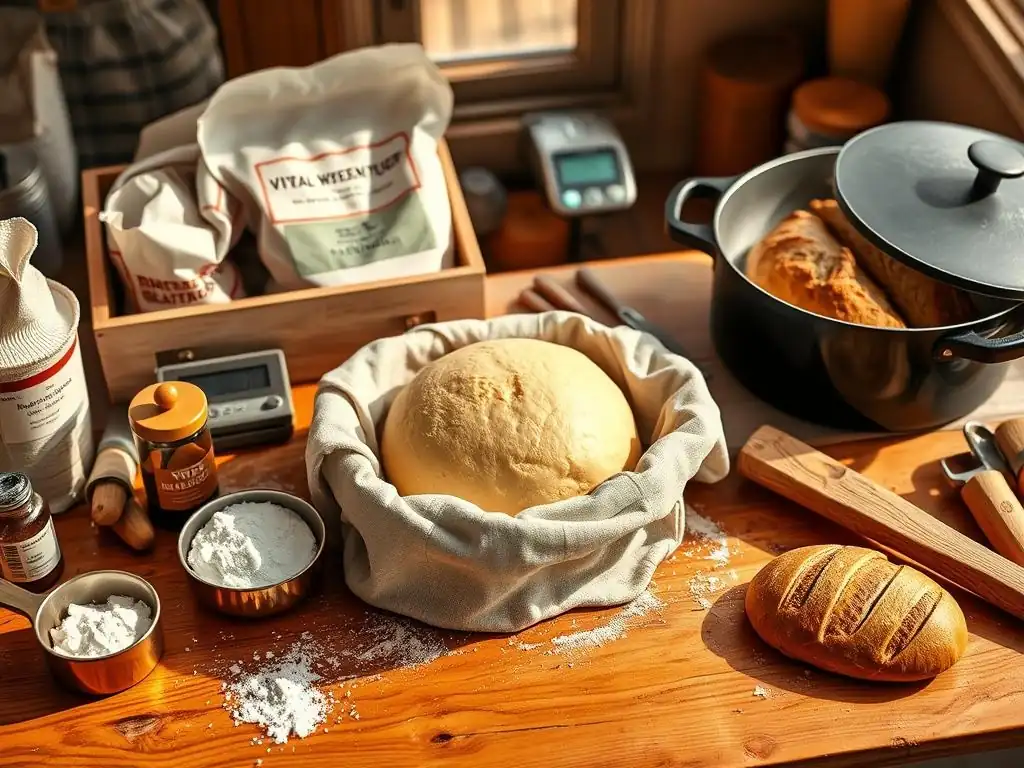
Vital wheat gluten is a concentrated protein that significantly improves the structure and volume of bread, especially when baking at high altitude or using lower-protein flours. Adding just a small amount can make a big difference in preventing collapsed loaves and achieving a well-aerated crumb.
- It's particularly helpful when using significant amounts of whole grains, rye, or other flours that dilute the gluten network.
- Typically, adding 1 teaspoon per cup of flour in a recipe is sufficient, though you might use slightly more for very high altitudes or challenging flours.
- It's readily available in most grocery stores or online baking supply retailers. Using vital wheat gluten is a simple yet effective strategy for perfect bread baking altitude.
High-Protein Flour for Optimal Results
Using a high-quality, high-protein bread flour (typically 12-14% protein content) provides a stronger gluten network from the start, which is beneficial for withstanding the rapid expansion at high altitude. While all-purpose flour can work with adjustments, bread flour offers more resilience.
- Look for flours specifically labeled "Bread Flour."
- The protein content is usually listed on the nutrition label.
- Combining high-protein bread flour with the addition of vital wheat gluten can provide maximum structural support for challenging high-altitude conditions, aiding in perfect bread baking altitude.
Accurate Measuring Tools for Precise Baking
Precision in baking is always important, but it becomes even more critical when making adjustments for high altitude. Small errors in measuring yeast, liquid, or flour can have significant impacts on the final outcome.
- Using a digital kitchen scale to measure flour and other dry ingredients by weight is highly recommended for consistency (e.g., 1 cup of all-purpose flour weighs approximately 120-125 grams).
- Accurate liquid measuring cups are also essential.
- Using specific measuring spoons for yeast and salt ensures you are making the intended small adjustments precisely. Investing in accurate tools is investing in perfect bread baking altitude.
Conclusion: Achieving Bread Baking Success at Any Altitude
Embracing the Art of High-Altitude Bread Baking
Baking bread at high altitude is less about fighting the environment and more about understanding and adapting to it. The principles are logical responses to the physics of lower pressure and drier air. By making simple adjustments to yeast, liquid, flour composition, and baking temperature, you can overcome common challenges and consistently produce beautiful, delicious loaves. It requires a bit of experimentation and careful observation, but the rewards are well worth the effort.
Each kitchen at high altitude is slightly different – variations in elevation, humidity, oven calibration, and even your specific ingredients can influence results. Don't be discouraged by initial failures. Treat each bake as a learning experience, make small, informed adjustments based on the outcomes, and soon you'll be confidently achieving perfect bread baking altitude no matter how high you are. Enjoy the process of mastering this unique aspect of baking!
Further Resources for Mastering Bread Baking
To continue refining your perfect bread baking altitude skills, explore resources specifically dedicated to high-altitude cooking and baking. Many excellent cookbooks and websites offer charts and specific recipe conversions for various elevations. Practice with different types of bread, from simple no-knead loaves to enriched brioche and challenging sourdough. The more you bake and observe the dough's behavior, the more intuitive these adjustments will become. Happy baking!
Frequently Asked Questions
How does altitude affect bread baking?
Altitude significantly impacts bread baking due to lower air pressure. This causes dough to rise faster and liquids to evaporate more quickly, potentially leading to dry and dense loaves.
What's the most common adjustment needed when baking bread at higher altitudes?
The most common adjustment is to reduce the amount of yeast used in the recipe. This helps to prevent the dough from rising too quickly and collapsing, ensuring a proper bread structure.
Should I adjust the baking temperature or time at higher altitudes?
Yes, you might need to. Generally, you'll want to increase the oven temperature by about 15-25°F (8-14°C) and shorten the baking time slightly to prevent over-browning and drying.
What can I do if my bread is rising too quickly at a high altitude?
Besides reducing yeast, you can also punch down the dough more frequently during the rising process. This helps to release some of the excess gas and control the fermentation rate.
How does the liquid content of my dough need to be adjusted at higher altitudes?
You may need to increase the liquid content in your dough to compensate for the faster evaporation rate. This will help to ensure that your bread has a moist and tender crumb.
Final Reflection: Reaching New Heights in Baking (and Life)
Mastering bread baking at altitude isn't just about achieving a perfect loaf; it's about understanding the subtle forces that shape our creations and adapting to overcome challenges. The seemingly simple act of baking bread becomes a powerful metaphor for navigating life's unexpected obstacles, requiring patience, precision, and a willingness to adjust our approach. The principles discussed – adjusting hydration, understanding the impact of lower air pressure, and embracing experimentation – are applicable far beyond the kitchen.
The journey of perfecting a high-altitude loaf mirrors the journey of personal growth. It's a process of trial and error, of learning from mistakes, and of celebrating small victories along the way. The satisfaction of biting into a perfectly risen, golden-brown loaf, achieved despite the challenges of altitude, is a testament to perseverance and the rewards of adapting to unique circumstances. The greatest glory in living lies not in never falling, but in rising every time we fall.
- Nelson Mandela. This quote perfectly encapsulates the spirit of high-altitude baking and, indeed, the spirit of overcoming any challenge.
Now, consider your own "altitude." What are the unique challenges you face in your life, your work, your passions? What adjustments do you need to make to achieve your own "perfect loaf"? I encourage you to embrace the spirit of experimentation, to learn from your failures, and to celebrate your successes, no matter how small. The journey towards mastery, whether in baking or in life, is a rewarding one, filled with the sweet taste of accomplishment.
Unleash Your High-Altitude Baking Potential!
Thanks for joining us on this journey to mastering the art of bread baking above sea level! We hope you now feel confident tackling those altitude challenges and creating delicious, perfectly risen loaves. Ready to put your new skills into practice?
- Bake your dream loaf today! Experiment with your favorite recipe, applying the adjustments we’ve discussed. Note your results and share your baking journey with us!
- Explore other high-altitude baking recipes on BakeWithEase.com – we've got plenty more where that came from!
- Share your baking triumphs (and even your floury mishaps!) with our community on our social media pages. Let’s learn and grow together!
What unique high-altitude baking tip will you share with others to help them achieve bread-baking success?