
Handling Chocolate Temperature: Tips for MessFree Baking

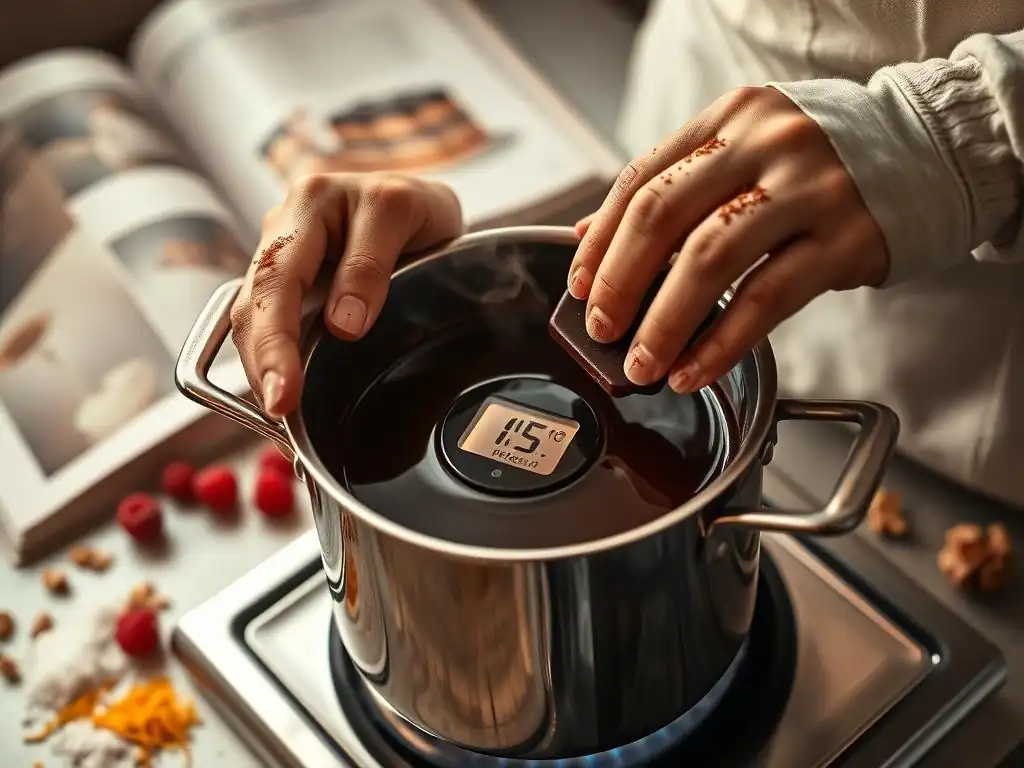
Welcome to BakeWithEase, where we unlock the secrets to effortless baking! Ever struggled with chocolate seizing or melting unevenly? Dive into our latest guide, " Handling Chocolate Temperature: Tips for MessFree Baking," and discover the crucial role temperature plays in achieving perfect, professional-looking results every time. Get ready to master your chocolate and elevate your baking game – your sweetest creations await!
- BakeWithEase: Mastering Chocolate Temperature for Baking Success
- Why Chocolate Temperature Matters in Baking
- Essential Chocolate Baking Temperature Tips for Mess-Free Results
- Tools and Equipment for Precise Chocolate Temperature Control
- Advanced Chocolate Tempering Techniques (Optional)
- Chocolate Baking Temperature Chart: A Quick Reference Guide
- Conclusion: Achieving Chocolate Baking Perfection with Temperature Control
-
Frequently Asked Questions
- What is the ideal temperature range for melting chocolate for baking?
- Why is temperature control important when working with chocolate in baking?
- What are some methods for accurately monitoring chocolate temperature?
- What happens if I overheat chocolate during baking preparation?
- Are there different temperature considerations for different types of chocolate (e.g., dark, milk, white)?
- Final Reflection: The Sweet Science of Temperature-Perfect Chocolate
- Unlock Your Inner Chocolate Master!
BakeWithEase: Mastering Chocolate Temperature for Baking Success
Welcome to BakeWithEase! Our goal is to make baking accessible and enjoyable for everyone, and that includes demystifying tricky ingredients like chocolate. Working with chocolate can sometimes feel intimidating, especially when it comes to getting the temperature just right. Whether you're melting it for a rich ganache, stirring it into a cake batter, or simply adding chips to cookies, the temperature of your chocolate plays a pivotal role in the final outcome. Getting it wrong can lead to disappointing textures, dull finishes, and even wasted ingredients.
This guide will walk you through the essential chocolate baking temperature tips you need to succeed. We'll explore why temperature is so crucial, how to handle different types of chocolate, and provide practical advice for common challenges. By understanding and controlling chocolate temperature, you'll unlock its full potential, achieving that perfect snap, smooth texture, and irresistible shine that elevates your baked goods from good to truly exceptional. Let's dive in and make your next chocolate baking adventure mess-free and delicious!
Why Chocolate Temperature Matters in Baking
The simple answer is that chocolate is a complex ingredient, a delicate balance of cocoa solids, cocoa butter, and sugar. Cocoa butter, in particular, has a unique crystalline structure that is highly sensitive to heat. When chocolate is heated and cooled improperly, these fat crystals melt and reform in undesirable ways, directly impacting the chocolate's physical properties and even its perceived flavor. Ignoring temperature guidelines is a common pitfall that leads to many baking frustrations.
Think about the difference between a perfectly tempered chocolate bar that snaps cleanly and melts smoothly on your tongue versus a piece of poorly melted chocolate that is dull, crumbly, or greasy. This difference is primarily due to how the chocolate was handled regarding temperature. Applying the right chocolate baking temperature tips ensures that the cocoa butter crystals align correctly, giving you that desirable texture, shine, and stability in your baked goods.
The Impact of Temperature on Chocolate's Texture and Flavor
Temperature is the key determinant of chocolate's texture. When chocolate is heated too quickly or too high, the cocoa butter can separate or burn, resulting in a grainy or greasy texture. Conversely, if melted chocolate isn't cooled or handled correctly before being incorporated or set, it can develop a crumbly or soft texture instead of a firm, snappy one. The various crystalline forms of cocoa butter melt at different temperatures, and controlling which forms are dominant is the essence of working with chocolate successfully in baking.
Beyond texture, temperature also subtly influences flavor perception. While extreme heat can cause burned off-flavors, even slightly incorrect temperatures during melting or cooling can affect how the chocolate sets and how it interacts with other ingredients. Proper temperature control ensures that the delicate flavor compounds in the cocoa solids and cocoa butter are preserved and presented in their best light, contributing to a richer, more satisfying chocolate experience in your baked goods. Utilizing sound chocolate baking temperature tips is fundamental to unlocking the full flavor potential.
Understanding Chocolate Tempering Basics for Home Bakers
Tempering chocolate is the process of carefully melting, cooling, and then slightly reheating chocolate to stabilize the cocoa butter crystals. This specific temperature manipulation encourages the formation of the most stable crystal structure (known as Beta V crystals), which melts at around 90-94°F (32-34°C). Achieving this structure is what gives chocolate its desirable characteristics: a smooth, glossy finish, a firm snap when broken, resistance to melting at room temperature, and prevention of bloom (those gray streaks or patches).
While full tempering is often required for dipping, molding, or creating chocolate decorations, understanding its principles is vital even for simpler baking tasks. When you melt chocolate to add to a batter, you're still dealing with these crystals. Knowing the temperature points where different things happen (like melting, crystallizing, and setting) helps you avoid common issues like seizing or grainy chocolate. These fundamental chocolate baking temperature tips are not just for chocolatiers; they are essential knowledge for any home baker working with chocolate.
Essential Chocolate Baking Temperature Tips for Mess-Free Results
Mastering chocolate temperature is a game-changer for baking. Here are some key tips to ensure smooth, mess-free results every time you bake with chocolate. Following these guidelines will help you avoid common pitfalls and achieve professional-looking finishes and perfect textures.
Tip 1: Melting Chocolate Properly - Avoiding Seizing
Seizing is perhaps the most frustrating issue when melting chocolate. It happens when even a tiny amount of water or steam comes into contact with melted chocolate, causing it to instantly transform from a smooth liquid into a thick, grainy, unusable paste. This is because sugar and cocoa solids in the chocolate clump together when they encounter moisture. Preventing seizing is paramount when melting chocolate for any baking application.
Proper melting techniques focus on gentle, indirect heat and keeping moisture completely away. Using a double boiler is the classic method, providing controlled heat without direct contact with the heat source. Microwave melting is faster but requires careful attention to avoid overheating or burning. Always use clean, dry bowls and utensils when melting chocolate, and ensure no water drips into the chocolate from the steam or condensation. These simple chocolate baking temperature tips for melting are the foundation for successful chocolate work.
Using a Double Boiler for Gentle Chocolate Melting
A double boiler (or a heat-safe bowl set over a saucepan of simmering, not boiling, water) is the safest way to melt chocolate. The indirect heat ensures the chocolate melts slowly and evenly without scorching. Fill a saucepan with about an inch or two of water and bring it to a gentle simmer. Place a heat-safe bowl containing your chopped chocolate over the saucepan, ensuring the bottom of the bowl does not touch the water. The steam from the simmering water will gently heat the bowl.
Stir the chocolate occasionally with a dry silicone spatula as it melts. Remove the bowl from the heat just before the chocolate is completely melted; the residual heat will melt the remaining pieces. This method allows precise control over the melting temperature and significantly reduces the risk of overheating or seizing. It's an indispensable technique among chocolate baking temperature tips.
Microwave Melting: A Quick Guide to Chocolate
Melting chocolate in the microwave is faster but requires vigilance. Use a microwave-safe bowl and chop the chocolate into small, uniform pieces for even melting. Heat on medium or 50% power in short intervals, typically 30-60 seconds for the first interval, then reducing to 15-20 second intervals thereafter. Stir the chocolate thoroughly after each interval, even if it doesn't look melted.
Chocolate holds its shape even when melted, so stirring is crucial to distribute heat and prevent burning. Stop heating when the chocolate is mostly melted, with just a few small lumps remaining. Stir until completely smooth using the residual heat. Overheating in the microwave is easy and can burn the chocolate, making it unusable. Patience and frequent stirring are key when using the microwave for melting as part of your chocolate baking temperature tips.
Specific Temperature Ranges for Melting Different Types of Chocolate
Different types of chocolate have slightly different melting points due to their varying compositions of cocoa butter, sugar, and milk solids. Dark chocolate, with its higher cocoa solid and lower sugar content, typically melts between 85°F and 90°F (29°C to 32°C). Milk chocolate, containing milk solids and more sugar, melts at a slightly lower range, usually between 80°F and 86°F (27°C to 30°C). White chocolate, made from cocoa butter, sugar, and milk solids but no cocoa solids, melts in a similar range to milk chocolate, around 80°F to 85°F (27°C to 29°C).
While you don't necessarily need a thermometer just for basic melting (unless you're tempering), being aware of these ranges helps you understand how each type will behave. White and milk chocolates are more susceptible to scorching due to their sugar and milk content, requiring even more careful, gentle heat. These specific chocolate baking temperature tips help you handle each chocolate type appropriately.
Tip 2: Cooling Chocolate for Optimal Baking Consistency
Just as important as melting is how you cool chocolate, especially when it needs to set or when you're incorporating it into other ingredients. Simply letting hot melted chocolate sit can lead to issues. Controlled cooling is essential for achieving the right consistency, whether you need it pourable for a glaze, firm for chopping, or integrated smoothly into a batter.
The cooling process allows the cocoa butter crystals to begin reforming. Depending on the application, you might need to cool it significantly (as in tempering) or just slightly. Rapid, uncontrolled cooling can sometimes lead to uneven textures, while slow cooling in humid environments can contribute to bloom. Applying the correct chocolate baking temperature tips for cooling is critical for the next steps in your recipe.
The Importance of Controlled Cooling in Chocolate Recipes
Controlled cooling is vital because it dictates the texture and stability of the chocolate as it sets or is used. For instance, when making a ganache, cooling the mixture slowly and at room temperature allows the fat crystals to form a stable network, resulting in a smooth, thick consistency. If cooled too quickly in the fridge, the texture can become grainy or too hard.
When melting chocolate to fold into a cake batter, you don't want it piping hot, as it could cook the eggs or seize upon contact with cooler ingredients. Cooling it slightly to a usable temperature (often around 90-100°F or 32-38°C) ensures it integrates smoothly. Understanding the desired final state of the chocolate in your recipe helps determine the appropriate cooling method and temperature range, a key aspect of chocolate baking temperature tips.
Quick Cooling Methods: Ice Bath Technique
An ice bath is a method for quickly cooling melted chocolate, often used in tempering or when a recipe calls for rapidly chilling a chocolate mixture, like a mousse base or ganache. To create an ice bath, fill a larger bowl with ice and a little water. Place the bowl containing your melted chocolate or chocolate mixture into the ice bath, ensuring no water splashes into the chocolate.
Stir the chocolate continuously while it's in the ice bath. This helps distribute the cooling evenly and prevents the edges from solidifying before the center. Monitor the temperature with a thermometer if precision is needed (as in tempering). Remove the bowl from the ice bath when it reaches the desired temperature. This technique is a powerful tool for controlling temperature quickly, a valuable addition to your chocolate baking temperature tips.
Room Temperature Cooling: When and How to Use It
Cooling at room temperature is the most common and often preferred method when you need chocolate to set or cool down gradually. This is ideal for things like allowing ganache to thicken to a spreadable or scoopable consistency, or letting melted chocolate cool slightly before folding it into a delicate batter. Simply remove the melted chocolate from the heat source and let it sit in the bowl at a comfortable room temperature, ideally between 68-72°F (20-22°C).
Stir the chocolate occasionally as it cools to ensure even temperature distribution. This method allows for more stable crystal formation compared to rapid chilling in the fridge, especially for recipes where texture is paramount. For example, a chocolate glaze left to cool and thicken at room temperature often develops a smoother, glossier finish than one rushed in the refrigerator. Incorporating controlled room temperature cooling is a fundamental part of effective chocolate baking temperature tips.
Tip 3: Incorporating Melted Chocolate into Batters and Doughs
Adding melted chocolate to batters and doughs requires careful technique to prevent it from solidifying upon contact with cooler ingredients or negatively affecting the texture of the mixture. If the melted chocolate is too hot, it can 'shock' cold ingredients like butter or eggs, causing them to curdle or seize, leading to a lumpy or uneven batter. If the melted chocolate is too cool, it can start to set as soon as it hits the mixture, resulting in hard chocolate chunks instead of an integrated flavor and color.
The key is to bridge the temperature gap between the melted chocolate and the batter. This often involves letting the melted chocolate cool slightly or warming up some of the cooler ingredients before combining them. Mastering this transition is a crucial step in applying chocolate baking temperature tips to complex recipes like cakes, brownies, and muffins.
Preventing Chocolate from Solidifying in Cold Ingredients
To prevent melted chocolate from solidifying instantly when added to cold ingredients, ensure the chocolate isn't excessively hot. Let it cool for a few minutes after melting until it's warm to the touch but still liquid, typically around 90-100°F (32-38°C). If you are adding it to a cold mixture like cream cheese frosting, consider warming a small portion of the cold mixture gently and stirring it into the melted chocolate first.
This technique, similar to tempering eggs into a hot sauce, gradually brings the temperature of the chocolate down while warming a portion of the cold ingredient, making the final combination smoother. Alternatively, ensure your other ingredients (like eggs or butter) are at room temperature before starting the recipe. These are practical chocolate baking temperature tips for smooth integration.
Tempering Chocolate into Warm Batters: A Step-by-Step Guide
When incorporating melted chocolate into a warm batter or mixture, such as a warm custard base for mousse or a slightly cooled cake batter, the process is less about preventing solidification and more about achieving smooth integration. Here's a simple process:
- Melt your chocolate using a double boiler or microwave and let it cool slightly for a few minutes.
- Ensure your batter or base is warm but not hot enough to scramble eggs or curdle dairy.
- Pour about one-third of the warm batter into the bowl of melted chocolate.
- Gently whisk or fold the mixture together until it is smooth and homogenous. This step is crucial; it starts to equalize the temperatures and textures.
- Add the remaining batter in two additions, folding gently after each addition until no streaks of chocolate remain and the mixture is uniform in color and consistency.
This gradual incorporation prevents shocking the chocolate and ensures it is fully emulsified into the batter, resulting in a uniform texture and color throughout your baked good. Following these chocolate baking temperature tips leads to beautifully consistent results.
Tip 4: Working with Chocolate Chips and Chunks
Chocolate chips and chunks are convenient, but they behave differently than solid chocolate when heated. Their composition is often designed to hold their shape during baking, which can be both a benefit and a challenge. Understanding how their temperature changes during baking and how to handle them before adding them to doughs or batters is key to avoiding issues like sinking chips or uneven chocolate distribution.
Choosing the right type of chip for your recipe and understanding how their temperature affects dough consistency are essential chocolate baking temperature tips for cookies, muffins, and other treats where chips are featured.
Choosing the Right Chocolate Chips for Your Recipe
Not all chocolate chips are created equal. Standard baking chips contain less cocoa butter and often have stabilizers to help them retain their shape during baking. This is great if you want distinct pockets of chocolate, but less ideal if you want the chocolate to melt and spread slightly. For recipes where you want the chocolate to melt more smoothly, like in some cookies or brownies, consider using chopped-up bar chocolate instead of chips. Bar chocolate typically has a higher cocoa butter content and melts more fluidly.
However, for recipes where you want the chips to remain mostly intact, like in muffins or certain cookie styles, standard baking chips are perfect. Consider the desired outcome – distinct chocolate pieces or pools of melted chocolate – when selecting your chocolate chips. This simple choice is a fundamental part of effective chocolate baking temperature tips.
Preventing Chocolate Chips from Sinking in Cakes and Muffins
A common problem is chocolate chips sinking to the bottom of cakes or muffins. This happens because the chips are denser than the batter. To help prevent this, try tossing the chocolate chips with a tablespoon or two of flour from the recipe before folding them into the batter. The thin coating of flour helps suspend the chips in the batter as it bakes.
Ensure your batter is not too thin. A thicker batter is better able to hold the chips in suspension. Also, avoid overmixing the batter once the chips are added, as excessive stirring can cause them to settle. These quick chocolate baking temperature tips related to chip density can make a big difference in your final product's appearance.
Tip 5: Troubleshooting Common Chocolate Baking Problems
Even with the best practices, sometimes things go wrong. Knowing how to identify and potentially fix common chocolate issues can save your bake. Grainy texture, seized chocolate, and bloom are frustrating but often salvageable or preventable problems.
Understanding the causes behind these issues, often related to temperature or moisture, is the first step in troubleshooting. These chocolate baking temperature tips for problem-solving will help you recover from or avoid these common setbacks.
Dealing with Grainy Chocolate
Grainy chocolate can occur for several reasons, often related to overheating or improper cooling/setting. Overheating can cause the cocoa solids and sugar to scorch or the cocoa butter to separate unevenly. If melted chocolate cools and crystallizes incorrectly (e.g., too slowly in a humid environment or with improper tempering), it can also develop a grainy or fatty texture due to large, unstable cocoa butter crystals.
If you have a batch of melted chocolate that feels slightly grainy, you can try stirring in a very small amount of fat, like a teaspoon of vegetable oil or melted cocoa butter, off the heat. This can sometimes help smooth out the texture. For set chocolate that is grainy, unfortunately, it's often difficult to fully correct the texture. Prevention through proper melting and cooling temperatures is the best approach. These detailed chocolate baking temperature tips highlight the importance of precision.
Fixing Seized Chocolate: Rescue Techniques
Seized chocolate, where it turns into a thick, lumpy paste due to contact with water, seems like a disaster, but it can often be salvaged. The key is to add more liquid to fully incorporate the sugar and cocoa solids that have clumped together. While adding a little water caused the problem, adding more liquid can solve it.
Slowly whisk in a tablespoon of hot liquid, such as hot water, hot milk, or melted butter, into the seized chocolate, stirring vigorously. The chocolate should start to loosen and become smooth again. You may need to add another tablespoon or two of hot liquid, depending on the amount of chocolate and how severely it seized.
Be cautious not to add too much liquid, or you'll end up with a thin sauce, but it will be smooth. This rescued chocolate might not be suitable for tempering or molding, but it can be perfectly used in brownies, cakes, or sauces where a smooth texture is desired. It's a valuable rescue technique among chocolate baking temperature tips.
Preventing Chocolate Bloom: Storage Tips
Chocolate bloom appears as grayish streaks or patches on the surface of chocolate. There are two types: fat bloom (most common in baking chocolate), caused by cocoa butter separating and rising to the surface due to temperature fluctuations, and sugar bloom, caused by moisture drawing sugar crystals to the surface. While harmless to eat, bloom is visually unappealing and can affect texture.
Preventing bloom primarily involves proper storage. Store chocolate in a cool, dry place with a stable temperature, ideally between 60-70°F (15-21°C). Avoid significant temperature swings, which cause the cocoa butter to melt and reform improperly. Keep chocolate away from moisture and strong odors, as it can absorb them. Airtight containers can help. While tempering is the best defense against fat bloom in finished products, proper storage is key for preventing bloom on your baking chocolate itself, reinforcing the importance of chocolate baking temperature tips even before you start baking.
Tools and Equipment for Precise Chocolate Temperature Control
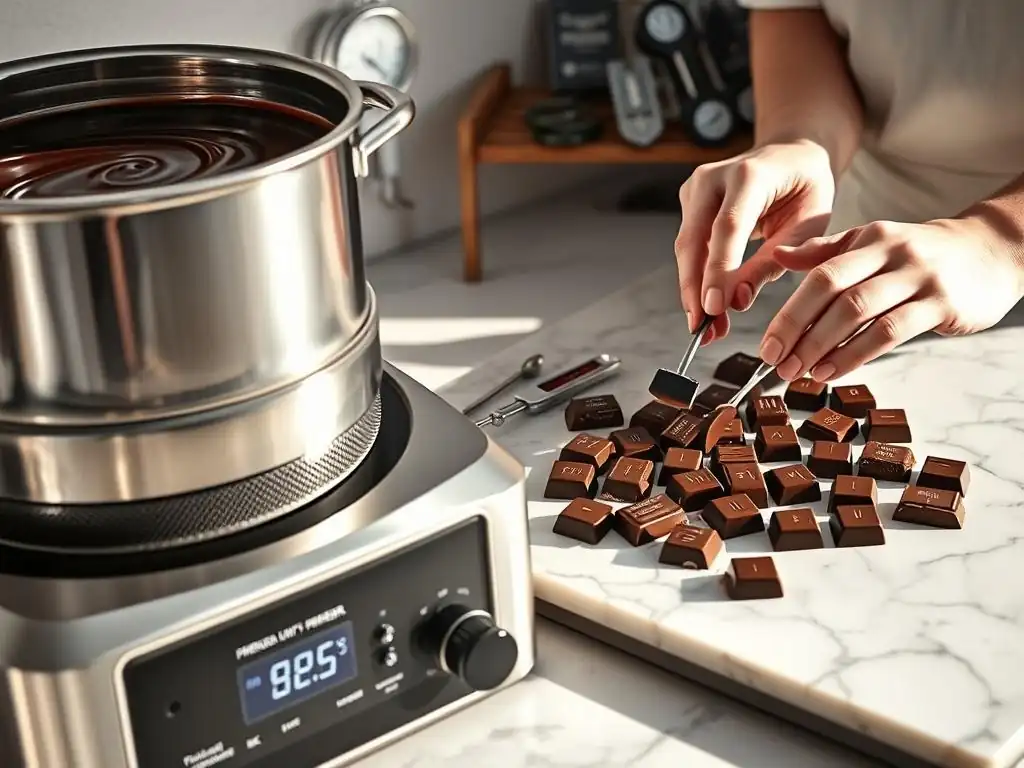
Having the right tools makes managing chocolate temperature much easier and more precise. While some tasks can be done by feel, certain equipment provides accuracy that significantly improves results, especially when aiming for perfect textures and finishes.
Investing in a few key pieces of equipment can elevate your chocolate baking considerably. These tools are essential for applying the chocolate baking temperature tips discussed throughout this guide.
Chocolate Thermometers: Choosing the Right One
A reliable thermometer is indispensable if you plan to temper chocolate or work with it in applications where specific temperatures are critical. There are several types suitable for chocolate:
- Digital Probe Thermometers: Fast, accurate, and easy to read. Look for one with a thin tip.
- Infrared Thermometers: Non-contact, which is great for hygiene and speed, but they measure surface temperature and can be less accurate for small amounts of chocolate.
- Candy Thermometers: Designed for high temperatures but can be used if they have a range suitable for chocolate (below 130°F or 55°C). Ensure it can be easily used in a bowl.
Choose a thermometer that is easy to clean and has a temperature range appropriate for chocolate work (typically up to at least 120°F or 50°C). Accuracy is key for precise chocolate baking temperature tips.
Double Boilers and Heat-Safe Bowls
As mentioned, a double boiler is the safest way to melt chocolate gently. You can buy a dedicated double boiler pot, which has two nested pans, or create one using a heat-safe bowl (glass, stainless steel) that fits snugly over a saucepan without touching the water.
Ensure the bowl is wide enough to allow comfortable stirring of the chocolate. The goal is gentle, indirect heat from the steam, not direct contact with boiling water. This setup is fundamental for controlled melting, a core practice among chocolate baking temperature tips.
Silicone Spatulas: Essential for Gentle Mixing
Silicone spatulas are ideal for working with melted chocolate. They are heat-resistant, flexible, and non-reactive. Their smooth surface doesn't scratch bowls and is easy to clean.
Use a silicone spatula for stirring chocolate as it melts, scraping down the sides of the bowl, and folding melted chocolate into batters. Their flexibility allows you to get all the chocolate out of the bowl, minimizing waste, and their smooth surface helps maintain the chocolate's smooth texture during mixing. They are simple but essential tools for applying chocolate baking temperature tips effectively.
Advanced Chocolate Tempering Techniques (Optional)
While basic melting and cooling are sufficient for many recipes, achieving a truly professional finish (glossy, snappy, resistant to melting) requires tempering. Tempering ensures the cocoa butter forms stable crystals. Here are two common methods if you want to explore advanced chocolate baking temperature tips.
Seed Tempering Method for Shiny Chocolate
The seed tempering method is popular for home bakers. It involves melting chocolate, cooling it down, and then adding pieces of already-tempered chocolate ('seeds') to encourage the formation of stable crystals.
- Gently melt about two-thirds of your chopped chocolate in a double boiler to about 115°F (46°C) for dark, 105°F (40°C) for milk/white.
- Remove from heat and add the remaining one-third of finely chopped, untempered chocolate (the 'seeds').
- Stir continuously with a silicone spatula. The heat from the melted chocolate will melt the seeds while simultaneously cooling the mixture down.
- Keep stirring until the temperature drops to the working temperature: 88-91°F (31-33°C) for dark, 86-88°F (30-31°C) for milk, and 82-84°F (28-29°C) for white.
- Remove any unmelted seeds. The chocolate is now in temper and ready to use for dipping or molding. Maintain the working temperature using gentle heat if needed. This method is a cornerstone of advanced chocolate baking temperature tips.
Tablier Tempering Method
The tablier (or marble slab) method involves melting chocolate and then pouring a portion of it onto a cool surface, like a marble slab or clean countertop, to cool it down rapidly while agitating it.
- Melt all your chopped chocolate in a double boiler to the same melting temperatures as the seed method (115°F/46°C for dark, 105°F/40°C for milk/white).
- Pour about two-thirds of the melted chocolate onto a clean, cool marble surface. Keep the remaining one-third in the warm bowl over the double boiler (off the heat).
- Using a metal scraper and spatula, spread and gather the chocolate on the slab, working it back and forth. This cools the chocolate rapidly and encourages crystal formation.
- Continue working until the chocolate thickens and reaches the lower end of the working temperature range (e.g., around 88°F/31°C for dark). It should feel slightly cool and start to thicken.
- Scrape the cooled chocolate back into the bowl with the remaining warm chocolate. Stir thoroughly. The warm chocolate will raise the temperature slightly back into the working range.
- Check the temperature (88-91°F/31-33°C for dark, etc.) and test the temper. This method requires practice but is highly effective, representing advanced chocolate baking temperature tips.
Chocolate Baking Temperature Chart: A Quick Reference Guide
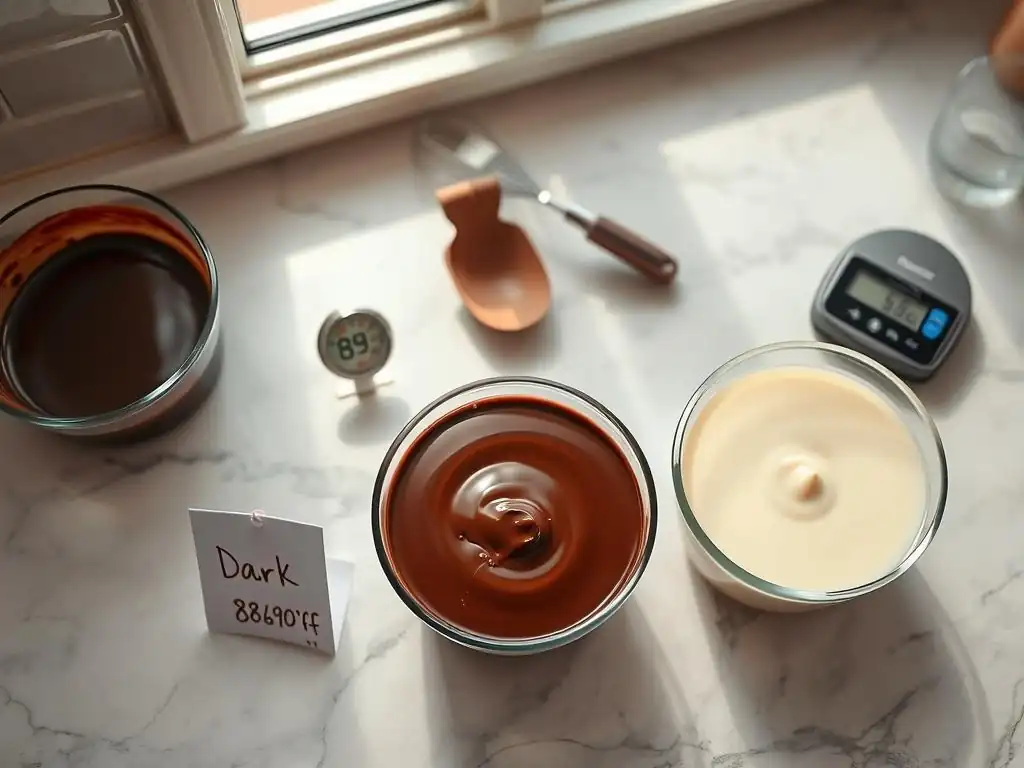
Keeping track of specific temperature ranges for different types of chocolate and applications can be helpful. While these are general guidelines and can vary slightly based on the specific chocolate brand and composition, this chart provides a useful quick reference for applying chocolate baking temperature tips.
Chocolate Temperature Chart
| Chocolate Type | Initial Melting Temp (Approx.) | Working/Tempering Temp (Approx.) | Setting Temp (Approx.) |
|---|---|---|---|
| Dark Chocolate | 115°F (46°C) | 88-91°F (31-33°C) | 60-65°F (15-18°C) |
| Milk Chocolate | 105°F (40°C) | 86-88°F (30-31°C) | 60-65°F (15-18°C) |
| White Chocolate | 105°F (40°C) | 82-84°F (28-29°C) | 60-65°F (15-18°C) |
Note: These are target temperatures for tempering. For simple melting to add to batters, just melt gently until smooth and let cool slightly before adding.
Conclusion: Achieving Chocolate Baking Perfection with Temperature Control
Working with chocolate doesn't have to be intimidating. By paying attention to temperature, you can unlock its full potential and avoid common mishaps like seizing, graininess, or bloom. From gently melting chocolate using a double boiler to understanding the subtle differences in temperature ranges for dark, milk, and white varieties, each step contributes to a successful outcome. Cooling techniques, whether rapid or gradual, are just as vital as melting, ensuring the chocolate behaves correctly when combined with other ingredients or when setting.
Mastering Chocolate Temperature for Delicious and Mess-Free Baking
Applying these chocolate baking temperature tips is the key to transforming your chocolate creations. You've learned how to prevent seizing, rescue a troubled batch, choose the right tools, and even peek into the world of advanced tempering. Remember that practice makes perfect. Don't be discouraged if your first attempt isn't flawless. With attention to temperature and the techniques outlined here, you'll consistently achieve smooth, glossy, and utterly delicious results. Happy chocolate baking from your friends at BakeWithEase!
Frequently Asked Questions
What is the ideal temperature range for melting chocolate for baking?
The ideal range for melting chocolate is typically between 110-115°F (43-46°C) for dark chocolate and slightly lower for milk and white chocolate. Avoid overheating to prevent seizing.
Why is temperature control important when working with chocolate in baking?
Precise temperature control is crucial because it affects the texture and appearance of your finished baked goods. Overheating can cause chocolate to become grainy or seize.
What are some methods for accurately monitoring chocolate temperature?
Using a digital thermometer is the most accurate method. Alternatively, you can employ the double boiler method and carefully observe the consistency of the melting chocolate.
What happens if I overheat chocolate during baking preparation?
Overheating can cause the cocoa butter to separate, resulting in a grainy or seized texture. This makes the chocolate difficult to work with and negatively impacts the final product.
Are there different temperature considerations for different types of chocolate (e.g., dark, milk, white)?
Yes, different types of chocolate have varying melting points. White and milk chocolate, with their higher sugar content, are more prone to burning, so they require lower melting temperatures compared to dark chocolate.
Final Reflection: The Sweet Science of Temperature-Perfect Chocolate
Mastering chocolate's temperature is not merely a technical skill; it's the key to unlocking its full potential and transforming a simple ingredient into a culinary masterpiece. A seemingly small detail, precise temperature control dramatically impacts the texture, shine, and overall success of your chocolate creations. Ignoring this crucial element can lead to frustrating seizing, dull finishes, and ultimately, disappointing results.
The impact of understanding chocolate's temperature sensitivity extends far beyond the individual baker. It speaks to a broader appreciation for the delicate balance required in culinary arts, a balance that mirrors the careful attention we should give to other aspects of our lives. The precision involved resonates with the meticulous nature of many crafts and artistic endeavors. The details are not the details. They make the design.
– Charles Eames. This quote perfectly encapsulates the importance of seemingly minor elements, like temperature, in achieving a truly exceptional outcome.
Now, consider your next chocolate endeavor. Will you approach it with the same level of care and attention to detail you've learned here? I challenge you to experiment, to embrace the science behind the sweetness, and to experience the joy of creating flawlessly smooth, beautifully glossy chocolate treats. The journey to mastering chocolate temperature is a rewarding one, filled with delicious discoveries and the satisfaction of a job well done. Let the pursuit of perfection begin!
Unlock Your Inner Chocolate Master!
Thanks for diving into the world of perfectly tempered chocolate with us! We hope you now feel confident tackling even the trickiest chocolate creations. Ready to put your new skills to the test?
- Dive into your next baking project: Use what you've learned to create your dream chocolate masterpiece – from truffles to a show-stopping cake!
- Share your chocolate triumphs (and even your mishaps!): We'd love to see your creations and hear about your experience. Post a picture on social media and tag us!
- Experiment with different chocolate types: Now that you understand tempering, explore the diverse world of dark, milk, and white chocolates – each with its unique flavor profile.
What’s your favorite type of chocolate to work with, and what delicious treat will you be making next?