
Why Does My Bread Smell Too Yeasty? (And How to Avoid It)

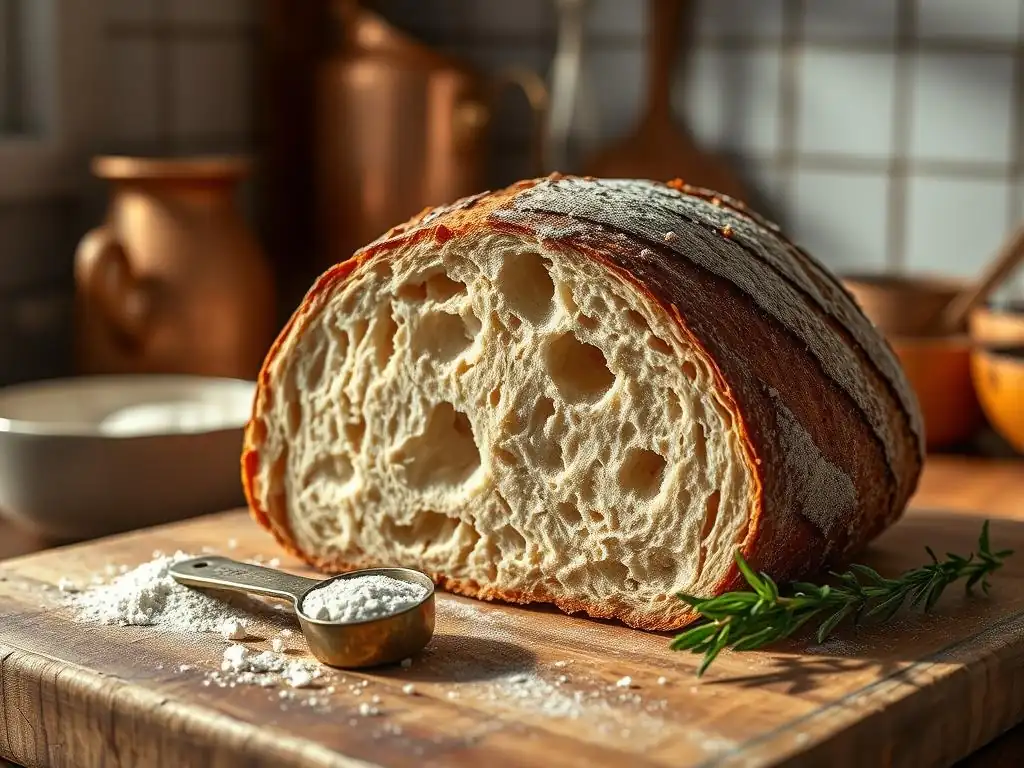
Welcome to BakeWithEase, your kitchen companion for all things baking! Ever wondered why your freshly baked loaf sometimes emits a too-strong yeasty smell? It's a common issue, and we're here to help you unravel the mystery. Discover the secrets behind achieving the perfect aroma in our comprehensive guide below, and learn practical tips to avoid that overpowering yeastiness. Get ready to elevate your baking game and create breads that are as delightful to smell as they are to eat!
- Understanding Yeasty Bread Smell Problems: A Baker's Guide
- Common Causes of a Strong Yeast Smell in Homemade Bread
- Troubleshooting Yeasty Bread Smell: Practical Solutions
- Preventing Yeasty Bread: Proactive Tips
- Advanced Techniques for Minimizing Yeast Flavor
- Conclusion: Achieving Perfectly Balanced Bread Aroma
-
Frequently Asked Questions
- Why does my bread sometimes smell overwhelmingly of yeast after baking?
- Can using old or expired yeast contribute to a strong yeasty smell in bread?
- What role does proofing time play in the intensity of the yeasty smell?
- How does the type of flour affect the presence of a yeasty smell in bread?
- What's the best way to store my baked bread to prevent a yeasty smell from developing later?
- Final Reflection: The Subtle Art of Bread Baking, Beyond the Yeast
- Unleash Your Inner Baker: Bread-Making Mastery Awaits!
Understanding Yeasty Bread Smell Problems: A Baker's Guide
Baking bread is a rewarding experience, filling your kitchen with wonderful aromas. However, sometimes the scent isn't quite right – a strong, almost alcoholic, yeasty smell can overpower the desirable baked bread fragrance. This is a common issue for home bakers, and understanding the root causes of these yeasty bread smell problems is the first step to solving them and achieving perfectly balanced loaves. It's not just about the smell; an overly yeasty aroma often signals underlying issues that affect the final taste and texture of your bread.
Many factors contribute to the aroma of baked bread, from the type of flour used to the fermentation process. When troubleshooting yeasty bread smell problems, we need to examine how yeast behaves and interacts with the dough throughout mixing, proofing, and baking. Yeast, a living organism, consumes sugars and produces carbon dioxide and ethanol. While these byproducts are essential for leavening and developing complex flavors, an excess of them, or failure to bake them off properly, results in that pungent, undesirable yeasty odor. Addressing these specific points will help you diagnose and fix your yeasty bread smell problems.
Identifying an Overly Yeasty Aroma in Bread
Recognizing an overly yeasty smell goes beyond simply noticing the presence of yeast. A well-baked loaf should have a complex aroma that hints at fermentation but is balanced by the smell of toasted crust and cooked flour. An overly yeasty smell, however, is often described as sharp, pungent, alcoholic, or even slightly sour in an unpleasant way. It can hit you as soon as the bread comes out of the oven or even when you're working with the dough during the later stages of proofing.
This strong, unpleasant odor is a key indicator of yeasty bread smell problems during the fermentation process. It suggests that the yeast has produced an excessive amount of volatile compounds, particularly ethanol, relative to the other flavor-contributing elements. Think of a loaf that smells more like brewing beer than freshly baked bread. This distinct aroma is a clear sign that something in your process needs adjustment to achieve a more harmonious and appealing scent profile in your homemade bread.
The Impact of Excessive Yeast on Bread Flavor and Texture
An overpowering yeasty smell is rarely an isolated issue; it almost always comes hand-in-hand with detrimental effects on both the flavor and texture of your bread. Flavor-wise, the excessive ethanol and other metabolic byproducts of overactive or excessive yeast can lead to a taste that is too alcoholic, sharp, or simply unbalanced, masking the subtle nuances that proper fermentation should develop. Instead of a pleasant tang or rich, malty notes, you get a dominant and often unpleasant yeasty bite.
Texture also suffers when yeasty bread smell problems arise from issues like over-proofing. Dough that has over-fermented tends to collapse or bake into a dense, heavy loaf because the gluten structure, which provides support, has been weakened by the prolonged activity of the yeast and acidic byproducts. The crumb might be irregular, with large, uneven holes, or conversely, very tight and dense. These textural flaws, combined with the off-putting aroma and flavor, result in a loaf far from the ideal light, airy, and flavorful bread you're aiming for.
Common Causes of a Strong Yeast Smell in Homemade Bread
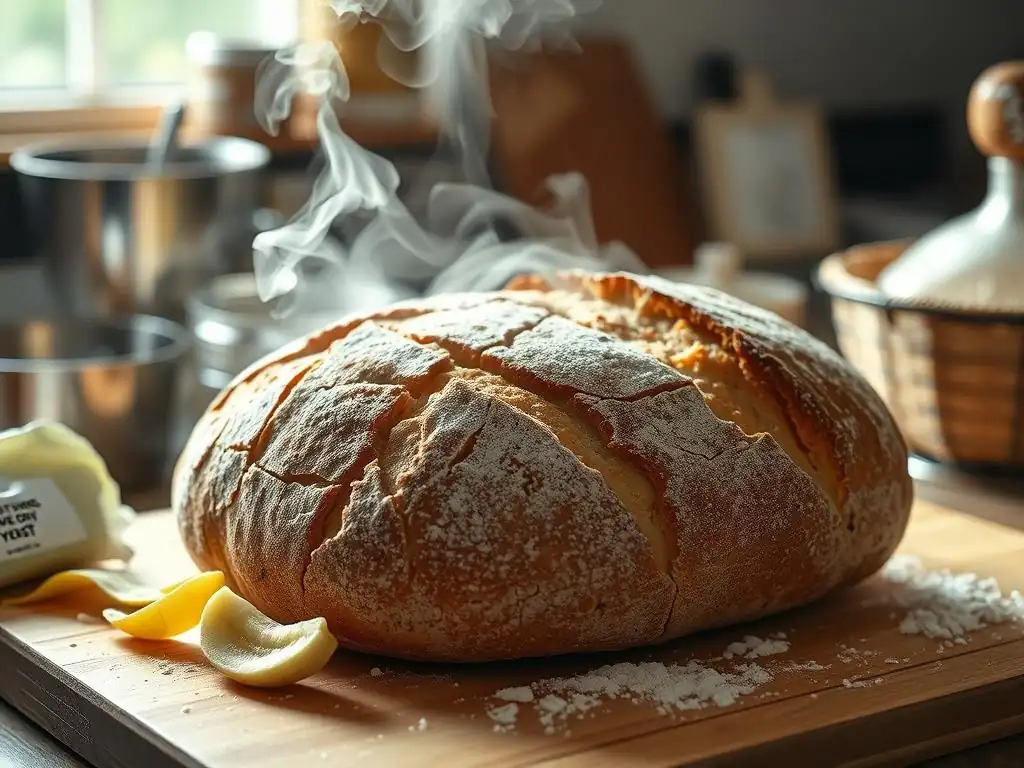
Understanding why your bread develops a strong yeast smell is crucial for preventing it. Several common factors contribute to this issue, primarily revolving around the amount of yeast used and the conditions under which it ferments. Pinpointing the exact cause involves reviewing your recipe and baking process step-by-step, from mixing ingredients to the final bake.
The most frequent culprits behind yeasty bread smell problems include allowing the dough to proof for too long, using more yeast than the recipe requires, or issues with the baking process itself that fail to properly dissipate the volatile compounds produced by the yeast. Addressing these specific areas will significantly improve the outcome of your future baking endeavors and help you achieve bread with a balanced, delightful aroma.
Over-Proofing: The Primary Culprit Behind Yeasty Smells
Over-proofing is arguably the most common reason bakers encounter yeasty bread smell problems. Proofing is the final rise of the dough before baking, where the yeast continues to produce gas, causing the dough to expand. While essential for a light texture, allowing this process to go on for too long or at too warm a temperature accelerates yeast activity to an undesirable degree.
When dough over-proofs, the yeast consumes most of the available sugars prematurely. This leads to a rapid production of ethanol and other volatile compounds, which are responsible for the strong, pungent, yeasty aroma. Furthermore, the prolonged fermentation can cause the dough's structure to weaken, potentially leading to collapse during baking and contributing to a dense texture alongside the unpleasant smell. Learning to recognize the signs of properly proofed dough is key to avoiding this frequent cause of yeasty bread smell problems.
Understanding the Proofing Process and Its Effect on Yeast Activity
Proofing is the critical period where the dough undergoes its final expansion thanks to the carbon dioxide produced by the yeast. This process not only increases volume but also continues the complex biochemical reactions that develop flavor. The rate of proofing is heavily influenced by temperature; warmer temperatures (like 75-80°F or 24-27°C) significantly speed up yeast activity compared to cooler temperatures (like 68-70°F or 20-21°C).
When dough proofs for the correct amount of time, the yeast produces just enough gas for optimal oven spring, and the volatile byproducts are in balance with other flavor compounds. However, if proofing continues unchecked, the yeast enters a phase of rapid decay after depleting its food source, leading to an accumulation of off-flavors and that distinct, strong yeasty smell. Understanding this relationship between time, temperature, and yeast activity is fundamental to preventing yeasty bread smell problems.
How to Identify Over-Proofed Dough
Identifying over-proofed dough is a crucial skill for any baker aiming to avoid yeasty bread smell problems. Visually, over-proofed dough often looks excessively puffy, sometimes even starting to sag or spread rather than holding a taut shape. Its surface might appear bubbly or even slightly collapsed in areas. It will also feel extremely fragile and may deflate significantly when gently touched.
A common test is the "finger dent test." Gently press a floured finger about half an inch into the dough.
- Properly proofed dough: The indentation springs back slowly, but a small indent remains.
- Under-proofed dough: The indentation springs back quickly and completely.
- Over-proofed dough: The indentation remains completely or springs back very little, and the dough may deflate slightly when poked.
If your dough behaves like the last example, it's likely over-proofed, explaining those potential yeasty bread smell problems.
Using Too Much Yeast in Your Bread Recipe
Another straightforward cause of yeasty bread smell problems is simply adding too much yeast to your dough. While yeast is necessary for leavening, using quantities significantly higher than recommended in a recipe will accelerate fermentation dramatically. This rapid activity means the yeast produces a large volume of gas and ethanol in a shorter time, leading to a strong, pungent smell and potentially overpowering the other flavors in the bread.
Recipes are typically calibrated to use a specific amount of yeast relative to the flour to ensure a controlled and balanced fermentation process. Deviating too much from this ratio, perhaps by adding an extra half teaspoon "just in case" or mismeasuring, can easily tip the scales towards over-activity and result in those undesirable yeasty bread smell problems. It's a simple mistake that has a noticeable impact on the final product.
Yeast Measurement Accuracy: Avoiding Errors
Precise measurement is paramount in baking, especially when it comes to potent ingredients like yeast. While volume measurements (teaspoons, tablespoons) are common in home recipes, they can be less accurate than weight measurements, particularly for granular ingredients like yeast. A packed teaspoon of yeast contains more active organisms than a loosely filled one, leading to inconsistent results and potential yeasty bread smell problems.
For greater accuracy, especially if you frequently encounter yeasty bread smell problems, consider using a digital scale to measure your yeast in grams. Most recipes use between 1% and 2% of the flour weight in active dry yeast for standard loaves, or slightly less for instant yeast. For example, a recipe with 500g of flour might use 5-10g of active dry yeast. Using 15g or more could easily lead to over-fermentation and a strong yeasty smell.
The Role of Yeast Type (Instant vs. Active Dry) in Bread Aroma
The type of yeast you use can also subtly influence the fermentation rate and, consequently, the potential for yeasty bread smell problems. Active dry yeast requires activation in warm water before being added to dry ingredients, and its fermentation is typically slightly slower and steadier initially compared to instant yeast. This slower start can sometimes contribute to more complex flavor development.
Instant yeast, on the other hand, can be mixed directly with dry ingredients and is generally more vigorous and faster-acting. While convenient, its rapid fermentation can sometimes lead to a quicker onset of yeasty bread smell problems if not carefully managed through proofing time and temperature. Using the type of yeast specified in the recipe and understanding its characteristics is important for controlling fermentation and achieving the desired aroma.
Slow Fermentation and Inadequate Baking
While over-proofing and too much yeast are common culprits, sometimes yeasty bread smell problems can arise even if your initial proofing seems correct. This can happen if the fermentation process is prolonged without sufficient temperature control (leading to eventual over-fermentation), or if the bread is not baked thoroughly enough to cook off the volatile compounds produced by the yeast.
A long, slow fermentation at controlled, cool temperatures (like in the refrigerator) is different from a long, slow fermentation at room temperature when the dough is already past its prime. If dough sits out for too long at room temperature, even if it doesn't look drastically over-proofed, the yeast continues to produce ethanol. If this ethanol isn't fully evaporated during baking, you'll be left with a strong, unpleasant yeasty odor, contributing to your yeasty bread smell problems.
The Importance of Fermentation Time for Flavor Development
Fermentation time is a delicate balance. A certain duration is necessary for the yeast and other microorganisms (if using a starter or long fermentation) to develop complex flavors. Compounds like organic acids and esters contribute pleasant nuances to the final bread. However, if fermentation extends too long, particularly in warmer conditions, the production of less desirable byproducts, including excessive ethanol, can overwhelm the pleasant flavors and lead to yeasty bread smell problems.
Consider a typical lean dough bread like a baguette. A quick bulk fermentation (1-2 hours) followed by a relatively short proof might yield a basic bread. But a longer bulk fermentation (3-4 hours with folds) or an overnight cold proof (12-18 hours) develops much more complex flavors and a better texture, provided the yeast activity is controlled by temperature. Uncontrolled, extended fermentation at warmer temperatures is where yeasty bread smell problems often originate.
Baking Temperature and Its Impact on Eliminating Yeast Odors
Proper baking is the final crucial step in preventing yeasty bread smell problems. The high temperatures in the oven serve multiple purposes: they cause a final burst of leavening (oven spring), set the gluten structure, create the crust, and importantly, evaporate volatile compounds like ethanol produced during fermentation. Ethanol has a relatively low boiling point (around 173°F or 78°C), so a thorough bake at typical bread temperatures (400-450°F or 200-230°C) should ideally cook off most of it.
If your oven temperature is too low, or if you don't bake the bread long enough to reach a sufficient internal temperature (typically 200-210°F or 93-99°C for lean bread), residual ethanol can remain trapped in the crumb. This unevaporated ethanol contributes directly to a strong, unpleasant yeasty smell and flavor. Ensuring your oven is properly preheated and baking until the internal temperature is correct is vital for mitigating yeasty bread smell problems.
Troubleshooting Yeasty Bread Smell: Practical Solutions
Facing yeasty bread smell problems can be frustrating, but there are practical steps you can take to diagnose and fix the issue. The key is to systematically review your process, focusing on the areas most likely to cause the problem: proofing time, yeast quantity, and baking technique. Don't be discouraged; baking is a science, and small adjustments can make a big difference in achieving that perfect loaf aroma.
Implementing these solutions involves careful observation and precise execution. You might need to make one change at a time across several baking sessions to identify exactly what was causing your specific yeasty bread smell problems. By focusing on these actionable steps, you'll gain better control over your dough's fermentation and achieve consistently better results.
Adjusting Proofing Time to Prevent Over-Fermentation
Controlling proofing time is perhaps the most effective way to combat yeasty bread smell problems. Rather than strictly following a recipe's time estimate (which can vary based on ambient temperature, yeast activity, and hydration), learn to rely on visual cues and the finger dent test to determine when your dough is perfectly proofed. This hands-on approach accounts for the variables in your kitchen environment.
If your bread consistently smells too yeasty, chances are you are letting it proof for too long or at too high a temperature. Try reducing the proofing time slightly in your next bake, or move the dough to a slightly cooler spot in your kitchen. For example, if your recipe calls for 1.5 hours at room temperature and you're getting a strong yeasty smell, try proofing for only 1 hour and check its readiness. This adjustment can significantly mitigate yeasty bread smell problems.
Visual Cues for Perfectly Proofed Dough
Learning to read your dough is essential for preventing yeasty bread smell problems. Properly proofed dough should have increased significantly in volume, typically doubling or almost doubling from its original size. The surface should look smooth and rounded, indicating that the gluten structure is developed and holding the gas produced by the yeast.
The dough should look puffy and aerated but still have some structure. It shouldn't look stretched thin or fragile. If you observe large, irregular bubbles on the surface, or if the dough looks like it's starting to spread outwards rather than rising upwards, these are visual cues that you might be approaching or have already reached over-proofing, a common source of yeasty bread smell problems.
The Finger Dent Test: A Simple Proofing Check
As mentioned earlier, the finger dent test is an invaluable tool for assessing dough proofing and avoiding yeasty bread smell problems. Gently flour one of your fingers and press it into the dough about half an inch deep.
- If the indent springs back immediately: The dough is under-proofed. It needs more time.
- If the indent springs back slowly but a small indentation remains: The dough is likely perfectly proofed and ready for baking.
- If the indent remains completely or the dough deflates slightly: The dough is likely over-proofed. Proceed to baking immediately, but be aware of potential *yeasty bread smell problems* and a weaker structure.
Practicing this test will help you develop a feel for when your dough is just right, allowing you to bake before excessive ethanol production leads to an overpowering yeasty smell.
Optimizing Yeast Quantity in Your Bread Recipes
If you suspect using too much yeast is contributing to your yeasty bread smell problems, the solution is straightforward: use less yeast. Review your recipe and compare the amount of yeast to the amount of flour. As a general guideline, for a standard loaf baked the same day, the yeast (active dry) is typically 1-2% of the flour weight. So, for 500g of flour, you'd use 5-10g of yeast.
If your recipe uses volume measurements, try converting to weight for greater accuracy. If your recipe calls for 2 teaspoons of active dry yeast for 500g of flour (roughly 6-7g), and you're still experiencing yeasty bread smell problems, consider reducing it slightly, perhaps to 1.5 teaspoons (about 4.5-5g). This small reduction can slow down fermentation just enough to prevent the accumulation of excessive yeasty odors.
Calculating the Correct Yeast-to-Flour Ratio
Understanding the yeast-to-flour ratio is fundamental for controlling fermentation and preventing yeasty bread smell problems. This ratio is usually expressed as a percentage of the flour weight.
- Standard loaf, same-day bake: 1-2% active dry yeast (or 0.8-1.6% instant yeast) of total flour weight.
- Overnight cold proof: 0.5-1% active dry yeast (or 0.4-0.8% instant yeast) of total flour weight.
- Very long, cold fermentation (24+ hours): As low as 0.1-0.5% active dry yeast (or 0.08-0.4% instant yeast).
For example, if a recipe uses 750g of flour and you plan a standard bake, you might aim for 1% yeast: 750g * 0.01 = 7.5g of active dry yeast. Using significantly more, say 15g, for the same process would almost certainly lead to yeasty bread smell problems.
Example Calculation:
Flour weight: 600g
Desired yeast percentage (Active Dry): 1.5%
Yeast needed: 600g * 0.015 = 9g Active Dry Yeast
Using weight for these calculations helps ensure consistency and avoids the measurement inaccuracies that can contribute to yeasty bread smell problems.
Ensuring Proper Fermentation and Baking Techniques
Beyond just proofing time and yeast quantity, the overall fermentation environment and the baking process play vital roles in the final aroma. Controlling dough temperature during fermentation and ensuring the bread is baked thoroughly are key steps in preventing yeasty bread smell problems. These factors work together to manage yeast activity and eliminate volatile compounds.
A well-managed fermentation, whether quick or slow, produces a balanced array of flavors and aromas. Similarly, a complete bake ensures that the desirable crust forms and that any off-putting volatile substances are evaporated. Paying attention to these broader technique aspects will help you solve and prevent yeasty bread smell problems for good.
Controlling Dough Temperature During Fermentation
Dough temperature significantly impacts the rate of fermentation. Yeast is most active in temperatures between 75°F and 85°F (24-30°C). Allowing dough to ferment or proof in a very warm environment (like a hot kitchen or a proofing box set too high) will accelerate yeast activity, potentially leading to over-fermentation and yeasty bread smell problems even if the time seems correct according to the recipe.
Aim for a consistent dough temperature, ideally between 70-75°F (21-24°C) for standard room temperature fermentation, unless the recipe specifically calls for warmer or colder conditions. If your kitchen is warm, consider finding a cooler spot or slightly reducing the proofing time. Conversely, in a cold kitchen, fermentation will be slower, and you might need more time or a slightly warmer spot. Using a probe thermometer to check the dough's internal temperature can help you understand the fermentation environment and prevent yeasty bread smell problems.
Achieving a Thoroughly Baked Loaf to Eliminate Yeast Smells
Even if fermentation goes perfectly, an under-baked loaf can still exhibit yeasty bread smell problems. Baking at the correct temperature for the proper duration is essential for developing the crust, setting the crumb, and, crucially, evaporating the ethanol and other volatile compounds produced by the yeast during fermentation.
Preheat your oven fully to the temperature specified in the recipe, often 400-450°F (200-230°C). Bake the bread until the crust is a deep golden brown and the internal temperature, measured with an instant-read thermometer inserted into the center of the loaf, reaches 200-210°F (93-99°C) for most lean bread. A hollow sound when tapping the bottom is another indicator, but temperature is the most reliable. Baking to the correct internal temperature ensures that residual ethanol is minimal, helping to avoid yeasty bread smell problems.
Preventing Yeasty Bread: Proactive Tips
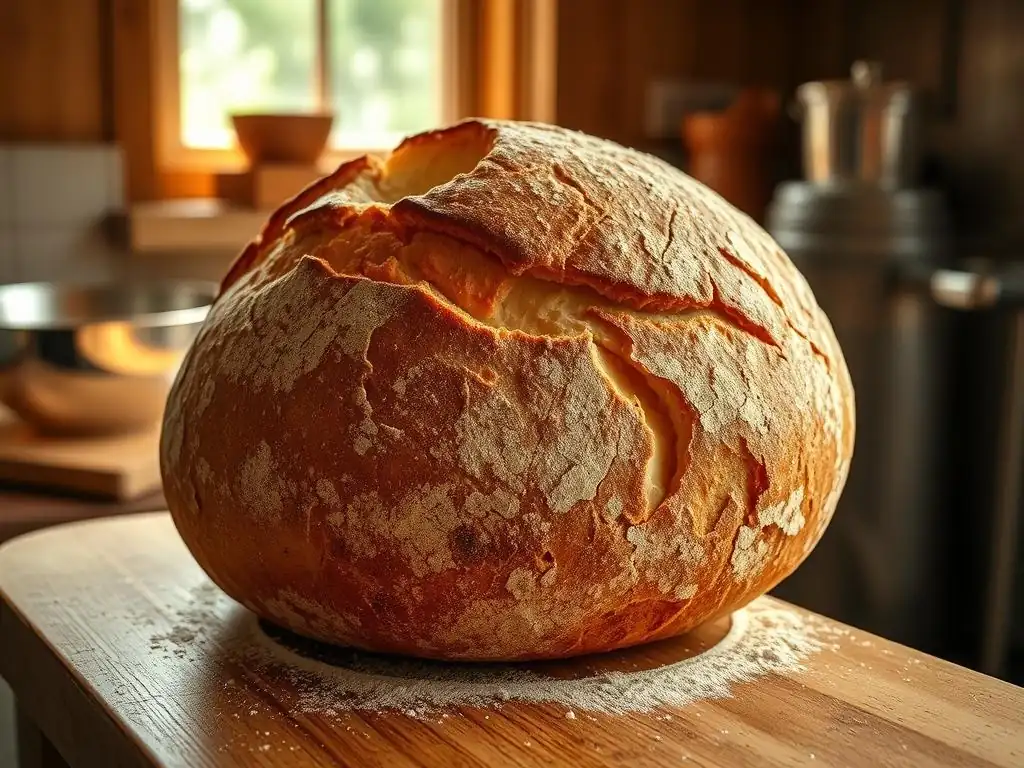
Preventing yeasty bread smell problems is easier than fixing them. By adopting consistent, careful practices in your baking routine, you can minimize the chances of encountering this issue. Focus on accuracy, mastering fundamental techniques, and understanding how ingredients and processes interact.
Being proactive about preventing yeasty bread smell problems means paying attention to details from the moment you measure your ingredients to the moment the loaf comes out of the oven. It's about building good habits that lead to consistent, successful baking results with delightful aromas.
Precise Measurement and Ingredient Quality for Better Bread
Accuracy in measuring ingredients, especially yeast and flour, is the foundation of consistent baking and a key factor in preventing yeasty bread smell problems. Using a digital scale for all ingredients, particularly flour and yeast, eliminates the variability of volume measurements and helps ensure you're using the correct ratios intended by the recipe designer.
Furthermore, the quality and freshness of your ingredients matter. Ensure your yeast is active and not expired. Old or less active yeast might tempt you to use more, or it might behave unpredictably, potentially contributing to fermentation issues. Using good quality flour appropriate for bread baking also supports a strong gluten structure capable of holding gas effectively without collapsing prematurely, which can sometimes exacerbate yeasty bread smell problems.
Mastering Proofing Techniques for Consistent Results
Developing a keen sense for proofing is perhaps the most important skill for avoiding yeasty bread smell problems. Instead of rigidly adhering to times, learn to evaluate your dough's readiness using visual cues and the finger dent test. This allows you to adjust for variations in room temperature, yeast activity, and recipe specifics.
Practice proofing different doughs and observe how they behave. Keep a baking journal to note proofing times, temperatures, and results. Over time, you'll build intuition that helps you know when your dough is perfectly proofed and ready for the oven, preventing the over-fermentation that leads to yeasty bread smell problems. Consider using a clear container to proof, which makes it easier to observe the volume increase accurately.
Experimenting with Different Bread Recipes and Yeast Types
Not all recipes are created equal, and some might be more prone to yeasty bread smell problems than others due to their yeast quantity, hydration level, or recommended proofing times. Don't be afraid to try different recipes from reputable sources. Pay attention to the baker's notes on fermentation and proofing.
Experimenting with different types of yeast (active dry vs. instant) and understanding their characteristics can also help you control fermentation better. Some bakers find that active dry yeast, with its slightly slower start, offers more control over flavor development and is less likely to lead to rapid over-proofing compared to the more vigorous instant yeast, which can sometimes contribute to yeasty bread smell problems if not managed carefully.
Advanced Techniques for Minimizing Yeast Flavor
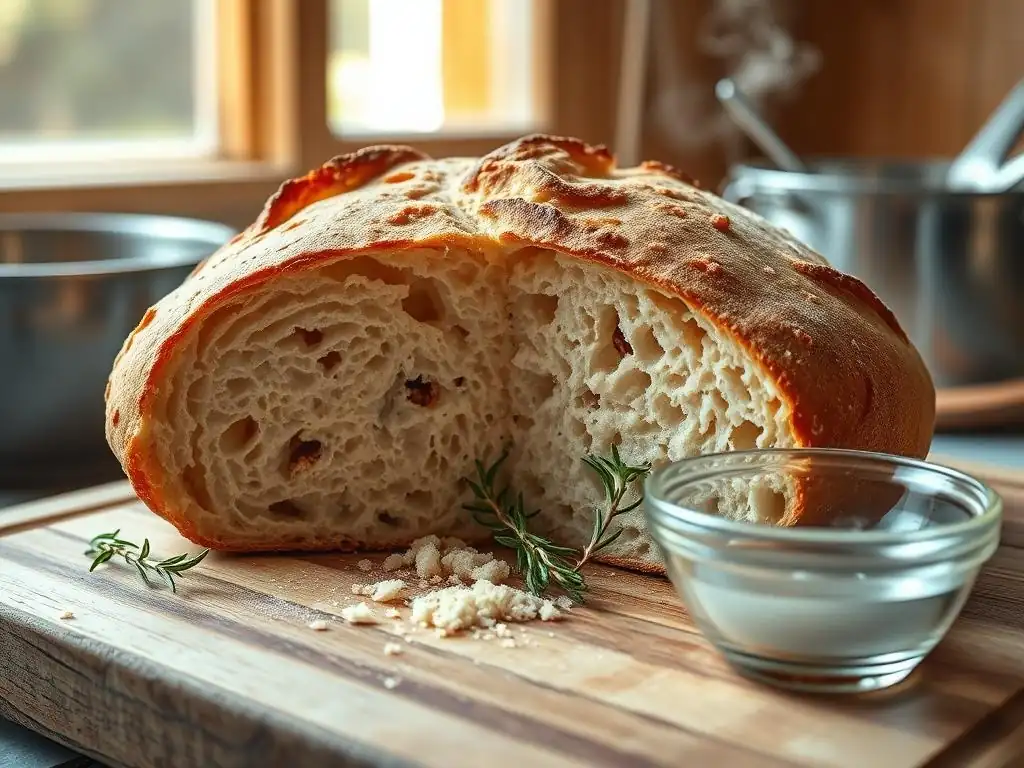
For bakers looking to go beyond the basics and achieve even more complex flavors while minimizing a dominant yeast aroma, incorporating advanced techniques like pre-ferments or long, cold fermentation can be incredibly effective. These methods slow down fermentation, allowing for the development of desirable flavor compounds without the rapid production of ethanol that causes yeasty bread smell problems.
These techniques require a bit more planning and time but are well worth the effort for the nuanced flavors and improved texture they provide. They shift the balance of fermentation products away from simple ethanol and CO2 towards more complex acids and esters, resulting in bread with a richer taste and a less pronounced, or entirely absent, strong yeasty smell, solving those persistent yeasty bread smell problems in a sophisticated way.
Pre-Ferments: Enhancing Flavor While Reducing Yeast
Pre-ferments, such as poolish, biga, or pâte fermentée, involve mixing a portion of the flour, water, and a very small amount of yeast hours or even a day in advance of mixing the main dough. This small amount of yeast has a long time to slowly ferment in a relatively stiff or wet mixture, developing complex flavors and aromas.
When the main dough is mixed, the mature pre-ferment is added. Because the pre-ferment has already done significant work developing flavor, the amount of new yeast added to the final dough is often drastically reduced (sometimes by 50-70% compared to a straight dough). This lower overall yeast quantity, combined with the flavor contribution from the pre-ferment, results in bread with a much more nuanced flavor profile and significantly reduced yeasty bread smell problems.
Using a Poolish or Biga for a More Complex Flavor Profile
A poolish is a wet pre-ferment, typically made with equal parts flour and water by weight, plus a tiny amount of yeast. It's often left at room temperature for 12-16 hours or refrigerated for longer. It becomes bubbly and sometimes slightly domed when ready.
A biga is a stiffer pre-ferment, using less water (e.g., 60-70% hydration) and a very small amount of yeast. It's usually fermented at room temperature for several hours or refrigerated overnight up to 2-3 days. It will expand but remain more structured than a poolish.
Both poolish and biga introduce acidity and complex flavor compounds formed during their long, slow fermentation. Because they contribute significant leavening power and flavor, the amount of yeast needed in the final dough is much lower, directly addressing potential yeasty bread smell problems by reducing the overall yeast load and promoting a more balanced fermentation profile.
Long Fermentation in the Refrigerator: Slowing Down Yeast Activity
Another powerful technique for developing flavor and avoiding yeasty bread smell problems is long, cold fermentation in the refrigerator. After initial mixing and perhaps a short period at room temperature, the dough is placed in the refrigerator (around 35-40°F or 2-4°C) for 12 to 48 hours or even longer.
At these cold temperatures, yeast activity is significantly slowed down, but not stopped. This slow fermentation allows enzymes in the flour to break down starches into sugars, providing the yeast with a steady, prolonged food source. More importantly, it gives time for desirable flavor compounds to develop while keeping the production of ethanol and other volatile compounds at a much lower rate compared to warm fermentation.
This process results in bread with a deeper, more complex flavor, improved texture, and a complete absence of yeasty bread smell problems. It's a highly recommended method for bakers looking to elevate their bread quality.
Conclusion: Achieving Perfectly Balanced Bread Aroma
Addressing yeasty bread smell problems is a common challenge in the home baking journey, but one that is entirely solvable with attention to detail and practice. By understanding the role of yeast, the impact of proofing time and temperature, the importance of accurate measurements, and the necessity of a thorough bake, you gain the knowledge to control the fermentation process effectively.
Remember that baking is a skill honed through experience. If your last loaf had a strong, off-putting yeasty smell, don't be discouraged. Review your process, identify potential culprits like over-proofing or excessive yeast, and make small adjustments for your next bake. Incorporating techniques like pre-ferments or cold fermentation can also push your bread's flavor profile to new heights while ensuring a pleasant, balanced aroma. With patience and practice, you'll overcome yeasty bread smell problems and consistently bake bread that smells and tastes wonderful.
Frequently Asked Questions
Why does my bread sometimes smell overwhelmingly of yeast after baking?
A strong yeasty smell usually indicates over-fermentation. This means the yeast has produced too much alcohol and other byproducts during the rising process. Factors like too much yeast or a warm environment can accelerate this.
Can using old or expired yeast contribute to a strong yeasty smell in bread?
Yes, using old or expired yeast can result in a poor rise followed by an overly yeasty smell. This is because the yeast is dying and produces undesirable byproducts instead of properly fermenting the dough. Always check the expiration date and test your yeast before using it.
What role does proofing time play in the intensity of the yeasty smell?
Over-proofing is a major culprit for a strong yeasty smell. If the dough proofs for too long, the yeast consumes all the available sugars and produces excessive amounts of alcohol and organic acids, leading to the off-putting aroma.
How does the type of flour affect the presence of a yeasty smell in bread?
While flour type isn't the primary cause, using flour with low gluten content can make the dough more susceptible to over-fermentation. Weak gluten structure can't contain the gases produced by the yeast as effectively, leading to a stronger yeasty aroma.
What's the best way to store my baked bread to prevent a yeasty smell from developing later?
Proper storage can help maintain the bread's quality and prevent a yeasty smell from intensifying. Allow the bread to cool completely before storing it in an airtight container or bread box, which will slow down further fermentation and preserve its freshness.
Final Reflection: The Subtle Art of Bread Baking, Beyond the Yeast
The pervasive aroma of yeast in your kitchen shouldn't be a source of frustration; it's a testament to the transformative power of fermentation. But when that yeasty scent becomes overpowering, signaling a potential problem in your baking process, it's time to understand the nuances of yeast activity. This article has explored the common culprits behind excessively yeasty bread, from over-proofing to improper ingredient ratios. Understanding these factors is key to achieving consistently delicious, perfectly balanced loaves.
The quest for the perfect loaf is a journey, not a destination. It's a journey that reflects our own connection to the ancient art of bread making, a process that has sustained humanity for millennia. Bread is the staff of life,
a proverb often repeated, speaks to its fundamental importance in our culture and history. This simple act of baking, however, can be fraught with subtle challenges, as we've seen with the sometimes overwhelming presence of yeast. My own experiences with overly yeasty bread, from flat, dense loaves to those with a sharp, almost alcoholic tang, have taught me the importance of precision and patience in this craft.
Now, it's your turn. Take what you've learned here – the importance of precise measurements, the careful observation of proofing times, and the understanding of your ingredients – and apply it to your next baking adventure. Don't be discouraged by a slightly off-kilter loaf; instead, view each bake as an opportunity to refine your technique and deepen your understanding of this rewarding process. The aroma of freshly baked bread, perfectly balanced and subtly sweet, is a reward worth striving for. Embrace the challenge, and enjoy the journey!
Unleash Your Inner Baker: Bread-Making Mastery Awaits!
Thanks for taking the time to explore the world of yeast-free bread baking with us! We hope you gained valuable insights into avoiding that overly yeasty aroma. Now it's time to put your new knowledge into practice.
- Master the Art of Subtle Yeast: Experiment with different yeast amounts to find the perfect balance for your recipe and taste preferences. This is the key to consistently delicious bread.
- Share Your Baking Triumphs: Show off your perfectly balanced loaves on social media using #BakeWithEaseNoYeast! Let’s inspire others to perfect their bread-making skills.
- Join the BakeWithEase Community: Got more questions or tips to share? Dive into the comments below and let’s discuss!
Ready to banish that yeasty smell forever and create truly magnificent bread?