
High Altitude Yeast Baking: Get That Perfect Rise Every Time

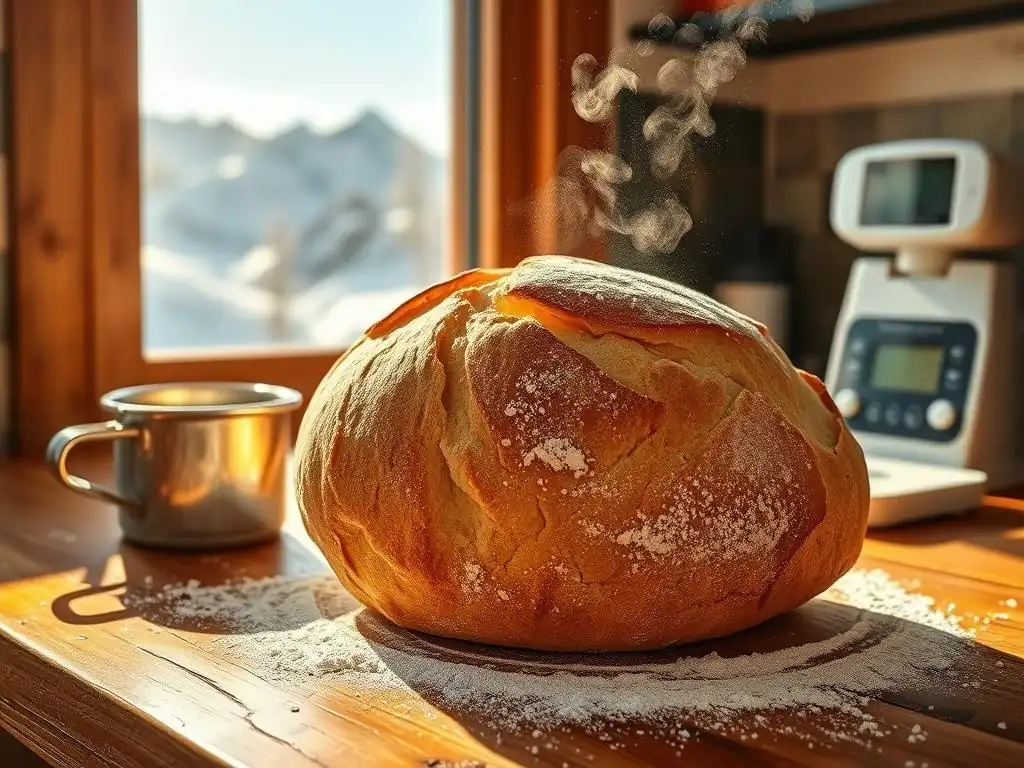
Welcome to BakeWithEase, your sanctuary for all things baking! Ever wondered why your high altitude yeast bread just isn't rising like it should? We're diving deep into the science and secrets behind achieving that perfect rise, even when the air is thin. Get ready to conquer the challenges of altitude and bake bread that's truly a cut above the rest – discover the adjustments you need to make, and unlock foolproof techniques that will transform your baking. Curious to learn more?
- High Altitude Yeast Baking: Achieve Consistent Results
- Addressing Baking Challenges Above 3,000 Feet
- Recipe Adaptations for Successful High Altitude Yeast Baking
- Baking Process: A Detailed Guide
- Troubleshooting Common Problems
- High Altitude Yeast Bread Recipes
- Expert Tips for Consistent Baking
-
Frequently Asked Questions
- What is the main challenge when baking yeast bread at high altitude?
- How does altitude affect the amount of yeast needed in a recipe?
- What adjustments should I make to the liquid in my high-altitude yeast bread recipe?
- Why is it important to adjust the baking temperature for high-altitude yeast bread?
- Besides yeast, liquid, and temperature, what other adjustments might be necessary for high-altitude yeast bread baking?
- Final Reflection: Reaching New Heights in Baking
- Unlock Your High-Altitude Baking Potential!
High Altitude Yeast Baking: Achieve Consistent Results
Addressing Baking Challenges Above 3,000 Feet
Baking with yeast can be incredibly rewarding, yielding fragrant loaves and tender rolls. However, if you're a baker living at elevations above 3,000 feet (approximately 900 meters), you've likely encountered unique challenges that sea-level recipes don't account for. The lower atmospheric pressure at high altitudes significantly impacts how ingredients behave, particularly yeast and leavening agents. Understanding these fundamental differences is the first step to mastering high altitude yeast bread and other baked goods.
The air pressure difference means gases expand more readily. In yeast baking, this translates to dough rising faster and more vigorously than it would at sea level. While a quick rise might sound appealing, it often leads to issues like over-proofing before the gluten structure has fully developed to support the expansion. Additionally, the air is typically drier at higher elevations, and water boils at a lower temperature (around 200°F or 93°C at 5,000 feet, compared to 212°F or 100°C at sea level), both of which affect moisture levels and baking time.
The Impact of Lower Air Pressure on Yeast Activity
Lower air pressure directly accelerates the activity of yeast. Yeast consumes sugars and produces carbon dioxide gas, which causes dough to rise. At higher altitudes, with less atmospheric pressure pushing down on the dough, these gas bubbles expand more easily and rapidly. This means your dough can reach its desired volume much faster than a recipe written for sea level might indicate.
For instance, a dough that might take 60-90 minutes to double in size at sea level could achieve the same volume in only 30-45 minutes at 5,000 feet. This rapid expansion, if not carefully managed, can lead to the dough over-proofing. Over-proofing happens when the yeast consumes too much sugar and the gluten structure becomes stretched too thin, resulting in a loaf that may collapse during baking or have a poor texture. Mastering high altitude yeast bread requires keen observation of the dough itself, rather than strict adherence to time cues.
Common Issues: Over-Proofing, Dryness, and Collapse
The primary challenges faced by high-altitude yeast bakers often manifest as over-proofing, excessive dryness, and loaf collapse. Over-proofing, as mentioned, stems from the rapid gas expansion. This can result in baked goods with large, irregular holes, a yeasty or alcoholic flavor, and a crumbly texture. A dough that has over-proofed might also deflate when touched.
Dryness is another significant hurdle. Due to lower humidity and increased evaporation rates at altitude, doughs can dry out quickly during mixing, proofing, and baking. This leads to dry, dense, or crumbly high altitude yeast bread. Furthermore, the lower boiling point of water means moisture evaporates from the dough more readily during baking. Finally, loaf collapse, particularly noticeable in taller loaves or rolls, often occurs because the internal structure, weakened by rapid rising or insufficient gluten development, cannot support the expanded volume during the high heat of the oven before the crust sets.
Recipe Adaptations for Successful High Altitude Yeast Baking
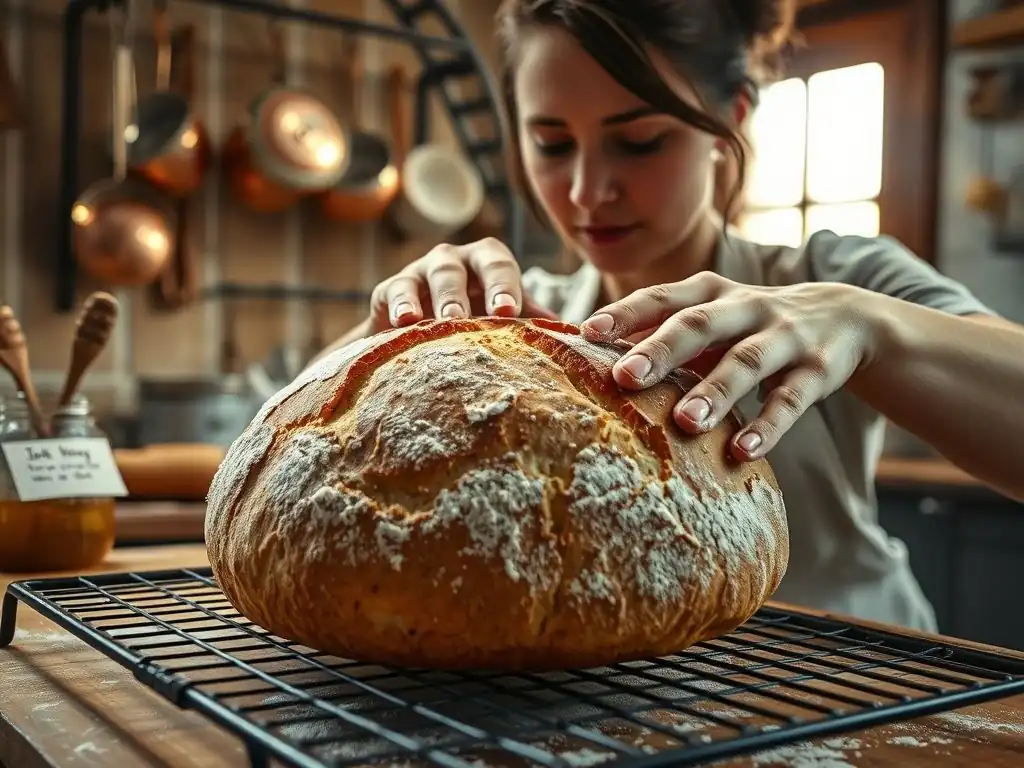
Successfully baking high altitude yeast bread requires specific adjustments to standard recipes. These modifications compensate for the unique environmental conditions, ensuring your dough rises correctly, maintains adequate moisture, and bakes through properly. While exact adjustments can vary depending on your specific elevation and the recipe, some general guidelines prove helpful.
Adapting recipes isn't just about guesswork; it's based on countering the effects of lower pressure, drier air, and lower boiling points. Common strategies involve tweaking the amounts of yeast, liquid, and sometimes flour, as well as adjusting oven temperature and baking time. These small changes make a significant difference in the outcome of your high altitude baking endeavors, transforming potential failures into delicious successes.
Reducing Yeast: Preventing Over-Proofing
To combat the accelerated yeast activity at high altitudes, reducing the amount of yeast called for in a recipe is a critical step. By using less yeast, you slow down the rate of fermentation, giving the gluten structure more time to develop strength before the dough fully rises. This helps prevent the dough from over-proofing and collapsing.
A common recommendation for elevations between 3,000 and 6,000 feet is to reduce the yeast by 20-25%. For example, if a recipe calls for 2 teaspoons of active dry yeast, you might use closer to 1.5 teaspoons. At even higher elevations, say above 7,000 feet, you might consider reducing it by up to 30% or more, depending on the recipe and desired rise time. Experimentation is key, but starting with a 20-25% reduction is a good baseline for most high altitude yeast bread recipes.
Increasing Liquid: Combating Dryness
The drier air and faster evaporation rates at high altitudes necessitate an increase in the liquid content of your dough. Adding more water, milk, or other liquids helps to ensure the dough remains properly hydrated throughout the mixing, kneading, and proofing stages, preventing it from becoming dry and dense. It also accounts for the increased moisture loss during the baking process.
A general guideline is to add 1 to 2 tablespoons of extra liquid per cup of flour used in the recipe, especially at elevations above 5,000 feet. For example, if a recipe uses 4 cups of flour, you might start by adding an extra 4-8 tablespoons (1/4 to 1/2 cup) of liquid. Add the liquid gradually during the mixing process, assessing the dough's consistency. You want the dough to be slightly wetter than a sea-level dough but still manageable. This extra hydration contributes to a more tender and moist high altitude yeast bread.
Adjusting Baking Temperature and Time: Ensuring Thorough Baking
Baking at high altitudes often requires increasing the oven temperature slightly to help set the structure of the bread before the rapidly expanded gases cause it to collapse. A higher initial temperature encourages the crust to form quickly, providing support for the rising loaf. This helps prevent the dreaded sunken middle or collapsed top in your high altitude yeast bread.
Increasing the oven temperature by 15°F to 25°F (approximately 8°C to 14°C) is a common adjustment for elevations above 3,000 feet. So, if a recipe calls for baking at 375°F (190°C), you might try 390°F or 400°F (200-205°C).
While the temperature is increased, the total baking time might remain similar or even be slightly reduced because the internal temperature needed for doneness (around 190-210°F or 88-99°C for most lean breads) is reached faster due to the hotter oven. Always monitor your bread closely and use visual cues and internal temperature to determine doneness rather than relying solely on the recipe's time.
Baking Process: A Detailed Guide
Beyond adjusting the ingredients, paying close attention to the baking process itself is crucial for successful high altitude yeast baking. From preparing the dough to the final bake, each step needs careful consideration to account for the environmental differences. Mastering the nuances of dough handling and fermentation at altitude will significantly improve your results.
This detailed guide walks you through the critical stages of baking high altitude yeast bread, highlighting the specific techniques and observations necessary for success. Understanding how to manage dough consistency, proofing times, and the baking environment will empower you to consistently achieve beautiful, well-risen loaves.
Dough Preparation
Preparing the dough correctly is the foundation of any good high altitude yeast bread. This involves selecting the appropriate flour and ensuring proper gluten development through effective kneading. The unique conditions at altitude mean these steps require particular attention.
A well-developed gluten network is essential to provide the structure needed to support the rapid rise experienced at high elevations. Skipping or rushing the kneading process will result in a weak dough that is prone to collapse, regardless of how well you adjust the ingredients. Pay close attention to the dough's texture and elasticity.
Flour Selection: High Protein vs. All-Purpose
The choice of flour can impact the structure of your high altitude yeast bread. High-protein bread flour (typically 12-14% protein) develops stronger gluten than all-purpose flour (around 10-12% protein). The stronger gluten network provided by bread flour can be beneficial at altitude, offering more support to the rapidly expanding dough.
However, using 100% bread flour might result in a tougher crumb or require slightly more liquid. Many high-altitude bakers find a blend of bread flour and all-purpose flour works well, or they simply use all-purpose flour but focus on slightly longer or more vigorous kneading to ensure adequate gluten development. Experimenting with your preferred flour and adjusting kneading time accordingly is the best approach.
Kneading Techniques: Achieving Proper Gluten Development
Proper kneading is non-negotiable for high altitude yeast bread. Whether by hand or mixer, the goal is to develop the gluten, which creates an elastic network capable of trapping the carbon dioxide gas produced by the yeast. At altitude, this strong network is even more vital to prevent the dough from collapsing under its own expansion.
Knead the dough until it is smooth, elastic, and passes the "windowpane test" – you should be able to stretch a small piece of dough thin enough to see light through it without it tearing. This typically takes 8-10 minutes by machine or 10-15 minutes by hand. Due to the potential for faster fermentation, ensuring robust gluten development before proofing begins is paramount.
Proofing the Dough
Proofing is the stage where the yeast works its magic, causing the dough to rise. At high altitudes, this process is significantly faster, and careful monitoring is essential. Over-proofing is a common pitfall that can ruin the final loaf.
The goal is to achieve a dough that is adequately risen but still has enough structure and "spring" left to handle the final rise in the oven (oven spring). Learning to judge the dough's readiness by feel and appearance, rather than just the clock, is crucial for high altitude yeast baking.
Optimal Proofing Time at Altitude
Forget the timing given in sea-level recipes. At 5,000 feet, dough might double in size in half the time compared to sea level. Instead of relying on the clock, watch the dough itself. For the first rise, the dough should look significantly larger – often described as doubled, but it might be slightly less to avoid over-proofing. The "poke test" is a reliable indicator: gently press a finger into the dough; if the indentation slowly springs back only halfway, it's likely ready. If it springs back completely, it needs more time; if it stays indented, it's likely over-proofed.
The second proof (after shaping) is also faster. Shaped loaves or rolls might be ready in 20-40 minutes instead of 45-75 minutes. They should look puffy but not fully inflated. A gentle poke should leave a slight indentation that slowly fills in. Over-proofing at this stage is particularly detrimental, often leading to loaves that flatten or collapse in the oven.
Maintaining Humidity: Preventing Skin Formation
High altitude air is typically drier, which can cause the surface of the dough to dry out and form a skin during proofing. A dry skin inhibits the dough's ability to rise evenly and can result in a tough crust. Preventing this is simple but important.
Always cover your dough during proofing. Lightly greasing the surface of the dough before covering it with plastic wrap or a damp cloth provides an extra layer of protection. Using a proofing box or placing the dough in a slightly warm, humid environment (like a turned-off oven with a pan of hot water on the rack below) can also help maintain optimal humidity levels for your high altitude yeast bread dough.
Baking the Bread
The final step is baking, where heat transforms the dough into a delicious loaf. Adjusting temperature and monitoring closely are key at high altitudes to ensure the bread bakes through before collapsing and develops a beautiful crust.
The higher oven temperature helps set the structure quickly, but you still need to ensure the interior is fully cooked. Knowing how to check for doneness is vital for a successful bake.
Achieving a Golden-Brown Crust
A well-baked loaf of high altitude yeast bread should have a rich, golden-brown crust. This color indicates that the Maillard reaction and caramelization have occurred on the surface, contributing significantly to the bread's flavor and aroma. While the higher oven temperature helps achieve this quickly, keep an eye on it to prevent burning.
If the crust is browning too quickly before the interior is done, you can loosely tent the loaf with aluminum foil for the remainder of the baking time. This protects the crust from direct heat while allowing the inside to continue cooking.
Determining Doneness: Internal Temperature and Sound
The most reliable way to determine if your high altitude yeast bread is fully baked is to check its internal temperature using an instant-read thermometer. For most lean yeast breads (like baguettes or sandwich loaves), a finished internal temperature between 190°F and 210°F (88°C to 99°C) indicates doneness. Richer breads containing eggs, sugar, or butter may need to reach 190°F (88°C).
Another classic test is tapping the bottom of the loaf. If it sounds hollow, it's generally considered done. However, combining the tap test with a temperature check provides the most accurate assessment, ensuring your high altitude yeast bread is perfectly baked all the way through.
Troubleshooting Common Problems
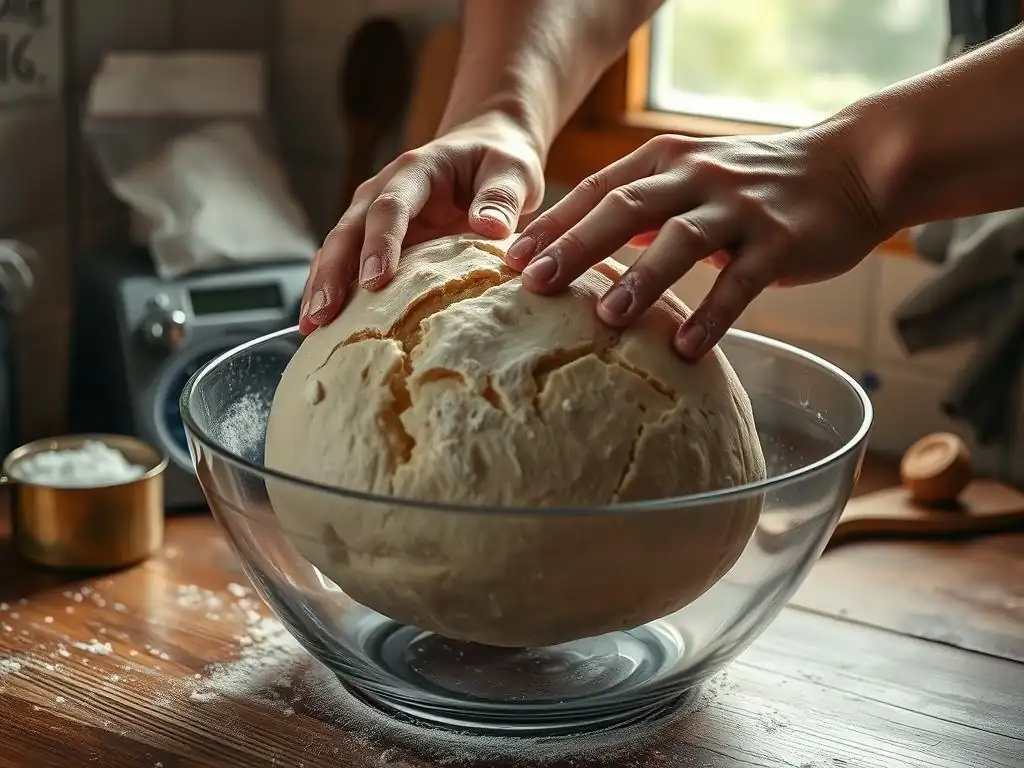
Even with adjustments, high altitude yeast baking can present occasional challenges. Knowing how to identify and correct common issues like sticky dough, collapsed loaves, or dry bread will save you frustration and improve your baking skills.
Understanding the root cause of a problem is the first step toward fixing it. Often, these issues are related to hydration levels, proofing times, or kneading technique, all of which are particularly sensitive to high altitude conditions.
Managing Sticky Dough
Sticky dough can be frustrating to work with and is sometimes encountered when trying to add enough liquid to combat high-altitude dryness. If your dough is excessively sticky after the initial mixing and kneading, resist the urge to add large amounts of extra flour immediately.
Instead, try kneading for a few more minutes; sometimes, stickiness is just a sign that the gluten hasn't fully developed yet. If it remains overly sticky, add flour one tablespoon at a time, kneading after each addition, until the dough reaches a manageable consistency that is still slightly tacky but doesn't glue itself to your hands or the counter. Remember, a slightly wetter dough is desirable at altitude, but it shouldn't be impossible to handle.
Preventing a Collapsed Loaf
A collapsed loaf is a common and disheartening issue in high altitude yeast baking, often resulting from over-proofing or insufficient structural support. The dough rises beautifully, only to sink in the oven or flatten out before baking.
To prevent collapse, focus on reducing yeast slightly, increasing liquid cautiously, ensuring thorough kneading for strong gluten development, and most importantly, not over-proofing. Rely on the poke test and visual cues, aiming for a slightly less inflated dough before baking than you might at sea level. Baking at a slightly higher initial temperature also helps set the crust faster, providing external support to the rising loaf.
Addressing Dry and Crumbly Bread
Dry or crumbly high altitude yeast bread is typically a result of insufficient hydration or over-baking. The dry air at altitude pulls moisture from the dough during all stages, and if not enough liquid is added initially or if the bread is baked for too long, the final product will be dry and dense.
Ensure you are adding enough extra liquid during the mixing stage to account for the dry high-altitude environment. Monitor your bread closely during baking and use the internal temperature test (190-210°F or 88-99°C) to confirm doneness, rather than baking for a set time. Baking too long will evaporate excessive moisture. Proper cooling and storage techniques after baking also help maintain moisture.
High Altitude Yeast Bread Recipes
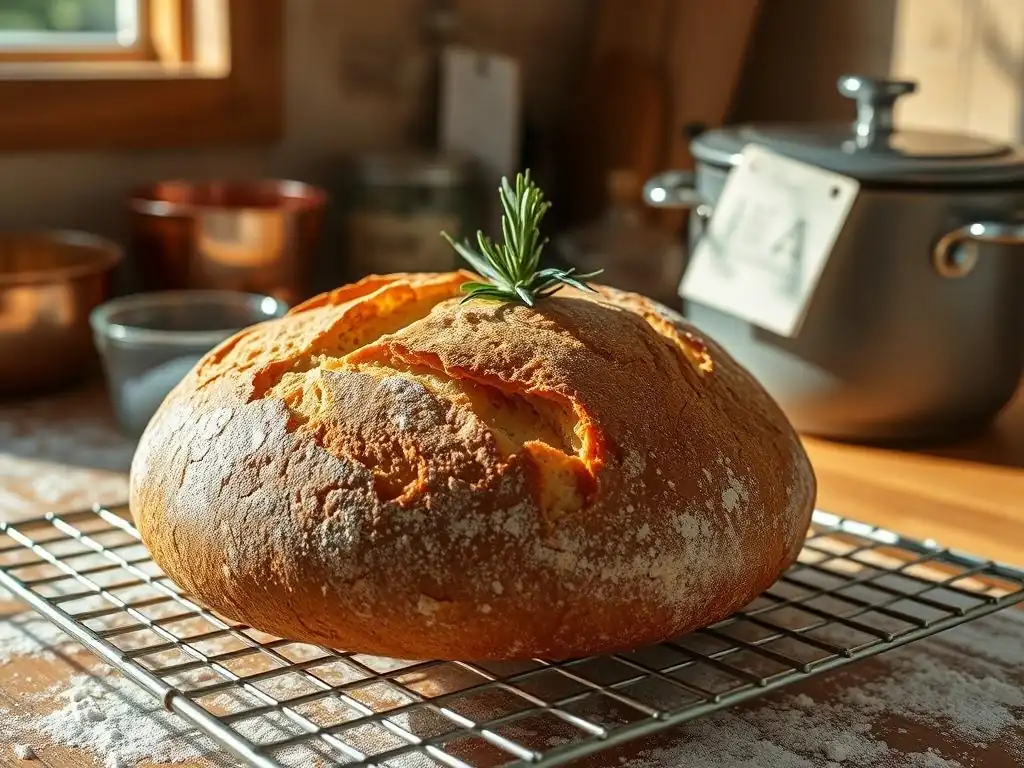
While specific recipes require detailed ingredient lists and instructions, understanding the typical high-altitude adaptations for different types of yeast bread can guide your baking. Here are a few examples of popular high altitude yeast bread types and how they might be adjusted.
Applying the principles of reduced yeast, increased liquid, and adjusted temperature is key. These adjustments ensure that even complex or traditional bread recipes can be successfully made at higher elevations, allowing you to enjoy a wide variety of baked goods.
High Altitude San Francisco Sourdough
Baking sourdough at high altitude presents unique challenges because wild yeast and bacteria are even more sensitive to environmental conditions than commercial yeast. A high altitude San Francisco sourdough starter may become active very quickly. Adjustments typically involve using a smaller amount of starter, reducing proofing times significantly (often by half or more), and potentially increasing hydration slightly while ensuring the dough is strong enough to hold its structure during the rapid rise. The baking temperature might be increased, especially if using a Dutch oven, to promote a strong crust and good oven spring before the loaf can over-expand.
High Altitude Whole Wheat Sandwich Bread
Whole wheat flour absorbs more liquid than white flour, making adequate hydration particularly important for moist high altitude whole wheat sandwich bread. Recipes for this type of bread at altitude will likely require a notable increase in liquid (perhaps 2-3 tablespoons per cup of whole wheat flour). Yeast reduction is also necessary. The dough might need slightly longer kneading to develop the gluten in whole wheat flour. Baking temperature adjustments (15-25°F higher) help set the structure, and monitoring internal temperature is crucial to prevent the loaf from drying out during baking.
High Altitude Cinnamon Rolls with Cream Cheese Frosting
Sweet, enriched doughs like those used for cinnamon rolls are also affected by altitude. The added sugar can accelerate yeast activity further. For high altitude cinnamon rolls, reduce the yeast, increase liquid slightly, and be extremely vigilant during proofing. Sweet doughs over-proof quickly and are prone to collapsing or becoming dense. The second proof after shaping the rolls is particularly fast. Baking temperature might be slightly increased to ensure the rolls bake through and set properly before the rich dough becomes too soft or collapses.
Expert Tips for Consistent Baking
Achieving consistent results in high altitude yeast baking goes beyond just recipe adjustments. Incorporating best practices in measurement, baking equipment, and storage can further enhance your success and help you produce perfect loaves every time.
These expert tips are simple additions to your baking routine that can make a significant difference in the quality and consistency of your high altitude yeast bread. They address common variables and help you maintain control over the baking process from start to finish.
Precision in Measurement
One of the most impactful ways to improve consistency in high altitude yeast baking is by using a kitchen scale to measure ingredients, especially flour. Volume measurements (cups) can vary widely depending on how the flour is scooped and leveled, leading to inconsistent hydration levels. A difference of just half an ounce (about 15 grams) of flour per cup can significantly alter the dough's consistency, which is already sensitive at altitude.
Weighing your flour ensures you use the exact amount specified in the recipe, providing a reliable starting point for hydration adjustments. For example, most bakers consider 1 cup of all-purpose flour to weigh approximately 4.25 ounces (120 grams). Using weight eliminates the variability of scooping, allowing you to replicate successful results more easily and troubleshoot problems more effectively.
Utilizing a Baking Stone for Even Heat Distribution
Uneven oven temperatures can complicate high altitude baking. A baking stone or steel placed on a rack in your oven helps to absorb and radiate heat evenly, providing a consistent temperature surface for your bread. This is particularly beneficial for the bottom crust, ensuring it bakes through and develops a good color and structure.
Preheating the baking stone with the oven for at least 30-60 minutes before placing the bread on it is essential. The stored heat provides a burst of energy to the base of the loaf, promoting better oven spring and preventing a pale, underbaked bottom crust, which can sometimes be an issue when baking high altitude yeast bread directly on a baking sheet.
Proper Storage Techniques for Bread Freshness
Once your beautiful high altitude yeast bread is baked and cooled, proper storage is key to maintaining its freshness and texture. While warm bread is tempting, allowing it to cool completely on a wire rack is crucial. Slicing into hot bread can compress the crumb and release steam needed for moisture retention, leading to a gummy texture and faster staling.
Once cooled, store lean breads (those without much fat or sugar) at room temperature in a bread box, a paper bag inside a plastic bag, or a reusable bread bag. This helps regulate moisture. For longer storage, especially for loaves you won't eat within 2-3 days, freezing is best. Wrap the cooled loaf tightly in plastic wrap, then in foil or a freezer bag. Properly stored, high altitude yeast bread can stay fresh for several months in the freezer.
Frequently Asked Questions
What is the main challenge when baking yeast bread at high altitude?
The primary challenge is over-proofing due to the lower air pressure, which speeds up the yeast activity. This can result in a bread that collapses.
How does altitude affect the amount of yeast needed in a recipe?
At higher altitudes, you typically need less yeast than at sea level. Reducing the yeast amount helps control the proofing rate and prevent over-proofing.
What adjustments should I make to the liquid in my high-altitude yeast bread recipe?
You often need to increase the liquid in your recipe at higher altitudes. This is because liquids evaporate faster, leading to a drier dough.
Why is it important to adjust the baking temperature for high-altitude yeast bread?
Increasing the baking temperature slightly can help the bread set faster. This helps prevent the bread from collapsing before the structure is fully formed and prevents over-proofing.
Besides yeast, liquid, and temperature, what other adjustments might be necessary for high-altitude yeast bread baking?
Reducing the amount of sugar can help control yeast activity. Also, a slight increase in gluten formation (through kneading) can strengthen the dough structure.
Final Reflection: Reaching New Heights in Baking
The quest for the perfect loaf at high altitude is more than just a baking challenge; it's a testament to human ingenuity and our enduring connection to the craft of bread making. This article explored the unique difficulties of yeast baking at higher elevations – the lower air pressure, the faster evaporation rates, and the resulting impact on dough development. Understanding these factors is crucial, not just for achieving a successful rise, but for appreciating the delicate balance required in this culinary art.
The struggle to master high-altitude baking mirrors our own journeys in life. We face challenges, adapt our strategies, and learn from our mistakes, just as we adjust our recipes and techniques to overcome the unique atmospheric conditions. The greatest glory in living lies not in never falling, but in rising every time we fall.
- Nelson Mandela. This quote perfectly encapsulates the spirit of perseverance needed in high-altitude baking, and indeed, in life itself. The process of experimentation, refinement, and ultimately, success, is deeply rewarding and connects us to a tradition that spans centuries.
Now, it's your turn to take flight. Don't be intimidated by the altitude; embrace the challenge. Experiment with the techniques outlined in this article, adapt them to your specific flour, yeast, and altitude, and most importantly, enjoy the journey. The satisfaction of a perfectly risen loaf, baked at your unique elevation, is a reward worth striving for. So, gather your ingredients, preheat your oven, and let's reach new heights together, one delicious loaf at a time.
Unlock Your High-Altitude Baking Potential!
Thanks for exploring the world of high-altitude baking with us! You've now got the tools to conquer those tricky rises and create perfectly textured loaves and cakes, no matter your elevation. Ready to put your new knowledge into practice?
- Bake your masterpiece! Try out one of the recipes mentioned in the article, or experiment with your favorite one, adjusting it for altitude. Remember those handy tips and tricks!
- Share your success! Post a photo of your high-altitude baking creation on social media and tag #BakeWithEaseHighAltitude – we’d love to see your results!
- Explore our other resources: Dive deeper into baking techniques by checking out our extensive library of articles on BakeWithEase.com – we have tons of guides ready to help you.
What delicious high-altitude treat will you bake first? Let us know in the comments!