
Macaron Mat Magic: Templates and Tricks for Perfect Feet

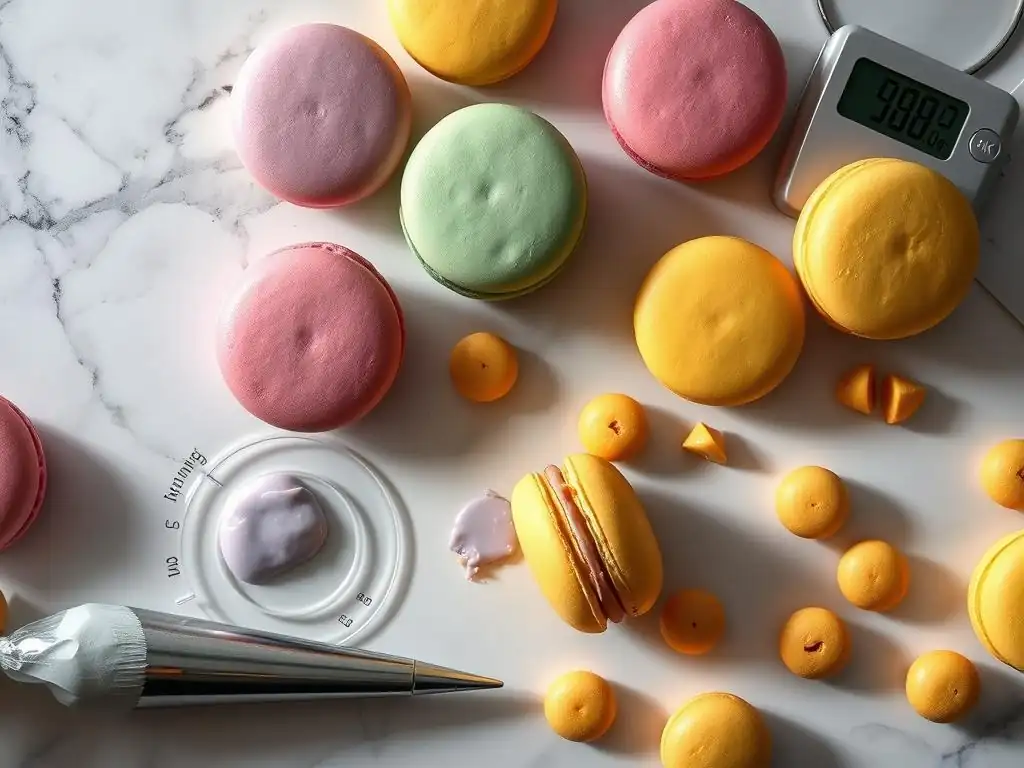
Welcome to BakeWithEase, your kitchen companion for all things baking! Ever wondered how to achieve those coveted macaron feet that define a truly exceptional French macaron? We're about to unveil the secrets! Dive into our Macaron Mat Magic: Templates and Tricks for Perfect Feet and discover how our easy-to-use macaron feet tutorial template can help you consistently bake picture-perfect macarons. Ready to say goodbye to cracked shells and hello to flawless, footed delights? Let's get started!
- The Art of Macaronage: Techniques for Perfect Macaron Feet
- Achieving Consistent Macaron Feet: A Comprehensive Guide
- Understanding Macaron Feet: The Hallmark of Excellence
- Macaronage Mastery: The Crucial Step
- Mastering Piping Techniques: Consistency is Key
- Baking Techniques for Optimal Foot Development
- Troubleshooting Macaron Imperfections: A Diagnostic Approach
- Advanced Macaron Techniques: Expanding Your Skills
- The Perfect Macaron Recipe: A Foundation for Success
-
Frequently Asked Questions
- What is a macaron foot and why is it important?
- How can a macaron mat template help with achieving perfect feet?
- Where can I find a reliable "Macaron Feet Tutorial Template"?
- What are some common mistakes that prevent macaron feet from forming?
- Are there any special ingredients or equipment needed to ensure good macaron feet, besides the template?
- Final Reflection: The Enduring Allure of the Perfect Macaron Foot
- Unleash Your Inner Macaron Master!
The Art of Macaronage: Techniques for Perfect Macaron Feet
Achieving Consistent Macaron Feet: A Comprehensive Guide
Mastering the French macaron is a journey filled with delicate steps, and perhaps the most sought-after outcome is the perfectly formed "foot." This distinctive ruffled edge around the base of the macaron shell is the hallmark of a well-made treat. Achieving consistency in these feet requires attention to detail at every stage, from the initial mixing of ingredients to the final moments in the oven. It's a process where precision truly pays off, transforming simple ingredients into elegant pastries.
This guide delves into the core techniques and understanding needed to reliably produce macarons with beautiful, even feet. We'll explore the science behind their formation, the crucial role of the macaronage process, and how tools like a macaron feet tutorial template can simplify your piping. Whether you're a beginner attempting your first batch or looking to refine your skills, understanding these principles is key to unlocking macaron success and consistently achieving that desired lift and ruffle.
Understanding Macaron Feet: The Hallmark of Excellence
The 'foot' of a macaron is more than just a visual detail; it's a direct indicator of proper technique and successful baking. It signifies that the shell has risen correctly during baking, creating a distinct separation between the smooth top crust and the ruffled base. Without well-developed feet, a macaron can appear flat, dense, or even cracked, lacking the characteristic delicate texture and appealing structure.
Defining Macaron Feet: Appearance and Significance
Macaron feet, also known as "la collerette" (the collar) in French, are the bubbly, airy base that lifts the macaron shell off the baking surface. Ideally, they should be uniform in height and texture around the entire circumference of the shell. Their presence indicates that the macaron batter was mixed to the correct consistency, rested properly, and baked at the optimal temperature. A well-formed foot contributes significantly to the macaron's structure, providing a stable base for filling and enhancing the overall delicate chewiness.
The significance of the foot extends beyond aesthetics; it's a functional part of the shell. During baking, the macaron develops a skin while the inside remains moist. As the heat penetrates, steam is generated from the moisture in the batter. This steam attempts to escape, but the hardened skin prevents it from rising upwards. Instead, the steam pushes the batter sideways and upwards at the weakest point – the base – creating the characteristic airy foot. A healthy foot suggests this process occurred correctly, resulting in a light, airy interior structure within the shell itself.
The Science of Macaron Foot Formation: A Chemical Perspective
The formation of the macaron foot is primarily a result of the Maillard reaction and the expansion of steam within the meringue-based batter. The meringue, made from whipped egg whites and sugar, provides the structure and lift. As the macaron rests, a skin forms on the surface, a process aided by air exposure and the drying of the surface moisture. This skin is crucial because it provides the necessary resistance for the steam to push outwards and downwards, rather than cracking the top.
During baking, typically at temperatures around 150-160°C (300-325°F), the water in the batter turns to steam. This steam expands rapidly. Because the top surface is sealed by the skin, the expanding steam forces the uncooked batter at the base downwards and then outwards and upwards, forming the foot. The sugar in the batter caramelizes slightly at the edges of the foot due to the heat, contributing to its slight crispness and structure. Proper meringue stability and careful macaronage ensure the batter has enough structure to support this expansion without collapsing or spreading excessively.
Common Issues Preventing Macaron Feet: Identification and Prevention
Several factors can inhibit or prevent the formation of macaron feet. One of the most common issues is insufficient resting time, which means the skin hasn't fully formed. Without a firm skin, the steam will simply crack the top of the shell instead of forcing the foot upwards. Another frequent problem is under-mixing during the macaronage stage; if the batter is too stiff, it won't spread enough to allow the steam to lift the edges properly. Conversely, over-mixing can deflate the meringue, leading to weak batter that spreads too thin and lacks the structure to form a foot.
Oven temperature plays a critical role as well. If the oven is too hot, the shells can set too quickly or crack before the feet have a chance to develop. If it's too cool, the batter may spread too much, or the feet may be weak and uneven.
Moisture is also an enemy; high humidity can prevent the skin from drying properly, leading to issues. Using a macaron feet tutorial template helps ensure consistent size, which aids in uniform drying and baking, preventing some of these issues related to uneven shell size and thickness. Proper identification of these issues – observing cracking patterns, spread, and texture – allows for targeted adjustments in technique for future batches.
Macaronage Mastery: The Crucial Step
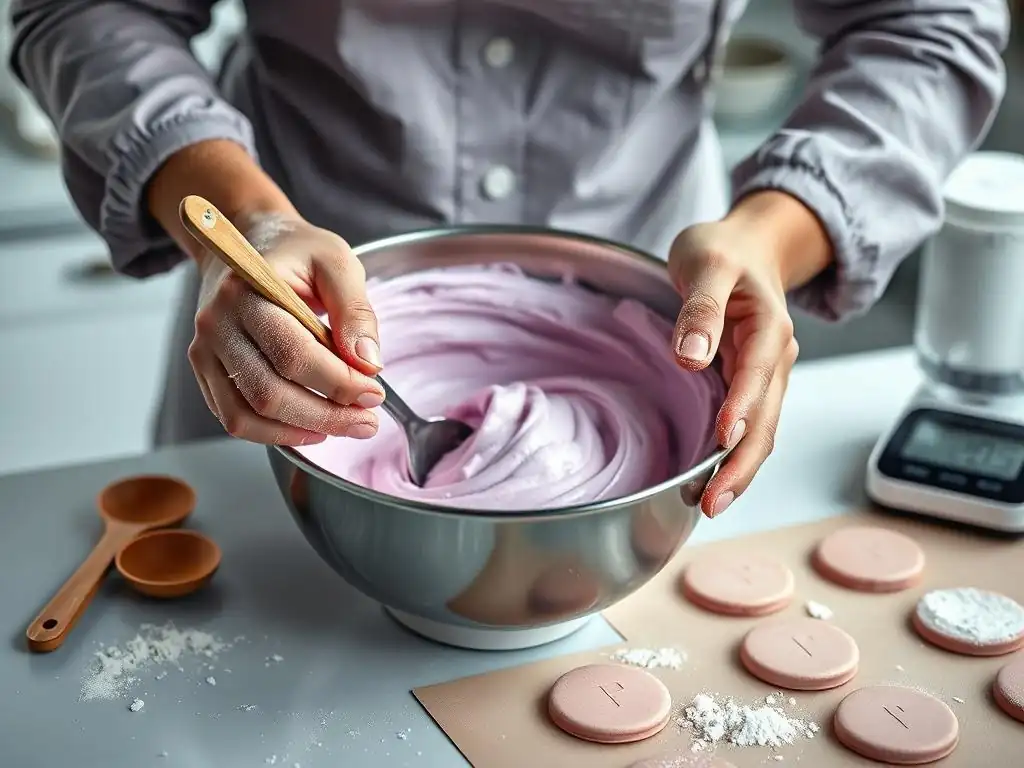
Macaronage is the gentle folding technique used to combine the dry ingredients (almond flour and powdered sugar, often called TPT for tant pour tant - equal parts) with the meringue. This step is arguably the most critical in determining the final texture and appearance of the macaron shell, including the development of the feet. It's a delicate balance between deflating the meringue just enough to create a flowing batter, but not so much that it loses its structure.
The Importance of Macaronage: Achieving the Right Consistency
The goal of macaronage is to achieve a batter consistency known as the "ribbon stage" or "lava stage." This means that when you lift the spatula, the batter should flow off it in a thick, continuous stream that resembles a slow-moving ribbon or lava. This specific consistency is vital because it allows the piped shells to settle slightly, creating a smooth surface and eliminating air bubbles, while still retaining enough body to rise correctly in the oven and form the feet.
Undermixed batter is too stiff; it will hold peaks when piped, and the shells may crack or have no feet because the batter can't relax and spread properly. Overmixed batter, on the other hand, is too liquid; it will spread excessively, resulting in flat shells that may still form feet but lack height and internal structure. The correct macaronage consistency ensures the shell has the right balance of flow and structure needed for successful foot development and a desirable interior texture.
Recognizing the Stages of Macaronage: Visual and Tactile Cues
Mastering macaronage involves recognizing the subtle visual and tactile cues of the batter as it progresses through its stages. Initially, the mixture will be stiff and lumpy. As you fold, it will gradually become smoother and more fluid. The key is to stop folding just as the batter reaches the point where it flows slowly and continuously off the spatula. You can test this by lifting a spatula full of batter about 6-8 inches above the bowl and letting it fall back in.
- Under-mixed: Batter is thick, falls in chunks, holds stiff peaks when piped.
- Correctly mixed (Ribbon Stage): Batter flows in a slow, continuous ribbon, eventually incorporating back into itself after about 20-30 seconds. When you draw a line through the batter in the bowl, it should slowly disappear.
- Over-mixed: Batter is very liquid, runs quickly off the spatula, spreads rapidly, and appears greasy.
It often takes practice to feel when the batter is "just right." Some bakers count folds, but observing the batter's flow is more reliable.
Over-Mixing vs. Under-Mixing: Impact on Macaron Feet Development
The difference between perfectly formed feet and no feet (or flat, sad feet) often comes down to whether the batter was over-mixed or under-mixed during macaronage. Under-mixing leaves the batter too stiff and aerated. When piped, the shells will retain peaks and won't spread sufficiently. This stiffness prevents the base from expanding outwards when steam is generated in the oven, resulting in shells with no feet or very small, uneven feet. The shells might also crack because the trapped air and steam have nowhere else to go.
Over-mixing, conversely, deflates the meringue too much, resulting in a batter that is too thin and runny. When piped, these shells will spread out excessively and might even look like thin pancakes. While they might still develop a foot, it will likely be very thin, wide, and perhaps fragile. The interior of the shell will also be dense and chewy rather than light and airy. Over-mixing removes the necessary structure needed for the steam to create a substantial, well-defined foot.
Mastering Piping Techniques: Consistency is Key
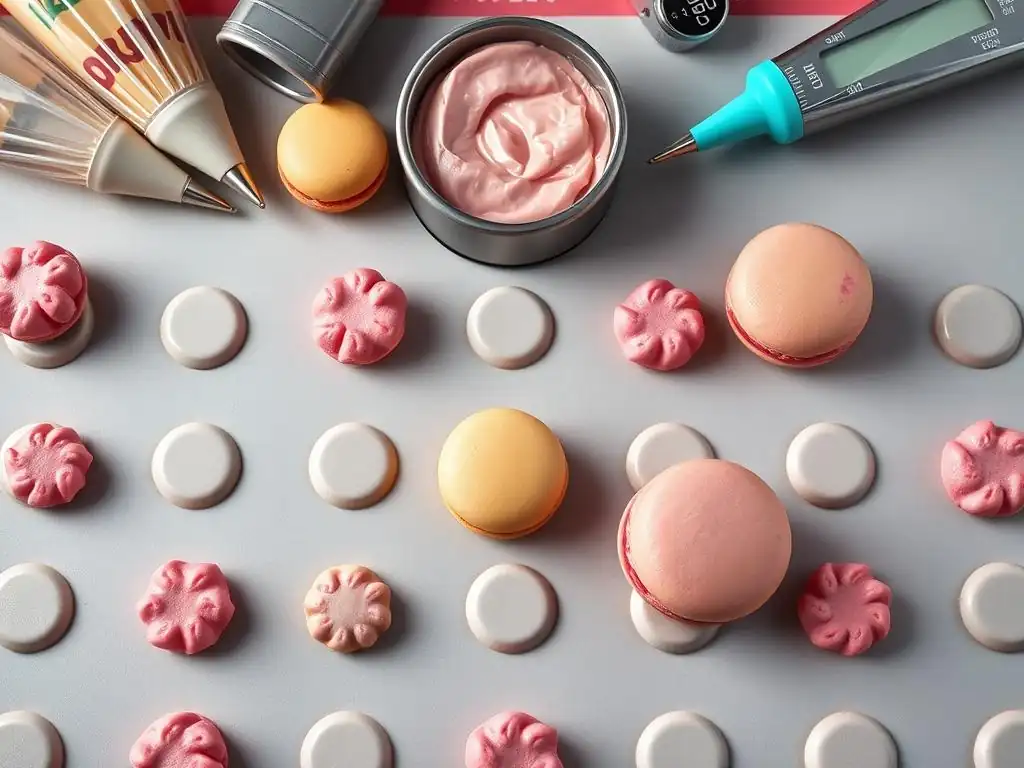
Even with perfectly macaronaged batter, poor piping technique can lead to uneven shells and inconsistent feet. Consistency in size and shape is crucial for uniform drying and baking. Using a macaron feet tutorial template placed under your baking paper or silicone mat is highly recommended, especially for beginners, as it provides visual guides for piping uniform circles. These templates help ensure all your shells are the same diameter, which is essential for even heat distribution in the oven and consistent foot development across the entire tray.
Optimal Piping Bag Angle and Pressure: Achieving Uniformity
Achieving uniform macaron shells requires careful attention to how you hold and squeeze the piping bag. For best results, hold the piping bag vertically (at a 90-degree angle) about half an inch to an inch above the baking surface. Apply steady, even pressure from the top of the bag, allowing the batter to flow out directly downwards onto the template guide. Avoid swirling or moving the tip around excessively.
Once the batter fills the template circle, stop applying pressure, then quickly lift the bag straight up with a slight twist or flick of the wrist to cleanly break the flow. This technique helps prevent tails or peaks on the shells. Maintaining consistent pressure throughout the piping process for each shell is vital for producing rounds that are not only the same size but also have a uniform thickness, which contributes to even rising and foot formation.
Piping Consistent Macaron Sizes: Techniques and Tools
Piping consistent sizes is perhaps the most challenging aspect of macaron piping. As mentioned, a macaron feet tutorial template is invaluable here. Place the template under your parchment paper or silicone mat. Position the piping bag tip directly over the center of a circle on the template. Apply steady pressure until the batter fills the circle, then stop and lift. Practice on a plain surface first to get a feel for the flow rate of your batter.
Another technique is to count seconds as you pipe, aiming for the same duration for each shell. For example, you might find that 3 seconds of steady pressure fills a circle on your template. Stick to that timing for every shell. For larger batches, measuring spoons or scoops can be used to portion batter before piping, though this is less common for traditional piped macarons. Ultimately, consistent pressure and using a visual guide like a macaron feet tutorial template are the most effective methods for achieving uniform shell sizes, leading to predictable foot development.
Avoiding Common Piping Errors: Preventing Imperfect Macaron Feet
Several common piping errors can negatively impact macaron feet. Piping too quickly or with uneven pressure can result in irregularly shaped shells that dry and bake inconsistently. Piping at an angle instead of vertically can lead to shells that are thicker on one side than the other, causing uneven feet or shells that lean. Lifting the bag incorrectly can leave peaks (nibs) on the shells, which can interfere with skin formation and lead to cracked tops or uneven feet.
- Piping too fast: Results in irregular shapes.
- Uneven pressure: Leads to varying shell sizes and thickness.
- Angled piping: Creates uneven height and potential leaning.
- Not lifting straight up: Leaves peaks on shells.
Using a macaron feet tutorial template helps mitigate many of these issues by providing a clear target to fill. After piping, gently tapping the baking sheet on the counter 2-3 times helps to release any trapped air bubbles and encourages the batter to settle into a smooth, even circle, further contributing to ideal foot development.
Baking Techniques for Optimal Foot Development
Once your macarons are piped and rested, the oven becomes the next critical stage for foot development. The baking process involves drying the shells, allowing the skin to form, and then generating steam to create the lift for the feet. The specific temperature and baking time will vary depending on your oven, the size of your macarons, and even the humidity in your kitchen.
The Role of Oven Temperature: Finding the Perfect Balance
Oven temperature is paramount for macaron success. A temperature that is too high (e.g., above 165°C or 330°F) can cause the shells to rise too quickly, crack, or brown excessively before the feet have fully formed. The surface may set before the steam can escape downwards. Conversely, an oven that is too cool (e.g., below 140°C or 285°F) may prevent the skin from setting properly or the steam from generating sufficient force to lift the feet. The shells might spread too much or remain flat.
Most recipes suggest a temperature range between 145°C and 160°C (290°F to 325°F). It's highly recommended to use an oven thermometer to verify your oven's actual temperature, as oven dials can be inaccurate by as much as 20-30 degrees. Baking a test batch at different temperatures within this range is often necessary to find the 'sweet spot' for your specific oven, ensuring reliable foot development.
Baking Time and Its Impact: Achieving the Ideal Texture
Baking time is closely linked to temperature and affects both foot development and the final texture of the shell. Typically, macarons bake for 12 to 18 minutes, depending on their size and the oven. During this time, the feet should rise steadily in the first 5-8 minutes. The remaining time is spent drying and cooking the interior.
If baked for too short a time, the shells may appear done but will be sticky or hollow inside. If baked for too long, they can become brittle, overly browned, or develop large hollows. The ideal macaron shell should be crisp on the outside, slightly chewy in the center, and easily peel off the baking surface without sticking. A good indicator of doneness is when the foot feels set and you can gently wiggle the shell without the top moving independently from the foot.
Adjusting Baking Based on Oven Type: Convection vs. Conventional
The type of oven you use significantly impacts baking time and temperature. Convection ovens, which use a fan to circulate hot air, tend to bake faster and more evenly than conventional ovens. If using a convection oven, you may need to reduce the temperature by 10-15°C (25-35°F) compared to a conventional oven setting, or reduce the baking time. The circulating air can also sometimes cause uneven heating or rapid skin formation, so monitoring closely is essential.
Conventional ovens heat from elements at the top and bottom, which can lead to hot spots. Rotating your baking sheet halfway through the baking time (e.g., after 7-8 minutes when the feet have formed) can help ensure even baking and uniform foot development across the tray. Regardless of oven type, consistent temperature is key, so avoiding opening the oven door unnecessarily during the first 10 minutes is crucial to prevent temperature drops that can inhibit foot formation. Using a macaron feet tutorial template ensures uniform size, which is helpful for even baking in any oven type.
Troubleshooting Macaron Imperfections: A Diagnostic Approach
Even experienced bakers encounter macaron issues. Troubleshooting involves observing the final shells and working backward to identify where things might have gone wrong. Imperfections like cracking, hollows, or uneven feet are often symptoms of specific problems during macaronage, resting, piping (where a macaron feet tutorial template can help prevent size variations), or baking.
Cracking and Spreading: Identifying Causes and Solutions
- Cracked Shells:
- Cause: Insufficient resting time (skin not fully formed), oven temperature too high (shell sets too quickly), under-mixed batter (trapped air).
- Solution: Ensure shells rest until matte and dry to the touch (30-60 mins or longer depending on humidity), verify oven temperature with a thermometer, ensure batter is mixed to the ribbon stage.
- Excessive Spreading (No Feet or Thin Feet):
- Cause: Over-mixed batter (too liquid), oven temperature too low (batter spreads before setting), insufficient drying time (no skin resistance).
- Solution: Mix batter only to the ribbon stage, verify oven temperature is within the correct range, ensure shells rest until a proper skin forms.
[ ] Check oven temperature with a thermometer.
[ ] Ensure adequate resting time until shells are matte and dry.
[ ] Verify macaronage consistency (ribbon stage).
[ ] Use a macaron feet tutorial template for consistent piping size.
Hollow Shells: Understanding the Underlying Issues
Hollow macaron shells are a common frustration. This occurs when the outside of the shell sets and rises, but the interior structure doesn't fully develop or collapses, leaving a void.
- Cause: Over-baking (moisture evaporates too quickly), oven temperature too high, meringue not stable enough, tapping the tray too forcefully after piping.
- Solution: Reduce baking time slightly, lower oven temperature (use a thermometer! ), ensure meringue is whipped to stiff, glossy peaks, tap trays gently to release large air bubbles but avoid excessive force. Sometimes, aging egg whites for a few days can contribute to a more stable meringue and fewer hollows. Baking at a slightly lower temperature for a longer time can also help the interior cook through more evenly.
Uneven Feet: Correcting Piping and Baking Imbalances
Uneven feet, where the foot is higher on one side than the other, can be caused by several factors.
- Cause: Piping at an angle (creating uneven shell thickness), uneven drying during resting (due to air currents or placement), hot spots in the oven, uneven heat distribution on the baking sheet.
- Solution: Pipe vertically over the center of your macaron feet tutorial template circles. Ensure shells rest in an area free from drafts. Use an oven thermometer to check for hot spots and rotate the baking sheet halfway through baking. Consider using professional-grade baking sheets and silicone mats for better heat distribution.
Advanced Macaron Techniques: Expanding Your Skills
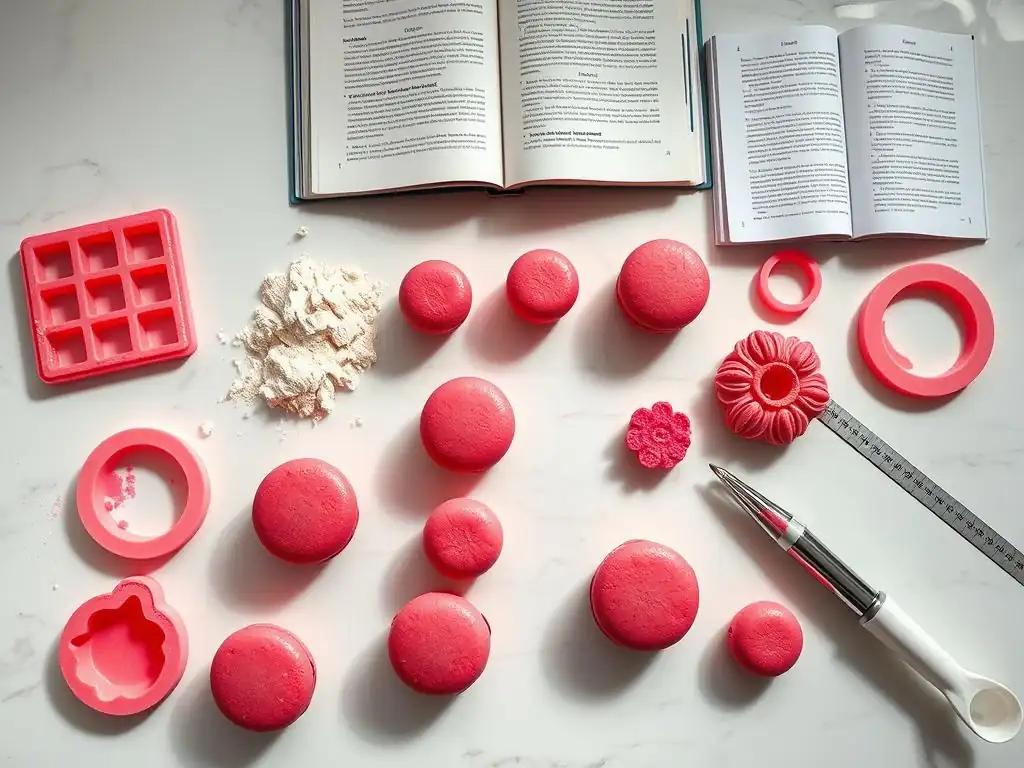
Once you've mastered the basics of achieving consistent macaron feet, you can explore techniques to enhance flavor, color, and presentation. These steps elevate your macarons from simply well-made to truly exceptional.
Flavoring Techniques: Achieving Balanced and Delicious Macarons
Flavor can be incorporated into both the macaron shells and the filling. For shells, use finely ground freeze-dried fruit powder, cocoa powder, or espresso powder added to the dry ingredients. Be mindful that adding powders can affect the texture, so you might need slight adjustments. Extracts should be used sparingly in the meringue or batter, as too much liquid or oil can destabilize the meringue and affect foot development. A few drops of high-quality extract or oil-based flavoring are usually sufficient.
Fillings offer the most flexibility for flavor. Ganaches, buttercreams, fruit curds, and jams are popular choices. Ensure fillings are not too liquid, as excessive moisture can soften the shells and compromise their texture. Pairing complementary shell and filling flavors is key, such as chocolate shells with raspberry ganache or pistachio shells with a rose buttercream. Experimentation is encouraged to find your favorite combinations.
Coloring Methods: Creating Vibrant and Visually Appealing Macarons
Coloring macarons requires specific types of food coloring. Gel or powder food colorings are highly recommended over liquid colors. Liquid coloring adds too much moisture, which can negatively impact the batter consistency and foot development. Add gel coloring to the meringue once it has reached stiff peaks, or mix powder coloring with a tiny amount of water or egg white to form a paste before adding it.
Add color incrementally until you achieve the desired shade. Remember that the color often deepens slightly during baking. For vibrant colors, you may need a significant amount of coloring, which is why concentrated gel colors are preferred. Using a macaron feet tutorial template not only helps with shape but can also help you visualize how the colored batter will look when piped into uniform circles.
Storing and Serving: Preserving Freshness and Flavor
Proper storage is essential for maintaining the texture and flavor of macarons. Once filled, macarons benefit from maturing in the refrigerator for at least 12-24 hours. This allows the flavors of the shell and filling to meld and the shell to soften slightly, achieving the characteristic chewy interior.
Store filled macarons in an airtight container in the refrigerator for up to 3-5 days. They can also be frozen for longer storage (up to 1-2 months). Thaw frozen macarons in the refrigerator overnight. For best texture, allow refrigerated macarons to come to room temperature for about 15-20 minutes before serving. Unfilled shells can be stored in an airtight container at room temperature for a day or two, or frozen for longer periods.
The Perfect Macaron Recipe: A Foundation for Success
Achieving perfect macaron feet starts with a reliable recipe. While techniques are crucial, a well-tested recipe provides the correct ratios of ingredients needed for stable meringue and a balanced batter. Look for recipes that specify weights rather than volume measurements, as precision is key in macaron making.
[Link to a Recommended Macaron Recipe]
Note: As per instructions, actual links cannot be included. Imagine this is where a link to a trusted macaron recipe on BakeWithEase.com would be.
Continuous Improvement: Refining Your Macaron Skills
Making perfect macarons is a skill that improves with practice. Don't be discouraged by imperfect batches. Each attempt is a learning opportunity. Pay close attention to the visual cues during macaronage, the feel of the batter, the drying time, and how the shells behave in your specific oven. Keep notes on your process – humidity levels, resting time, oven temperature, macaronage folds – to help identify variables. Using tools like a macaron feet tutorial template consistently helps isolate other variables like piping. With patience and persistence, you will refine your technique and consistently achieve those coveted, perfect macaron feet.
Frequently Asked Questions
What is a macaron foot and why is it important?
The macaron foot is the ruffled edge at the base of a macaron shell. It's important because it indicates proper macaron technique and contributes to the overall texture and appearance of the cookie.
How can a macaron mat template help with achieving perfect feet?
A macaron mat template ensures uniform size and shape for your macarons, which promotes even baking and consistent foot formation. It also helps prevent spreading and sticking.
Where can I find a reliable "Macaron Feet Tutorial Template"?
BakeWithEase.com offers a variety of resources, including a "Macaron Mat Magic: Templates and Tricks for Perfect Feet" tutorial that provides templates and step-by-step instructions for achieving the perfect macaron foot.
What are some common mistakes that prevent macaron feet from forming?
Common mistakes include over-mixing the batter, under-baking the macarons, and insufficient resting time before baking. Air bubbles in the batter can also hinder foot formation.
Are there any special ingredients or equipment needed to ensure good macaron feet, besides the template?
While a template is helpful, almond flour quality, egg white aging, and proper oven temperature are crucial. A kitchen scale for precise measurements is also highly recommended.
Final Reflection: The Enduring Allure of the Perfect Macaron Foot
The pursuit of the flawless macaron foot, once a niche pursuit, has blossomed into a vibrant online community, demonstrating the power of shared creativity and meticulous technique. This isn't just about pretty pastries; it's about the satisfaction of mastering a challenging skill, the joy of artistic expression, and the delicious reward at the end. The precision required mirrors the dedication many find in other creative endeavors, highlighting the universal appeal of striving for perfection.
The impact of readily available templates and tutorials, like the ones explored in this article, is undeniable. It has democratized access to a skill once considered the domain of professional pastry chefs. The beauty of baking lies not just in the result, but in the process itself.
This quote perfectly encapsulates the journey of creating perfect macaron feet – a journey filled with learning, experimentation, and ultimately, sweet success. The online community surrounding this craft fosters a sense of shared accomplishment and mutual support, proving that even the most intricate techniques can be mastered with patience and the right guidance.
Now, it's your turn. Don't be intimidated by the seemingly delicate nature of macaron feet. Take the knowledge gained from this article, experiment with the templates, and embrace the learning process. Each slightly imperfect foot is a step closer to mastering this delightful art. Remember, the journey is as rewarding as the destination – so grab your ingredients, your templates, and let your creativity flow. The perfect macaron foot awaits!
Unleash Your Inner Macaron Master!
Thanks for joining us on this delicious journey into the world of perfect macaron feet! We hope you gained valuable insights and are ready to create stunningly beautiful (and delicious!) macarons. Now it's time to put your newfound knowledge into action.
- Master the Macaron: Download our exclusive template pack (available on bakewithease.com – a separate page would be linked here) with various sizes and shapes to help you achieve perfectly consistent macarons every time! This is your key to macaron mastery.
- Share Your Success: Show us your creations! Post a picture of your macarons on social media using #BakeWithEaseMacarons and tag us – we'd love to see your beautiful results.
- Explore Further: Dive deeper into our macaron recipe collection on bakewithease.com (link would be here) and discover even more flavour combinations and techniques.
Ready to transform your baking game and create macarons that are as beautiful as they are tasty? What surprising flavour combination will you try first?