
The Problem with OverGreasing Cake Pans

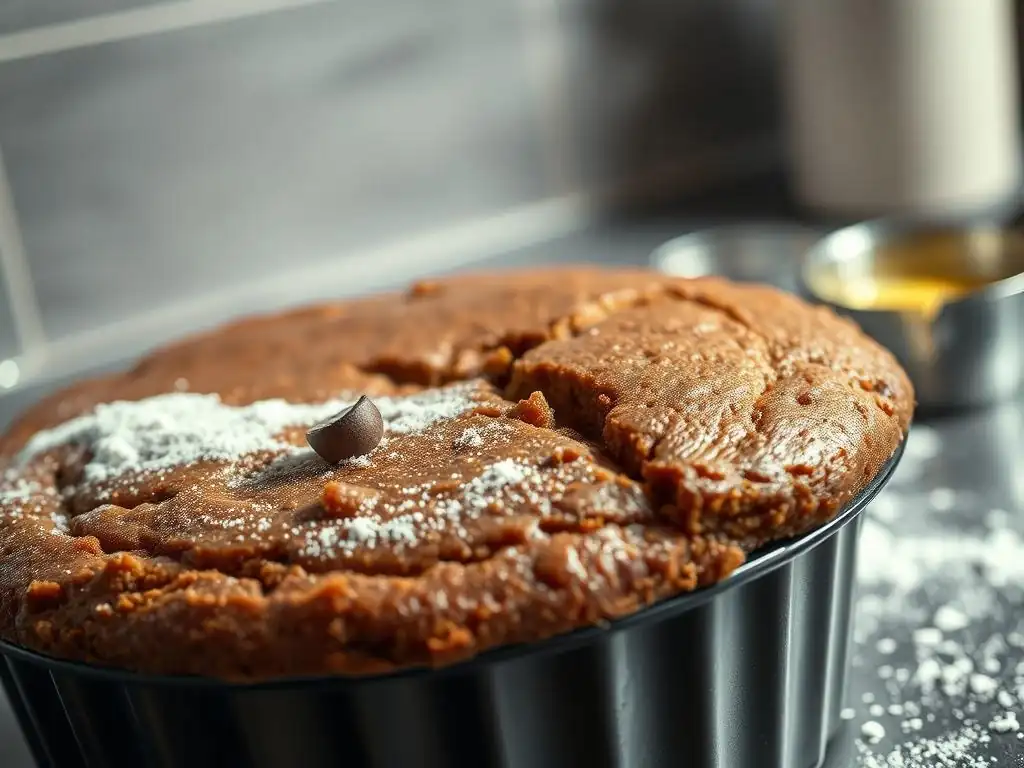
Welcome to BakeWithEase, your partner in baking perfection! Ever wondered if you're actually hurting your cakes by being too generous with the grease? Our latest guide dives deep into the problem with overgreasing cake pans, revealing the surprising consequences and offering foolproof solutions. Discover how to achieve that perfect, even bake without the sticky mess – read on to unlock the secrets!
- The Problem with OverGreasing Cake Pans: A Baker's Guide
- Introduction: Understanding the Importance of Properly Greased Cake Pans
- What Happens When You Overgrease Cake Pans?
- The Impact of Overgreasing on Cake Texture and Rise
- Visual Signs of an Overgreased Cake Pan
- Common Mistakes Leading to Overgreasing
- The Ideal Greasing Technique: Achieving the Perfect Balance
- Troubleshooting Overgreasing: Solutions and Prevention
- Alternative Methods to Greasing: Parchment Paper and Baking Liners
- Conclusion: Achieving Cake Perfection with Proper Pan Preparation
- Frequently Asked Questions
- Final Reflection: The Unsung Hero of a Perfect Cake: Proper Pan Preparation
- Unlock Perfectly Moist Cakes: Say Goodbye to Greasing Mishaps!
The Problem with OverGreasing Cake Pans: A Baker's Guide
Introduction: Understanding the Importance of Properly Greased Cake Pans
Avoiding Common Baking Mistakes: Mastering Cake Pan Greasing
Properly preparing your cake pan is a foundational step in baking, often considered as important as accurately measuring your ingredients. A well-greased pan ensures that your beautiful cake releases cleanly after baking, preserving its shape and presentation. This crucial step creates a non-stick barrier between the delicate cake batter and the metal surface, allowing the cake to expand and set without adhering. Skipping or doing this step incorrectly can lead to frustrating outcomes, from stuck cakes to unevenly baked disasters.
However, it's not just about applying grease; the amount and application are key. A common pitfall, especially for those just starting out or trying new pan types, is the tendency towards overgreasing cake pans easily. The fear of a cake sticking can lead bakers to apply far more butter, shortening, or spray than necessary, thinking 'more is better'. Unfortunately, this excess grease causes its own set of problems, impacting everything from the cake's texture and rise to its final appearance and even taste.
What Happens When You Overgrease Cake Pans?
The Downsides of Excessive Grease in Cake Pans
When you apply too much grease to a cake pan, the excess fat doesn't simply act as a non-stick layer; it actively interferes with the baking process. Instead of a thin, even barrier, you end up with pools or thick layers of fat, particularly in the corners and at the bottom edge of the pan.
As the oven heats up, this excess grease gets hotter than the cake batter itself, effectively frying the outer layer of the cake that is in direct contact with it. This results in a dark, thick, and often greasy crust that pulls away from the rest of the cake.
Beyond the visual, the flavor can suffer. That fried, overly browned crust can impart a slightly burnt or oily taste that wasn't intended for your delicate vanilla bean or rich chocolate cake. For a standard 8-inch cake, even just a tablespoon or two of excess melted butter pooling at the bottom can create a noticeably darker, heavier crust than desired, overwhelming the subtle flavors of the cake itself.
Overgreasing Cake Pans: A Common Baking Mistake
You might be surprised how often bakers, both novice and experienced, find themselves overgreasing cake pans easily. The primary driver is often anxiety about the cake sticking. Faced with a beautiful, intricate bundt pan or a deep-dish square pan, the instinct is to coat it liberally, just to be "safe." This often means using too much solid fat or holding down the nozzle of a baking spray for too long, resulting in drips and pools rather than a fine mist.
This mistake isn't just a minor aesthetic issue; it's a fundamental error in pan preparation that directly impacts the final product. In online baking communities, troubleshooting dark, greasy cake edges is a frequently discussed topic, with many bakers initially puzzled about the cause before realizing they were simply using too much grease. It highlights that while greasing is essential, understanding the right amount is just as critical as the act of greasing itself.
The Impact of Overgreasing on Cake Texture and Rise
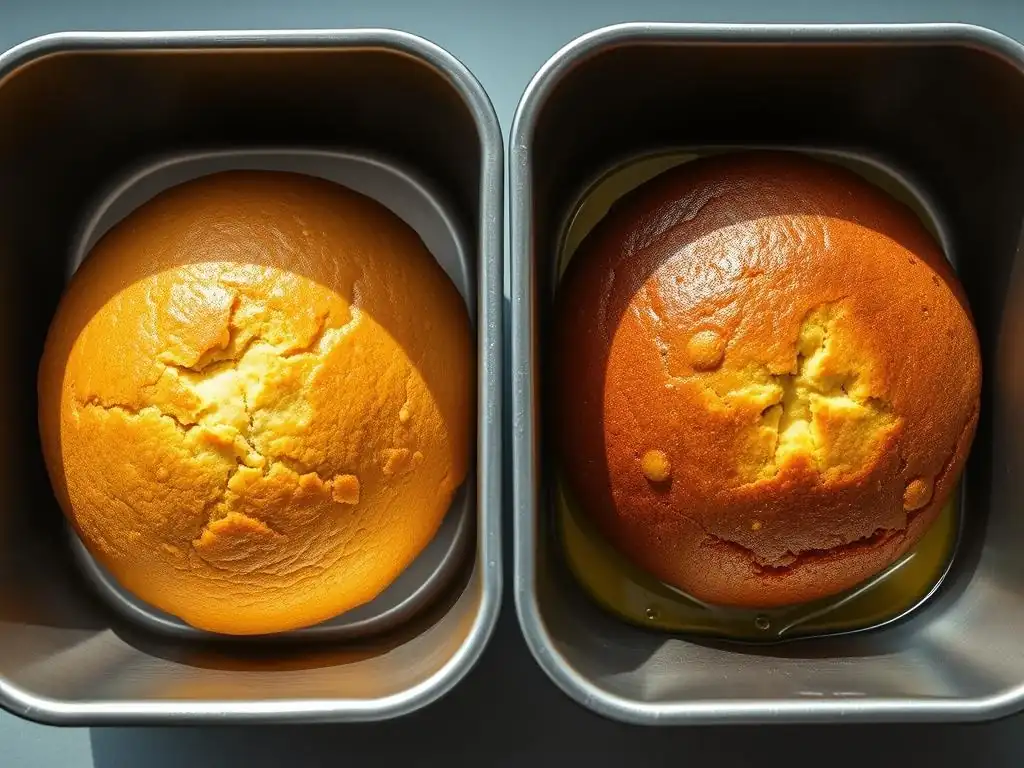
How Excess Grease Affects Cake Structure
Excess grease in a cake pan can significantly disrupt the cake's internal structure and rise. As the cake bakes, the batter needs to adhere slightly to the sides of the pan to help it climb and achieve its full height. When there's too much grease, especially around the lower sides, the batter can't cling properly. This lack of grip can cause the cake to slump or develop a denser band around the bottom perimeter, as the weight of the rising batter isn't supported by the pan walls.
Furthermore, the excess fat can sometimes migrate into the edges of the batter during baking. Fat inhibits gluten development and interferes with protein coagulation, both of which are crucial for forming a stable crumb structure. This interference can lead to a less uniform texture near the pan edges, sometimes resulting in a slightly oily or collapsed layer just inside the crust, compromising the overall lightness of the cake.
Preventing Uneven Baking and Soggy Cake Bottoms
One of the most frustrating outcomes of overgreasing is uneven baking, particularly leading to a soggy or overly dense bottom crust. Excess grease, especially when it pools at the pan's base, becomes extremely hot in the oven. This superheated fat conducts heat much more aggressively than the cake batter itself, causing the bottom layer of the cake to cook too quickly and intensely.
Instead of developing a light, golden, tender crust, the bottom of the cake can become dark brown, hard, and greasy. In some cases, particularly with moist batters, the excess fat prevents the very bottom layer from setting properly, resulting in a heavy, damp, or even soggy texture. This uneven cooking means the bottom is potentially overdone while the center might be perfectly baked, or vice versa, creating a cake with inconsistent textures throughout.
Visual Signs of an Overgreased Cake Pan
Identifying Too Much Grease Before Baking
Spotting an overgreased pan before the batter goes in is the best-case scenario, allowing you to correct the issue. A properly greased pan should have a thin, even coating of fat that looks slightly dull or uniformly shiny, depending on the type of fat used. You shouldn't see any thick streaks, drips running down the sides, or visible pools of liquid fat, especially in the bottom corners or where the sides meet the base.
Try the 'tilt test': Tilt the pan from side to side. If you see grease gathering or running visibly, you've likely used too much. A pan with the right amount of grease will show no significant movement of fat when tilted. Looking closely at the surface, you should see a uniform coating that covers all the metal, including seams and corners, but without any accumulation.
Recognizing the Effects of Overgreasing After Baking
The signs of overgreasing become even more apparent once the cake is baked and turned out. The most obvious visual cue is the color of the crust, particularly around the edges and bottom. Instead of a light to medium golden-brown, the crust will be significantly darker, often dark brown or even black in places, indicating it has fried in the excess fat. The surface might also appear excessively shiny or greasy.
Upon cutting into the cake, you might observe that the dark, thick crust is easily separable from the lighter, inner crumb. The texture just beneath the dark crust might be denser or oilier than the rest of the cake. In severe cases of overgreasing cake pans easily, the bottom of the cake might look compressed, feel heavy or damp, and have a distinct greasy sheen or even small tunnels where the fat interfered with the rise.
Common Mistakes Leading to Overgreasing
Using Too Much Butter or Oil
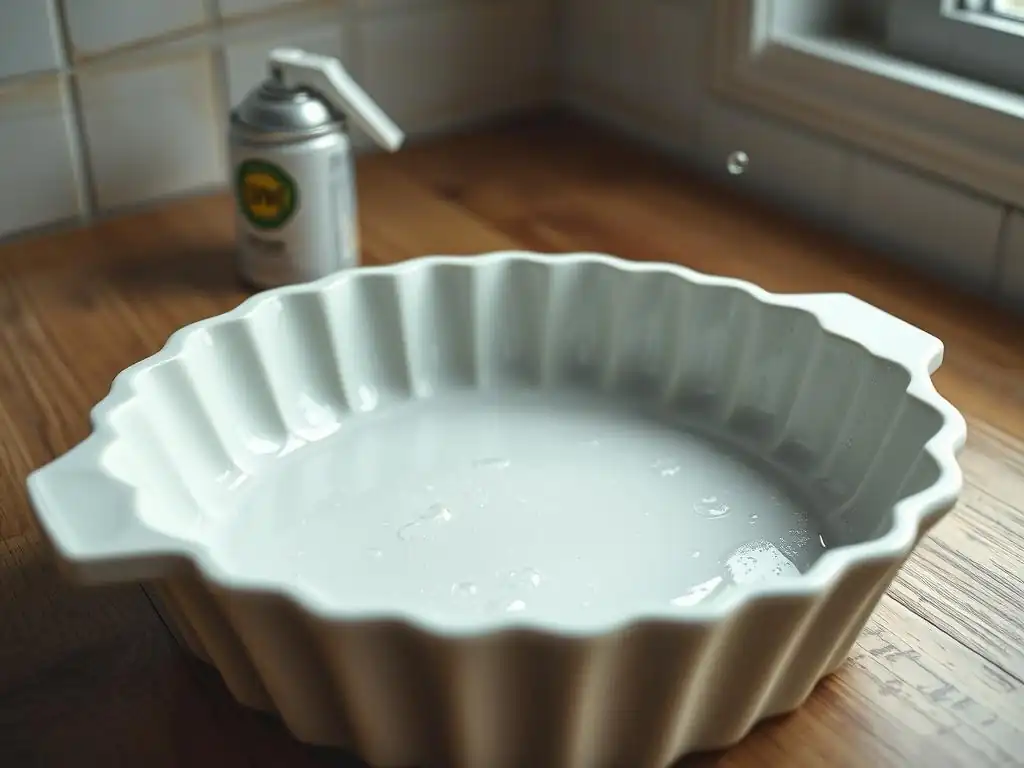
The most straightforward cause of overgreasing is simply using an excessive quantity of the greasing agent. When using solid fats like butter or shortening, people might scoop out a generous lump instead of measuring or estimating a small amount. For an average 8 or 9-inch cake pan, you typically need only about 1 to 2 teaspoons of softened butter or shortening, spread thinly. Using a full tablespoon or more for a single pan is often overkill and leads to pooling.
Similarly, when using baking sprays, holding the nozzle down for several seconds or giving the pan multiple passes results in a thick, uneven coating with drips and puddles. A quick, even mist covering all surfaces is sufficient. The mindset of "better safe than sorry" directly contributes to people overgreasing cake pans easily, as they err on the side of using far more product than necessary for reliable release.
Applying Grease Unevenly
Even if you start with a reasonable amount of grease, applying it poorly can lead to localized overgreasing. This often happens when using solid fats and not thoroughly spreading them into all corners, up the sides, and into any crevices (especially in bundt pans). You might have thin spots in one area and thick, accumulated grease in another.
This uneven application means that parts of the cake will still be prone to sticking where the grease is insufficient, while other parts will suffer from the negative effects of overgreasing. The goal is a uniform, thin coating across the entire interior surface of the pan. Rushing the greasing step or not paying attention to detail, particularly with intricate pan shapes, makes it easy to apply grease unevenly and thus accidentally overgreasing cake pans easily in certain spots.
Not Flouring After Greasing (When Necessary)
For most standard cakes (those that aren't flourless or particularly dense), greasing alone isn't the complete solution; it needs to be followed by flouring (or using cocoa powder for chocolate cakes). The flour provides a dry surface that the cake batter can cling to as it rises, helping it climb the pan walls and ensuring a clean release. Greasing creates the non-stick layer, and flour creates the release layer.
When you overgrease and then attempt to flour, several things can happen. The excess grease can prevent the flour from adhering evenly, leaving bare spots where the cake might stick. Alternatively, the flour gets absorbed into the thick layer of grease, becoming pasty and losing its dry, non-stick property. This combination of overgreasing and ineffective flouring almost guarantees a dark, greasy crust that sticks in some places and fries in others, compounding the problem of overgreasing cake pans easily.
The Ideal Greasing Technique: Achieving the Perfect Balance
Recommended Greasing Methods for Different Cake Pans
Mastering pan preparation means tailoring your technique to the pan type. For simple round or square pans, a thin, even layer of softened butter or shortening applied with a pastry brush or paper towel, followed by a light dusting of flour, is standard. Ensure you get right into the corners and up the entire height of the sides. For bundt pans, which have intricate designs, shortening or baking spray with flour are often preferred because they get into all the nooks and crannies more easily. Use a brush to ensure even coverage in all details.
The key across all pan types is using a small amount of fat and ensuring it covers every part of the interior surface uniformly. For an 8-inch round pan, think about the amount of butter you'd use to butter a single slice of toast – that's often enough for the entire pan surface. For a complex 12-cup bundt, perhaps slightly more, around 1 tablespoon of shortening, worked into every detail.
Choosing the Right Grease for Your Cake Recipe [e.g., Butter, Shortening, Baking Spray]
The type of fat you use can also influence results. Shortening (like Crisco) is pure fat and contains no water or milk solids, making it very stable at high temperatures. It creates an excellent non-stick surface and is often recommended for detailed pans like bundts because it coats effectively and promotes clean release without browning excessively.
Butter, while adding a lovely flavor if any seeps into the cake, contains water and milk solids that can cause it to brown faster than shortening. It works well for simple pans where a slightly darker edge isn't a concern, but be mindful of using softened butter, not melted, as melted butter is harder to apply evenly without pooling.
Baking sprays that contain flour are convenient but should be used judiciously; a short, even spray is sufficient, and they can sometimes leave a residue if used excessively or frequently. Choosing the right fat and using it correctly prevents issues like overgreasing cake pans easily.
How to Flour a Cake Pan Correctly
Flouring after greasing is a simple but essential step for many cakes. Once your pan is thinly and evenly greased, add about 1-2 tablespoons of all-purpose flour (or unsweetened cocoa powder for chocolate cakes). Hold the pan over a sink or trash can. Tilt and rotate the pan, tapping the sides and bottom, to distribute the flour evenly across all the greased surfaces – the bottom, sides, and into any corners or crevices.
The critical final step is to invert the pan and tap out all the excess flour. You should be left with a thin, opaque coating of flour covering the grease. If there are visible clumps or thick layers of flour, they will bake onto the cake as white, pasty spots. Tapping out the excess ensures you have just enough flour for reliable release without leaving an unappealing coating on your finished cake. This step is especially important when trying to avoid issues even if you slightly overgrease cake pans easily initially.
Troubleshooting Overgreasing: Solutions and Prevention
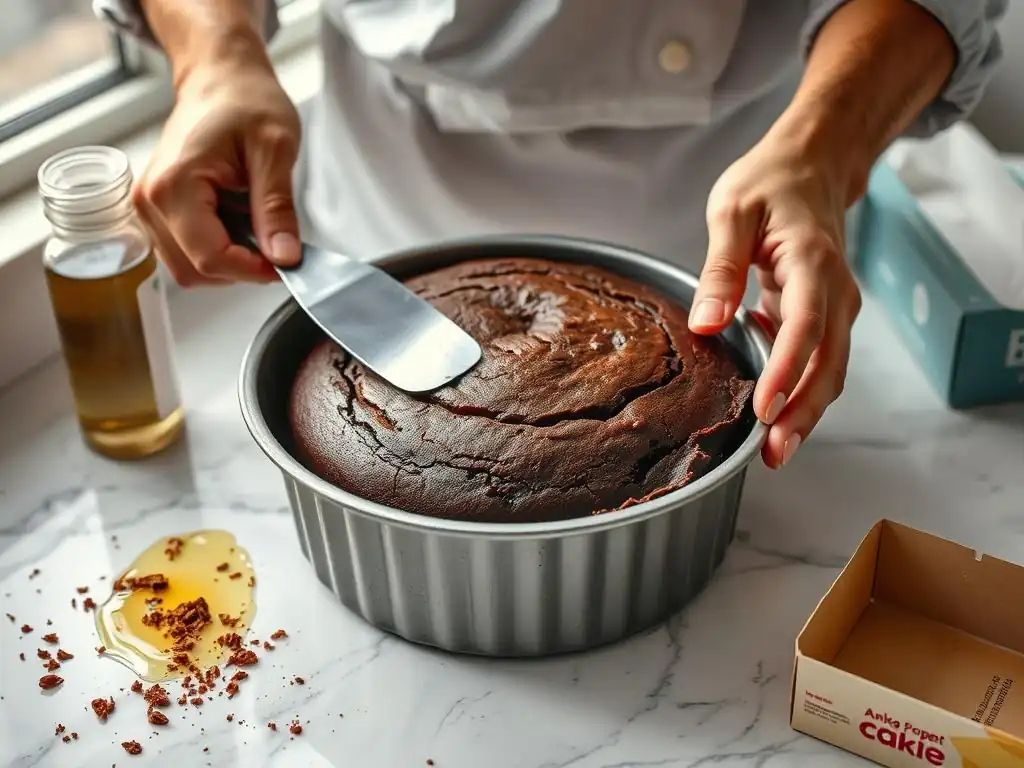
What to Do If You Accidentally Overgrease
If you've just finished greasing your pan and realize you've applied too much – you see pools or thick drips of fat – don't despair! The best time to fix this is before you add the batter. Take a clean paper towel and gently wipe away the visible excess grease from the bottom, sides, and corners. Be careful not to wipe away all the grease, just the accumulated pools and thick layers. You want to return the pan surface to that ideal state: a thin, even coating.
Unfortunately, if you only realize you've overgreased after the cake is baked and you see the tell-tale dark, greasy crust, there's no way to reverse the effect on that particular cake. Consider it a learning experience. Note what happened and commit to adjusting your greasing technique for your next baking project to prevent overgreasing cake pans easily in the future.
Tips for Avoiding Overgreasing in the Future
Preventing overgreasing is far easier than troubleshooting it after the fact. Here are some key tips:
- Use Measured Amounts: For solid fats, use a measuring spoon (like a teaspoon) or estimate conservatively. For sprays, use short, controlled bursts.
- Focus on Even Coverage: Take your time to ensure the grease is spread thinly and evenly into every part of the pan, especially corners and intricate details.
- Always Flour (When Appropriate): For most cakes, greasing and then flouring (and tapping out excess) provides the most reliable non-stick surface.
- Consider Your Fat Choice: Shortening or baking spray with flour might be more forgiving for intricate pans than butter.
- Observe: Pay attention to what a properly greased pan looks like before adding batter – no pools, just a uniform coating.
- Practice: Like any baking skill, mastering pan preparation takes practice. The more you do it mindfully, the less likely you are to overgreasing cake pans easily.
Alternative Methods to Greasing: Parchment Paper and Baking Liners
When to Use Parchment Paper Instead of Grease
Parchment paper is an excellent tool that can either supplement or replace traditional greasing, particularly for the bottom of cake pans. For flat cakes like sheet cakes, jelly roll cakes, or round cake layers, cutting a piece of parchment to fit the bottom of the pan guarantees a non-stick base. You can lightly grease the pan first just to help the parchment stick in place, then lay the paper down.
Using parchment for the bottom completely eliminates the possibility of overgreasing the base easily, which is often where pooling occurs. You might still need to grease and flour the sides of the pan if they aren't lined, but using parchment for the bottom provides great peace of mind and ensures a clean release from the pan's base.
Exploring the Benefits of Baking Liners
Pre-formed baking liners, such as paper cupcake liners, muffin liners, or loaf pan liners, offer the ultimate convenience and completely bypass the need for greasing the lined area. These liners create a self-contained environment for the cake, ensuring it doesn't stick to the pan walls or bottom at all.
The benefits of using liners include guaranteed non-stick performance, easy cleanup, and perfectly shaped baked goods straight from the pan. While they are an added cost compared to grease and flour, they are invaluable for certain types of baking (like cupcakes) and completely remove the possibility of issues related to overgreasing cake pans easily in the lined areas.
Conclusion: Achieving Cake Perfection with Proper Pan Preparation
Your Resource for Troubleshooting Common Cake Problems
At BakeWithEase.com, we know that even seemingly simple steps in baking can sometimes lead to unexpected problems. Overgreasing cake pans easily is a perfect example of a common pitfall that can frustrate bakers and negatively impact the final result. Understanding why it happens and what the consequences are is the first step to preventing it.
Proper pan preparation is a fundamental skill that contributes significantly to baking success. It's not just about preventing the cake from sticking; it's about ensuring even baking, proper rise, and a beautiful crust. By addressing common issues like overgreasing, you build confidence and consistency in your baking.
Mastering the Art of Cake Pan Greasing for Consistent Baking Results
Achieving consistently perfect cakes requires attention to detail at every stage, starting with preparing your pan. Moving from potentially overgreasing cake pans easily out of habit or fear to mastering the technique of applying just the right amount of grease and flour will elevate your baking results.
Take the time to grease your pans carefully, use the appropriate amount of fat, and always remember to flour and tap out the excess (unless using liners or parchment). This small investment of time and attention will pay off with cakes that release cleanly, bake evenly, and boast beautiful, perfectly textured crusts every time.
Frequently Asked Questions
Why is overgreasing a cake pan a problem?
Overgreasing a cake pan can lead to a greasy crust on your cake and can prevent the cake from rising properly. Excess grease can also pool in the bottom, creating a soggy layer.
How much grease is considered "overgreasing"?
Any amount of grease that creates a visible pool or thick layer inside the pan is likely too much. You want a thin, even coating, not a slick surface.
What are the best methods for greasing a cake pan without overdoing it?
Using baking spray with flour is a good option, as it applies a thin, even coat. Alternatively, use a paper towel to spread softened butter or shortening thinly, followed by a dusting of flour.
What happens if I accidentally overgrease my cake pan?
If you realize you've overgreased, use a clean paper towel to absorb the excess grease before pouring in the batter. This will help prevent a greasy or soggy result.
Can overgreasing affect the taste of my cake?
Yes, excessive grease can impart an unpleasant oily taste to the crust of your cake. This can detract from the overall flavor and enjoyment.
Final Reflection: The Unsung Hero of a Perfect Cake: Proper Pan Preparation
The seemingly insignificant act of greasing a cake pan holds the key to baking success, and understanding the delicate balance between adequate lubrication and over-greasing is crucial for achieving consistently flawless results. Over-greasing, as we've explored, leads to a multitude of problems, from cakes sticking and crumbling to uneven browning and a generally disappointing texture. This isn't just about aesthetics; it's about mastering a fundamental technique that elevates your baking game.
The impact of proper pan preparation extends far beyond the individual cake. It speaks to a broader appreciation for the details in any craft, highlighting how seemingly small actions can have profound consequences. The difference between ordinary and extraordinary is that little extra.
This quote resonates deeply with the meticulous nature of baking, where attention to detail transforms a simple recipe into a culinary masterpiece. The subtle art of greasing a pan correctly is a testament to this principle, reminding us that even the most basic steps deserve our focused attention.
Now, consider your own baking journey. Think back to those cakes that didn't quite live up to expectations. Were they victims of over-greasing? Perhaps. More importantly, what can you learn from this exploration of proper pan preparation? Take this knowledge and apply it to your next baking adventure. Experiment with different greasing techniques, observe the results, and refine your approach. Embrace the learning process, and soon, you'll be consistently creating cakes that are not only delicious but also visually stunning, a testament to your mastery of this often-overlooked baking fundamental.
Unlock Perfectly Moist Cakes: Say Goodbye to Greasing Mishaps!
Thanks for taking the time to learn about the pitfalls of over-greasing cake pans! You've now got the knowledge to bake flawlessly moist and delicious cakes every time. Ready to put your new skills to the test?
- Bake your dream cake today! Experiment with a new recipe, focusing on the right amount of grease for perfect results.
- Share your baking triumphs (or even your greasing mishaps!) with fellow bakers on our BakeWithEase community forums. Let's learn from each other!
- Try a new pan release technique like parchment paper or a silicone baking mat—you might discover your new favorite method!
So, what delicious creation will you bake first, now that you've mastered the art of perfectly greased pans?