
Seasonal Shifts: How Ambient Kitchen Temperatures Affect Bake Times

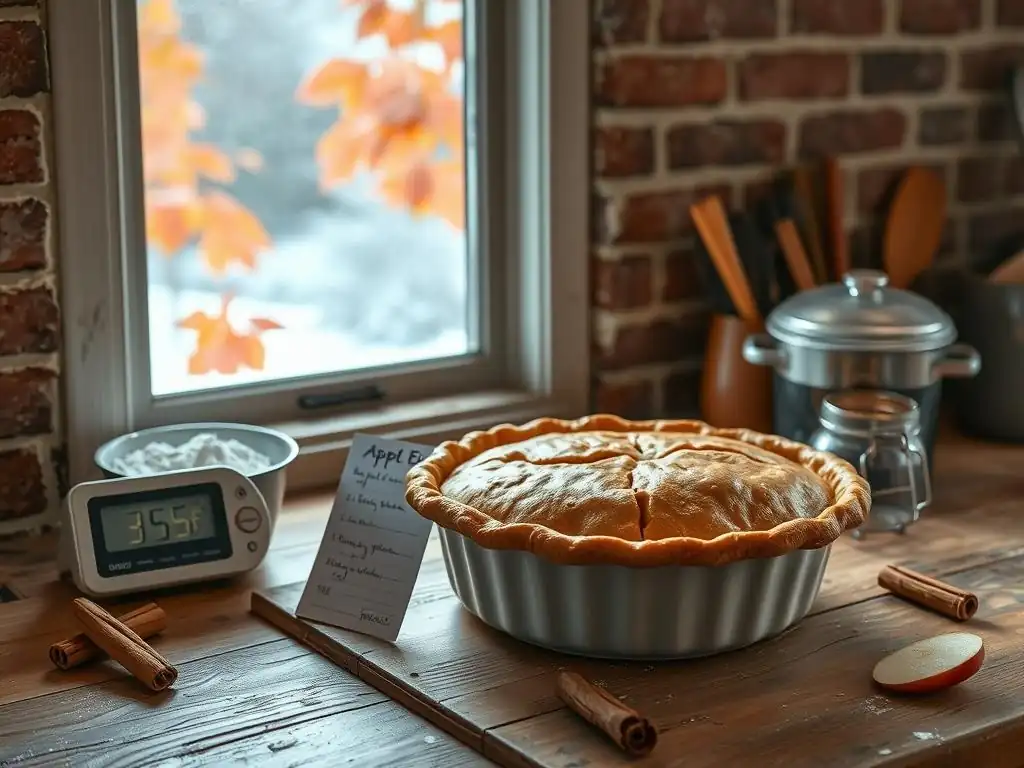
Welcome to BakeWithEase, your kitchen companion for unlocking baking brilliance! Ever wondered why your favorite cookie recipe bakes differently in summer than in winter? This article delves into the fascinating world of baking temperature adjustments for seasons, revealing how ambient kitchen temperatures impact your bake times. Discover simple yet crucial adjustments to ensure perfect results, no matter the time of year. Ready to bake with confidence, season after season? Let's get started!
- Understanding the Impact of Kitchen Temperature on Baking
- Baking Temperature Adjustments for Seasons: A Comprehensive Guide
- How Ambient Temperature Affects Dough and Batter
- Summer Baking: Adjusting for High Kitchen Temperatures
- Winter Baking: Counteracting Cold Kitchen Temperatures
- Specific Baked Goods and Seasonal Adjustments
- Tools and Techniques for Monitoring Kitchen Temperature
- Practical Tips for Consistent Baking Results Year-Round
- Troubleshooting Common Baking Issues Related to Temperature
- Mastering Seasonal Baking: A Summary of Key Adjustments
- Frequently Asked Questions
- Final Reflection: The Ever-Shifting Oven: Mastering Seasonal Baking
- Unlock Baking Perfection: Master Your Oven's Microclimate!
Understanding the Impact of Kitchen Temperature on Baking
The Role of Ambient Temperature in Baking Success
The temperature of your kitchen isn't just about comfort; it plays a surprisingly significant role in the outcome of your baking projects. Think of your kitchen as a part of the baking process itself. Ingredients like butter, eggs, and yeast react differently depending on whether they are warm or cold. For instance, yeast activity is highly dependent on temperature, thriving in warmer conditions around 75-85°F (24-29°C) but becoming sluggish below 70°F (21°C). Similarly, butter's state—solid, soft, or melted—drastically impacts the texture of baked goods, from flaky pie crusts (cold butter) to chewy cookies (softened butter).
Beyond ingredient state, ambient temperature influences the rate of chemical reactions occurring during baking. Leavening agents like baking soda and baking powder react faster in warmer environments, potentially leading to quicker initial rise but also risking premature setting or uneven expansion. The temperature gradient between the cool kitchen air and the hot oven also affects how quickly the outer layer of your bake sets compared to the interior, influencing crust development and overall structure. Understanding this fundamental connection is the first step towards mastering baking temperature adjustments for seasons.
Why Seasonal Temperature Fluctuations Matter for Bakers
Kitchen temperatures fluctuate throughout the year, often mirroring the outside weather. A kitchen that's a cozy 68°F (20°C) in winter might easily climb to 80°F (27°C) or higher during a summer heatwave, even indoors. These shifts, sometimes as much as 10-15°F (5-8°C) or more, can significantly alter how your recipes behave compared to when you first tested them under different conditions. A cookie dough that held its shape perfectly in November might spread into a thin disc in July due to warmer ingredients and environment.
Seasonal variations demand careful consideration. Yeast doughs might proof twice as fast in summer, leading to over-proofing if not monitored closely. Cakes might dome excessively or sink in the center if leavening reacts too quickly or butter melts too fast. Conversely, dense breads or under-risen pastries can result from slower yeast activity and firmer ingredients in colder months. Recognizing these seasonal influences on your kitchen environment is crucial for making informed decisions about baking temperature adjustments for seasons and ensuring consistent, delicious results year-round.
Baking Temperature Adjustments for Seasons: A Comprehensive Guide
Main Keyword: Baking Temperature Adjustments for Seasons
Making baking temperature adjustments for seasons is a practical skill that elevates your baking from good to consistently great. It's not just about changing the oven dial; it involves understanding how ambient temperature interacts with your ingredients and doughs before they even hit the heat. This holistic approach considers everything from the temperature of your flour and eggs to the proofing time of your bread dough and the chill time of your cookie dough.
Successful baking temperature adjustments for seasons often involve a combination of slight oven temperature tweaks, altering mixing or proofing times, and adjusting ingredient temperatures. For example, in a hot summer kitchen, you might slightly lower your oven temperature (perhaps by 10-15°F or 5-8°C) and potentially shorten baking times. In a cold winter kitchen, you might need to increase proofing times significantly or gently warm ingredients like milk or eggs. This section will delve into specific strategies for navigating these seasonal challenges.
Optimizing Bake Times Throughout the Year
Optimizing bake times is a direct consequence of making appropriate baking temperature adjustments for seasons. Since warmer ambient temperatures can speed up chemical reactions and ingredient softening, items might bake slightly faster in summer than in winter, even at the same oven temperature. Conversely, colder conditions can slow things down. Relying solely on the bake time listed in a recipe without considering your kitchen's current climate can lead to under- or over-baked goods.
For instance, a batch of standard chocolate chip cookies might bake perfectly in 10-12 minutes at 375°F (190°C) in a 70°F (21°C) kitchen. However, in an 85°F (29°C) kitchen, that same dough might require only 9-11 minutes to achieve the desired golden brown edges and slightly soft center. Conversely, in a 60°F (16°C) kitchen, they might need 11-13 minutes. Learning to recognize the visual cues for doneness—color, texture, aroma—and cross-referencing them with the recipe's suggested time, while accounting for seasonal kitchen temperature, is key to achieving consistent results.
How Ambient Temperature Affects Dough and Batter
The Effect of Warm Kitchens on Dough Proofing
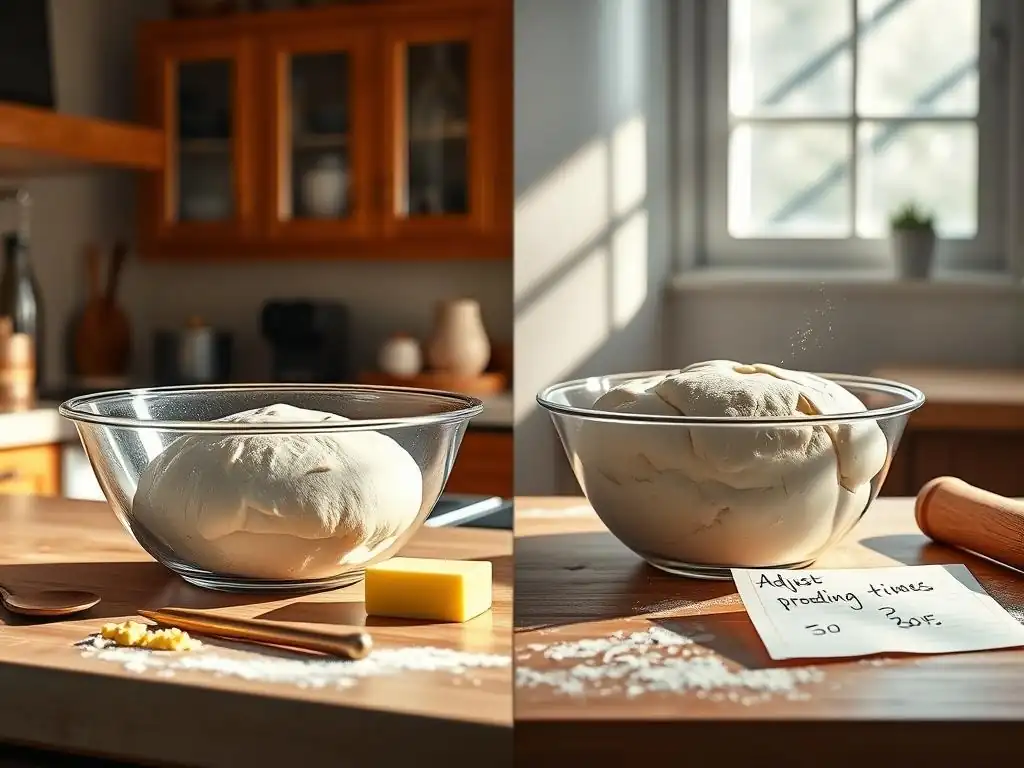
Warm kitchen temperatures, typical of summer or well-heated homes, significantly accelerate the proofing process in yeast-leavened doughs. Yeast is most active in temperatures between 75°F and 85°F (24-29°C). In a kitchen hovering around 80°F (27°C), a bread dough that might take 1-1.5 hours to double in size at room temperature (around 70°F/21°C) could reach that stage in as little as 45-60 minutes. While faster proofing might seem desirable, it increases the risk of over-proofing.
Over-proofed dough can lead to a collapsed structure, poor oven spring, and a bread with a dense, gummy texture or a strong, overly yeasty flavor. The gluten structure, which provides the bread's framework, can weaken if stretched too far for too long.
To counteract this in warm conditions, bakers can reduce the amount of yeast slightly, use cooler water when mixing the dough, or place the dough in a slightly cooler spot for proofing (like a basement or a proofing box with controlled temperature). Monitoring the dough visually – pressing a finger gently into it to see if the indentation springs back slowly – becomes more critical than relying solely on time.
Cold Kitchens and Their Impact on Batter Consistency
Cold kitchen temperatures, common in unheated areas during winter or simply cooler climates, can impact batters, particularly those relying on creaming butter and sugar or incorporating softened butter. Butter stays firmer at lower temperatures. If butter is not properly softened (around 65-68°F or 18-20°C), it won't cream effectively with sugar, resulting in a less aerated batter. This lack of initial aeration can lead to denser cakes or cookies that don't spread properly.
Furthermore, cold batters can take longer to bake through in the center, even if the edges set at the standard time, potentially leading to uneven baking. Ingredients like eggs and milk, if used straight from a cold refrigerator, can also cool down the batter significantly, affecting emulsification and the activity of chemical leavening agents. Allowing cold ingredients to come closer to room temperature (ideally 68-72°F or 20-22°C) before mixing is a simple yet effective strategy when dealing with a cold kitchen, contributing to better baking temperature adjustments for seasons.
Summer Baking: Adjusting for High Kitchen Temperatures
Reducing Oven Temperature for Summer Baking
When your kitchen feels like a sauna, the ambient heat can subtly influence the temperature around your oven and even the ingredients waiting to be baked. While the oven thermostat controls the internal temperature, a very hot kitchen environment can sometimes lead to the oven working harder to maintain its temperature or potentially causing the exterior of your bake to cook faster than the interior due to the warmer starting point of the dough or batter.
A common strategy for summer baking is to slightly reduce the oven temperature, often by 10-15°F (5-8°C), especially for delicate items like cakes or pastries. For example, if a cake recipe calls for 350°F (175°C), you might try baking it at 340°F (170°C). This adjustment helps prevent the outside from setting too quickly or browning excessively before the inside is fully baked. It allows for a more even heat distribution throughout the product in a warmer environment, contributing to better baking temperature adjustments for seasons.
Shorter Baking Times in Warmer Months
As mentioned earlier, warmer ambient temperatures can speed up ingredient reactions and heat transfer. Doughs and batters start at a higher temperature in a warm kitchen, meaning they reach the critical internal temperature for baking faster once placed in the oven. This often translates to shorter overall baking times compared to baking the same item in a cooler environment.
It's not uncommon for cookies, muffins, or even smaller cakes to be ready 1-3 minutes earlier in a hot summer kitchen. This highlights the importance of using visual and tactile cues for doneness rather than strictly adhering to the recipe's time range. Checking for golden edges, a toothpick test, or gentle springiness becomes paramount. Being prepared for shorter bake times is a key part of making baking temperature adjustments for seasons effectively during the summer.
Tips for Managing Melted Butter and Soft Dough in Summer
High kitchen temperatures pose a significant challenge for recipes requiring solid or chilled butter, or doughs that need to maintain a firm structure (like pie crusts, cut-out cookies, or laminated doughs). Butter melts rapidly in warmth, leading to greasy, tough crusts or cookies that spread excessively into thin, crispy discs instead of holding their shape. Doughs can become sticky, difficult to handle, and lose their desired texture.
To combat this:
- Keep ingredients like butter, eggs, and milk in the refrigerator until the very last moment before use.
- Chill your mixing bowl and equipment before starting.
- Work quickly when handling doughs, minimizing contact time with warm hands.
- Chill the dough or formed cookies/pastries in the refrigerator or freezer before baking. A 15-20 minute chill in the fridge for cookie dough can make a huge difference in spread.
- Consider baking early in the morning or late in the evening when the kitchen is cooler.
- Use ice baths under mixing bowls when whipping cream or making unstable emulsions.
These proactive steps are essential baking temperature adjustments for seasons when the heat is on.
Winter Baking: Counteracting Cold Kitchen Temperatures
Increasing Oven Temperature Slightly in Winter
Just as summer heat can influence baking, cold winter temperatures can also have an effect. While less dramatic than summer, a cold kitchen means ingredients start colder, and the oven might lose heat slightly faster when opened due to the larger temperature difference between the hot interior and the cold ambient air.
For some recipes, particularly those with longer bake times or larger items like bread loaves or roasts (though we focus on baking), a slight increase in oven temperature, perhaps by 5-10°F (3-5°C), can help ensure the interior cooks through properly without excessively lengthening the bake time. For example, a large loaf of bread baked at 450°F (230°C) might benefit from 455°F or 460°F (235°C) in a very cold kitchen. However, this adjustment should be made cautiously, as too high a temperature can lead to burnt crusts. It's one of the more subtle baking temperature adjustments for seasons.
Longer Baking Times and Cold Kitchens
The primary effect of colder ingredients and ambient temperatures in winter baking is often an increase in the time required for baked goods to reach doneness. Batters start colder, doughs take longer to warm up in the oven, and overall heat penetration can be slightly slower.
Expect cookies to take an extra minute or two, cakes to require the full range of the recipe's suggested time (or slightly longer), and bread loaves to need a few extra minutes to achieve the correct internal temperature (typically 190-210°F or 88-99°C for most loaves). Again, relying on visual cues and using tools like an instant-read thermometer for items like bread or cakes is more reliable than sticking rigidly to the clock. Patience is a virtue in cold-weather baking, and longer bake times are a common element of baking temperature adjustments for seasons.
Warming Ingredients Before Baking: A Winter Baking Hack
One of the most effective strategies for winter baking is to ensure your cold ingredients aren't too cold. While some recipes explicitly call for cold butter or eggs, many standard recipes assume ingredients are at a comfortable room temperature (around 70-72°F or 21-22°C). In a cold kitchen, achieving this naturally can take hours.
Consider gently warming milk or water for yeast doughs to the upper end of the recommended temperature range (around 105-115°F or 40-46°C). For recipes requiring softened butter or room temperature eggs, plan ahead. Take butter out of the fridge several hours in advance, or use quick methods like cutting butter into small pieces or placing eggs in warm water for 10-15 minutes. Ensuring ingredients are at the right temperature before mixing helps chemical reactions proceed as expected and prevents the cold from stalling processes like creaming or gluten development, making for more effective baking temperature adjustments for seasons.
Specific Baked Goods and Seasonal Adjustments
Adjusting Baking Times for Cakes in Summer vs. Winter
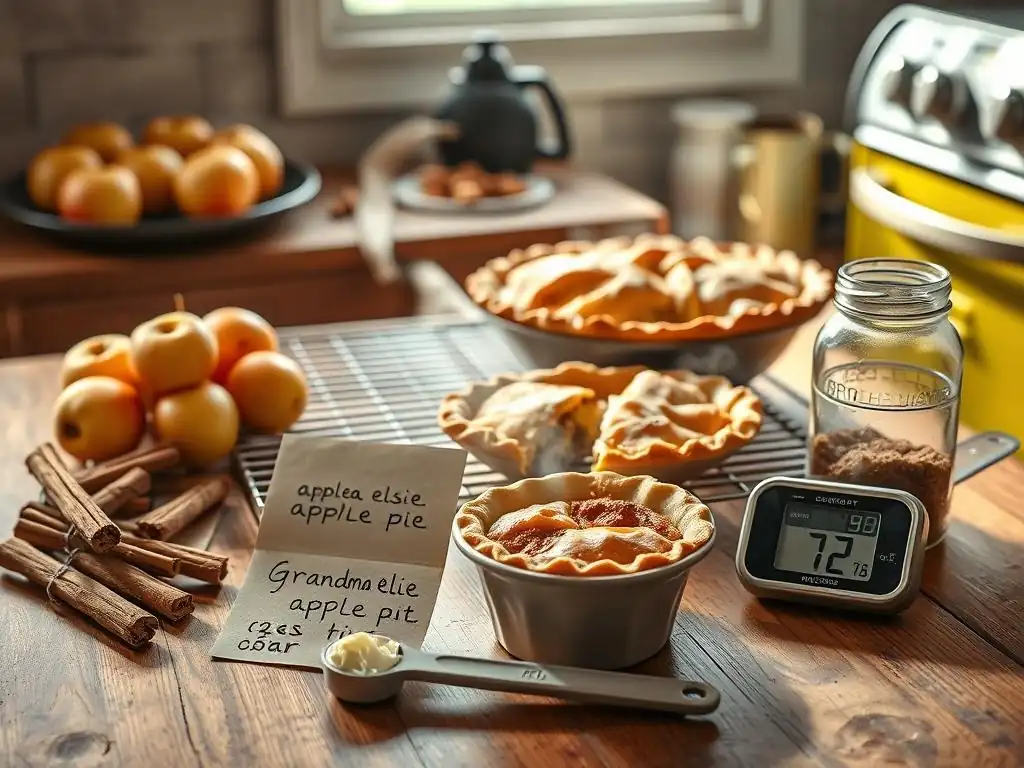
Cakes are particularly sensitive to temperature fluctuations. In summer's heat, batters incorporating softened butter or oil can become looser. Leavening agents may react more quickly. This can lead to cakes that rise rapidly and potentially dome excessively or even sink in the center if the structure sets too fast on the outside before the inside is ready. As discussed, slightly lowering the oven temperature (e.g., from 350°F/175°C to 340°F/170°C) and checking for doneness a few minutes early is a good strategy.
In winter, colder batters mean slower heat penetration. Cakes might take the full baking time, or even a few minutes longer, to set in the center. Ensuring eggs and butter are truly at room temperature is crucial for proper emulsification and texture. If a cake consistently sinks in the center in summer, try lowering the temperature and checking sooner. If it seems dense or underbaked in winter, ensure ingredients are warm enough and allow for potentially longer bake times, using the skewer test to confirm doneness. These are practical baking temperature adjustments for seasons specifically for cakes.
Bread Baking: Seasonal Proofing Time Variations
Bread baking is perhaps the most visibly affected by ambient temperature, particularly during the proofing stages. Yeast activity dictates how quickly the dough rises, and yeast loves warmth. In a warm summer kitchen (75-80°F / 24-27°C), a first rise might take 45-75 minutes. The same dough in a cool winter kitchen (65-70°F / 18-21°C) could easily take 1.5-2.5 hours or even longer.
To manage this:
- Summer: Monitor dough closely. Proof in a slightly cooler spot (like a pantry floor) or use cooler water in the dough. Punch down gently if needed and proceed to shaping promptly once doubled.
- Winter: Find a warm spot for proofing. This could be near a sunny window, on top of a warm appliance, or in a turned-off oven with the light on (which typically provides a gentle warmth around 75-80°F / 24-27°C). You may need to increase proofing time significantly.
Understanding these seasonal variations in proofing time is a fundamental baking temperature adjustments for seasons skill for bread bakers.
Cookie spread is highly influenced by the temperature of the dough and the butter within it. In warm kitchens, cookie dough softens quickly. Butter starts melting before it hits the oven, leading to excessive spread. This can turn thick, chewy cookies into thin, crispy ones.
- Summer: Chill the dough thoroughly before scooping or cutting. Chill the formed cookies on the baking sheet for 15-30 minutes in the refrigerator or 10 minutes in the freezer before baking. This solidifies the butter, allowing the cookies to set slightly before the butter melts completely in the oven, limiting spread. Some bakers even bake on chilled baking sheets.
- Winter: Cookie dough might be too firm to scoop easily. Allow it to sit at room temperature for 10-15 minutes to soften slightly, or work it briefly with your hands. Be aware that baking times might be slightly longer.
Controlling the dough temperature through chilling (summer) or slight warming (winter) is a key baking temperature adjustments for seasons strategy for achieving consistent cookie texture and shape.
Tools and Techniques for Monitoring Kitchen Temperature
Using a Kitchen Thermometer for Accurate Readings
Guessing your kitchen's ambient temperature isn't the most reliable method for making precise baking temperature adjustments for seasons. An inexpensive indoor thermometer placed in your kitchen can provide an accurate reading of the environment where your ingredients and doughs are resting and being prepared. Knowing the actual temperature allows you to make more informed decisions about adjusting proofing times, ingredient temperatures, or even slight oven temperature tweaks.
Place the thermometer away from direct sunlight, vents, or the oven itself to get a reading that reflects the general kitchen environment. Check it at different times of the day as temperatures can fluctuate. Understanding the typical temperature range of your kitchen throughout the different seasons provides valuable data for predicting how recipes will behave and planning your baking temperature adjustments for seasons accordingly.
Creating a Consistent Baking Environment
While you can't control the weather, you can take steps to create a more consistent micro-environment for your baking, especially for sensitive processes like proofing. A draft-free location is essential year-round. Sudden drafts can cause cakes to sink or doughs to develop a tough skin.
- Proofing Box: Investing in a proofing box (or creating a makeshift one) can provide a temperature-controlled environment for yeast doughs, ensuring consistent proofing regardless of the season.
- Oven with Light On: As mentioned, a turned-off oven with just the light on is a common hack to create a warm, draft-free space around 75-80°F (24-27°C), ideal for proofing in winter.
- Ingredient Temperature Control: Consistently bringing ingredients to the correct temperature before mixing is paramount. Use methods like warm water baths for eggs or cutting butter into small pieces to speed up softening in winter, or keeping items chilled until the last moment in summer.
These techniques help minimize the impact of external temperature fluctuations, making your baking temperature adjustments for seasons easier and your results more predictable.
Practical Tips for Consistent Baking Results Year-Round
Preheating Your Oven Effectively
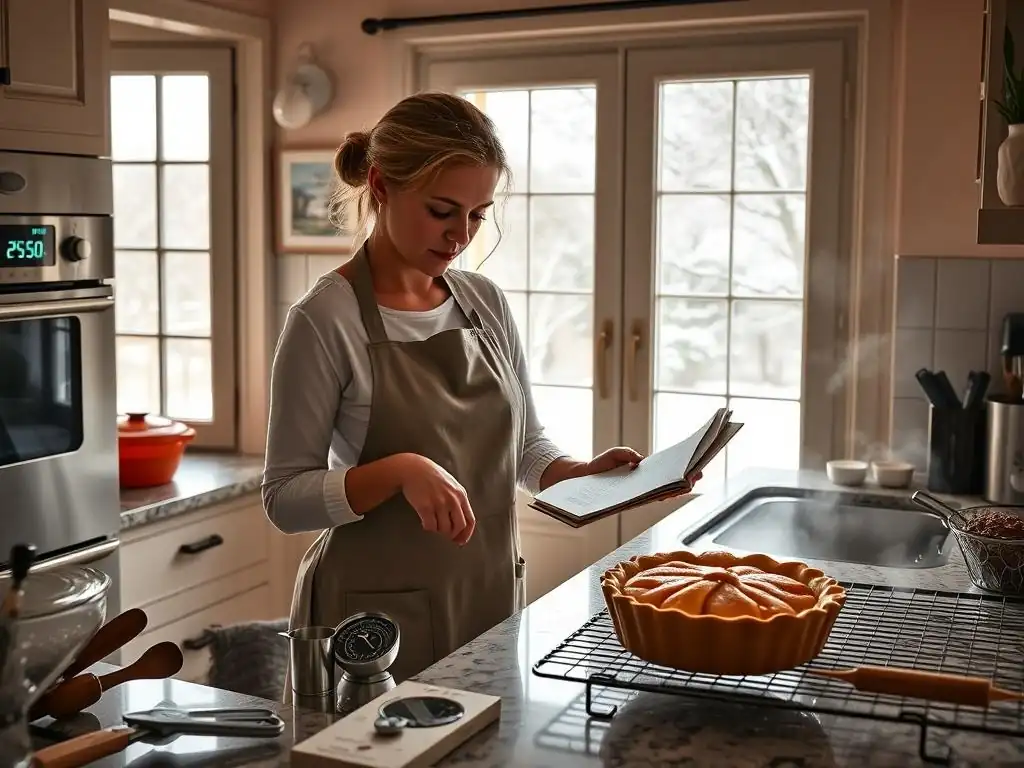
Proper oven preheating is non-negotiable for consistent baking, regardless of the season. An oven needs sufficient time to reach and stabilize at the target temperature. This usually takes 15-20 minutes, or even longer for higher temperatures or older ovens. Don't trust the indicator light alone; it often signals when the air inside has reached the temperature, but the oven walls and racks may still be heating up.
Placing baked goods into an oven that hasn't fully preheated can lead to uneven baking, poor rise, and incorrect textures. The heat needs to be radiating from all surfaces, not just circulating air. Taking the extra time to preheat fully ensures that the heat transfer to your bake starts consistently from the moment it enters the oven, providing a reliable baseline before considering any baking temperature adjustments for seasons.
Rotating Baking Sheets for Even Baking
Even the best ovens can have hot spots. Rotating your baking sheets halfway through the bake time helps expose all sides of your cookies, cakes, or muffins to different areas of the oven, promoting more even cooking and browning. This is especially helpful when making baking temperature adjustments for seasons, as it helps mitigate any subtle variations caused by ambient conditions interacting with the oven's performance.
For example, if one side of your oven is consistently hotter, rotating a cookie sheet ensures that the cookies that were initially on the hotter side get moved to a cooler spot, and vice-versa. This simple step helps prevent one side of your batch from being overdone while the other is underbaked, leading to a more uniform result across the entire tray.
Investing in Oven Thermometers for Accuracy
Oven thermostats are notoriously inaccurate. They can be off by as much as 25-50°F (14-28°C). Relying solely on the dial setting can lead to frustration and inconsistent results, especially when trying to make precise baking temperature adjustments for seasons. An inexpensive oven thermometer placed inside your oven provides an accurate reading of the actual temperature.
Use the oven thermometer to verify that your oven is reaching and maintaining the temperature you set. If your oven consistently runs hot or cold, you can then adjust your dial setting accordingly. For example, if you want to bake at 350°F (175°C) but your thermometer reads 325°F (160°C) when the dial is set to 350°F, you know to set your dial higher, perhaps to 375°F (190°C), to achieve the desired internal temperature. This tool is essential for consistent baking and forms the foundation for effective baking temperature adjustments for seasons.
Sinking Cakes and Uneven Baking in Summer
Sinking cakes in summer are often a result of leavening reacting too quickly or the cake structure not setting fast enough to support the rapid rise. This can be exacerbated by high ambient kitchen temperatures. Uneven baking might occur if the outside sets before the inside has fully cooked.
Possible culprits and solutions:
- Batter too warm: Ingredients might be too warm, causing rapid leavening reaction. Ensure ingredients are proper room temperature (not warm).
- Oven too hot (relative to ambient): Even if set correctly, the combination of a hot oven and hot kitchen can be too much. Try slightly reducing oven temperature (5-10°F / 3-5°C).
- Opening oven door too early/often: This is always a risk, but in a hot kitchen, the influx of slightly cooler air might cause a sudden temperature shock.
- Over-mixing: Develops gluten, leading to toughness and potential sinking.
- Incorrect pan size/type: Affects heat distribution. Darker pans absorb more heat.
Consider using cake strips around pans to promote even baking from the edges inward.
Dense Bread and Stalled Proofing in Winter
Dense bread and stalled proofing in winter are almost always linked to cold temperatures inhibiting yeast activity. Yeast is sluggish below 70°F (21°C). If your kitchen is cold, proofing will take significantly longer, and if it's too cold, it might barely happen at all, resulting in a dense loaf with poor rise.
Possible culprits and solutions:
- Water/Milk too cold: Yeast needs warm liquid to activate. Use water/milk around 105-115°F (40-46°C).
- Kitchen temperature too low: Find a warm spot for proofing or create one (oven with light on, proofing box).
- Ingredients too cold: Flour, eggs, etc., can cool down the dough. Allow ingredients to come to room temperature.
- Insufficient kneading: Poor gluten development leads to poor structure to hold the rise.
- Old or inactive yeast: Always check yeast freshness.
Patience is key in winter proofing. Give the dough ample time in a warm environment to double in size. These are critical baking temperature adjustments for seasons for bread.
Mastering Seasonal Baking: A Summary of Key Adjustments
Quick Reference Guide for Baking Temperature Adjustments
| Season | Kitchen Temp. | Typical Issues | Potential Adjustments | Key Strategy |
|---|---|---|---|---|
| Summer | Warm/Hot | Fast proofing, excessive spread, sunken cakes | Slightly lower oven temp (5-15°F), shorten bake times, chill dough/ingredients | Chill ingredients/dough, monitor closely |
| Winter | Cold | Slow proofing, dense bakes, firm batters/doughs | Slightly increase oven temp (5-10°F), lengthen bake times, warm ingredients, extend proof | Warm ingredients, find warm proofing spot |
| Year-Round | Fluctuating | Inconsistent results | Use oven thermometer, rotate pans, proper preheating, use kitchen thermometer | Monitor temps, use tools, adjust technique |
This table offers a quick overview of common baking temperature adjustments for seasons. Remember these are guidelines; specific adjustments will depend on your recipe, oven, and exact kitchen environment.
Baking with Ease: Achieving Perfect Results Regardless of the Season
Mastering baking temperature adjustments for seasons is about becoming a more intuitive and adaptable baker. It's less about rigid rules and more about understanding the science behind how temperature affects your ingredients and processes. By paying attention to the ambient temperature in your kitchen, monitoring your ingredients, using reliable tools like thermometers, and being flexible with bake times and proofing schedules, you can achieve consistent, delicious results whether it's the height of summer or the depth of winter.
Don't be afraid to experiment slightly with temperatures and times based on your observations. Keep notes on what works in your specific kitchen during different times of the year. With practice, you'll develop a feel for how temperature influences your favorite recipes, allowing you to bake with confidence and ease, producing perfect treats year-round, regardless of the weather outside.
Frequently Asked Questions
How does the temperature of my kitchen affect baking times?
Ambient kitchen temperature significantly impacts the dough or batter temperature, which directly affects the rising and baking speed. Warmer kitchens accelerate fermentation, while colder ones slow it down.
What adjustments should I make to my baking temperature in the summer?
In summer, your kitchen is likely warmer. Consider reducing the baking temperature by 10-15 degrees and monitoring the internal temperature of your baked goods more closely to prevent over-browning.
Conversely, in winter, your kitchen is likely cooler. You might need to increase the baking time slightly and ensure your ingredients are at room temperature before starting.
How can I accurately measure the temperature of my dough or batter?
Use a food thermometer to check the internal temperature of your dough or batter. This helps you understand if the fermentation process is happening at the optimal rate for consistent results.
Are there specific baked goods that are more sensitive to temperature fluctuations?
Yes, sourdough bread and delicate pastries are particularly sensitive. These require more precise temperature control to achieve the desired texture and rise.
Final Reflection: The Ever-Shifting Oven: Mastering Seasonal Baking
The subtle dance between oven temperature and seasonal ambient temperatures is not merely a minor inconvenience; it's a fundamental truth that every baker must acknowledge to achieve consistent results. Ignoring these fluctuations can lead to frustratingly uneven bakes, leaving even the most experienced bakers scratching their heads. This article has explored the often-overlooked impact of seasonal changes on baking, highlighting the need for precise adjustments to ensure perfectly baked goods year-round.
The impact of ambient temperature on baking is a quiet yet pervasive force shaping our culinary experiences. It's a reminder that even the most precise recipes are subject to the whims of nature. This understanding, I believe, deepens our appreciation for the artistry of baking, transforming it from a simple act of following instructions into a mindful engagement with both the recipe and the environment. The best bakers are those who understand the nuances of their ingredients and their environment.
- A hypothetical quote from a renowned baker
Consider the implications of this knowledge. You now possess the tools to troubleshoot those frustratingly inconsistent bakes. Don't let seasonal shifts dictate the quality of your creations; instead, use this knowledge to master your oven and consistently produce delicious results. Embrace the challenge of adapting your baking techniques to the changing seasons, and watch as your skills evolve and your baked goods reach new heights of perfection. The journey of mastering seasonal baking is a continuous one, filled with learning and delicious rewards. Let this be your starting point.
Unlock Baking Perfection: Master Your Oven's Microclimate!
Thanks for taking the time to explore the fascinating world of ambient kitchen temperatures and their impact on baking! We hope you gained valuable insights into achieving consistent, delicious results. Now, it's time to put your newfound knowledge into action.
- Experiment with your oven's preheating: Pay close attention to your kitchen's temperature and adjust preheating time accordingly. Notice how this affects your baking results.
- Share your baking triumphs (and challenges!): Join our BakeWithEase community on social media and share your experiences with seasonal baking adjustments. Let's learn from each other!
- Try a recipe adjustment: Choose a favorite recipe and modify the baking time based on your current kitchen temperature. Observe how this simple change influences the final outcome.
So, what delicious adventure will you embark on first to master your kitchen's microclimate and achieve baking perfection?