
From Sinking to Soaring: Troubleshooting Your Cake

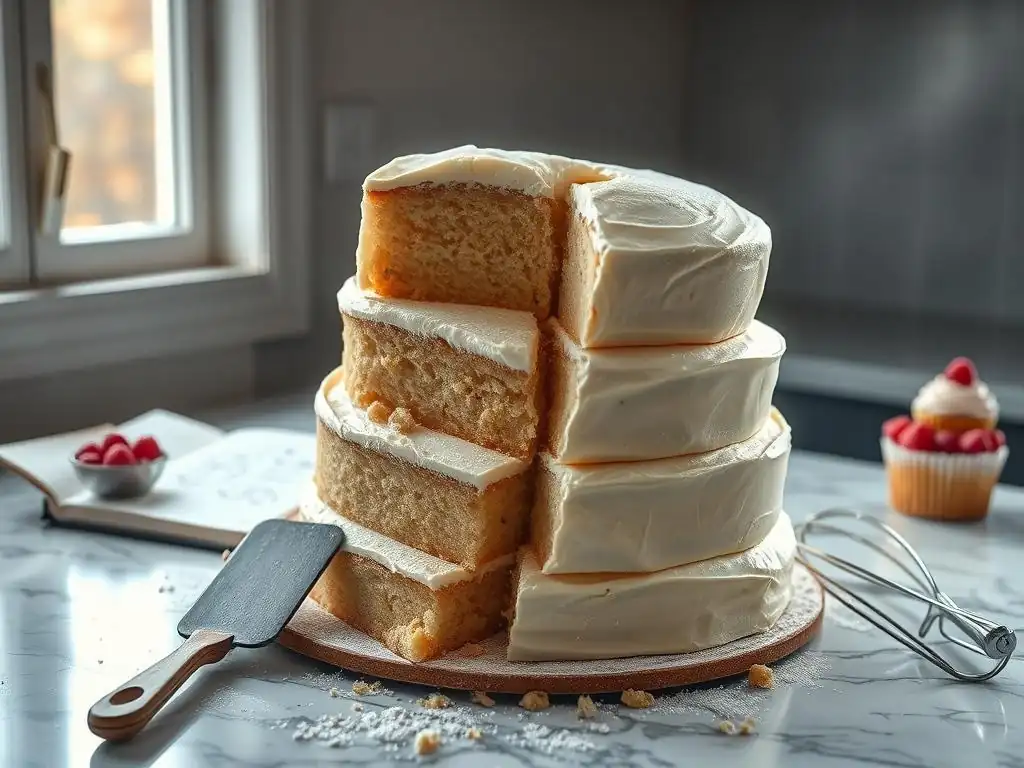
Welcome to BakeWithEase, your kitchen companion for turning baking dreams into delicious realities! Ever experienced the heartbreak of a cake sinking in the middle? Don't despair! This article dives deep into cake sinking troubleshooting tips, revealing the secrets to achieving perfectly risen, structurally sound masterpieces. Ready to uncover the common culprits and learn how to prevent this baking blunder? Let's get baking!
- From Flat to Fab: Troubleshooting Your Cheesecake
- Understanding Why Cheesecakes Crack: A Baker's Guide
-
Cheesecake Cracking Troubleshooting Tips: Step-by-Step Solutions
- Step 1: Maintain a Consistent Oven Temperature for Even Baking
- Step 2: Mastering the Art of Gentle Mixing
- Step 3: Achieve Gradual Cooling: Preventing Rapid Temperature Changes
- Step 4: Adding Moisture to the Oven: Creating a Steamy Environment
- Step 5: Recognizing the Signs of Doneness: Preventing Overbaking
- Preventing Future Cheesecake Disasters: Proactive Baking Strategies
- Beyond Cracking: Addressing Related Cheesecake Problems
- Rescue Mission: What to Do With a Cracked Cheesecake
- Conclusion: Baking with Confidence and Conquering Cheesecake Challenges
- Frequently Asked Questions
- Final Reflection: The Sweet Science of a Successful Cake
- Unlock Your Baking Potential: Level Up Your Cake Game!
From Flat to Fab: Troubleshooting Your Cheesecake
Cheesecake is a beloved dessert, known for its creamy texture and rich flavor. However, even experienced bakers can face the dreaded cracked surface. Understanding why cheesecakes crack is the first step toward achieving that perfect, smooth top. This guide provides comprehensive cheesecake cracking troubleshooting tips to help you conquer this common baking challenge and elevate your skills on BakeWithEase.com.
Understanding Why Cheesecakes Crack: A Baker's Guide
Cracking in cheesecakes is often a symptom of stress during the baking or cooling process. It happens when different parts of the cheesecake cool and contract at different rates, causing tension on the surface. Identifying the root cause is crucial for effective troubleshooting cheesecake cracks.
The smooth, dense structure of a cheesecake batter behaves differently than a traditional cake batter. It relies on gentle heat and gradual cooling to set properly without developing structural flaws like cracks. Factors ranging from oven environment to batter preparation play a significant role in the final outcome.
Common Causes of Cracked Cheesecakes: Identifying the Culprits
Several factors contribute to cheesecakes developing cracks. Pinpointing the specific issue in your baking process is key to successful cheesecake cracking troubleshooting. Let's delve into the most frequent culprits.
Understanding these common issues allows bakers to be more proactive. For instance, noticing rapid browning around the edges might indicate an oven temperature issue, while a sunken middle with cracks suggests overbaking or cooling too quickly.
Oven Temperature Fluctuations and Cheesecake Cracking
Inconsistent oven temperatures are a major enemy of delicate cheesecakes. If the temperature spikes or drops significantly during baking, it can cause the cheesecake to bake unevenly. The edges might set too quickly and become rigid while the center is still baking, leading to tension and cracking as the center finishes and contracts.
Many home ovens can fluctuate by as much as 25-50°F (approx. 15-30°C) from the set temperature. Using an oven thermometer placed near the cheesecake can help monitor the actual temperature and reveal if significant variations are occurring, guiding your cheesecake cracking troubleshooting tips. Preheating your oven for a full 20-30 minutes after it signals readiness is also vital to ensure the temperature is stable throughout the cavity.
Overbaking: A Recipe for Disaster?
Baking a cheesecake for too long or at too high a temperature is a very common cause of cracking. As a cheesecake bakes, its proteins coagulate and the structure sets. If overbaked, the mixture becomes too dry and firm, losing its elasticity.
When an overbaked cheesecake begins to cool, it contracts significantly more than it would if properly baked. This excessive contraction puts immense strain on the already rigid surface, almost guaranteeing a crack. A perfectly baked cheesecake will still have a slight wobble in the center when gently shaken.
Rapid Cooling: The Key to Cheesecake Smoothness
Cheesecakes are sensitive to sudden temperature changes. Taking a hot cheesecake directly from a warm oven into a cool room causes the outside edges to cool and contract much faster than the warm interior. This differential cooling rate creates tension that pulls the surface apart, resulting in cracks.
Think of it like a glass dish going from a hot oven to cold water – it's likely to shatter. While not as dramatic, the principle is similar for a cheesecake. Gradual cooling is essential to allow the entire cake to contract uniformly, preventing stress on the surface.
Overmixing Batter: Incorporating Too Much Air
When making cheesecake batter, it's easy to overmix, especially when using an electric mixer on a high speed. Excessive mixing incorporates too much air into the batter.
During baking, these air bubbles expand. As the cheesecake cools, the air bubbles contract and collapse. This collapse can cause the structure to sink slightly and, combined with the general contraction of cooling, often leads to surface cracks. Gentle mixing is paramount for a smooth, dense texture.
Insufficient Moisture in the Oven
A dry oven environment can also contribute to cracking. Without sufficient moisture in the air, the surface of the cheesecake can dry out and set too quickly while the interior is still baking and expanding.
This premature setting of the surface creates a rigid crust that cannot accommodate the expansion of the interior. As the interior finishes baking and then cools and contracts, the rigid top cracks under the tension. Adding moisture, often through a water bath, helps the surface stay moist and flexible longer, allowing it to move with the expanding and contracting interior.
Cheesecake Cracking Troubleshooting Tips: Step-by-Step Solutions
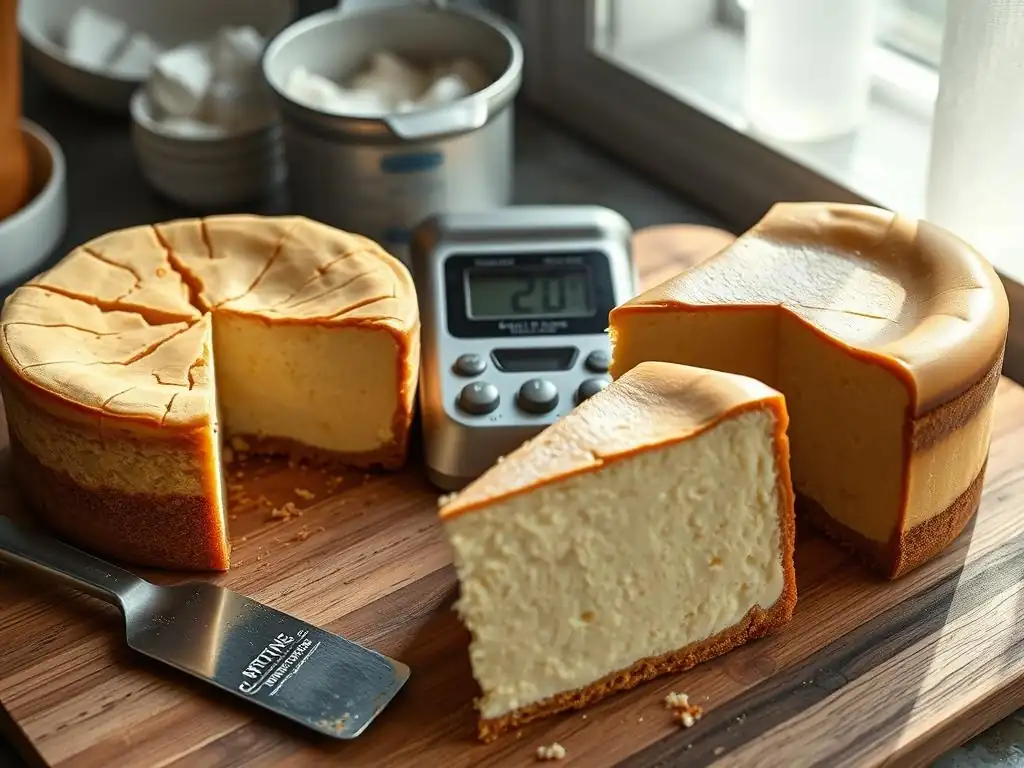
Now that we've explored why cheesecakes crack, let's dive into practical cheesecake cracking troubleshooting tips to help you achieve that coveted smooth top. These steps focus on controlling the baking and cooling environment and refining your batter preparation technique.
Implementing these strategies systematically can significantly improve your success rate. Even small adjustments, like preheating your oven longer or changing your cooling method, can make a big difference in preventing those frustrating cracks.
Step 1: Maintain a Consistent Oven Temperature for Even Baking
One of the most effective cheesecake cracking troubleshooting tips is ensuring your oven temperature is accurate and stable. Always use an oven thermometer to verify your oven's reading. If it's off, adjust your oven's setting accordingly. For example, if your oven runs 25°F hot, set it 25°F lower than the recipe recommends.
Preheat your oven for at least 20-30 minutes after it indicates it's ready. This allows the heating elements to cycle on and off several times, stabilizing the temperature throughout the oven cavity. Avoid opening the oven door unnecessarily during baking, as this causes significant temperature drops and fluctuations.
Step 2: Mastering the Art of Gentle Mixing
Overmixing is a common pitfall. The goal when mixing cheesecake batter is to combine the ingredients until just smooth and homogenous, without whipping air into the mixture.
Avoiding Overmixing: Visual Cues and Best Practices
Use a stand mixer on low speed, a hand mixer on its lowest setting, or even mix by hand with a whisk or spatula. Mix only until the ingredients are incorporated and the batter is smooth. If you see large air bubbles forming or the batter becomes noticeably lighter and fluffier, you've likely overmixed.
Focus on scraping down the sides and bottom of the bowl frequently to ensure even mixing without needing excessive speed or time. This gentle approach is a key cheesecake cracking troubleshooting tip.
Incorporating Ingredients Slowly and Evenly
Add ingredients like eggs one at a time, mixing just until each is incorporated before adding the next. When adding wet ingredients to dry, or vice versa, mix on low speed only until no streaks of the original ingredient remain.
This slow, deliberate mixing prevents the rapid incorporation of air. It ensures a dense, smooth batter that is less prone to structural issues like cracking during baking and cooling.
Step 3: Achieve Gradual Cooling: Preventing Rapid Temperature Changes
Rapid cooling is a primary cause of cracks. The goal is to cool the cheesecake slowly, allowing the interior and exterior to contract together.
The Oven-Off Method: A Gentle Cooling Technique
A highly effective cheesecake cracking troubleshooting tip is the "oven-off" method. Once the cheesecake is baked (jiggles slightly in the center), turn off the oven. Prop the oven door open slightly (using a wooden spoon works well) and leave the cheesecake inside for 1-2 hours.
This method allows the cheesecake to cool down very gradually within the still-warm environment of the oven. It minimizes the temperature shock that occurs when moving it directly to a cooler room, significantly reducing the risk of cracking.
Avoiding Drafts During Cooling
After the initial gradual cooling period in the oven, move the cheesecake to a countertop away from drafts. Avoid placing it near open windows, air conditioning vents, or fans.
Exposure to cool drafts can cause the surface to cool and contract too quickly relative to the warm interior, potentially causing cracks even after the oven-off method. Patience during cooling is just as important as precision during baking.
Step 4: Adding Moisture to the Oven: Creating a Steamy Environment
Increasing the humidity in your oven helps keep the cheesecake's surface moist and pliable during baking, preventing it from setting too early and cracking.
Water Bath Baking: A Classic Technique
Baking in a water bath (bain-marie) is a traditional and very effective method for preventing cheesecake cracks. Wrap the springform pan securely in heavy-duty aluminum foil (at least 2-3 layers) to prevent water from seeping in. Place the wrapped pan in a larger roasting pan. Carefully pour hot water into the roasting pan until it comes halfway up the sides of the cheesecake pan.
The water bath provides gentle, even heat and creates steam, which humidifies the oven. This is one of the most recommended cheesecake cracking troubleshooting tips for achieving a perfectly smooth top.
Using a Pan of Water on the Oven Rack
If a water bath seems too daunting, a simpler method is to place a heatproof pan filled with hot water on the rack below the cheesecake while it bakes.
This also generates steam, although perhaps not as effectively as a water bath directly surrounding the pan. It's a good alternative if you're looking for a less involved way to add moisture to the oven environment and aid in preventing cracking.
Step 5: Recognizing the Signs of Doneness: Preventing Overbaking
Overbaking is a major cause of cracking. Learning to tell when your cheesecake is just done is crucial.
The Jiggle Test: A Visual Indicator
A perfectly baked cheesecake will still have a slight wobble in the center when you gently nudge the pan. The outer 2-3 inches should appear set and slightly puffed, while the very center (about a 2-3 inch circle) should still look a bit soft and jiggle like firm gelatin.
The residual heat will continue to cook the center as it cools. If the entire surface looks completely set and firm while still in the oven, it's likely already overbaked. Trust the jiggle test as a primary indicator when applying your cheesecake cracking troubleshooting tips.
Monitoring Internal Temperature
For ultimate precision, you can use an instant-read thermometer. A cheesecake is typically done when the internal temperature in the center reaches 150-155°F (approx. 65-68°C).
Insert the thermometer about halfway between the edge and the center, avoiding touching the bottom of the pan. This method is particularly useful if you're unsure about the jiggle test or working with a new recipe or oven.
Preventing Future Cheesecake Disasters: Proactive Baking Strategies
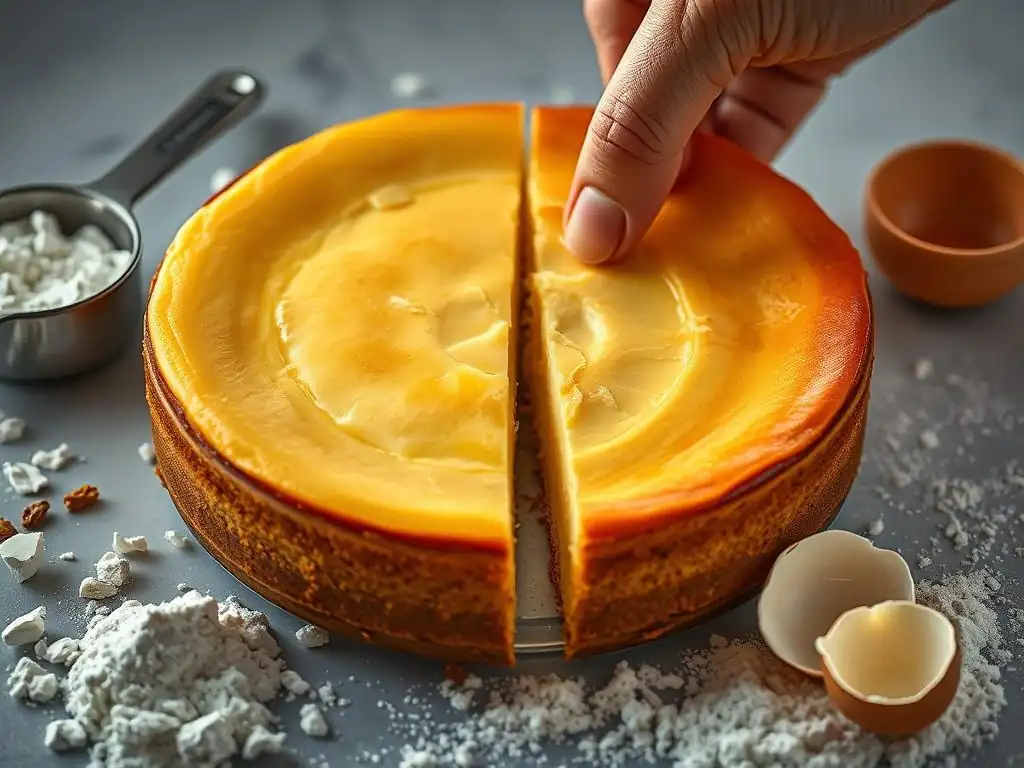
While cheesecake cracking troubleshooting tips help fix or prevent issues during the current bake, adopting proactive strategies ensures consistent success in the future. It's about creating the optimal conditions and following best practices from start to finish.
Building good habits in cheesecake baking pays off. Focusing on preparation, ingredient quality, and environmental control minimizes the chances of encountering common problems like cracks.
Optimizing Your Baking Environment for Consistent Results
Beyond using an oven thermometer, ensure your oven is clean and free of debris that could affect heat distribution. Position the oven rack in the center of the oven for the most even heat flow.
Consider the ambient temperature of your kitchen. Avoid baking cheesecake on extremely hot or cold days if your kitchen temperature is not stable. A consistent, moderate kitchen temperature helps during the crucial cooling phase.
Using High-Quality Ingredients for Best Results
The quality and temperature of your ingredients matter. Ensure your cream cheese is at room temperature (around 68-70°F or 20-21°C). Cold cream cheese is harder to mix smoothly without overworking it, which can lead to lumps or incorporating too much air.
Use full-fat cream cheese for the best texture and richness. Using lower-fat versions can affect the structure and make it more prone to cracking. Ensure eggs are also at room temperature for better emulsification with the cream cheese.
Best Practices for Cooling Cheesecakes: Avoiding Cracks
Reiterate the importance of gradual cooling. After the oven-off method (1-2 hours), remove the cheesecake from the oven and place it on a wire rack on the counter. Allow it to cool completely at room temperature, away from drafts, for another 2-3 hours.
Only transfer the cheesecake to the refrigerator once it has cooled completely to room temperature. Refrigerate it for at least 6-8 hours, or preferably overnight, before slicing. This slow, two-stage cooling process is fundamental in preventing cracks and achieving a firm, sliceable texture.
While cracking is a common issue, other problems can arise. Understanding how to address a gummy, runny, or dry cheesecake is also part of comprehensive cheesecake troubleshooting tips.
These issues often stem from similar causes as cracking – incorrect temperature, baking time, or mixing technique – but manifest differently. Recognizing the signs helps you adjust your approach for future bakes.
Troubleshooting a Gummy Cheesecake
A gummy or rubbery texture often results from overmixing the batter or baking at too high a temperature. Overmixing develops the proteins in the cream cheese and eggs too much, leading to a tough texture. High heat can cause the proteins to seize up quickly, resulting in a similar outcome.
To avoid this, mix gently and ensure accurate oven temperature. If you've already baked a gummy cheesecake, there's no way to fix the texture, but you can salvage it by incorporating it into other desserts like trifles or parfaits.
Fixing a Runny Cheesecake
A runny cheesecake means it is underbaked. The proteins haven't set sufficiently to create a firm structure. This is often indicated by excessive jiggle that extends beyond the center or a low internal temperature (below 150°F or 65°C).
If you discover it's underbaked after cooling, unfortunately, you cannot rebake it. However, you can still use it! It works well as a thick sauce or filling for tarts, crepes, or even served in glasses topped with fruit, similar to a no-bake cheesecake filling.
Preventing a Dry Cheesecake
A dry, crumbly cheesecake is usually a sign of overbaking. Baking for too long or at too high a temperature evaporates too much moisture, leading to a dry texture.
Ensuring accurate bake time based on the jiggle test and internal temperature (150-155°F) is the best prevention. Using a water bath also helps retain moisture. If you end up with a dry cheesecake, serving it with a generous amount of sauce (fruit coulis, caramel, chocolate) can help mitigate the dryness.
Rescue Mission: What to Do With a Cracked Cheesecake
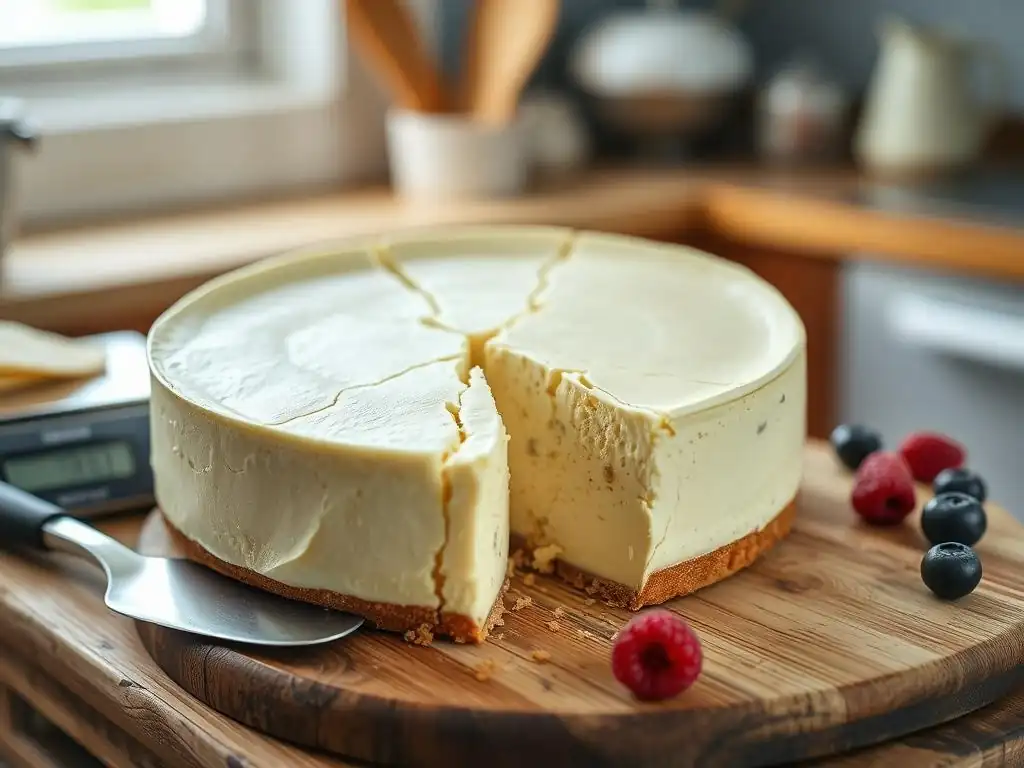
Don't despair if your cheesecake cracks despite your best efforts! A cracked cheesecake tastes just as delicious as a perfect one. There are many creative ways to hide cracks and make your dessert presentable, turning a potential failure into a beautiful success.
Think of a cracked surface as a blank canvas for decoration. With a few simple techniques, no one will even know there was a crack underneath!
Covering Cracks with [Topping Idea 1]
One of the easiest ways to hide a crack is with a delicious topping. A classic choice is a fruit topping, like a vibrant berry compote or sliced fresh strawberries mixed with a little sugar. Simply spoon the topping over the entire surface of the cooled cheesecake, ensuring it covers the crack completely.
Other options include a layer of whipped cream or stabilized whipped cream (whipped cream with a little gelatin or cornstarch added for stability). You can spread it smoothly or pipe decorative swirls over the surface. A ganache or chocolate glaze poured over the top also effectively hides imperfections and adds rich flavor.
Transforming a Cracked Cheesecake into [Dessert Idea 2]
If the crack is severe or you prefer a different presentation, transform the cheesecake into another dessert. Cheesecake parfaits are a great option: crumble the cracked cheesecake layer into glasses or jars and layer it with fruit, whipped cream, cookie crumbs, or sauces.
Another idea is cheesecake bites or truffles. Cut the cracked cheesecake into small squares or roll crumbled pieces with a binder (like a little cream cheese frosting or melted chocolate) into balls, then dip them in chocolate or roll them in nuts or crumbs. This completely repurposes the cheesecake, making the crack irrelevant.
Conclusion: Baking with Confidence and Conquering Cheesecake Challenges
Baking a perfect cheesecake with a smooth, crack-free top is a rewarding experience. By understanding the common causes of cracking – temperature issues, overbaking, rapid cooling, overmixing, and lack of moisture – you are well-equipped to apply effective cheesecake cracking troubleshooting tips.
Remember to prioritize consistent oven temperature, gentle mixing, gradual cooling (especially the oven-off method), and adding moisture with a water bath or water pan. Learning the signs of doneness, like the jiggle test, is also crucial. Even when cracks happen, creative toppings and dessert transformations ensure your delicious creation doesn't go to waste. With practice and these tips from BakeWithEase.com, you'll be baking beautiful, crack-free cheesecakes with confidence.
Frequently Asked Questions
Why did my cake sink in the middle?
A sunken cake is often due to insufficient structure from ingredients or incorrect oven temperature. Common culprits include too much liquid, not enough flour, or an oven that's too hot.
How can I prevent my cake from sinking?
Ensure accurate measurements of ingredients, particularly flour. Avoid overmixing the batter and verify your oven is preheated to the correct temperature before baking.
What ingredients can contribute to a cake sinking?
Too much sugar or fat can destabilize the cake, leading to sinking. Also, using expired baking powder can hinder proper leavening.
What is the best way to measure flour for baking?
Use the spoon and level method to avoid packing too much flour into your measuring cup. Weighing flour with a kitchen scale provides the most accurate results.
Is it possible to rescue a sunken cake?
While you can't fully reverse sinking, you can trim the top and use it for trifle or cake pops. Consider frosting it creatively to disguise the unevenness.
Final Reflection: The Sweet Science of a Successful Cake
The seemingly simple act of baking a cake reveals a complex interplay of science and artistry, and troubleshooting a sunken cake underscores this reality. A perfectly risen cake isn't just a delicious treat; it's a testament to understanding the delicate balance of ingredients, techniques, and timing. The frustration of a collapsed cake, however, offers a valuable learning opportunity, pushing us to refine our skills and deepen our appreciation for the baking process.
The journey from a sinking disappointment to a soaring success is a microcosm of life itself – filled with challenges, setbacks, and the ultimate satisfaction of overcoming obstacles. The process of diagnosing the problem, whether it's insufficient leavening, overmixing, or a faulty oven, mirrors the problem-solving skills we employ in other areas of our lives. The only way to do great work is to love what you do.
- Steve Jobs. This applies equally to baking a perfect cake as it does to pursuing our passions. The dedication to mastering a skill, even a seemingly simple one, is a rewarding endeavor.
So, the next time your cake sinks, don't despair! Instead, see it as an invitation to learn, to experiment, and to refine your technique. Embrace the challenge, analyze the results, and use the experience to inform your future baking endeavors. Remember the joy of that perfectly risen cake, the satisfaction of a job well done, and the sweet taste of success – both in the kitchen and beyond. You have the power to transform a baking mishap into a delicious triumph.
Unlock Your Baking Potential: Level Up Your Cake Game!
Thanks for taking the time to troubleshoot your cake woes with us! We hope you now feel equipped to conquer even the trickiest baking challenges. Ready to put your newfound knowledge into practice?
- Bake that perfect cake: Use what you've learned to try a new recipe or revisit an old favorite, paying close attention to the details. Let's see those stunning results!
- Share your baking triumphs (and even your flour-covered mishaps!) on social media using #BakeWithEase. We love seeing your creations and connecting with fellow bakers.
- Explore our other helpful baking guides on the BakeWithEase website for more tips and inspiration.
What ingenious cake creation will you tackle next?