
How Temperature Affects Yeast Fermentation and Dough Rise

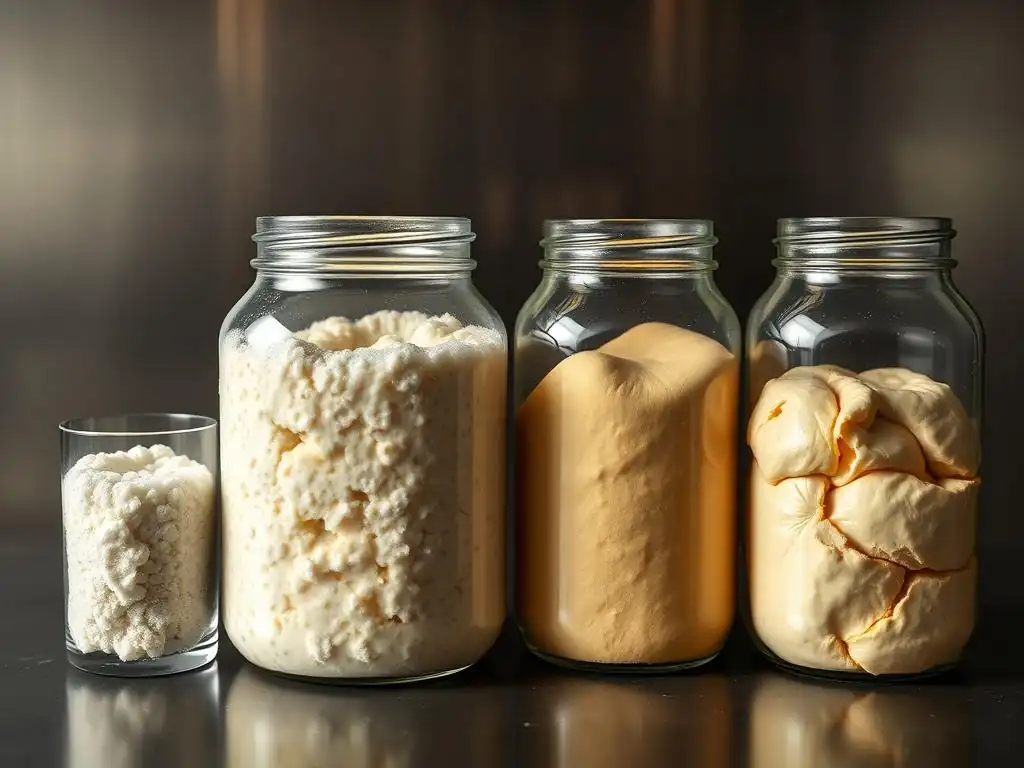
Welcome to BakeWithEase, your trusted guide to baking bliss! Ever wondered how something as simple as temperature can drastically impact your bread baking? Unlock the secrets to perfectly risen dough in our latest article. Discover the crucial role of yeast fermentation temperature control and how mastering it can transform your loaves from flat and dense to light and airy. Ready to bake bread that consistently rises to the occasion? Let's dive in!
- Optimizing Yeast Fermentation for Baking Excellence
- The Science of Yeast Fermentation and Dough Rising
- Ideal Temperature Range for Yeast Fermentation
- How Temperature Affects Dough Rise: A Detailed Look
- Yeast Fermentation Temperature Control: Achieving Consistent Results
- Troubleshooting Temperature-Related Yeast Problems
- Tips for Maintaining Optimal Yeast Fermentation Temperature
- Advanced Techniques: Manipulating Temperature for Flavor Development
- Conclusion: Mastering Yeast Fermentation Temperature for Baking Success
- Frequently Asked Questions
- Final Reflection: Mastering the Art of Yeast Fermentation
- Unleash Your Inner Baker: Master the Art of Yeast Fermentation!
Optimizing Yeast Fermentation for Baking Excellence
Understanding how temperature influences yeast activity is fundamental to achieving consistently excellent baking results. Yeast, a living organism, thrives within specific temperature ranges, and controlling this environment is key to successful dough fermentation and rise. Whether you're baking a rustic loaf of bread, a delicate brioche, or a classic pizza crust, mastering yeast fermentation temperature control is a skill that elevates your baking from good to great. It impacts not just the volume and texture of your dough but also the flavor profile of the final baked good.
This article delves into the fascinating relationship between temperature and yeast, exploring the science behind fermentation, identifying optimal temperature zones for different yeast types, and providing practical techniques for controlling dough temperature. We’ll also troubleshoot common temperature-related issues and look at how manipulating temperature can enhance flavor development, ensuring your baked goods rise perfectly every time and develop delicious complexities. Proper yeast fermentation temperature control is a baker's superpower.
The Science of Yeast Fermentation and Dough Rising
What is Yeast Fermentation and Why is it Important?
Yeast fermentation is a metabolic process where yeast consumes sugars in the dough and converts them into ethanol (alcohol) and carbon dioxide gas. This gas is trapped within the gluten structure of the dough, causing it to expand and rise, a crucial step known as proofing. Beyond leavening, fermentation also produces organic acids and other compounds that contribute significantly to the flavor, aroma, and texture of baked goods. Without adequate fermentation, bread would be dense and flavorless.
This biochemical reaction is vital for creating light, airy bread with a desirable crumb structure. The length and conditions of fermentation, particularly temperature, dictate the pace and products of this process. A well-controlled fermentation ensures the yeast has sufficient time to develop both gas for rise and flavor compounds, preventing issues like under-proofing (dense dough) or over-proofing (collapsed dough, gummy texture). Effective yeast fermentation temperature control is therefore paramount for quality results.
The Role of Temperature in Yeast Activity
Temperature is arguably the most critical environmental factor affecting yeast activity. Yeast is a biological enzyme system, and like all enzymes, its activity is highly sensitive to temperature fluctuations. In general, increasing temperature speeds up the metabolic rate of yeast, leading to faster sugar consumption and gas production. Conversely, decreasing temperature slows down yeast activity.
However, this relationship is not linear. Yeast has an optimal temperature range for peak performance. Below this range, activity is sluggish, resulting in slow fermentation. Above this range, yeast becomes stressed, its activity declines, and at high temperatures, it can be killed. For example, most commercial yeasts become inactive below 50°F (10°C) and are killed rapidly above 140°F (60°C). Understanding these thresholds is essential for effective yeast fermentation temperature control.
Ideal Temperature Range for Yeast Fermentation
Optimal Dough Temperature for Different Yeast Types
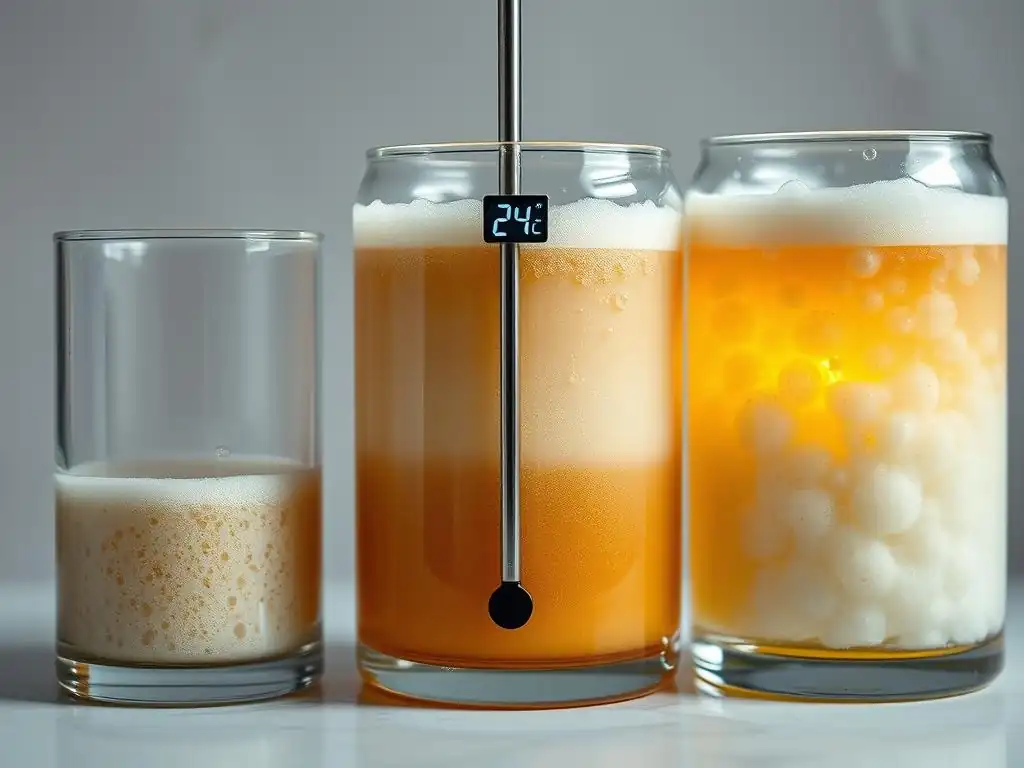
Different types of commercial yeast have slightly different optimal temperature ranges for activation and fermentation. Active Dry Yeast, for instance, typically requires activation in warm water, ideally between 105-115°F (40-46°C), before being added to dry ingredients. Once incorporated into the dough, the bulk fermentation (first rise) and proofing (final rise) generally proceed well at dough temperatures between 75-80°F (24-27°C).
Instant Yeast and Rapid-Rise Yeast are more tolerant and can often be mixed directly with dry ingredients. They tend to be more active at slightly higher temperatures, with optimal bulk fermentation often cited between 80-90°F (27-32°C) for faster results. However, traditional fermentation at 75-80°F still yields excellent flavor development. Compressed Fresh Yeast performs best when dissolved in lukewarm water around 80-90°F (27-32°C) and prefers dough temperatures in the 75-80°F range for fermentation. Knowing your yeast type is the first step in effective yeast fermentation temperature control.
The Impact of Temperature on Yeast Metabolism
The temperature of the dough directly impacts the rate at which yeast enzymes break down complex sugars into simpler ones (like glucose and fructose) and then metabolize these simple sugars into carbon dioxide and ethanol. At cooler temperatures within the active range (e.g., 55-65°F / 13-18°C), yeast activity is slow. This slow fermentation allows proteases within the yeast to work on the gluten structure, which can improve dough extensibility. More importantly, slow fermentation allows for the development of a wider range of flavor compounds, such as esters and alcohols, contributing to a more complex taste profile.
As temperature increases towards the optimal range ( 75-80°F / 24-27°C), yeast metabolism accelerates. Gas production is rapid, leading to a quick rise. While this is efficient for time, it can sometimes lead to less flavor development compared to slower, cooler fermentation. At temperatures above the optimal range (e.g., 90-100°F / 32-38°C), yeast activity is very high initially but can stress the yeast, potentially leading to off-flavors or premature exhaustion. Sustained high temperatures can also weaken the gluten structure, making the dough difficult to handle. Therefore, finding the right balance through yeast fermentation temperature control is crucial.
How Temperature Affects Dough Rise: A Detailed Look
Effects of Warm Temperatures on Dough Proofing
Warm temperatures significantly accelerate dough proofing. When dough is kept in a warm environment, say 85°F (29°C), the yeast's metabolic rate increases, leading to faster gas production. This results in the dough doubling in size much quicker than at cooler temperatures. For example, a dough that might take 60-90 minutes to double at 75°F (24°C) might only take 30-45 minutes at 85°F (29°C). This rapid rise is often desired for quick recipes, like some pizza doughs or same-day bread.
However, warm-temperature proofing has potential drawbacks. The accelerated pace can sometimes outstrip the development of the gluten structure's ability to hold the gas, potentially leading to a weaker crumb. More significantly, the short fermentation time limits the production of desirable flavor compounds. The resulting bread might rise well but lack the depth of flavor achieved with a longer, slower fermentation. Additionally, if the temperature is too high, it can stress the yeast, leading to an off-flavor described as "yeasty" or like beer. Precise yeast fermentation temperature control is needed to leverage warmth without these negative effects.
Cold temperatures, typically below 50°F (10°C), dramatically slow down yeast activity. While not completely dormant, the yeast consumes sugar and produces gas at a very slow rate. Proofing in the refrigerator, often called retarding or cold fermentation, can take anywhere from 8 hours to several days, depending on the dough and temperature (refrigerators are typically set between 35-40°F / 2-4°C). This slow process has significant benefits for flavor development.
During cold fermentation, enzymes (both from the yeast and the flour) have extended time to break down starches into more complex sugars and produce a wider array of aromatic compounds. The gluten also relaxes and hydrates more fully, often resulting in a more extensible dough that is easier to handle and shape after it warms up slightly. While the rise is much slower, the resulting baked goods often have a more complex flavor, improved texture, and better keeping quality. This technique highlights how deliberate yeast fermentation temperature control can be used not just for rise but for flavor.
Yeast Fermentation Temperature Control: Achieving Consistent Results
Measuring Dough Temperature Accurately
To effectively control yeast fermentation temperature, you first need to be able to measure it accurately. Relying solely on ambient room temperature or the temperature of the water used to activate yeast is insufficient, as the dough's internal temperature is influenced by ingredients, mixing friction, and the temperature of the environment. A digital instant-read thermometer is an essential tool for any baker serious about consistency.
To measure dough temperature, simply insert the probe into the center of the dough mass. For smaller batches, a probe might go through the dough; ensure the tip is in the thickest part. Take a reading after mixing and periodically during fermentation, especially if you are trying to maintain a specific temperature range. This simple step provides concrete data, moving yeast fermentation temperature control from guesswork to a precise science. Knowing the dough's actual temperature allows you to make informed decisions about where to place it to speed up or slow down fermentation.
Techniques for Controlling Dough Temperature During Fermentation
Achieving and maintaining the desired dough temperature requires active management of the dough's environment. Several techniques can be employed:
- Using the "Desired Dough Temperature" (DDT) Formula: Professional bakers often use a formula to calculate the ideal water temperature needed to achieve a specific final dough temperature after mixing. A simplified version considers the room temperature, flour temperature, and a friction factor (heat generated during mixing) to determine the target water temperature. While slightly advanced, understanding this concept underscores the importance of starting temperature.
- Finding a Warm Spot: For warmer fermentation, seek out naturally warmer places in your kitchen, such as near a sunny window (but avoid direct sunlight which can overheat), on top of a refrigerator, or inside a turned-off oven with just the light on (the heat from the bulb can raise the temperature by
10-20°F / 5-11°C). - Using a Cooler Environment: For slower fermentation, the refrigerator is the most common tool. Basements or cooler rooms can also provide lower, more consistent temperatures than average kitchen environments.
These techniques, when used in conjunction with accurate temperature measurement, provide robust yeast fermentation temperature control.
Using a Proofer for Temperature Control
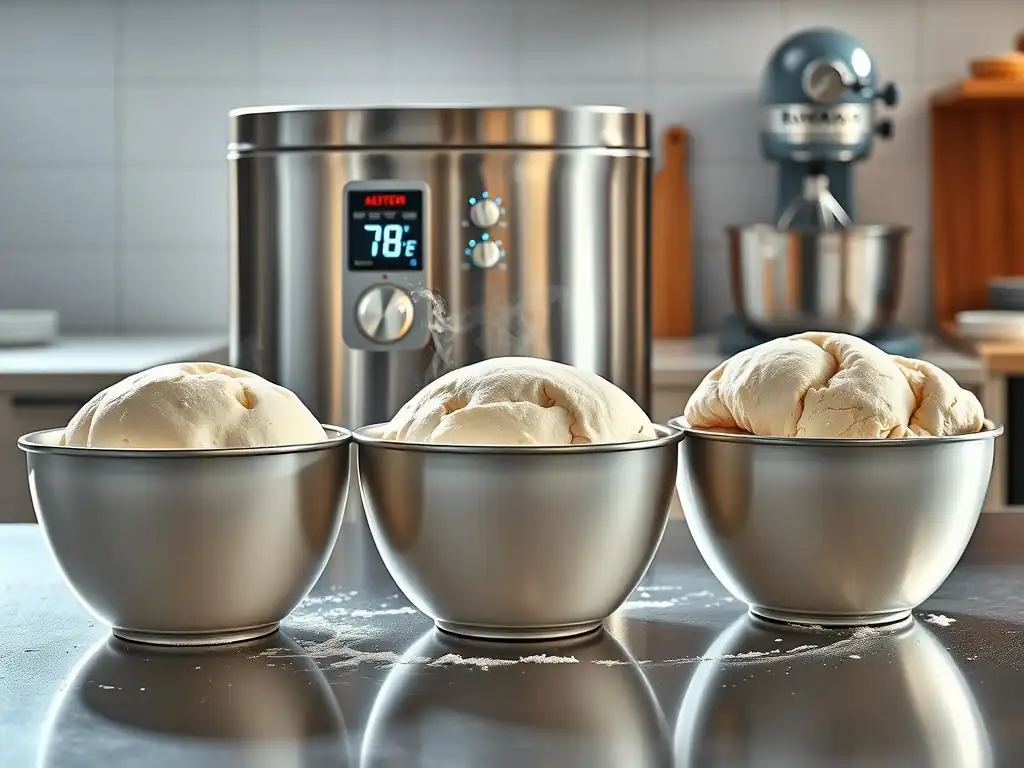
A dedicated proofing box or proofer is the most precise tool for yeast fermentation temperature control. These appliances maintain a consistent temperature and humidity level, creating the ideal environment for yeast activity regardless of ambient conditions. They range from simple foldable boxes with a heating element and water tray to more sophisticated built-in oven functions.
Using a proofer allows you to set the exact temperature you desire, whether it's 75°F (24°C) for standard bulk fermentation or 85°F (29°C) for a faster rise. The controlled humidity also prevents the dough surface from drying out and forming a skin, which can restrict its ability to rise freely. While an investment, a proofer takes the guesswork out of temperature management and offers unparalleled consistency in dough development, making yeast fermentation temperature control effortless.
Adjusting Room Temperature for Yeast Fermentation
While not always practical, adjusting the ambient room temperature is another way to influence yeast fermentation. If your kitchen is consistently too cold, turning up the thermostat slightly can help bring the dough into a more active range. Conversely, if it's too warm, using air conditioning can slow things down.
However, relying solely on adjusting room temperature has limitations. It's often difficult to achieve the precise temperature needed, and fluctuations in room temperature can impact consistency. Furthermore, the dough's internal temperature lags behind the room temperature. While it's a factor to consider, other, more direct methods of yeast fermentation temperature control are often more effective and energy-efficient.
The Importance of Water Temperature in Yeast Activation
The temperature of the water used to hydrate yeast and mix the dough is crucial, especially when using active dry yeast. As mentioned, active dry yeast needs to be proofed (activated) in warm water to ensure viability and kickstart fermentation. Water that is too cold will not activate the yeast effectively, leading to a sluggish or non-existent rise. Water that is too hot will kill the yeast.
For active dry yeast, water between 105-115°F (40-46°C) is generally recommended. For instant yeast, cooler water can be used, often just warm tap water around 80-90°F (27-32°C), or it can be mixed directly with dry ingredients as it's designed to activate upon contact with the dough's moisture at typical dough temperatures. Fresh yeast also prefers lukewarm water around 80-90°F. Getting the initial water temperature right is a foundational step in effective yeast fermentation temperature control.
Slow Dough Rise: Identifying and Correcting Temperature Issues
A slow or absent dough rise is a common problem, and temperature is often the culprit. If your dough isn't rising as expected within the recipe's timeframe, the first thing to check is the dough's internal temperature using a thermometer. If it's significantly below the optimal range (e.g., below 70°F / 21°C), the yeast is simply too sluggish.
To correct this, move the dough to a warmer location. This could be a slightly warmer spot in the kitchen, inside a turned-off oven with the light on, or using a proofer. Be patient; it will take some time for the dough temperature to increase and for yeast activity to pick up. Avoid drastic temperature changes or trying to warm it too quickly, as this can shock the yeast or overheat the dough surface. Consistent yeast fermentation temperature control is better than sudden fixes.
Over-Proofing: Preventing and Addressing Excessive Fermentation
Over-proofing occurs when dough ferments for too long or too quickly, leading to excessive gas production that the gluten structure can no longer support. The dough may rise dramatically and then start to collapse or deflate, especially when handled. Over-proofed dough often smells strongly alcoholic and results in a dense, sometimes gummy texture in the final bake. High temperatures accelerate this process, making yeast fermentation temperature control essential for prevention.
Prevention is key: pay attention to the dough's visual cues (doubled in size, feels airy) rather than strictly adhering to time, especially in warmer environments. Use cooler temperatures for longer fermentation periods. If dough is over-proofing rapidly due to high temperature, you can try punching it down gently to redistribute the yeast and sugars, which can give it a little more time, but it's often difficult to fully recover over-proofed dough.
Sourdough Starter Activity and Temperature
Sourdough starters, which rely on wild yeast and lactic acid bacteria, are also highly sensitive to temperature. The optimal temperature range for maintaining a healthy, active starter and for sourdough fermentation is typically slightly lower than for commercial yeast, often between 75-80°F (24-27°C). However, many bakers maintain their starters at cooler room temperatures ( 70-75°F / 21-24°C) or even in the refrigerator ( 35-40°F / 2-4°C) to slow down activity and reduce feeding frequency.
The balance between yeast activity (for rise) and bacterial activity (for flavor and acidity) in a sourdough starter is heavily influenced by temperature. Warmer temperatures favor bacterial activity, potentially leading to a more acidic starter, while cooler temperatures slow down both, allowing for slower flavor development. Understanding your starter's preferred temperature and using yeast fermentation temperature control for your bulk fermentation and proofing are critical for successful sourdough baking.
Pizza Dough: Temperature and Gluten Development
Pizza dough provides an excellent case study for how yeast fermentation temperature control impacts both rise and texture. A fast, warm fermentation (e.g., 1-2 hours at 80-85°F / 27-29°C) yields a dough that rises quickly and can be baked the same day. This results in a crispier crust due to less enzymatic activity breaking down starches into simple sugars that caramelize readily.
Conversely, a cold fermentation in the refrigerator ( 24-72 hours at 38-40°F / 3-4°C) is a popular technique for developing deeper flavor and improving dough extensibility. The slow, cold fermentation allows enzymes to work, enhancing flavor compounds and strengthening the gluten network over time. This results in a dough that is easier to stretch thinly without tearing and bakes up with a more complex flavor and often a chewier crust. This demonstrates how manipulating yeast fermentation temperature control isn't just about speed but about achieving specific textural and flavor goals.
Tips for Maintaining Optimal Yeast Fermentation Temperature
Best Practices for Warm Weather Baking
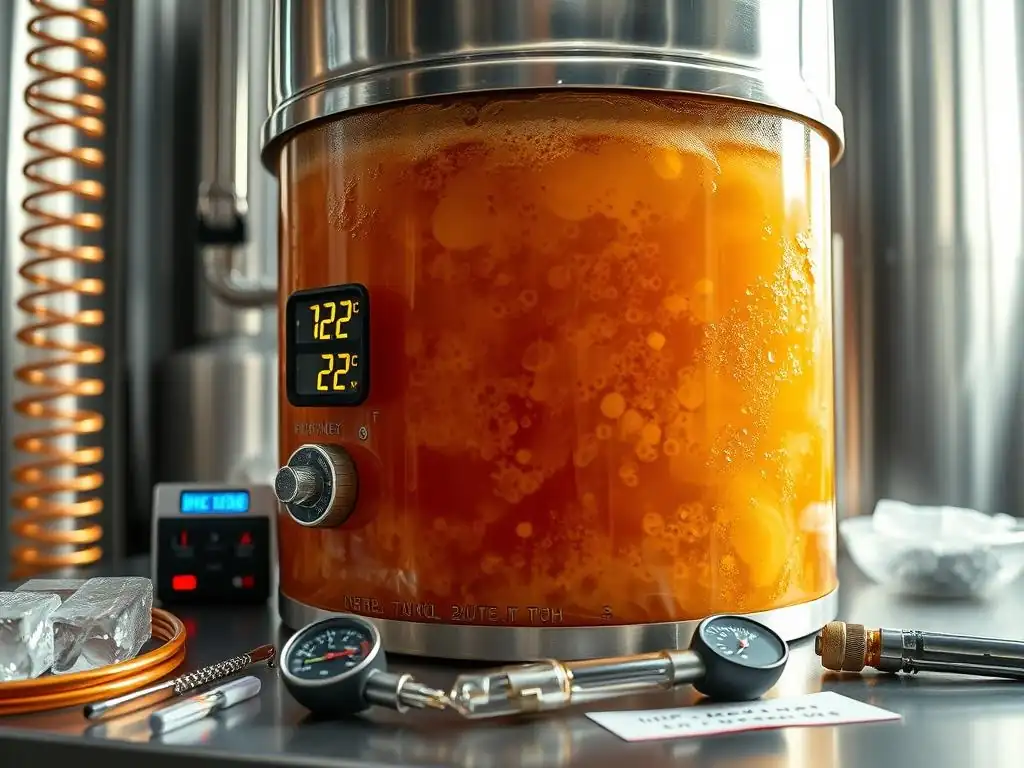
Baking in warm weather presents challenges for yeast fermentation temperature control, as dough can easily overheat and over-proof quickly. To combat this:
- Use cooler water when mixing the dough.
- Consider reducing the amount of yeast slightly, as the warmth will make it more active.
- Use cooler ingredients, such as flour stored in a cooler pantry or even briefly chilled.
- Mix the dough for the minimum time necessary to avoid excessive friction heat.
- Ferment the dough in the coolest part of your kitchen, a basement, or even the refrigerator if a slower rise is acceptable.
- Monitor the dough temperature frequently with a thermometer.
By being proactive with yeast fermentation temperature control in warm conditions, you can prevent your dough from getting away from you.
Best Practices for Cold Weather Baking
Cold weather slows down yeast activity, leading to frustratingly long rise times. To encourage fermentation in cooler conditions:
- Use warmer water for mixing, closer to the upper end of the recommended range for your yeast type.
- Ensure ingredients are at room temperature before mixing.
- Find or create a warmer spot for fermentation (e.g., turned-off oven with light on, near a gentle heat source, or a proofer).
- Allow more time for the dough to rise.
- Consider slightly increasing the yeast quantity (though this can impact flavor).
- Use a thermometer to confirm the dough is reaching a temperature where yeast is active (
70°F / 21°Cor higher is generally good).
Effective yeast fermentation temperature control in cold weather is about providing the yeast with the warmth it needs to perform optimally.
Using a Thermometer for Precise Temperature Management
As highlighted earlier, a reliable thermometer is your best friend for yeast fermentation temperature control. It takes the guesswork out of the process. Instead of relying on vague descriptions like "warm place," you can aim for a specific dough temperature, such as 78°F (26°C), and verify that you've achieved it.
Use an instant-read digital thermometer to check the temperature of your water before adding yeast, the temperature of your dough after mixing, and the temperature of your dough periodically during fermentation. This allows you to make informed adjustments to the environment or technique. For example, if your dough is too cold, you know to move it to a warmer spot. If it's too warm, you know to find a cooler place or shorten the fermentation time. Precise measurement enables precise yeast fermentation temperature control.
Advanced Techniques: Manipulating Temperature for Flavor Development
Cold Fermentation for Enhanced Dough Flavor
Cold fermentation, also known as retarding the dough, is a powerful technique for enhancing the flavor of baked goods. By placing the dough in the refrigerator ( 35-40°F / 2-4°C) for an extended period, typically 12 to 72 hours, you dramatically slow down yeast activity. While gas production is minimal, enzymatic activity continues.
This slow, cool process allows proteases to break down proteins, improving gluten extensibility, and amylases to break down starches into simple sugars. These sugars are then slowly metabolized by the yeast and bacteria (in sourdough) into a wider range of aromatic compounds like organic acids, esters, and alcohols. The result is a dough with a more complex, nuanced flavor profile and often a more desirable crust color due to increased sugar availability for caramelization. This is a prime example of using yeast fermentation temperature control to prioritize flavor over speed.
Retarding Dough for Improved Texture
Beyond flavor, retarding dough through cold fermentation also significantly impacts texture. The slow hydration and enzymatic activity over an extended period help to relax the gluten network. This makes the dough more extensible and easier to handle and shape, especially for high-hydration doughs that can otherwise be sticky.
The slow gas production during cold proofing also allows for a more uniform distribution of gas bubbles within the gluten structure. When the dough is eventually baked (often directly from the cold or after a short warm-up), the sudden temperature change (oven spring) causes rapid expansion of the gas, contributing to a light, open crumb structure with larger, irregular holes, characteristic of artisanal bread. This textural improvement is another key benefit derived from strategic yeast fermentation temperature control.
Conclusion: Mastering Yeast Fermentation Temperature for Baking Success
Mastering yeast fermentation temperature control is a critical skill that empowers you to take charge of your baking. From activating yeast at the correct temperature to controlling the pace of fermentation during bulk rise and proofing, temperature dictates yeast activity, gas production, gluten development, and flavor creation.
By understanding the optimal temperature ranges for different yeast types, using tools like thermometers and proofers, and employing techniques like warm or cold fermentation, you can achieve consistent, predictable results. Troubleshooting issues like slow rise or over-proofing becomes much easier when you can identify and correct temperature imbalances.
Whether you're aiming for a quick weeknight bake or a complex, flavorful loaf developed over days, precise yeast fermentation temperature control is your key to unlocking baking excellence. So grab your thermometer, pay attention to the warmth (or coolness) of your dough, and enjoy the journey to perfectly proofed and delicious baked goods!
Frequently Asked Questions
What is yeast fermentation and why is temperature so important?
Yeast fermentation is the process where yeast consumes sugars to produce carbon dioxide and alcohol, causing dough to rise. Temperature directly affects the speed and efficiency of this process.
What is the ideal temperature range for yeast fermentation?
The ideal temperature range for most yeasts used in baking is typically between 70°F (21°C) and 80°F (27°C). This range allows for optimal yeast activity and dough development.
What happens if the temperature is too low during yeast fermentation?
If the temperature is too low, yeast activity slows down significantly. This results in a longer fermentation time and potentially a denser, less flavorful final product.
High temperatures can cause yeast to become overactive and die prematurely. This can lead to a collapsed dough structure and an unpleasant, sometimes sour, flavor.
How can I control the temperature during yeast fermentation at home?
You can control the temperature by using a proofing drawer, a warm oven (turned off), or simply placing the dough in a warm, draft-free area of your kitchen. Consider using a thermometer to monitor the dough's temperature.
Final Reflection: Mastering the Art of Yeast Fermentation
Precise temperature control during yeast fermentation is not merely a technical detail; it's the cornerstone of successful baking, directly impacting the texture, flavor, and overall quality of your bread. Ignoring this crucial element can lead to disappointing results, from dense, gummy loaves to uneven rises and off-flavors. Understanding the delicate dance between yeast activity and temperature is paramount for achieving consistently excellent results.
The impact of temperature on yeast fermentation extends far beyond the confines of the kitchen; it speaks to a deeper understanding of biological processes and the intricate relationship between living organisms and their environment. This knowledge, once mastered, allows for a level of control and predictability that elevates baking from a simple act of following instructions to a creative endeavor. The baker who understands yeast understands life itself,
a wise old baker once told me, and I believe this to be profoundly true. The subtle nuances of temperature control reflect a larger appreciation for the delicate balance required in any creative process.
Now, consider your own baking journey. Are you ready to take your skills to the next level? Experiment with different temperature ranges, observe the changes in your dough, and record your findings. Embrace the challenge of mastering yeast fermentation temperature control, and you'll unlock a world of possibilities, creating breads that are not only delicious but also a testament to your understanding and skill. The journey of a thousand loaves begins with a single, perfectly temperature-controlled rise.
Unleash Your Inner Baker: Master the Art of Yeast Fermentation!
Thanks for exploring the fascinating world of yeast fermentation with us! We hope you've gained valuable insights into how temperature influences your baking outcomes. Now, it's time to apply that knowledge and enhance your skills.
- Experiment with different temperatures: Try adjusting your proofing environment by a few degrees to observe how it affects your dough’s rise. Keep detailed notes—your results might surprise you!
- Share your baking successes (and challenges!): Join our BakeWithEase community on social media and share your temperature-controlled baking experiences using #BakeWithEaseTemp. Let's learn and grow together!
- Challenge yourself: Try baking a recipe that is particularly sensitive to temperature, such as sourdough bread, and carefully monitor the temperature throughout the process.
Ready to elevate your baking skills by mastering temperature control? Which temperature adjustments are you most excited to try in your upcoming baking projects?