
Temperature Control for Caramel Candy: Using a Candy Thermometer Like a Pro

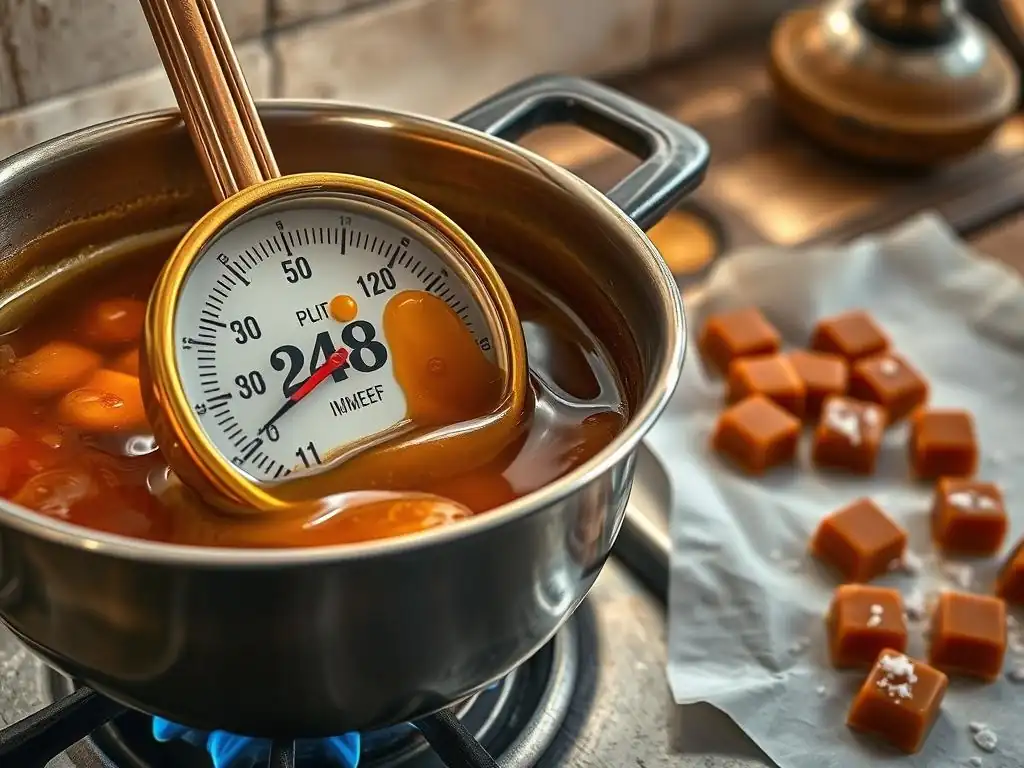
Welcome to BakeWithEase, your culinary companion for all things baking! Ever wondered how to achieve that perfect, golden-brown caramel without the guesswork? This guide dives deep into the often-overlooked secret weapon of successful candy making: temperature. Unlock the mysteries of caramel thermometer readings and transform your caramel candy from a sticky situation to a sweet success. Keep reading to discover how to use your candy thermometer like a pro and finally master the art of caramel!
- Mastering Caramel: The Importance of Temperature Control
- Why Temperature Matters for Perfect Caramel Candy
- Choosing the Right Candy Thermometer for Caramel Making
-
A Step-by-Step Caramel Thermometer Reading Guide
- Step 1: Preparing Your Caramel Recipe and Thermometer
- Step 2: Attaching the Thermometer to Your Saucepan
- Step 3: Monitoring the Temperature During the Cooking Process
- Step 4: Identifying the Different Caramel Stages with Your Thermometer
- Step 5: Removing the Caramel from Heat at the Correct Temperature
- Troubleshooting Common Caramel Temperature Issues
- Tips for Accurate Caramel Thermometer Readings
- Cleaning and Storing Your Candy Thermometer
- Advanced Caramel Techniques and Temperature Control
- Mastering the Art of Caramel Making with Precise Temperature Control
-
Frequently Asked Questions
- What temperature should my candy thermometer read for a soft-ball caramel stage?
- Can I make caramel without a candy thermometer?
- What type of candy thermometer is best for making caramel?
- How do I calibrate my candy thermometer for accurate caramel making?
- What can I do if my caramel seizes or crystallizes during cooking?
- Final Reflection: Mastering the Art of Caramel, One Degree at a Time
- Unlock Your Caramel Confidence: Master the Perfect Batch!
Mastering Caramel: The Importance of Temperature Control
Making perfect caramel candy can feel like a magical transformation, turning simple sugar into a rich, golden confection. However, this magic is deeply rooted in science, specifically the precise application of heat. Without careful temperature control, your beautiful caramel can quickly turn into a burnt, bitter mess or a sticky, unformed disaster. Mastering the nuances of temperature is the single most critical skill for consistent, delicious results every time you make caramel.
Understanding how temperature affects sugar is fundamental to achieving the desired texture and flavor. As sugar heats, it goes through distinct stages, each corresponding to a specific temperature range and resulting in a different consistency once cooled. Relying solely on visual cues can be misleading, as factors like batch size, pan type, and even altitude can influence the appearance of the caramel at a given temperature. This is where a reliable caramel thermometer reading guide becomes invaluable, providing the accuracy needed to navigate these transformations successfully.
Why Temperature Matters for Perfect Caramel Candy
The Science Behind Caramelization: Understanding Sugar and Heat
Caramelization is a complex process that occurs when sugars are heated to high temperatures, typically above 320°F (160°C). At these temperatures, the sugar molecules begin to break down and rearrange, creating hundreds of new flavorful compounds. This isn't just melting; it's a chemical reaction involving oxidation, polymerization, and dehydration. These reactions are what give caramel its characteristic color, aroma, and rich, complex taste.
The precise temperature reached dictates the extent of these reactions. Heating sugar just beyond its melting point starts the process, resulting in a pale, lightly flavored caramel. As the temperature climbs, the reactions intensify, leading to darker colors and more robust, sometimes slightly bitter, flavors. Going too high, however, results in burning, where the sugar breaks down completely into carbon, producing a harsh, acrid taste and smell. A proper caramel thermometer reading guide helps you stop the process at the perfect point.
Achieving the Right Caramel Texture: From Soft to Hard Crack Stage
Beyond flavor and color, temperature is the sole determinant of your caramel's final texture. As sugar syrup boils, water evaporates, concentrating the sugar solution. The higher the temperature, the more water has evaporated, and the firmer the candy will be upon cooling. Different candy types require specific textures, which correspond directly to specific temperature ranges.
For instance, soft caramels require less water evaporation, stopping around the soft ball stage (235-240°F or 118-120°C), resulting in a chewy, pliable candy. Hard candies, like lollipops, require almost complete water evaporation, reaching the hard crack stage (300-310°F or 149-154°C) for a brittle, glassy texture. Following a detailed caramel thermometer reading guide ensures you hit the exact temperature needed for your desired outcome, whether it's fudge, taffy, or brittle.
Choosing the Right Candy Thermometer for Caramel Making
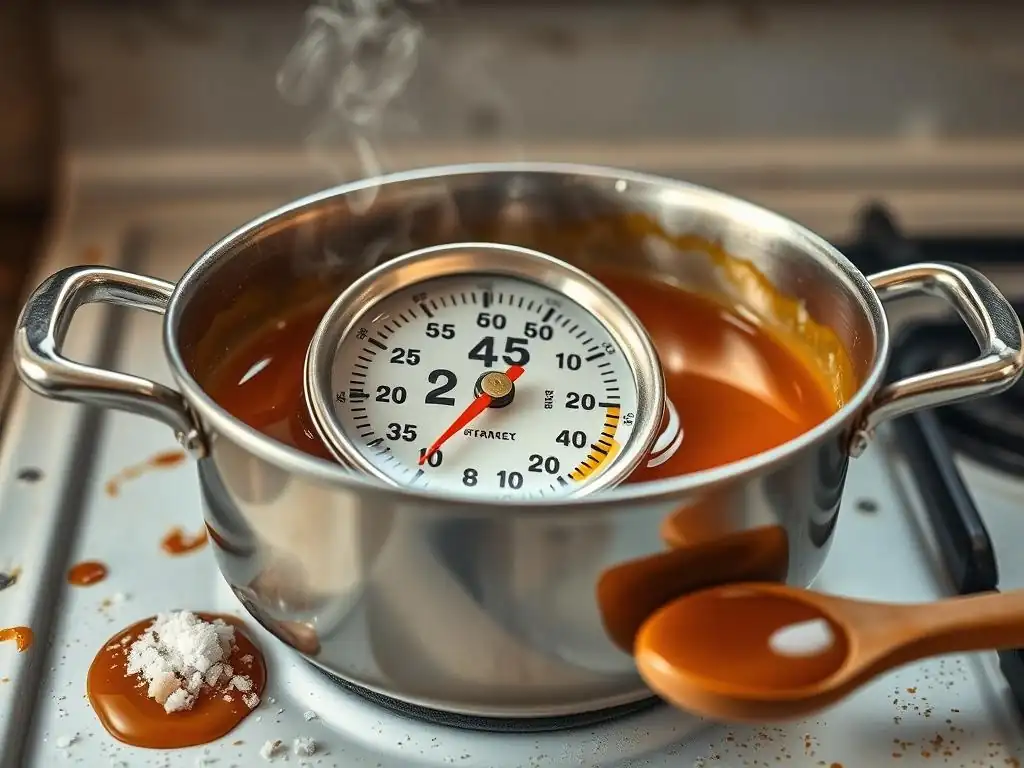
Types of Candy Thermometers: Analog vs. Digital
When selecting a tool for precise temperature control in caramel making, you'll primarily encounter two types: analog and digital candy thermometers. Analog thermometers are the traditional glass tubes filled with liquid (usually alcohol or mercury, though mercury is less common now) that rises as the temperature increases. They are often less expensive and don't require batteries, but they can be harder to read precisely and may react slower to temperature changes.
Digital thermometers, on the other hand, use a metal probe connected to a digital display. They offer fast, easy-to-read, and often more accurate temperature measurements. Many digital models also feature alarms that can be set to alert you when the desired temperature is reached, which is incredibly helpful when making caramel. While generally more expensive and requiring batteries, their speed and precision make them a preferred choice for many serious bakers following a caramel thermometer reading guide.
Key Features to Look for in a Caramel Thermometer
Several features are crucial when choosing a thermometer specifically for caramel. Firstly, it must have a temperature range that goes well beyond the hard crack stage, ideally up to 400°F (200°C), to handle all candy-making needs. An adjustable clip is essential for securely attaching the thermometer to the side of your saucepan, ensuring the tip is submerged in the candy syrup without touching the bottom, which can give a false reading.
Look for a model with a clear, easy-to-read display or scale, especially important when dealing with hot, bubbling sugar. A thermometer with a protective sheath or case is also a good idea for safe storage. For digital models, consider features like a backlight for reading in various lighting conditions and a hold function. Ultimately, a good caramel thermometer is durable, accurate, and designed to be easily used and read during the high-temperature process of making caramel.
Calibrating Your Candy Thermometer for Accurate Readings
Even the best thermometer can lose accuracy over time or due to environmental factors like altitude. Calibrating your candy thermometer before using it for caramel is a simple but vital step to ensure your caramel thermometer reading guide is reliable. The most common method is the boiling water test. Water boils at 212°F (100°C) at standard sea level pressure.
To calibrate, bring a pot of water to a rolling boil. Carefully place the thermometer tip into the boiling water, making sure it doesn't touch the bottom or sides of the pot. After a few minutes, read the temperature. If it reads exactly 212°F (100°C), your thermometer is accurate.
If it reads higher or lower, note the difference. For example, if it reads 210°F, you know your thermometer reads 2 degrees low, and you'll need to adjust your target temperatures accordingly (e.g., aiming for 237°F for soft ball stage instead of 235°F). This simple check prevents many potential caramel failures.
A Step-by-Step Caramel Thermometer Reading Guide
Step 1: Preparing Your Caramel Recipe and Thermometer
Before you even turn on the heat, have your caramel recipe ingredients measured out and ready to go. This is crucial because once the sugar starts cooking, things move quickly, especially at higher temperatures. Make sure your saucepan is clean – any residual sugar crystals can cause problems later. Have cold water or an ice bath ready if your recipe requires rapidly stopping the cooking process.
Prepare your candy thermometer by ensuring it's clean and dry. If it's a digital thermometer, check the battery. If it's an analog thermometer, ensure the liquid column is intact. Have a damp cloth or bowl of water nearby to wipe the thermometer stem if needed during the process, but be extremely cautious of steam and hot sugar. Following this caramel thermometer reading guide starts with meticulous preparation.
Step 2: Attaching the Thermometer to Your Saucepan
Properly attaching your candy thermometer is key to getting an accurate reading. Most candy thermometers come with an adjustable clip designed to secure it to the rim of your saucepan. Attach the clip firmly to the side of the pan. Position the thermometer so that the tip or sensor is submerged in the liquid sugar syrup.
Crucially, ensure the thermometer tip does not touch the bottom of the pan. The bottom of the pan will be hotter than the syrup itself, leading to an artificially high reading and potentially undercooked caramel. Adjust the clip so the tip is suspended in the middle of the syrup. For small batches of caramel, you might need a smaller saucepan or a thermometer with a shorter probe to ensure adequate submersion without touching the bottom.
Step 3: Monitoring the Temperature During the Cooking Process
Once your sugar mixture is on the heat and the thermometer is correctly positioned, your primary job is vigilant monitoring. Initially, the temperature will rise slowly as water evaporates. You might see it hover around 212°F (100°C) for a while as the water boils off. Once most of the water is gone, the temperature will start to climb more rapidly.
Keep a close eye on the thermometer as the temperature increases. Avoid stirring the sugar mixture excessively, especially after it begins to thicken and turn golden, as this can promote crystallization. However, gentle swirling of the pan can help ensure even heating. The caramel thermometer reading guide is your constant companion now – watch the numbers climb towards your target stage.
Step 4: Identifying the Different Caramel Stages with Your Thermometer
As the temperature rises, the sugar syrup will pass through several distinct stages, each corresponding to a specific temperature range and resulting in a unique texture upon cooling. These stages are defined by how a small amount of the syrup behaves when dropped into cold water. Your thermometer provides the precise reading for each stage, making this caramel thermometer reading guide essential.
| Stage | Temperature Range (°F) | Temperature Range (°C) | Cold Water Test Description |
|---|---|---|---|
| Thread | 230-233 | 110-112 | Forms fine, brittle threads in cold water. |
| Soft Ball | 235-240 | 118-120 | Forms a soft, pliable ball that flattens when removed. |
| Firm Ball | 245-250 | 121-126 | Forms a firm ball that doesn't flatten easily. |
| Hard Ball | 250-265 | 126-130 | Forms a hard ball that holds its shape but is still pliable. |
| Soft Crack | 270-290 | 132-143 | Forms threads that are pliable but break when bent. |
| Hard Crack | 300-310 | 149-154 | Forms hard, brittle threads that snap easily. |
| Clear Liquid | 320+ | 160+ | Begins to caramelize, turning golden brown. |
Knowing these stages and their corresponding temperatures is the core of using a caramel thermometer reading guide effectively.
Soft Ball Stage: Temperature Range and Candy Examples
The Soft Ball stage is reached when the sugar syrup's temperature is between approximately 235°F and 240°F (118°C and 120°C). At this point, enough water has evaporated that a small amount of the syrup dropped into cold water will form a soft, malleable ball. This ball will flatten out if you remove it from the water and squeeze it.
Candies made to the soft ball stage are typically soft and chewy. Classic examples include fudge, penuche, and some types of soft caramels (though many caramels go slightly higher). Achieving this stage requires careful monitoring with your thermometer, as even a few degrees higher will push it into the next, firmer stage. This is a key step in many chewy confections, and the caramel thermometer reading guide helps you nail it every time.
Firm Ball Stage: Temperature Range and Candy Examples
Moving up in temperature, the Firm Ball stage occurs between roughly 245°F and 250°F (121°C and 126°C). At this higher temperature, more water has boiled off, resulting in a more concentrated sugar solution. When a drop of this syrup is placed in cold water, it forms a ball that is noticeably firmer than the soft ball stage.
This ball will hold its shape reasonably well when removed from the water but is still pliable. Candies cooked to the firm ball stage include nougat and some types of firm caramels. This stage represents a significant step towards a denser texture, and precise temperature control using your caramel thermometer is essential to stop here and not progress further.
Hard Ball Stage: Temperature Range and Candy Examples
The Hard Ball stage is reached when the thermometer reads between approximately 250°F and 265°F (126°C and 130°C). At this temperature, even more water has evaporated, making the sugar concentration very high. When tested in cold water, the syrup forms a firm, almost rigid ball that still has a slight give or pliability.
Candies cooked to the hard ball stage include marshmallows (the syrup component), rock candy, and some types of divinity. Reaching this stage requires careful attention to your caramel thermometer reading guide, as the temperature is starting to climb more quickly now. The difference between hard ball and the next stage, soft crack, is quite significant in terms of final texture.
Soft Crack Stage: Temperature Range and Candy Examples
The Soft Crack stage is achieved between approximately 270°F and 290°F (132°C and 143°C). At this point, the sugar concentration is extremely high, and very little water remains. When a small amount of syrup is dropped into cold water, it hardens into threads that are somewhat pliable and bendable but will break if you try to bend them too far. They are not yet brittle.
Candies cooked to the soft crack stage include taffy, butterscotch, and some types of toffee. This stage is where the sugar is just beginning to undergo significant caramelization, contributing more flavor and color than the ball stages. Using your caramel thermometer reading guide precisely is critical here, as the temperature rises rapidly, and overshooting leads to the next, much harder stage.
Hard Crack Stage: Temperature Range and Candy Examples
The Hard Crack stage is the highest temperature typically reached for most candies, falling between approximately 300°F and 310°F (149°C and 154°C). At this temperature, nearly all the water has boiled away, and the sugar is heavily concentrated. When dropped into cold water, the syrup immediately hardens into threads that are very brittle and snap cleanly when bent.
Candies cooked to the hard crack stage are hard and brittle. Examples include lollipops, hard candies, brittles (like peanut brittle), and spun sugar. This stage is also often the target temperature for making the base of true caramel candy before adding cream or butter. Reaching this temperature requires careful monitoring with your caramel thermometer reading guide, as the sugar is also undergoing significant caramelization and is close to burning.
Step 5: Removing the Caramel from Heat at the Correct Temperature
This is arguably the most critical step in using your caramel thermometer reading guide. The moment your thermometer hits the target temperature for your desired candy stage, immediately remove the saucepan from the heat source. Sugar continues to cook from residual heat even after being taken off the burner, so removing it right on target is essential to prevent overcooking.
For some recipes, like brittles or hard candy, you might then pour the mixture onto a prepared surface. For others, like soft caramels, you'll stir in other ingredients like butter, cream, or vanilla. Having everything ready to go before you reach the target temperature is vital. Trust your thermometer reading; it's the most reliable indicator of your caramel's readiness.
Troubleshooting Common Caramel Temperature Issues
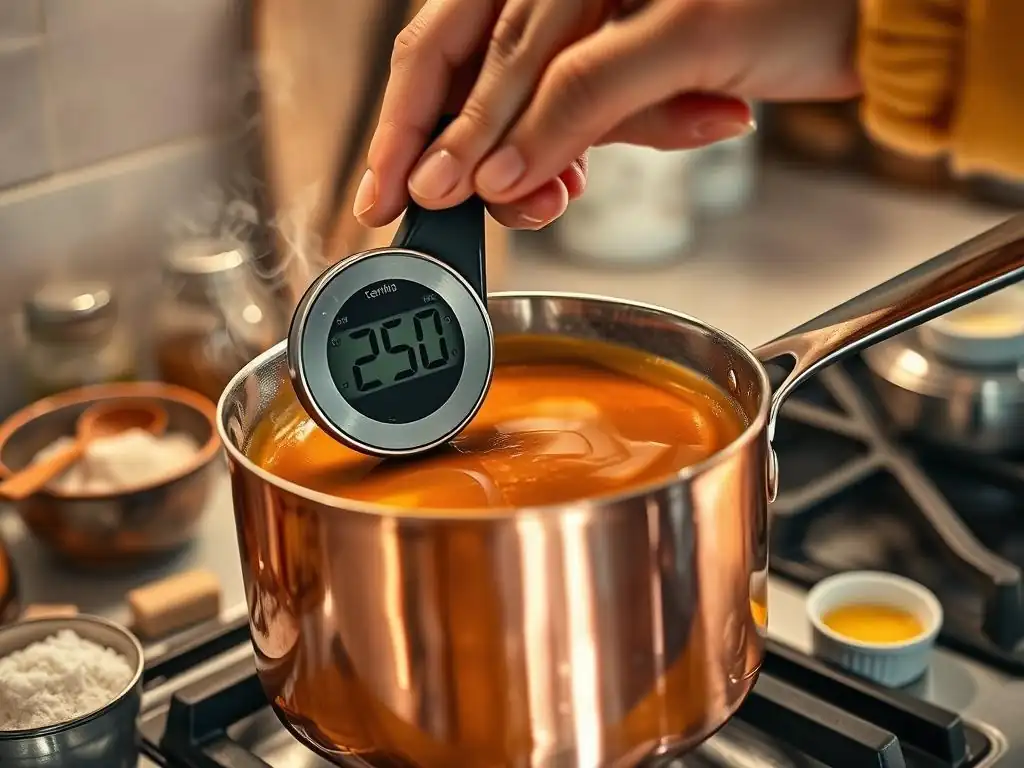
Caramel Not Reaching the Desired Temperature
If your caramel mixture seems to be stuck at a lower temperature, often hovering around 212°F (100°C), it usually means there is still a significant amount of water present. This is normal in the early stages of cooking. Be patient and maintain a steady heat. Ensure your heat source is adequate for the size of your pan and batch. Using too low heat can significantly prolong the cooking time.
Another potential cause could be that the thermometer is not properly submerged in the syrup or is touching the bottom of the pan, giving an inaccurate low reading. Double-check the thermometer's position. Ensure you aren't adding cold ingredients partway through (unless the recipe specifically instructs you to, like adding corn syrup at the start), which would cool the mixture down. Continue cooking, maintaining a gentle boil, and the temperature will eventually rise as the water evaporates.
Caramel Burning Before Reaching Temperature
If your caramel is darkening too quickly or starting to smell burnt before it reaches the target temperature on your caramel thermometer reading guide, it indicates that the heat is too high or unevenly distributed. High heat accelerates the caramelization process, sometimes faster than the water can evaporate, leading to burning before the desired sugar concentration (and thus texture) is achieved.
Try reducing the heat slightly. Ensure you are using a heavy-bottomed saucepan, which distributes heat more evenly and reduces hot spots. Swirling the pan gently can also help distribute heat. If the caramel is already smelling burnt and has black spots, it's likely ruined and cannot be salvaged; the burnt flavor is irreversible. It's better to start over with lower heat and a heavier pan.
Inaccurate Thermometer Readings: Causes and Solutions
Inaccurate thermometer readings are a common source of caramel problems. As discussed, the most frequent cause is improper thermometer placement – touching the bottom or side of the pan, or not being sufficiently submerged in the syrup. Always ensure the tip is suspended in the middle of the liquid.
Another significant cause is an uncalibrated thermometer. If you skipped the calibration step, perform the boiling water test as soon as possible. Knowing how many degrees off your thermometer is allows you to adjust your target temperatures. Extreme altitude can also affect boiling points; water boils at a lower temperature at higher altitudes. If you live significantly above sea level, look up the boiling point of water for your altitude and adjust your caramel thermometer reading guide targets accordingly, typically by subtracting the difference from standard temperatures.
Tips for Accurate Caramel Thermometer Readings
Maintaining a Consistent Heat Source
A consistent and even heat source is crucial for successful caramel making and accurate thermometer readings. Fluctuations in heat can cause the sugar to cook unevenly, leading to some parts burning while others are still undercooked, or causing the temperature to jump erratically on your thermometer.
Use a burner that is appropriately sized for your saucepan. If using a gas stove, try to keep the flame centered under the pan. For electric stoves, allow the burner to fully heat up before placing the pan on it. Avoid frequently adjusting the heat up and down; find a setting that maintains a steady, gentle boil and stick with it. This steady heat ensures the water evaporates at a predictable rate, allowing your caramel thermometer reading guide to accurately reflect the sugar's concentration stage.
Avoiding Sugar Crystals: Best Practices
Sugar crystals are the enemy of smooth caramel. If even a single crystal remains undissolved when the syrup starts boiling, it can act as a seed, causing the entire batch to crystallize into a solid, grainy mass instead of smooth caramel. This crystallization also prevents the temperature from rising correctly.
To prevent this, ensure all sugar is dissolved before the mixture comes to a rolling boil. You can achieve this by stirring gently over low heat initially. Once boiling begins, stop stirring. Use a wet pastry brush to wash down any sugar crystals that form on the sides of the saucepan above the liquid line. Covering the pot with a lid for the first few minutes of boiling creates steam that washes down sugar crystals from the sides naturally.
Stirring Techniques for Even Temperature Distribution
While excessive stirring after boiling starts can cause crystallization, some gentle agitation can be helpful, especially in the later stages of caramelization, to ensure even heating and color development. Once the sugar has dissolved and the syrup is boiling, avoid using a spoon or whisk inside the pot.
Instead, if you need to distribute heat or color, gently swirl the entire saucepan. Lift the pan slightly off the burner and tilt and rotate it to move the hot syrup around. Do this cautiously, as the syrup is extremely hot. This technique helps prevent hot spots and ensures the caramel cooks uniformly towards the desired temperature indicated by your caramel thermometer reading guide without introducing crystals.
Cleaning and Storing Your Candy Thermometer
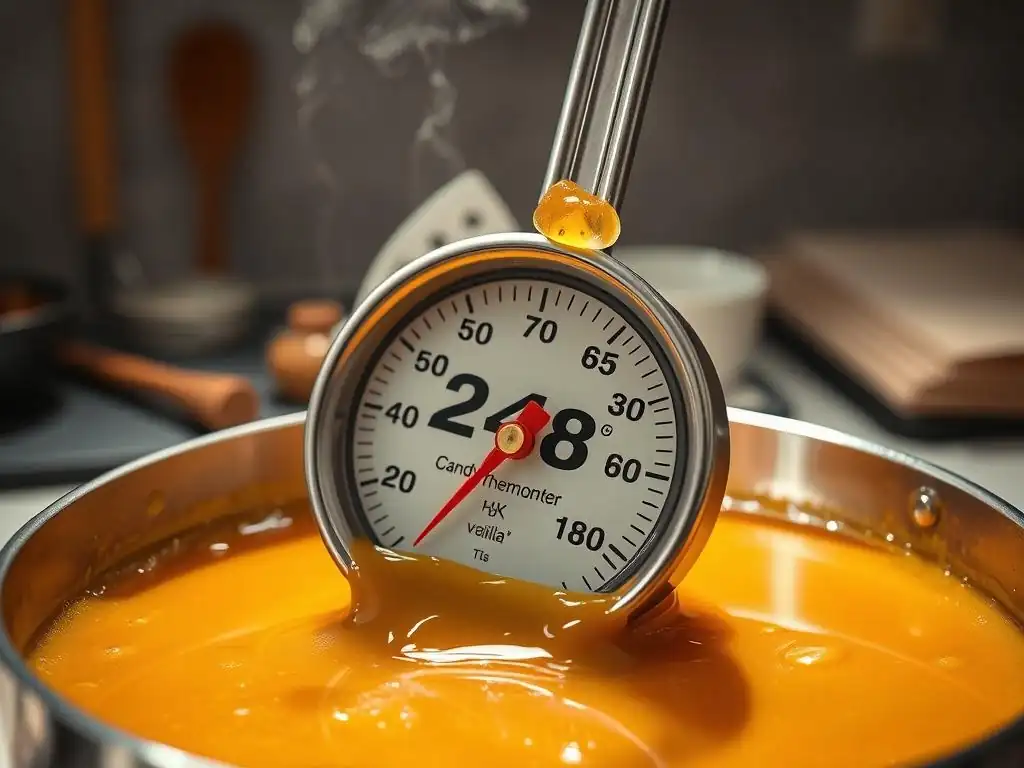
Proper Cleaning Methods to Extend Thermometer Life
Cleaning your candy thermometer immediately after use is essential, as hardened caramel is difficult to remove. Never plunge a hot glass thermometer directly into cold water, as the sudden temperature change can cause it to break. For both analog and digital thermometers, the best approach is to soak the thermometer in hot, soapy water shortly after use, while it's still warm.
Allowing it to soak will soften any stuck-on caramel. You can then use a soft sponge or cloth to gently wipe away residue. For stubborn spots, try soaking in very hot water (be careful!) or boiling water for a few minutes. Avoid abrasive scrub pads or harsh chemicals that could damage the thermometer's surface or calibration. Ensure the thermometer, especially digital probes and displays, is thoroughly dry before storing.
Safe Storage Practices for Accurate Future Readings
Proper storage is vital for maintaining the accuracy and longevity of your candy thermometer. Store it in a safe place where it won't be dropped, knocked, or jostled, as physical shocks can affect calibration, especially in analog models. Many thermometers come with a protective sheath or case; use it.
Store the thermometer vertically or lay it flat in a drawer where it won't be crushed by other utensils. Avoid storing it in places with extreme temperature fluctuations. Keeping your thermometer clean and stored correctly ensures that your caramel thermometer reading guide remains a reliable tool for all your future candy-making adventures.
Advanced Caramel Techniques and Temperature Control
Infusing Flavors into Caramel: When and How
Temperature control is key when infusing flavors into caramel. Delicate extracts like vanilla are typically added after the caramel has reached its target temperature and been removed from the heat, as high heat can cause their flavors to dissipate or turn bitter. For example, vanilla extract is often stirred in during the cooling phase of soft caramels.
Ingredients like spices (cinnamon sticks, star anise) or citrus zest can be added earlier, often while the sugar syrup is still boiling at lower temperatures (e.g., before the soft ball stage). This allows their flavors time to infuse into the syrup as it cooks. However, be mindful that adding solid ingredients can sometimes promote crystallization. For oil-based infusions or fat-soluble flavors, these might be added along with butter or cream in the later stages of cooking or after reaching the hard crack stage when making sauces.
Working with Different Sugars: Adjusting Temperatures
While sucrose (standard granulated sugar) is the most common sugar for caramel, other sugars behave differently under heat and require adjustments to your caramel thermometer reading guide. Fructose caramelizes at a lower temperature (around 221°F or 105°C) and more quickly than sucrose. Glucose and corn syrup (which contains glucose) are often added to sucrose-based caramels because they inhibit crystallization and affect texture, resulting in a smoother, chewier caramel.
When using recipes that incorporate corn syrup or other inverted sugars, the target temperatures on your thermometer will still generally follow the standard stages, but the rate at which the temperature rises and the final texture might be slightly different than with pure sucrose. Always follow the specific temperature guidance provided in recipes designed for these sugar combinations.
Caramel for Different Applications: Sauces, Candies, and More
The desired temperature for caramel varies significantly depending on its final application. A caramel sauce typically only needs to reach the caramelization stage (around 320°F or 160°C) before liquid ingredients like cream or butter are added. It doesn't need to reach the high candy stages because it will remain a liquid or soft pourable consistency.
For candies, as detailed in our caramel thermometer reading guide, you must cook to the specific ball or crack stage required for that candy's texture. Caramel used as a filling might be cooked to a firm ball stage, while caramel for brittle reaches hard crack. Understanding the relationship between temperature and texture allows you to adapt caramel making for a wide range of delicious uses.
Mastering the Art of Caramel Making with Precise Temperature Control
Mastering caramel candy is a rewarding baking skill, and precise temperature control is the key that unlocks consistent success. By understanding the science of caramelization, choosing and calibrating a reliable candy thermometer, and diligently following a step-by-step caramel thermometer reading guide, you can confidently navigate the stages of sugar transformation.
From soft, chewy caramels to brittle hard candies, hitting the exact temperature ensures the perfect texture and flavor every time. While it requires patience and attention, the ability to accurately read and react to your thermometer takes the guesswork out of candy making. Embrace your caramel thermometer reading guide, and you'll be well on your way to creating professional-quality caramel confections in your own kitchen.
Frequently Asked Questions
What temperature should my candy thermometer read for a soft-ball caramel stage?
The soft-ball stage is typically reached between 235-240°F (112-115°C). This is crucial for achieving a chewy texture in your caramel.
Can I make caramel without a candy thermometer?
While possible, it's not recommended. A candy thermometer ensures accurate temperature reading and consistent results, preventing burning or undercooking the caramel.
What type of candy thermometer is best for making caramel?
A digital candy thermometer is generally preferred for its accuracy and quick readings. However, a traditional glass thermometer also works well, just ensure it's properly calibrated.
How do I calibrate my candy thermometer for accurate caramel making?
Test it by placing it in boiling water; it should read 212°F (100°C) at sea level. If it doesn't, note the difference and adjust your target caramel temperatures accordingly.
What can I do if my caramel seizes or crystallizes during cooking?
Adding a little lemon juice or cream of tartar at the beginning can help prevent crystallization. If it seizes, try adding a small amount of water and gently stirring until it smooths out.
Final Reflection: Mastering the Art of Caramel, One Degree at a Time
The perfect caramel, that luscious, golden swirl of sweetness, hinges on precision—and that precision begins with understanding your candy thermometer. A seemingly simple tool, the thermometer unlocks the secrets to achieving consistently delicious caramel, transforming a potentially frustrating process into a confident and rewarding culinary experience. This isn't just about following a recipe; it's about mastering a fundamental skill that elevates your baking and candy-making to a new level.
The impact of precise temperature control extends far beyond just caramel. It represents a broader principle of understanding the science behind cooking, a journey of discovery that deepens appreciation for the intricate relationships between ingredients and heat. The difference between something good and something great is attention to detail.
This quote perfectly encapsulates the importance of mastering the thermometer's readings, transforming a simple recipe into a masterpiece. The subtle shifts in texture and color, dictated by those crucial degrees, are a testament to the power of careful observation and precise execution.
Now, it's your turn. Consider how this newfound knowledge can enhance your approach to other recipes, not just caramel. Think about the potential for experimentation—the possibilities of creating your own unique caramel variations, confidently adjusting temperatures to achieve your desired results. Embrace the journey of learning, the satisfaction of mastering a skill, and the joy of sharing your perfectly crafted caramel creations with others. The sweet reward awaits.
Unlock Your Caramel Confidence: Master the Perfect Batch!
Thanks for taking the time to learn the secrets of perfect caramel! You've now got the knowledge to create incredibly smooth and delicious treats. Ready to put your new skills to the test?
- Make your dream caramel today! Try the recipe you've been eyeing, and focus on mastering the temperature using your thermometer. Note your observations – every batch is a learning experience!
- Share your caramel creation with friends and family – they’ll be blown away! Post a picture on social media and tag us @BakeWithEase!
- Explore more of our candy-making guides on bakewithease.com for even more delicious inspiration.
What unique twist will you add to your next batch of perfectly-tempered caramel?