
Baking with Specialty Grains: Quinoa, Amaranth, and More

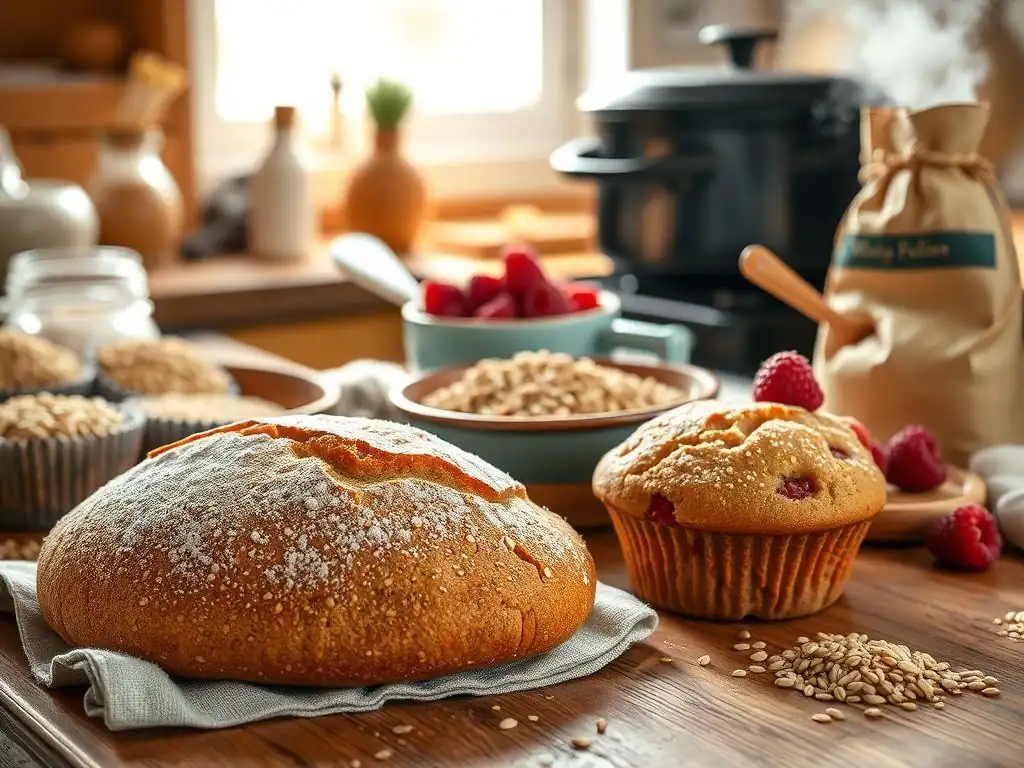
Welcome to BakeWithEase, your guide to unlocking baking brilliance!
Ever wondered if you could elevate your baking with unexpected ingredients? Prepare to be amazed! Dive into the world of specialty grains and discover how to transform your favorite recipes. Today, we're focusing on a unique and nutritious twist: quinoa baking recipes for beginners. Intrigued? We'll guide you through the process, revealing how this ancient grain can add a delicious and healthy dimension to your creations. Let's get baking and explore the secrets of quinoa, amaranth, and other grains that are changing the game!
- Baking with Gluten-Free Grains: Sorghum, Millet, and Oats
- Introduction to Baking with Alternative Grains
- Sorghum Baking Recipes for Beginners: A Comprehensive Guide
- Millet in Baking: Adding Nutrients and Flavor
- Other Gluten-Free Grains for Baking: Expanding Your Repertoire
- Mastering Sorghum Baking Recipes: Step-by-Step
- Tips and Tricks for Successful Baking with Gluten-Free Grains
- Troubleshooting Common Issues in Sorghum and Millet Baking
- Storing Your Baked Goods Made with Gluten-Free Grains
- Advanced Gluten-Free Baking Techniques
- Conclusion: Embrace the World of Gluten-Free Grain Baking
-
Frequently Asked Questions
- What makes quinoa a good grain to use in baking, especially for beginners?
- Can I substitute quinoa flour directly for wheat flour in my favorite baking recipes?
- What are some easy quinoa baking recipes for beginners featured on BakeWithEase.com?
- How do I prepare quinoa before using it in a baking recipe?
- What are some tips for ensuring my quinoa baking recipes turn out successfully?
- Final Reflection: The Bountiful Bake: Beyond Quinoa, a Flourishing Future
- Unleash Your Inner Grain Alchemist!
Baking with Gluten-Free Grains: Sorghum, Millet, and Oats
Introduction to Baking with Alternative Grains
Why Explore Baking with Sorghum, Millet, and Other Gluten-Free Grains?
Exploring sorghum, millet, and other gluten-free grains opens a world of flavor, nutrition, and culinary creativity. Sorghum, a staple in parts of Africa and India, delivers a mild, nutty flavor and high protein content—about 11 g per 100 g of flour—while millet offers magnesium, phosphorus, and a subtle sweetness. These grains are naturally gluten-free, making them perfect for those with celiac disease or gluten sensitivity. Beyond health benefits, they introduce novel textures and taste profiles that can elevate everything from pancakes to artisan loaves.
Adopting alternative grains also promotes agricultural biodiversity. Sorghum is drought-resistant and requires 30–50% less water than traditional wheat, according to USDA estimates, helping small-scale farmers in arid regions. Millet thrives where other cereals struggle, ensuring food security in challenging climates. By baking with these grains, home bakers not only diversify their own diets but also support sustainable agriculture and global food resilience.
Expanding Your Baking Horizons Beyond Wheat
Wheat dominates global bakery products, representing roughly 36% of the world’s cereal production. However, branching out to grains like sorghum and millet can revolutionize your kitchen. These grains behave differently than wheat: sorghum flour absorbs more liquid, leading to moister doughs, whereas millet imparts a tender crumb. Learning how to adjust hydration and binding agents is key to success.
Bakers who have ventured beyond wheat often report surprising benefits. A home baker in Chicago substituted 25% of her wheat flour with sorghum flour in her banana bread recipe and noted a richer flavor profile and longer shelf life—up to five days at room temperature. Such experimentation encourages creativity, leading to signature recipes that stand out in an overcrowded bakery market.
Sorghum Baking Recipes for Beginners: A Comprehensive Guide
What Makes Sorghum a Great Baking Ingredient?
Sorghum stands out for its remarkable nutritional density and adaptability. One cup (192 g) of sorghum grain yields about 8 g of dietary fiber, nearly one-third of the recommended daily intake for adults. It’s also rich in iron, B vitamins, and antioxidants like phenolic compounds, which contribute to its anti-inflammatory properties.
In the kitchen, sorghum’s neutral taste complements both sweet and savory bakes. Its flour forms a smooth batter without the gritty mouthfeel found in some ancient grains. When combined with tapioca or potato starch, sorghum flour can mimic the elasticity of gluten, yielding tender cakes and springy muffins that even novice bakers can master.
Understanding Sorghum Flour and Grain Forms
Sorghum is available in three main forms: whole grain kernels, whole-grain flour, and white (light) sorghum flour. Whole grain kernels require soaking and sprouting for use in porridge or pilafs, whereas whole-grain flour retains all bran and germ, offering maximum nutrition. White sorghum flour, milled from dehulled kernels, has a finer crumb and milder color.
Choosing the right form depends on the bake. For hearty bread loaves, whole-grain sorghum flour delivers depth of flavor and structure. For cakes and cookies, white sorghum flour blends seamlessly with other starches to create lighter textures. Always store sorghum flour in an airtight container, preferably refrigerated, to prevent rancidity—a risk due to its natural oils.
Millet in Baking: Adding Nutrients and Flavor
The Unique Properties of Millet for Baking
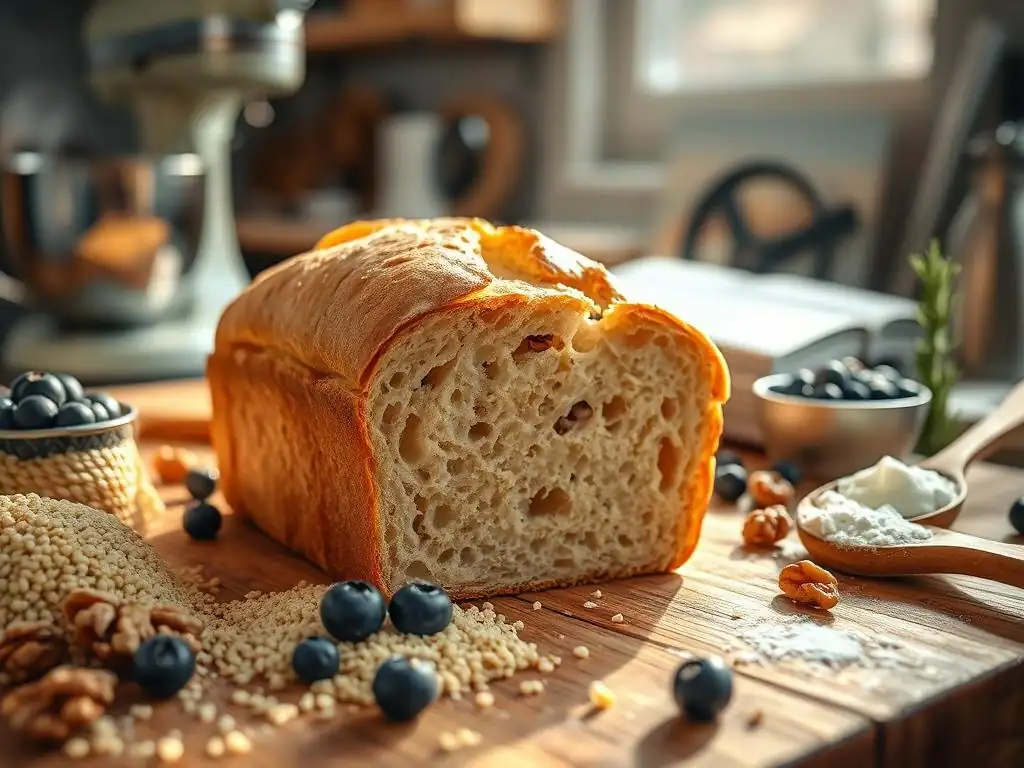
Millet, a small-seeded grass, boasts a slightly sweet, corn-like taste and a smooth texture when milled into flour. One cup (174 g) of millet provides 207 calories, 6 g of protein, and 2 g of dietary fiber, along with magnesium (21% DV) and phosphorus (22% DV). Its gluten-free nature makes it a go-to for those seeking alternative grain options.
In baking, millet flour tends to produce loaves with tender, crumbly crumbs and a pale yellow hue. It’s highly absorbent; for every 100 g of millet flour, expect to use 10–15% more water than you would for wheat flour. When blended with xanthan gum or psyllium husk, millet flour can support loaf rise and improve mouthfeel, making it ideal for quick breads and muffins.
Millet Flour vs. Whole Millet Grain: Baking Applications
Millet flour is perfect for recipes requiring a fine crumb—think muffins, pancakes, and cookies. It integrates easily into batters and doughs, absorbing liquids uniformly. Whole millet grains, by contrast, are best used in porridge, pilaf-style dishes, or as a textural add-in for bread doughs, providing a pleasant chew.
To harness whole millet in baked goods:
- Rinse ½ cup whole millet under cold water.
- Toast lightly in a dry skillet for 3 minutes to enhance nuttiness.
- Parboil with 1 cup of water until most liquid is absorbed (about 10 minutes).
- Cool and fold into batters or doughs for crunch and visual appeal.
Other Gluten-Free Grains for Baking: Expanding Your Repertoire
Oat Flour: A Versatile and Common Gluten-Free Option
Oat flour, made by grinding rolled oats, delivers about 5 g of fiber and 4 g of protein per 30 g serving. Its mild, slightly sweet taste makes it versatile for cookies, pancakes, and quick breads. Ensure certified gluten-free oats to avoid cross-contamination with wheat.
Benefits:
- Binder: Natural beta-glucans improve moisture retention.
- Texture: Yields tender crumbs in muffins and cakes.
- Nutrition: Rich in manganese (76% DV per cup) and phosphorus (41% DV per cup).
Rice Flour: A Staple in Gluten-Free Baking
Rice flour, derived from finely milled white or brown rice, is a frequent base in gluten-free baking. White rice flour offers a neutral flavor and light crumb, while brown rice flour contributes more fiber (3.5 g per 28 g) and a subtle nuttiness. Blend with starches like tapioca or potato starch at a ratio of 2:1 (rice flour:starch) for balanced structure.
Corn Flour: Adding Sweetness and Texture
Corn flour, made from finely ground yellow corn, brings a natural sweetness and vibrant color to baked goods. With 2 g of fiber and 3 g of protein per 30 g serving, it’s ideal for cornbread and tortillas. Combine with almond flour and a binding agent such as xanthan gum (¼ tsp per cup of flour) to prevent crumbliness in sweet bakes.
Mastering Sorghum Baking Recipes: Step-by-Step
Basic Sorghum Flour Pancake Recipe
Ingredients
- 1 cup sorghum flour
- 2 Tbsp tapioca starch
- 1 Tbsp sugar
- 2 tsp baking powder
- ¼ tsp salt
- 1 cup milk (dairy or plant-based)
- 1 large egg
- 2 Tbsp melted butter or oil
Instructions
- In a bowl, whisk dry ingredients.
- In another bowl, combine wet ingredients.
- Fold wet into dry until just blended; let rest 5 minutes.
- Heat a greased skillet to medium heat.
- Pour ¼ cup batter per pancake; cook 2–3 minutes per side.
Tip: For vegan pancakes, replace egg with a flax “egg” (
1 Tbsp ground flaxseed + 2 Tbsp water).
Sorghum Bread Recipe for Beginners: A Simple Guide
Ingredients
- 2 cups sorghum flour
- ½ cup brown rice flour
- ¼ cup tapioca starch
- 1 Tbsp instant yeast
- 1 tsp salt
- 1 Tbsp honey
- 1¼ cups warm water (110 °F)
- 2 Tbsp olive oil
Instructions
- [ ] Mix dry ingredients in a large bowl.
- [ ] Whisk honey and warm water; stir in oil.
- [ ] Combine wet and dry; beat for 2 minutes until smooth.
- [ ] Pour into a greased loaf pan; cover and proof 45 minutes.
- [ ] Bake at 375 °F for 35–40 minutes until golden brown.
Sorghum Muffin Recipe: Healthy and Delicious
ingredients:
  - 1 cup sorghum flour
  - 1/2 cup oat flour
  - 1/4 cup sugar
  - 2 tsp baking powder
  - 1/4 tsp salt
  - 1 egg
  - 1/2 cup applesauce
  - 1/4 cup milk
  - 1/4 cup chopped nuts or berries
instructions:
  - Preheat oven to 350°F.
  - Combine dry ingredients; whisk wet ingredients separately.
  - Gently fold wet into dry until moistened.
  - Stir in add-ins; divide among 12 muffin cups.
  - Bake 18–20 minutes until a toothpick comes out clean.
Tips and Tricks for Successful Baking with Gluten-Free Grains
Hydration is Key: Adjusting Liquid Ratios
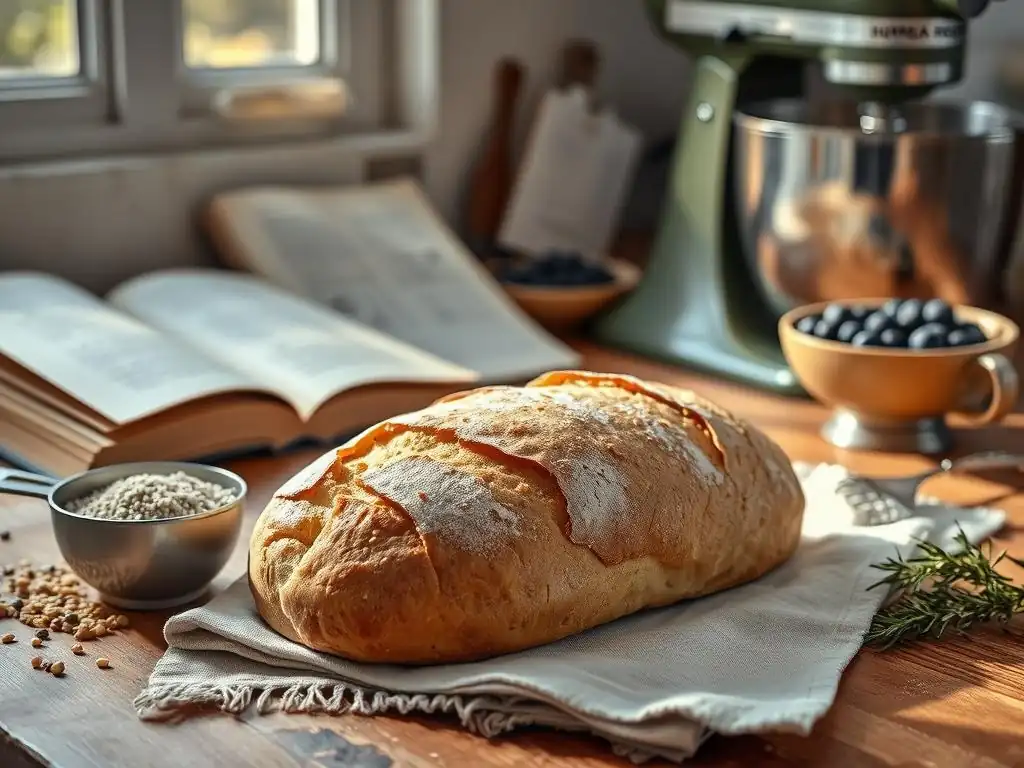
Gluten-free grains absorb liquid differently than wheat. Sorghum and millet flours often need 5–15% more liquid. Start by adding 1–2 Tbsp extra liquid per cup of flour, then adjust based on batter consistency. Batters should be pourable but not soupy; doughs should form a cohesive ball without excessive stickiness.
Maintaining proper hydration:
- Use room-temperature liquids to ensure even absorption.
- Rest batters for 10 minutes to let flours hydrate fully.
- Add liquids gradually in small increments.
Binding Agents: Replacing Gluten
Without gluten’s elasticity, use binding agents to trap air and structure bakes. Common options:
- Xanthan gum: ¼ tsp per cup of flour.
- Psyllium husk: 1 Tbsp per cup.
- Ground chia/flaxseed: 1 Tbsp + 3 Tbsp water per “egg.”
Each binder impacts texture differently; experiment to find your preferred crumb.
Flavor Pairings: Enhancing the Taste of Gluten-Free Grain Bakes
Complement these grains with robust flavors:
- Citrus zest (lemon, orange) brightens the nutty notes of millet.
- Warm spices (cinnamon, cardamom) pair well with sorghum in muffins.
- Nuts and seeds (walnuts, pumpkin seeds) add crunch and nutritional boosts.
Consider adding ½ tsp of vanilla or almond extract to pancake and muffin batters for extra depth.
Troubleshooting Common Issues in Sorghum and Millet Baking
Dense or Gummy Textures: Causes and Solutions
Cause: Overmixing or insufficient starch ratio can lead to gummy crumbs.
Solution:
- Mix just until ingredients are incorporated.
- Incorporate 20–30% starch (tapioca, potato) into flour blends.
- Ensure proper leavening—fresh yeast or baking powder.
Dry and Crumbly Bakes: How to Prevent
Cause: Underhydration or lack of fats/binders.
Solution:
- Increase liquid by 1–2 Tbsp per cup of flour.
- Add an extra egg or binding agent.
- Reduce baking time by 5 minutes if edges brown too quickly.
Gritty Texture: Minimizing Graininess
Cause: Coarsely milled flour or insufficient hydration.
Solution:
- Use fine “light” millet or sorghum flour.
- Sift flours before mixing.
- Let batter rest 10–15 minutes to soften grain particles.
Storing Your Baked Goods Made with Gluten-Free Grains
Best Practices for Keeping Sorghum Bread Fresh
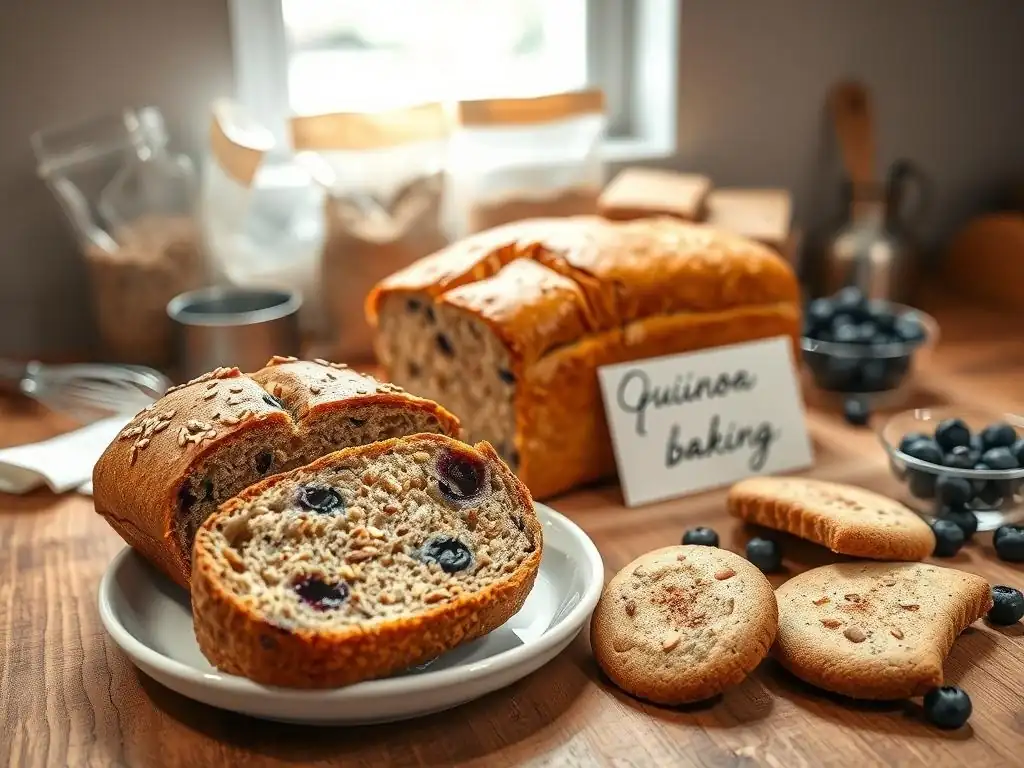
- Wrap cooled loaves tightly in plastic wrap or beeswax wrap.
- Store at room temperature up to 3 days; refrigerate up to 7 days to prevent mold.
- Freeze sliced portions for up to 3 months; thaw at room temperature.
Storing Sorghum Muffins and Cakes
- Muffins: Place in an airtight container with a paper towel to absorb moisture; keep at room temperature for 2–3 days.
- Cakes: Wrap with plastic wrap, then foil; store in the refrigerator for up to 5 days or freeze for longer shelf life.
Advanced Gluten-Free Baking Techniques
Combining Gluten-Free Grains for Complex Flavors
Blending grains creates multi-dimensional flavor and texture:
- Sorghum + Millet (1:1): Balanced nuttiness and crumb.
- Oat + Rice + Corn (2:1:1): Light crumb with a touch of sweetness.
- Quinoa + Sorghum (1:2): Boost protein and add earthiness, ideal for hearty breads.
Using Starch Blends for Improved Texture
A balanced starch blend can mimic gluten elasticity:
- 50% rice starch, 25% potato starch, 25% tapioca starch.
- Incorporate 20–30% of total flour weight as starch for best loaf volume and crumb softness.
- 1 cup sorghum flour
- ½ cup oat flour
- ½ tsp baking soda
- ¼ tsp salt
- ½ tsp cinnamon
- ¼ cup molasses
- ¼ cup coconut oil
- 1 egg
Instructions: Cream oil, molasses, and egg; whisk in dry ingredients; scoop onto baking sheet; bake 10–12 minutes at 350 °F.
Conclusion: Embrace the World of Gluten-Free Grain Baking
Continued Learning and Experimentation
Gluten-free baking with sorghum, millet, and oats is an ongoing journey. Track your results, tweak hydration and binder ratios, and don’t hesitate to blend in other grains like quinoa for extra nutrition. Keep a baking journal noting ingredient ratios, bake times, and sensory feedback—this systematic approach will refine your skills and help you master “quinoa baking recipes for beginners” alongside other specialty grains.
Frequently Asked Questions
What makes quinoa a good grain to use in baking, especially for beginners?
Quinoa is a good choice because it's naturally gluten-free and adds a nutty flavor and protein boost to baked goods. It's also relatively easy to find and work with.
Can I substitute quinoa flour directly for wheat flour in my favorite baking recipes?
Generally, no. Quinoa flour is best used in combination with other flours. Start by substituting 25-50% of the wheat flour with quinoa flour for best results.
What are some easy quinoa baking recipes for beginners featured on BakeWithEase.com?
BakeWithEase.com features several beginner-friendly recipes, including quinoa muffins, quinoa pancakes, and quinoa cookies. These recipes often combine quinoa with other readily available ingredients.
How do I prepare quinoa before using it in a baking recipe?
Rinse the quinoa thoroughly under cold water to remove the bitter saponins. Then, cook it according to package directions until it's soft and fluffy before incorporating it into your batter or dough.
What are some tips for ensuring my quinoa baking recipes turn out successfully?
Measure your ingredients accurately, avoid overmixing the batter, and bake until a toothpick inserted into the center comes out clean. Using high-quality quinoa is also important.
Final Reflection: The Bountiful Bake: Beyond Quinoa, a Flourishing Future
The rising interest in healthier baking isn't just a trend; it's a fundamental shift in how we approach food. Specialty grains like quinoa, amaranth, and others offer a delicious and nutritious alternative to traditional wheat flour, opening up a world of culinary possibilities for both experienced bakers and enthusiastic beginners. This shift reflects a growing awareness of the impact of our food choices on our well-being and the environment.
Exploring the versatility of these ancient grains has been a deeply rewarding experience. It's fascinating to see how easily these ingredients can be incorporated into familiar recipes, creating textures and flavors that are both unique and satisfying. The best things in life are simple, but not always easy.
This quote resonates deeply with the process of baking with specialty grains; while the results are often simple and delicious, mastering the techniques requires patience and experimentation.
Now, it's your turn. Don't be intimidated by the seemingly unfamiliar world of quinoa, amaranth, and other specialty grains. Experiment with the recipes provided, adapt them to your own tastes, and discover the joy of creating healthy and flavorful baked goods. The journey of culinary exploration is a personal one, and the rewards – both in taste and well-being – are immeasurable. Embrace the challenge, and let your baking journey flourish!
Unleash Your Inner Grain Alchemist!
Thanks for joining us on this delicious journey into the world of specialty grains! We hope you've discovered new baking possibilities and are ready to experiment with exciting flavors and textures.
Here's how you can take your baking adventure further:
- Try a new recipe this week! Choose one of the grains discussed and find a recipe online or create your own unique masterpiece. Think quinoa muffins, amaranth cookies… the possibilities are endless!
- Share your baking creations with us! Post a picture on social media and tag us – we love to see what you're baking!
- Explore further! Research other ancient grains and discover their unique baking qualities. What unexpected ingredient will you try next?
Ready to transform your kitchen into a grain-filled paradise? What's the first specialty grain you'll be experimenting with?