
Troubleshooting Cake Recipes: Identifying Flaws

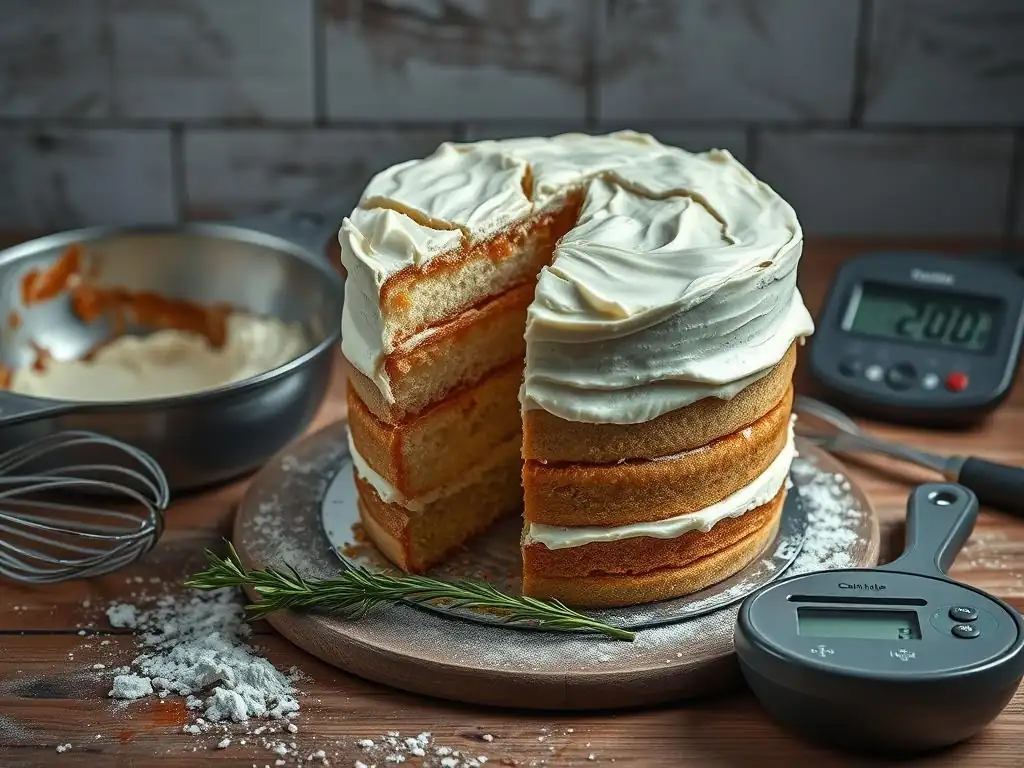
Welcome to BakeWithEase, where baking becomes a joy, not a chore! Ever wondered why your cake didn't rise as expected or turned out a little too dense? Dive into our guide on Cake Troubleshooting Common Mistakes and unlock the secrets to perfectly baked cakes every single time. Discover the hidden culprits behind common cake fails and transform your baking skills today!
- Cake Troubleshooting Guide
- Identifying Common Cake Problems
- Common Cake Issues and Solutions
- Ingredient-Specific Problems
- Equipment and Oven Issues
- Advanced Techniques
- Proactive Baking Tips
- Conclusion
-
Frequently Asked Questions
- What are some common reasons why a cake might sink in the middle?
- Why is my cake dry, even when I followed the recipe exactly?
- My cake is tough and dense. What could be the problem?
- The top of my cake cracked. Is this normal, and how can I prevent it?
- My cake is sticking to the pan, even though I greased it. What can I do?
- Final Reflection: Mastering the Art of Cake Troubleshooting
- Unlock Your Baking Brilliance!
Cake Troubleshooting Guide
Identifying Common Cake Problems
Introduction to Cake Troubleshooting
Embarking on the cake baking journey can be incredibly rewarding, but even seasoned bakers occasionally encounter frustrating issues. Cake troubleshooting is the art and science of identifying why a cake didn't turn out as expected and what steps can be taken to fix or prevent the problem next time. It's a fundamental skill that transforms baking from simply following a recipe into a deeper understanding of ingredients and technique. From a cake that sinks in the middle to one that's unexpectedly dense, recognizing these common cake problems is the first step toward perfecting your craft.
Understanding the root cause behind baking mishaps is far more effective than just trying a different recipe. This guide delves into the most frequent cake troubleshooting common mistakes and provides clear explanations and actionable solutions. By learning how different elements interact – from the type of flour used to the temperature of your oven – you gain the knowledge to predict outcomes and adjust your approach, making your baking more consistent and enjoyable.
Importance of Accurate Baking
Baking is often described as a science, and for good reason. It involves precise chemical reactions, such as the interaction of leavening agents with moisture and heat to create lift, or the development of gluten structure from flour proteins. Small deviations in ingredient quantities, temperature, or mixing methods can significantly alter these reactions. For example, just a few extra grams of flour (which can easily happen if measuring by volume instead of weight, as 1 cup of all-purpose flour can range from 120g to 150g depending on packing) can absorb too much liquid, resulting in a dry cake.
Accuracy is the cornerstone of successful baking and your best defense against needing extensive cake troubleshooting common mistakes. Following a recipe precisely, paying attention to ingredient temperatures (like using softened butter or room-temperature eggs), and using reliable measuring tools minimize variables. This precision makes it easier to diagnose a problem if one arises, as you can rule out common errors like incorrect measurements and focus on other potential culprits like oven calibration or environmental factors.
Common Cake Issues and Solutions
Dense and Heavy Cakes
A cake that turns out dense and heavy instead of light and airy is a common disappointment. This texture often feels tough or rubbery and lacks the desired crumb structure. The primary culprits typically involve ingredient ratios being off, over-developing the gluten in the flour through excessive mixing, or using leavening agents that have lost their potency. Incorrect measurements, particularly too much flour or sugar relative to fat and liquid, can weigh the batter down, inhibiting proper rise.
To combat dense cake troubleshooting, prioritize accuracy. Weighing your ingredients with a digital scale ensures you have the correct amounts; for instance, instead of guessing a cup of flour, measure out 125 grams. When mixing, especially after adding the dry ingredients, mix only until everything is just combined. Overmixing develops gluten, leading to toughness. Finally, check the freshness of your baking powder and soda. Baking powder loses potency over about 6-12 months; you can test it by adding a teaspoon to a small bowl of hot water – it should bubble vigorously.
Causes: Incorrect Measurements, Overmixing, Stale Leavening
Solutions: Weigh Ingredients, Fold Gently, Use Fresh Baking Powder
Dry and Crumbly Cakes
A cake that is dry and crumbly is disappointing and difficult to serve neatly. This issue stems from a lack of moisture and/or too much structure. The most frequent causes are using too much flour, insufficient fat, or simply baking the cake for too long. Flour absorbs liquid and builds structure; excess flour leads to a dry, dense crumb. Fat (butter, oil) contributes moisture and tenderness by interfering with gluten development. Overbaking evaporates too much moisture.
Addressing dry cake troubleshooting involves careful attention to ingredient ratios and baking time. Ensure your flour is measured accurately, preferably by weight (around 125g per cup for AP flour). Verify that the recipe calls for an appropriate amount of fat and that you've included it all; fat is key to a moist cake. Most importantly, monitor your cake as it bakes. Start checking for doneness a few minutes before the minimum time specified in the recipe using the toothpick test. If it comes out with moist crumbs attached, it's likely done or needs just a minute or two more.
Causes: Too Much Flour, Not Enough Fat, Overbaking
Solutions: Reduce Flour, Increase Butter, Monitor Doneness
Sunken or Collapsed Cakes
Few things are more disheartening than watching a beautifully risen cake sink in the middle as it cools, leaving a dense, often gummy center. This collapse usually happens when the cake's internal structure hasn't fully set before it's removed from the oven or exposed to a sudden temperature change. Common causes include opening the oven door too early in the baking process, underbaking the cake, or having too much liquid or leavening in the batter relative to the dry ingredients, leading to an unstable structure.
To prevent sunken cake troubleshooting scenarios, resist the urge to open the oven door during the first two-thirds of the baking time. The influx of cooler air can cause the delicate structure to fall. Ensure the cake is fully baked before removing it; a toothpick inserted into the center should come out clean, and the top should spring back gently when lightly pressed. If a specific recipe consistently sinks, it might contain too much liquid or leavening for its structure, and you might need to slightly reduce the liquid or baking powder/soda in future attempts.
Causes: Opening Oven Too Early, Underbaking, Excess Liquid
Solutions: Avoid Opening Oven, Bake Fully, Adjust Liquid
Uneven Cake Layers
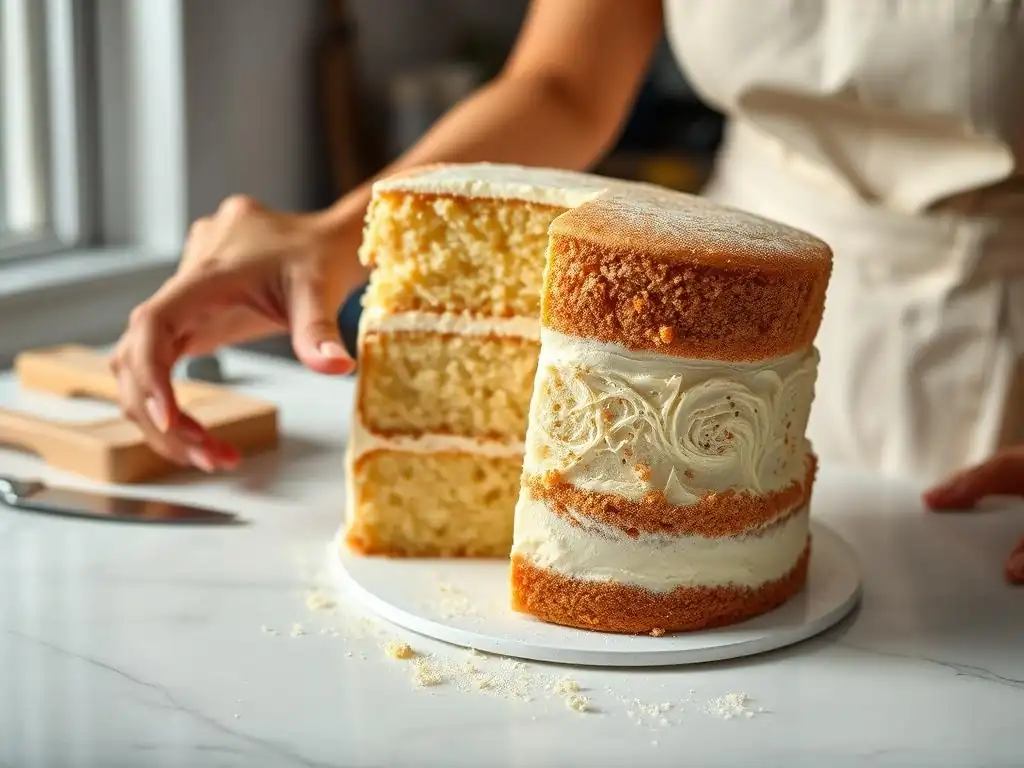
Cakes that bake with pronounced domes or are noticeably higher on one side present a challenge when trying to stack and frost even layers. This unevenness is often a sign of inconsistent heat distribution during baking. Causes include hot spots within the oven, placing the cake pan too close to an oven wall or heating element, or unevenly distributing the batter in the pan before baking. If one part of the cake bakes faster than another, it will rise and set sooner, leading to a lopsided result.
Tackling uneven cake troubleshooting involves understanding your oven and preparation. Use an inexpensive oven thermometer to check for accuracy and identify hot spots – your oven might be 25-50°F off the dial setting. If hot spots exist, rotate your cake pans halfway through the baking time to ensure even exposure to heat. Before baking, make sure the batter is spread evenly in the pan; gently tapping the pan on the counter a few times helps settle the batter and remove large air pockets, promoting a flatter top.
Causes: Uneven Oven Temperature, Pan Placement, Uneven Batter
Solutions: Oven Thermometer, Rotate Pans, Level Batter
Cracked Cake Tops
A cake with a significant crack running across its top indicates that the crust set too quickly while the interior was still rising. This rapid setting prevents the steam and gases from escaping evenly, forcing them to break through the already-formed top crust. The most frequent causes are an oven temperature that is too high, a batter that is too stiff (often due to too much flour), or sometimes placing the cake on the top rack of the oven where heat is most intense.
To resolve cracked top cake troubleshooting, consider lowering your oven temperature slightly, perhaps by 15-25°F, and extending the baking time. This allows the cake to rise more gradually before the crust fully sets. Revisit your recipe and ensure you haven't added too much flour; sometimes a tablespoon or two less flour or a bit more liquid can soften the batter. Ensure the batter is mixed just until combined, avoiding excessive gluten development which can make it stiff. Placing the cake on a lower or middle rack can also help prevent the top from setting too quickly.
Causes: Oven Too Hot, Too Much Flour, Batter Too Stiff
Solutions: Lower Oven Temp, Adjust Flour, Add Liquid
Gummy or Sticky Texture
A cake that has a gummy, dense, or sometimes wet-looking layer, particularly near the bottom or in the center, often suffers from an issue with moisture or structure development. This texture is commonly caused by underbaking, using too much sugar relative to other ingredients, or excess moisture absorbed from a humid environment. When the cake doesn't bake through properly, starches don't set, and the texture remains raw or gluey. Too much sugar can prevent the flour structure from setting correctly and also retains excess moisture.
Effective gummy cake troubleshooting requires careful attention to baking time and ingredient balance. Always ensure the cake is fully baked by using the toothpick test; if it comes out with wet batter or large, moist crumbs, it needs more time. Consider reducing the sugar slightly in recipes that seem excessively sweet or consistently turn out gummy; reducing sugar by 10-15% is often possible without significantly impacting flavor. In high humidity, ingredients like flour can absorb more moisture from the air, potentially requiring a slight reduction in liquid or increase in flour in the recipe.
Causes: Underbaking, Too Much Sugar, High Humidity
Solutions: Bake Longer, Adjust Sugar, Control Humidity
Ingredient-Specific Problems
Flour Troubleshooting
Flour provides the primary structure in most cakes through its protein content (gluten). Using the wrong type of flour or measuring it incorrectly is a major factor in many cake troubleshooting common mistakes. Cake flour, with its low protein content (around 6-8%), yields a tender, fine crumb ideal for delicate cakes. All-purpose flour (10-12% protein) is versatile but can result in a tougher cake if overmixed. Self-rising flour contains added leavening and salt, so substituting it requires adjusting other ingredients.
Accurate flour adjustments are crucial. The most reliable method is weighing flour (e.g., 125g per cup for AP). If using volume, spoon the flour into the measuring cup and level it off without packing. Substituting flour types requires careful consideration; replacing cake flour with AP flour might necessitate using slightly less AP flour by volume or adding a tablespoon of cornstarch per cup of AP to approximate cake flour's lower protein. Understanding the protein content helps predict how much gluten will develop and adjust mixing accordingly.
Understanding Flour Types: Cake, All-Purpose, Self-Rising
Flour Adjustments
Sugar Troubleshooting
Sugar is far more than just a sweetener in cakes; it plays vital roles in tenderness, moisture retention, browning, and even aeration when creamed with butter. Sugar imbalances can significantly impact texture. Too much sugar can lead to a cake that is overly moist, gummy, or collapses because the sugar interferes with the flour's ability to build a stable structure. Too little sugar can result in a dry, tough cake with less browning.
Different sugars behave differently. Granulated sugar provides sweetness and structure. Brown sugar, containing molasses, adds moisture and a slightly chewy texture; 1 cup packed brown sugar weighs approximately 200g. Powdered (confectioners') sugar, which contains cornstarch, results in a very fine, tender crumb and is often used in recipes where a delicate texture is desired. Substituting sugar types isn't always a direct 1:1 swap and can require recipe adjustments to maintain the intended texture and moisture level.
Sugar Imbalances
Different Sugars: Granulated, Brown, Powdered
Fat Troubleshooting
Fat is essential for tenderness, moisture, flavor, and aiding leavening in cakes. It coats flour particles, shortening gluten strands and creating a tender crumb. Insufficient fat is a common cause of dry, tough cakes. Using the wrong type of fat, or fat at the wrong temperature, can also lead to problems addressed in fat troubleshooting. For example, a recipe relying on creaming butter and sugar for lift won't work if oil is used instead, as oil doesn't trap air bubbles like solid fat does.
Different fats contribute unique qualities. Butter (around 80-82% fat, 16-18% water) provides excellent flavor and structure when creamed. Oil (100% fat) results in very moist cakes but doesn't contribute to lift via creaming. Shortening (often 100% solid fat) creams exceptionally well for high volume but lacks butter's flavor. Ensuring butter is softened (around 65°F or 18°C) for creaming is crucial for incorporating sufficient air, which contributes to the cake's final texture and height.
Fat-Related Issues
Different Fats: Butter, Oil, Shortening
Egg Troubleshooting
Eggs are multi-talented in cakes, serving as binders, providing structure (via protein), contributing moisture and richness (via yolks), and aiding leavening (especially when whipped). Egg troubleshooting often involves issues related to quantity or incorporation. Using too many eggs can result in a rubbery or tough cake due to excess protein. Too few eggs can lead to a cake that is crumbly, lacks structure, or doesn't rise adequately.
Properly incorporating eggs is key. They are usually added one at a time after creaming butter and sugar, mixing just until the yolk disappears before adding the next. This prevents the batter from curdling. Using room-temperature eggs (let them sit out for 30-60 minutes) helps them emulsify better with the fat and sugar, creating a smoother batter. Most recipes assume large eggs, which weigh approximately 50g without the shell; using significantly different sizes can affect the recipe balance.
Incorporating Eggs
Egg Functions: Binding, Leavening, Moisture
Equipment and Oven Issues
Oven Temperature
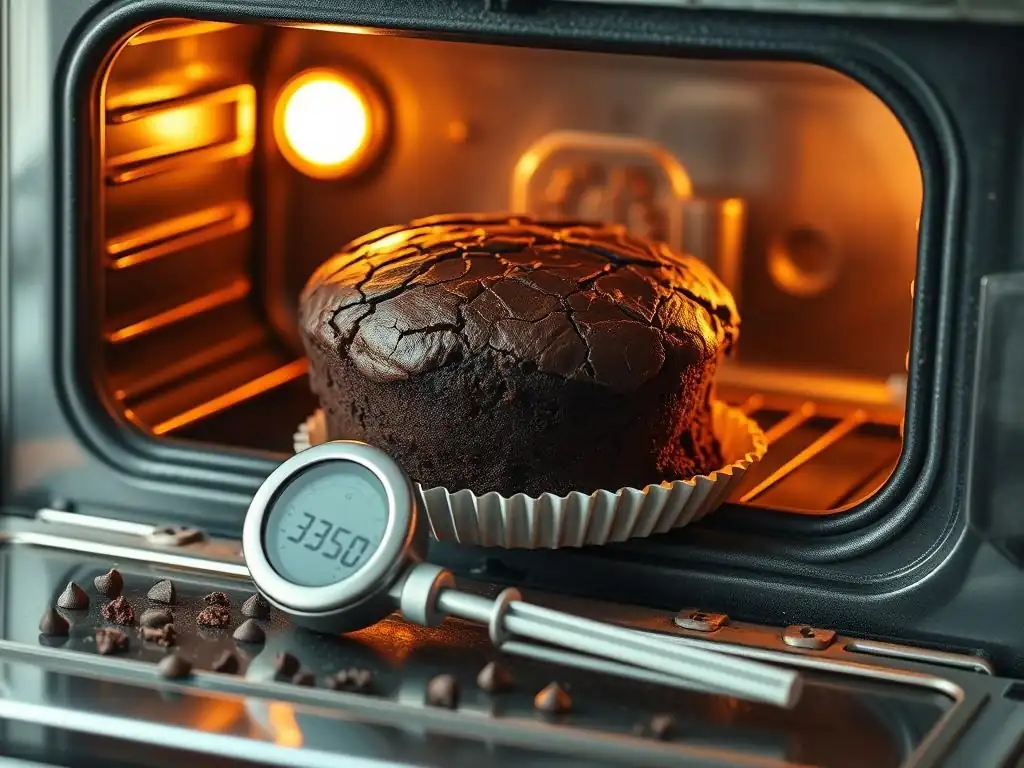
The oven is a critical piece of equipment in baking, and an inaccurate temperature is one of the most frequent causes of cake troubleshooting common mistakes. Many ovens have thermostats that are off by 25-50°F or more. This leads to cakes baking too fast (cracked tops, dry edges) or too slow (sunken centers, gummy texture). Hot spots within the oven cavity cause uneven baking, resulting in lopsided or unevenly browned cakes.
Solving oven problems starts with verification. Use a simple, inexpensive oven thermometer placed in the center of your oven to check its true temperature against the dial setting. If it's consistently off, you can adjust your dial accordingly (e.g., if it reads 325°F when set to 350°F, set it to 375°F). Rotating pans halfway through baking helps mitigate hot spots. If the oven is significantly inaccurate or has severe hot spots, calibration by a professional might be necessary.
Oven Problems: Hot Spots, Inaccurate Thermostat
Oven Solutions: Thermometer, Calibration
Baking Pan Troubleshooting
The type, size, and material of your baking pan significantly impact how a cake bakes. Using the wrong pan is a common issue in baking pan troubleshooting. Dark-colored metal pans absorb more heat than shiny metal ones, often leading to faster browning and potentially drier edges or bottoms. Glass pans also conduct and retain heat differently than metal, typically requiring a reduction in oven temperature by 25°F and potentially longer baking times. Using a pan size different from the recipe's specification will alter the baking time and cake thickness, which can lead to under or overbaking.
Different pan materials have pros and cons. Shiny aluminum pans are generally preferred for even heat distribution. Glass is useful but requires temperature adjustments. Silicone pans are non-stick but don't promote browning as well and may need support from a baking sheet. Always ensure your pans are properly prepared (greased, floured, or lined with parchment paper) to prevent sticking, which can ruin a cake upon removal. Using the specified pan size ensures the batter depth and surface area are correct for the recipe's baking time and temperature.
Pan Selection
Pan Materials: Aluminum, Glass, Silicone
Advanced Techniques
High Altitude Baking
Baking at high altitudes (typically above 3,000 feet or around 900 meters) presents unique challenges due to lower atmospheric pressure. This lower pressure allows leavening gases to expand more rapidly, potentially causing cakes to over-rise and then collapse. Liquids also evaporate faster at higher altitudes, leading to drier baked goods. These factors require specific adjustments not needed at sea level.
Common high altitude baking troubleshooting adjustments include reducing leavening agents (baking powder/soda) by 10-25% to prevent over-expansion. Increasing liquid slightly (1-2 tablespoons per cup of liquid) or adding an extra egg helps compensate for faster evaporation. Increasing flour slightly (1-2 tablespoons per cup) or adding an extra egg adds structure to support the faster rise. Raising the oven temperature by 15-25°F helps set the cake's structure more quickly before it has a chance to collapse.
Gluten-Free Cakes
Baking gluten-free (GF) cakes involves working without the primary structure-building protein found in wheat flour. This lack of gluten often leads to common gluten-free cake troubleshooting issues like cakes that are crumbly, dense, or have a poor texture. GF flour blends vary greatly in their composition (e.g., rice flour, tapioca starch, potato starch, almond flour), and these differences significantly impact how they absorb liquid and behave in a recipe.
Successful gluten-free baking often relies on alternative binders and careful moisture balance. Many commercial GF blends include gums like xanthan or guar gum to mimic gluten's binding properties. Adding extra binders like psyllium husk or ground flaxseed can further improve structure. Ensuring adequate moisture is critical, often by adding an extra egg yolk, sour cream, yogurt, or a bit more oil or butter. Allowing GF batters to rest for 15-30 minutes before baking can help the different flours hydrate properly, improving texture.
Leavening Agents
Leavening agents are the powerhouse behind a cake's rise and light texture. Baking powder, baking soda, eggs, and steam create gases that expand when heated, puffing up the batter. Understanding how they work is key to leavening troubleshooting. Baking soda requires an acid (like buttermilk, vinegar, or brown sugar) to produce carbon dioxide. Baking powder is typically double-acting, reacting both when mixed with liquid and again when heated in the oven. Using stale leavening is a prime cause of flat, dense cakes.
To ensure your leavening is working correctly, always check the expiration dates of baking powder and soda. You can test baking powder by adding a teaspoon to about 1/4 cup of hot water; it should immediately fizz vigorously. Test baking soda by adding a quarter teaspoon to a tablespoon of vinegar or lemon juice; it should bubble strongly.
Using the correct amount specified in the recipe is crucial; too much can cause rapid rising followed by collapse or a bitter, metallic taste, while too little results in a flat, heavy cake. Ensure leavening is evenly distributed by whisking it into the dry ingredients.
Proactive Baking Tips
Accurate Measuring
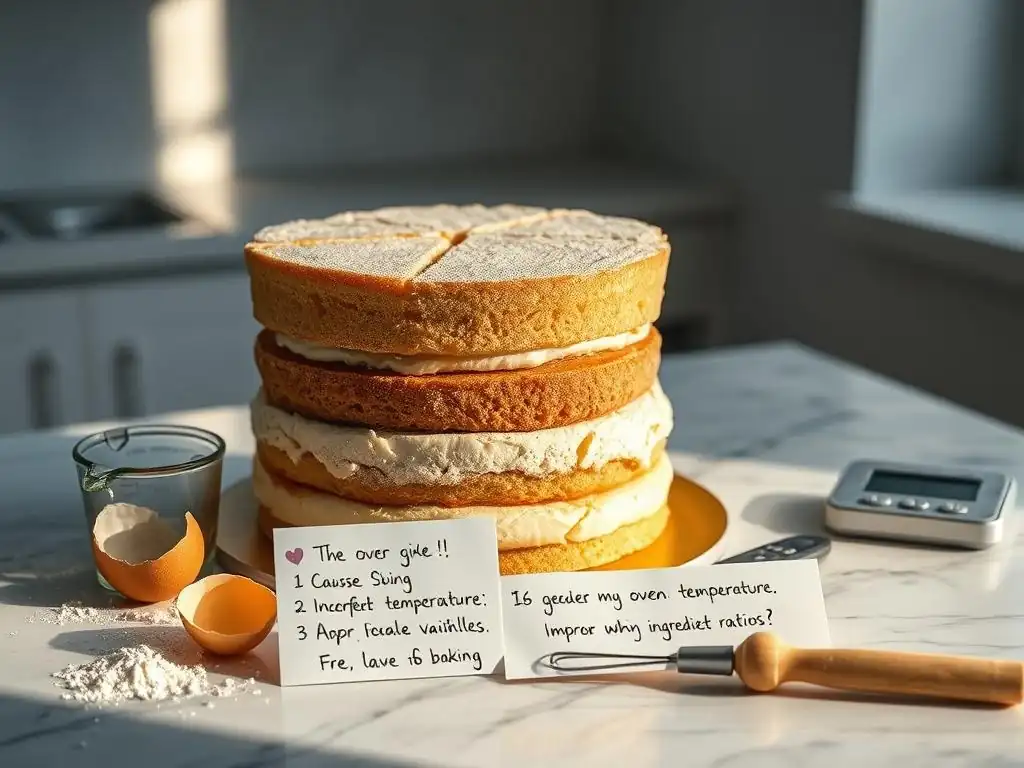
Accurate measuring is the single most important step you can take to prevent cake troubleshooting common mistakes. Baking relies on specific ratios of ingredients to create the desired chemical reactions and structure. Even slight variations can throw off the delicate balance. While volume measurements (cups, tablespoons) are common, they are prone to error, especially with dry ingredients like flour, which can be packed down differently each time.
Using a digital kitchen scale to weigh ingredients, especially flour, sugar, and fats, is the most reliable method. For example, 1 cup of all-purpose flour should ideally weigh between 120-130 grams depending on the blend. If using volume for flour, gently spoon it into the measuring cup and level off with a straight edge; never scoop directly from the bag. For liquids, use clear liquid measuring cups placed on a flat surface and read at eye level. For fats like butter, use the markings on the wrapper or weigh it.
Proper Mixing
The way ingredients are combined significantly impacts the final texture of a cake. Proper mixing troubleshooting involves understanding the role of each mixing stage. Overmixing, particularly after flour has been added, develops too much gluten, resulting in a tough, dense cake. Undermixing, on the other hand, can leave ingredients unevenly distributed, leading to tunnels or areas with poor texture.
Most cake recipes follow a similar pattern: creaming softened butter and sugar until light and fluffy (incorporating air, which takes 3-5 minutes with an electric mixer), adding eggs one at a time, and then alternating additions of dry and wet ingredients, beginning and ending with dry. When adding the dry ingredients, mix only until they are just incorporated. Often, the final additions are best mixed by hand with a spatula using a folding motion to avoid overdeveloping gluten.
Baking Times and Temperatures
Baking time is a variable that depends on numerous factors, including the actual oven temperature, the pan material, the size and depth of the cake, and even the temperature of the batter. Relying solely on the time listed in a recipe without checking for doneness is a frequent cause of cake troubleshooting common mistakes, resulting in underbaked (gummy, sunken) or overbaked (dry, tough) cakes.
Always preheat your oven fully before putting the cake in. Use an oven thermometer to ensure the temperature is accurate. Begin checking for doneness a few minutes before the minimum time given in the recipe. Look for visual cues: the cake should pull slightly away from the sides of the pan, and the top should spring back gently when lightly touched. The most reliable test is inserting a wooden skewer or toothpick into the center; it should come out clean or with just a few moist crumbs attached, but no wet batter.
Conclusion
Mastering Troubleshooting.
Mastering cake troubleshooting is an ongoing process that builds with every cake you bake, regardless of whether it's a perfect triumph or a learning opportunity. By understanding the common culprits behind baking flaws – from inaccurate measurements and improper mixing to oven inconsistencies and ingredient interactions – you gain the power to identify issues and implement effective solutions. Each time a cake doesn't turn out quite right, it's not a failure, but valuable data guiding you towards better baking practices.
With attention to detail, accurate measuring techniques, a reliable oven thermometer, and an understanding of the basic science of baking, you can significantly reduce the frequency of common cake problems. Embrace the troubleshooting process as a way to deepen your baking knowledge. Over time, identifying flaws will become second nature, allowing you to confidently adjust recipes and techniques, leading to consistently delicious cakes that you can be proud of.
Frequently Asked Questions
What are some common reasons why a cake might sink in the middle?
A sinking cake often points to issues with leavening agents or oven temperature. Too much baking powder or soda can create a burst of gas that collapses, while an oven that's not hot enough can prevent proper setting. Also, ensure accurate ingredient measurements.
Why is my cake dry, even when I followed the recipe exactly?
Dryness is frequently caused by overbaking or an imbalance of wet and dry ingredients. Always check for doneness with a toothpick and consider adjusting oven temperature or baking time based on your oven. Also, check if ingredient ratios are correct.
My cake is tough and dense. What could be the problem?
A tough cake can result from overmixing the batter, developing too much gluten. Use a gentle hand and avoid over-stirring after adding the flour. Also, ensure you're using the correct type of flour and avoid substituting ingredients without understanding their impact.
The top of my cake cracked. Is this normal, and how can I prevent it?
Some cracking is normal, but excessive cracking suggests the oven temperature is too high. Reduce the temperature slightly and ensure the rack is positioned correctly. Also, consider using baking strips around the pan to promote even baking.
My cake is sticking to the pan, even though I greased it. What can I do?
Proper pan preparation is essential. Besides greasing, try dusting the pan with flour or using parchment paper. Ensure the cake is completely cooled before attempting to remove it from the pan to prevent sticking.
Final Reflection: Mastering the Art of Cake Troubleshooting
In the world of baking, understanding the nuances of cake troubleshooting is essential for creating the perfect dessert. The insights shared in this article are not just about fixing mistakes; they are about embracing the journey of baking and learning from each experience. Every cake that doesn’t rise or turns out too dense is an opportunity to refine our skills and deepen our appreciation for this culinary art. Baking is as much about the process as it is about the final product.
Cake troubleshooting has become a vital part of our baking culture, influencing both amateur bakers and seasoned professionals alike. The ability to identify and rectify common mistakes fosters a sense of community among bakers, as we share tips and tricks to perfect our craft. As we navigate through the challenges of baking, we realize that each flaw tells a story of growth and resilience. > “Mistakes are proof that you are trying.” This quote resonates deeply within the baking community, reminding us that every misstep is a stepping stone toward mastery.
As you reflect on the lessons from this article, I encourage you to embrace your baking journey with an open heart and mind. Consider each cake you create as a canvas for experimentation and learning. Whether you’re a novice baker or a seasoned pro, remember that every mishap is a chance to improve and innovate. So, the next time you face a baking challenge, take a moment to troubleshoot with confidence, knowing that each cake is a testament to your dedication and passion for the art of baking.
Unlock Your Baking Brilliance!
Thanks for taking the time to explore the common pitfalls of cake baking! We hope you gained valuable insights to elevate your baking game. Ready to put your new knowledge into practice?
- Bake a test cake: Choose your favorite recipe (or a new one!) and apply what you've learned to troubleshoot potential issues before your next big bake. This is the most important step!
- Share your experiences: Let's learn together! Share your successes (and even your fails!) in the comments below. We love hearing your stories.
- Explore our other resources: Dive deeper into specific cake types or techniques on our website to continue expanding your baking skills.
What ingredient are you most excited to experiment with after reading this article?