
Underbaked Cookie Cores? Master Perfect Doneness in Chunky Chocolate Chip Bites

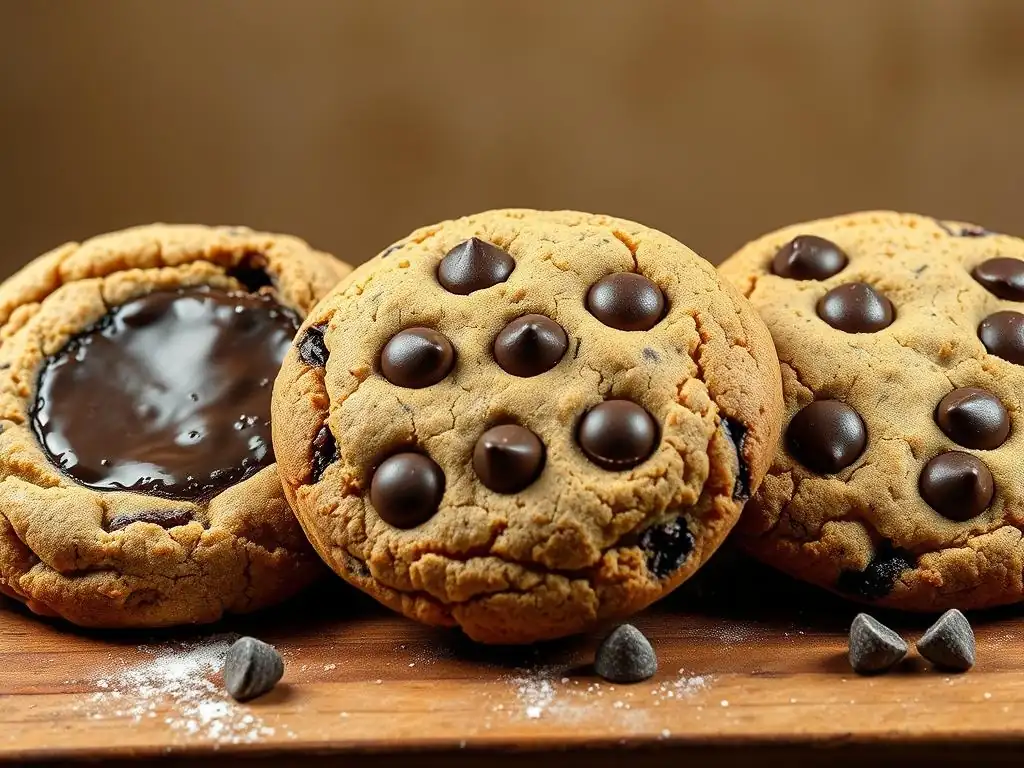
Welcome to BakeWithEase, your trusted guide to baking bliss! Ever wonder why your chocolate chip cookies sometimes emerge with that dreaded underbaked core? We're diving deep into the secrets of achieving perfect chocolate chip cookie doneness, unraveling the mysteries behind gooey centers and crisp edges. Discover foolproof techniques and pro tips that will transform your baking game and banish underbaked cookies forever. Intrigued? Let's get started!
- Mastering Perfect Chocolate Chip Cookie Doneness: Avoiding Underbaked Centers
- Introduction: Achieving Consistent Cookie Doneness
- Understanding Cookie Doneness: Identifying Readiness
- Troubleshooting Common Causes of Undercooked Cookies
- Step-by-Step Guide to Perfectly Baked Cookies
- Advanced Techniques for Enhanced Cookie Baking
- Preventing Future Baking Issues
- Conclusion: Achieving Perfectly Baked Cookies Consistently
-
Frequently Asked Questions
- How can I tell if my chocolate chip cookies are perfectly done without overbaking them?
- What causes underbaked cookie cores in chocolate chip cookies?
- Does the type of baking sheet affect chocolate chip cookie doneness?
- How does altitude affect the baking time of chocolate chip cookies?
- Can I use a thermometer to check the doneness of my chocolate chip cookies?
- Final Reflection: The Enduring Quest for Cookie Perfection
- Unlock Your Inner Cookie Connoisseur: Perfect Bites, Every Time!
Ah, the classic chocolate chip cookie! It's a beloved treat, but achieving that ideal texture – slightly crisp edges giving way to a soft, perfectly baked center – can be surprisingly elusive. A common frustration is biting into a seemingly beautiful cookie only to find a raw, gooey core, especially with thicker or "chunky" variations. This isn't just disappointing; it means the cookie hasn't reached its full potential in terms of flavor and texture development.
Underbaked centers often occur because the outside of the cookie browns and sets faster than the inside cooks through. This discrepancy is amplified in larger or thicker cookies where heat takes longer to penetrate to the core. Mastering perfect chocolate chip cookie doneness is key to avoiding this common pitfall and ensuring every bite delivers that satisfying balance of textures.
Achieving consistent, perfectly baked chocolate chip cookie doneness requires understanding a few key factors beyond just following a recipe's time estimate. Oven performance, ingredient preparation, and knowing how to identify when a cookie is truly ready are all critical pieces of the puzzle. This guide will walk you through the science and technique behind baking cookies that are done all the way through, without being overcooked.
We'll explore how to troubleshoot common issues like uneven baking and temperature fluctuations, providing you with practical tips and methods. By the end of this guide, you'll have the knowledge to confidently bake batch after batch of chocolate chip cookies with reliably perfect doneness, ensuring gooey centers are a thing of the past.
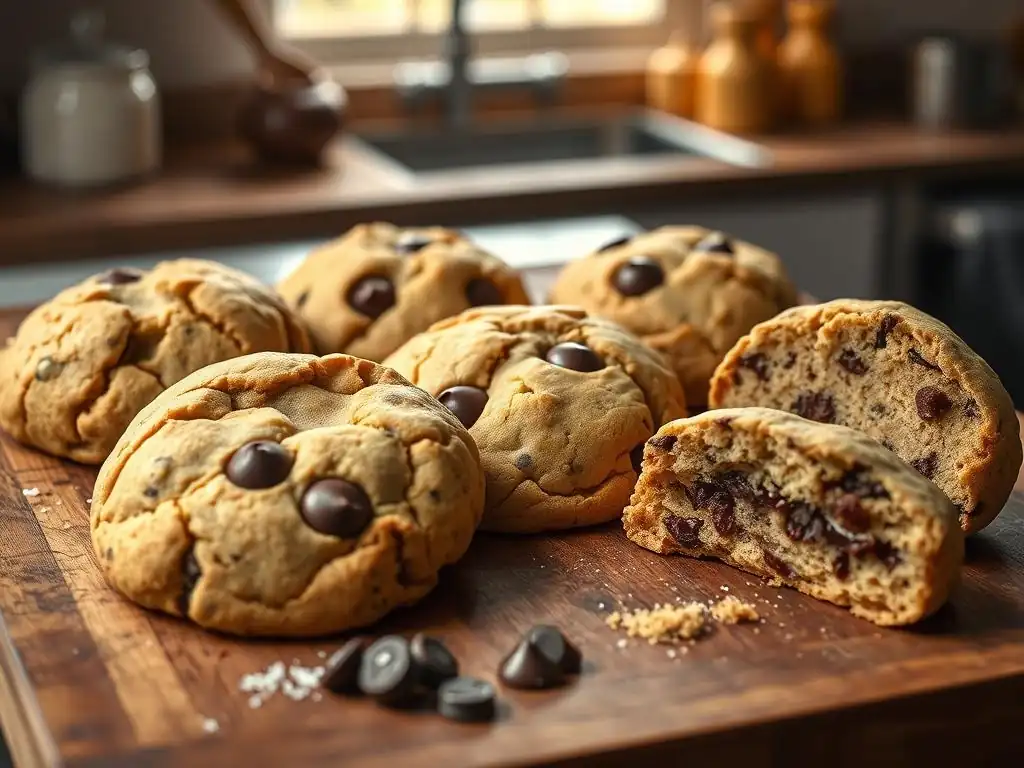
Visual cues are often the first way bakers assess if cookies are done. Look for the edges to be golden brown and set. The center should appear slightly lighter and less glossy than when the cookies first went into the oven; it should look matte and opaque. While the very center might still look a little soft, it shouldn't appear wet or raw.
However, relying solely on visual cues can be misleading, particularly for achieving perfect chocolate chip cookie doneness in different sizes or thicknesses. Cookies continue to cook slightly on the hot baking sheet after being removed from the oven. What looks "just right" in the oven might become overdone, while what looks "almost there" could still be underbaked in the center once cooled.
Internal Temperature: The Key to Consistent Results
For truly consistent and perfect chocolate chip cookie doneness, especially with chunky or large cookies, using an instant-read thermometer is the most reliable method. A cookie with a soft, slightly gooey center but set structure typically registers an internal temperature between 175°F and 190°F (approximately 80°C to 88°C). For a crispier cookie, you might aim slightly higher, say 195°F to 205°F (90°C to 96°C).
Measuring the internal temperature provides a precise, objective indicator that heat has fully penetrated the cookie's core and the starches and proteins have set correctly. Unlike visual cues, which can vary based on lighting, dough color, and personal interpretation, a thermometer gives a clear answer, taking the guesswork out of achieving perfect chocolate chip cookie doneness batch after batch.
Even baking across the entire sheet and throughout each cookie is fundamental to achieving desirable texture. Hot spots in an oven or using inappropriate baking sheets can lead to some cookies browning too quickly on the edges while others remain pale and underbaked in the center. This inconsistency makes it impossible to remove the batch at the perfect moment for every cookie.
When cookies bake evenly, they develop their structure and color uniformly. This allows you to remove the sheet when all the cookies have reached the desired state of perfect chocolate chip cookie doneness, ensuring a consistent texture from edge to center for every single cookie.
Oven Temperature Variations and Their Impact
One of the most frequent culprits behind underbaked cookies is an inaccurate oven thermostat. Many home ovens can be off by as much as 25°F (about 14°C) or more from the temperature setting. If your oven runs cooler than the dial indicates, your cookies will bake at a lower temperature, requiring significantly longer baking times than the recipe suggests.
This lower temperature means the cookies take longer to spread and for the heat to reach the center. If you follow the recipe's time based on an inaccurate, low temperature, you'll inevitably pull the cookies out before the center has fully set, resulting in those disappointing gooey cores. Verifying and adjusting for your oven's true temperature is crucial for achieving perfect chocolate chip cookie doneness.
Baking Sheet Material and Its Effect on Baking
The type and color of your baking sheet significantly impact how heat is transferred to the cookie dough. Dark metal sheets absorb more radiant heat, leading to faster browning on the bottom and edges, which can sometimes happen before the center is cooked through. This can trick you into thinking the cookie is done based on edge color.
Light-colored, heavy-gauge aluminum sheets reflect heat, providing a more even and gradual bake. Insulated baking sheets, while preventing bottoms from burning, can sometimes slow heat transfer too much, making it harder to achieve a fully baked center without over-drying the edges. For consistent perfect chocolate chip cookie doneness, light-colored, non-insulated sheets are often recommended.
Dough Consistency: Impact on Baking Time
The consistency of your cookie dough directly affects its spread and how quickly it bakes. Dough that is too warm or has too much liquid may spread excessively thin, leading to crispy-all-over cookies, or worse, unevenly thin spots that burn while thicker parts remain underbaked. Conversely, overly dry or cold dough may not spread enough, resulting in thick cookies that require longer baking times to cook through.
The structure developed during mixing also plays a role. Over-mixing can develop gluten, leading to tougher cookies with potentially different baking characteristics. Ensuring your dough has the correct balance of ingredients and consistency, and is properly prepared (like chilling), sets the stage for achieving reliable perfect chocolate chip cookie doneness.
Ingredient Temperature: A Critical Factor
The temperature of your ingredients, particularly butter and eggs, is vital for proper emulsification and dough structure. Using cold butter that isn't properly creamed with sugar won't create the necessary air pockets, leading to denser cookies that bake differently. Similarly, cold eggs don't incorporate as well.
Dough temperature itself is also key. Baking dough straight from the refrigerator results in less spread and a thicker cookie compared to baking room-temperature dough. While chilling is often desired for thicker cookies, you must account for the increased baking time required for the heat to penetrate the colder, denser dough to achieve perfect chocolate chip cookie doneness in the center.
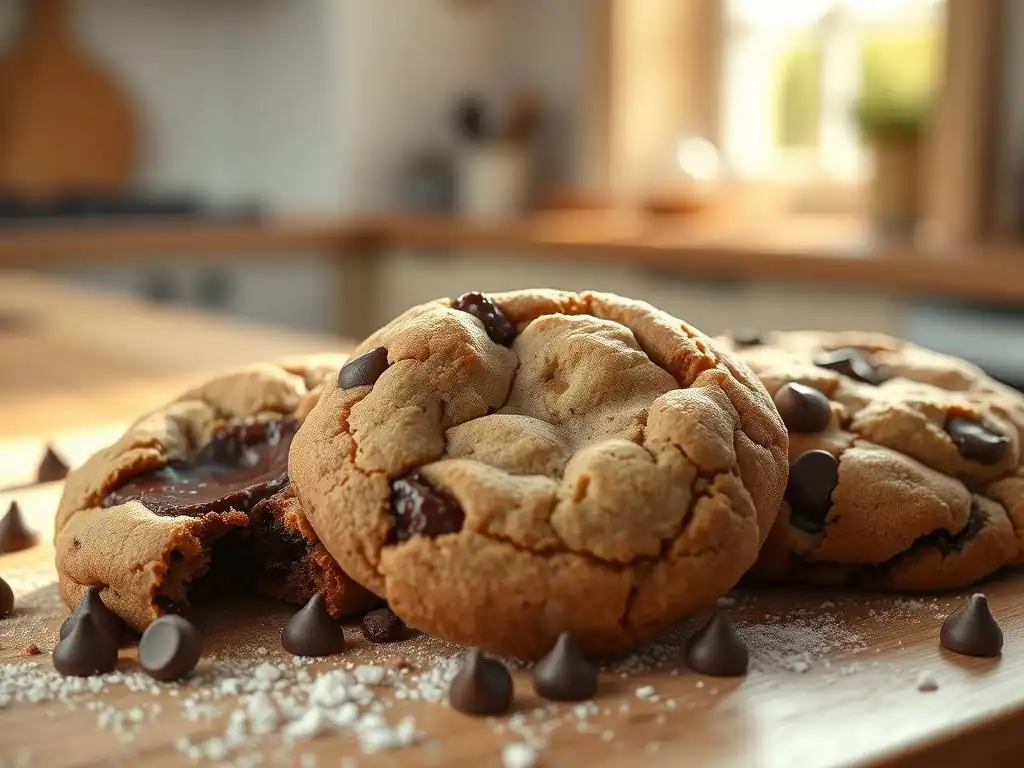
Step 1: Ensuring Accurate Oven Temperature
Before you even mix your dough, verify your oven's temperature. Place an independent oven thermometer in the center of your oven. Preheat the oven to the desired temperature and let it preheat for at least 15-20 minutes after it indicates it's ready.
Check the thermometer reading. If it's significantly off (more than 10-15°F or 5-8°C), adjust your oven dial accordingly for your recipe. For example, if you want 350°F (175°C) but your oven thermometer reads 325°F (160°C) when the dial is set to 350°F, you know to set your dial closer to 375°F (190°C) in the future to actually bake at 350°F.
Knowing your oven's true temperature is the foundational step to consistent baking. Without this knowledge, all other steps are based on a faulty premise. Making this simple check with an inexpensive thermometer is perhaps the single most effective way to improve your chances of achieving perfect chocolate chip cookie doneness.
Step 2: Preparing Dough for Optimal Baking
Proper dough preparation goes beyond just mixing ingredients; it sets the stage for how your cookies will spread and bake. Accurate measurement of ingredients, especially flour, is crucial – too much flour results in dry, dense cookies that may not spread correctly and could bake unevenly. Ensure your leavening agents (baking soda/powder) are fresh, as expired ones won't provide the lift needed for proper texture.
Avoid overworking the dough after adding flour. Mixing just until the dry ingredients are incorporated prevents excess gluten development, which can lead to tough cookies. The goal is a cohesive dough that is ready for the next critical step: chilling.
Chilling the Dough: Benefits and Techniques
Chilling cookie dough is a step often skipped but is incredibly beneficial for achieving perfect chocolate chip cookie doneness with a desirable texture. As the dough chills, the butter solidifies, which means the cookies spread less rapidly in the oven. This slower spread allows the edges to set while the center remains thicker, giving the heat more time to penetrate and cook the middle through without the edges getting too dark or crispy.
Aim to chill your dough for at least 30-60 minutes. For even better results and enhanced flavor development, chilling for 24 hours or even up to 72 hours is recommended by many professional bakers. You can chill the dough as a single mass, or portion it into balls first for easier baking later. Chilling is a powerful technique for controlling spread and promoting that classic soft center and crisp edge contrast.
Using Quality Ingredients for Superior Results
The quality of your ingredients directly impacts the flavor, texture, and baking performance of your cookies. Using good quality butter with the correct fat percentage, fresh large eggs, and fresh flour makes a noticeable difference. The type and quality of your chocolate chips also matter; higher quality chocolate with a higher cocoa content often holds its shape better while melting, contributing to pockets of gooey chocolate rather than just spreading into the dough.
Consider the temperature of your ingredients as well, as discussed before. Using room-temperature butter and eggs (unless the recipe specifically states otherwise) ensures proper emulsification during the creaming process, leading to a better dough structure and more consistent baking results, vital for achieving perfect chocolate chip cookie doneness.
Step 3: Baking to Perfection
Once your dough is prepared and chilled, the baking process itself requires attention to detail. Proper placement on the baking sheet and in the oven, along with careful monitoring, are key to translating your well-prepared dough into perfectly baked cookies. Avoid overcrowding the baking sheet; leave enough space (typically 2-3 inches) between cookies to allow for spread and even heat circulation.
Preheating your oven thoroughly, ensuring it's at the actual correct temperature, is non-negotiable. Placing cookies into a properly heated environment allows them to start setting immediately, which is crucial for controlling spread and ensuring the center cooks through along with the edges, leading to reliable perfect chocolate chip cookie doneness.
Selecting the Right Baking Sheet
As previously mentioned, the baking sheet material significantly influences baking. For most standard chocolate chip cookie recipes, a light-colored, heavy-gauge aluminum baking sheet is ideal. These sheets conduct heat evenly without causing the bottoms to brown too quickly. Lining the sheet with parchment paper or a silicone baking mat further promotes even baking and prevents sticking, ensuring your cookies lift off cleanly and retain their shape.
Avoid dark non-stick sheets or insulated sheets if you're troubleshooting underbaked centers, as they can interfere with achieving balanced doneness. Sticking to reliable, light-colored sheets provides a consistent base for achieving perfect chocolate chip cookie doneness.
Visually Monitoring Cookie Doneness
While not the sole indicator, visual cues are still an important part of monitoring. Start checking your cookies a minute or two before the recipe's minimum suggested baking time. Look for the edges to be lightly golden brown. The center should look set and matte, not wet or shiny, though it may still appear slightly puffed or soft.
Remember that cookies continue to set as they cool on the baking sheet for a few minutes. If you plan to transfer them to a wire rack, they should look just slightly less done than your final desired outcome when you pull them from the oven. This visual check, combined with other methods, refines your ability to gauge perfect chocolate chip cookie doneness.
Using a Thermometer for Precise Measurement
For absolute certainty, especially with thicker cookies, use an instant-read thermometer. Gently insert the probe into the side or thickest part of the center of a cookie on the baking sheet. Aim for that target temperature range of 175-190°F (80-88°C) for a soft center. Check a couple of cookies in different spots on the sheet to account for any minor oven variations.
This is the most foolproof method to ensure the internal structure is set, guaranteeing perfect chocolate chip cookie doneness all the way through, regardless of how the edges look. It takes the guesswork out and provides objective data for consistent results.
The "Bounce Back" Test: Assessing Doneness
Beyond visual cues and temperature, a tactile test can also provide insight into doneness, particularly useful when you don't have a thermometer handy or are baking a familiar recipe. Gently touch the edge of a cookie with your fingertip (be careful, it's hot!). If the indentation springs back slightly, it indicates the cookie's structure has set and it is likely done or very close to being done.
If the indentation remains or the cookie feels very soft and collapses, it needs more time. This "bounce back" test is more intuitive and requires practice, but it can be a quick way to check doneness once you've calibrated it with successful batches and potentially temperature readings. It's another tool in your arsenal for achieving perfect chocolate chip cookie doneness.
Recipe baking times are typically based on a standard cookie size, often using 1 to 2 tablespoons of dough per cookie. If you're making larger, bakery-style cookies (say, 3-4 tablespoons of dough), you will need to significantly increase the baking time. A standard cookie might take 10-12 minutes, while a larger one could require 14-18 minutes or even longer.
Conversely, smaller cookies will bake faster. Always start checking at the minimum time specified in the recipe, but be prepared to add several minutes for larger cookies, checking frequently with visual cues or a thermometer. Adjusting the baking time to the actual size and thickness of your cookie dough portions is essential for uniform and perfect chocolate chip cookie doneness.
Rotating Baking Sheets for Even Heat Distribution
Even with an oven thermometer, most ovens have hot spots. To counteract this and promote even baking across the entire sheet, rotate your baking sheet halfway through the estimated baking time. If the recipe suggests 12 minutes, rotate the sheet 180 degrees after 6 minutes.
If you're baking multiple sheets at once (on different racks), swap their positions as well when you rotate them. Move the sheet from the top rack to the bottom, and the bottom to the top. This ensures that all cookies receive similar heat exposure, minimizing the risk of some being underbaked while others are overdone, and helping you achieve consistent perfect chocolate chip cookie doneness throughout the batch.
Preventing Future Baking Issues
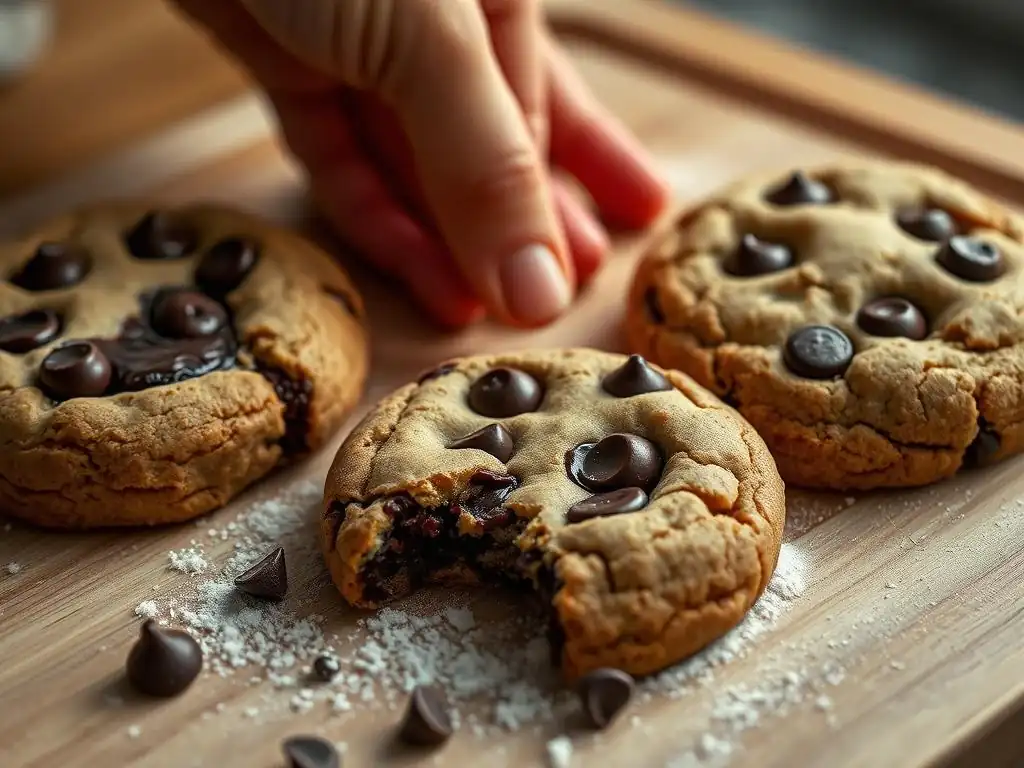
Understanding Your Oven's Performance
Taking the time to truly understand your specific oven is an investment in all your future baking endeavors. Use that oven thermometer regularly. Note how long it takes for your oven to actually reach and stabilize at the set temperature – it's often longer than the preheat beep suggests. Observe where cookies tend to brown faster on the sheet or on different racks; this reveals your oven's hot spots.
Keeping track of these nuances allows you to anticipate issues and make preemptive adjustments, such as always rotating sheets or slightly increasing/decreasing the temperature setting. This knowledge base is invaluable for consistently achieving perfect chocolate chip cookie doneness with any recipe.
Keeping Baking Notes for Consistent Outcomes
Develop a habit of keeping simple baking notes. After each batch, jot down details: the recipe used, the actual oven temperature (from your thermometer), the total baking time, the type of baking sheet used, any dough chilling time, and the outcome (e.g., "perfect soft centers," "edges too crispy," "centers still a bit gooey").
This personal log becomes a powerful tool. If you achieve perfect chocolate chip cookie doneness with a batch, you have the exact parameters to replicate it. If a batch is underbaked, you can look back at your notes to identify potential variables – maybe the oven was running cool that day, or the dough wasn't chilled long enough.
Experimenting with Baking Times and Temperatures
Once you've mastered the basics and understand your oven, don't be afraid to experiment slightly to find your preferred level of perfect chocolate chip cookie doneness. Try baking a few cookies from the same batch at a slightly lower temperature for a minute or two longer, or at a slightly higher temperature for a minute or two less.
These small adjustments can significantly impact the final texture, from chewy to crispy to soft and gooey. By systematically experimenting and noting the results, you can fine-tune the baking process to consistently produce cookies that match your ideal vision of perfect chocolate chip cookie doneness.
Recap of Key Techniques
Mastering perfect chocolate chip cookie doneness, especially avoiding those disappointing underbaked centers, boils down to a combination of careful preparation and attentive baking. Key techniques include verifying your oven's true temperature with a thermometer, properly preparing and chilling your dough, selecting the right baking sheet, and using a combination of visual cues and internal temperature measurement to determine when cookies are truly done.
By paying attention to these details – from ingredient temperature to rotating your baking sheets – you gain control over the baking process. This systematic approach replaces guesswork with reliable methods, ensuring that each cookie is baked through to that ideal state of perfect chocolate chip cookie doneness, with wonderfully set edges and soft, delightful centers.
Achieving that perfect texture is incredibly rewarding! We encourage you to put these tips into practice. Experiment with your next batch of chocolate chip cookies, focusing on temperature, timing, and observation. See how using a thermometer changes your results or how chilling dough affects the spread and doneness.
Share your successes and challenges! Learning from each bake is part of the journey to becoming a confident cookie master. With these techniques, consistently baking cookies with perfect chocolate chip cookie doneness is well within your reach.
Frequently Asked Questions
The key is to look for slightly golden brown edges and a soft, but not wet-looking center. The cookies will continue to firm up as they cool on the baking sheet.
Often, underbaked cores are due to oven temperature inaccuracies or not baking long enough. Also, using too much butter or sugar can contribute to a gooey center.
Yes, it does! Dark baking sheets absorb more heat and can lead to burnt bottoms before the center is cooked. Light-colored baking sheets are generally preferred for even baking.
At higher altitudes, liquids evaporate faster, which can lead to drier cookies. You may need to reduce baking time slightly or add a bit more moisture to the dough.
While not typical, you can! A thermometer inserted into the center of the cookie should read around 200-210°F (93-99°C) for a perfectly done cookie.
The pursuit of the perfectly baked chocolate chip cookie transcends mere culinary skill; it's a reflection of our desire for balance, for that sweet spot between crisp edges and a molten, gooey center. This seemingly simple act of baking becomes a microcosm of life itself – a constant striving for the ideal, a delicate dance between precision and happy accidents. The quest for perfect doneness isn't just about following a recipe; it's about understanding the science behind the bake, the nuances of heat and time, and the ultimate reward of that first, perfect bite.
The enduring appeal of the chocolate chip cookie lies in its comforting familiarity and its capacity for endless variation. Yet, at its heart, the perfect cookie remains a symbol of simple pleasures and shared experiences. A cookie is a little bit of comfort you can hold in your hand.
This sentiment speaks to the emotional connection we have with this seemingly humble treat, a connection that's strengthened by the satisfaction of achieving that perfect bake. The journey to mastering cookie doneness is a journey of self-discovery, a testament to patience and attention to detail, mirroring our own personal growth and pursuit of excellence in other aspects of life.
Now, consider your own baking journey. What have you learned about precision, patience, and the unexpected joys of imperfection? Don't be afraid to experiment, to adjust temperatures, to tweak baking times. Embrace the learning process, for each slightly underbaked or overbaked cookie brings you closer to mastering your own unique recipe for perfection. The perfect chocolate chip cookie is out there, waiting to be discovered – and baked – by you.
Thanks for joining us on this delicious journey to perfectly baked cookies! We hope you’ve gained valuable insights into achieving that golden-brown perfection. Ready to put your newfound knowledge into practice?
- Bake a batch of your favorite cookies, using our tips to ensure perfectly baked centers. Challenge yourself to nail that ideal doneness!
- Share your baking success (or even your failures—we've all been there!) on social media using #BakeWithEasePerfectCookies. Let's build a community of cookie lovers!
- Try experimenting with different cookie recipes and variations, aiming for even better results than before. Which ingredient adjustment makes the biggest difference?
What unexpected tip from this article are you most excited to try in your next batch of cookies?