
Your Ultimate Checklist for Storing *Any* Baked Item Perfectly

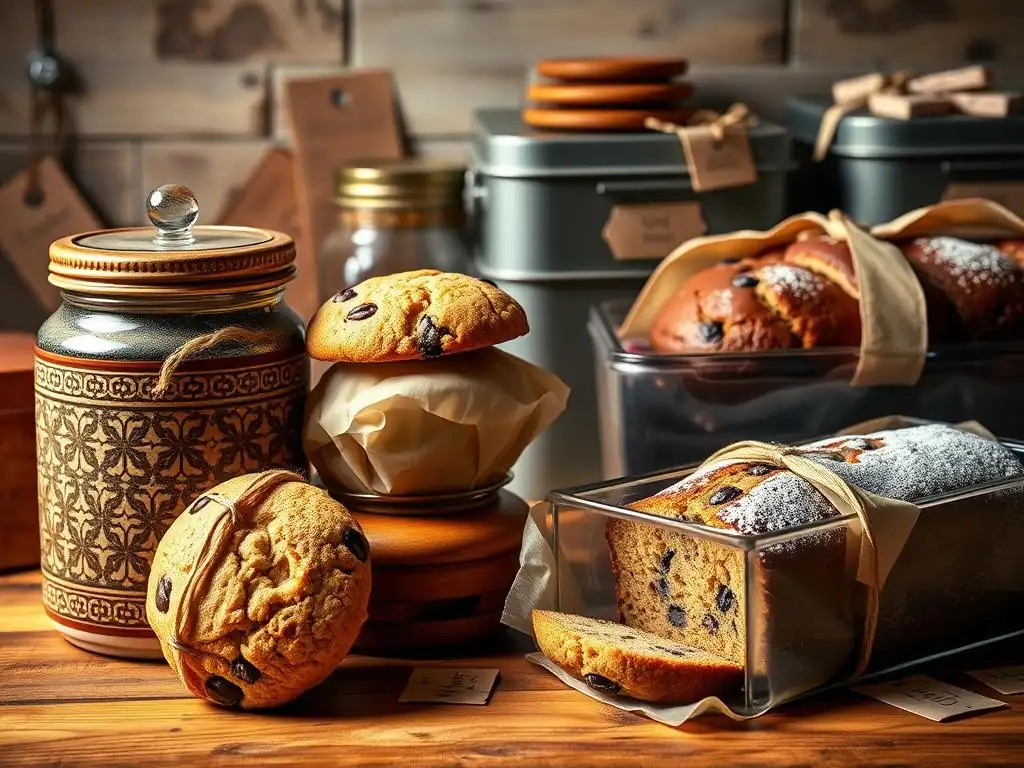
Welcome to BakeWithEase, your haven for delightful baking adventures! Ever wondered if you're truly maximizing the freshness of your creations? This week, we're diving deep into how to store baked goods like a pro. Discover our Ultimate Checklist for Storing Any Baked Item Perfectly and unlock the secrets to keeping your pastries, breads, and cookies tasting as amazing as the day they were baked. Ready to elevate your baking game and banish stale treats forever? Let's get started!
- BakeWithEase' Guide to Storing Baked Goods for Maximum Freshness
- Understanding the Fundamentals of Baked Goods Storage
- The Ultimate Checklist for Storing Specific Baked Items
- Advanced Storage Techniques for Baked Goods
- Troubleshooting Common Baked Goods Storage Issues
- Tips and Tricks for Extending the Shelf Life of Your Baked Creations
- Conclusion: Bake with Ease and Store with Confidence
- Frequently Asked Questions
- Final Reflection: The Enduring Sweetness of Perfect Preservation
- Unlock Your Baking Potential: Perfect Storage, Every Time!
BakeWithEase' Guide to Storing Baked Goods for Maximum Freshness
Welcome to BakeWithEase! You've just pulled a beautiful creation from the oven – maybe it's a towering cake, a batch of chewy cookies, or a crusty loaf of bread. The aroma fills your kitchen, and you can't wait to enjoy your masterpiece. But what happens after the first slice or bite? Learning how to store baked goods correctly is just as crucial as following the recipe itself. Proper storage ensures your hard work stays delicious and safe to eat for as long as possible, preserving that perfect texture and flavor.
Improper storage is a common culprit behind stale bread, soggy cookies, or cakes that dry out too quickly. It can diminish the enjoyment of your freshly baked treats and even lead to food waste. This guide is designed to give you a comprehensive checklist, covering everything from understanding the science behind spoilage to specific techniques for different types of baked goods, so you can confidently store any item you bake.
Understanding the Fundamentals of Baked Goods Storage
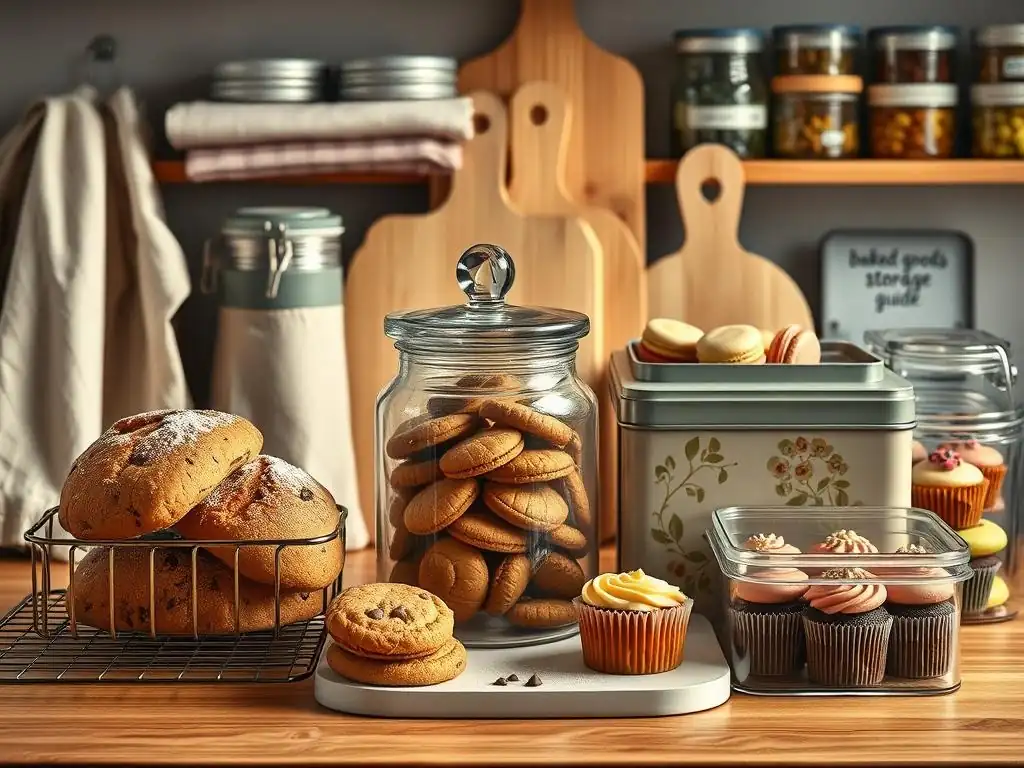
Before diving into specific tips for different treats, let's explore the core principles that govern how long baked goods stay fresh. Understanding these fundamentals is key to mastering how to store baked goods effectively, whether you're dealing with a delicate pastry or a hearty loaf.
Why Proper Storage Matters for Baked Items
Proper storage is essential for maintaining both the quality and safety of your baked goods. From a quality perspective, it helps preserve the desired texture – keeping bread crusts crisp, cake layers moist, and cookies either soft or crunchy according to type. For instance, leaving a freshly baked baguette exposed to air for just a few hours can turn its beautiful crust tough and chewy, a stark contrast to its initial crispness. Similarly, a perfectly moist chocolate cake can become dry and crumbly if not sealed correctly.
Safety is another critical factor. Baked goods, especially those containing perishable ingredients like dairy, eggs, or fresh fruit fillings, can be susceptible to bacterial growth if not stored at the correct temperature. Mold is also a common issue, particularly in humid environments or when items are stored improperly allowing moisture to accumulate. Knowing how to store baked goods prevents these risks, ensuring your treats are not only delicious but also safe for everyone to enjoy.
Key Factors Affecting the Shelf Life of Baked Goods
Several environmental and compositional factors influence how long your baked goods will remain fresh and edible. These include the item's moisture content, the storage temperature, and the type of packaging used. Understanding these elements is fundamental to learning how to store baked goods optimally and extend their lifespan.
Consider a simple sugar cookie versus a cream-filled pastry. The cookie, having low moisture, might last a week or two at room temperature if stored properly. The pastry, high in moisture and perishable ingredients, might only last a day or two at room temperature and often requires refrigeration. This difference highlights how the item's composition dictates storage needs.
Moisture Content: Friend or Foe?
Moisture content plays a dual role in the life of a baked good. On one hand, adequate moisture is necessary for desirable textures, like the tenderness of cake or the chewiness of a brownie. On the other hand, excess moisture is a breeding ground for mold and can lead to undesirable textures like sogginess in crispy items or toughness in soft ones. The movement of moisture, either into or out of the baked item, is a primary driver of staling and spoilage.
For example, a loaf of bread begins to stale primarily because moisture migrates from the soft interior (crumb) to the dry exterior (crust), and then evaporates into the air. This process changes the starch structure within the bread, making it hard and less palatable. Conversely, a crispy cookie left in a humid environment will absorb moisture from the air, losing its snap and becoming soft. Effective storage techniques often focus on controlling this moisture exchange.
Temperature Considerations for Storing Pastries and More
Temperature significantly impacts the rate of staling and spoilage. Generally, cooler temperatures slow down the growth of mold and bacteria, extending shelf life, but they can also accelerate the staling process in certain items like bread. Room temperature (around 68-72°F or 20-22°C) is often suitable for many baked goods, but items with perishable fillings or high moisture might require refrigeration (around 40°F or 4°C) or even freezing (0°F or -18°C) for longer storage.
Consider storing a lemon meringue pie. Due to the egg-white meringue and potentially dairy-based filling, it requires refrigeration to prevent bacterial growth. Leaving it at room temperature for more than a couple of hours is risky. In contrast, most cookies, being lower in moisture and typically free of perishable fillings, store well at room temperature. Understanding these temperature needs is crucial for knowing how to store baked goods safely and effectively.
Packaging Essentials for Optimal Baked Good Preservation
The right packaging acts as a barrier against air, moisture, and environmental contaminants, making it a cornerstone of how to store baked goods correctly. Different types of packaging serve different purposes depending on the baked item and the storage goal. For instance, a paper bag allows air circulation, which is good for maintaining a crusty bread's exterior but will quickly dry out soft cookies. An airtight container, conversely, is excellent for keeping soft cookies moist but will turn a crusty loaf soggy.
Materials commonly used include plastic wrap, aluminum foil, plastic bags, airtight plastic containers, glass containers, and bread boxes. Each has pros and cons. Plastic wrap and foil are good for sealing individual items or wrapping odd shapes. Airtight containers are excellent for preventing moisture loss or gain. Bread boxes provide a balance, allowing some air circulation while protecting the loaf. Choosing the appropriate packaging is a key step in preserving the quality of your baked goods.
The Ultimate Checklist for Storing Specific Baked Items
Now that we understand the basics, let's get specific. Different baked goods have unique characteristics that require tailored storage methods. This section provides a practical checklist for how to store baked goods ranging from cakes and cookies to bread and delicate pastries.
Storing Cakes: A Comprehensive Guide
Cakes come in many forms, from simple loaf cakes to elaborate layer cakes with various frostings. Each type requires specific care to keep it moist and delicious. Knowing how to store baked goods like cakes properly ensures your celebration centerpiece or simple dessert stays delightful for days.
Unfrosted Cakes: Simple Storage Solutions
Unfrosted cakes, such as pound cakes, loaf cakes, or plain cake layers, are relatively straightforward to store. Their primary enemy is drying out. Once completely cooled, wrap them tightly in plastic wrap. Ensure the plastic wrap adheres well to the surface to minimize air exposure. A wrapped loaf cake can typically last 3-4 days at room temperature if stored this way.
For longer storage, unfrosted cake layers or loaves can be double-wrapped in plastic wrap and then a layer of aluminum foil before freezing. This prevents freezer burn. A properly frozen unfrosted cake can last for 2-3 months. Thaw it overnight in the refrigerator or for a few hours at room temperature, still wrapped, to retain moisture.
Frosted Cakes: Maintaining Decorations and Preventing Sticking
Storing frosted cakes requires more care, especially for elaborate designs. If the frosting is a crusting buttercream (like American buttercream), once the frosting is set, you can lightly cover the cake with plastic wrap or place it in a cake carrier. Avoid direct contact with the frosting if possible, especially for intricate details. A cake with buttercream frosting can last 3-4 days at room temperature if covered.
For cakes with non-crusting frostings (like whipped cream or certain ganaches) or delicate decorations, use a cake dome or a large airtight container. If the cake is too tall for your container, you might need to improvise with plastic wrap held up by toothpicks to prevent crushing the top. Placing a piece of parchment paper on the plate before adding the cake can also make transfer easier later.
Cream Cheese Frosting Considerations for Cake Storage
Frostings containing cream cheese, mascarpone, or fresh cream are perishable and require refrigeration due to their dairy content. Cakes with these frostings should be stored in the refrigerator within two hours of being served or decorated. Cover the cake well with plastic wrap or place it in an airtight container to prevent it from absorbing refrigerator odors and drying out.
A cake with cream cheese frosting will last about 3-5 days in the refrigerator. Before serving, allow the cake to sit at room temperature for 30-60 minutes to soften the frosting and improve the cake's texture. This brings it closer to its ideal serving temperature, enhancing flavor and moistness.
Everyone loves a good cookie, but their texture preference varies! Some like them soft and chewy, while others prefer a crisp snap. Learning how to store baked goods like cookies depends heavily on achieving and maintaining that desired texture.
Soft Cookie Storage: Sealing in the Moisture
To keep soft cookies like chocolate chip or oatmeal cookies chewy, store them in an airtight container immediately after they have cooled completely. Plastic or glass containers with tight-fitting lids work best. The goal is to trap the moisture within the cookies.
A common trick is to place a slice of white bread or a small piece of apple (changed every day or two) inside the airtight container with the cookies. The cookies will absorb moisture from the bread or apple slice, staying soft. Stored this way at room temperature, soft cookies can remain fresh for 5-7 days.
Crispy Cookie Storage: Preventing Softening
Crispy cookies, like shortbread, gingersnaps, or biscotti, should be stored in a container that allows a little air circulation to prevent them from becoming soft. A cookie tin with a slightly loose lid or a container with a paper towel lining the bottom can help. Avoid using airtight containers unless you live in a very humid environment.
Ensure crispy cookies are completely cool before storing. Any residual warmth will create condensation inside the container, leading to sogginess. Stored correctly at room temperature, crispy cookies can maintain their texture for 1-2 weeks, sometimes even longer depending on their fat and sugar content.
Storing Different Types of Cookies Together: Best Practices
Avoid storing different types of cookies in the same container, especially if they have contrasting textures or strong flavors. A soft cookie will transfer moisture to a crispy one, making it soft. Similarly, a strongly flavored cookie (like peppermint) can transfer its flavor to milder cookies.
If you must store different types together for a short period, use parchment paper dividers or individual bags within a larger container. However, for optimal freshness and texture preservation, it's best to store each type of cookie in its own appropriately chosen container.
Bread Storage: Maintaining Crust and Softness
Bread is a staple, and keeping it fresh is a common challenge. The battle is often between preserving a crusty exterior and keeping the interior soft. Mastering how to store baked goods like bread is key to enjoying your homemade loaves for more than a day.
Storing Loaf Bread: Preventing Staling
The best way to store most homemade loaf bread depends on how quickly you plan to eat it. For consumption within 1-2 days, a paper bag or a cloth bread bag is often recommended. This allows the crust to remain somewhat crisp while the interior stays relatively soft. However, this method allows moisture loss, leading to faster staling.
For longer storage at room temperature (up to 3-4 days), wrap the cooled loaf tightly in plastic wrap or place it in a sealed plastic bag. This sacrifices the crispy crust but keeps the interior soft and prevents rapid moisture loss. Avoid refrigerating bread, as this temperature range (around 35-40°F or 2-4°C) accelerates the retrogradation of starch molecules, leading to much faster staling than at room temperature.
Storing Rolls and Buns: Keeping Them Fresh
Rolls and buns, having more surface area relative to their volume than a loaf, tend to dry out faster. Once cooled, store them in a sealed plastic bag or an airtight container at room temperature. This traps moisture effectively, keeping them soft for 2-3 days.
If you need to refresh slightly stale rolls, a quick fix is to lightly dampen the outside with water and warm them in a preheated oven (around 300°F or 150°C) for 5-10 minutes. The moisture turns to steam, softening the interior, and the heat can briefly crisp the exterior.
Freezing Bread: A Long-Term Storage Solution
Freezing is the best method for storing bread long-term, preserving its quality for several months. Cool the bread completely. For loaves, you can freeze it whole, in halves, or sliced. If slicing before freezing, place parchment paper between slices for easy separation later.
Wrap the bread tightly in plastic wrap, ensuring no surface is exposed. Then, wrap again in aluminum foil or place it in a freezer-safe bag, pressing out as much air as possible. This double-wrapping prevents freezer burn. Properly frozen bread can last for 4-6 months. Thaw wrapped bread at room temperature or toast slices directly from frozen.
Pastry Perfection: How to Store Pies, Tarts, and Croissants
Delicate pastries present unique storage challenges, often involving flaky crusts, creamy fillings, or airy layers. Knowing how to store baked goods in this category correctly is vital for maintaining their delicate structure and taste.
Storing Pies: Maintaining Crust Integrity
Fruit pies baked with sugar act somewhat as a preservative and can often be stored at room temperature for 1-2 days, loosely covered with foil or plastic wrap after cooling completely. This allows some air circulation to help keep the crust from getting soggy. However, check the specific recipe; some fruit pies with lower sugar content or specific fruits might benefit from refrigeration.
Pies with dairy-based fillings (like custard, cream, or meringue pies) must be refrigerated due to the risk of bacterial growth. Cool them to room temperature as quickly as possible (within 2 hours) and then cover loosely with plastic wrap or foil before refrigerating. They typically last 3-4 days in the fridge. To prevent a soggy bottom crust, some bakers slightly underbake the bottom crust or brush it with egg white before filling and baking.
Storing Tarts: Preventing Soggy Bottoms
Tarts, especially those with fruit fillings or creamy bases, are susceptible to soggy bottom crusts. Similar to pies, tarts with perishable fillings require refrigeration. Store them in an airtight container or loosely covered in the refrigerator.
For tarts with pre-baked crusts and fresh fruit toppings (like a fruit tart with pastry cream), assemble them as close to serving time as possible. The moisture from the fruit and cream will soften the crust over time. If storing overnight, consider brushing the cooled tart shell with a thin layer of melted chocolate or a glaze before adding the filling and fruit; this creates a barrier against moisture migration.
Storing Croissants: Keeping Them Flaky
Freshly baked croissants are best enjoyed the day they are made, when their layers are at their flakiest peak. However, if you need to store them, allow them to cool completely. Store them loosely covered in a paper bag or a container that is not completely airtight at room temperature for up to 1-2 days. An airtight container will trap moisture and make them soft and chewy rather than flaky.
To refresh a stored croissant, warm it in a preheated oven (around 300°F or 150°C) for 5-10 minutes. This helps to re-crisp the layers. Avoid microwaving croissants, as this will make them tough and rubbery. For longer storage, croissants can be frozen (see the freezing section below).
Advanced Storage Techniques for Baked Goods
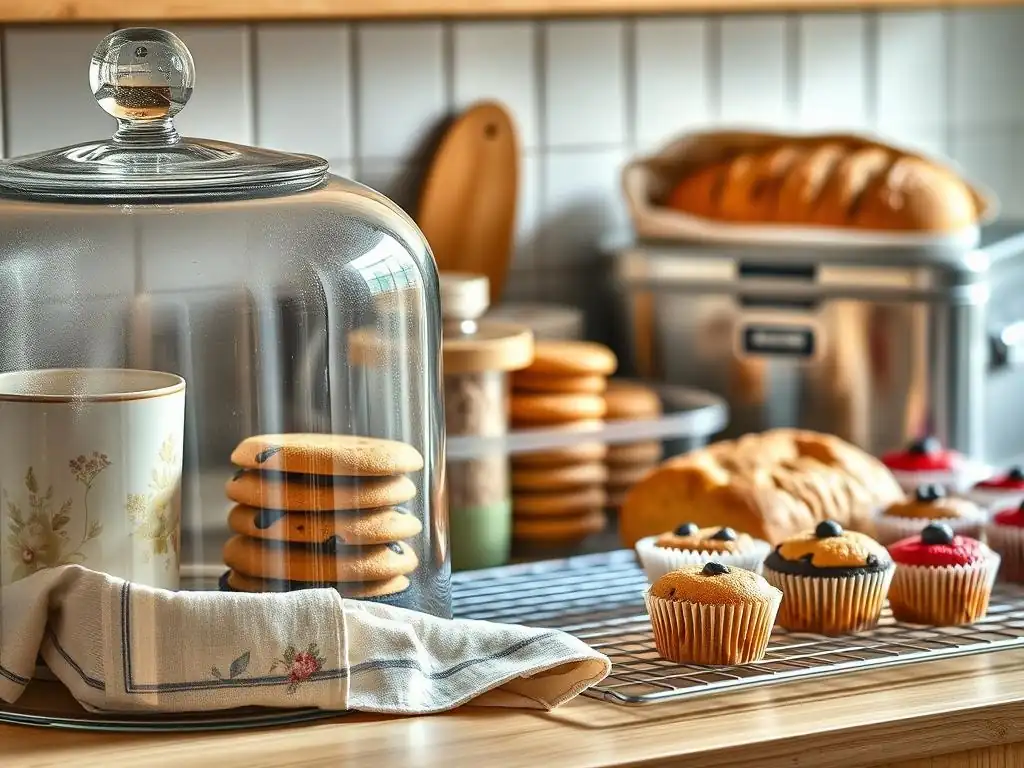
Beyond basic room temperature or refrigeration, freezing offers a powerful way to extend the life of many baked items significantly. Understanding when and how to use these techniques is key to mastering how to store baked goods for maximum longevity and quality.
Freezing Baked Goods: A Step-by-Step Guide
Freezing halts the staling process and prevents microbial growth, making it ideal for long-term storage. Almost any baked good can be frozen, though some (like delicate meringues or items with fresh fruit toppings) fare better than others.
Preparing Baked Goods for Freezing
Ensure the baked goods are completely cooled before freezing. Freezing warm items creates condensation, which can lead to ice crystals and freezer burn. If the item has a glaze or frosting, allow it to set firmly. For items like cookies or rolls, you can initially flash freeze them on a baking sheet until solid (about 1-2 hours). This prevents them from sticking together, allowing you to grab just one or two at a time later.
For cakes or pastries, ensure they are sturdy enough to handle wrapping without being crushed. Removing delicate decorations or storing them separately might be necessary. This preparation step is crucial for successful long-term storage when considering how to store baked goods in the freezer.
Proper Wrapping and Sealing for Freezer Storage
The key to preventing freezer burn, which causes dryness and off-flavors, is to protect the baked good from exposure to air. Start with a layer of plastic wrap, ensuring it's tightly wrapped around the item with no gaps. For items like bread or cakes, a second layer of aluminum foil provides an extra barrier.
Alternatively, use freezer-safe bags or airtight containers. If using bags, press out as much air as possible before sealing. If using containers, ensure they are filled as much as possible to minimize air space. Label packages with the contents and date; most baked goods are best consumed within 3-6 months of freezing.
Thawing Baked Goods: Restoring Texture and Flavor
Proper thawing is just as important as proper freezing. The best method often depends on the type of baked good. Bread is usually best thawed still wrapped at room temperature for several hours. This allows moisture to redistribute within the loaf and prevents the crust from becoming soggy.
Cakes and muffins can also be thawed wrapped at room temperature. Thawing them wrapped prevents condensation from forming on the surface, which can ruin frosting or make the cake gummy. Cookies can often be thawed directly in their container at room temperature for an hour or two. Pastries like croissants might benefit from a quick refresh in a warm oven after thawing to restore flakiness.
Refrigerating Baked Goods: When It's Necessary and When to Avoid It
Refrigeration is a double-edged sword for baked goods. While it slows down spoilage from perishable ingredients, the cool temperatures can accelerate staling in others. Knowing when to refrigerate is vital for how to store baked goods safely and effectively.
Items That Benefit from Refrigeration
Baked goods containing perishable fillings or toppings must be refrigerated. This includes items with:
- Dairy-based fillings (custards, creams, cream cheese frosting, mousse)
- Egg-based fillings (lemon curd, meringue pies, quiches)
- Fresh fruit fillings (especially uncooked or low-sugar ones)
- Meat or vegetable fillings (savory pastries)
Examples include cheesecakes, cream pies, eclairs, trifles, and cakes with fresh cream or cream cheese frosting. These should be refrigerated within two hours of being made or served.
Items That Should Never Be Refrigerated
Certain baked goods should generally not be refrigerated unless they contain perishable components. Bread is the prime example; refrigeration causes it to stale much faster than storing it at room temperature or freezing it. Cookies, especially crispy ones, can also lose their desired texture in the fridge and potentially absorb odors.
Most cakes with only buttercream or ganache (without perishable additions) are also fine at room temperature for several days, and refrigeration can sometimes dry them out or make the texture less appealing. The exception is in very hot or humid climates, where refrigeration might be necessary even for these items to prevent melting or spoilage, though it might impact texture.
Preventing Moisture Absorption in the Refrigerator
The refrigerator environment is dry, but condensation can still be an issue, especially when moving items in and out. To prevent baked goods from drying out or absorbing odors, always store them in airtight containers or wrap them very tightly in plastic wrap and/or foil.
For cakes, using a cake carrier or placing the cake in a large container is ideal. For smaller items, use appropriately sized airtight containers. Allowing items to cool completely before refrigerating also minimizes condensation inside the container.
Troubleshooting Common Baked Goods Storage Issues
Even with the best practices, you might encounter issues when storing baked goods. Knowing how to identify and address these problems is part of mastering how to store baked goods like a pro.
Preventing Mold Growth on Baked Items
Mold thrives in moist environments. The best way to prevent mold growth is to ensure baked goods are stored in conditions that control moisture and are consumed within their appropriate shelf life. Always cool items completely before storing, as residual heat creates condensation.
Ensure containers are clean and dry before use. Avoid storing items in humid conditions. For items stored at room temperature, like bread or muffins, checking for mold regularly is important, especially after 3-4 days. If you see any mold, discard the entire item, as mold spores can spread unseen.
Addressing Dryness and Staling
Dryness and staling occur when moisture is lost from the baked good, or when starch molecules change structure (as in bread). Proper packaging is the primary defense. For items meant to be soft, airtight containers are essential. For bread, freezing is the best long-term solution to halt staling.
If an item has become slightly dry (like a slice of cake or a muffin), you can sometimes revive it by gently warming it, which temporarily softens the starches. Adding a glaze or syrup can also reintroduce moisture to cakes or quick breads.
Avoiding Condensation and Stickiness
Condensation often occurs when warm items are placed in a cool environment or when items are moved from cool storage to warmer temperatures. Always cool baked goods completely before storing, especially before refrigerating or freezing.
When thawing frozen items, keep them wrapped until they reach room temperature; this allows condensation to form on the wrapping instead of the baked good itself. For items prone to sticking (like cookies with soft centers), placing parchment paper between layers in the container can prevent them from fusing together. Lightly dusting items like brownies or unfrosted cakes with powdered sugar or cocoa powder can also help prevent sticking when stacked.
Tips and Tricks for Extending the Shelf Life of Your Baked Creations
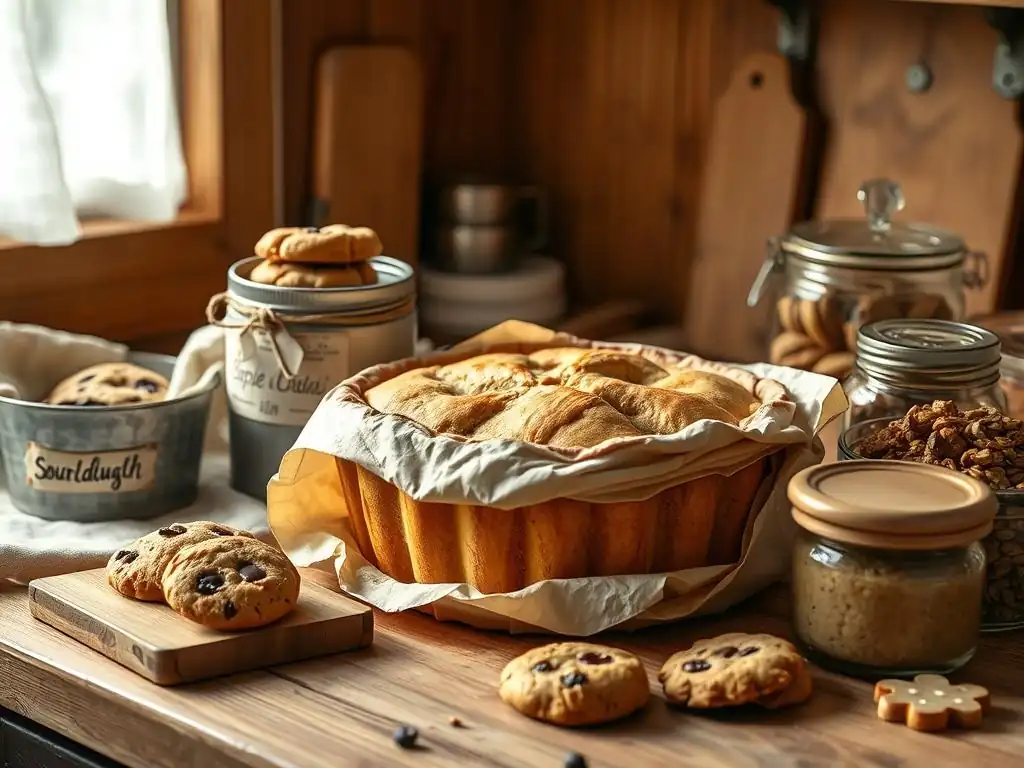
Beyond the basic methods, a few extra tips can help you get the most out of your baked goods and truly master how to store baked goods effectively.
Using Bread Boxes Effectively
A traditional bread box provides a dark, cool environment with controlled air circulation. This is often ideal for storing crusty loaves of bread for 1-2 days, helping to keep the crust from becoming too hard while preventing the interior from drying out too rapidly compared to just a paper bag. They offer a balance that can be perfect for certain types of bread.
However, a bread box is generally not airtight and won't keep bread fresh for as long as a sealed plastic bag or freezing. It's best suited for short-term storage of items you plan to eat within a couple of days.
Utilizing Airtight Containers for Optimal Storage
Airtight containers are workhorses in baked goods storage. They are excellent for keeping soft cookies chewy, preventing cakes and muffins from drying out, and protecting items from absorbing odors. Use appropriately sized containers to minimize excess air space.
Glass containers are great because they don't retain odors and allow you to see the contents easily. High-quality plastic containers with secure seals are also very effective. Ensure the lid forms a tight seal to truly be "airtight."
Understanding Expiration Dates vs. Quality
Homemade baked goods don't come with printed expiration dates like store-bought items. Instead, rely on general guidelines and your senses. While a cookie might be safe to eat for two weeks, its quality (texture, flavor) might significantly decline after one week.
Focus on storing baked goods to maintain their quality within a reasonable timeframe. If you don't anticipate finishing an item within its typical fresh lifespan (e.g., 3-4 days for cake, 5-7 days for soft cookies, 2-3 days for bread), plan to freeze portions immediately after cooling. This preserves their peak quality for later enjoyment.
Conclusion: Bake with Ease and Store with Confidence
Mastering how to store baked goods is an essential skill for any home baker. It ensures that the delicious treats you create remain fresh, flavorful, and safe to eat for as long as possible. By understanding the impact of moisture and temperature, choosing the right packaging, and applying specific techniques for different items, you can significantly extend the enjoyment of your baking efforts.
Remember this checklist, from wrapping that cake layer to freezing extra bread, and you'll minimize waste and maximize flavor. So go ahead, bake with ease, and store with confidence – your perfectly preserved treats await!
Frequently Asked Questions
How long can I store baked goods at room temperature?
Most baked goods can be stored at room temperature for 1-2 days, depending on the type and ingredients. Items with perishable fillings like cream cheese frosting should be refrigerated immediately.
To keep cookies soft, store them in an airtight container with a slice of bread or an apple wedge. The added moisture will help prevent the cookies from becoming stale and hard.
Can I freeze baked goods, and if so, how?
Yes, many baked goods freeze well! Wrap them tightly in plastic wrap and then in foil, or place them in a freezer-safe bag. This prevents freezer burn and preserves the quality.
What are some signs that a baked good has gone bad?
Signs of spoilage include visible mold, a sour or off smell, and a hard, dry texture. It's always best to err on the side of caution and discard anything that seems questionable.
Should I store different types of baked goods together?
It's best to store different types of baked goods separately to prevent flavor transfer. For example, store savory breads away from sweet cookies to maintain their distinct tastes.
Final Reflection: The Enduring Sweetness of Perfect Preservation
The art of storing baked goods isn't just about preventing stale cookies; it's about preserving the joy, the memories, and the hard work poured into each delicious creation. In a world obsessed with instant gratification, taking the time to properly store your baked goods becomes an act of mindful appreciation, ensuring that every bite remains as delightful as the first. This careful preservation extends the lifespan of your culinary achievements, allowing you to savor the fruits of your labor long after the oven has cooled.
The impact of knowing how to properly store baked goods extends far beyond the individual baker. It's about reducing food waste, a crucial aspect of sustainable living in our increasingly conscious world. Waste not, want not
– a timeless adage that rings especially true when considering the precious resources used in baking. From the careful selection of ingredients to the precise measurements and baking time, every element contributes to the final product. To let that effort go to waste due to improper storage is a disservice to both the baker and the environment.
Now, consider your own baking journey. What treasured recipes do you hold dear? What baked goods bring back cherished memories? Take a moment to reflect on the role proper storage plays in preserving these moments and the deliciousness associated with them. I encourage you to implement the techniques outlined in this checklist, not just for the sake of extending shelf life, but to enhance your appreciation for the entire baking process, from creation to consumption. Embrace the art of preservation, and let the sweetness endure.
Unlock Your Baking Potential: Perfect Storage, Every Time!
Thanks for taking the time to discover the secrets to perfectly storing your baked goods! We hope you've gained valuable insights to keep your creations fresh and delicious. Now, it's time to put your new knowledge into action.
- Master the art of storage: Apply the specific techniques outlined in the article to your next batch of cookies, cakes, or breads. Notice the difference in texture and flavor! This is your chance to elevate your baking game.
- Share your baking wisdom: Tell your friends and family about your new storage secrets! They'll appreciate the tips, and you might even inspire their own baking adventures.
- Experiment and share your results: Try a few different storage methods from the article, and share your discoveries in the comments below! Which method worked best for you? What baked item did you try it on?
Ready to transform how you store your baked creations? What's your most challenging baked good to keep fresh?