
How to Weigh Flour Like a Pro: Avoid Soggy Cakes with the Right Technique

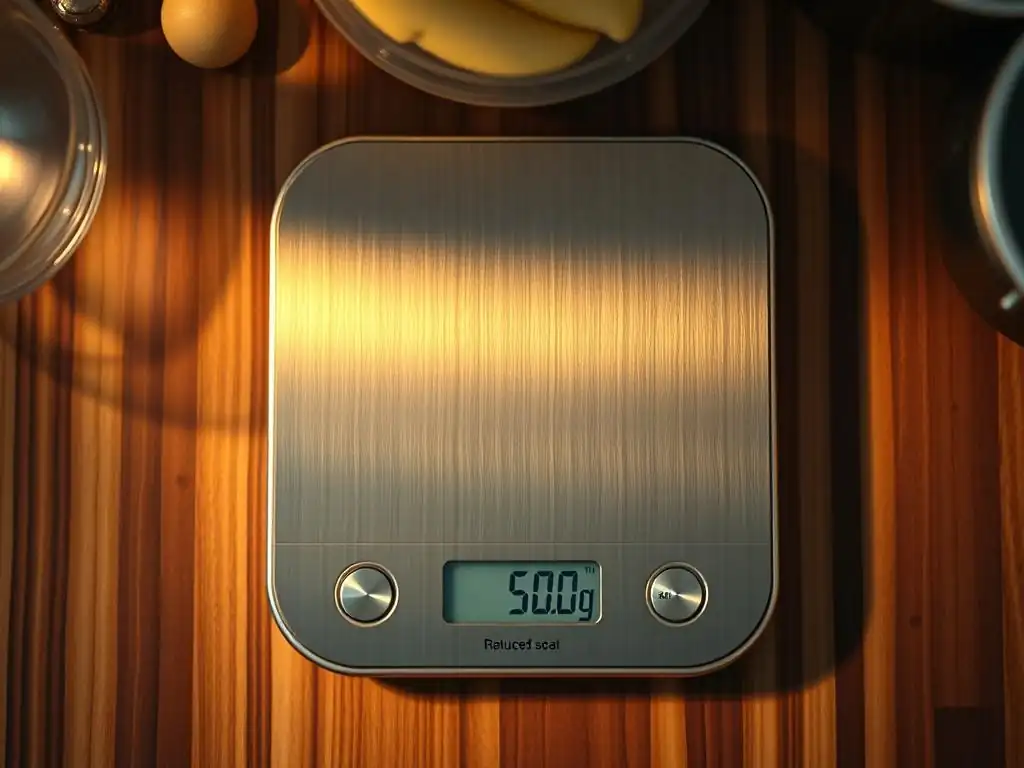
Welcome to BakeWithEase, where baking becomes a joy, not a chore! Are you tired of inconsistent results in your baked goods? The secret might just lie in mastering a seemingly simple step: weighing your flour. Discover our guide on weighing flour accurately baking, and unlock the key to perfectly textured cakes and breads every time. Curious how a few grams can make all the difference? Keep reading to learn the pro techniques that will transform your baking!
- How to Weigh Flour for Baking Success: Achieving Consistent Results
- Introduction: Why Accurate Flour Measurement Matters
- Understanding Flour Types and Their Impact on Weight
- Essential Tools for Weighing Flour Accurately
- Step-by-Step Guide: Weighing Flour Accurately
- Alternative Methods: Measuring Flour Without a Scale
- Pro Tips for Accurate Flour Measurement
- Troubleshooting Common Flour Measurement Errors
- Conclusion: Achieving Baking Perfection Through Accurate Measurement
-
Frequently Asked Questions
- How important is weighing flour accurately when baking?
- What's the best way to weigh flour accurately using a kitchen scale?
- Why is weighing flour preferred over using measuring cups?
- What happens if I consistently add too much flour when baking?
- What type of flour is most crucial to weigh accurately?
- Final Reflection: The Unsung Hero of Baking – Accurate Flour Measurement
- Unleash Your Inner Baking Pro: Master Flour Weighing Today!
How to Weigh Flour for Baking Success: Achieving Consistent Results
Introduction: Why Accurate Flour Measurement Matters
The Importance of Precision in Baking
When you set out to bake a delicate chiffon cake or a crusty artisan loaf, precision isn’t just helpful—it’s imperative. Baking is a science: each ingredient interacts in predictable ways, and even a slight deviation in flour weight can tip the balance from tender crumb to dense rock. For instance, a standard cup of all-purpose flour should weigh about 120 g; if you dump it in unscrupulously, you could end up with anywhere from 140 g to 160 g, throwing off hydration ratios and fermentation times.
Precision also builds confidence. Knowing how to weigh flour accurately baking establishes a repeatable baseline. Whether you’re a beginner measuring out your first batch of sugar cookies or a seasoned baker tweaking sourdough hydration, consistent measurements translate to predictable rises, textures, and flavor.
The Impact of Inaccurate Flour Measurement
Overpacking flour by just 15% can lead to dry, crumbly cakes and loaves that barely rise. Imagine following a recipe that calls for 300 g of flour: if you’ve measured 345 g instead, your final bake may be twice as dense as intended and require more liquid than prescribed. On the other hand, under-measuring by 10% results in a batter that’s too wet, leading to collapsed cakes or gummy centers.
Real-world example: A baker at a community bake sale reported that her chocolate cupcakes sank in the middle. After diagnosing, she discovered she was using the “scoop-and-level” method without a scale—her cup measure contained only 95 g instead of 120 g. The remedy? Switching to a digital scale and learning to weigh flour accurately baking brought her cupcakes back to perfect domes.
Weighing Flour: The Foundation for Baking Success
Mastering the art of weighing flour empowers you to replicate your best bakes time after time. A reliable scale transforms vague volume measurements into exact grams or ounces, eliminating guesswork and reducing variation. With an accurate weigh, you can also scale recipes up or down: a 10 kg batch of bread dough can be subdivided into ten 1 kg loaves with ease.
Moreover, professional bakeries worldwide rely on weight, not volume. A Parisian boulangerie routinely measures 2 500 g of bread flour (T65), 1 600 g of water, and 50 g of salt—down to the gram. By adopting the same mindset at home, you bridge the gap between amateur and pro results.
Understanding Flour Types and Their Impact on Weight
All-Purpose Flour: Versatility and Weight Considerations
All-purpose flour typically contains 10–12% protein and weighs about 120 g per US cup. Its moderate gluten-forming potential makes it an everyday staple, suitable for cookies, quick breads, and some cakes. The weight can vary slightly between brands: King Arthur all-purpose often registers around 123 g, while generic supermarket brands may pack down to 118 g.
Because of this variability, it’s ideal to weigh each batch. If a particular brand consistently measures 118 g per cup on your scale, you can adjust recipes: for a 240 g requirement, measure 2 cups plus 4 g, or simply set your scale to 240 g and pour in flour until it stops.
Bread Flour: High Protein and Density
With protein levels of 12–14%, bread flour yields stronger gluten networks and better structure for crusty loaves. It’s denser than all-purpose flour, averaging 130–135 g per cup. For example, Bob’s Red Mill Bread Flour typically weighs in at 134 g, whereas another regional brand might hit 132 g.
These extra grams per cup mean you must tweak liquid ratios: a recipe calling for 500 g bread flour may require an extra 10–20 g of water compared to its all-purpose counterpart. Always note your brand’s typical weight to bake consistently.
Cake Flour: Lightness and Weight Differences
Cake flour, milled finer and bleached for tenderness, weighs around 100 g per cup. Its low protein (7–8%) creates delicate crumb but demands precise measurement; 5 g too much cake flour can turn angel food cakes into sponges. For reference, Cup4Cup cake flour approximates 100 g, while Softasilk may reach only 98 g due to aeration processes.
Because cake flour is so light, it’s prone to floating and settling. A gentle aeration—fluffing with a fork—before weighing ensures you don’t inadvertently pack it down, preserving the intended volume-to-weight ratio.
Whole Wheat Flour: Fiber Content and Weight Variations
Whole wheat flour includes bran and germ, boosting fiber but also water absorption. A standard cup of whole wheat flour can weigh 120–130 g, depending on bran particle size. For King Arthur White Whole Wheat, the average is 125 g, but coarser artisan milled versions may hit 130 g per cup.
This extra weight and high absorption rate can lead to drier doughs unless additional liquid is factored in. Many bakers increase hydration by 5–10% for whole wheat recipes, so weigh both flour and water meticulously to avoid overly stiff or crumbly loaves.
Essential Tools for Weighing Flour Accurately
Digital Kitchen Scales: Precision and Ease of Use
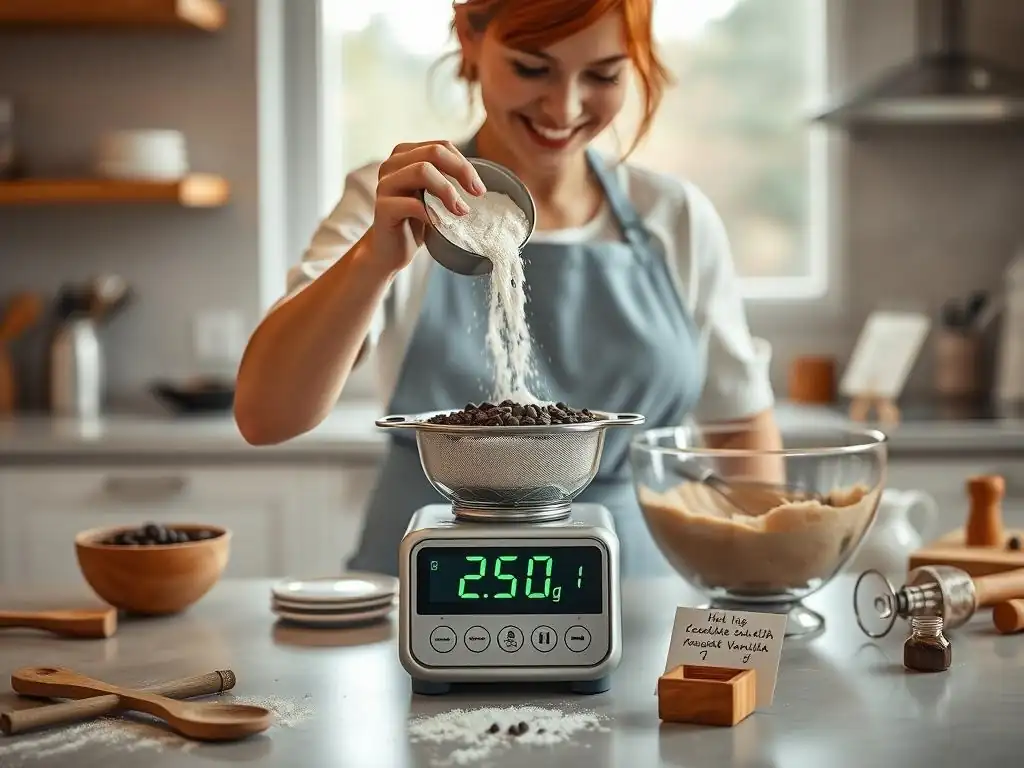
A quality digital kitchen scale offers readings down to 0.1 g, enabling you to measure small quantities of flour or additions like cocoa powder with confidence. Popular models—such as the OXO Good Grips (max 5 000 g, 1 g increments) or the My Weigh KD-8000 (max 8 000 g, 0.1 g increments)—combine stainless steel platforms with backlit displays for clarity.
Using the scale is straightforward: place your empty bowl on the platform, press the TARE button to zero it out, then add flour until you reach the target weight. This method eliminates subtracting container weight manually and works equally well for liquids when you switch units.
The Importance of a Reliable Scale
A scale that drifts—even by 2 g over time—can sabotage your cakes and breads. Regularly test accuracy by placing a 500 g calibration weight on the scale; if the readout deviates by more than 0.5%, it’s time for recalibration or replacement. Professional bakers often do this monthly, but home bakers should check at least quarterly.
Avoid folding kitchen scales in half or exposing them to heat and moisture—these common abuses can warp sensors. Storing your scale flat in a cool, dry cabinet ensures longevity and consistent performance.
Step-by-Step Guide: Weighing Flour Accurately
Step 1: Selecting the Right Container
Choose a lightweight, flat-bottomed bowl or container that fits comfortably on your scale’s platform. Ideally, it should be large enough to hold the flour without spillage but small enough to keep readings centered.
Using a shallow bowl helps you avoid overshooting the desired weight, as you can see the flour level more clearly. A transparent container can also help you judge when the flour is level for final minute adjustments.
Step 2: Taring the Scale for Accurate Measurement
Place the empty container on the scale and press TARE (or ZERO). The display should read 0 g. If your scale only zeros in ounces, switch to grams via the unit button—grams are the most precise unit for flour measurement.
Pro Tip: If you’re weighing multiple ingredients in the same bowl, you can tare between each addition. For example:
- Add flour and tare.
- Pour sugar and tare.
- Add cocoa powder—each ingredient is isolated by using the tare function.
Step 3: Gently Adding Flour to the Container
Spoon the flour into the container gently—avoid digging the measuring cup directly into the flour bag, which can lead to compaction. If you’re pouring directly, slowly tap the side of the container to level the flour as you go.
Resist the urge to press or shake the container; this can densify the flour. Instead, use a small offset spatula or the back of a spoon to lightly level the top without compressing.
Step 4: Achieving the Target Weight
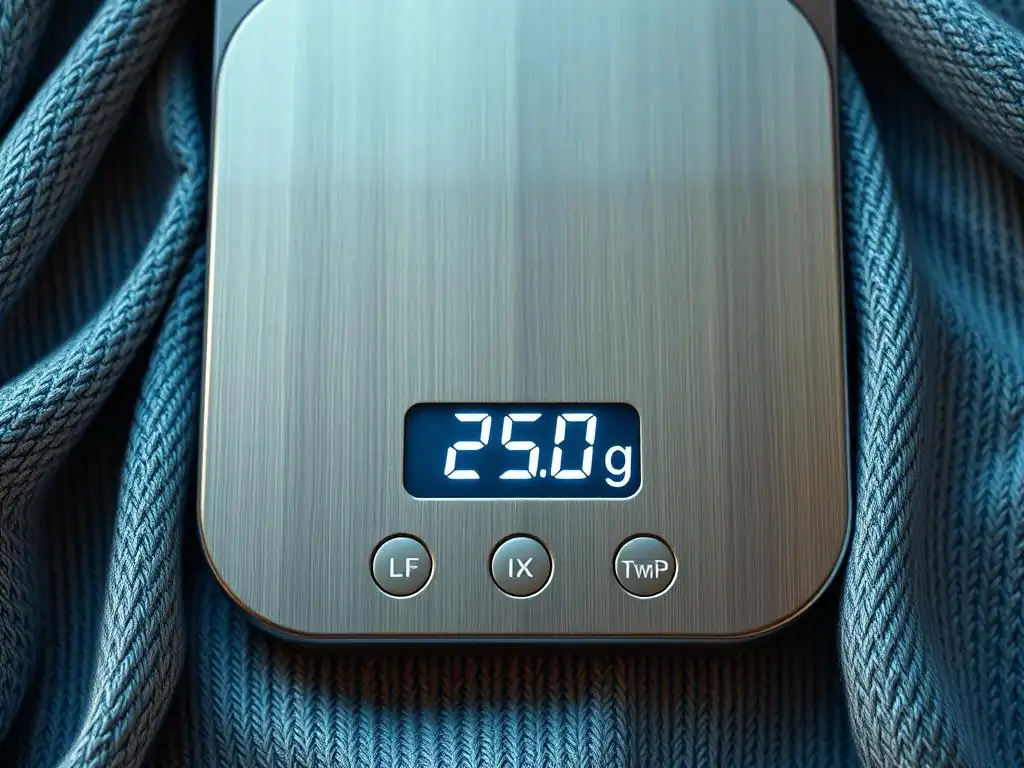
As you approach the recipe’s specified grams, add flour in incremental pinches or with a spoon for control. Watch the digital display settle: when it flickers around your target, slow down and fine-tune in 1–2 g increments.
If you overshoot by a few grams, remove excess with a small spoon—no need to dump and start over. Simply keep adding or removing until you stabilize on the precise number.
Step 5: Verifying the Measurement
After you’ve reached the target weight, wait a second to ensure the scale’s auto-stabilization reading is consistent. Some scales take an extra moment to account for vibrations or settling flour.
Record your process: note the brand of flour, the date, and any observations (e.g., “flour felt moist—scale read heavy until gently fluffed”). Over time, you’ll refine your technique and cut down on verification steps.
Alternative Methods: Measuring Flour Without a Scale
The Spoon and Level Method: For Approximations
When you’re traveling or scale-less, the “spoon and level” is the next best thing. Use a spoon to fluff the flour in its container, then gently scoop into a dry measuring cup. Run the back of a straight-edged knife across the top to level it. Each leveled cup approximates 120 g (all-purpose), 100 g (cake flour), or 130 g (bread flour).
This method can yield results within ±5% of weight-based measures—suitable for muffins or quick breads, but less reliable for delicate pastries.
Converting Volume to Weight: Using Online Resources
If you only have volume measurements available, refer to reputable conversion charts. For example, 1 cup of all-purpose flour equals 120 g, 1 tablespoon equals 7.5 g, and 1 teaspoon equals 2.5 g. A simple snippet:
// All-Purpose Flour Conversions
1 cup = 120 g
1/2 cup = 60 g
1 tbsp = 7.5 g
1 tsp = 2.5 g
Keep these conversions handy—printed on a recipe binder or saved as a note on your phone. They help you weigh flour accurately baking even without a scale.
Pro Tips for Accurate Flour Measurement
Storing Flour Properly: Maintaining Quality
Store flour in airtight containers in a cool, dry place (ideally below 21 °C). Exposure to humidity can cause clumping and weight gain: flour absorbing just 2% moisture adds 2 g per 100 g. Regularly clean containers to remove old residues and prevent pests.
For long-term storage (over 3 months), keep flour in sealed freezer bags at –18 °C. Thaw to room temperature before weighing to avoid condensation.
Aerating Flour Before Weighing: Ensuring Consistency
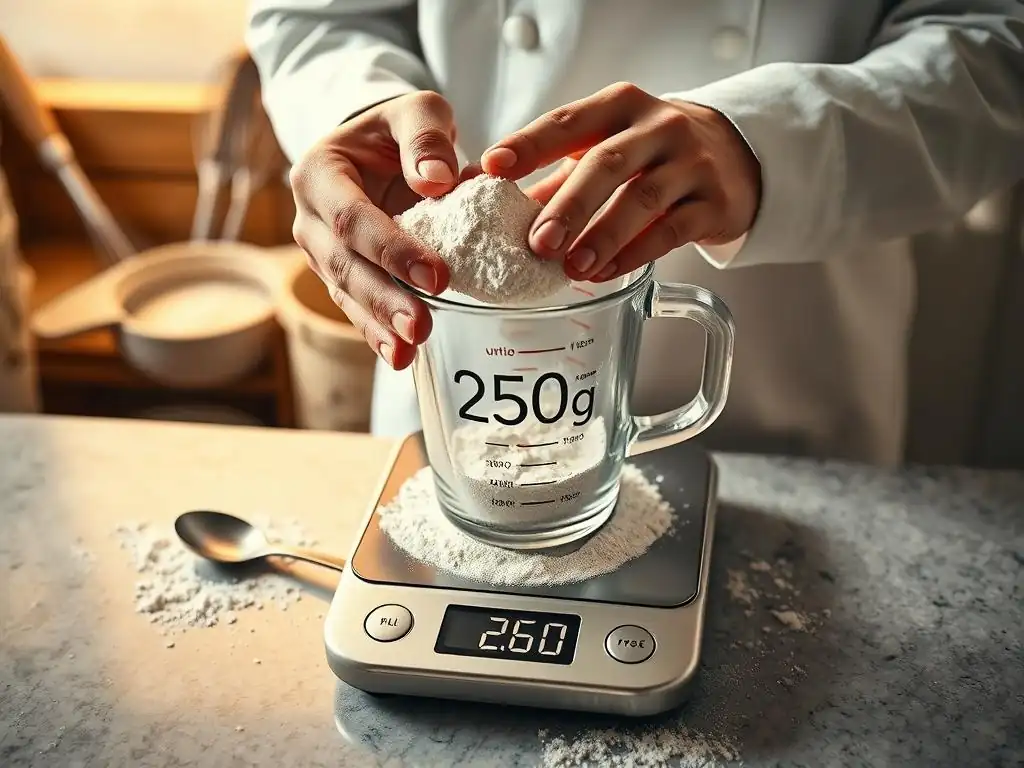
Flour compacts over time in its bag. Before you weigh, use a spoon or whisk to fluff the flour for 30–60 seconds. This aeration ensures that each gram of measured flour represents the same volume it did when you first opened the bag.
For best results, aerate each time—even if you’ve just used some flour moments ago—because natural settling can occur rapidly.
Adjusting for Humidity: Considerations for Accurate Measurement
High ambient humidity (above 60% RH) can increase flour moisture content by up to 3%. In such climates, you may need to subtract 2–4 g per 100 g flour to compensate. Conversely, in dry climates (below 30% RH), flour may be lighter and require slightly more to maintain hydration balance.
Use a household hygrometer in your pantry to track relative humidity and take notes on seasonal adjustments in your baking journal.
Regularly Checking Scale Accuracy
Calibrate your scale every 2–3 months using a known weight (e.g., 500 g calibration weight). If you don’t have a calibration weight, use 5 coins of 10 g each—most new U.S. pennies weigh exactly 2.5 g, so a stack of 40 weighs 100 g. Refer to your scale’s manual for proper calibration procedures.
Troubleshooting Common Flour Measurement Errors
Overpacking Flour: Avoiding Dense Results
Symptom: Too-dense muffins or dry cake crumbs.
Cause: Spoon-and-level or scoop method compacts flour.
Solution: Switch to a scale or, at minimum, use the spoon-and-level properly—fluff flour first, then spoon lightly.
Using Incorrect Conversion Charts: Ensuring Accuracy
Symptom: Batter too wet or too dry despite following volume-to-weight conversions.
Cause: Charts vary by brand and flour type.
Solution: Compile your own mini-chart based on your preferred flour brands. Weigh a leveled cup yourself and record the exact grams—it’s more accurate than relying on generic sources.
Neglecting to Tare: Avoiding Inaccurate Readings
Symptom: Unexpectedly low or high ingredient weights.
Cause: Forgetting to zero out the container weight.
Solution: Always press TARE before adding flour—or any ingredient. Some bakers even label their scale platform “TARE ✓” as a visual reminder.
Conclusion: Achieving Baking Perfection Through Accurate Measurement
The Key to Consistent Baking: Accurate Flour Weighing
Weighing flour accurately baking is the linchpin of reproducible recipes. It eliminates the variability inherent in cup measures and allows you to scale, swap flours, and troubleshoot with data-backed confidence.
Elevating Your Baking Skills: Practice and Refinement
Like any craft, precision in baking improves with practice. Commit to using your scale for every bake, record your results, and adjust based on observations. Over time, your intuition and skill will grow alongside your appreciation for the science.
Further Resources: Recommended Baking Books and Websites
- Task List:
- [ ] “The Bread Baker’s Apprentice” by Peter Reinhart for in-depth bread fundamentals
- [ ] “Bravetart” by Stella Parks for pastry precision
- [ ] BakeWithEase.com’s Measuring Ingredients Accurately series for quick reference guides
Frequently Asked Questions
How important is weighing flour accurately when baking?
It's extremely important. Inaccurate flour measurements can drastically affect the texture and consistency of your baked goods, leading to dry or, more often, soggy results.
What's the best way to weigh flour accurately using a kitchen scale?
Use a digital kitchen scale and measure in grams for the most precise results. Tare the scale with your bowl on it, then slowly add flour until you reach the exact weight specified in the recipe.
Why is weighing flour preferred over using measuring cups?
Measuring cups are prone to inaccuracies because the amount of flour you scoop can vary significantly based on how tightly it's packed. Weighing provides a consistent and repeatable measurement, eliminating this variable.
What happens if I consistently add too much flour when baking?
Adding too much flour often leads to dry, dense, and tough baked goods. It can also throw off the balance of other ingredients, resulting in a poor final product.
What type of flour is most crucial to weigh accurately?
While weighing all flours is beneficial, it's particularly important to weigh cake flour accurately. Its low protein content makes it especially sensitive to over-measurement, which can result in a tough cake.
Final Reflection: The Unsung Hero of Baking – Accurate Flour Measurement
Weighing flour accurately isn't just a detail; it's the cornerstone of consistent, delicious baking. A seemingly small act, the precise measurement of flour directly impacts the final product, transforming a potential disaster into a culinary triumph. Ignoring this crucial step can lead to countless soggy cakes, flat cookies, and other baking mishaps, highlighting the importance of mastering this fundamental skill.
The impact of accurate flour measurement extends far beyond the individual kitchen. It's a testament to the power of precision in a world often characterized by approximation. The pursuit of perfect texture and taste in baking mirrors a broader human desire for mastery and control, even in seemingly simple tasks. Baking is a science, but it's also an art. The science lies in the precision, the art in the passion.
This quote perfectly encapsulates the delicate balance between technical skill and creative expression that flour weighing embodies.
So, the next time you're reaching for that measuring cup, remember the power you hold in your hands. Take the time to weigh your flour accurately; embrace the precision. Don't let a simple oversight diminish the potential of your baking. By mastering this technique, you're not just improving your baking skills; you're cultivating a deeper appreciation for the artistry and science behind creating something truly delicious. Embrace the challenge, and watch your baking rise to new heights.
Unleash Your Inner Baking Pro: Master Flour Weighing Today!
Thanks for taking the time to learn about the secrets of perfect flour measuring! You've now got the knowledge to avoid soggy cakes and pastries forever. Ready to put your newfound skills to the test?
- Weigh your flour for your next bake: This is the single most important step to take—the difference in your baking results will be astonishing!
- Share your baking triumph (or challenges!) with our community: Let us know how your perfectly measured flour transformed your latest creation.
- Explore other helpful guides on BakeWithEase.com: Find more baking tips and tricks to elevate your skills and discover delicious new recipes.
So, what amazing recipe are you going to conquer with your newly honed flour-weighing skills?