
Building a Strong Gluten Network in Challenging Doughs

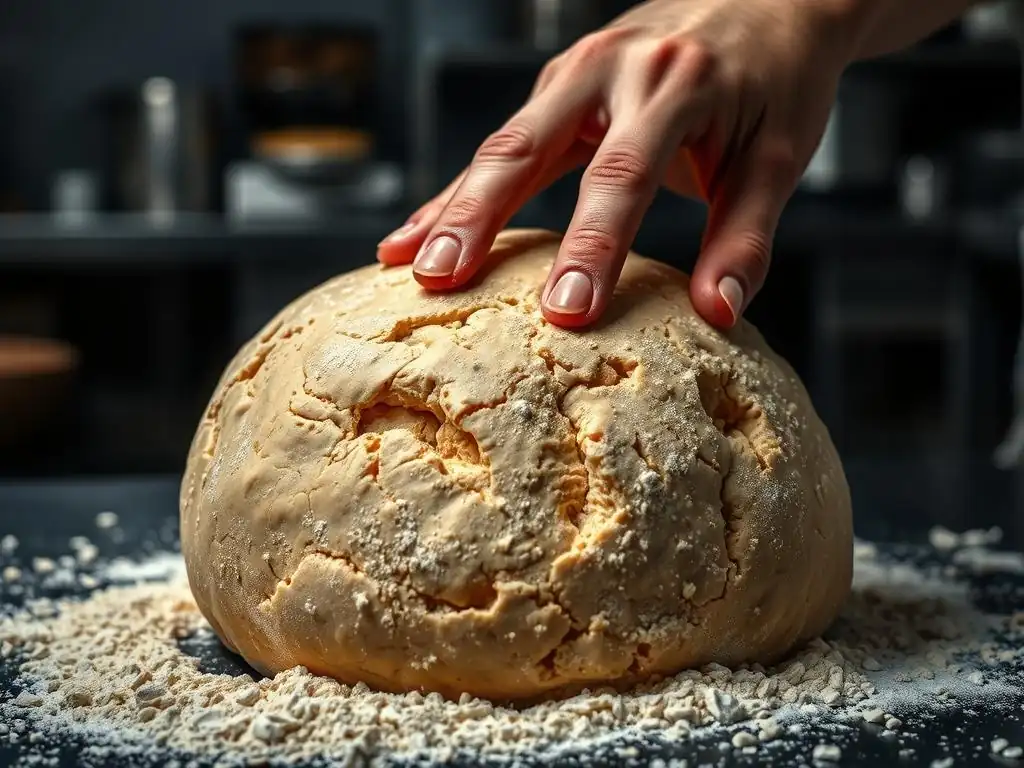
Welcome to BakeWithEase, your trusted guide to unlocking baking success! Are you ready to conquer even the most challenging dough recipes? Ever wondered how a strong gluten network can transform a seemingly impossible bake into a triumph? Dive in to discover the secrets behind achieving that perfect rise and texture, and let's banish baking fears together. There's a whole world of bread baking waiting to be explored...
- Building a Strong Gluten Network in High-Hydration Doughs
- Understanding the Gluten Network: Key to Successful Baking with High-Hydration Doughs
- Factors That Impact Gluten Development in High-Hydration Doughs
- Overcoming Common Challenges in Gluten Development
- Advanced Techniques for Enhancing Gluten Structure in High-Hydration Dough Recipes
- Gluten Network Troubleshooting: Analyzing and Solving Dough Problems
- Recipes for High-Hydration Doughs and How to Build a Strong Gluten Network
- Conclusion: Mastering the Art of Gluten Development in High-Hydration Dough Recipes
-
Frequently Asked Questions
- What exactly is the gluten network, and why is it important in baking challenging doughs?
- What are some factors that can hinder the development of a strong gluten network?
- How does kneading contribute to building a strong gluten network?
- What are some challenging dough recipes where a strong gluten network is particularly important?
- What are some techniques or ingredients I can use to help strengthen the gluten network in challenging doughs?
- Final Reflection: The Resilient Gluten Network: Baking Beyond the Challenges
- Unleash Your Inner Baking Maestro!
Building a Strong Gluten Network in High-Hydration Doughs
Understanding the Gluten Network: Key to Successful Baking with High-Hydration Doughs
What is Gluten and Why is it Important for High-Hydration Doughs?
Gluten is a complex protein structure that forms when two proteins, gliadin and glutenin, found in wheat flour, come into contact with water and are worked through mixing or kneading. Think of it as the skeletal system of your dough; it provides structure, elasticity, and the ability to trap gases produced during fermentation, which is crucial for achieving a light and airy crumb.
Without a well-developed gluten network, high-hydration doughs, which contain a significantly higher ratio of water to flour (often 70% or more hydration), would simply be a sticky, unmanageable batter instead of a cohesive dough that can be shaped and baked into beautiful breads or pizzas.
The unique properties of gluten are particularly critical when working with high-hydration dough recipes. The abundance of water makes the dough very slack and challenging to handle. A strong gluten network is essential to give this wet dough enough strength to hold its shape, develop tension, and support the large air pockets characteristic of artisanal breads like ciabatta or high-hydration pizza doughs.
It's this network that allows the dough to stretch thinly without tearing, a property bakers call extensibility, while also snapping back slightly, known as elasticity. Mastering the gluten network is key to success with these challenging dough recipes.
The Role of Gluten in Dough Strength and Elasticity
The gluten network provides the dough with both strength and elasticity, two properties that might seem contradictory but work together harmoniously in successful baking. Strength refers to the dough's ability to resist deformation and hold its structure. It's what prevents a high-hydration dough from spreading out into a flat puddle during fermentation and baking. Elasticity, on the other hand, is the dough's ability to stretch without breaking and then return to its original shape. This allows the dough to expand as yeast produces carbon dioxide gas.
A properly developed gluten network achieves a balance between strength and elasticity. If the network is too weak, the dough will lack structure, be difficult to handle, and result in a dense, poorly risen product. If it's too elastic and not extensible enough, it will be difficult to shape and might resist expansion, leading to a tight crumb.
For challenging dough recipes like high-hydration pizza or focaccia, this balance is paramount. A strong yet extensible gluten network allows the dough to be stretched thin for a crispy pizza crust or to develop large, airy pockets in focaccia, showcasing the triumph of mastering the gluten network in these demanding preparations.
Identifying High-Hydration Dough Recipes: What Makes a Dough Difficult to Work With?
High-hydration dough recipes are typically defined by a hydration percentage of 70% or higher, meaning the weight of the water is 70% or more of the weight of the flour. Standard bread doughs often hover around 60-65% hydration. Common examples of high-hydration doughs include ciabatta (often 75-85% hydration), focaccia (can range from 70-90%), and many Neapolitan-style pizza doughs (often 65-70%, but some artisanal recipes push higher). The primary factor making these doughs challenging is the sheer amount of water.
The high water content makes the dough incredibly sticky and loose, requiring different handling techniques than drier doughs. Traditional kneading on a floured surface becomes messy and often counterproductive. Developing sufficient gluten strength to give these wet masses structure requires patience, specific mixing methods like stretch and folds, and often longer fermentation times. Successfully working with high-hydration dough recipes relies heavily on understanding how to encourage and manage the gluten network in such a wet environment, turning a seemingly unmanageable blob into a workable, aerated dough.
Factors That Impact Gluten Development in High-Hydration Doughs
Flour Selection: Choosing the Right Flour for a Strong Gluten Network
High-Protein Flour vs. Low-Protein Flour: Which is Best for Pizza Dough?
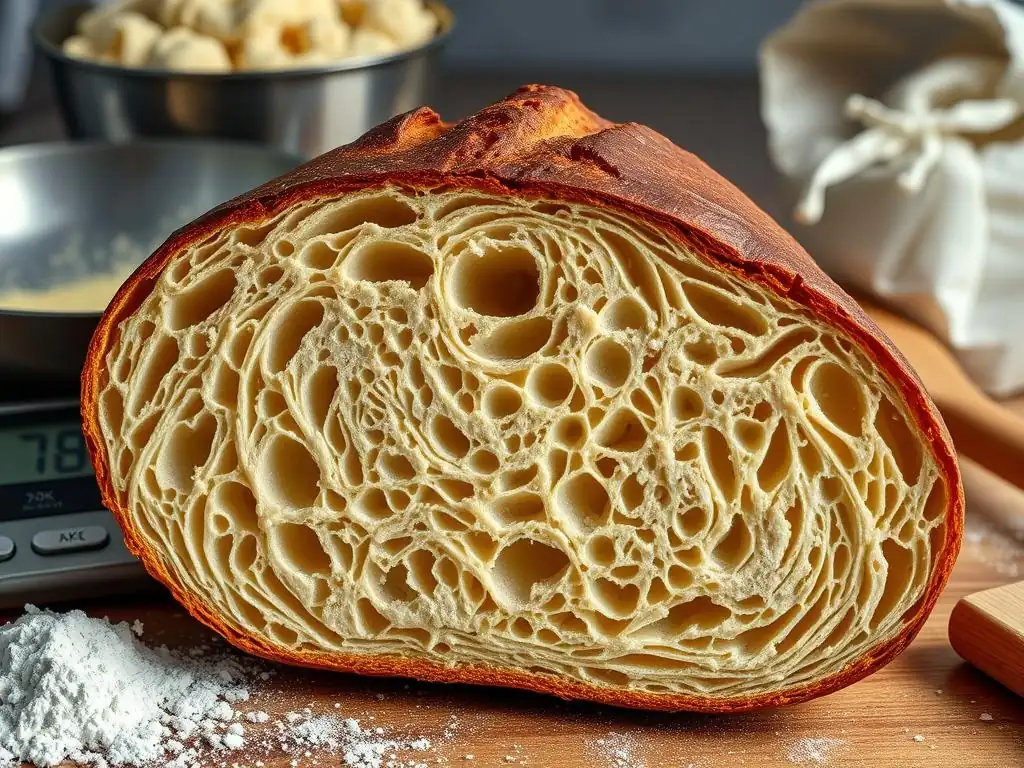
When aiming for a strong gluten network, especially in challenging dough recipes like pizza, the protein content of your flour is a critical factor. High-protein flours, often labeled "bread flour" or "strong flour," typically contain 12-14% protein. This higher protein content means more glutenin and gliadin are available to form the gluten network when hydrated and worked. For pizza dough, particularly styles requiring a chewy crust and good structure, a high-protein flour is generally preferred. It provides the strength needed to handle stretching and the elasticity to develop the characteristic airy crust.
In contrast, low-protein flours, like cake or pastry flour (typically 8-10% protein), contain less gluten-forming proteins. While excellent for tender cakes or flaky pastries, they are not suitable for developing a strong gluten network necessary for high-hydration doughs or structured breads. Using low-protein flour in a high-hydration pizza dough would result in a weak, sticky dough that lacks structure and fails to develop a satisfactory texture.
Therefore, for robust gluten network challenging dough recipes like pizza, opt for a high-protein bread flour. Italian "Tipo 00" flour, often used for Neapolitan pizza, falls into the higher protein category (though its protein content can vary, it's also ground very finely, which impacts dough handling).
Understanding Flour Composition and its Impact on Gluten Formation
Beyond just protein percentage, the type of wheat and the milling process also significantly impact flour composition and its gluten-forming potential. Hard wheat varieties, like hard red spring wheat, are higher in protein and yield stronger flours ideal for bread and high-hydration doughs. Soft wheat varieties, like soft white wheat, are lower in protein and better suited for tender baked goods. The milling process affects particle size and bran/germ content; finely milled flours with less bran and germ allow for more efficient gluten development as the sharp edges of bran can physically cut gluten strands.
The presence of enzymes, particularly amylase, also plays a role. Amylase breaks down starch into sugars, which feed the yeast. Diastatic malt powder, sometimes added to flour or dough, is rich in amylase. While beneficial for fermentation and crust browning, excessive enzymatic activity can degrade the gluten network over time, especially during long fermentation periods common in high-hydration dough recipes. Understanding these nuances of flour composition helps bakers select the best flour to build a resilient gluten network in their challenging dough preparations.
Hydration Levels: Finding the Perfect Balance for Gluten Development
The Importance of Water Temperature in Gluten Development
Water temperature plays a subtle but important role in the initial stages of gluten development and yeast activity. Warmer water (around 80-95°F or 27-35°C) helps activate yeast quickly and encourages faster gluten formation as the proteins hydrate more rapidly. This can be beneficial in recipes where you want to speed up the initial rise or when working with colder kitchen temperatures. However, water that is too hot can kill the yeast and potentially damage the gluten structure, making it less extensible.
Conversely, colder water (below 70°F or 21°C) slows down yeast activity and gluten hydration. This is often preferred for doughs undergoing long, slow fermentation, like many high-hydration challenging dough recipes. The slower hydration allows for a more gradual and even gluten development, often resulting in a stronger, more extensible network over time.
It also keeps the dough temperature down, which is crucial for controlling fermentation speed during prolonged bulk ferments or cold proofing in the refrigerator. Aiming for a final dough temperature (after mixing) of around 75-80°F (24-27°C) is a common target for many doughs, achieved by adjusting water temperature based on ambient temperature and flour temperature.
Avoiding Over-Hydration and Under-Hydration in Ciabatta Dough
Finding the correct hydration level is paramount, especially in sensitive high-hydration doughs like ciabatta, which can be 80% hydration or more. Over-hydration occurs when there is too much water for the amount of flour and its protein content to absorb and support. This results in a dough that remains excessively sticky, loose, and difficult to build structure in, even with extensive mixing.
It might feel like it never comes together, tearing easily rather than stretching. While ciabatta is meant to be very wet, extreme over-hydration makes it unmanageable and can lead to a dense, gummy interior because the weak gluten network cannot support the rise.
Under-hydration, on the other hand, means there isn't enough water for the flour to fully hydrate and for the gluten proteins to form a complete network. This results in a stiff, dry dough that is hard to mix and knead. The gluten network in an under-hydrated dough will be tight and lack extensibility, making it difficult to shape and resulting in a dense crumb with less volume.
For a high-hydration dough like ciabatta, under-hydration means you won't achieve the characteristic open, airy structure. Precision in measuring ingredients, especially water, is vital to land within the optimal hydration range for these gluten network challenging dough recipes.
Mixing Techniques: Mastering the Art of Developing Gluten
Autolyse: Enhancing Gluten Development Before Mixing
The autolyse technique is a simple yet powerful method for enhancing gluten development, particularly beneficial for high-hydration doughs and challenging dough recipes. It involves mixing just the flour and water together and letting the mixture rest for a period, typically 20 minutes to several hours, before adding the salt and yeast and commencing the main mixing/kneading. During this rest period, the flour fully hydrates, and enzymatic activity begins to break down some starches and proteins. Crucially, the gluten proteins start to bond and form a network without the stress of kneading.
Implementing an autolyse significantly reduces the required kneading time and makes the dough more extensible and easier to handle later on. The gluten network begins to form in a relaxed state, leading to a more pliable dough that is less prone to tearing during stretching and folding. For high-hydration dough recipes like those for artisanal bread or pizza, autolyse is often a key step recommended by professional bakers to build initial strength and improve the final texture.
Different Mixing Methods: Stretch and Fold Technique vs. Stand Mixer Kneading
Developing a strong gluten network in high-hydration doughs often requires moving beyond traditional vigorous kneading. For very wet doughs, the stretch and fold technique is invaluable. This method involves periodically wetting your hands and gently stretching a portion of the dough up and folding it over onto itself in the bowl, rotating the bowl and repeating the process several times.
This is typically done in sets with rest periods in between (e.g., 4 folds every 30 minutes for 2-3 hours). This technique builds strength and tension gradually without incorporating excessive flour or making a mess, ideal for maintaining the high hydration level.
Alternatively, a stand mixer with a dough hook can develop gluten efficiently, especially for doughs that are slightly less hydrated but still challenging. Kneading in a stand mixer typically takes 8-15 minutes on a medium speed. The mechanical action works the dough continuously, aligning the gluten strands.
However, it's crucial not to overmix, which can break down the gluten network. For extremely wet doughs, even a stand mixer might struggle initially, and a combination of machine mixing followed by stretch and folds during bulk fermentation is often the most effective approach for building a robust gluten network in challenging dough recipes.
The Importance of Kneading Time for Gluten Strength
Kneading, whether by hand, stand mixer, or through stretch and folds, is the process that aligns the gluten proteins into a strong, elastic network. The duration of kneading is crucial. Insufficient kneading results in a weak, underdeveloped gluten network. The dough will feel slack, sticky (even if not high hydration), and lack the ability to hold its shape or trap gas effectively, leading to a dense loaf. You'll notice it tears easily when stretched rather than forming a thin membrane (the "windowpane test").
Conversely, over-kneading, particularly in a stand mixer, can damage the gluten network. The dough might initially seem strong but will become overly tight, lose its elasticity, and eventually become slack and sticky again as the protein structure breaks down.
The ideal kneading time varies depending on the flour, hydration, and method, but the goal is always to reach a point where the dough is smooth, elastic, and passes the windowpane test, indicating a sufficiently developed gluten network capable of supporting the dough's structure and rise. For high-hydration dough recipes, this often means longer overall development time through rest and folds rather than intense initial kneading.
Rest and Fermentation: Allowing Gluten to Relax and Strengthen
Bulk Fermentation: Developing Flavor and Gluten Structure
Bulk fermentation, the first rise of the dough after mixing and initial kneading, is a critical period for both flavor development and gluten structure refinement. During this time, yeast activity produces carbon dioxide gas, which expands the dough. The gluten network, which was aligned and strengthened during mixing, provides the framework that traps this gas. As the dough expands, the gluten strands are stretched and further aligned, becoming stronger and more organized. Periodic stretch and folds during bulk fermentation are particularly effective in high-hydration doughs, actively strengthening the gluten network by building tension and uniformity.
The duration of bulk fermentation varies based on temperature, yeast amount, and desired flavor profile, but it's typically several hours at room temperature or much longer under refrigeration (cold fermentation). A sufficient bulk fermentation period allows enzymes to break down starches into sugars, contributing to flavor, and gives the gluten network time to mature and become resilient. Skipping or shortening this stage will result in a dough with a weak, underdeveloped gluten network and diminished flavor, hindering success with challenging dough recipes.
Proofing: Ensuring Optimal Rise and Texture
Proofing, also known as the final rise, occurs after the dough has been shaped and before baking. During proofing, the yeast continues to produce gas, causing the shaped dough to expand and become light and airy. The strength and elasticity of the gluten network developed during mixing and bulk fermentation are put to the test here, as they must support this final expansion without collapsing. A strong gluten network allows the dough to achieve significant volume while maintaining its shape.
Optimal proofing is crucial for achieving the desired crumb texture. Under-proofing means the dough hasn't expanded enough; the oven spring (the final burst of rise in the oven) will be excessive, potentially leading to tearing and a dense crumb.
Over-proofing occurs when the dough has expanded too much, and the gluten network has become overstretched and weakened; the dough may collapse when moved or during baking, resulting in a flat loaf with a coarse crumb. Learning to recognize the signs of properly proofed dough (typically expanded but still having some resistance when gently poked) is key to successful baking, especially with sensitive high-hydration gluten network challenging dough recipes.
Overcoming Common Challenges in Gluten Development
Dealing with Sticky Doughs: Tips and Tricks for Manageability
Working with sticky doughs, characteristic of high-hydration recipes, can be frustrating, but several techniques make them manageable. First, resist the urge to add excessive amounts of flour. While a little bench flour might be necessary during shaping, incorporating too much will lower the hydration and change the intended outcome of the challenging dough recipe. Instead, rely on water or oil. Wetting your hands and tools (like scrapers) with water prevents the dough from sticking. A thin layer of olive oil on your work surface and hands can also be effective, particularly for shaping focaccia or ciabatta.
Second, use dough scrapers or bench knives to handle the dough rather than your bare hands whenever possible. These tools allow you to manipulate and move the sticky dough without getting stuck. Third, embrace rest periods. Sticky doughs are often easier to handle after they have rested for 20-30 minutes; the gluten network relaxes slightly, and the dough becomes less prone to sticking. Finally, work quickly and confidently. Hesitation allows the dough more time to adhere to surfaces. Mastering these techniques is essential for successfully handling the sticky nature of high-hydration gluten network challenging dough recipes.
Strengthening Weak Gluten: Techniques for Improvement
If you find your dough has a weak gluten network – it feels slack, tears easily, and lacks elasticity – there are several techniques you can employ to strengthen it. One of the most effective is performing additional stretch and folds during the bulk fermentation period. These gentle manipulations help align the gluten strands and build tension in the dough. If your recipe called for two sets of folds, try three or four, spaced 30-45 minutes apart.
Another method is to extend the bulk fermentation time, especially at a slightly warmer temperature (within the safe range for yeast). Longer fermentation allows more time for the gluten network to develop and mature. If you suspect your flour might be lower in protein than ideal for a challenging dough recipe, consider adding a small amount of vital wheat gluten (see section below).
For doughs mixed in a stand mixer, sometimes simply extending the initial mixing time by a few minutes can make a significant difference, provided you don't overmix. Assessing the dough's feel and adjusting based on its behavior is crucial for improving a weak gluten network.
Preventing Over-Proofing: Recognizing the Signs and Taking Action
Over-proofing is a common issue, especially with high-hydration doughs which ferment actively. It occurs when the dough rises for too long, and the yeast exhausts its food source and the gluten network becomes overstretched and begins to collapse. Signs of over-proofing include the dough looking significantly larger than doubled, potentially starting to deflate slightly in the center, and failing the poke test – when gently poked, the indentation remains without springing back at all (a properly proofed dough will spring back slowly, leaving a slight indentation).
To prevent over-proofing, closely monitor your dough's progress, especially in warm environments. Rely on visual cues and the poke test rather than strictly adhering to time guides in a recipe, as fermentation speed varies. If you suspect your dough is approaching over-proofing but you're not ready to bake, you can try "punching down" the dough gently (deflating it) and reshaping it, which can buy you some time, although this might slightly alter the final texture.
For shaped doughs, the best action is often to bake it immediately, even if slightly over-proofed, to salvage the result. Learning to time fermentation correctly is key to successful gluten network challenging dough recipes.
Advanced Techniques for Enhancing Gluten Structure in High-Hydration Dough Recipes
Using Dough Enhancers: Vital Wheat Gluten and Diastatic Malt Powder
Understanding the Benefits and Risks of Dough Enhancers
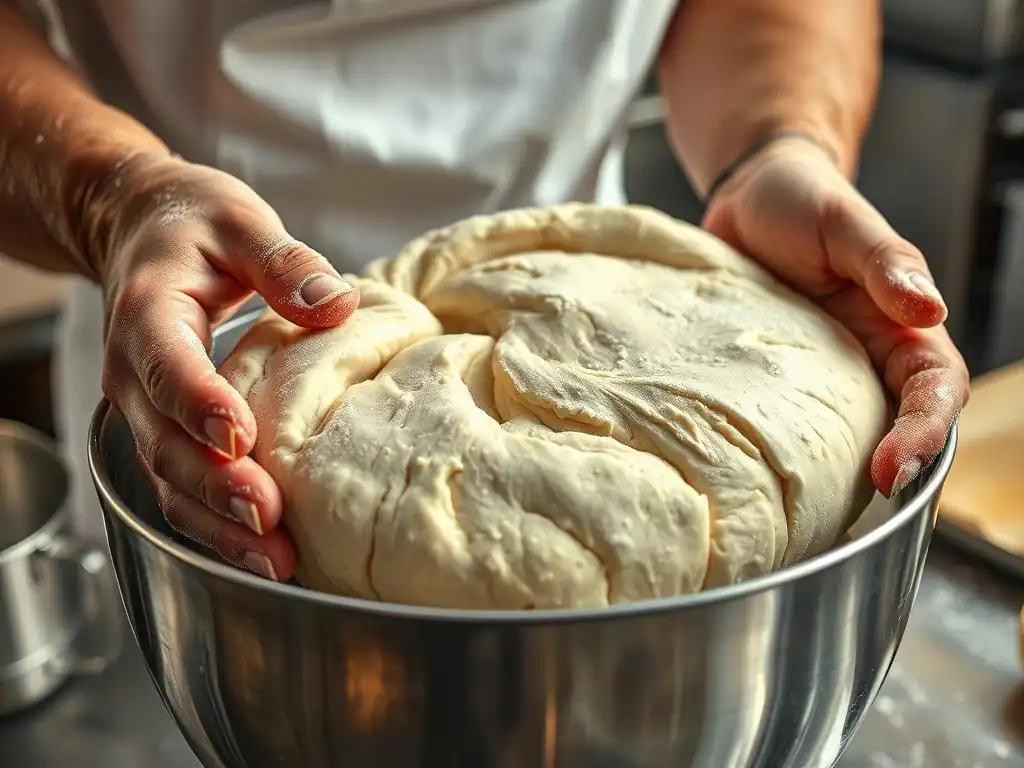
Dough enhancers can be useful tools, especially when working with challenging dough recipes or flours that are lower in protein than ideal. Vital wheat gluten is a concentrated protein extracted from wheat flour (typically 75-80% protein). Adding a small amount (e.g., 1-2% of the flour weight) can significantly boost the protein content of your flour, leading to a stronger gluten network, better volume, and improved texture, particularly in whole wheat or low-protein doughs. Diastatic malt powder contains enzymes (primarily amylase) that convert starch into sugars, providing more food for the yeast and improving crust browning.
While beneficial, these enhancers must be used judiciously. Too much vital wheat gluten can make the dough tough and rubbery. Excessive diastatic malt powder can lead to a sticky dough and a gummy crumb because the enzymes break down starch too aggressively, potentially also degrading the gluten network over extended fermentation. It's essential to use the correct type of malt powder (diastatic, not non-diastatic, which is just for flavor/color) and measure it precisely. Used correctly, these enhancers can help build a resilient gluten network in difficult gluten network challenging dough recipes.
Cold Fermentation: Slowing Down Fermentation for Enhanced Flavor and Gluten Development
Cold fermentation involves placing the dough in a refrigerator (typically 35-40°F or 2-4°C) for an extended period, ranging from 12 hours to several days. The cold temperature significantly slows down yeast activity, allowing for a much longer fermentation time. This slow process offers several advantages for gluten development and flavor. Enzymes like protease, which break down protein, work slowly in the cold, tenderizing the gluten network and making the dough more extensible without weakening it excessively.
Furthermore, the long, slow rise allows the gluten network to relax and align more evenly over time, resulting in a stronger yet more pliable structure. The extended fermentation also develops complex flavors through the production of organic acids and other compounds, contributing to the characteristic tang of naturally leavened or long-fermented breads and pizzas. Cold fermentation is a cornerstone technique for many high-hydration and artisanal gluten network challenging dough recipes, improving both the dough's handling properties and the final product's taste and texture.
Tangzhong Method: Incorporating a Cooked Flour Paste for a Softer Texture and Stronger Gluten Network
The Tangzhong method, originating from Asian baking, involves cooking a small portion of the flour with a liquid (usually water or milk) to form a thick paste or roux before adding it to the main dough ingredients. Typically, a ratio of 1 part flour to 5 parts liquid is cooked until it thickens to a paste (around 149°F or 65°C). This cooked paste, the Tangzhong, is then cooled and added to the dough.
The key benefit of the Tangzhong method is that gelatinizes the starch in the flour, allowing it to absorb and retain significantly more liquid. When this paste is added to the dough, it increases the overall hydration capacity of the flour without making the dough excessively wet or sticky during handling.
The extra moisture trapped by the gelatinized starch contributes to an incredibly soft, moist, and tender crumb that stays fresh longer. While not directly building more gluten, the increased hydration supported by the Tangzhong allows for a more hydrated dough environment where the gluten network can develop more fully and remain hydrated during baking, indirectly contributing to a stronger, more resilient, yet tender structure, beneficial in certain challenging dough recipes where softness is desired alongside structure.
Gluten Network Troubleshooting: Analyzing and Solving Dough Problems
Identifying Common Dough Issues: Tearing and Lack of Elasticity
Troubleshooting dough issues is part of the baking journey, especially with challenging dough recipes. Two common problems related to the gluten network are tearing and lack of elasticity. If your dough tears easily when you try to stretch or shape it, it often indicates an underdeveloped or weak gluten network. This could be due to insufficient mixing/kneading, using low-protein flour, under-hydration, or insufficient rest/fermentation time. The gluten strands haven't formed strong, interconnected bonds, so they break instead of stretching.
Lack of elasticity means the dough stretches easily but doesn't spring back. While some extensibility is desired, a complete lack of springiness can also indicate an issue. This might occur if the dough is severely over-proofed, if enzymes have degraded the gluten network (e.g., from too much diastatic malt or very long, warm fermentation with low-quality flour), or if the dough was over-kneaded in a mixer, causing the network to break down. Observing these behaviors helps diagnose problems with the gluten network in your gluten network challenging dough recipes.
Adjusting Your Recipe and Technique Based on Dough Behavior
The key to successful baking, especially with challenging doughs, is learning to read your dough and make adjustments as needed. If your dough feels too stiff and dry (under-hydrated), you can carefully add a little more water during the initial mixing or during the first stretch and folds, incorporating it gradually. If it's excessively sticky and doesn't gain structure (potentially over-hydrated or weak gluten), you might need to rely more heavily on stretch and folds, extend bulk fermentation, or consider if your flour choice was appropriate for the hydration level.
If the dough tears during shaping, give it a short rest (10-20 minutes) to allow the gluten to relax before trying again. This indicates the gluten is too tight and needs to become more extensible. If it lacks tension after bulk fermentation, an extra set of folds might help. By understanding how hydration, mixing, rest, and fermentation affect the gluten network, you can interpret your dough's behavior – its stickiness, extensibility, elasticity, and how it responds to handling – and adapt your approach, becoming more intuitive and successful with gluten network challenging dough recipes.
Recipes for High-Hydration Doughs and How to Build a Strong Gluten Network
High-Hydration Pizza Dough - A Step-by-Step Guide to Gluten Development
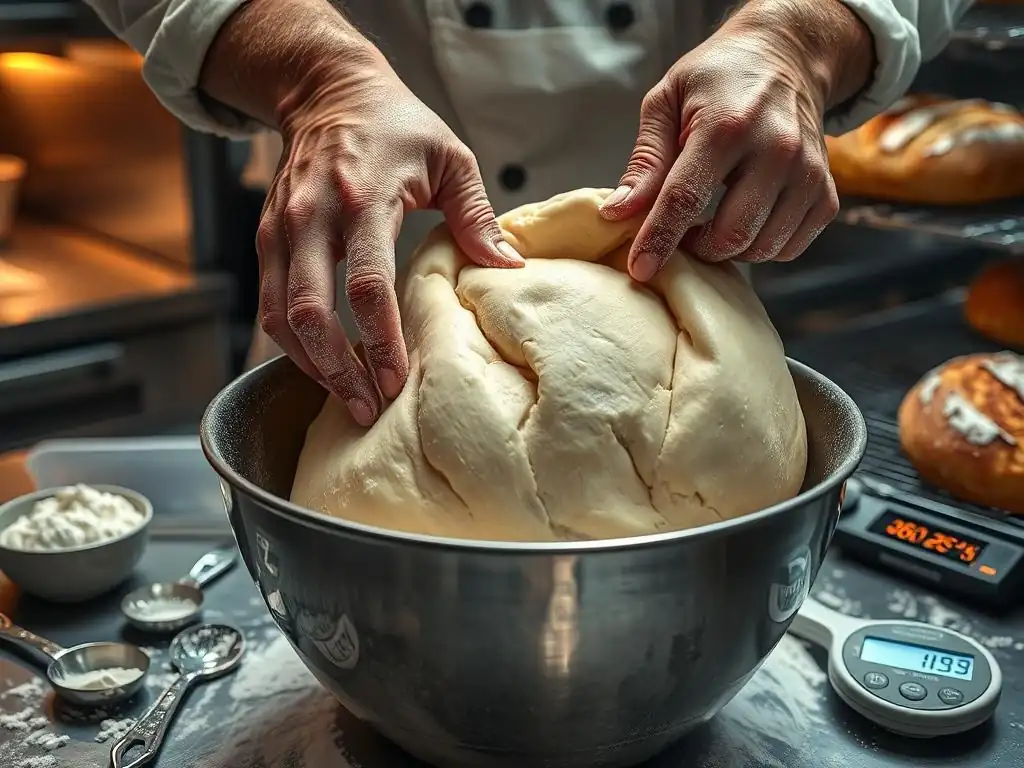
Creating a high-hydration pizza dough (e.g., 70% hydration) requires patience and attention to gluten development. Start with high-protein bread flour (around 12-13% protein). Combine flour and water for a 20-30 minute autolyse. Then, add salt and yeast. Mix using a stand mixer on low speed for 8-10 minutes until the dough starts to come together and clear the sides, or mix by hand until shaggy. The dough will be very wet and sticky.
Transfer the dough to a lightly oiled container for bulk fermentation. Over the next 2-3 hours at room temperature (70-75°F), perform 3-4 sets of stretch and folds every 30-45 minutes. Wet your hands slightly to prevent sticking.
With each set of folds, the dough will become progressively smoother, less sticky, and gain significant tension and structure. After the folds, allow the dough to finish bulk fermenting until it has increased in volume (maybe 50-75%). Cold fermenting the dough in the refrigerator for 24-72 hours further strengthens the gluten network and develops flavor, resulting in a dough that stretches beautifully for a perfect pizza crust, showcasing a successful gluten network challenging dough recipe.
Focaccia with Poolish - Mastering Gluten Strength in Complex Doughs
Focaccia, often made with high hydration (75% or more) and sometimes incorporating a pre-ferment like a poolish, is another excellent example of a gluten network challenging dough recipe. A poolish is a 100% hydration mixture of flour and water with a small amount of yeast, fermented for several hours or overnight. This pre-ferment adds flavor and enzymatic activity that aids gluten development. To build strength in the high-hydration focaccia dough, combine the poolish, remaining flour, water, salt, and a little olive oil. The dough will be very wet.
Mixing can be done gently by hand or in a mixer until just combined. The primary gluten development comes from a series of stretch and folds during a long bulk fermentation (2-4 hours at room temperature, or longer/colder). Perform 3-5 sets of folds every 30-40 minutes. The dough will start very loose but gain remarkable structure and elasticity with each fold. The final proofing occurs in the baking pan, where the developed gluten network supports the dough's expansion into a light, airy, olive-oil-dimpled bread. This method successfully manages the high hydration to create a strong yet extensible gluten network.
Conclusion: Mastering the Art of Gluten Development in High-Hydration Dough Recipes
Mastering the art of baking challenging dough recipes, particularly those with high hydration levels, hinges significantly on understanding and actively developing the gluten network. It's the invisible force that transforms a sticky, unmanageable mass into a cohesive, elastic dough capable of trapping gas, holding its shape, and delivering the desired open crumb and chewy texture. From carefully selecting high-protein flours to employing specific mixing techniques like autolyse and stretch and folds, every step in the process contributes to building this vital structure.
Furthermore, allowing adequate time for rest and fermentation, including beneficial techniques like cold fermentation, permits the gluten network to relax, align, and strengthen, making the dough easier to handle and improving the final product's quality. While high-hydration doughs can present challenges, by paying close attention to hydration levels, temperature, timing, and utilizing the techniques discussed, bakers can successfully navigate the stickiness and slackness. Ultimately, the ability to build a robust gluten network is the key to unlocking the potential of these rewarding gluten network challenging dough recipes, yielding impressive results like airy ciabatta, chewy pizza crusts, and tender focaccia.
Frequently Asked Questions
What exactly is the gluten network, and why is it important in baking challenging doughs?
The gluten network is a protein structure formed when glutenin and gliadin (proteins in flour) are hydrated and manipulated. It's crucial because it provides structure and elasticity to challenging doughs, allowing them to rise and hold their shape.
What are some factors that can hinder the development of a strong gluten network?
Several factors can impede gluten development, including using too much fat or sugar, over-proofing, and insufficient kneading. The type of flour used also significantly impacts gluten formation.
How does kneading contribute to building a strong gluten network?
Kneading aligns and strengthens the gluten strands, creating a more cohesive and elastic dough. It also helps to develop the dough's texture and its ability to trap gas during fermentation.
What are some challenging dough recipes where a strong gluten network is particularly important?
Recipes such as sourdough bread, bagels, and pizza dough heavily rely on a strong gluten network. These doughs require significant strength and elasticity to achieve their characteristic textures.
What are some techniques or ingredients I can use to help strengthen the gluten network in challenging doughs?
Techniques include autolysing the flour (allowing it to hydrate before kneading), using bread flour (which has a higher protein content), and incorporating vital wheat gluten as an additive. These all contribute to a stronger gluten development.
Final Reflection: The Resilient Gluten Network: Baking Beyond the Challenges
The science of gluten development in challenging doughs remains crucial for bakers of all levels, impacting not only the texture of our bread but also our understanding of fundamental baking principles. Mastering this intricate network unlocks a world of possibilities, from crafting perfectly chewy sourdoughs to achieving airy, light croissants. The ability to navigate the complexities of gluten formation is the key to consistent baking success, regardless of the recipe's inherent difficulties.
The journey of understanding gluten's role in dough has been a fascinating one, revealing the delicate balance between strength and extensibility. It's a testament to the power of nature's building blocks, and the artistry involved in harnessing them. This exploration has underscored the importance of patience and precision in baking, mirroring life's own challenges where perseverance yields the most rewarding results. The greatest glory in living lies not in never falling, but in rising every time we fall.
- Nelson Mandela. This quote resonates deeply with the process of working with challenging doughs; setbacks are inevitable, but learning from them is key to improvement.
Now, it's your turn to experiment. Don't be afraid to push your baking boundaries, to try those recipes that seem intimidating at first. Embrace the challenges, for within them lies the opportunity to deepen your understanding of gluten's power and to unlock your own potential as a baker. The journey of mastering challenging doughs is a continuous one, filled with learning, growth, and the undeniable satisfaction of creating something truly delicious. So, gather your ingredients, embrace the process, and let the resilient gluten network guide you to baking success.
Unleash Your Inner Baking Maestro!
Thanks for taking the time to explore the world of gluten development with us! We hope you now feel more confident tackling even the trickiest doughs. Ready to put your newfound knowledge into practice?
- Master your next sourdough: Try the techniques discussed today on your next loaf and experience the incredible difference. Note your observations and share your results!
- Experiment with different flours: Explore how various flour types affect gluten formation—the results might surprise you!
- Join our baking community forum and share your baking triumphs (and challenges!) Let's learn from each other!
What unique flour blend are you eager to try now? Let's hear your plans in the comments below!