
Vegan Bread Rolls: Simple & Delicious Recipe

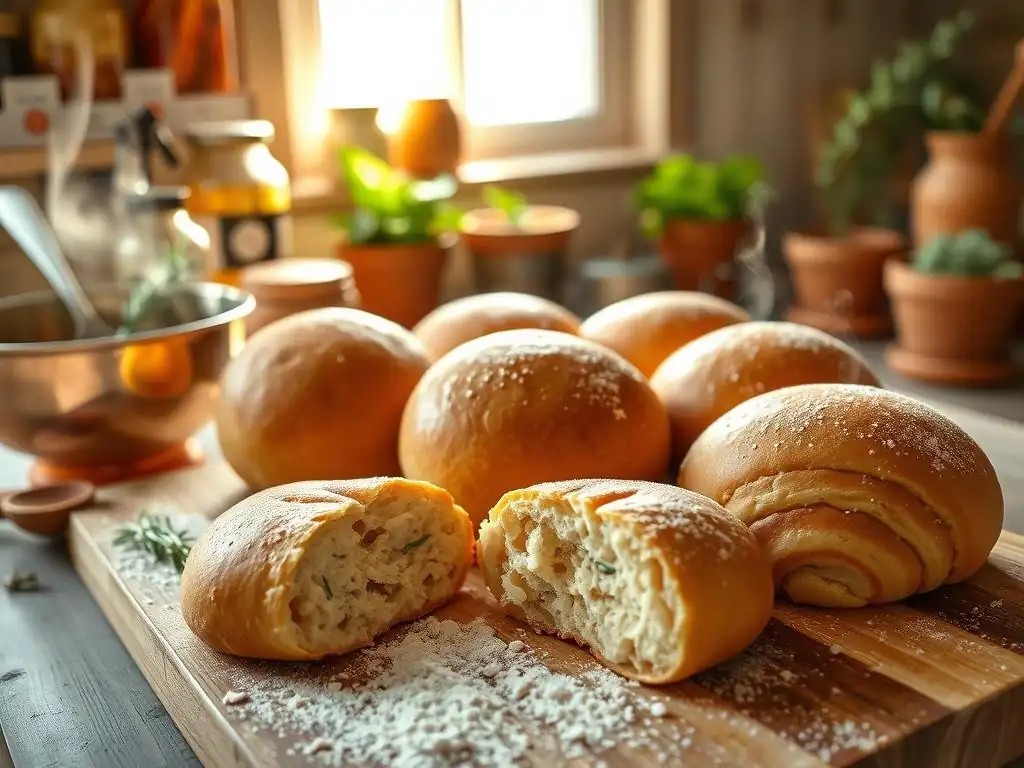
Welcome to BakeWithEase, your haven for unlocking baking brilliance! Ever dreamt of effortlessly creating fluffy, delicious bread? Prepare to be amazed, because we're diving into a world where even vegan baking is a breeze. Intrigued? Get ready to discover our simple & delicious vegan bread rolls recipe and learn how to bake incredibly soft and satisfying rolls that everyone will love. What's the secret ingredient that makes them so good? Keep reading to find out!
- Vegan Bread Rolls: Simple & Delicious Recipe - BakeWithEase
- Introduction to Vegan Bread Rolls
-
The Ultimate Vegan Bread Rolls Recipe: Step-by-Step
- Ingredients for Delicious Vegan Bread Rolls
- Equipment You'll Need
- Step 1: Preparing the Dough for Vegan Bread Rolls
- Step 2: Proofing the Vegan Bread Roll Dough
- Step 3: Shaping the Vegan Bread Rolls
- Step 4: Second Proofing: Shaping and Rising
- Step 5: Baking Your Vegan Bread Rolls
- Step 6: Cooling and Serving Your Vegan Bread Rolls
- Tips for Baking the Best Vegan Bread Rolls
- Storing Your Homemade Vegan Bread Rolls
- Enjoy Your Easy Vegan Bread Rolls!
-
Frequently Asked Questions
- What makes this vegan bread rolls recipe "simple"?
- Can I substitute any of the ingredients in this vegan bread rolls recipe?
- How long does it take to make these vegan bread rolls from start to finish?
- What's the best way to store these vegan bread rolls to keep them fresh?
- What kind of flour is recommended for this vegan bread rolls recipe?
- Final Reflection: The Humble Vegan Roll & the Expanding World of Plant-Based Baking
- Unleash Your Inner Baker: Craft Amazing Vegan Rolls!
Vegan Bread Rolls: Simple & Delicious Recipe - BakeWithEase
Introduction to Vegan Bread Rolls
Welcome to BakeWithEase! If you're exploring the world of plant-based baking or simply looking for a delicious and easy way to make bread without dairy or eggs, you've come to the right place. Vegan bread rolls are incredibly versatile, perfect for sandwiches, dinner sides, or just enjoying warm from the oven. Many people assume vegan baking is complicated, but this vegan bread rolls recipe proves otherwise, offering a straightforward path to soft, fluffy rolls.
Choosing to bake your own vegan bread rolls not only gives you control over the ingredients but also fills your home with that irresistible aroma of freshly baked bread. Whether you're a seasoned baker or just starting out, this guide breaks down the process into simple, manageable steps. We'll walk you through everything you need to know, from selecting the right ingredients to troubleshooting common issues, ensuring your baking experience is successful and enjoyable.
Why Choose This Vegan Bread Rolls Recipe?
This specific vegan bread rolls recipe stands out because it prioritizes simplicity without sacrificing flavor or texture. Unlike some complex bread recipes that require specialized flours or techniques, this method uses readily available ingredients and fundamental baking principles. It's designed to be approachable for beginners, offering clear instructions that minimize guesswork and maximize your chances of baking perfect rolls on your first attempt.
Furthermore, this vegan bread rolls recipe is incredibly adaptable. Once you master the basic technique, you can easily experiment with different flavors, seeds, or herbs to customize your rolls. It's a foundation recipe that empowers you to get creative in the kitchen. We've tested this recipe extensively to ensure reliable results, focusing on yielding rolls that are soft on the inside with a lovely, slightly chewy crust, just as a good bread roll should be.
BakeWithEase: Your Guide to Perfect Vegan Bread
At BakeWithEase, our mission is to make baking accessible and enjoyable for everyone, regardless of dietary preferences or skill level. We believe that baking delicious bread, including fantastic vegan bread rolls, shouldn't be intimidating. Our guides are crafted with clarity and detail, anticipating common questions and providing helpful tips along the way.
We provide step-by-step instructions, explanations of why certain steps are important (like proofing times or kneading techniques), and visual cues to help you assess your progress. Think of us as your friendly baking mentor, right there with you in the kitchen. This guide to making vegan bread rolls is just one example of how we break down complex processes into simple, achievable steps, helping you build confidence and achieve baking success.
The Ultimate Vegan Bread Rolls Recipe: Step-by-Step
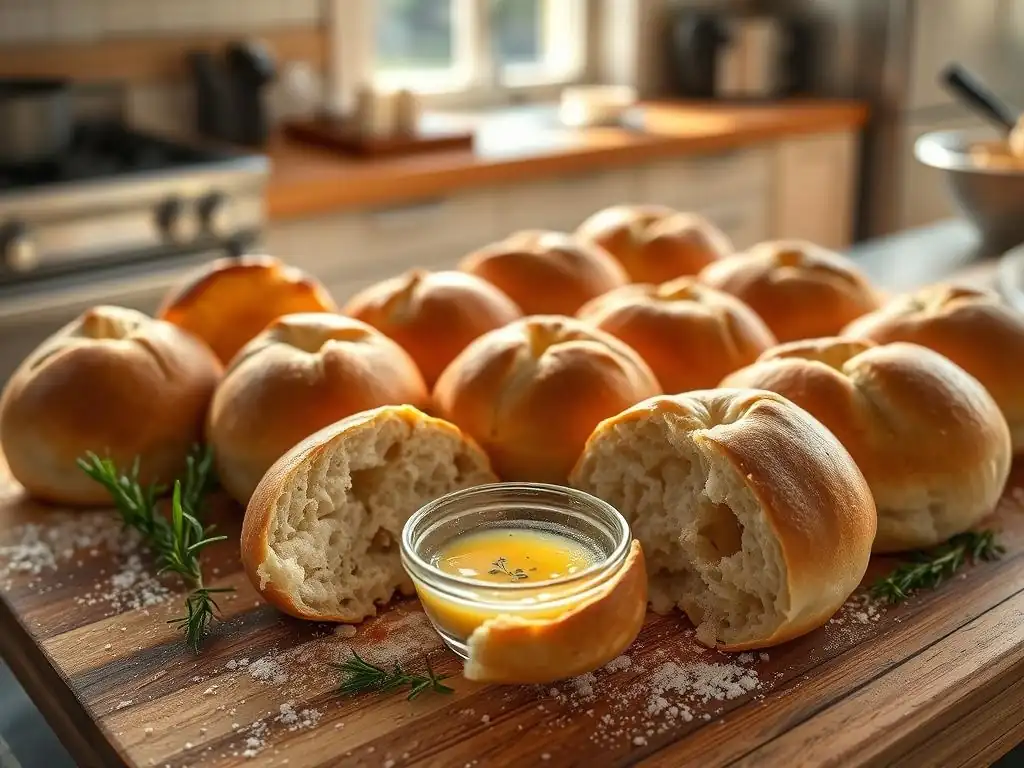
Get ready to bake some truly incredible vegan bread rolls. This section provides the full recipe, broken down into easy-to-follow steps. Pay close attention to the details, and you'll be rewarded with warm, homemade rolls in just a few hours.
Ingredients for Delicious Vegan Bread Rolls
Gathering your ingredients before you begin is crucial for a smooth baking process. For this vegan bread rolls recipe, you'll need a mix of dry and wet components, all standard pantry staples. Accuracy in measurements is key, so use kitchen scales if possible, especially for flour.
Ensure your yeast is fresh if using active dry yeast; expired yeast is a common reason for dough not rising. The type of plant-based milk can slightly affect the flavor and richness; soy milk or almond milk are popular choices and generally work well. Using room temperature ingredients can also help the dough come together more easily and promote better rising.
Dry Ingredients for Vegan Rolls
For a standard batch of approximately 12-16 rolls, you will typically need:
- All-purpose flour: Around 450-500 grams (about 3.5 to 4 cups, but weighing is more accurate). The exact amount can vary based on humidity.
- Granulated sugar: Approximately 30-40 grams (about 2-3 tablespoons). This feeds the yeast.
- Salt: About 7-10 grams (1.5 to 2 teaspoons). Salt is crucial for flavor and controlling yeast activity.
- Instant dry yeast: About 7 grams (1 standard packet or 2.25 teaspoons). If using active dry yeast, you'll need the same amount but will activate it separately.
These dry ingredients form the backbone of your vegan bread rolls. The sugar and salt balance the flavor and work with the yeast to create the light, airy texture we're aiming for. Using the correct ratio of flour to liquid is vital for the dough's consistency.
Wet Ingredients for Vegan Rolls
Complementing the dry ingredients are the wet components, which provide moisture and richness:
- Warm plant-based milk: Approximately 300-350 ml (about 1.25 to 1.5 cups). The temperature should be around 40-45°C (105-115°F) for active dry yeast, or lukewarm for instant yeast (around 35-40°C or 95-105°F).
- Neutral-flavored oil: Around 30-45 ml (about 2-3 tablespoons). Vegetable oil, canola oil, or melted vegan butter work well. This adds richness and helps keep the rolls soft.
- Optional: A touch of apple cider vinegar (about 5 ml or 1 teaspoon). This can help tenderize the dough and react with baking soda if used in a different recipe, but is less common in standard yeast rolls.
The temperature of the milk is critical when working with yeast. Too hot will kill the yeast; too cold will slow down or prevent activation. The oil contributes to the soft texture and helps prevent the rolls from drying out during baking.
Equipment You'll Need
Having the right tools makes the vegan bread rolls recipe process much smoother. You don't need a professional bakery setup, but a few standard kitchen items are essential.
You'll need a large mixing bowl, ideally made of glass or metal, for mixing and proofing the dough. A sturdy surface for kneading, such as a clean countertop or a large wooden cutting board, is also necessary. Measuring cups and spoons, or better yet, a digital kitchen scale, will ensure accuracy.
Other helpful equipment includes a clean kitchen towel or plastic wrap for covering the dough during proofing, a baking sheet (or two) lined with parchment paper or a silicone baking mat, and potentially a bench scraper for dividing the dough. An oven thermometer is also a great tool to ensure your oven is at the correct temperature, which is vital for successful baking.
Step 1: Preparing the Dough for Vegan Bread Rolls
This is where the magic begins! Mixing the ingredients correctly sets the stage for perfectly risen, soft vegan bread rolls. Follow these steps carefully.
The initial mixing phase involves combining the wet and dry ingredients to form a shaggy dough. It's important not to add all the flour at once; start with the lower end of the range and gradually add more until the dough comes together. The dough should be slightly sticky but manageable. Over-flouring at this stage can lead to dry rolls.
Activating the Yeast (If Using)
If your vegan bread rolls recipe calls for active dry yeast, you'll need to activate it first. This step confirms your yeast is alive and ready to work.
In a small bowl, combine the warm plant-based milk (ensure it's within the 40-45°C range) with the sugar. Sprinkle the active dry yeast over the top. Do not stir initially. Let it sit for 5-10 minutes. You should see a foamy layer appear on the surface; this indicates the yeast is active. If no foam appears, your yeast may be dead, and you'll need to start with new yeast. If using instant dry yeast, you can usually skip this step and mix it directly with the dry ingredients.
Combining Dry and Wet Ingredients
In your large mixing bowl, whisk together the dry ingredients: flour, salt, and instant yeast (if using). Create a well in the center.
Pour the activated yeast mixture (or the warm milk, sugar, and oil if using instant yeast) into the well. Add the oil. Using a wooden spoon or a sturdy spatula, begin mixing from the center outwards, gradually incorporating the dry ingredients into the wet. Continue mixing until a shaggy dough forms and pulls away from the sides of the bowl. At this point, it will likely still look quite rough and sticky.
Kneading the Vegan Bread Roll Dough
Kneading is essential for developing the gluten structure, which gives the vegan bread rolls their texture and strength. This can be done by hand or with a stand mixer.
Turn the shaggy dough out onto a lightly floured surface. Knead the dough for 8-10 minutes by hand, or about 6-8 minutes using the dough hook attachment on a stand mixer at medium speed. The dough should become smooth, elastic, and less sticky (though it may still have a slight tackiness).
To test if it's adequately kneaded, perform the "windowpane test": pinch off a small piece of dough and gently stretch it. If you can stretch it thin enough to see light through it without it tearing, the gluten is well-developed. If it tears easily, continue kneading for another minute or two.
Step 2: Proofing the Vegan Bread Roll Dough
Proofing is the resting period where the yeast ferments, producing carbon dioxide gas that makes the dough rise. This step is crucial for light and airy vegan bread rolls.
After kneading, the dough needs time to double in size. This process is highly dependent on the temperature of your environment. A warm, draft-free place is ideal.
First Proof: Bulk Fermentation
Place the kneaded dough ball into a lightly oiled bowl, turning it to coat the surface with oil. Cover the bowl tightly with plastic wrap or a clean kitchen towel.
Let the dough rise in a warm spot until it has doubled in size. This typically takes anywhere from 1 to 2 hours at room temperature (around 21-24°C or 70-75°F). In a cooler environment, it might take longer, perhaps 2.5 to 3 hours. You can also create a warm environment by placing the covered bowl in a turned-off oven with the light on, or in a microwave (turned off) next to a cup of hot water. The dough is ready when you can gently press two fingers into it, and the indentations remain.
Step 3: Shaping the Vegan Bread Rolls
Once the dough has completed its first proof, it's time to shape it into individual vegan bread rolls. This step requires a gentle touch to avoid deflating the dough too much.
Turn the risen dough out onto a lightly floured surface. Gently deflate it by pressing down on it with your hands – this is called punching down the dough. Avoid being too rough. The goal is to release some of the gas but not all of it.
Dividing the Dough
Use a bench scraper or a sharp knife to divide the dough into equal portions. For medium-sized rolls, aiming for pieces weighing approximately 60-80 grams each is a good starting point. This should yield about 12-16 rolls from the recipe quantity mentioned earlier.
Dividing the dough evenly ensures that your vegan bread rolls will bake uniformly. You can use a kitchen scale to weigh each piece for perfect consistency, which is especially helpful if you're aiming for a professional look. Shape each piece loosely into a ball or log before proceeding to the final shaping.
Rolling and Shaping Techniques
There are several ways to shape vegan bread rolls, but the most common is the simple round roll. To achieve a smooth, tight surface tension, take a piece of dough and cup your hand over it on the counter. Gently move your hand in a circular motion, applying slight downward pressure. The dough should roll and tuck under itself, creating a smooth ball.
Another technique involves flattening the dough piece slightly, folding the edges towards the center, and then pinching the seams together at the bottom. Then, flip it over and roll it against the counter using your palm to create a smooth surface. Experiment with both techniques to see which you prefer for your vegan bread rolls. Place the shaped rolls seam-side down on your prepared baking sheet, leaving adequate space between them (about 5-7 cm or 2-3 inches) as they will expand during the second proof and baking.
Step 4: Second Proofing: Shaping and Rising
The second proofing, also known as the final proof, allows the shaped vegan bread rolls to rise again before baking. This is crucial for achieving a light and fluffy texture.
Cover the shaped rolls loosely with a clean kitchen towel or plastic wrap. Place the baking sheet back in a warm, draft-free spot.
Let the rolls rise for about 30-60 minutes, or until they look visibly puffy and have nearly doubled in size again. They should feel light and airy. To test if they are ready, gently poke a roll with your finger; if the indentation springs back slowly, they are ready to bake. If it springs back immediately, they need more time. If it stays completely indented, they might be over-proofed (though this is less common in the second proof).
Step 5: Baking Your Vegan Bread Rolls
This is the moment of truth – baking the vegan bread rolls to golden perfection! Proper oven temperature and timing are key.
Preheat your oven while the rolls are finishing their second proof. Getting the oven to the correct temperature before putting the rolls in is very important for a good rise and crust development.
Oven Temperature and Baking Time
Preheat your oven to 190°C (375°F). Some recipes might suggest slightly higher (200°C or 400°F), but 190°C is a good starting point for even baking.
Once the oven is fully preheated and the rolls are ready after their second proof, place the baking sheet in the center rack of the oven. Bake for 15-25 minutes. The exact time will depend on your oven and the size of your rolls. Start checking around the 15-minute mark.
Achieving a Golden-Brown Crust
You'll know your vegan bread rolls are done when they are golden brown on top and sound hollow when tapped on the bottom. The internal temperature should register around 93-99°C (200-210°F) if you use an instant-read thermometer.
For an extra golden and slightly shiny crust, you can brush the tops of the rolls with a little melted vegan butter or a plant-based milk wash (like soy milk or almond milk) before baking. Some bakers also like to sprinkle sesame seeds, poppy seeds, or coarse salt on top at this stage. Be careful not to press down too hard if brushing, as you might deflate the rolls.
Step 6: Cooling and Serving Your Vegan Bread Rolls
Patience is a virtue, especially when it comes to baked goods! Allowing your vegan bread rolls to cool properly is just as important as the baking itself.
Once the rolls are out of the oven, transfer them from the baking sheet to a wire cooling rack immediately. This prevents the bottoms from becoming soggy from trapped steam.
Allow the rolls to cool for at least 15-20 minutes before slicing or serving. Cutting into them too early can result in a gummy texture inside. Enjoy your warm, homemade vegan bread rolls with your favorite spreads, as a side dish, or simply on their own! The aroma filling your kitchen is your first reward.
Tips for Baking the Best Vegan Bread Rolls
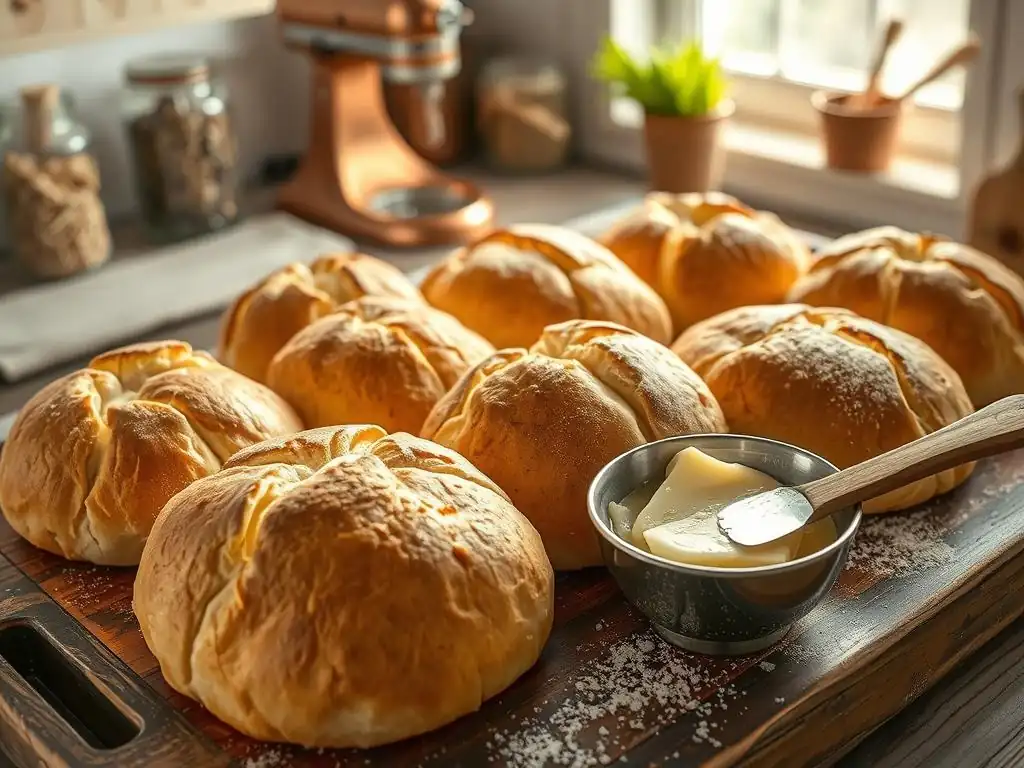
Even with a simple recipe, a few extra tips can elevate your vegan bread rolls from good to absolutely fantastic. These insights come from experience and address common baking nuances.
Understanding how subtle changes in technique or environment can impact the final product will help you refine your skills. Baking is a process of learning and adaptation, and these tips are designed to help you troubleshoot and perfect your vegan bread rolls recipe.
Achieving the Perfect Texture: Soft vs. Crusty Vegan Rolls
The texture of your vegan bread rolls can be influenced by several factors, primarily the fat content, hydration level, and baking method.
For soft rolls, ensure you include the recommended amount of oil or vegan butter in the dough. A slightly higher hydration (more liquid relative to flour) can also contribute to a softer crumb. Baking at the specified temperature helps the rolls set before the crust becomes too hard.
For a softer crust after baking, you can brush the warm rolls with melted vegan butter immediately upon removing them from the oven. Conversely, for a slightly crustier roll, you might reduce the oil slightly and ensure the oven has some steam at the beginning of the bake (achieved by placing a tray of hot water on the bottom rack).
Troubleshooting Common Vegan Bread Roll Problems
Even experienced bakers encounter issues sometimes. Here are solutions to a few common problems you might face with your vegan bread rolls recipe.
Don't get discouraged if your first batch isn't perfect. Identify the problem, and use these tips to adjust for your next bake. Baking is often about understanding the science behind the ingredients and reacting to how your dough behaves in your specific kitchen environment.
Dough Not Rising?
If your vegan bread rolls dough isn't rising, the most likely culprit is inactive or dead yeast.
- Check Yeast Viability: If you used active dry yeast and didn't see foam during activation, the yeast is likely dead. Purchase fresh yeast and start again.
- Temperature Issues: The liquid might have been too hot (killing the yeast) or too cold (slowing it down significantly). Ensure your warm milk is within the recommended temperature range (around 40-45°C for active dry, 35-40°C for instant). Your proofing environment might also be too cold; find a warmer spot or create one using the oven light method.
- Ingredient Ratios: Too much salt or sugar can inhibit yeast activity. Ensure you measured correctly.
Rolls Too Dense?
Dense vegan bread rolls can result from several factors related to kneading and proofing.
- Insufficient Kneading: The gluten structure wasn't developed enough to support the rise. Ensure you kneaded until the dough passed the windowpane test.
- Under-Proofing: The dough didn't have enough time to rise sufficiently during the first or second proof. Allow adequate time in a warm environment until the dough has doubled (first proof) and the rolls are visibly puffy (second proof).
- Over-Flouring: Adding too much flour during mixing or kneading makes the dough stiff and heavy, preventing a light texture. The dough should be slightly tacky.
Rolls Burning on the Bottom?
Burning bottoms usually indicate issues with oven temperature or placement.
- Oven Temperature: Your oven might be running hot, especially on the bottom element. Use an oven thermometer to verify the temperature.
- Rack Placement: The baking sheet might be too close to the bottom heating element. Try baking the rolls on a higher rack in your oven.
- Baking Sheet: A dark metal baking sheet can absorb and radiate heat more intensely than a lighter one, leading to darker bottoms. Using parchment paper or a silicone baking mat can provide a layer of insulation.
Flavor Variations for Vegan Bread Rolls
Once you've mastered the basic vegan bread rolls recipe, you can easily customize them with various additions to create exciting flavor profiles.
Think about what you plan to serve the rolls with or what kind of snack you're aiming for. Savory additions are great for dinner rolls, while sweet variations can turn them into a delightful treat.
Adding Herbs and Spices
Incorporating herbs and spices can transform plain vegan bread rolls into something special.
- Dried Herbs: Mix dried herbs like rosemary, thyme, or oregano into the dry ingredients (about 1-2 tablespoons per batch). For example, add 1.5 tablespoons of dried rosemary to the flour for fragrant rosemary rolls.
- Fresh Herbs: Finely chopped fresh herbs can be kneaded into the dough during the last minute or two of kneading (use slightly more than dried, around 2-3 tablespoons).
- Spices: Add spices like garlic powder, onion powder, black pepper, or even a pinch of chili flakes for a savory kick. Around 1-2 teaspoons of garlic powder works well. Seeds like poppy, sesame, or nigella seeds can be mixed into the dough or sprinkled on top before baking.
Sweet Vegan Bread Roll Options
You can easily adapt this vegan bread rolls recipe for sweeter variations, perfect for breakfast or dessert.
Increase the sugar slightly (maybe up to 50-60 grams or 4-5 tablespoons). You can also knead in additions like cinnamon (1-2 teaspoons), raisins, dried cranberries, or chocolate chips during the final minute of kneading. For a sweeter topping, brush with melted vegan butter mixed with cinnamon sugar after baking. These sweet vegan bread rolls are wonderful served warm with jam or vegan butter.
Storing Your Homemade Vegan Bread Rolls
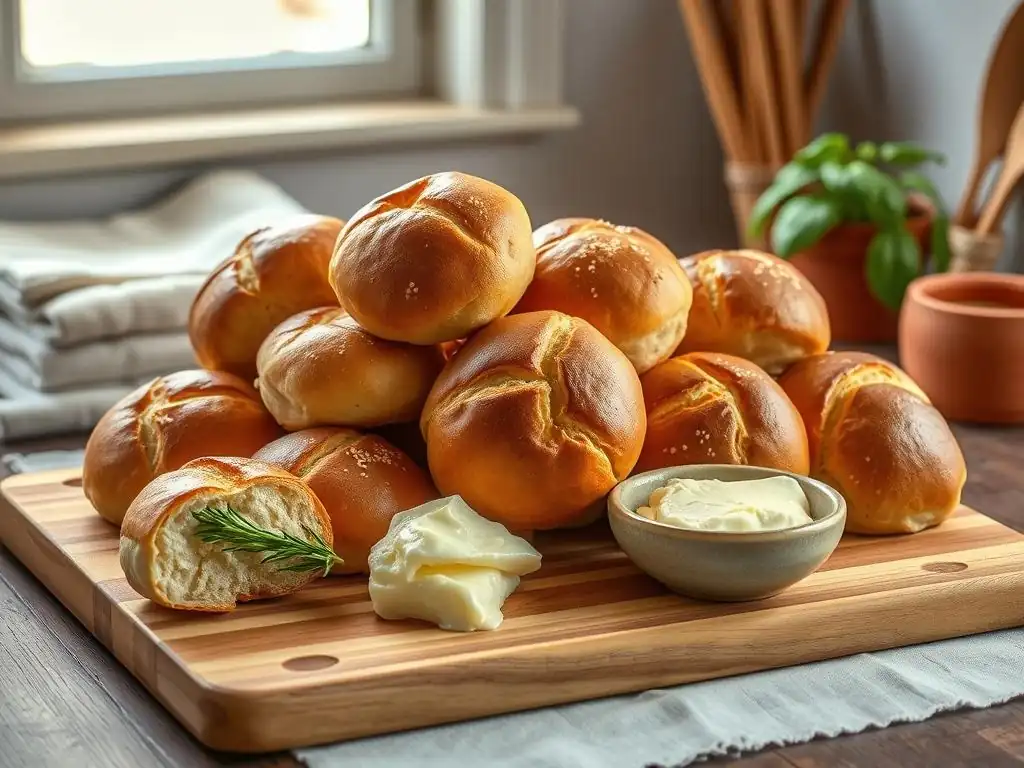
Proper storage is key to keeping your delicious vegan bread rolls fresh and enjoyable for as long as possible. Homemade bread typically doesn't contain the preservatives found in store-bought varieties, so it has a shorter shelf life at room temperature.
Fortunately, vegan bread rolls store quite well, whether you plan to eat them within a day or two or save them for future use. The method you choose depends on how quickly you anticipate finishing them.
Keeping Vegan Bread Rolls Fresh
For rolls that will be eaten within 1-2 days, room temperature storage is perfectly fine.
Once completely cooled, store the vegan bread rolls in an airtight container or a bread bag. A plastic bag or a container with a tight-fitting lid will help prevent them from drying out and becoming stale. Avoid refrigerating bread, as this can actually make it go stale faster due to a process called starch retrogradation. Keep the container in a cool, dry place away from direct sunlight. For best results, enjoy them the day they are baked or the following day.
Freezing Vegan Bread Rolls for Later
If you won't eat all your vegan bread rolls within a couple of days, freezing is an excellent option to preserve their freshness.
Ensure the rolls are completely cooled before freezing. Place them in a single layer on a baking sheet and freeze for about 1-2 hours until solid. This prevents them from sticking together. Once frozen solid, transfer the rolls to a freezer-safe bag or airtight container. Remove as much air as possible to prevent freezer burn. Properly stored, vegan bread rolls can last in the freezer for up to 2-3 months.
To reheat, you can thaw the rolls at room temperature for a few hours or overnight. For a warm-from-the-oven experience, place thawed or even frozen rolls directly into a preheated oven (around 180°C/350°F) for 5-10 minutes until warmed through.
Enjoy Your Easy Vegan Bread Rolls!
You've done it! You've successfully baked delicious, homemade vegan bread rolls using this simple BakeWithEase recipe. Take a moment to appreciate the wonderful aroma and the satisfaction of creating something so comforting from scratch.
Baking bread, especially a successful batch of vegan bread rolls, is a rewarding experience. It's a skill that improves with practice, so don't hesitate to bake them again! Each batch is a chance to refine your technique and maybe even experiment with new variations.
We love seeing what our community bakes! Sharing your creations is a great way to connect with other baking enthusiasts and celebrate your success.
Consider sharing photos of your beautiful vegan bread rolls! Let others know how easy it was using the BakeWithEase vegan bread rolls recipe.
Frequently Asked Questions
What makes this vegan bread rolls recipe "simple"?
The recipe emphasizes easy-to-find ingredients and straightforward step-by-step instructions, making it accessible even for beginner bakers. It avoids complex techniques or specialized equipment.
Can I substitute any of the ingredients in this vegan bread rolls recipe?
While substitutions are possible, they may affect the texture and taste. We recommend sticking to the recipe for the best results, but plant-based milk can often be substituted with another type.
How long does it take to make these vegan bread rolls from start to finish?
The total time, including preparation, rising, and baking, is approximately 2-3 hours. The rising time is the most significant factor.
What's the best way to store these vegan bread rolls to keep them fresh?
Store the cooled bread rolls in an airtight container at room temperature for up to 3 days. For longer storage, freeze them.
What kind of flour is recommended for this vegan bread rolls recipe?
We recommend using all-purpose flour for this recipe, as it provides a good balance of gluten and structure. Bread flour can also be used for a chewier texture.
Final Reflection: The Humble Vegan Roll & the Expanding World of Plant-Based Baking
The accessibility and deliciousness of vegan baking are revolutionizing the culinary landscape, and the humble bread roll is leading the charge. No longer a niche pursuit, plant-based alternatives are proving that ethical eating doesn't mean sacrificing flavor or convenience. This simple vegan bread roll recipe demonstrates just how easy it is to create delicious, satisfying food without compromising your values.
The impact of veganism extends far beyond individual dietary choices; it's a growing movement that reflects a broader shift in societal consciousness towards sustainability and compassion. The increasing demand for vegan options is driving innovation and creativity within the food industry, pushing boundaries and challenging long-held assumptions about what constitutes "good" food. The future of food is plant-based,
a statement echoed by many experts and increasingly reflected in supermarket shelves. This simple bread roll recipe, therefore, represents more than just a recipe; it's a symbol of this larger, positive change.
Now, consider your own kitchen. Think about the power you hold to make conscious choices about the food you consume. This recipe is a starting point; a gateway to exploring the vast and exciting world of vegan baking. Experiment with different flours, herbs, and additions – let your creativity flow! Embrace the opportunity to create delicious, ethical food that nourishes both your body and your conscience. The journey towards a more sustainable and compassionate food system begins with one vegan bread roll at a time.
Unleash Your Inner Baker: Craft Amazing Vegan Rolls!
Thanks for joining us on this baking adventure! We hope you've gained some delicious inspiration and newfound confidence in creating amazing vegan bread rolls. Now it's time to put your skills to the test!
- Bake your own batch of these delicious rolls: Follow the recipe and enjoy the rewarding experience of creating something truly special. This is the heart of our call to action, so we need this section to stand out!
- Share your baking success: Snap a picture of your finished rolls and share them on social media using #BakeWithEaseVeganRolls. Let's inspire others!
- Explore other fantastic vegan recipes on our website – we've got plenty more deliciousness waiting for you.
What unique twist will you add to your vegan bread rolls? Let us know in the comments below!