
Refreshing GlutenFree Strawberry Cheesecake Jars (NoBake)

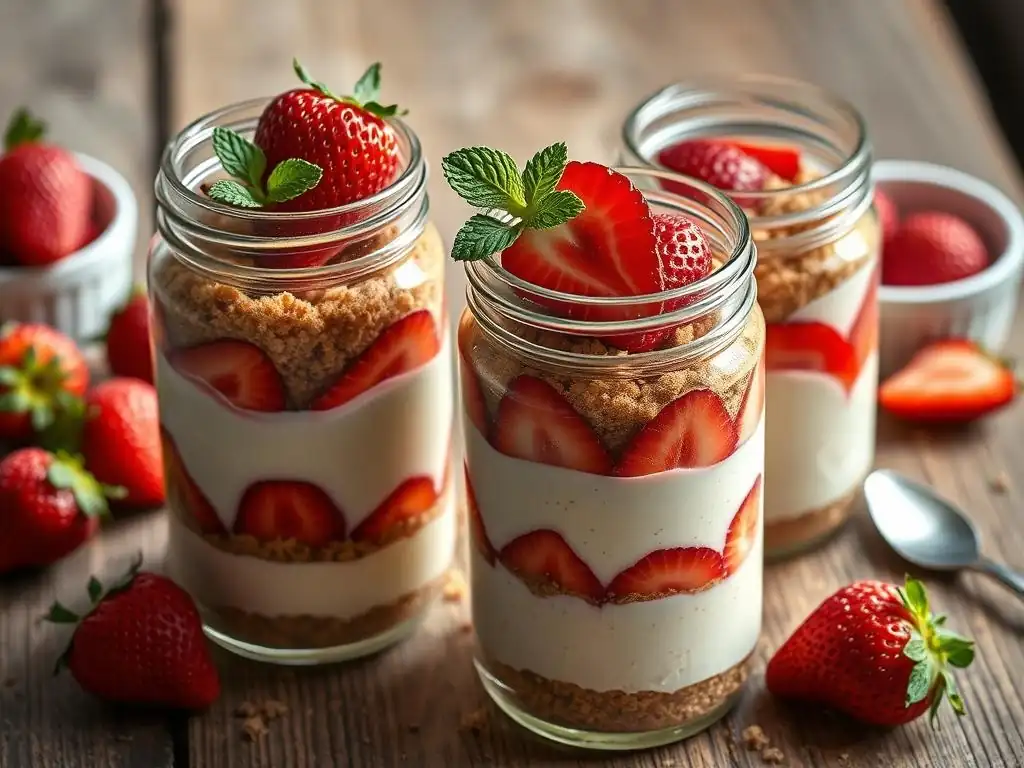
Welcome to BakeWithEase, your haven for baking bliss! Ever dreamed of a dessert that's both decadent and diet-friendly? Get ready to indulge in our star recipe: GlutenFree Strawberry Cheesecake Jars. These no-bake treats are surprisingly simple to create, and we're about to unveil the secrets to crafting these refreshing delights. Curious how to achieve that perfect creamy texture without the gluten? Let's dive in and discover the joy of guilt-free indulgence!
- Refreshing Gluten-Free Strawberry Cheesecake Jars (No-Bake) - BakeWithEase
- Introduction to Gluten-Free No-Bake Strawberry Cheesecake Jars
- Understanding Gluten-Free Baking for Cheesecake
- Delicious Strawberry Cheesecake Jars: A No-Bake Recipe
- Tips for Perfect Gluten-Free No-Bake Strawberry Cheesecake Jars
- Storing and Serving Your Gluten-Free Cheesecake Jars
- Troubleshooting Common Issues with No-Bake Gluten-Free Cheesecake
- Embrace Easy Gluten-Free Baking with BakeWithEase
-
Frequently Asked Questions
- How do I ensure my Gluten-Free Strawberry Cheesecake Jars are truly gluten-free?
- Can I substitute the strawberries in the Gluten-Free Strawberry Cheesecake Jars recipe?
- What is the best way to prevent the crust from becoming soggy in these no-bake Gluten-Free Strawberry Cheesecake Jars?
- How long do these Gluten-Free Strawberry Cheesecake Jars last in the refrigerator?
- What are some variations I can make to the Gluten-Free Strawberry Cheesecake Jar recipe?
- Final Reflection: The Sweet Simplicity of Gluten-Free Joy
- Unleash Your Inner Pastry Chef: Make These Strawberry Cheesecake Jars Today!
Refreshing Gluten-Free Strawberry Cheesecake Jars (No-Bake) - BakeWithEase
Introduction to Gluten-Free No-Bake Strawberry Cheesecake Jars
Discover the Ease of Gluten-Free Dessert Making
Embarking on a gluten-free baking journey doesn't have to be complicated, especially when you discover the simplicity of gluten-free strawberry cheesecake jars. These delightful single-serving desserts are perfect for anyone navigating gluten sensitivities or simply looking for a lighter, fuss-free sweet treat. Unlike traditional baked cheesecakes that can crack and require careful temperature control, the no-bake method simplifies the process significantly, making it accessible even for novice bakers. By using readily available gluten-free ingredients, you can create a creamy, fruity dessert with minimal effort and maximum flavor.
The beauty of making gluten-free strawberry cheesecake jars lies in their assembly-line nature. Once your components are ready – the crust mixture, the creamy filling, and the vibrant strawberry topping – it's just a matter of layering. This makes them an excellent project for a weekend afternoon or even a fun activity to involve the family. Plus, the individual jar format is not only visually appealing but also incredibly convenient for portion control and easy storage. Forget about slicing and serving a whole cake; just grab a jar and enjoy!
Why Choose No-Bake Gluten-Free Cheesecake Jars?
Choosing no-bake gluten-free strawberry cheesecake jars offers several compelling advantages. Firstly, the "no-bake" aspect means you completely bypass the oven, saving energy and keeping your kitchen cool, which is particularly appealing during warmer months. This method relies on the simple magic of refrigeration to set the cheesecake filling to a firm, yet creamy, consistency. It eliminates common baking challenges like over-baking or uneven cooking.
Secondly, opting for the gluten-free version opens up this delicious dessert to a wider audience, ensuring that friends and family with dietary restrictions don't have to miss out. Crafting these gluten-free strawberry cheesecake jars allows you to cater to specific needs without sacrificing taste or texture. The combination of a crumbly, flavorful gluten-free crust, a rich and tangy cheesecake layer, and a bright, fresh strawberry topping creates a harmonious dessert experience that is both refreshing and satisfying. They are truly a testament to how easy and delicious gluten-free baking can be.
Understanding Gluten-Free Baking for Cheesecake
What Makes a Recipe Gluten-Free?
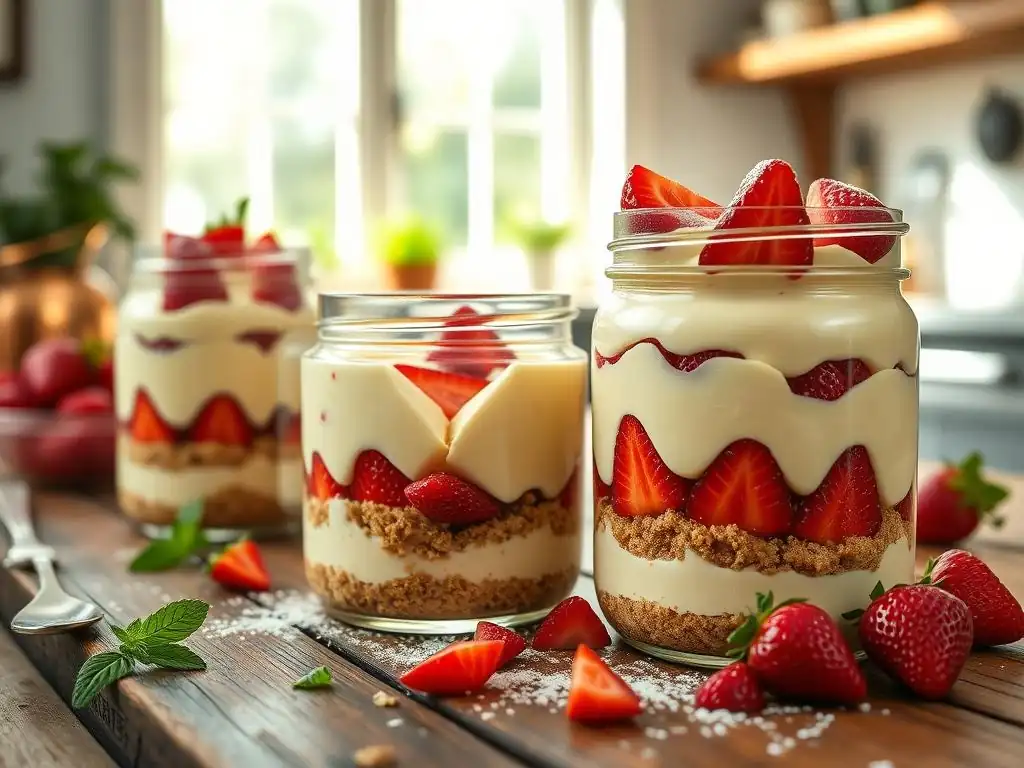
A recipe is considered gluten-free when it contains no ingredients derived from wheat, barley, rye, or triticale (a hybrid of wheat and rye). For individuals with celiac disease or non-celiac gluten sensitivity, consuming even small amounts of gluten can cause significant health issues. Therefore, crafting gluten-free strawberry cheesecake jars requires careful selection of every component, from the base ingredients of the crust to potential thickeners in the filling and toppings, ensuring they are certified gluten-free or naturally free of gluten and processed in a way that avoids cross-contamination.
In the context of cheesecake jars, the most common sources of gluten are typically the crust (traditionally made with graham crackers containing wheat flour) and, less commonly, certain thickeners or flavorings in the filling or topping. Replacing the wheat-based crust with alternatives like those made from nuts or gluten-free certified oats is the primary step. For the creamy filling, dairy products like cream cheese and heavy cream are naturally gluten-free. However, it's always prudent to check labels for any hidden gluten-containing additives, although this is rare in standard dairy items for baking.
Key Gluten-Free Ingredients for Cheesecake Jars
Creating delicious gluten-free strawberry cheesecake jars hinges on selecting the right ingredients to replace traditional gluten-containing ones while maintaining desired textures and flavors. For the crust, instead of conventional graham crackers, we turn to naturally gluten-free alternatives that can be processed into crumbs and bound together with a fat source. The filling primarily relies on cream cheese and heavy cream for its structure and richness, both of which are naturally gluten-free.
To achieve the perfect no-bake set for the cheesecake filling, especially without gelatin (though it's an option, we often rely on chilling and sometimes starch), we look to gluten-free thickeners. These ingredients help stabilize the mixture and provide that characteristic creamy yet firm texture without adding any gluten. The strawberry topping is typically just fresh fruit and sugar, inherently gluten-free, but how it's prepared can impact the final result, ensuring the strawberries hold their shape and flavor.
Gluten-Free Crust Options: Almond Flour and Oat Flour Crust
Almond flour is an excellent choice for a gluten-free cheesecake crust, offering a slightly nutty flavor and a tender, crumbly texture. It's simply ground blanched almonds and is naturally gluten-free. A crust made from almond flour combined with a binder like melted coconut oil or butter and a sweetener like maple syrup or sugar creates a wonderfully rich base for gluten-free strawberry cheesecake jars. Approximately 1 cup of almond flour might be used for a batch of 4-6 jars, mixed with about 2-3 tablespoons of melted fat and 1-2 tablespoons of sweetener.
Another fantastic option is oat flour, which can be made by processing certified gluten-free rolled oats into a fine powder. Using certified gluten-free oats is crucial to avoid cross-contamination with wheat, which often occurs during processing. An oat flour crust provides a slightly chewier texture than almond flour and a distinct wholesome flavor. Similar ratios apply, perhaps using 1 cup of oat flour with comparable amounts of fat and sweetener. Both almond and oat flour crusts require chilling to set firmly before the filling is added, typically needing at least 30 minutes in the refrigerator.
Gluten-Free Flour Alternatives for Cheesecake Filling: Cornstarch and Tapioca Starch
While the primary structure of no-bake cheesecake comes from properly whipped cream cheese and heavy cream, sometimes a little extra help from a starch can ensure a firmer set, especially if the mixture is slightly warm or if you prefer a very stable filling. Cornstarch and tapioca starch are two common and effective gluten-free thickeners. They work by absorbing liquid and creating a gel-like structure when hydrated and chilled.
In a no-bake cheesecake filling, a small amount, perhaps 1-2 tablespoons for an entire batch of gluten-free strawberry cheesecake jars, can be whisked into a portion of the cold heavy cream or milk before being added to the cream cheese mixture. This helps prevent lumps. While not always strictly necessary if your cream cheese and cream are cold and whipped correctly, using a starch can provide a margin of safety, ensuring your filling for the gluten-free strawberry cheesecake jars sets beautifully firm after several hours of chilling, typically requiring a minimum of 4 hours, but ideally overnight.
Delicious Strawberry Cheesecake Jars: A No-Bake Recipe
Ingredients for Gluten-Free Strawberry Cheesecake Jars
Crafting these delightful gluten-free strawberry cheesecake jars requires just a few simple ingredients, easily found at most grocery stores. The recipe is broken down into three main components: the crust, the creamy filling, and the fresh strawberry topping. Using quality ingredients ensures the best flavor and texture for your no-bake dessert.
Here is a breakdown of what you'll need to make approximately 4-6 individual jars, depending on their size:
For the Gluten-Free Crust: Almond flour, rolled oats, coconut oil, maple syrup, pinch of salt
- 1 cup (about 100g) Almond Flour
- 1/2 cup (about 45g) Certified Gluten-Free Rolled Oats (optional, for texture)
- 1/4 cup (about 60ml) Melted Coconut Oil or Unsalted Butter
- 2 tablespoons Maple Syrup or other liquid sweetener
- Pinch of Salt
These ingredients combine to form a simple yet flavorful base that holds up well in the jars. The amount of liquid fat and sweetener can be adjusted slightly based on your preference for moisture and sweetness in the crust.
For the Creamy Cheesecake Filling: Cream cheese, powdered sugar, heavy cream, vanilla extract, lemon juice
- 8 ounces (about 226g) Cream Cheese, softened but still cold
- 1/2 cup (about 60g) Powdered Sugar (confectioners' sugar)
- 1 cup (about 240ml) Cold Heavy Cream (whipping cream)
- 1 teaspoon Vanilla Extract
- 1 tablespoon Fresh Lemon Juice (optional, for tang)
Ensure your cream cheese is softened just enough to be whip-able but not warm and runny. The heavy cream must be very cold to whip properly and provide structure to the filling. The lemon juice adds a lovely brightness that cuts through the richness of the cheese.
For the Fresh Strawberry Topping: Fresh strawberries, granulated sugar, lemon juice
- 2 cups (about 300g) Fresh Strawberries, hulled and sliced or chopped
- 1-2 tablespoons Granulated Sugar (adjust to taste)
- 1 teaspoon Fresh Lemon Juice (optional, enhances strawberry flavor)
The strawberry topping is simple, letting the natural sweetness and acidity of the strawberries shine. Adjust the sugar based on the ripeness of your berries. A little lemon juice can brighten the flavor profile of the topping significantly.
Step-by-Step Guide: Assembling Your No-Bake Cheesecake Jars
Putting together your gluten-free strawberry cheesecake jars is a straightforward process. Follow these steps for perfectly layered and delicious desserts. This recipe yields about 4-6 jars.
Preparing the Gluten-Free Crust Layer: Combine crust ingredients, press into jars.
Start by preparing your gluten-free crust mixture. In a medium bowl, combine 1 cup of almond flour, 1/2 cup of certified gluten-free rolled oats (if using), a pinch of salt, and 2 tablespoons of maple syrup. Pour in 1/4 cup of melted coconut oil or butter and stir everything together with a fork or spoon until the mixture is evenly moistened and resembles wet sand or coarse crumbs.
Once the mixture is ready, divide it evenly among your chosen jars (small mason jars, dessert glasses, or even small bowls work well). Use the back of a spoon or a small tamper to press the crust mixture firmly and evenly into the bottom of each jar. This compaction is key to ensuring the crust holds its shape when chilled. Place the jars in the refrigerator for at least 30 minutes while you prepare the filling.
Making the Creamy Cheesecake Filling: Beat cream cheese, sugar, cream, vanilla, and lemon juice until smooth.
Next, prepare the luscious no-bake cheesecake filling. In a large mixing bowl, beat 8 ounces of softened cream cheese with 1/2 cup of powdered sugar until smooth and creamy, with no lumps. An electric mixer works best for this to ensure a very smooth consistency. Scrape down the sides of the bowl as needed.
In a separate, chilled bowl, whip 1 cup of cold heavy cream with 1 teaspoon of vanilla extract and 1 tablespoon of lemon juice (if using) until stiff peaks form. Be careful not to over-whip, or it can become grainy. Gently fold the whipped cream into the cream cheese mixture in two additions, using a spatula, until just combined and no streaks of cream cheese remain. Do not overmix, or the filling can lose its airy texture.
Assembling the Jars: Layering Crust, Filling, and Strawberries
Now it's time to assemble your beautiful gluten-free strawberry cheesecake jars. Take the chilled jars with the set crusts out of the refrigerator. Spoon or pipe the creamy cheesecake filling over the crust layer, dividing it evenly among the jars. You can use a piping bag for a neater look, or simply spoon it in and smooth the top with the back of a spoon. Fill the jars about two-thirds full with the cheesecake mixture.
While the filling is setting slightly, prepare the strawberry topping. In a small bowl, combine 2 cups of sliced or chopped fresh strawberries with 1-2 tablespoons of granulated sugar and 1 teaspoon of lemon juice (if using). Stir gently and let the strawberries sit for about 5-10 minutes to release some of their juices and create a light syrup. Spoon the prepared strawberry topping over the cheesecake filling in each jar, ensuring an even layer of vibrant red berries.
Chilling and Setting: Achieving the Perfect Cheesecake Texture
The final crucial step for gluten-free strawberry cheesecake jars is allowing them sufficient time to chill and set properly. Once assembled, cover the jars (lids or plastic wrap work well) and place them back in the refrigerator. The minimum chilling time required is typically 4 hours, but for the best results and a perfectly firm yet creamy texture, it is highly recommended to chill them for at least 6-8 hours, or preferably overnight.
During this chilling period, the fats in the cream cheese and heavy cream solidify, and any added starch (if used) helps to stabilize the mixture further. The crust also becomes more solid. Properly chilled gluten-free strawberry cheesecake jars will have a filling that holds its shape when scooped with a spoon and a crust that provides a satisfying base. This patience is rewarded with a truly delightful dessert experience.
Tips for Perfect Gluten-Free No-Bake Strawberry Cheesecake Jars
Achieving the Right Consistency for Your Cheesecake Filling
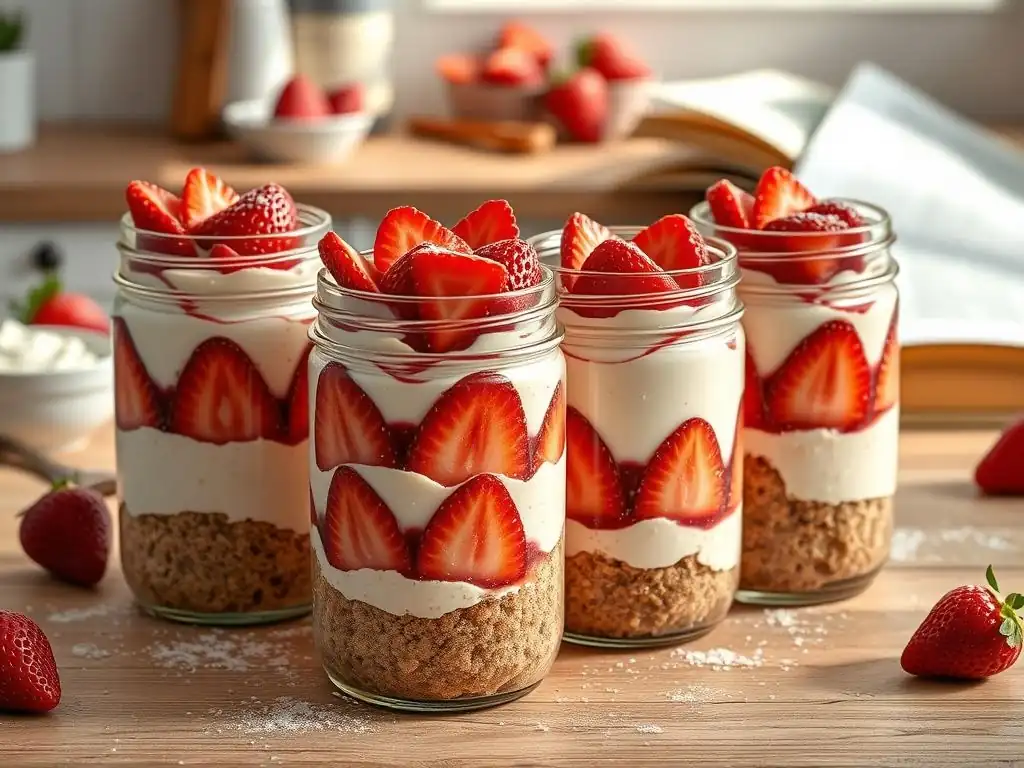
The hallmark of a great no-bake cheesecake is its smooth, creamy, yet set consistency. To achieve this for your gluten-free strawberry cheesecake jars, start with cold ingredients. Cream cheese should be softened just enough to be whip-able without being warm and runny, perhaps left at room temperature for only 15-20 minutes. Heavy cream must be straight from the refrigerator and whipped in a cold bowl for optimal volume and stability. Over-softened cream cheese or insufficiently cold cream are common culprits for a runny filling.
Whip the cream cheese and sugar until absolutely smooth before folding in the whipped cream. Any lumps at this stage will remain. When folding the whipped cream into the cream cheese mixture, do so gently and stop as soon as it's combined.
Overmixing can deflate the whipped cream, leading to a less airy and potentially looser filling. If your filling seems too soft after combining, a brief 15-minute chill before layering can help, or consider adding a tablespoon of melted and slightly cooled unsalted butter or a teaspoon of gluten-free starch slurry whisked in before folding the cream, as mentioned earlier. Proper chilling time (at least 6-8 hours) is non-negotiable for the final set.
Selecting the Best Strawberries for Flavor and Freshness
The quality of your strawberries significantly impacts the flavor of your gluten-free strawberry cheesecake jars. Opt for fresh, ripe, in-season strawberries whenever possible. Look for berries that are bright red all over, with green caps still attached. They should smell sweet and fragrant. Avoid berries with white or green patches, as they are not fully ripe and won't have the best flavor. Organic strawberries are a great choice if available.
Before preparing the topping, gently rinse the strawberries under cool water and hull them (remove the green tops). Pat them dry thoroughly with a paper towel. Excess moisture can make the topping watery. Slicing or chopping the strawberries into relatively uniform pieces ensures an even distribution in the jars. Combining them with a little sugar and letting them sit briefly (macerating) helps draw out their natural juices, creating a light syrup that complements the creamy cheesecake beautifully. This process enhances their flavor and makes them even more delicious in the gluten-free strawberry cheesecake jars.
Customizing Your Gluten-Free Cheesecake Jars: Variations & Additions
One of the joys of making gluten-free strawberry cheesecake jars is how easily they can be customized. While the classic strawberry version is fantastic, you can easily adapt the recipe to suit different tastes or occasions by changing the crust, adding flavorings to the filling, or experimenting with different toppings. This flexibility makes them a versatile dessert option for any time of year.
Consider these simple tweaks to put your own spin on the recipe. Remember to ensure all added ingredients remain gluten-free.
Different Gluten-Free Crust Options: Graham Cracker Crumbs (Gluten-Free) or Cookie Crumbs (Gluten-Free)
Beyond almond and oat flour, you can create a gluten-free crust using commercially available gluten-free graham cracker crumbs or gluten-free cookie crumbs. Many brands now offer certified gluten-free versions of these products. For a crust using these crumbs, you'll typically need about 1 and 1/2 cups of crumbs mixed with about 1/4 cup of melted butter or coconut oil and perhaps a tablespoon of sugar, depending on the sweetness of the crumbs.
Simply combine the crumbs and melted fat, then press firmly into the bottom of your jars, just like the almond/oat crust. This provides a familiar "cheesecake crust" flavor profile while keeping your gluten-free strawberry cheesecake jars safe for those with gluten sensitivities. Gluten-free shortbread cookies or vanilla wafers can also be processed into crumbs for a rich, buttery base.
Flavor Variations: Lemon Zest, Almond Extract
To add extra layers of flavor to the creamy filling for your gluten-free strawberry cheesecake jars, consider incorporating extracts or zests. A teaspoon of finely grated lemon zest added to the cream cheese mixture alongside the lemon juice (or even instead of it, for a subtler citrus note) can significantly brighten the flavor profile.
Alternatively, a 1/2 teaspoon of almond extract can provide a lovely nutty undertone that pairs wonderfully with both the almond flour crust (if used) and the strawberries. Be mindful that extracts are potent, so start with a small amount and add more if desired. Ensure any extracts used are pure and gluten-free, although most standard extracts are naturally gluten-free.
Topping Ideas: Whipped Cream, Chocolate Shavings, Strawberry Puree
While the fresh strawberry topping is classic and delicious, you can enhance your gluten-free strawberry cheesecake jars with additional garnishes. Just before serving, a dollop of freshly whipped cream (made from cold heavy cream and a touch of powdered sugar) adds another layer of creamy texture.
For a touch of decadence, sprinkle some gluten-free chocolate shavings or mini chocolate chips over the strawberries and cream. You could also create a simple strawberry puree by blending a handful of strawberries with a tiny bit of sugar and drizzling it over the top for an intense burst of strawberry flavor. These small additions can elevate the visual appeal and taste experience of your gluten-free strawberry cheesecake jars.
Storing and Serving Your Gluten-Free Cheesecake Jars
Proper Storage for Optimal Freshness
Proper storage is key to maintaining the freshness and quality of your gluten-free strawberry cheesecake jars. Once they have fully chilled and set (at least 6-8 hours), they should be kept covered in the refrigerator. Using jars with airtight lids is ideal, or simply cover the tops tightly with plastic wrap to prevent them from absorbing odors from other food in the fridge and to keep the surfaces from drying out.
Stored correctly, these no-bake cheesecake jars will maintain their quality for about 3-4 days in the refrigerator. The crust will remain firm, the filling creamy, and the strawberries fresh. Beyond this timeframe, the strawberries might start to break down more significantly, and the crust could become a bit softer. For best flavor and texture, aim to consume them within this period. Avoid freezing these jars, as the texture of the cream cheese filling can become grainy upon thawing.
Serving Suggestions: Enhancing the Cheesecake Experience
Serving your gluten-free strawberry cheesecake jars is wonderfully simple due to their individual portions. Just take them out of the refrigerator a few minutes before serving to allow them to lose some of their chill, which can enhance the flavors. About 10-15 minutes at room temperature is usually sufficient.
Presenting them in attractive jars or glasses makes them visually appealing. You can add a final flourish just before serving, such as a fresh mint sprig, an extra slice of strawberry on the rim of the jar, or a dusting of powdered sugar. Providing small spoons that fit comfortably into the jars ensures easy enjoyment. These gluten-free strawberry cheesecake jars are perfect for picnics, parties, or a simple weeknight treat.
Troubleshooting Common Issues with No-Bake Gluten-Free Cheesecake
Runny Cheesecake Filling: Causes and Solutions
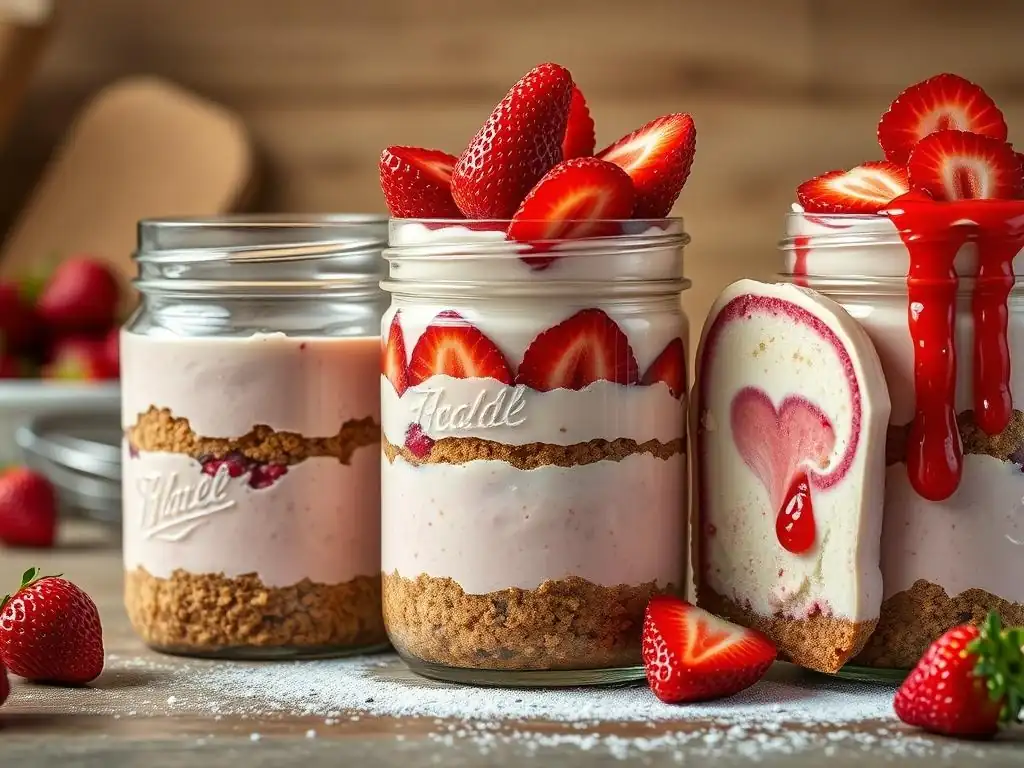
A runny filling is perhaps the most common issue when making no-bake cheesecake, including gluten-free strawberry cheesecake jars. The primary cause is often insufficient chilling time or not properly whipping the ingredients. The fat content of the cream cheese and heavy cream is what provides the structure, and they need time in the cold to firm up. Using low-fat cream cheese or dairy alternatives that aren't specifically formulated for whipping can also lead to a softer set.
To troubleshoot a runny filling: Firstly, ensure you've allowed adequate chilling time – a minimum of 4 hours, but 6-8 hours or overnight is truly best. If it's still too soft after significant chilling, you might need to adjust your technique for next time, ensuring cream cheese is softened but still cool and heavy cream is whipped to stiff peaks in a very cold bowl.
For the current batch, if it's only slightly soft, try putting it back in the coldest part of the fridge for several more hours. If it's very runny, you could gently scrape the filling back into a bowl, whisk in a tablespoon of melted butter or a cornstarch/tapioca starch slurry (whisk 1 tsp starch with 2 tsp cold milk, gently heat until thickened, cool, then whisk into filling), and re-chill thoroughly.
Crust Not Setting Properly: Tips for a Firm Base
A crust that doesn't set properly can make your gluten-free strawberry cheesecake jars difficult to eat, resulting in loose crumbs rather than a cohesive layer. This is usually due to an incorrect ratio of dry ingredients (almond flour, oats, crumbs) to melted fat (butter, coconut oil) or insufficient chilling time for the crust itself before adding the filling. The fat acts as the binder, solidifying in the cold to hold the crumbs together.
Ensure you use the specified amount of melted fat for the quantity of dry ingredients. The mixture should resemble wet sand and hold together slightly when pinched. Pressing the mixture firmly into the bottom of the jars is also crucial; use the back of a spoon or a flat-bottomed glass to really compact it.
Finally, chilling the crust layer for at least 30 minutes before adding the filling allows the fat to solidify and create a firm base for your gluten-free strawberry cheesecake jars. If your crust is still crumbly, try pressing it down more firmly and chilling it for longer next time.
Strawberry Topping Wilting: Keeping Strawberries Fresh
While fresh strawberries are ideal for flavor and appearance in gluten-free strawberry cheesecake jars, they can sometimes wilt or become mushy, especially if prepared too far in advance or exposed to air. This typically happens as the natural enzymes in the fruit break down the cell walls, accelerated by sugar and exposure to oxygen.
To keep your strawberry topping looking and tasting fresh: Prepare the strawberry topping no more than a few hours before assembling the jars, or ideally, just before layering. Avoid over-macerating the strawberries in sugar for too long; 5-10 minutes is usually sufficient to create a light syrup without making them overly soft. Ensure the strawberries are patted dry after washing.
Storing the assembled jars covered in the refrigerator helps protect the strawberries from drying out or oxidizing. If you need to make the jars further in advance, you can prepare and chill the crust and filling layers, and then prepare and add the fresh strawberry topping closer to serving time.
Embrace Easy Gluten-Free Baking with BakeWithEase
Explore More Gluten-Free Dessert Recipes
Making these gluten-free strawberry cheesecake jars is just the beginning of your easy gluten-free baking adventure with BakeWithEase. Our site is dedicated to simplifying baking for everyone, including those with dietary needs. We offer a wide variety of gluten-free recipes, from simple cookies and brownies to more elaborate cakes and pastries, all designed with clear instructions and accessible ingredients.
Dive into our collection of gluten-free treats and discover how enjoyable and rewarding baking without gluten can be. Whether you're looking for a quick weeknight dessert or something special for a celebration, you'll find tested recipes that deliver delicious results every time. Let BakeWithEase be your trusted guide as you expand your gluten-free baking repertoire beyond these delightful gluten-free strawberry cheesecake jars.
We love seeing what our community bakes! After you've made your batch of gluten-free strawberry cheesecake jars, we encourage you to share your success. Snap a photo of your beautiful jars and let us know how they turned out. Did you try a variation? What did your family and friends think?
Your experiences and photos inspire other bakers in our community. Sharing helps others see that making delicious gluten-free strawberry cheesecake jars is achievable and fun. Join the conversation and become part of the BakeWithEase family dedicated to making baking easy and accessible for everyone, regardless of dietary needs.
Frequently Asked Questions
How do I ensure my Gluten-Free Strawberry Cheesecake Jars are truly gluten-free?
It's crucial to use certified gluten-free ingredients, especially the crust base and any thickening agents. Double-check labels and be aware of potential cross-contamination in your kitchen.
Can I substitute the strawberries in the Gluten-Free Strawberry Cheesecake Jars recipe?
While strawberries offer the best flavor profile, you can substitute with other berries like raspberries or blueberries. Consider adjusting the sweetness as different berries have varying levels of natural sugar.
What is the best way to prevent the crust from becoming soggy in these no-bake Gluten-Free Strawberry Cheesecake Jars?
Press the crust firmly into the bottom of the jars. Using a gluten-free cookie crust with a higher fat content can also help to create a moisture barrier, preventing sogginess.
How long do these Gluten-Free Strawberry Cheesecake Jars last in the refrigerator?
They typically last for 3-4 days in the refrigerator if stored properly in an airtight container. The texture may change slightly over time, but they should still be safe to eat.
What are some variations I can make to the Gluten-Free Strawberry Cheesecake Jar recipe?
Experiment with different extracts like vanilla or almond. You can also add a layer of gluten-free granola for extra crunch or swirl in some strawberry jam for a more intense flavor.
Final Reflection: The Sweet Simplicity of Gluten-Free Joy
The resurgence of gluten-free baking isn't just a trend; it's a testament to the power of inclusive and delicious food. These No-Bake Gluten-Free Strawberry Cheesecake Jars offer a perfect example of how dietary restrictions can be met with creativity and flavor, proving that deliciousness doesn't have to compromise on health or accessibility.
Creating these jars wasn't just about following a recipe; it was about embracing a philosophy of mindful eating and celebrating the joy of simple, wholesome ingredients. The vibrant color of the strawberries, the creamy texture of the cheesecake, and the satisfying crunch of the gluten-free crust all combine to create a sensory experience that transcends mere sustenance. The best things in life are simple,
a sentiment perfectly captured by these delightful little jars. This recipe, and the broader gluten-free movement, highlights the importance of finding joy in food that nourishes both body and soul.
Now, I invite you to consider your own relationship with food. What simple pleasures bring you joy? Perhaps it's time to experiment with gluten-free baking, or maybe you'll find inspiration in the simplicity of this recipe to create your own unique culinary masterpiece. Don't be afraid to explore new flavors and textures, to adapt recipes to your needs, and to share the joy of delicious, inclusive food with those you love. Let the sweet simplicity of these Gluten-Free Strawberry Cheesecake Jars inspire you to create your own moments of culinary bliss.
Unleash Your Inner Pastry Chef: Make These Strawberry Cheesecake Jars Today!
Thanks for taking the time to explore this delightful gluten-free strawberry cheesecake recipe! We hope you found it as easy and rewarding as we did. Now, let's get those cheesecakes made!
- Whip up a batch of these irresistible jars: Gather your ingredients and follow the steps – you'll be surprised how quickly these come together! This is your primary action, the one we most hope you'll take.
- Share your creation: Snap a picture of your finished cheesecake jars and share it on social media using #BakeWithEaseStrawberry. Let's inspire other bakers!
- Leave a comment below: Tell us what you thought of the recipe – what was your favorite part? What modifications did you make?
Ready to experience the joy of homemade gluten-free goodness? What’s your favorite summer dessert to share with friends and family?