
Achieving a Beautiful, Even Crust on Enriched Breads

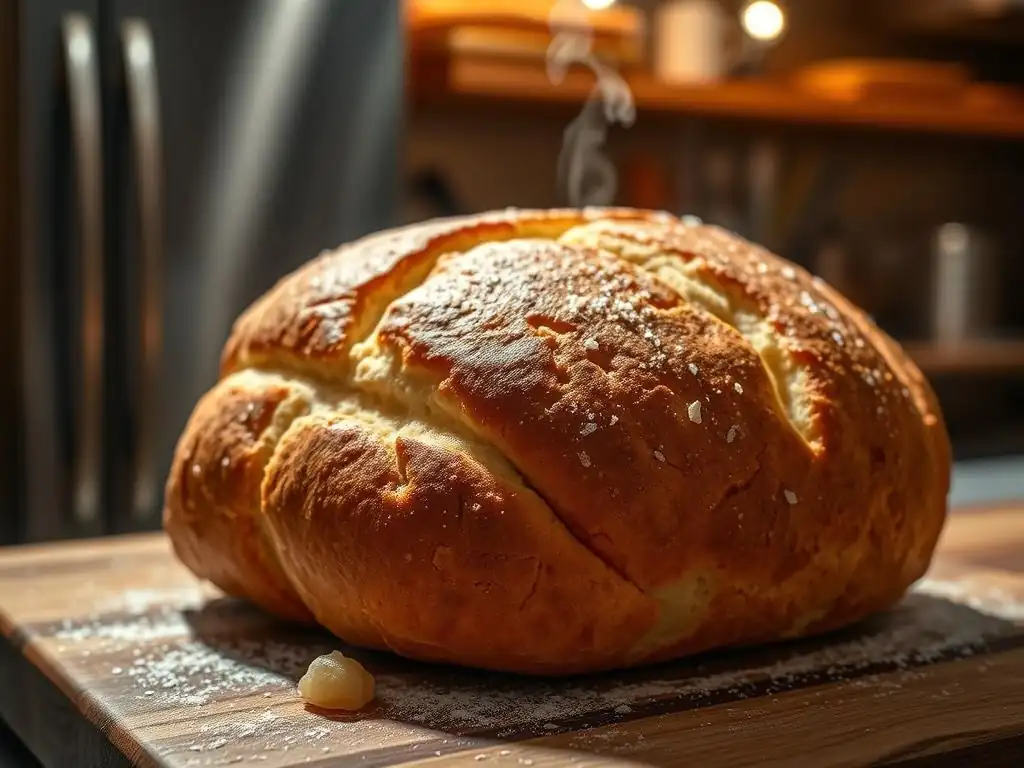
Welcome to BakeWithEase, your trusted companion on your baking journey! Ever wondered how to achieve that perfectly golden, irresistibly crisp crust on your favorite enriched breads? It's an art, and we're here to demystify it. Dive into our latest article and unlock the secrets to perfecting your enriched bread crust recipe, transforming your baking from good to absolutely unforgettable. Ready to bake brilliance? Let's get started!
- Achieving a Beautiful, Even Crust on Brioche Bread
- Understanding Brioche Dough and Crust Development
- Mastering the Brioche Crust: Key Ingredients & Techniques
- Achieving Even Crust Browning: Troubleshooting Common Issues
- Advanced Techniques for Perfecting Brioche Bread Crusts
- Perfecting Brioche Bread Crust: Step-by-Step Guide
- Troubleshooting Your Brioche Bread Crust: Common Problems and Solutions
- Recipes for Brioche with Exceptional Crusts
- Maintaining Your Perfect Brioche Bread Crust: Tips and Tricks
- Conclusion: Enjoying Your Perfectly Crusted Brioche Breads
-
Frequently Asked Questions
- What exactly constitutes an enriched bread, and why is its crust different?
- What are the most common problems people face when trying to achieve a beautiful crust on enriched breads?
- What are some key techniques to ensure even browning on an enriched bread crust?
- How does moisture management affect the crust of an enriched bread, and what are some ways to control it?
- What specific ingredients in an enriched bread recipe most impact the final crust quality?
- Final Reflection: The Golden Crust and the Baker's Soul
- Unlock Your Inner Baker: Achieve Perfectly Crusty Bread Every Time!
Achieving a Beautiful, Even Crust on Brioche Bread
Understanding Brioche Dough and Crust Development
What is Brioche? Understanding the Basics
Brioche is a classic French bread known for its rich, tender crumb and often shiny, golden crust. Unlike lean doughs made primarily from flour, water, yeast, and salt, brioche is an enriched dough. This means it contains significant amounts of fat, typically butter, and often eggs and sugar. These enrichments contribute to the dough's unique characteristics, including its softness, sweetness, and luxurious texture. The high proportion of butter, sometimes up to 50% of the flour weight, is particularly impactful, creating a dough that is pliable yet challenging to work with initially.
The enrichment process fundamentally alters how the dough behaves during mixing, proofing, and baking. The fat coats the gluten strands, inhibiting their full development, which results in a softer, less chewy crumb compared to a rustic loaf. The sugar provides food for the yeast and contributes to browning through caramelization during baking. Eggs add richness, structure, and contribute to the golden hue of the crust and crumb. Understanding these basic components is the first step in mastering any enriched bread crust recipe, including techniques for perfecting enriched bread crust.
The Importance of a Perfect Crust in Brioche
While the interior crumb of brioche is celebrated for its tenderness, the crust plays a crucial role in the overall sensory experience. A perfect brioche crust should be thin, tender, and possess a beautiful, even golden-brown color with a slight sheen. It provides a delightful contrast in texture to the soft interior, offering a subtle crispness that enhances each bite. A well-formed crust also contributes significantly to the bread's aroma, as the Maillard reaction and caramelization processes during baking produce complex flavor compounds concentrated on the surface.
An uneven, pale, or overly thick and hard crust detracts from the quality of the brioche. A pale crust might indicate underbaking or insufficient browning, leading to a less flavorful and less appealing loaf. A thick, hard crust, often caused by issues during proofing or baking, can make the bread difficult to eat and overpowers the delicate crumb. Achieving that ideal balance – a thin, golden, slightly crisp exterior protecting a cloud-like interior – is the hallmark of a truly exceptional brioche, demonstrating mastery in perfecting enriched bread crust techniques.
Factors Affecting Crust Formation in Brioche Dough
Multiple factors influence the development of a brioche crust, from the initial mixing stages to the final cooling. The composition of the dough itself is paramount; the levels of sugar, butter, and eggs directly impact browning and texture. Higher sugar content leads to faster and deeper caramelization, while butter contributes to tenderness and a slightly crispy texture when baked. Egg yolks, rich in fat and protein, promote browning and add richness.
Beyond ingredients, the baking process is critical. Oven temperature, baking time, and the presence of steam all play significant roles. High initial heat can promote oven spring and set the crust quickly, while the total baking time determines the depth of color and how thick the crust becomes. The surface treatment, such as an egg wash, is perhaps the most visible factor, directly impacting the final shine and color. Even the humidity of the baking environment and the cooling process after baking can affect the crust's final texture and appearance, making perfecting enriched bread crust a multi-faceted endeavor.
Mastering the Brioche Crust: Key Ingredients & Techniques
Selecting the Right Flour for a Golden Crust: Bread Flour vs. All-Purpose
The choice of flour significantly impacts the structure and texture of the brioche crumb, and indirectly, the crust. While some recipes call for all-purpose flour, which typically has a protein content around 10-12%, bread flour, with its higher protein content (often 12-14%), is generally preferred for brioche.
The higher protein in bread flour allows for better gluten development, which is necessary to support the heavy load of butter, eggs, and sugar in the dough. A stronger gluten network helps the dough rise properly, resulting in a lighter, airier crumb and providing a better structure for the crust to form upon.
Using bread flour helps create a dough that can withstand the long proofing times often associated with brioche (including overnight proofs), ensuring the loaf holds its shape and achieves good oven spring. This robust structure contributes to a more uniform surface, which in turn promotes even browning of the crust. While all-purpose flour can work, it may result in a slightly less structured crumb and potentially a less evenly colored crust, making bread flour a superior choice for perfecting enriched bread crust.
The Role of Butter and Sugar in Crust Color and Texture
Butter and sugar are not just for flavor and richness; they are power players in crust development. Sugar caramelizes at high temperatures, contributing significantly to the golden-brown color of the brioche crust. The amount of sugar in the dough directly correlates with the depth of browning – more sugar means a darker crust. Beyond color, sugar also affects the texture, contributing to a slightly crisp surface. Typical brioche recipes might contain sugar ranging from 5% to 20% of the flour weight, with higher percentages leading to a sweeter taste and more pronounced caramelization.
Butter, incorporated through creaming or kneading, affects both the crumb and the crust. During baking, the fat renders and helps create a tender crust. It also contributes to the Maillard reaction, the complex chemical process responsible for many of the desirable flavors and aromas in baked goods and browning. A high butter content (e.g., 30-50% of flour weight) is characteristic of rich brioche and is essential for achieving the tender, slightly flaky crust texture that complements the soft interior, key aspects of perfecting enriched bread crust.
Enhancing Crust Color with Egg Washes
An egg wash is arguably the most effective technique for achieving a beautiful, shiny, golden crust on brioche. Applying a wash to the surface of the dough before baking provides a layer of protein and sugar that browns intensely in the oven. A standard egg wash is typically made from one whole egg whisked with a tablespoon or two of water or milk. The protein in the egg contributes to shine and structure, while the fat and sugar promote browning.
Varying the egg wash composition can alter the final crust appearance. An egg yolk mixed with milk or cream will yield a richer, deeper golden color and more shine than a whole egg wash. Using just egg whites mixed with water will result in a shinier but less golden crust. Some bakers add a pinch of sugar to the wash for extra caramelization. Applying the wash evenly is crucial to prevent streaks or pale spots, ensuring a uniformly gorgeous finish, a vital step in perfecting enriched bread crust.
The Impact of Oven Temperature on Crust Formation
Oven temperature is a critical factor in controlling how the brioche crust develops. Baking at the correct temperature ensures proper oven spring and allows the crust to set and brown evenly. A common temperature range for baking brioche is 350°F to 375°F (175°C to 190°C). Starting at a slightly higher temperature (e.g., 375°F/190°C) for the first 10-15 minutes can help boost oven spring and set the crust quickly, while reducing the temperature for the remainder of the bake prevents the crust from burning before the interior is cooked through.
If the oven temperature is too low, the bread will spread excessively before the crust sets, resulting in a flatter loaf and potentially a pale, thick crust. If the temperature is too high, the crust will brown too quickly, potentially burning before the inside is fully baked, leaving you with a dark, hard exterior and a doughy interior. Monitoring the bread and adjusting the temperature as needed is essential for achieving the desired golden hue and tender texture, a key skill in perfecting enriched bread crust.
Achieving Even Crust Browning: Troubleshooting Common Issues
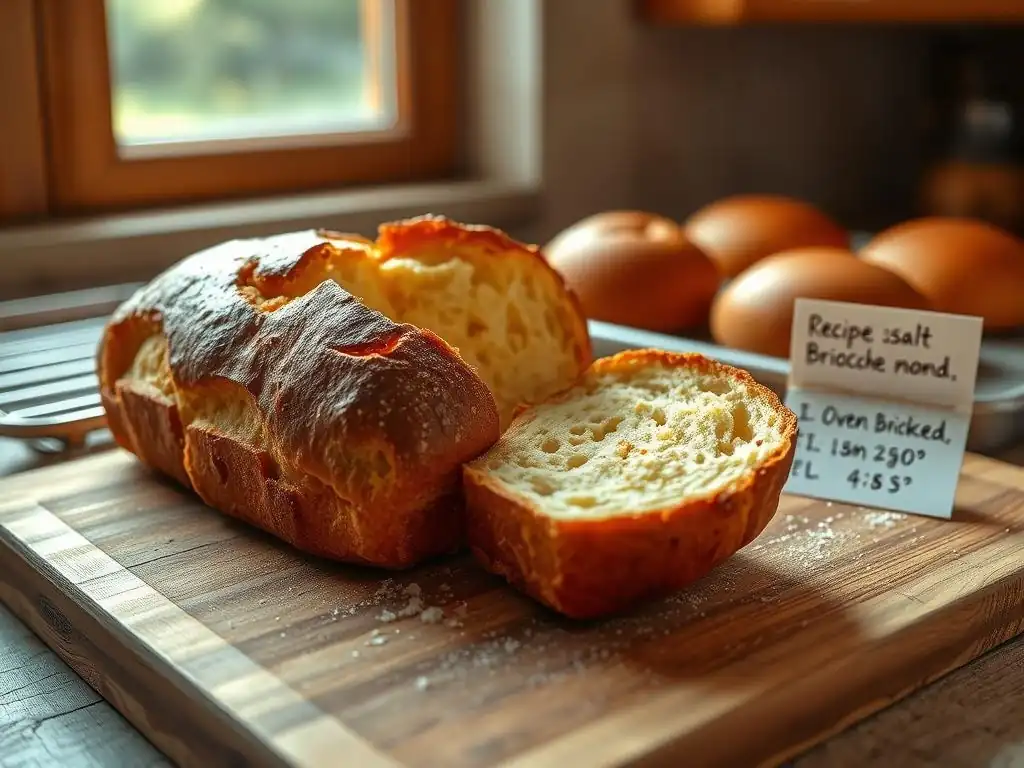
Preventing a Pale Crust: Adjusting Rack Position
A pale crust often indicates insufficient heat reaching the surface of the bread, which can happen if the loaf is placed too high or too low in the oven. Heat distribution in ovens is rarely perfectly uniform; typically, the bottom element provides direct heat, while the top element or convection fan circulates heat. For most enriched breads like brioche, baking on the middle rack is ideal as it allows for balanced heat from both the top and bottom, promoting even cooking and browning.
If you consistently find your brioche crust is pale, try moving the baking rack down one position. Placing the bread slightly lower in the oven exposes the bottom and sides more directly to the heat source, encouraging more vigorous browning. Conversely, if the bottom crust is browning too quickly or getting too dark, moving the rack up can help. Experimenting with rack position in your specific oven is key to understanding its hot spots and achieving uniform color when perfecting enriched bread crust.
Addressing a Crust That's Too Dark: Tenting with Foil
Sometimes, despite setting the correct temperature, the brioche crust begins to darken too quickly, risking a burnt exterior before the interior is fully baked. This is particularly common with recipes high in sugar or when using a strong egg wash. The Maillard reaction and caramelization happen rapidly at high temperatures. If you notice the crust reaching the desired color well before the estimated baking time is up, you can protect it by tenting the loaf loosely with aluminum foil.
Carefully place a sheet of aluminum foil over the top of the brioche. The foil acts as a shield, reflecting radiant heat away from the crust, slowing down the browning process while allowing the interior to continue cooking. Ensure the foil tent is loose enough that it doesn't touch the crust, which could cause condensation and stickiness. This simple technique is a lifesaver for preventing a burnt crust and is a valuable trick for perfecting enriched bread crust recipes.
Dealing with Uneven Crust Color: Rotating the Bread for Uniform Browning
Uneven browning is a common issue caused by hot spots within the oven. Different areas of the oven cavity may reach slightly higher temperatures than others, leading to one side of the bread browning faster than the other. This results in a crust that is dark on one side and pale on the other, lacking the desired uniform golden hue. While some ovens are more prone to this than others, it's a problem that can usually be mitigated.
To combat uneven browning, simply rotate the baking pan or stone halfway through the baking time. If your oven's hot spot is towards the back, for instance, rotating the pan 180 degrees ensures that the side that was previously exposed to less heat is now facing the hotter area, allowing it to catch up in color. This simple manual intervention is highly effective in promoting uniform browning across the entire surface of the brioche, contributing significantly to perfecting enriched bread crust appearance.
Avoiding a Thick, Hard Crust: Managing Proofing Time
The length of the final proofing period significantly impacts the crust's texture. If brioche is under-proofed, it will undergo excessive oven spring in the hot oven. This rapid expansion stretches the developing crust thinly, causing it to set quickly and become thicker and harder than desired. The dough hasn't had enough time to relax and develop the necessary internal structure to support a gentler rise.
Conversely, over-proofing can also lead to crust issues, although typically a paler, potentially collapsed crust. For avoiding a thick, hard crust specifically, ensure the brioche has proofed sufficiently to achieve about 80-90% of its final volume before baking. The dough should look significantly puffed and feel light and airy. When gently poked, the indentation should spring back slowly, leaving a slight mark. This indicates it's ready for the oven and will develop a tender, thin crust during baking, a key step in perfecting enriched bread crust.
Advanced Techniques for Perfecting Brioche Bread Crusts
Using a Baking Stone for Enhanced Crust
Using a baking stone or steel can significantly improve the crust of enriched breads like brioche. A preheated stone or steel provides a burst of intense, even heat to the bottom of the loaf the moment it enters the oven. This rapid heat transfer encourages vigorous oven spring, helping the bread achieve maximum volume before the crust sets. This strong initial rise contributes to a lighter crumb and helps create a thinner, crisper bottom crust.
The stone also maintains a more consistent temperature throughout the baking process, minimizing temperature fluctuations that can negatively impact crust development. For brioche, place the stone on the middle or lower-middle rack and preheat it for at least 30-60 minutes at the target baking temperature. Carefully transfer the proofed brioche onto the hot stone using a peel or parchment paper. This technique is a valuable addition to your repertoire for perfecting enriched bread crust recipes.
The Magic of Steam: Achieving a Professional-Looking Crust
While often associated with lean artisan breads, incorporating steam into the oven environment can also benefit enriched doughs like brioche, albeit in a more controlled manner. Steam helps keep the surface of the dough moist during the initial phase of baking. This prevents the crust from setting too quickly, allowing the dough to expand fully and achieve maximum oven spring. A crust that sets too early can restrict expansion, leading to a denser crumb and potentially cracks.
For brioche, a less intense steam environment than for lean bread is usually sufficient. You can create steam by placing a pan of hot water on the bottom rack of the oven when you begin preheating. The steam generated helps create a tender surface initially, allowing the egg wash to brown beautifully and evenly without becoming tough. This technique contributes to a more delicate crust texture and a brighter, more uniform golden color, enhancing the overall look of your perfected enriched bread crust.
Overnight Proofing: How it Affects Crust Development
Overnight proofing in the refrigerator is a common practice for brioche dough, offering several advantages, including improved flavor development and convenience. It also has a notable impact on crust development. The slow, cold fermentation allows the dough to develop strength and structure gradually. When the cold dough is transferred to a hot oven, the significant temperature difference results in a powerful burst of oven spring as the yeast becomes active before succumbing to the heat.
This enhanced oven spring, combined with the cold dough's firm surface, helps create a thin, delicate crust. The cold dough's surface takes slightly longer to heat up and set compared to room-temperature dough, allowing for greater expansion. Furthermore, the longer fermentation can subtly alter the dough's pH, which can influence the Maillard reaction and caramelization during baking, contributing to a richer color. Overnight proofing is a sophisticated technique for perfecting enriched bread crust with both superior flavor and appearance.
Scoring Techniques for Optimal Crust Expansion and Appearance
Scoring, the act of cutting the surface of the dough before baking, is essential for many breads, and while brioche doesn't always require deep cuts like rustic loaves, strategic scoring can still improve crust appearance and control expansion. For brioche loaves, a simple cut down the center or a series of diagonal snips can help guide the oven spring, preventing random cracks and ensuring the loaf expands predictably. This controlled expansion leads to a more symmetrical loaf and a more evenly developed crust along the score lines.
For shaped brioche like buns or braided loaves, scoring is less common or takes the form of decorative snips. However, for a classic loaf, a shallow score (about 1/4 inch deep) made with a sharp blade (like a lame or razor) just before baking is sufficient. The cut provides a weak point for the dough to expand through. This controlled release of pressure helps achieve good volume and contributes to a beautiful, intentional opening in the crust, enhancing the visual appeal of your perfected enriched bread crust.
Perfecting Brioche Bread Crust: Step-by-Step Guide
Step 1: Preparing the Brioche Dough [Specific Recipe Details]
- Start with a high-quality enriched dough recipe. This typically involves mixing flour, yeast, sugar, salt, eggs, and then gradually incorporating a significant amount of softened, high-fat butter.
- Knead the dough thoroughly until it is smooth, elastic, and passes the windowpane test. This can take 15-20 minutes by hand or 8-10 minutes in a stand mixer. Proper gluten development is key to supporting the rich ingredients.
- Allow the dough to complete its first rise (bulk fermentation). This usually takes 1-2 hours at room temperature or significantly longer if proofing in the refrigerator overnight. The dough should roughly double in size.
- Gently deflate the dough and chill it in the refrigerator for at least 2-4 hours (or overnight). Chilling makes the dough much easier to handle due to the high butter content and is crucial for shaping.
Step 2: Shaping and Proofing for Optimal Crust Formation
- Remove the chilled dough from the refrigerator and divide it into desired portions if making multiple loaves or buns.
- Shape the dough gently but firmly. For a loaf, form a tight cylinder or ball. For buns, shape small, smooth spheres. Ensure the surface is taut – this tension helps create a smooth crust.
- Place the shaped dough into prepared pans or onto a baking sheet lined with parchment paper.
- Allow the dough to undergo its final proof (proofting). This is a critical step for crust texture. Proof in a warm, draft-free place until the dough is significantly puffed and nearly doubled, but not quite. This could take 1-3 hours at room temperature, depending on the temperature and dough activity. The dough should look airy and feel delicate.
Step 3: Applying Egg Wash for Enhanced Color
- About 15-20 minutes before you plan to bake, prepare your chosen egg wash (e.g., 1 whole egg whisked with 1 tbsp water or milk).
- Gently brush the surface of the proofed brioche with a thin, even layer of the egg wash. Use a soft pastry brush and avoid letting the wash pool in crevices or drip down the sides onto the pan, which can cause sticking.
- Allow the first layer of egg wash to dry slightly (a few minutes) before applying a second, thin coat. This helps build up a more even and shiny layer for optimal browning. Be careful not to deflate the delicate proofed dough while brushing.
Step 4: Baking to Perfection: Time, Temperature, and Monitoring
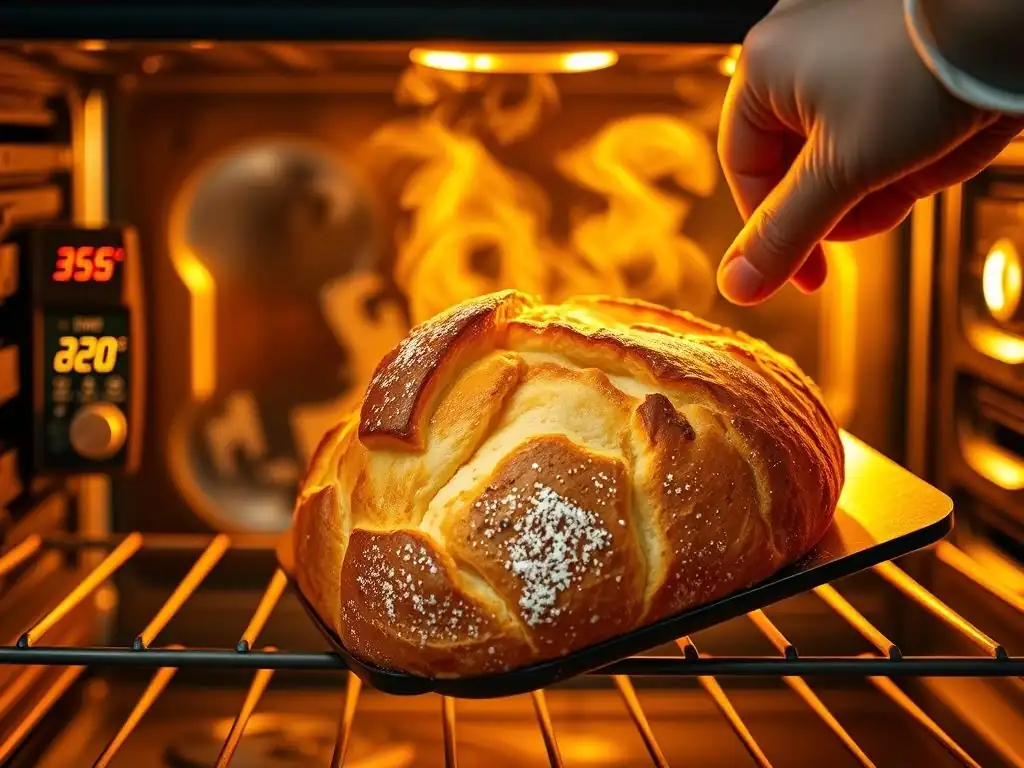
- Preheat your oven to the correct temperature, typically between 350°F and 375°F (175°C-190°C). If using a baking stone, ensure it is preheated.
- Carefully place the brioche in the preheated oven. If using steam, ensure the steam source is in place.
- Bake for the required time, which varies depending on the size and shape of the bread (e.g., a large loaf might take 30-40 minutes, buns might take 15-20 minutes).
- Monitor the crust color closely. If it starts browning too quickly, tent loosely with aluminum foil. Rotate the pan halfway through baking if your oven has hot spots to ensure even color. The internal temperature should reach 190-200°F (88-93°C) when done.
Step 5: Cooling and Storing for a Lasting Beautiful Crust
- Once baked, remove the brioche from the oven.
- If baked in a pan, carefully remove the loaf from the pan immediately and place it on a wire rack to cool completely. Cooling on a rack allows air circulation around the entire loaf, preventing the bottom crust from becoming soggy from trapped steam.
- Allow the brioche to cool completely before slicing, ideally for at least 1-2 hours for a loaf. Slicing while warm can compress the crumb and damage the crust structure.
- Store cooled brioche properly to maintain the crust's texture. Perfecting enriched bread crust isn't just about baking; it's also about preservation.
Troubleshooting Your Brioche Bread Crust: Common Problems and Solutions
Problem: Crust is Too Soft
- Cause: Under-baking, insufficient egg wash, not enough sugar/butter in the recipe, too low oven temperature, or cooling on a solid surface.
- Solution: Ensure the bread is baked until the internal temperature is 190-200°F (88-93°C). Use a proper egg wash. Check your recipe's ratios of sugar and butter. Bake at the recommended temperature range (350-375°F). Always cool completely on a wire rack.
Problem: Crust is Burnt
- Cause: Oven too hot, baking time too long, too much sugar/egg wash, or bread placed too high in the oven.
- Solution: Lower the oven temperature slightly. Reduce baking time or monitor closely towards the end. If the crust darkens too fast, tent with aluminum foil. Ensure egg wash is applied evenly and not excessively thick. Adjust rack position if necessary.
Problem: Crust is Uneven
- Cause: Hot spots in the oven, uneven application of egg wash, or uneven shaping/proofing.
- Solution: Rotate the bread halfway through baking to account for oven hot spots. Practice applying the egg wash smoothly and evenly. Ensure your dough is shaped uniformly and proofs evenly.
Problem: Crust Lacks Shine
- Cause: No egg wash used, insufficient egg wash, wrong type of egg wash (e.g., just water), or over-proofing.
- Solution: Apply an egg wash (egg + water/milk or egg yolk + milk/cream) before baking. Apply two thin coats for maximum shine. Ensure the dough is not significantly over-proofed before baking.
Recipes for Brioche with Exceptional Crusts
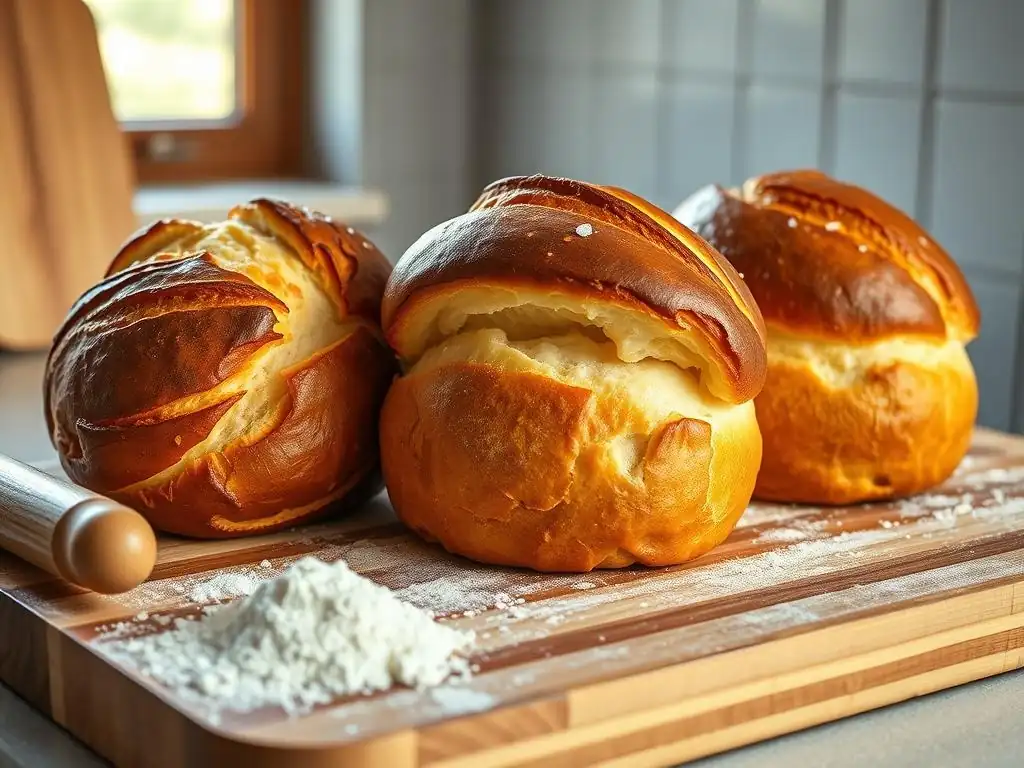
Classic Brioche Loaf [Recipe Link]
Brioche Nanterre [Recipe Link]
Maintaining Your Perfect Brioche Bread Crust: Tips and Tricks
Storing Bread to Preserve Crust Texture
- Rule: Once completely cooled, store brioche at room temperature.
- Method: For short-term storage (1-2 days), a paper bag is ideal as it allows air circulation, helping to maintain a slightly crisp crust. For longer storage (up to 3-4 days), place the paper bag inside a plastic bag or airtight container to prevent the interior from drying out, although this will soften the crust over time. Avoid refrigerating, as this can actually make bread stale faster.
Reheating Bread to Revive the Crust
- Method: To revive a softened crust, you can briefly rewarm the brioche.
- Instructions: Place the loaf or slices directly on an oven rack in a preheated 300°F (150°C) oven for 5-10 minutes (less for slices). This gentle heat will evaporate some moisture from the crust, helping it crisp up again. Be careful not to overheat, or the bread will dry out.
Using Brioche Bread Crumbs
- Purpose: Even a perfect crust can soften over time. Don't let stale brioche go to waste!
- Method: Cubes of slightly stale brioche, including the crust, can be toasted and used for croutons. Alternatively, process dried brioche (crust and crumb) into fine bread crumbs.
- Applications: These rich, flavorful crumbs are excellent for coating chicken or fish, topping casseroles, or using in stuffing. The browned crust bits add extra flavor.
Conclusion: Enjoying Your Perfectly Crusted Brioche Breads
Frequently Asked Questions
What exactly constitutes an enriched bread, and why is its crust different?
Enriched bread is bread that contains added fat, sugar, and sometimes dairy. These additions affect the crust's browning and texture, making it richer and often softer.
What are the most common problems people face when trying to achieve a beautiful crust on enriched breads?
Common problems include uneven browning, a too-thick crust, or a crust that is too pale and soft. These issues often stem from temperature control or moisture levels.
What are some key techniques to ensure even browning on an enriched bread crust?
A crucial technique is using an oven thermometer to ensure accurate temperature. Also, rotating the bread halfway through baking promotes even heat distribution and browning.
How does moisture management affect the crust of an enriched bread, and what are some ways to control it?
Moisture impacts crust development. Techniques like steam baking (adding water to the oven) create a crispier crust initially, while reducing humidity later allows for proper browning.
What specific ingredients in an enriched bread recipe most impact the final crust quality?
The amounts of sugar and fat are crucial, as they caramelize and brown readily. Also, ingredients like milk or eggs contribute to a softer, more tender crust.
Final Reflection: The Golden Crust and the Baker's Soul
The pursuit of the perfect enriched bread crust is more than just a culinary quest; it's a reflection of our desire for mastery and the enduring human connection to the simple act of baking. The techniques explored in this article—from precise hydration levels to the nuanced control of oven temperature and steam—are not merely recipes; they are pathways to understanding the fundamental chemistry and artistry behind creating a truly exceptional loaf. This understanding translates directly to the satisfaction of crafting a beautiful, even crust, a testament to patience and precision.
The impact of a perfectly crafted crust extends far beyond the immediate sensory experience. It speaks to a deeper cultural appreciation for handcrafted goods, a yearning for authenticity in a world increasingly dominated by mass production. Bread is the staff of life,
a phrase often repeated, but rarely truly felt until one has experienced the profound satisfaction of creating a loaf from scratch, a loaf whose crust sings of dedication and skill. This connection to tradition, to the simple act of nourishing oneself and others, is a powerful and enduring force in our lives.
Now, consider your own baking journey. What have you learned from this exploration of enriched bread crusts? Perhaps it's the importance of meticulous measurement, the subtle art of steam management, or simply the quiet joy of watching a loaf transform in the oven. I encourage you to embrace the challenge, to experiment with these techniques, and to discover the unique satisfaction that comes from perfecting your own golden crust. The journey is as rewarding as the destination, and the taste of success, both literal and metaphorical, is truly unforgettable.
Unlock Your Inner Baker: Achieve Perfectly Crusty Bread Every Time!
Thanks for taking the time to explore the secrets of achieving that beautiful, even crust on your enriched breads! We hope you now feel confident in your baking abilities. Ready to put your new skills to the test?
- Bake a loaf today! Use your newfound knowledge to create a stunning, crusty masterpiece. Experiment with different flours and techniques to find your perfect recipe.
- Share your success! Post a picture of your perfectly crusted bread on social media and tag us – we'd love to see your creations!
- Try a new enriched bread recipe – maybe something you’ve always wanted to try but were hesitant about before.
What unique ingredient or technique will you experiment with to perfect your next loaf?