
The Bubble Language: What Your Sourdough Starter's Bubbles Tell You

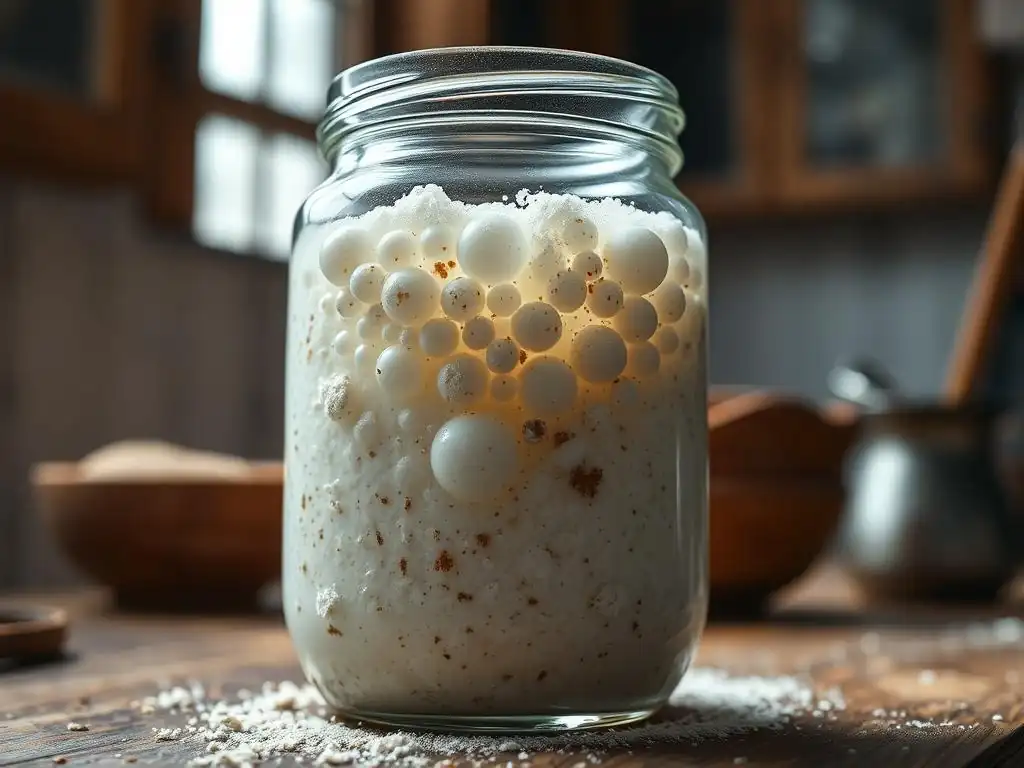
Welcome to BakeWithEase, where baking becomes a joy, not a chore! Ever wondered what your sourdough starter is really trying to tell you? Unlock the secrets hidden within the bubbles! Our latest article, " The Bubble Language: What Your Sourdough Starter's Bubbles Tell You," delves into the fascinating world of fermentation, providing a comprehensive sourdough starter bubble guide that will transform your baking. Ready to decipher the code and bake your best loaf yet? Let's get started!
- Decoding Your Sourdough Starter: A Bubble Guide for Bakers
- The Science Behind Sourdough Starter Bubbles: Fermentation 101
- Interpreting Different Types of Bubbles in Your Sourdough Starter
- Sourdough Starter Bubble Patterns and Feeding Schedules
- Identifying Sourdough Starter Problems Through Bubble Analysis
- The Ultimate Sourdough Starter Bubble Guide: Achieving Baking Success
- Sourdough Starter Bubble FAQs: Addressing Common Concerns
- Advanced Sourdough Starter Techniques: Beyond the Bubbles
-
Frequently Asked Questions
- What do bubbles in my sourdough starter indicate?
- How can I tell if my sourdough starter is ready to bake with based on its bubbles?
- What does it mean if my sourdough starter has very few or no bubbles?
- Can the size of the bubbles in my sourdough starter tell me anything useful?
- What should I do if my sourdough starter has a layer of liquid on top along with minimal bubbles?
- Final Reflection: Decoding the Whispers of Your Starter
- Unveil Your Starter's Secrets: Become a Sourdough Whisperer!
Decoding Your Sourdough Starter: A Bubble Guide for Bakers
Understanding Sourdough Starter Activity Through Bubbles
Bubbles are arguably the most visible indicator of a sourdough starter's health and activity. When you observe bubbles forming on the surface or within the starter's mass, you are witnessing the byproduct of fermentation – specifically, the release of carbon dioxide gas. A vibrant, healthy starter actively producing these bubbles signifies that the wild yeast and bacteria are thriving and converting sugars in the flour into acids and gases. Observing these bubbles is a crucial part of any sourdough starter bubble guide, helping bakers understand when their starter is ready to leaven bread.
Monitoring bubble activity over time provides a dynamic picture of your starter's lifecycle between feedings. For instance, a newly fed starter might show minimal bubbles initially, but within a few hours (depending on temperature, typically 4-12 hours at room temperature around 70-75°F or 21-24°C), you should see a noticeable increase in bubble formation and volume. This rise and fall, often accompanied by a change in texture and smell, directly correlates with the peak activity cycle, offering valuable clues about its metabolic state and readiness for baking.
The Science Behind Sourdough Starter Bubbles: Fermentation 101
Yeast Activity and CO2 Production in Sourdough Starters
Sourdough fermentation is a complex process driven primarily by wild yeasts and lactic acid bacteria naturally present in flour and the environment. Wild yeasts, like Saccharomyces cerevisiae (though other species are often present), consume simple sugars derived from the flour's starches. As they metabolize these sugars, they produce ethanol and, crucially for leavening, carbon dioxide (CO2) gas as metabolic byproducts. This CO2 gas gets trapped within the gluten network of the starter (and later, the dough), creating the characteristic bubbles and causing the starter to rise.
The rate of CO2 production by yeast is heavily influenced by temperature and the availability of food (flour). Warmer temperatures, typically between 75-85°F (24-29°C), accelerate yeast activity and thus bubble production, while cooler temperatures slow it down. A healthy sourdough starter, consistently fed and kept at an optimal temperature, will exhibit predictable bubbling patterns, demonstrating robust yeast populations actively working. This vital process is central to mastering a sourdough starter bubble guide.
Bacteria's Role in Sourdough Fermentation and Bubble Formation
While yeast is the primary producer of CO2 bubbles, lactic acid bacteria (LAB) play an equally vital, albeit different, role in sourdough fermentation. LAB, predominantly species like Lactobacillus sanfranciscensis, metabolize sugars to produce various organic acids, primarily lactic and acetic acid.
These acids contribute significantly to the characteristic tangy flavor of sourdough bread. Although LAB don't produce large amounts of CO2 directly like yeast, their metabolic activity does contribute some gas, and more importantly, they create an acidic environment that is favorable for the specific wild yeasts found in sourdough and helps break down flour components, making nutrients more accessible to the yeast.
The complex interaction between yeast and bacteria creates a symbiotic relationship. The bacteria produce acids that inhibit competing microorganisms and modify the flour, while the yeast produces CO2 for leavening and other compounds. This microbial ecosystem, balanced through regular feeding and maintenance, results in the predictable rise and fall and the distinct bubbly structure you look for in a healthy starter, forming the foundation of any effective sourdough starter bubble guide.
Interpreting Different Types of Bubbles in Your Sourdough Starter
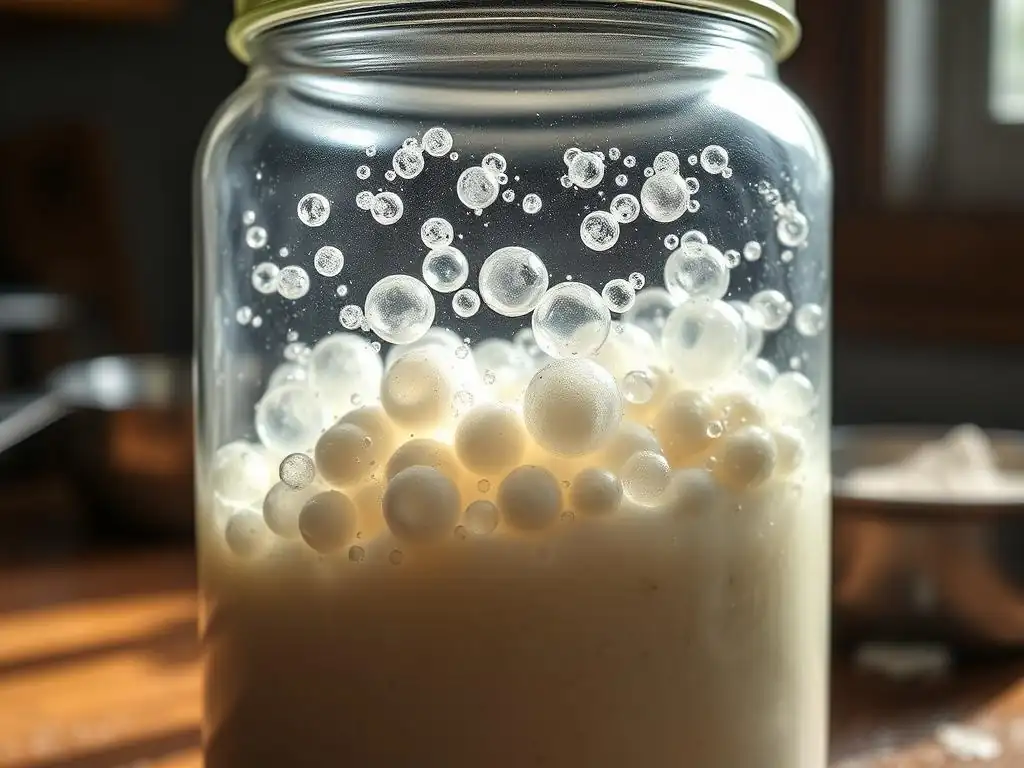
Small, Consistent Bubbles: A Sign of Healthy Fermentation
Observing many small, evenly distributed bubbles throughout your sourdough starter, especially within a few hours after feeding, is typically a very positive sign. These small bubbles indicate a strong, active population of both yeast and bacteria working together efficiently. The consistent size and distribution suggest that fermentation is happening uniformly throughout the mixture. This type of bubbling is often accompanied by a noticeable rise in the starter's volume, sometimes doubling or tripling, and a pleasant, slightly tangy aroma.
A starter displaying small, consistent bubbles is usually considered "ripe" or ready for baking when it reaches its peak volume before starting to fall. For many starters fed a 1:1:1 ratio (starter:flour:water) at room temperature (around 70-75°F), this peak activity might occur anywhere from 6 to 12 hours after feeding. This pattern is a key indicator highlighted in any comprehensive sourdough starter bubble guide, signaling optimal leavening power.
Large, Irregular Bubbles: Potential Imbalances in Your Starter
While some large bubbles on the surface are normal, particularly as the starter nears its peak, a predominance of very large, irregular bubbles, especially deep within the starter, can sometimes suggest an imbalance. This might indicate that certain types of microorganisms are more active than others, or that the gluten structure isn't optimally trapping the gas. For example, if you see a few massive bubbles but little overall rise or small bubble activity, it might suggest a less robust yeast population or a less developed microbial community compared to a starter with uniform, small bubbles.
Large, irregular bubbles could also sometimes be associated with an overly wet starter (higher hydration), where the weaker structure allows gas to coalesce into larger pockets more easily. While not always a sign of a problem, per se, persistent large, uneven bubbles without a significant overall rise might warrant evaluating your feeding ratio, temperature, or feeding frequency to encourage a more balanced and uniformly active microbial population, as detailed in a thorough sourdough starter bubble guide.
No Bubbles in Your Sourdough Starter? Troubleshooting Tips
A lack of visible bubbles in your sourdough starter, especially after several days or hours following a feeding, is a common concern and usually indicates insufficient microbial activity. This could be due to several factors: the starter is new and hasn't established a robust microbial community yet; the feeding ratio is off (too much flour/water relative to starter); the temperature is too cold, drastically slowing down fermentation; or chlorine in tap water is inhibiting the microbes. It's a signal that your starter needs attention and troubleshooting.
To encourage bubble formation, first ensure you are using unchlorinated water and feeding with a good quality, unbleached flour. Increase the feeding frequency temporarily (perhaps every 12 hours instead of 24) and try keeping the starter in a warmer spot, ideally between 75-80°F (24-27°C). Reducing the feeding ratio (e.g., 1 part starter to 1 part flour and 1 part water, rather than 1:2:2 or higher) can also help concentrate the microbial population initially.
Patience is key, as a sluggish starter often just needs consistent care and optimal conditions to become active and bubbly again. This is a critical section in any sourdough starter bubble guide for beginners.
Sourdough Starter Bubble Patterns and Feeding Schedules
How Feeding Frequency Affects Bubble Development
The frequency of feeding directly dictates the lifecycle and bubble development patterns in your sourdough starter. When you feed your starter, you are providing a fresh supply of sugars for the yeast and bacteria to consume. This leads to a period of increased activity, characterized by rising volume and vigorous bubbling, as the microbes multiply and produce gas. After a certain period, typically several hours, the available food becomes depleted, activity slows, the starter begins to fall, and bubble production diminishes.
Feeding a starter regularly, such as every 24 hours at room temperature or less frequently when refrigerated, maintains a consistent cycle of activity. More frequent feeding (e.g., every 12 hours) can accelerate development and lead to faster peak activity and bubble production, which is useful when trying to strengthen a starter or prepare it quickly for baking. Less frequent feeding results in longer cycles and less intense bubbling peaks, as the microbes consume the food more slowly or go into a dormant state. Understanding this relationship is vital for using a sourdough starter bubble guide effectively.
Recognizing Peak Activity: When Your Sourdough Starter is Ready to Bake
Recognizing peak activity is crucial for successful sourdough baking, as this is when your starter has the maximum leavening power. Peak activity is visually indicated by the starter having risen to its highest point after feeding and being full of bubbles, often with a slightly domed or flattened surface before it starts to recede. You can also perform the "float test": drop a small spoonful of starter into a glass of water; if it floats, it's typically ready, indicating it's sufficiently aerated with CO2 bubbles.
The timing of this peak varies based on temperature, hydration level, and feeding ratio. A starter fed 1:1:1 (starter:flour:water) at 75°F (24°C) might peak in 6-8 hours, while one fed 1:5:5 at 70°F (21°C) might take 10-12 hours or longer. Observing your starter's specific rise and fall pattern and bubble activity after feeding allows you to predict when it will be at its peak, ensuring you use it at its most potent stage for optimal oven spring in your bread. This predictive skill is a key outcome of mastering a sourdough starter bubble guide.
Identifying Sourdough Starter Problems Through Bubble Analysis
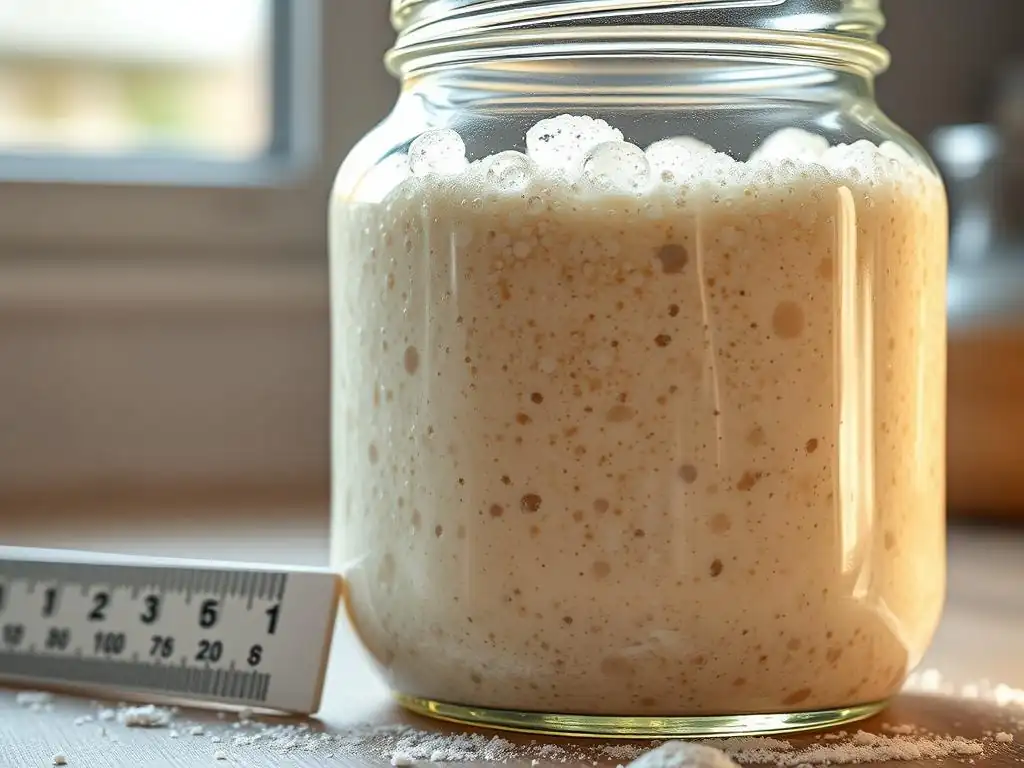
Sour Smells and Unusual Bubbles: Potential Issues and Solutions
While a healthy sourdough starter should have a pleasant, tangy aroma, an overwhelmingly strong, pungent, or alcoholic smell, sometimes accompanied by excessive hooch (a layer of dark liquid on top) and unusual or minimal bubble activity, can indicate that the starter is hungry and the balance between yeast and bacteria is off. An intense alcoholic smell suggests the yeast have consumed all the sugars and are producing more ethanol, while a very strong, unpleasant sourness might indicate an overpopulation of certain types of bacteria or prolonged fermentation without feeding.
If you notice these signs along with sluggish or odd bubbling patterns (e.g., only surface bubbles, very few bubbles overall), it's time to adjust your feeding routine. Increase the feeding frequency (feed every 12 hours instead of 24) and/or increase the feeding ratio (feed with more flour and water relative to the amount of starter, e.g., switch from 1:1:1 to 1:2:2 or 1:3:3). Discarding a larger portion of the starter before feeding also helps to manage the microbial population size relative to the available food. Consistent, generous feeding usually resolves these issues and restores healthy bubble activity.
Mold and Discoloration: When to Discard Your Sourdough Starter
While hooch and unusual smells can often be fixed, the presence of mold or significant discoloration (pink, orange, green, or black streaks or spots) is a clear sign that your sourdough starter has been contaminated by harmful microorganisms and should be discarded immediately. Mold typically appears as fuzzy or powdery spots on the surface. Unlike hooch or normal variations in texture, mold is a definitive indicator that the starter is no longer safe or viable for baking.
Even if the mold appears only in one spot, fungal spores spread easily, and it's best practice to err on the side of caution and start fresh. Discard the entire starter, thoroughly clean its container with hot, soapy water, and perhaps sanitize it before starting a new starter from scratch. While unpleasant, recognizing these visual cues is a non-negotiable part of any sourdough starter bubble guide focused on safety and hygiene.
The Ultimate Sourdough Starter Bubble Guide: Achieving Baking Success
Using Bubble Indicators for Optimal Sourdough Bread Baking
Leveraging your understanding of your sourdough starter's bubble activity is the key to timing your baking for optimal results. You want to use your starter when it is at its peak activity, full of CO2 bubbles and possessing maximum leavening power. This is typically just after it has doubled or tripled in volume and before it starts to fall. Using a starter too early (before peak bubbles) will result in weak leavening, while using it too late (after it has fallen significantly) means much of the trapped gas has escaped, leading to a less airy crumb.
By consistently observing the rise, fall, and bubble patterns after feeding, you can predict when your starter will be perfectly ripe. Mark the side of your starter jar with a rubber band or marker immediately after feeding to track its rise. When it reaches its highest point and is visibly bubbly and active, it's time to mix your dough. This precise timing, guided by bubble observation, is perhaps the most critical piece of information in a practical sourdough starter bubble guide.
Maintaining a Healthy and Active Sourdough Starter for Consistent Results
Maintaining a healthy sourdough starter that consistently produces robust bubbles requires regular care and attention. The core principles are consistent feeding with good quality flour and water, maintaining a suitable temperature, and regular discarding to manage the population size and acidity. A well-maintained starter will predictably rise and fall, develop a pleasant aroma, and show consistent bubble activity according to its feeding schedule and environment.
[ ] Feed starter regularly (daily at room temp, weekly if refrigerated)
[ ] Use unchlorinated water
[ ] Use good quality flour (e.g., bread flour, whole wheat, rye)
[ ] Maintain optimal temperature (70-80°F / 21-27°C is ideal for activity)
[ ] Discard a portion before feeding to maintain manageable size and health
[ ] Observe bubble activity and rise/fall pattern
By adhering to these practices and using your sourdough starter bubble guide knowledge to interpret its signs, you ensure your starter remains vigorous and reliable, capable of consistently leavening your bread and contributing wonderful flavor.
Sourdough Starter Bubble FAQs: Addressing Common Concerns
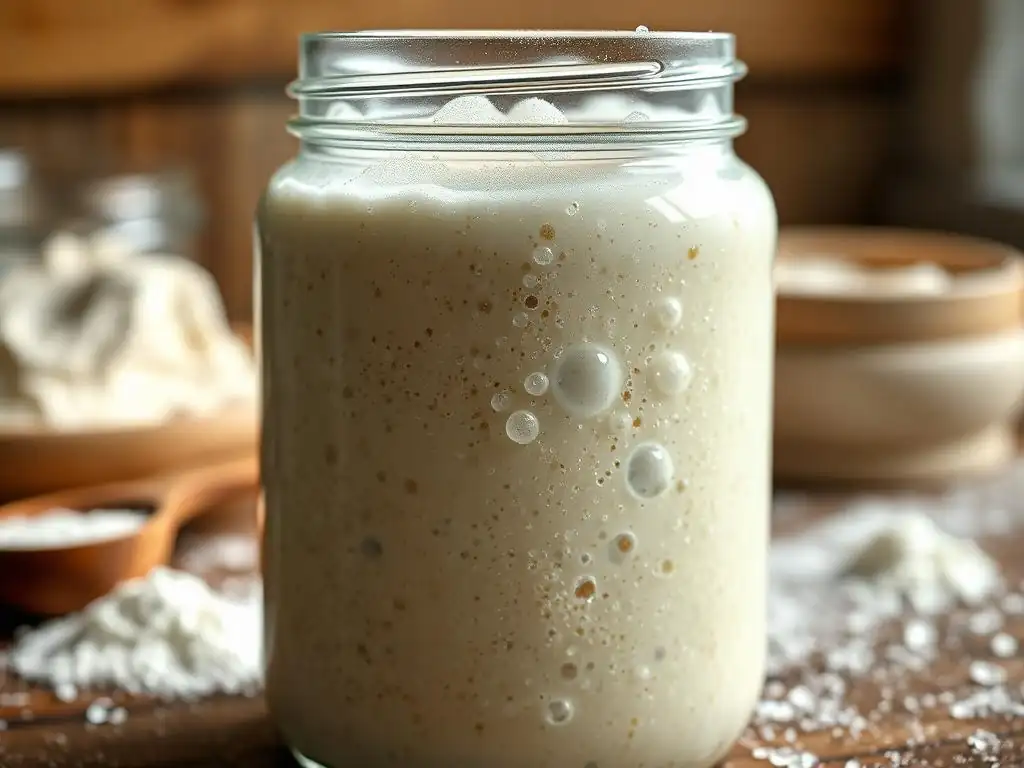
What do different bubble sizes mean in my sourdough starter?
Different bubble sizes can indicate various aspects of your starter's health and state. Small, uniform bubbles distributed throughout the starter generally signify healthy, balanced, and active fermentation by both yeast and bacteria. This is the ideal state for baking. Large, irregular bubbles, especially on the surface or in an overly wet starter, might suggest gas collecting in fewer pockets, potentially due to less uniform activity or a weaker structure. Very few or no bubbles suggest low activity, which could be due to cold temperatures, infrequent feeding, or a young/weak starter.
Why is my sourdough starter not bubbling after feeding?
If your sourdough starter isn't bubbling after feeding, several factors could be at play. It might be too cold; fermentation significantly slows below 68°F (20°C). Your starter might be young and hasn't developed a strong microbial population yet – it needs time and consistent feeding. You might be feeding too much flour relative to the amount of starter, diluting the microbial population too much.
Chlorine in your tap water can inhibit microbes. Or, the starter might be very hungry and depleted if it hasn't been fed recently. Try warming it up, feeding more frequently (every 12 hours), ensuring you use unchlorinated water, and perhaps reducing the flour/water ratio slightly for a few feedings.
How can I encourage more bubble activity in my starter?
To encourage more bubble activity, focus on providing optimal conditions for your wild yeast and bacteria. Increase the temperature slightly, aiming for the 75-80°F (24-27°C) range if possible. Feed your starter more frequently, perhaps every 12 hours instead of 24, to keep the microbes consistently active.
Ensure you are using good quality flour (whole wheat or rye can sometimes kickstart activity due to higher nutrient content) and unchlorinated water. A slightly higher hydration level (e.g., feeding 1 part starter to 1 part flour and 1.1 or 1.2 parts water) can sometimes make bubble activity more visible, although consistency is generally key. Patience and consistent care are usually the best ways to boost activity.
Advanced Sourdough Starter Techniques: Beyond the Bubbles
Autolyse and its impact on sourdough fermentation
Autolyse is a technique where flour and water are mixed and allowed to rest before adding the starter and salt. This resting period allows the flour to hydrate fully and enzymes to start breaking down proteins and starches.
While not directly involving starter bubbles during the autolyse phase itself (as the starter isn't added yet), performing an autolyse can indirectly impact the final dough's fermentation and bubble structure. A well-hydrated and relaxed dough developed through autolyse provides a better gluten network capable of trapping the CO2 gas produced by the starter more effectively during bulk fermentation and proofing, potentially leading to a more open and bubbly crumb structure in the final bread.
Using Temperature to Control Sourdough Starter Bubble Development
Temperature is one of the most powerful levers you have for controlling the rate of fermentation and thus, bubble development in your sourdough starter. Warmer temperatures (75-85°F / 24-29°C) significantly accelerate microbial activity, leading to faster rising and more vigorous bubble production, often peaking within 4-8 hours. Cooler temperatures (65-70°F / 18-21°C) slow fermentation down considerably, resulting in slower rising, less intense bubbling, and a longer time to reach peak activity (10-24 hours or more).
Refrigeration (around 40°F / 4°C) dramatically slows activity, putting the starter into a dormant state where bubble production is minimal, allowing for less frequent feeding (usually weekly). By manipulating temperature, you can speed up or slow down your starter's cycle to fit your baking schedule, a key skill for any baker using a sourdough starter bubble guide.
Frequently Asked Questions
What do bubbles in my sourdough starter indicate?
Bubbles are a sign of activity from the yeast and bacteria present. More bubbles generally mean a more active and healthy starter.
How can I tell if my sourdough starter is ready to bake with based on its bubbles?
A starter ready for baking will have doubled in size and be full of lively, consistent bubbles. It should also have a slightly domed top before it starts to deflate.
What does it mean if my sourdough starter has very few or no bubbles?
Lack of bubbles could indicate the starter is too cold, needs feeding, or that the microbial activity is low. It might take some time and adjustments to revive it.
Can the size of the bubbles in my sourdough starter tell me anything useful?
Yes, larger bubbles often appear early in the feeding cycle. Smaller, more uniform bubbles usually indicate the starter is at its peak activity and ready for baking.
What should I do if my sourdough starter has a layer of liquid on top along with minimal bubbles?
The liquid, known as hooch, means your starter is hungry. Pour off the hooch, and feed the starter with flour and water to refresh it.
Final Reflection: Decoding the Whispers of Your Starter
The language of sourdough bubbles isn't just a quirky hobbyist detail; it's a vital key to understanding the vibrant, living ecosystem thriving in your kitchen. A healthy, active starter is the foundation of delicious, artisanal bread, and its bubbly pronouncements are far more eloquent than you might think. Ignoring these subtle cues can lead to disappointing bakes, while understanding them unlocks a deeper connection with the craft and the magic of fermentation.
The journey of learning to "read" my starter's bubbles has been a profound one. It's a constant reminder of the delicate balance in nature, the patience required for true craftsmanship, and the unexpected rewards of attentive observation. The best bread is made with love, patience, and a healthy respect for the power of nature.
- (This quote can be replaced with a relevant quote you find). This seemingly simple process of feeding and observing has become a meditative practice, a daily conversation with the microscopic world that contributes so much to the joy of baking.
Now, it's your turn. Take a moment to observe your own starter. Don't just look at the bubbles; feel the connection to this living organism. What stories are its bubbles telling you? What adjustments can you make based on its activity? Embrace the journey of learning, the occasional setbacks, and the immense satisfaction of crafting bread from a starter you understand intimately. The rewards of this mindful approach to baking extend far beyond a perfectly risen loaf; they nourish the soul as well as the body.
Unveil Your Starter's Secrets: Become a Sourdough Whisperer!
Thanks for taking the time to explore the fascinating world of sourdough starter bubbles! You've now gained valuable insights into decoding your starter's activity. Ready to put this knowledge into practice?
- Dive deeper: Experiment with different feeding schedules and observe how your starter responds. Note the changes in bubble activity and document your findings! This will be invaluable for future bakes.
- Share your discoveries: Post a picture of your bubbly starter on social media and tag #BakeWithEaseSourdough – let's build a community of sourdough enthusiasts!
- Challenge yourself: Try baking a sourdough loaf this week using the knowledge you've gained. What changes do you observe in your bread based on your starter’s activity?
What surprising bubble behavior has your starter shown you recently? Let's discuss in the comments below!