
Classic vs. Rough Puff: Which Technique is Right for You?

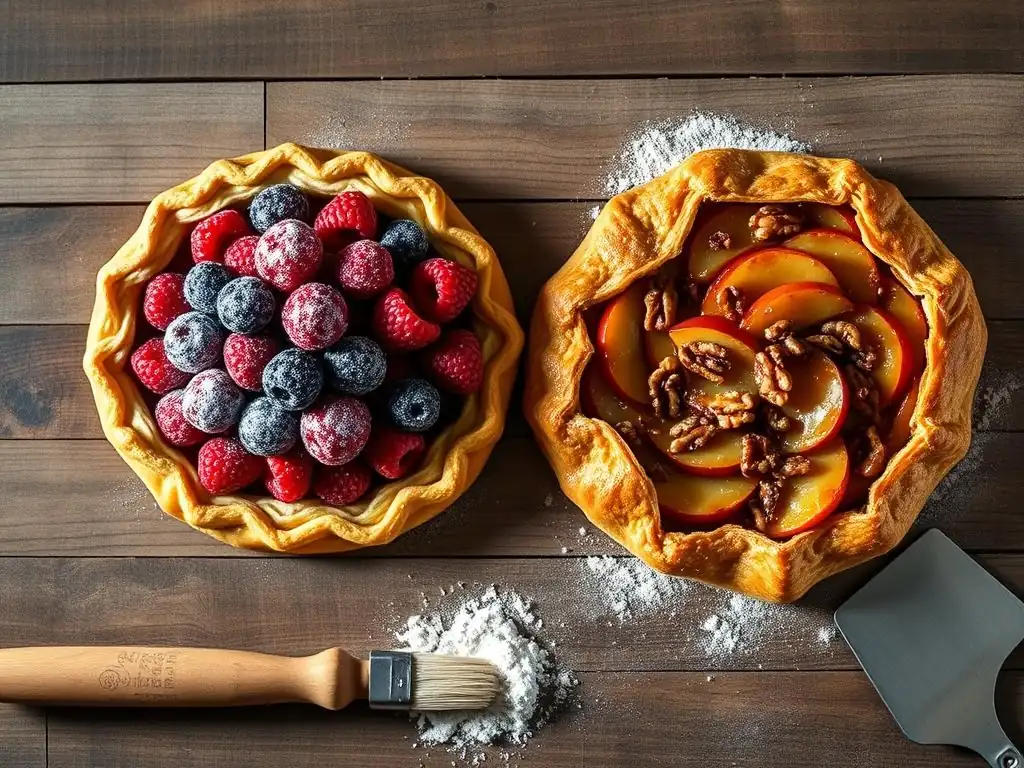
Welcome to BakeWithEase, where baking becomes a joy, not a chore! Ever wondered if the secret to incredible pastries lies in mastering rough puff pastry? Our latest article, "Classic vs. Rough Puff: Which Technique is Right for You? ", dives into the delicious details, revealing which method reigns supreme for your skill level and desired outcome. Prepare to unlock flaky perfection – the journey starts here!
- Classic vs. Rough Puff Pastry: Choosing the Right Dough
- Understanding Puff Pastry: Techniques and Applications
- Key Differences Between Classic and Rough Puff Pastry
- Classic Puff Pastry Recipe: Detailed Instructions
- Rough Puff Pastry Recipe: Simplified Method
- When to Choose Classic Puff Pastry
- When to Choose Rough Puff Pastry
- Classic Puff vs. Rough Puff: A Side-by-Side Comparison Table
- Mastering Puff Pastry: Essential Tips
- Elevate Your Baking: Recipe Ideas
- Troubleshooting Common Puff Pastry Problems
- Achieving the Perfect Flaky Crust: Technique Selection
- More Puff Pastry Techniques
-
Frequently Asked Questions
- What is rough puff pastry, and how does it differ from classic puff pastry?
- Is rough puff pastry as flaky as classic puff pastry?
- What are the key ingredients needed for a rough puff pastry recipe?
- What makes BakeWithEase's rough puff pastry recipe unique?
- When might I choose to use rough puff pastry over classic puff pastry?
- Final Reflection: Mastering the Puff: Choosing Your Pastry Path
- Unleash Your Inner Baker: Master Puff Pastry Perfection!
Classic vs. Rough Puff Pastry: Choosing the Right Dough
Understanding Puff Pastry: Techniques and Applications
What is Classic Puff Pastry? The Traditional Laminated Dough
Classic puff pastry, known in French as pâte feuilletée, is the gold standard of flaky doughs. Its signature rise and distinct layers are achieved through a meticulous process of enclosing a block of cold butter within a simple dough (détrempe) and repeatedly rolling and folding. This lamination process creates hundreds, sometimes even thousands, of alternating layers of dough and butter. As the pastry bakes, the water in the butter turns to steam, forcing the layers apart and creating an incredibly light, airy, and flaky texture.
The creation of classic puff pastry is often considered a labor of love, requiring patience and precision. A typical recipe might involve 6 "turns" or folds, each followed by a chilling period. This extensive folding schedule, combined with careful handling to keep the butter cold and intact, results in a dough that can rise dramatically in the oven, often expanding to eight times its original height. The result is a delicate structure perfect for elegant pastries like croissants, palmiers, and vol-au-vents.
What is Rough Puff Pastry? A Faster, Simplified Lamination
Rough puff pastry, sometimes called "blitz" or "quick" puff pastry, is a clever shortcut designed to achieve a similar flaky result with significantly less effort and time. Instead of incorporating a single block of butter, cold butter pieces are cut or rubbed directly into the détrempe. This mixture is then rolled and folded, much like classic puff, but typically with fewer turns (often 3 to 4). The key difference is that the butter is distributed in chunks within the dough from the start.
While it may not achieve the same dramatic, even rise as classic puff pastry, rough puff pastry still produces a wonderfully flaky texture. The scattered butter pieces melt during baking, creating steam pockets that separate the dough layers. It's a far more approachable technique for home bakers or when time is limited, making a delicious flaky pastry achievable for a wider range of recipes, including savory pies, tarts, and turnovers, without the multi-day commitment sometimes associated with classic methods.
Key Differences Between Classic and Rough Puff Pastry
Time and Effort: Production Speed Comparison
The most significant difference between classic and rough puff pastry lies in the time and effort required for preparation. Classic puff pastry is a multi-stage process that demands significant chilling time between folds. A typical batch might take 2-3 hours spread over a day, or even two, depending on the number of turns and required chilling periods. For instance, achieving 6 folds with adequate chilling might easily consume an afternoon. The precision in creating and maintaining the butter block and ensuring even folds adds to the complexity and time commitment.
In contrast, a rough puff pastry recipe can often be completed from start to finish in about an hour, including chilling time. The initial incorporation of butter is much faster, and fewer folds are typically required. This streamlined process makes rough puff pastry an excellent option for weeknight baking or when you need a flaky crust without dedicating extensive time to dough preparation. While still requiring careful handling to keep ingredients cold, it's far less demanding than its traditional counterpart.
Ingredients and Equipment: Essential Resources
Both classic and rough puff pastry rely on a few fundamental ingredients: flour, cold butter, cold water, and usually a pinch of salt. The quality and temperature of the butter are paramount for both techniques, as cold, solid butter is essential for creating distinct layers. However, the form in which the butter is incorporated differs. Classic puff requires a pliable yet cold block of butter, often shaped precisely to fit the dough.
Rough puff pastry typically uses cold butter cut into small cubes or grated. This method simplifies the initial step but means the butter isn't spread as evenly or thinly as in classic puff. Standard baking equipment is sufficient for both – a rolling pin, a clean surface, and a ruler or bench scraper can be helpful. No specialized tools are strictly necessary, making either technique accessible to most home kitchens, provided you have a cool place to work and a refrigerator.
Layering and Texture: Flakiness and Rise Characteristics
The structural outcome is where the techniques reveal their differences. Classic puff pastry, with its hundreds of uniform, thin layers of butter and dough, bakes into an exceptionally light, airy, and evenly risen pastry. The layers separate dramatically, resulting in a delicate, crispy texture that shatters when bitten into. This consistent lamination yields a predictable and impressive rise, making it ideal for applications where visual appeal and maximum flakiness are desired.
Rough puff pastry, while still flaky, tends to have a slightly more irregular texture and a less dramatic, often uneven rise compared to classic puff. Because the butter is incorporated in chunks, the layers aren't as uniform or as thin. The resulting texture is still wonderfully flaky and buttery, but perhaps a bit heartier. It provides a satisfying crunch and flakiness, making it highly suitable for applications where the filling is the star, and the crust provides a sturdy, delicious complement.
Classic Puff Pastry Recipe: Detailed Instructions
Preparing the Détrempe: Flour and Water Base
The foundation of classic puff pastry is the détrempe, a simple dough made from flour, cold water, and salt. Typically, you'll combine the flour and salt in a bowl. Then, gradually add very cold water, mixing just until the dough comes together. It should be a relatively firm dough, not sticky. Knead it briefly, perhaps for just 1-2 minutes, until it's smooth but hasn't developed too much gluten. Over-kneading at this stage can make the dough too elastic and difficult to roll later.
Once the détrempe is formed, shape it into a rectangle or square, about 1 inch thick. Wrap it tightly in plastic wrap and refrigerate for at least 30 minutes, or ideally an hour or more. This chilling time allows the gluten to relax and the dough to firm up, which is crucial for the subsequent steps of incorporating the butter and rolling. A well-rested détrempe is easier to handle and less likely to tear during lamination.
Incorporating the Butter Block: Creating Distinct Layers
The heart of classic puff pastry lies in the butter block. A specific amount of cold butter, often around half the weight of the flour, is crucial. This butter needs to be pliable but still cold and firm. Some bakers recommend shaping the butter into a square or rectangle, often by pounding it gently with a rolling pin or rolling it between two sheets of parchment paper. The goal is a uniform thickness that matches the dimensions of the rolled-out détrempe.
Roll the chilled détrempe into a larger rectangle, typically about twice the size of the butter block. Place the butter block on one half of the rolled-out dough. Fold the other half of the dough over the butter block, enclosing it completely, like folding a book. Pinch the edges firmly to seal the butter inside. It's essential that the butter is fully encased to prevent it from leaking out during rolling, which would disrupt the delicate layering process.
Folding and Resting: Developing Lamination
With the butter enclosed, the lamination process begins. Gently roll the dough into a long rectangle, aiming for an even thickness. The key here is to roll smoothly and evenly, without pressing too hard, to encourage the butter to spread into a thin layer alongside the dough. Once rolled, perform the first "turn." There are different folding methods, but a common one is the "book fold" (folding both ends to the center line, then folding in half) or the "single fold" (folding the dough into thirds).
After the first fold, wrap the dough well and refrigerate it for at least 30-60 minutes. This chilling period is non-negotiable. It allows the butter to firm up again and the gluten in the dough to relax. Without adequate chilling, the butter will melt into the dough, destroying the layers.
You repeat the rolling, folding, and chilling process multiple times, typically 4 to 6 times, depending on the desired number of layers. Each turn doubles or triples the layers, leading to the hundreds or thousands of layers characteristic of classic puff. For example, 6 single folds create over 700 layers.
Baking Classic Puff Pastry: Optimal Baking Conditions
Baking classic puff pastry requires a high initial oven temperature. Temperatures around 400-425°F (200-220°C) are common. This high heat causes the cold butter layers to melt rapidly, turning the water into steam. The steam is trapped between the dough layers, forcing them apart and creating the dramatic puff. The high heat also sets the structure quickly before the butter can melt completely and leak out.
After the initial powerful rise (usually within the first 10-15 minutes), the oven temperature is often reduced to around 350-375°F (175-190°C) to allow the pastry to bake through and brown properly without burning the exterior. The total baking time will vary significantly depending on the size and shape of the pastry item, but it's crucial to bake until the pastry is deeply golden brown and feels light, indicating it's cooked through and the layers are set. Underbaked puff pastry can be dense and doughy.
Rough Puff Pastry Recipe: Simplified Method
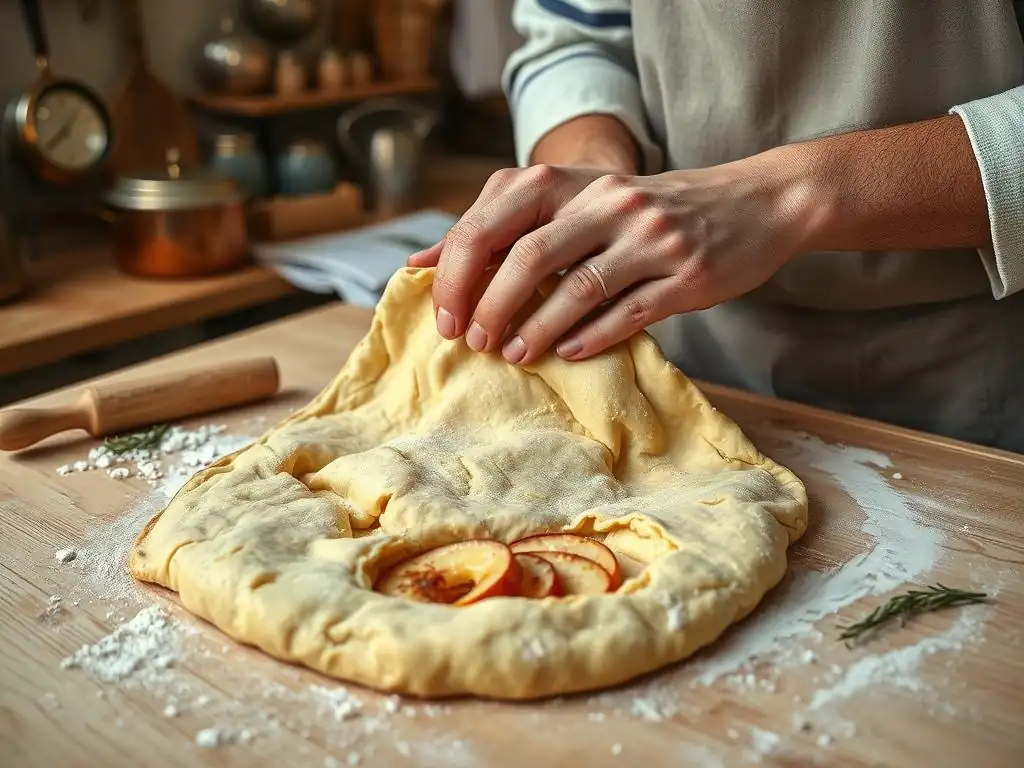
Quick Détrempe Preparation: Streamlined Dough Formation
A rough puff pastry recipe starts with a similar détrempe base as classic puff, but the method of incorporating fat is different. Combine flour and salt in a bowl. Instead of adding a butter block later, cold butter cut into small cubes (about 1/2 inch or 1 cm) or grated is added directly to the flour mixture. Using very cold butter is critical for this rough puff pastry recipe.
Using your fingertips, a pastry blender, or a food processor with pulse function, quickly work the butter into the flour. The goal is not to create a fine, sandy texture like for pie crust. You want visible pieces of butter throughout the mixture, ranging from pea-sized to small almond-sized chunks. These chunks are what create the flakiness. Then, add cold water, mixing just until the dough comes together. Avoid overmixing; a shaggy dough with some dry spots is preferable to a sticky one.
Incorporating the Butter: Efficient Butter Distribution
As mentioned above, the butter is incorporated at the initial stage of making the détrempe in a rough puff pastry recipe. The key is to ensure the butter remains cold and in distinct pieces. Using cold hands, chilling your equipment, or working quickly helps prevent the butter from melting into the flour. Some bakers like to freeze the butter briefly before cutting it into cubes or grating it for extra insurance against melting.
Once the cold water is added and the dough is just combined, the butter pieces will be distributed throughout the dough. This differs significantly from classic puff where the butter is a single, continuous layer. This simpler incorporation method saves time and effort compared to carefully enclosing a butter block, making the rough puff pastry recipe much faster to execute.
Folding and Chilling: Maintaining Dough Temperature
After the dough is formed with the butter chunks incorporated, it's ready for rolling and folding, similar to classic puff but with fewer steps. Roll the dough into a rectangle. Perform a simple fold, usually a single fold (folding into thirds). Wrap the dough and chill it for 20-30 minutes. This chilling step is essential to re-firm the butter and relax the gluten, just as with classic puff.
Repeat the rolling and folding process. A typical rough puff pastry recipe calls for 3 to 4 single folds, with chilling periods in between. While fewer folds mean fewer layers than classic puff, it's sufficient to create a good flaky texture. The key throughout the process is to keep the dough and butter cold. If the dough becomes soft or sticky, stop and refrigerate it immediately.
Baking Rough Puff Pastry: Achieving Desired Results
Baking rough puff pastry also benefits from a hot oven, similar to classic puff, to encourage steam production and lift. An initial temperature of 400-425°F (200-220°C) is generally recommended. This high heat helps the distinct butter chunks melt and create steam pockets that separate the dough layers. The result is a visibly flaky crust, though perhaps less uniform or dramatically risen than classic puff.
Depending on the size and type of pastry, the temperature may be reduced after the initial rise to ensure the interior bakes through without the exterior burning. Baking time will vary, but the pastry should be puffed, golden brown, and cooked through. Rough puff pastry is forgiving and works well for various applications, from simple turnovers to pie tops, providing a satisfyingly flaky bite with less fuss than traditional methods.
When to Choose Classic Puff Pastry
For High-End Applications: Superior Texture and Rise
Classic puff pastry is the undisputed champion when you need the most refined texture and impressive rise. Its meticulously created layers result in an exceptionally light, airy, and delicate structure that simply cannot be matched by quicker methods. If you are making pastries where the flakiness and height of the dough are primary features, such as traditional French croissants, delicate palmiers, or elaborate vol-au-vents meant to hold fillings, classic puff pastry is the superior choice.
The even, dramatic rise of classic puff pastry provides a beautiful visual element and a uniquely crispy, melt-in-your-mouth texture that elevates these items to a professional level. For instance, a perfectly baked classic croissant can have dozens of visible, airy layers that stretch and shatter when pulled apart, a hallmark of expert lamination. Using this dough is an investment in quality for recipes where the pastry itself is the star.
For Showstopping Desserts: Emphasizing Visual Appeal
When creating desserts meant to impress, the visual appeal of classic puff pastry is a major advantage. Its ability to puff up significantly and create a beautiful, layered surface makes it perfect for showstopping creations. Think of elegant mille-feuille (Napoleon) with its crisp, multi-layered sheets, or perfectly formed cream horns that hold their shape beautifully.
The uniform rise and golden-brown color of classic puff pastry create a polished look that is hard to achieve with other doughs. For special occasions or when presenting pastries where appearance is as important as taste, investing the time in classic puff pastry pays off handsomely in terms of visual impact. The crisp, defined layers add an element of sophistication to any dessert plate.
For Controlled Environments: Precise Baking Conditions
Working with classic puff pastry is best done in a cool, stable environment. Maintaining cold temperatures for the butter and dough throughout the extensive folding and chilling process is critical for success. If you have a cool kitchen, air conditioning, or are baking during cooler months, classic puff pastry is much easier to manage.
The precise nature of the technique, with its specific number of folds and strict chilling times, also benefits from a controlled approach. If you enjoy the challenge and precision of traditional baking methods and have the patience to follow the steps diligently, classic puff pastry offers a rewarding experience and an unparalleled result. It thrives when conditions allow for careful, unhurried handling.
When to Choose Rough Puff Pastry
For Everyday Baking: Speed and Convenience
A rough puff pastry recipe is the ideal choice for busy home bakers or when you need a flaky crust without the significant time investment required for classic puff. Its simplified method means you can whip up a batch in about an hour, including necessary chilling. This makes it perfect for impromptu baking projects or weeknight meals.
For example, if you decide last minute to make a quick tart for dinner or need a flaky topping for a pot pie, a rough puff pastry recipe is your best friend. It delivers a satisfying flakiness that is more than adequate for most applications, saving you hours of rolling, folding, and chilling compared to the classic method. It's a practical and efficient way to enjoy homemade flaky pastry more often.
For Savory Applications: Complementing Rich Flavors
Rough puff pastry is exceptionally well-suited for savory dishes. Its slightly heartier, less uniformly layered structure stands up well to rich, moist fillings often found in savory pies, quiches, sausage rolls, and empanadas. While still flaky, it can provide a more substantial base or topping than the delicate layers of classic puff.
Consider using a rough puff pastry recipe for a chicken pot pie topping or a beef wellington crust. The flakiness adds texture and buttery richness that complements the savory filling without being overly delicate or prone to collapsing under moisture. Its robustness makes it a reliable choice for baked goods that are filled or served warm.
For Warm Climates: Easier Dough Handling
Handling any laminated dough in warm conditions is challenging, as the butter quickly softens and melts. However, rough puff pastry is generally more forgiving than classic puff in warmer environments. Because the butter is in smaller pieces distributed throughout the dough, it's less prone to catastrophic melting and leakage compared to trying to keep a large butter block intact within layers of dough.
While you still need to work quickly and chill frequently when making a rough puff pastry recipe in a warm kitchen, the process is inherently less sensitive to temperature fluctuations than classic puff. If you live in a warm climate or are baking during the summer months without robust air conditioning, opting for a rough puff pastry recipe can significantly increase your chances of success and reduce frustration.
Classic Puff vs. Rough Puff: A Side-by-Side Comparison Table
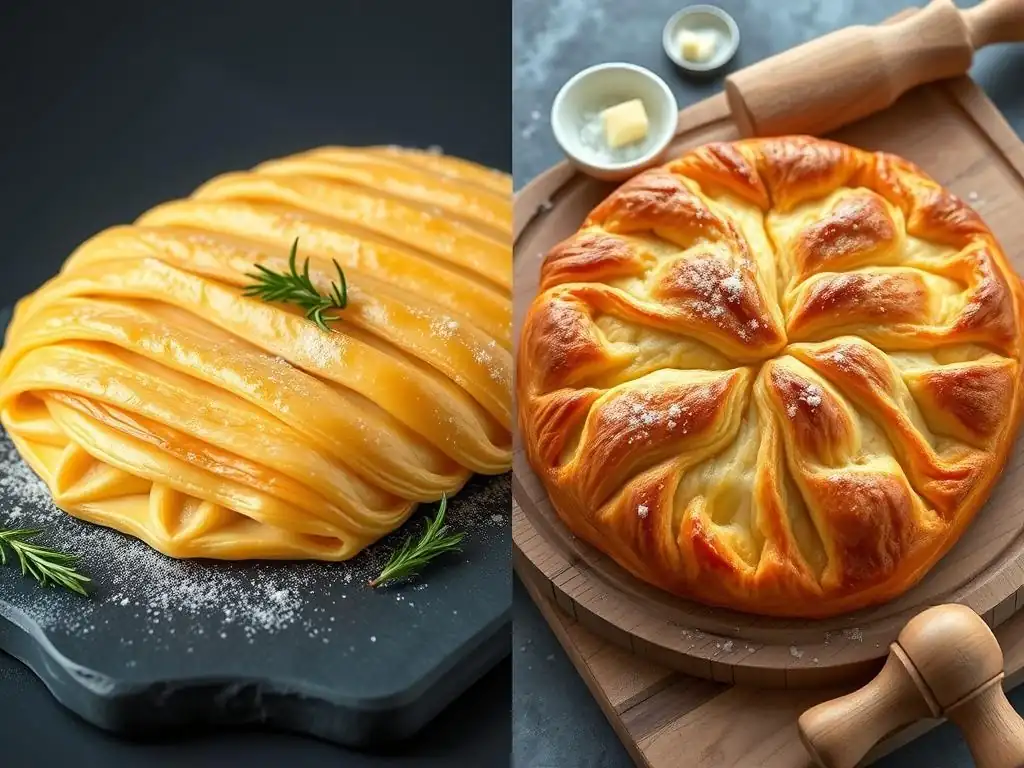
| Feature | Classic Puff Pastry | Rough Puff Pastry Recipe |
|---|---|---|
| Time | Long (2+ hours, often spread over days) | Short (approx. 1 hour) |
| Texture | Very light, airy, uniform, shatters easily | Flaky, slightly irregular, heartier |
| Rise | Dramatic, even, significant height (up to 8x) | Good, less dramatic, potentially uneven |
| Difficulty | High (requires precision, patience, temperature control) | Medium (more forgiving, less precise handling needed) |
| Applications | Croissants, Palmiers, Mille-feuille, Vol-au-vents | Pies, Tarts, Turnovers, Empanadas, Sausage Rolls |
Mastering Puff Pastry: Essential Tips
Butter Temperature: Maintaining Solid Fat
Regardless of whether you're making a classic or rough puff pastry recipe, the temperature of your butter is paramount. The butter must be cold and solid, but pliable enough to roll without breaking (for classic) or in distinct cold pieces (for rough puff). If the butter melts into the dough during lamination, you won't get distinct layers, and the pastry won't puff properly. Keep butter chilled in the refrigerator until the absolute last minute before you need it. If working with classic puff, ensure the butter block is cold but not rock hard.
If your kitchen is warm, consider chilling your rolling pin and work surface. Work quickly during rolling and folding steps. If the dough or butter feels soft at any point, stop immediately, wrap the dough, and return it to the refrigerator for at least 20-30 minutes until everything is firm again. This vigilance with temperature is the single most important factor for success.
Dough Handling: Gentle Manipulation
When rolling puff pastry dough, whether classic or rough puff, use gentle, even pressure. Avoid pressing down too hard, which can force the butter through the dough layers or squeeze it out the sides. Roll from the center outwards, turning the dough occasionally to ensure even thickness and prevent sticking. Flour your work surface and rolling pin lightly, but avoid using excessive flour, which can make the dough tough.
Handle the dough as little as possible. Overworking the dough develops gluten excessively, making the dough elastic and difficult to roll thinly. It can also lead to a tough, chewy pastry rather than a light, flaky one. Be patient and let the chilling times do their work; a relaxed dough is much easier to handle and will yield better results.
Chilling Times: Relaxing Gluten
Chilling the dough between folds is non-negotiable for both classic and rough puff pastry recipes. These resting periods serve two crucial purposes: they firm up the butter, ensuring it remains distinct from the dough, and they allow the gluten in the dough to relax. When gluten is relaxed, the dough is less elastic and much easier to roll out thinly without shrinking back.
Skipping or shortening chilling times is a common mistake that leads to frustration. If the dough is elastic and resists rolling, it's a sign it needs more rest. Aim for at least 20-30 minutes between folds for rough puff and 30-60 minutes for classic puff. In warmer conditions, longer chilling times may be necessary. Proper chilling ensures successful lamination and a high, even puff.
Baking Temperature: Achieving Optimal Lift
Baking puff pastry at the correct temperature is vital for achieving that signature lift. As discussed earlier, a high initial temperature (typically 400-425°F or 200-220°C) is key. This blast of heat quickly melts the butter's water content, creating steam that rapidly separates the layers. The high heat also helps set the outer layers of the pastry quickly.
Ensure your oven is fully preheated to the specified temperature before placing the pastry inside. An oven thermometer can be helpful to verify accuracy. After the initial puff, reducing the temperature allows the inside of the pastry to cook through without the outside burning. Always bake until the pastry is a deep golden brown on all sides, not just pale yellow, to ensure it is cooked through and the layers are crisp.
Elevate Your Baking: Recipe Ideas
Classic Puff Pastry Recipe Ideas: Croissants, Palmiers
Once you've mastered a classic puff pastry recipe, a world of elegant possibilities opens up. Traditional croissants, with their delicate layers and rich buttery flavor, are perhaps the most iconic application. Rolling, shaping, and baking croissants is a true test of puff pastry skill. Another delightful option is Palmiers, often called "elephant ears," which are simple shapes cut from rolled, sugared dough and baked until caramelized and crisp.
Beyond these, consider making delicate chaussons aux pommes (apple turnovers) with their perfect semicircular shape and flaky crust, or individual beef Wellingtons, where the pastry encases tender meat and duxelles. Classic puff is also the base for exquisite French pastries like mille-feuille, layered with pastry cream and topped with fondant or icing.
Rough Puff Pastry Recipe Ideas: Empanadas, Quiches
A rough puff pastry recipe is incredibly versatile for both sweet and savory applications where flakiness is desired but extreme height isn't necessary. It's excellent for hand pies and turnovers, such as savory empanadas filled with meat or vegetables, or sweet turnovers with fruit fillings. The dough is sturdy enough to hold fillings securely while still providing a delightful flaky bite.
Use rough puff for tart and quiche crusts. Roll it out to line a tart pan, or cut it into strips for a lattice top. Its slightly more robust nature makes it less prone to sogginess with moist fillings than very delicate classic puff. Sausage rolls, where seasoned sausage meat is wrapped in flaky pastry and baked, are another perfect use for a rough puff pastry recipe, creating a popular and satisfying snack or appetizer.
Troubleshooting Common Puff Pastry Problems
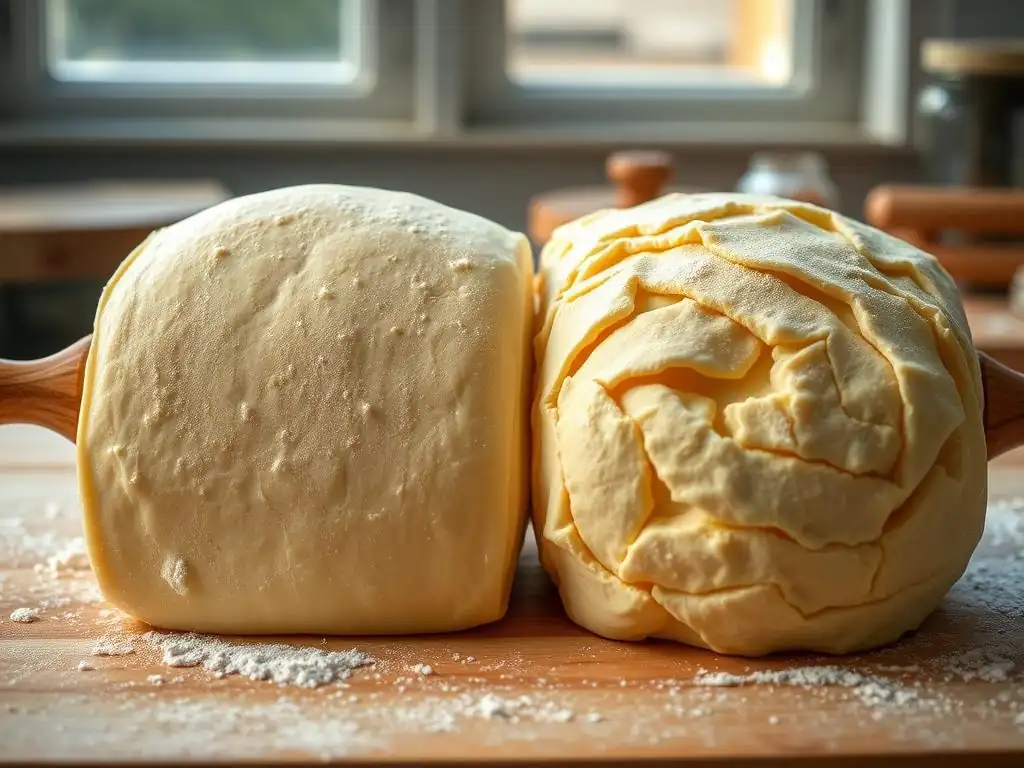
Dough Too Warm: Cooling Techniques
One of the most frequent problems with puff pastry, whether classic or rough puff, is the dough becoming too warm during handling. This causes the butter to soften or melt, leading to sticky dough and loss of distinct layers. If you notice the dough becoming soft, greasy, or difficult to roll, stop immediately.
Wrap the dough tightly in plastic wrap and place it back in the refrigerator for at least 30 minutes (or longer if needed). Don't try to force it; working with warm dough will only make things worse. If your kitchen is very warm, you might need to chill the dough more frequently between steps, perhaps every 15-20 minutes. Some bakers even place the dough in the freezer for 5-10 minutes for a quicker chill, but be careful not to freeze it solid.
Butter Separation: Preventing Leaks
Butter leaking out of the dough during rolling or baking is a sign that the butter wasn't properly enclosed (classic puff) or that the dough got too warm and the butter melted (both types). In classic puff, ensure the edges are firmly sealed after enclosing the butter block. If you see butter starting to ooze during rolling, the dough is likely too warm and needs immediate chilling.
During baking, some butter leakage can occur if the oven temperature isn't high enough initially to set the structure before the butter completely melts. Ensure your oven is fully preheated to the recommended high temperature. If significant butter pools around the pastry on the baking sheet, it indicates a lamination issue, usually related to temperature control during preparation.
Uneven Baking: Ensuring Consistent Heat
Uneven baking, where one part of the pastry is golden while another is pale or burnt, can be caused by several factors. An oven with hot spots is a common culprit. Rotating the baking sheet halfway through the baking time can help ensure even browning. Also, make sure your oven is accurately calibrated; using an oven thermometer can identify if your oven runs hot or cold.
Crowding the baking sheet can also lead to uneven baking, as it restricts airflow around the pastries. Ensure there is adequate space between items on the tray. Finally, the thickness of the rolled-out dough should be uniform. Areas that are thicker will take longer to bake through, while thinner spots may burn. Gentle, even rolling is key to consistent thickness.
Achieving the Perfect Flaky Crust: Technique Selection
The Final Verdict: Matching Dough to Project
Choosing between a classic puff pastry recipe and a rough puff pastry recipe ultimately depends on your priorities for a specific baking project. If you are aiming for the most delicate, airy, and visually impressive flakiness, and you have the time, patience, and a cool environment, classic puff pastry is the way to go. It's the preferred choice for traditional French pastries and high-end desserts where the pastry's structure is a key feature.
However, if time is limited, you're working in warmer conditions, or the pastry is serving as a complement to a savory filling, a rough puff pastry recipe provides excellent flakiness with significantly less effort. It's an accessible, versatile option for everyday baking that still delivers that wonderful buttery, flaky texture that makes puff pastry so beloved. Both techniques, when executed correctly, produce delicious results; the best choice is the one that best suits your needs and the recipe you're making.
More Puff Pastry Techniques
Frequently Asked Questions
What is rough puff pastry, and how does it differ from classic puff pastry?
Rough puff pastry is a quicker, simplified version of classic puff pastry. It achieves similar flaky layers but with less intricate folding and resting, making it a more accessible recipe for home bakers.
Is rough puff pastry as flaky as classic puff pastry?
While both achieve flakiness, classic puff pastry generally produces more distinct and higher layers due to the precise lamination process. Rough puff pastry provides good flakiness, but not quite the same lift.
What are the key ingredients needed for a rough puff pastry recipe?
The essential ingredients are flour, cold butter, and ice-cold water. Some recipes may also include a pinch of salt. Keeping the butter cold is crucial for achieving the desired flaky texture.
What makes BakeWithEase's rough puff pastry recipe unique?
BakeWithEase focuses on simple, step-by-step instructions and easy-to-find ingredients, making the recipe approachable even for beginners. Our recipe also provides helpful tips for ensuring success in achieving flaky layers.
When might I choose to use rough puff pastry over classic puff pastry?
Choose rough puff pastry when you're short on time or seeking a simpler baking project. It's a great option for pies, tarts, and other pastries where speed and ease are prioritized over maximum puff.
Final Reflection: Mastering the Puff: Choosing Your Pastry Path
The quest for the perfect flaky pastry is a timeless pursuit, and the choice between classic and rough puff techniques remains a crucial decision for any baker. The seemingly small differences between these methods yield dramatically different results, impacting not only the texture but also the time investment required. Understanding these nuances is key to unlocking your own pastry potential.
The enduring appeal of puff pastry lies not just in its deliciousness, but in the sense of accomplishment that comes with mastering its intricate layers. This seemingly simple dough, with its delicate balance of butter and flour, has captivated bakers for centuries, evolving alongside culinary techniques and tastes. The making of puff pastry is a magical process, transforming simple ingredients into something truly extraordinary.
This quote, while not directly sourced, encapsulates the feeling of wonder and satisfaction that accompanies successful puff pastry creation, regardless of the chosen method. The impact of these techniques extends beyond the individual baker, influencing the menus of restaurants and the recipes shared within families, creating a rich culinary heritage.
So, which path will you choose? Will you embrace the precision and patience of the classic method, or the speed and simplicity of the rough puff? The answer, ultimately, lies within your own kitchen. Consider your skill level, your available time, and the desired outcome. Don't be afraid to experiment, to try both techniques, and to discover the method that best suits your style and aspirations. The journey of mastering puff pastry is a rewarding one, filled with delicious discoveries and the satisfaction of creating something truly beautiful and delectable. Embrace the challenge, and let the flaky layers unfold.
Unleash Your Inner Baker: Master Puff Pastry Perfection!
Thanks for diving into the world of puff pastry with us! You've now gained the knowledge to choose the perfect technique for your baking adventure. Ready to put your newfound skills to the test?
- Bake your dream pastry: Choose your preferred puff pastry technique (classic or rough) and try a recipe you've always wanted to tackle. The results will be unbelievably delicious!
- Share your creations: Show off your perfectly layered masterpiece on social media! Use #BakeWithEasePuffPastry to connect with other passionate bakers.
- Explore variations: Experiment with different flours, fillings, or even try adapting the techniques to other doughs. What unique twists can you create?
What amazing pastry will you bake first, and which technique will you master? Let us know in the comments below!