
Creating Beautiful Buttercream Swirls on Cupcakes

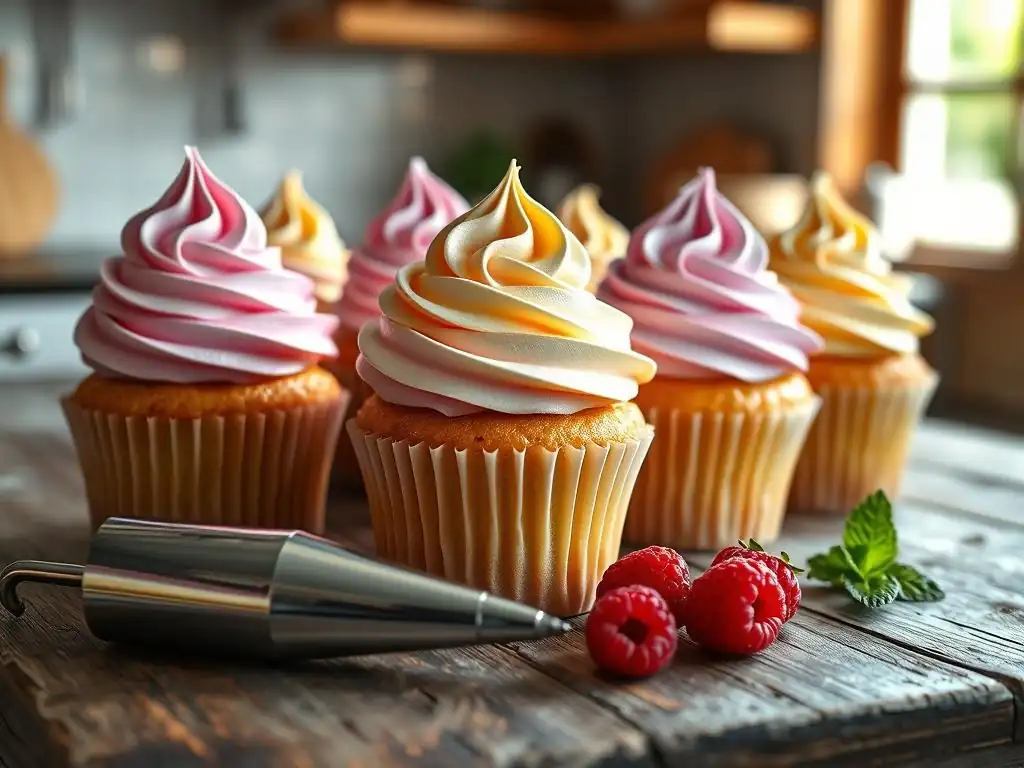
Welcome to BakeWithEase, where baking becomes a joy, not a chore! Ready to elevate your cupcake game? In this article, we'll unveil the secrets to creating stunning easy buttercream swirl cupcakes. But what if I told you there's a simple trick to achieving bakery-worthy swirls at home? Discover the step-by-step guide and unlock your inner artist – read on to find out how!
- Mastering Buttercream Swirls: A Baker's Guide to Elegant Cupcake Decoration
- Introduction to Buttercream Swirls: Elevate Your Cupcake Presentation
- Preparing for Exquisite Buttercream Swirl Cupcakes
- Step-by-Step: Simple Buttercream Swirl Cupcakes Recipe
- Advanced Buttercream Swirl Techniques for Cupcakes
- Maintaining Freshness and Storing Your Buttercream Swirl Cupcakes
- Conclusion: Enjoy Your Beautiful Buttercream Swirl Cupcakes!
-
Frequently Asked Questions
- How do I achieve a smooth buttercream for swirling?
- What type of piping tip is best for creating buttercream swirls?
- How do I prevent air bubbles from ruining my buttercream swirls?
- Can I use different colors of buttercream in the same swirl?
- What's the best technique for creating a consistent buttercream swirl on each cupcake?
- Final Reflection: Mastering the Art of the Buttercream Swirl
- Unleash Your Inner Cupcake Artist!
Mastering Buttercream Swirls: A Baker's Guide to Elegant Cupcake Decoration
Introduction to Buttercream Swirls: Elevate Your Cupcake Presentation
Creating beautiful buttercream swirls is a skill that instantly elevates homemade cupcakes from simple treats to stunning centerpieces. It's the decorative flourish that catches the eye and promises a delightful experience, making your baking efforts truly shine. Whether you're aiming for a classic look or something more elaborate, mastering the art of the buttercream swirl is a rewarding step in your baking journey. This guide will walk you through everything you need to know to achieve picture-perfect swirls every time, making your easy buttercream swirl cupcakes recipe a guaranteed success.
Beyond just aesthetics, a well-executed buttercream swirl ensures a balanced frosting-to-cake ratio in every bite. It provides a satisfying height and texture contrast, enhancing the overall enjoyment of the cupcake. Learning this technique is fundamental for anyone looking to improve their cake decorating skills and create professional-looking results right in their own kitchen.
Why Master the Buttercream Swirl Technique?
Mastering the buttercream swirl technique is more than just learning how to squeeze frosting onto a cupcake; it's about adding significant value and appeal to your baked goods. In the world of baking, presentation often accounts for a large part of the perceived quality and value of a product. A beautifully swirled cupcake looks professional, inviting, and simply more desirable compared to one with frosting spread on with a knife. This visual appeal can dramatically increase the appreciation for your baking, whether you're sharing with friends, selling at a bake sale, or simply treating yourself.
Consider the difference in price points at bakeries: a plain cupcake might sell for $2-$3, while the same cupcake with an elegant buttercream swirl and perhaps a sprinkle of decoration can easily command $4-$6 or even more, representing a potential 50-100% increase in value based largely on presentation. This demonstrates the tangible impact of mastering simple decorating techniques like the buttercream swirl. It's a skill that directly translates into more impressive and highly-regarded baked creations.
A Comprehensive Guide to Perfect Buttercream Swirls
This guide is designed to take you from preparing your frosting and tools all the way through executing various swirl techniques and troubleshooting common issues. We'll cover the importance of using a stable and delicious buttercream, selecting the right piping equipment, and practicing the fundamental movements required for a perfect swirl. You'll learn how to achieve different looks, from the classic rosette to more advanced designs, ensuring your easy buttercream swirl cupcakes recipe yields consistently stunning results.
We'll also touch upon important details like preparing your cupcakes for frosting, adding finishing touches, and storing your decorated treats to maintain their beauty and freshness. Our aim is to provide you with a complete roadmap, filled with practical tips and clear instructions, so you can confidently create buttercream swirl cupcakes that are not only delicious but also visually spectacular. Get ready to transform your cupcakes into edible works of art!
Preparing for Exquisite Buttercream Swirl Cupcakes
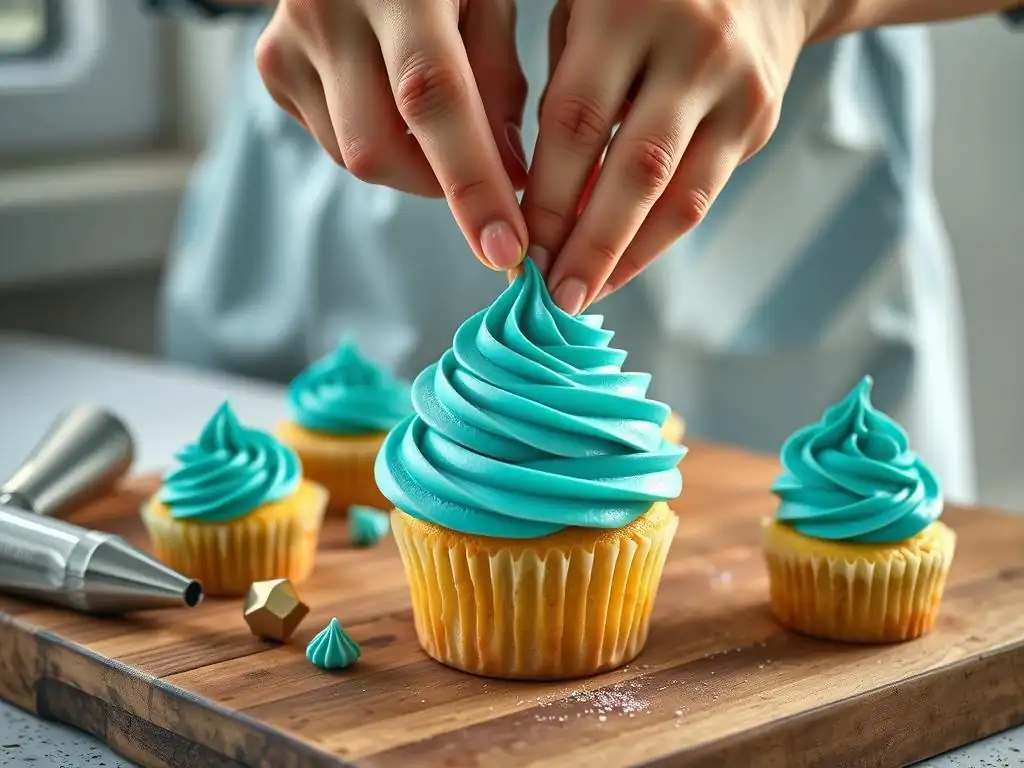
Before you even think about piping, proper preparation is key. This involves having the right kind of buttercream and the correct tools. A stable, well-made buttercream is essential for holding its shape when piped, and the right piping bag and tip will make the process significantly easier and yield cleaner, more defined swirls. Taking the time for these preparatory steps will set you up for success and help you avoid frustration later on.
Having all your ingredients measured and at the correct temperature, and your equipment clean and ready, streamlines the entire decorating process. It allows you to focus on the technique itself without being interrupted by searching for tools or adjusting frosting consistency. This meticulous preparation is a hallmark of successful baking and decorating.
The Swiss Meringue Buttercream Recipe for Swirls: A Baker's Choice
Swiss Meringue Buttercream (SMBC) is often considered a superior choice for piping beautiful, defined swirls due to its smooth texture, stability, and ability to hold intricate shapes compared to simpler American buttercreams. While an easy buttercream swirl cupcakes recipe might sometimes suggest a basic powdered sugar frosting, SMBC offers a less sweet, more luxurious mouthfeel and is less prone to melting or becoming greasy, especially in warmer conditions. Its emulsified structure provides a strong, yet pliable, consistency perfect for piping.
Making SMBC involves gently heating egg whites and sugar over a water bath to a specific temperature, whipping them into a glossy meringue, and then gradually incorporating softened butter. This process creates a highly stable and airy frosting base. While it requires a few more steps than a basic buttercream, the resulting texture and stability are well worth the effort, making it a favorite among bakers for decorative work. A typical recipe might involve heating egg whites and sugar to about 140-160°F (60-70°C) to dissolve the sugar and pasteurize the eggs, then cooling the meringue before adding butter.
Key Ingredients for Stable Swiss Meringue Buttercream
The core ingredients for a stable Swiss Meringue Buttercream are egg whites, granulated sugar, unsalted butter, and often a pinch of salt and vanilla extract for flavor. The ratio of these ingredients is crucial for stability. A common ratio might be roughly 1 part egg whites to 2 parts sugar and 3 parts butter by weight.
For example, using 4 large egg whites (approx. 120g) would typically call for around 240g of granulated sugar and 360g of unsalted butter. Using unsalted butter allows you to control the salt content, and ensuring the butter is at the correct temperature – cool but pliable, not melted or hard – is vital for the emulsion to form correctly.
Quality ingredients also play a role. Fresh egg whites whip up better, and good quality butter contributes significantly to the flavor and texture. The sugar dissolves into the egg whites, creating the stable meringue structure that encapsulates the butterfat, resulting in a light yet firm frosting. Adding flavorings like vanilla, almond, or other extracts should be done towards the end, after the buttercream has come together, to avoid interfering with the emulsion process.
Tips for Achieving the Right Swiss Meringue Buttercream Consistency
Achieving the perfect consistency for piping SMBC requires patience and understanding of the process. After whipping the meringue and adding the butter, the mixture might initially look curdled or soupy – this is often normal! Keep mixing on medium-high speed; it will usually come together into a smooth, creamy frosting. The temperature of your kitchen and ingredients is critical. If it's too warm, the buttercream might be too soft; if too cold, it might be too stiff.
If the buttercream is too soft after mixing for a while, try chilling it in the refrigerator for 10-15 minutes, then re-whipping. If it's too stiff, you can gently warm a small portion and mix it back in, or beat it longer to warm it slightly from the mixer's friction. The ideal consistency is smooth, thick enough to hold a stiff peak, but still pliable enough to flow easily through a piping tip without breaking. It should resemble a thick, spreadable paste.
Choosing the Right Piping Bag and Tip for Buttercream Swirls
Selecting the appropriate piping bag and tip is fundamental to achieving beautiful buttercream swirls. Piping bags come in disposable plastic, reusable silicone, or fabric options. Disposable bags are convenient for easy cleanup, while reusable bags are more environmentally friendly and durable. For piping buttercream, especially thicker types like SMBC, a sturdy bag is preferable to prevent bursting. Standard sizes range from 10-inch to 16-inch; larger bags hold more frosting, which is useful if you have many cupcakes to decorate.
Piping tips, also known as nozzles, come in a vast array of shapes and sizes, each producing a different pattern. They are typically made of metal or plastic. Metal tips are generally preferred for their durability and clean lines. You'll also need a coupler if you want to easily change tips while using the same bag of frosting, although many bakers prefer to use separate bags for different tips when doing multiple designs or colors.
Understanding Different Piping Tip Styles for Various Swirl Designs
For classic buttercream swirls on cupcakes, certain piping tip styles are particularly popular and effective. The most ubiquitous is the open star tip, such as the Wilton 1M or Ateco 826. These tips have jagged edges and an open center, creating the classic ridged swirl or rosette when piped correctly. A slightly different variation is the closed star tip (e.g., Wilton 2D or Ateco 846), which has points that curve inward, producing a ruffle-like effect or a more intricate star pattern.
Other useful tips include the round tip (e.g., Ateco 808 or Wilton 1A) for smooth, rounded swirls, or large French star tips (e.g., Ateco 869) for a more defined, deeper ridge pattern. The size of the tip matters significantly; larger tips (like the 1M) are perfect for generous cupcake swirls, while smaller tips are better for detail work. Experimenting with a few different large tips will help you discover your favorites for your easy buttercream swirl cupcakes recipe.
How to Properly Fill a Piping Bag: A Step-by-Step Tutorial
Properly filling a piping bag prevents air bubbles and ensures a smooth piping experience. Here's a simple method:
- Prepare the Bag: If using a tip directly, drop it into the bag, pushing it firmly into the narrow end. If using a coupler, unscrew the ring, drop the base into the bag, push it down, and snip the bag just below the coupler threads. Attach the tip and screw the ring on.
- Open the Bag: Fold the top edge of the bag down about 2-3 inches over your hand. This creates a cuff that helps keep the outside of the bag clean.
- Fill the Bag: Use a spatula to scoop buttercream into the bag. Aim to fill the bag about half to two-thirds full. Overfilling makes the bag difficult to handle and control. Scrape the spatula against the inside of the folded cuff to keep the opening clean.
- Remove Air Bubbles: Once filled, unfold the cuff. Gently twist the top of the bag shut just above the level of the frosting. Hold the twisted part with one hand and gently squeeze the bag towards the tip with the other hand. This pushes the frosting down and helps expel any trapped air bubbles. You can also tap the tip end of the bag gently on the counter.
- Ready to Pipe: Your bag is now filled and ready to use for creating beautiful swirls on your cupcakes.
Step-by-Step: Simple Buttercream Swirl Cupcakes Recipe
Now that your buttercream is ready and your piping bag is filled, it's time for the fun part: piping those perfect swirls! This section breaks down the fundamental steps and introduces a few popular techniques suitable for anyone trying an easy buttercream swirl cupcakes recipe. Remember, practice is key, so don't worry if your first few swirls aren't perfect.
Step 1: Preparing Your Cupcakes for Frosting
Before frosting, ensure your cupcakes are completely cooled. Frosting warm cupcakes will cause the buttercream to melt, resulting in a messy, sliding swirl rather than a firm, defined one. Ideally, the cupcakes should be at room temperature or even slightly chilled if your kitchen is warm. Make sure the tops of the cupcakes are relatively flat; if they have large domes, you might gently level them with a knife for a more stable base, although this isn't strictly necessary for most swirl techniques.
Arrange your cooled cupcakes on a tray or work surface where you can easily access them. Having them all laid out before you start piping allows for a smooth workflow and helps maintain consistency across all your decorations. Ensure your workspace is clean and free of clutter so you can focus on the piping technique.
Step 2: Mastering the Basic Buttercream Swirl Technique
The basic buttercream swirl is the foundation for many decorative styles. It typically involves starting at the outer edge of the cupcake and working your way inward and upward.
Let's look at a few common approaches:
The "Classic Rosette" Swirl: A Beginner-Friendly Approach
The classic rosette is perhaps the most common and easiest buttercream swirl to master, perfect for an easy buttercream swirl cupcakes recipe. It uses a star tip (like 1M or 2D).
- Hold the piping bag vertically above the cupcake, with the tip just slightly above the surface.
- Apply steady, even pressure to the bag.
- Starting at the outer edge of the cupcake, pipe a circle of frosting, working your way around the perimeter.
- Once you've completed the outer circle, continue piping inward, following the path of the first circle, gradually moving towards the center.
- As you reach the center, stop applying pressure and quickly pull the bag straight up to create a clean peak.
This technique creates a beautiful, layered spiral that resembles a rose when viewed from above. Aim for consistent pressure to ensure uniform thickness throughout the swirl.
The "Vertical Swirl" Technique for Added Height
The vertical swirl is another simple yet effective technique that adds impressive height to your cupcakes. It also works well with star tips (like 1M) but can be done with round tips (like 1A) for a smoother look.
- Hold the piping bag vertically above the center of the cupcake, with the tip touching the surface.
- Apply steady pressure and begin piping, moving the bag straight upward.
- As the frosting builds, continue lifting the bag slowly and steadily, guiding the buttercream into a vertical column.
- Once you've reached your desired height (often 2-3 inches for a standard cupcake), stop applying pressure and pull the bag straight up to finish the peak.
This method creates a tall, dramatic swirl that looks great on its own or as a base for further decoration. Maintaining consistent pressure and lifting speed is key to achieving a straight, even tower of frosting.
The "Two-Toned Swirl": Adding Visual Appeal
Adding a second color to your buttercream swirl creates an instant "wow" factor with minimal extra effort, enhancing your easy buttercream swirl cupcakes recipe. There are a couple of ways to achieve this:
- Method 1 (Striping the Bag): Lay a piece of plastic wrap flat. Spread a stripe of your second color buttercream down the center of the plastic wrap. Place your main color buttercream on top of the second color. Roll the plastic wrap tightly into a log, twisting the ends. Snip one end off and insert this log into your piping bag fitted with a tip. As you pipe, both colors will come out simultaneously.
- Method 2 (Layering in the Bag): Place your main color buttercream into the piping bag first. Then, using a spatula or spoon, carefully add stripes or dollops of your second color buttercream along the inside wall of the piping bag before twisting it shut. As you pipe, the second color will emerge alongside the main color, creating streaks.
Both methods produce a lovely marbled or striped effect, adding depth and visual interest to your swirls. Experiment with different color combinations for various occasions.
Step 3: Practice Makes Perfect: Tips for Consistent Swirls
Achieving consistent, beautiful swirls across all your cupcakes takes practice. Don't be discouraged if your first attempts aren't flawless. You can practice on a piece of parchment paper laid flat on a counter or baking sheet. Once piped, you can scrape the buttercream back into the bag and reuse it for practice. This allows you to refine your technique without wasting cupcakes.
Pay attention to the angle you hold the bag and the pressure you apply. Try to maintain the same angle and pressure for each swirl to ensure uniformity. Observe how the frosting comes out of the tip and adjust your speed and pressure accordingly.
Maintaining Consistent Pressure for Uniform Swirls
Consistent pressure is perhaps the most critical factor in creating uniform buttercream swirls. The amount of pressure you apply directly affects the thickness and flow rate of the frosting. If your pressure varies, your swirl will look uneven, with some parts thicker or thinner than others. Try to squeeze the bag from the top, using the twist in the bag to push the frosting down steadily. Use the palm of your hand and fingers to apply consistent pressure, almost like squeezing toothpaste from the end of the tube.
As the bag empties, you will need to re-twist the top tighter to maintain the same pressure. If you find your hand getting tired, take a break! Hand fatigue can lead to inconsistent pressure. Aim for a steady, continuous flow of frosting from the tip.
Troubleshooting Common Buttercream Swirl Issues: Air Bubbles and Drooping
Two common issues encountered when piping buttercream swirls are air bubbles and drooping. Air bubbles create gaps or bursts in your piped lines, ruining the smooth appearance of the swirl. They are often caused by incorporating too much air when making or filling the buttercream. To minimize air bubbles, mix your buttercream on low speed for a few minutes after it comes together to push out trapped air. When filling the bag, follow the steps outlined earlier to expel air. If you encounter bubbles while piping, stop, untwist the bag, squeeze out the air pocket, and retwist before continuing.
Drooping swirls, where the frosting doesn't hold its shape and sags, are typically a temperature issue. If your buttercream is too warm, it will be too soft to hold a defined shape. This can happen if your kitchen is warm or if your hands are heating the bag. If your buttercream is drooping, stop piping and chill the piping bag (or the entire bowl of buttercream) in the refrigerator for 10-20 minutes until it firms up slightly. Re-knead the bag gently before continuing. Ensuring your buttercream is at the right consistency before you start is key to preventing this.
Advanced Buttercream Swirl Techniques for Cupcakes
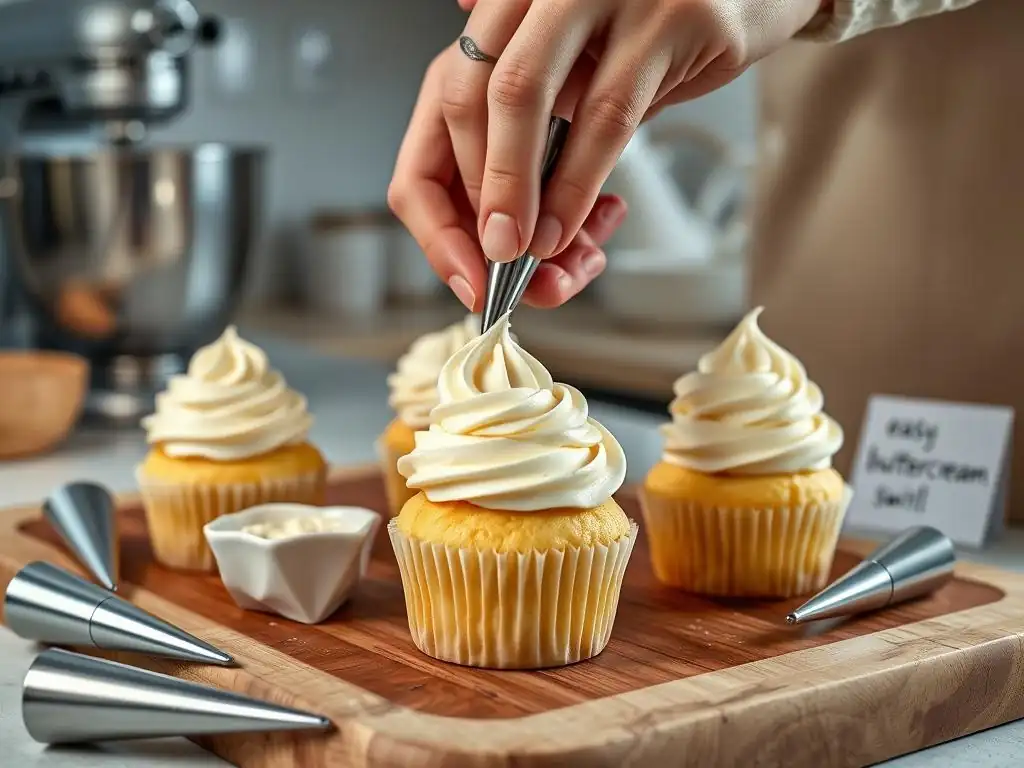
Once you've mastered the basic swirls, you might want to explore more intricate designs to make your easy buttercream swirl cupcakes recipe even more impressive. These techniques often combine basic movements or involve using different piping tips or colors in creative ways. They can add complexity and artistry to your cupcake decorations.
Creating More Complex Buttercream Swirl Designs
Moving beyond the classic rosette and vertical swirl opens up a world of decorative possibilities. These techniques might require a bit more practice but result in stunning, professional-looking cupcakes.
The "Ribbon Rosette" Swirl
The ribbon rosette creates a softer, more ruffled look than the classic star rosette. It typically uses a closed star tip (like the Wilton 2D or Ateco 846).
- Hold the piping bag vertically above the cupcake.
- Start piping at the outer edge, applying steady pressure.
- Move the tip in a circular motion around the edge, overlapping slightly as you go. The closed star tip will create a ruffled edge.
- Continue spiraling inward, layering the ruffles until you reach the center.
- Stop pressure and pull the bag up quickly.
This technique creates a beautiful, full rosette with delicate, ribbon-like edges. The key is consistent pressure and smooth, overlapping circles.
The "Ombre Swirl" Effect
Creating an ombre effect involves gradually transitioning colors within a single swirl, offering a sophisticated look for your easy buttercream swirl cupcakes recipe.
- Prepare your buttercream in two or three shades of the same color (e.g., light pink, medium pink, dark pink).
- Spread the darkest color as a stripe along the inside wall of your piping bag (fitted with your chosen tip, e.g., 1M).
- Fill the rest of the bag with the medium shade.
- If using a third, lightest shade, you can layer it on top of the medium shade in the bag, or just use two shades.
- As you pipe your chosen swirl technique (like the classic rosette or vertical swirl), the colors will blend from dark to light (or vice versa) as the frosting is expelled from the bag.
This technique requires careful layering of the colors in the bag but produces a visually striking gradient effect that is sure to impress.
Adding Finishing Touches to Your Buttercream Swirl Cupcakes
Once your swirls are piped, adding finishing touches can elevate your cupcakes even further. These small details can add sparkle, texture, or a pop of color, making your easy buttercream swirl cupcakes recipe truly complete.
Sprinkles, Edible Glitter, and Other Decorations
Sprinkles are a classic and easy way to add color and texture. You can dip the edges of the swirled frosting into a bowl of sprinkles, sprinkle them over the top, or carefully place individual sprinkles or nonpareils. Edible glitter or dust can add shimmer and glamour. Small candies, chocolate shavings, or edible pearls can be strategically placed on the swirl for added visual interest. For a more natural look, fresh berries or a dusting of powdered sugar can be lovely additions.
Consider the theme or occasion when choosing your decorations. For example, rainbow sprinkles for a birthday, silver or gold glitter for a festive event, or coordinating colors for a specific theme party. Apply sprinkles or glitter immediately after piping each swirl while the buttercream is still soft so they adhere well.
Capturing Your Cupcakes: Photography Tips for Stunning Results
You've put effort into making and decorating these beautiful cupcakes, so take some time to capture them! Good photos allow you to share your creations and appreciate your progress.
- Lighting: Use natural light whenever possible. Place the cupcakes near a window but out of direct sunlight, which can create harsh shadows.
- Background: Use a simple, uncluttered background that doesn't distract from the cupcakes. A plain surface, a rustic wooden board, or a simple fabric can work well.
- Angle: Experiment with different angles. A slightly elevated angle can show off the height and detail of the swirl. A straight-on shot can capture the overall look.
- Focus: Make sure the swirl itself is in sharp focus. Your camera or phone's portrait mode can help blur the background slightly, making the cupcakes stand out.
- Arrangement: Arrange multiple cupcakes attractively in the frame. Grouping them can create a sense of abundance and visual interest.
Taking great photos is the final step in showcasing your successful easy buttercream swirl cupcakes recipe creations!
Maintaining Freshness and Storing Your Buttercream Swirl Cupcakes
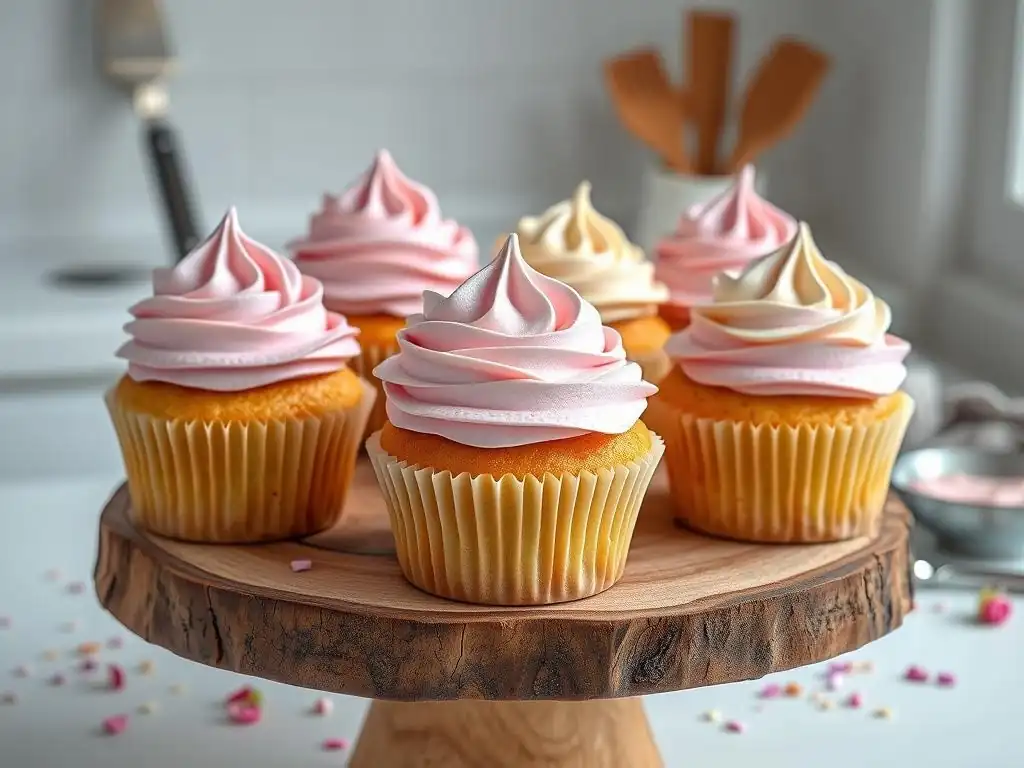
Proper storage is essential to keep your beautifully decorated buttercream swirl cupcakes looking and tasting their best. Buttercream, especially those containing butter and egg whites like Swiss Meringue Buttercream, can be sensitive to temperature and air exposure. Incorrect storage can lead to melted swirls, dried-out cake, or compromised flavor and texture.
Proper Storage Techniques to Prevent Melting or Drying
For short-term storage (1-2 days) at room temperature, provided the room is cool (below 75°F or 24°C), cupcakes with buttercream can be stored in an airtight container. Avoid stacking them directly on top of each other, as this will crush the swirls. Use a container tall enough to accommodate the swirls or use cupcake carriers with individual compartments.
For longer storage or in warmer conditions, refrigeration is necessary. Place the cupcakes in an airtight container. To prevent condensation from forming on the frosting when you take them out, which can make them sticky or wet, you can place a paper towel inside the container to absorb excess moisture. Refrigerated cupcakes are best consumed within 3-5 days. For even longer storage (up to 2-3 months), cupcakes can be frozen. Freeze them uncovered on a tray until the frosting is firm, then transfer them to an airtight container or freezer bag.
Tips for Keeping Your Cupcakes Looking Their Best
When refrigerating or freezing, thawing is important. For refrigerated cupcakes, take them out of the fridge about 30-60 minutes before serving to allow the buttercream and cake to come back to room temperature. This restores the optimal texture and flavor.
For frozen cupcakes, transfer them to the refrigerator overnight to thaw slowly. Once thawed in the fridge, take them out and let them come to room temperature on the counter for about 30-60 minutes before serving. Thawing them slowly helps prevent significant condensation from forming on the delicate buttercream swirls. Always handle decorated cupcakes carefully to avoid smudging or damaging the swirls.
Conclusion: Enjoy Your Beautiful Buttercream Swirl Cupcakes!
You've now learned the techniques, tips, and tricks to create stunning buttercream swirls on your cupcakes. From selecting the right buttercream and tools to mastering piping techniques and ensuring proper storage, you have the knowledge to make your easy buttercream swirl cupcakes recipe a resounding success. Piping swirls is a skill that improves with practice, so keep baking and keep swirling!
The joy of baking is not just in the process, but in sharing the delicious results. Your beautifully decorated cupcakes are sure to bring smiles to faces and add a touch of homemade elegance to any occasion. Don't hesitate to experiment with colors, flavors, and piping tips to develop your own unique style.
Recap: Key Takeaways for Perfect Buttercream Swirls
Here are the essential points to remember for achieving perfect buttercream swirls:
- Use a stable buttercream (like Swiss Meringue) at the right consistency.
- Ensure cupcakes are completely cooled before frosting.
- Choose the appropriate piping bag and a large tip (like 1M or 2D) for cupcake swirls.
- Fill the piping bag properly, removing air bubbles.
- Practice consistent pressure and movement for uniform swirls.
- Experiment with different techniques like the classic rosette, vertical swirl, or two-toned effect.
- Add finishing touches like sprinkles or glitter for extra flair.
- Store cupcakes properly in an airtight container, chilling or freezing as needed.
- Allow chilled or frozen cupcakes to come to room temperature before serving.
By following these steps, you'll be well on your way to creating gorgeous, professional-looking buttercream swirl cupcakes every time.
We love seeing what you bake! Share photos of your easy buttercream swirl cupcakes recipe creations with us. Whether you've mastered the classic rosette, tried an ombre effect, or come up with your own unique design, let us celebrate your baking success. Baking is a community, and sharing your work inspires others and allows us to learn from each other. Happy baking and happy swirling!
Frequently Asked Questions
How do I achieve a smooth buttercream for swirling?
To get a smooth buttercream, ensure your butter is softened but not melted. Also, sift your powdered sugar to remove any lumps.
What type of piping tip is best for creating buttercream swirls?
A large star tip, such as a 1M or 2D, is generally recommended for achieving classic buttercream swirl designs. These create defined ridges and a professional look.
How do I prevent air bubbles from ruining my buttercream swirls?
Thoroughly mix your buttercream to release trapped air. Also, ensure your piping bag is properly filled, avoiding air pockets.
Can I use different colors of buttercream in the same swirl?
Absolutely! You can use multiple piping bags and combine the colors as you swirl, or even use a split piping bag for a marbled effect.
What's the best technique for creating a consistent buttercream swirl on each cupcake?
Practice makes perfect! Start from the outside edge, swirl inwards towards the center, and then lift up. Ensure even pressure on the piping bag for consistency.
Final Reflection: Mastering the Art of the Buttercream Swirl
The seemingly simple act of swirling buttercream frosting onto a cupcake is, in reality, a gateway to culinary artistry and a powerful symbol of joy. From simple gatherings to elaborate celebrations, the perfectly swirled cupcake brings a touch of elegance and delight to any occasion. This isn't just about following a recipe; it's about understanding the nuances of texture, technique, and the transformative power of a beautiful presentation.
The impact of a visually appealing dessert should never be underestimated. It's a small detail that can elevate a simple treat into a memorable experience, fostering connection and sparking joy. The best things in life are the simple things.
This simple adage rings true when considering the profound impact a beautifully frosted cupcake can have. The time spent perfecting the swirl, the satisfaction of creating something visually stunning – these are the elements that contribute to a richer, more meaningful experience, both for the baker and the recipient.
Now, I invite you to take what you've learned and experiment! Don't be afraid to try different piping techniques, colors, and even flavors. The beauty of buttercream swirling lies in its adaptability and the endless possibilities it offers. Let your creativity flow, and most importantly, have fun! The next time you frost a cupcake, remember the joy it brings, not just to those who eat it, but to the one who creates it. Embrace the process, and let your cupcakes tell a story.
Unleash Your Inner Cupcake Artist!
Thanks for joining us on this delicious journey into the world of buttercream swirls! We hope you've gained the confidence to create stunning cupcake masterpieces. Ready to put your new skills to the test?
- Master the swirl: Practice your piping technique on a few cupcakes – aim for those perfect peaks and elegant curves! Bonus challenge: Try creating a different swirl pattern on each cupcake.
- Share your creations: Show off your beautiful cupcakes on social media using #BakeWithEaseSwirls and tag us! Let's inspire each other.
- Experiment with flavors: Don't be afraid to try different buttercream flavors and colors. What unique combination will you create next?
What exciting flavor combinations are you planning to swirl onto your next batch of cupcakes?