
Crumb Coating Dark Cakes: Avoiding White Spots

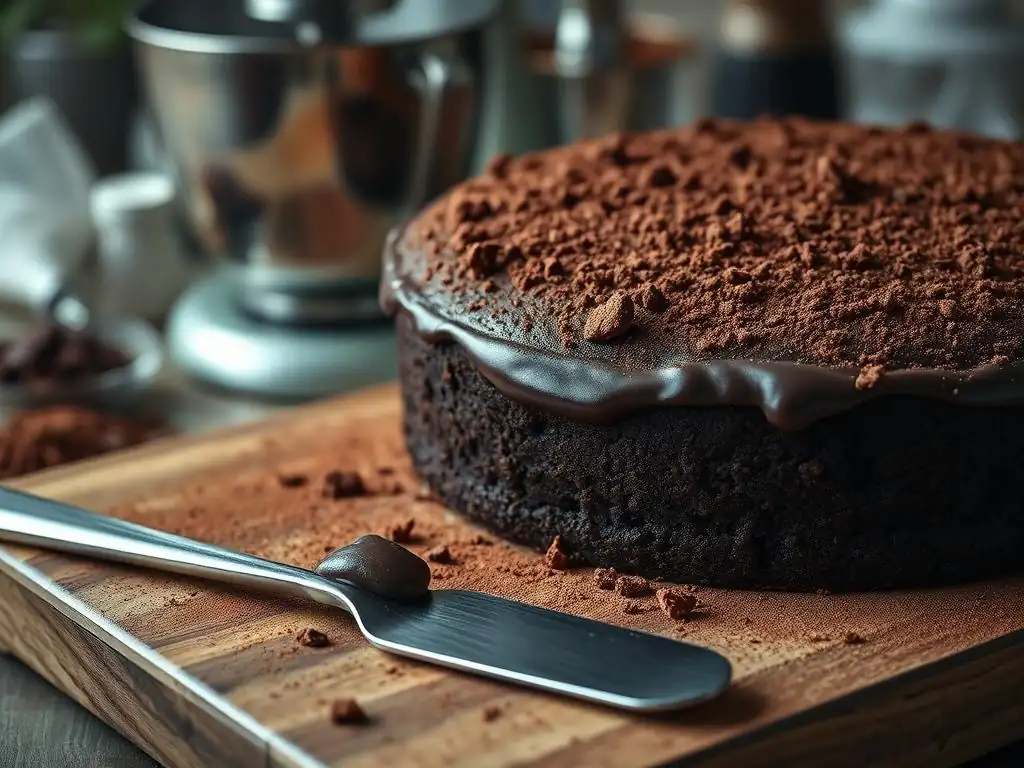
Welcome to BakeWithEase, where every bake is a breeze! Ever struggled with those pesky white spots showing through when crumb coating a rich, dark cake? You're not alone. Unveiling the secrets to a flawless finish is easier than you think. Dive in and discover our expert tips on the dark cake crumb coating technique, ensuring your next masterpiece looks as stunning as it tastes. Ready to say goodbye to those frustrating white spots? Let's get baking!
- Crumb Coating Dark Cakes: Avoiding White Spots - BakeWithEase
- Mastering the Dark Cake Crumb Coating Technique
- Preparing Your Dark Cake for Crumb Coating
- The Crumb Coating Process for Dark Cakes: Step-by-Step
- Troubleshooting Common Crumb Coating Issues on Dark Cakes
- Advanced Tips for a Perfect Dark Cake Crumb Coat
- Choosing the Right Frosting for Dark Cakes: Avoiding White Spots
- Preventing White Spots: Key Takeaways for Dark Cake Crumb Coating
-
Frequently Asked Questions
- How does a crumb coat help prevent white spots on dark cakes?
- What type of frosting is best for the crumb coat layer?
- How long should I chill the crumb-coated cake before the final frosting?
- Can I use the same frosting for both the crumb coat and the final layer?
- What if I still see some crumbs after the crumb coat?
- Final Reflection: Mastering the Art of the Dark Cake Crumb Coat
- Unlock the Secret to Perfectly Coated Cakes!
Crumb Coating Dark Cakes: Avoiding White Spots - BakeWithEase
Mastering the Dark Cake Crumb Coating Technique
Crumb coating is a fundamental step in cake decorating, especially when working with dark cakes like rich chocolate or deep red velvet. This initial thin layer of frosting acts as a sealant, trapping loose crumbs and creating a smooth foundation for your final decorative layer. Without a proper crumb coat, those pesky crumbs can migrate into your beautiful final frosting, leading to an uneven texture and, most notably on dark cakes, visible white spots that detract from the cake's appearance. Mastering the dark cake crumb coating technique is essential for achieving a professional-looking finish.
This crucial layer is often the difference between a cake that looks homemade and one that could be straight out of a bakery display. It sets the stage for subsequent decorating steps, ensuring sharper edges, smoother surfaces, and a much cleaner overall look. Taking the time to apply a thin, even crumb coat saves frustration later on when applying the final, thicker layer of frosting. It's a foundational skill that significantly elevates your cake decorating game.
Understanding the Importance of a Flawless Crumb Coat
A flawless crumb coat serves multiple critical functions. Firstly, it's the primary defense against migrating crumbs. Dark cakes, especially those with finely ground cocoa or moist textures, can be particularly crumbly around the edges. Applying a thin layer of frosting effectively glues these loose particles down, preventing them from mixing into your final, often lighter-colored, frosting layer. This is paramount for maintaining a clean, uniform surface.
Secondly, a well-applied crumb coat helps to level and shape the cake slightly. While major leveling should happen before frosting, the crumb coat can fill in small gaps or imperfections on the cake's surface, creating a more even canvas. Once chilled, this firm layer provides stability, making the cake easier to handle during the final frosting application and subsequent decoration. It's the invisible scaffolding that holds your decorative vision together.
Why White Spots Appear on Dark Cake Crumb Coats
White spots on a dark cake's crumb coat, or more commonly, on the final layer over a dark cake crumb coat, are typically the result of one of two main issues: trapped air or unincorporated dry ingredients in the frosting, or crumbs from the dark cake showing through the frosting layers. When air bubbles are present in your frosting and pop during application, they can leave tiny voids that expose the darker cake underneath.
Similarly, if powdered sugar or other dry components aren't fully dissolved and mixed into the frosting, small white flecks can appear, particularly noticeable against a dark background or when the frosting layer is thin.
The most common culprit, however, is inadequate crumb containment. If the initial crumb coat isn't thin enough, not chilled properly, or applied unevenly, crumbs from the dark cake can still escape and mix with the final frosting layer. These dark crumbs then become visible as dark specks within the lighter final frosting. Conversely, if the frosting itself contains tiny white particles (like undissolved powdered sugar or air bubbles) and the final layer is thin, these white particles become starkly visible against the dark cake surface or the dark crumbs within the frosting.
Preparing Your Dark Cake for Crumb Coating
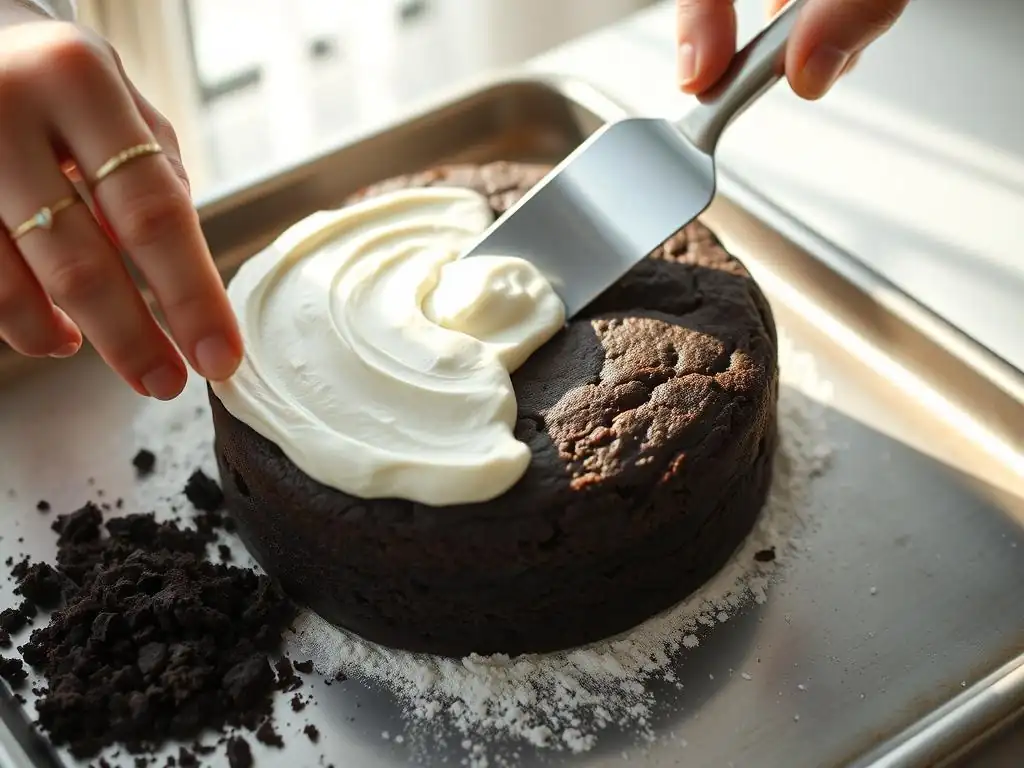
Proper preparation is key to a successful dark cake crumb coating technique. This involves selecting the right recipe, ensuring the cake is perfectly cooled and leveled, and having all your necessary tools and ingredients ready. Rushing these initial steps can lead to frustration down the line and compromise the final look of your decorated cake. Taking the time here pays dividends in the ease of frosting application and the quality of the finished product.
A well-prepared cake is stable, easy to handle, and provides a smooth, even surface for the frosting. This minimizes the amount of work needed during the crumb coating phase and reduces the likelihood of tearing the cake or incorporating excess crumbs into your frosting. It's the silent partner in your decorating success, making the entire process smoother and more enjoyable.
Choosing the Right Dark Cake Recipe for Optimal Results
Not all dark cake recipes are created equal when it comes to decorating. Recipes that produce a dense, moist, and sturdy cake are generally easier to handle and crumb coat than very light or crumbly ones. Cakes made with oil often tend to be moister and less prone to crumbling than those made solely with butter.
For instance, a classic chocolate fudge cake or a moist devil's food cake typically holds up well to the dark cake crumb coating technique. Cakes with lots of mix-ins like nuts or chocolate chips can also be trickier due to uneven surfaces, so consider recipes with a smoother texture for easier decorating.
Consider the structure provided by ingredients like eggs and flour ratios. A cake that is too tender might tear easily when frosting is applied. Conversely, an overly dry cake will crumble excessively. Look for recipes that have a balanced structure and good moisture retention. Many professional-style chocolate cake recipes are specifically designed to be sturdy yet moist, making them ideal candidates for layering and decorating. Testing a recipe beforehand can save disappointment when you're ready to decorate.
Cooling and Leveling Your Dark Cake Layers
Proper cooling is non-negotiable. Attempting to crumb coat a warm cake is a recipe for disaster – the frosting will melt, and the cake is more likely to tear and crumble excessively. Cake layers should be cooled completely on a wire rack.
This means allowing them to cool in the pan for 10-15 minutes before inverting them onto the rack to finish cooling. Depending on the size and density of the cake, this can take anywhere from 1 to 3 hours at room temperature. For best results, many decorators even recommend chilling the completely cooled cake layers in the refrigerator for 30-60 minutes, or even freezing them for 15-20 minutes, to firm them up before handling.
Once cooled and potentially chilled, the cake layers need to be leveled. Use a serrated knife, cake leveler, or even dental floss to carefully slice off any domes, creating a flat surface. This ensures your stacked cake is stable and straight, providing an even base for the crumb coat. Uneven layers mean uneven frosting application, which can make the dark cake crumb coating technique more challenging and increase the risk of visible imperfections.
Essential Tools and Ingredients for a Smooth Crumb Coat
Having the right tools makes a significant difference in achieving a smooth and efficient crumb coat application. Key tools include:
- An offset spatula (small and/or medium size)
- A bench scraper or cake scraper
- A rotating cake turntable (optional but highly recommended)
- Your chosen frosting (ensure it's the right consistency)
The frosting consistency is paramount. It should be smooth, spreadable, and not too stiff, but also not so loose that it drips excessively. If your frosting is too thick, it can pull and tear the cake. If it's too thin, it won't effectively trap crumbs and might slide off the cake. You might need to adjust the consistency by adding a tiny amount of milk or cream (to thin) or powdered sugar (to thicken). For a standard buttercream, a consistency similar to soft-serve ice cream is often ideal for the dark cake crumb coating technique.
The Crumb Coating Process for Dark Cakes: Step-by-Step
Executing the crumb coating process correctly is where the dark cake crumb coating technique truly comes to life. It's a method designed to seal in crumbs and create a stable base. This involves applying a very thin initial layer, chilling it, and then applying the final, thicker layer of frosting. Each step is important and contributes to the overall success of your decorated dark cake.
Following these steps carefully ensures that loose crumbs are contained from the start, minimizing the chance of them appearing in your final frosting layer. It also allows the initial coat to firm up, providing a solid surface that won't lift or tear when you apply the subsequent layers. Patience and precision in this phase are key to achieving a clean, professional finish.
Step 1: Applying the First Thin Layer (The Crumb Coat)
This is the most critical phase for preventing crumbs from showing. Place your first leveled cake layer on your cake plate or board. Add a small amount of frosting to the top center. Using an offset spatula, spread the frosting evenly across the top surface, extending it slightly over the edge. Then, take a small amount of frosting and begin applying it to the sides of the cake. The goal here is not to apply a thick, opaque layer, but rather a very thin, almost translucent layer that simply adheres to the cake's surface and traps the loose crumbs.
Work the frosting into the pores and crevices of the cake, pressing gently to pick up any crumbs. The frosting will mix with the crumbs – this is expected! Don't try to make it perfect or smooth at this stage. Just focus on covering the entire surface (top and sides) with this thin layer. If you're stacking multiple layers, apply a thin layer to the top of the bottom layer, place the next layer on top, frost the top of that layer, and then apply the crumb coat to the sides of the entire stacked cake.
Achieving a Uniform Crumb Coat Thickness
The key to a successful dark cake crumb coating technique at this stage is consistency. Aim for a layer that is just thick enough to cover the cake's color and trap crumbs, typically around 1/16 to 1/8 inch thick. Using your offset spatula, spread the frosting thinly, removing excess as you go. You should still be able to slightly see the dark cake through the frosting in some spots – this is okay! The purpose is coverage, not opacity.
Using a bench scraper held perpendicular to the cake (if using a turntable), gently scrape around the sides. This helps to smooth the crumb coat and remove excess frosting, ensuring a uniform thickness. Scrape the excess frosting back into your bowl of crumb coat frosting (or a separate bowl for crumb-filled frosting). Then, use the offset spatula to smooth the top edge where the side frosting meets the top. Repeat until the entire cake is covered in a thin, even layer.
Dealing with Loose Crumbs Effectively
As you apply this first thin layer, you will inevitably pick up crumbs. The strategy is to incorporate them into this specific layer and not let them contaminate your main batch of frosting for the final coat. Use a separate bowl for the frosting you are actively using for the crumb coat. As you scrape excess frosting (now mixed with crumbs) off the cake, put it back into this crumb coat bowl, not back into your main frosting supply.
If you encounter a particularly crumbly area, apply a little extra frosting there and gently pat it or spread it to pick up the crumbs. Don't overwork the area, as this can generate more crumbs. The goal is to seal them in quickly. Once the thin layer is applied over the entire cake, the crumbs are locked into place, and they won't escape when you apply the final frosting.
Step 2: Chilling the Crumb-Coated Dark Cake
Chilling is a non-negotiable step in the dark cake crumb coating technique. Placing the crumb-coated cake in the refrigerator allows that thin layer of frosting to firm up and set. This process essentially creates a solid shell around the cake, effectively cementing all the trapped crumbs in place. When you then apply the final layer of frosting, the spatula glides smoothly over this firm surface instead of picking up loose crumbs or tearing the cake.
Skipping or rushing the chilling step is a common mistake. If the crumb coat is still soft, applying the final layer will simply push the crumb-filled frosting around, mixing it with your clean final frosting and resulting in visible crumbs and an uneven finish. The firm crumb coat provides the necessary stability and resistance for the final frosting application, ensuring a clean result.
Why Chilling is Crucial for Dark Cake Decoration
For dark cakes, chilling is even more important because any dark crumbs showing through lighter frosting are highly visible. A firm crumb coat ensures that all those dark crumbs are locked down and won't contaminate the final layer. The firm surface also allows you to correct minor shape imperfections with the final frosting layer more easily, as you're working on a stable foundation.
Think of the chilled crumb coat as a primer coat of paint. It seals the surface (the cake), hides imperfections (trapped crumbs), and provides a consistent base for the final color (your decorative frosting). Without this firm base, achieving sharp edges or a perfectly smooth surface with your final frosting becomes significantly more challenging, especially on the vertical sides of the cake where gravity is working against you.
Optimal Chilling Time and Temperature
The optimal chilling time for a crumb-coated cake is typically between 20 and 45 minutes in a standard refrigerator, usually set between 35°F and 40°F (approximately 1°C to 4°C). The exact time depends on the type of frosting used (buttercream sets faster than cream cheese frosting, for example) and the temperature of your refrigerator. The goal is for the crumb coat to be firm and cool to the touch, not frozen solid.
You should be able to gently touch the surface of the crumb coat without leaving an indentation or having frosting stick to your finger. If the crumb coat is still soft, chill for another 10-15 minutes. Over-chilling isn't necessarily harmful, but it's usually unnecessary for this step. A firm but not rock-hard surface is ideal for the subsequent application of the final frosting layer.
Step 3: Applying the Second Layer of Frosting
Once your crumb-coated dark cake is properly chilled and firm, you are ready to apply the final, decorative layer of frosting. This layer will be thicker than the crumb coat and should completely cover the cake, hiding the crumb coat underneath. Use your main batch of clean, crumb-free frosting for this step. Apply a generous amount of frosting to the top and sides of the cake.
Using your offset spatula and bench scraper (with the turntable), work the frosting around the cake, smoothing it as you go. The firm crumb coat underneath will prevent your spatula from picking up crumbs. This allows you to apply the frosting smoothly and evenly without worrying about incorporating dark specks into your final pristine layer.
Achieving a Smooth, Even Finish on Dark Cakes
To achieve a smooth finish, apply more frosting than you think you need, then use your tools to remove the excess and create a flat surface. Start with the top, spreading frosting to the edges. Then apply a thick layer around the sides. Using a bench scraper held at a slight angle against the side of the cake (about 45 degrees) while rotating the turntable is the most effective way to smooth the sides and achieve straight edges. Scrape off the excess frosting onto your spatula and return it to your clean frosting bowl.
For the top edge, use your offset spatula to gently pull the excess frosting that has built up from smoothing the sides towards the center of the cake. Clean your spatula frequently for the smoothest results. Achieving a perfectly smooth surface takes practice, but the firm crumb coat makes it significantly easier as you're not fighting against a soft, crumbly surface.
Techniques for Avoiding White Spots During the Second Coat
While the crumb coat significantly reduces the chance of crumbs causing dark spots, white spots (from air or undissolved dry ingredients) can still be an issue, especially with lighter-colored frostings on a dark cake. To minimize this:
- Ensure your frosting is perfectly smooth: Before applying the final coat, take a moment to stir your frosting well with a spatula, pressing it against the sides of the bowl to eliminate any trapped air bubbles or unincorporated dry ingredients.
- Avoid overworking the frosting: Excessive stirring or whipping after the frosting is made can incorporate air. Mix just until combined and smooth.
- Apply frosting generously: Start with a thick layer of frosting. This allows you to smooth it out without scraping too close to the crumb coat, which could potentially disturb it or pick up hidden crumbs if the crumb coat wasn't perfectly done.
- Clean your tools: Regularly wipe your offset spatula and bench scraper clean as you work. This prevents any accidental crumbs or uneven frosting from being dragged across the surface.
By starting with smooth frosting and working on a firm crumb coat, you set yourself up for a clean, white-spot-free finish on your dark cake.
Troubleshooting Common Crumb Coating Issues on Dark Cakes
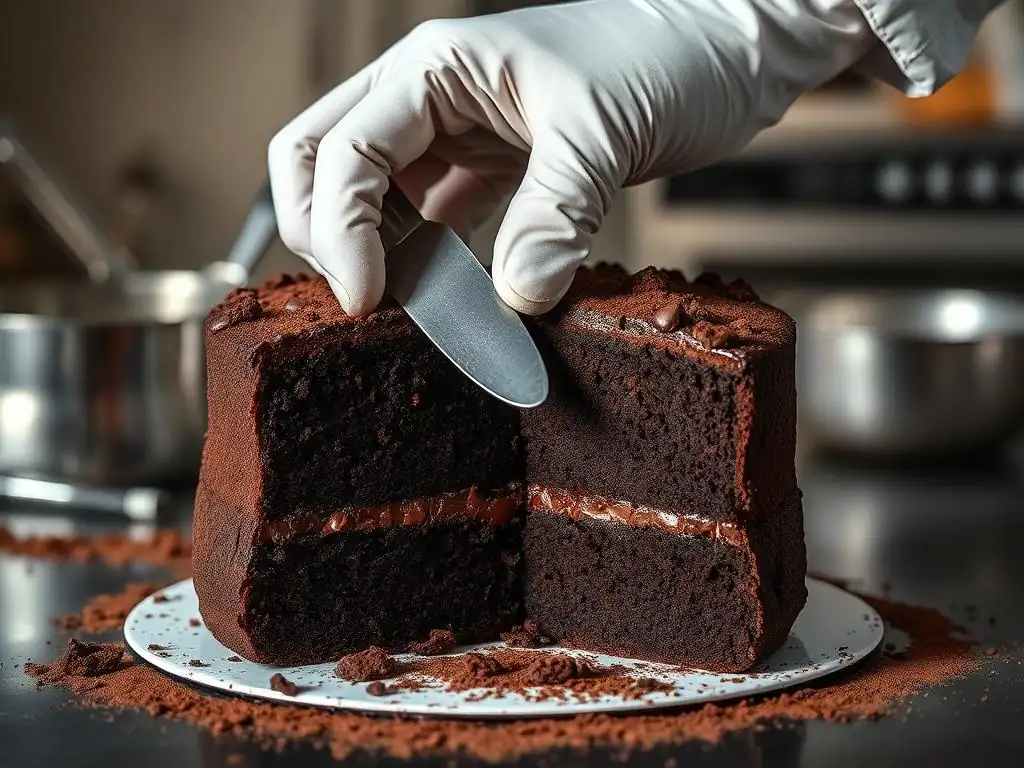
Even with careful preparation and technique, you might encounter issues when applying the crumb coat or final frosting to a dark cake. Knowing how to troubleshoot these common problems can save your cake and your sanity. From pesky air bubbles to tearing frosting, most issues can be resolved with a little patience and the right approach.
Addressing problems as they arise prevents them from compounding and ruining the final decorated cake. A small tear in the crumb coat, if not fixed, can become a major issue when applying the final layer. Similarly, ignoring air bubbles in your frosting will likely result in visible craters on your finished cake.
Dealing with Air Bubbles in the Frosting
Air bubbles in frosting can be frustrating, especially when they pop and leave small holes or craters. This is particularly noticeable on a smooth final coat. To minimize air bubbles:
- Mix frosting on low speed: When making buttercream or other frostings, mix on the lowest speed possible for the final few minutes. This helps to push out trapped air.
- Stir manually: Before using the frosting, vigorously stir it by hand with a spatula, pressing it against the sides of the bowl. This is very effective at deflating bubbles.
- Use a warm spatula/scraper: For the final smoothing pass, dip your bench scraper or offset spatula in hot water, wipe it dry, and use the warm tool to smooth the frosting. The gentle heat can help pop small surface bubbles.
If you spot a bubble while frosting, try to gently smooth over it. If it pops and leaves a hole, fill the hole with a tiny bit more frosting and smooth again. For a smooth finish, use your bench scraper to remove excess frosting, which also helps to eliminate bubbles near the surface.
Preventing the Frosting from Tearing the Cake
Tearing the cake while applying the crumb coat usually happens if the cake is too warm, too soft, or if the frosting is too stiff and you're using too much pressure. To prevent tearing:
- Ensure cake is fully cooled/chilled: As mentioned earlier, a firm, cool cake is less likely to tear.
- Adjust frosting consistency: If your frosting feels stiff, loosen it with a tiny bit of milk, cream, or water until it's easily spreadable.
- Use gentle pressure: Apply the frosting with a light hand. Let the spatula glide over the surface rather than pressing hard.
- Apply enough frosting initially: Don't try to spread a tiny dollop over a large area; this requires too much friction. Start with a sufficient amount of frosting for the section you are working on.
If you do tear the cake, gently push the torn piece back into place. Apply a little extra frosting over the area, using a dabbing motion first to cover the tear before attempting to smooth it. Then proceed with the crumb coat technique as usual, being extra gentle over that spot.
Addressing Uneven Frosting Application
Uneven frosting application can lead to a wavy or bumpy surface, making it difficult to apply a smooth final coat. This can happen if the cake layers weren't leveled properly, if the crumb coat was uneven, or if you're not using your smoothing tools effectively.
- Level cake layers precisely: Start with a level foundation.
- Focus on a uniform crumb coat: Ensure the initial crumb coat is applied as evenly as possible before chilling.
- Use a bench scraper: For the final layer, a bench scraper is your best friend for achieving straight, smooth sides. Hold it consistently at the same angle and pressure as you rotate the turntable.
- Apply enough frosting: Don't be stingy with the final layer. A thicker layer is easier to smooth than a thin one. You can always scrape off the excess.
- Practice: Achieving a perfectly smooth cake takes practice. Don't get discouraged if your first attempts aren't perfect. Each cake is a learning opportunity.
Remember, the goal is to create a smooth canvas. Minor imperfections can often be hidden by decoration, but a significantly uneven surface will be noticeable. Patience and steady hands are key here.
Advanced Tips for a Perfect Dark Cake Crumb Coat
Once you've mastered the basic dark cake crumb coating technique, there are advanced strategies you can employ to further enhance your results, particularly when working with dark cakes. These tips can help you achieve an even more professional-looking finish and address specific challenges presented by dark cakes and certain frosting types.
These techniques go beyond just trapping crumbs; they consider the interaction between the dark cake color and the frosting, offering solutions for achieving the cleanest, most vibrant final frosting color and the smoothest possible surface.
Using a Ganache Crumb Coat for a Professional Finish
Chocolate ganache makes an excellent crumb coat for dark cakes, especially chocolate ones. Ganache, made from chocolate and cream, sets much firmer than buttercream and has a naturally dark color that blends seamlessly with a dark cake. A firm ganache crumb coat provides an incredibly stable and smooth base for applying buttercream or other frostings.
To use ganache as a crumb coat:
- Make a ganache with a ratio suitable for coating (e.g., 1:1 chocolate to hot cream for dark chocolate, or slightly more chocolate for milk/white).
- Let the ganache cool to a spreadable consistency, similar to peanut butter.
- Apply a thin layer to the cooled cake, just like you would a buttercream crumb coat.
- Chill the cake until the ganache is firm, typically 30-60 minutes.
A ganache crumb coat is particularly effective if your final frosting is light-colored, as its dark color acts as a second barrier against any tiny dark crumbs showing through. It also provides a wonderfully stable surface for sharp edges.
Coloring Your Crumb Coat to Match Your Dark Cake
This is a clever trick, especially if you are using a light-colored frosting for your final layer (like vanilla buttercream on a chocolate cake). Instead of using plain white or light-colored frosting for the crumb coat, add a small amount of cocoa powder or dark food coloring (like brown or black gel color) to the frosting designated for the crumb coat.
This colored crumb coat will be closer in shade to the dark cake. If any tiny imperfections or thin spots exist in your final frosting layer, or if a crumb manages to show through, it will be less noticeable because the underlying crumb coat is also dark. This provides an extra layer of visual insurance against those dreaded white spots or visible crumbs. Use just enough coloring to make the crumb coat visibly darker, but don't worry about perfectly matching the cake color.
Creating a Seamless Transition Between Crumb Coat and Final Frosting
The key to a seamless transition lies in the firmness of the chilled crumb coat and the consistency of your final frosting. When applying the final frosting layer over a properly chilled crumb coat, the firm surface allows you to spread and smooth the frosting without disturbing the layer underneath.
- Apply a generous amount of final frosting.
- Use your bench scraper or offset spatula to remove excess frosting and smooth the surface. Work quickly but deliberately.
- The firm crumb coat prevents the final frosting from sinking into the cake or picking up crumbs, resulting in a clean line and smooth finish.
- Any slight ridge formed where the side frosting meets the top can be gently smoothed towards the center of the cake using a clean offset spatula.
By focusing on the firmness of the crumb coat and the smoothness of your final frosting application using the right tools, you can achieve bakery-quality results with sharp edges and a perfectly smooth surface, making the dark cake crumb coating technique truly effective.
Choosing the Right Frosting for Dark Cakes: Avoiding White Spots
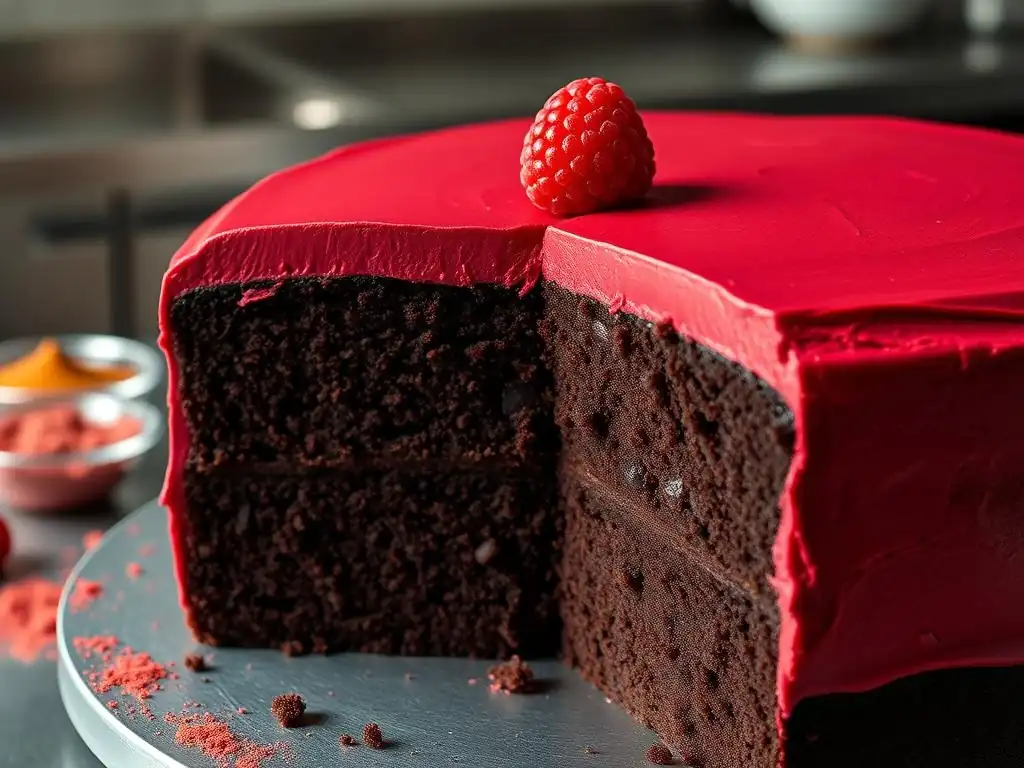
The type of frosting you use for both the crumb coat and the final layer can impact the likelihood of white spots appearing on a dark cake. While many frostings can work, some are inherently better suited or require specific handling to ensure a clean finish. The consistency and composition of the frosting play a significant role in how smoothly it applies and how well it hides the dark cake underneath.
Selecting a frosting that is smooth, free of large particles, and capable of being applied evenly is crucial. The opacity of the final frosting layer is also important; a more opaque frosting will do a better job of hiding any slight imperfections or dark specks that might be trapped in the crumb coat.
Buttercream Frosting Options for Dark Cakes
Buttercream is a popular choice for frosting cakes. For a dark cake, you can use various types of buttercream. American buttercream (butter, powdered sugar, liquid) is easy but can be prone to air bubbles and requires thorough mixing to avoid grainy texture (undissolved powdered sugar causing white spots). Sifting your powdered sugar is highly recommended if using American buttercream.
Swiss meringue, Italian meringue, or French buttercream (butter, sugar syrup/meringue) are generally smoother and less prone to air bubbles than American buttercream. They offer a very smooth finish, which is excellent for dark cakes. However, their slightly translucent nature means the crumb coat needs to be particularly effective at hiding dark crumbs. For any buttercream, ensure it is mixed until completely smooth before use.
Cream Cheese Frosting Considerations for Dark Cakes
Cream cheese frosting is delicious, especially on cakes like red velvet. However, it can be softer and trickier to work with than buttercream, making the dark cake crumb coating technique even more important. Its softer consistency means it's more likely to lift crumbs if the crumb coat isn't perfectly firm.
When using cream cheese frosting:
- Ensure the cream cheese and butter are at the correct temperature (often slightly cooler than room temperature for stability).
- Beat the frosting only until just combined and smooth to minimize air bubbles.
- Chill the finished frosting for a bit to firm it up before using it for the crumb coat and final layer.
- Apply the crumb coat thinly and chill thoroughly until very firm.
- Apply the final layer gently, using a bench scraper to smooth rather than overworking it with an offset spatula.
Due to its often slightly less opaque nature compared to some buttercreams, a well-executed crumb coat is paramount when using cream cheese frosting on a dark cake.
Chocolate Ganache as a Crumb Coat Alternative
As mentioned in the advanced tips, chocolate ganache serves as an excellent crumb coat for dark cakes. Its rich, dark color provides a perfect base, and its firm texture when chilled creates an incredibly stable surface. It naturally complements the flavor of many dark cakes.
While you could use ganache as the final frosting layer as well (poured or whipped), using it specifically as a crumb coat offers the benefit of a stable, dark underlayer that effectively hides the dark cake and trapped crumbs, making it easier to achieve a flawless finish with a lighter-colored final frosting. A 1:1 ratio of chocolate to cream is a good starting point for a crumb coat consistency. For a pourable final glaze, you might use a 2:1 cream to chocolate ratio.
Preventing White Spots: Key Takeaways for Dark Cake Crumb Coating
Mastering the dark cake crumb coating technique is primarily about prevention. By focusing on a few key areas during the cake preparation and frosting process, you can significantly reduce the likelihood of encountering those frustrating white spots or visible crumbs on your beautifully decorated dark cake. It boils down to careful preparation, precise application, and appropriate chilling.
Remember these core principles, and you'll be well on your way to achieving flawlessly frosted dark cakes every time. Consistency in your technique and patience during the chilling phase are your greatest allies in this process.
Ensuring Proper Cake Preparation
- Choose a sturdy, moist recipe: A cake that doesn't crumble excessively is easier to work with.
- Cool completely: Never frost a warm cake. Chill completely cooled layers for extra firmness if needed.
- Level accurately: Start with flat, even layers for a stable structure.
Mastering the Crumb Coating Technique
- Apply a thin layer: Just enough to trap crumbs, not a thick decorative layer.
- Use designated crumb coat frosting: Don't mix crumb-filled frosting back into your clean supply.
- Chill thoroughly: This is crucial! The crumb coat must be firm before applying the final layer. Aim for 20-45 minutes in the fridge until firm to the touch.
- Apply final layer generously: Use enough frosting so you can smooth it without digging into the crumb coat.
Selecting the Appropriate Frosting
- Ensure frosting is smooth: Mix well to eliminate air bubbles and undissolved dry ingredients.
- Adjust consistency: Frosting should be spreadable but firm enough to hold its shape.
- Consider color: For extra security against visible crumbs, consider coloring your crumb coat darker or using a naturally dark ganache.
- Match frosting to cake/technique: Use a frosting type whose properties (firmness, smoothness) work well with the crumb coating process you are using.
Frequently Asked Questions
How does a crumb coat help prevent white spots on dark cakes?
A crumb coat seals in the loose crumbs of the cake, preventing them from mixing with the final frosting layer. This is particularly important for dark cakes as even small crumbs can create noticeable white spots under lighter frostings.
What type of frosting is best for the crumb coat layer?
Generally, a thinner, more pliable frosting is best for the crumb coat. This allows it to spread easily and effectively trap the crumbs without being too heavy or altering the cake's final flavor profile.
How long should I chill the crumb-coated cake before the final frosting?
Chilling the crumb-coated cake is crucial. It allows the frosting to firm up, creating a solid barrier that prevents crumbs from migrating into the final layer. Typically, 30 minutes to an hour in the refrigerator is sufficient.
Can I use the same frosting for both the crumb coat and the final layer?
Yes, you can, but it is often recommended to use a slightly thinner consistency for the crumb coat. This makes it easier to apply a thin, even layer that effectively traps the crumbs.
What if I still see some crumbs after the crumb coat?
Don't panic! You can either apply a second thin crumb coat after the first one has chilled, or carefully pick off any visible crumbs with a toothpick before applying the final frosting layer.
Final Reflection: Mastering the Art of the Dark Cake Crumb Coat
The perfect dark cake crumb coat, free from those pesky white spots, is more than just a technical skill; it's a testament to patience, precision, and a deep understanding of your ingredients. Achieving this seemingly simple step elevates a homemade cake from amateur to professional, impacting not only the visual appeal but also the overall eating experience. A flawless crumb coat ensures a smooth, even frosting application, leading to a stunning final product that's as delicious as it is beautiful.
The pursuit of the perfect crumb coat reflects a broader cultural shift towards valuing the artistry of baking and the importance of mastering fundamental techniques. We live in a world saturated with visually stunning desserts, and the ability to replicate these masterpieces at home is incredibly empowering. Baking is at once child's play and adult joy. And love.
– Alma Schneider. This quote perfectly encapsulates the satisfaction derived from mastering a skill like crumb coating, transforming a simple act into an expression of care and creativity. The journey to a flawless crumb coat is a journey of self-improvement, mirroring the dedication and precision required in many other aspects of life.
Now, it's your turn. Take what you've learned here, experiment with different frosting consistencies and techniques, and don't be afraid to embrace the occasional imperfection. Remember, even the most experienced bakers have had their share of white spots! The true reward lies not just in the final result, but in the process of learning, adapting, and ultimately, creating something delicious and beautiful that you can proudly share with others. So, grab your spatula, embrace the challenge, and let your next dark cake be a testament to your newfound mastery.
Unlock the Secret to Perfectly Coated Cakes!
Thanks for taking the time to learn about achieving flawless crumb coating! We hope you now feel confident in tackling even the trickiest of cake coatings. Ready to put your new skills to the test?
- Try the technique on your next cake: Don't just read about it – bake a cake and put this knowledge into practice! You'll be amazed at the difference.
- Share your results: Post a picture of your perfectly coated creation on social media and tag us – we'd love to see your baking success!
- Experiment with different frostings: Now that you’ve mastered the crumb coat, explore various frosting recipes to find your new favorite.
What flavor combination will you try first to showcase your newly perfected crumb coating?