
Elevate Your Cakes with Advanced Buttercream Decorating Skills

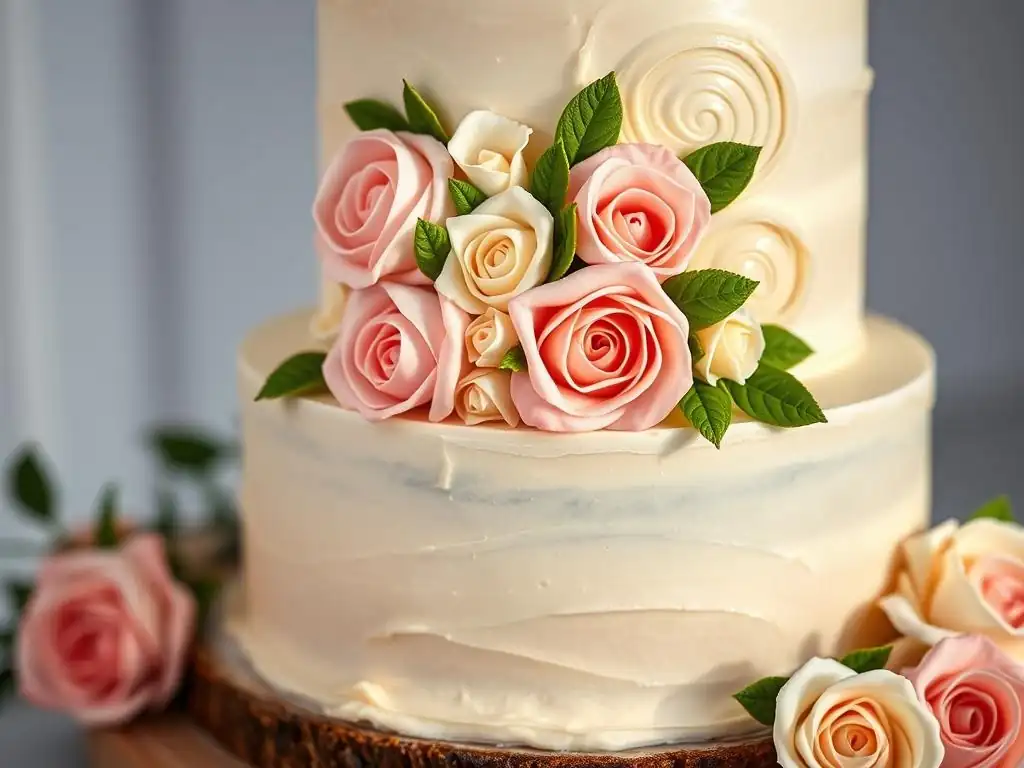
Welcome to BakeWithEase, your trusted guide on the journey to baking brilliance! Ever wondered how to transform a simple cake into a stunning masterpiece? This article delves into buttercream decorating techniques for beginner cakes, taking you beyond basic frosting to explore advanced skills and create truly unforgettable desserts. Get ready to elevate your baking game – but what are the secrets to achieving those professional-looking swirls and intricate designs? Read on to unlock the artistry within!
- Mastering Advanced Buttercream Techniques for Stunning Cakes
- Essential Buttercream Recipes for Advanced Decorating
- Color Mixing Secrets for Vibrant Buttercream Designs
- Advanced Buttercream Piping Techniques
- Decorating Cakes with Professional Buttercream Finishes
- Incorporating Textures and Elements
- Troubleshooting Common Buttercream Decorating Problems
- Level Up Your Cake Design: Advanced Buttercream Cake Ideas
- Conclusion: Embrace the Art of Advanced Buttercream Cake Decorating
-
Frequently Asked Questions
- What are the essential tools needed for buttercream decorating on beginner cakes?
- What type of buttercream is best for beginner cake decorating?
- What are some simple buttercream decorating techniques perfect for beginner cakes?
- How can I achieve a smooth buttercream finish on a cake?
- How do I avoid air bubbles in my buttercream when decorating?
- Final Reflection: Mastering the Art of Buttercream, One Cake at a Time
- Unleash Your Inner Cake Artist!
Mastering Advanced Buttercream Techniques for Stunning Cakes
Moving beyond simple swirls and smooth finishes opens up a world of possibilities for cake design. While mastering beginner buttercream decorating techniques is a crucial first step, advancing your skills allows you to create truly unique and professional-looking cakes. This involves understanding different buttercream types, perfecting your coloring techniques, and learning intricate piping methods that add texture, dimension, and artistic flair to your creations. It's about transforming a simple cake into a centerpiece.
Diving into advanced buttercream decorating means exploring stability, texture, and flavor in new ways. You'll learn how varying fat ratios and sugar types affect the consistency and usability of buttercream for different applications, from delicate floral work to sharp, structural edges. This level of detail is what separates competent cake decorators from those who consistently produce breathtaking results. It requires patience, practice, and a willingness to experiment with different tools and methods beyond the basic palette knife and star tip.
Essential Buttercream Recipes for Advanced Decorating
The foundation of any stunning buttercream cake is the buttercream itself. Different types offer unique properties suited for specific advanced techniques. Understanding these differences is key to choosing the right medium for your desired outcome, whether it's a smooth finish, intricate piping, or holding sharp edges.
Swiss Meringue Buttercream: The Smooth and Stable Choice
Swiss meringue buttercream is renowned for its incredibly smooth, silky texture and remarkable stability, making it a favorite for covering cakes and creating sharp edges. It's made by heating egg whites and sugar over a double boiler until the sugar dissolves, then whipping this mixture into a glossy meringue before gradually incorporating softened butter. This process denatures the egg proteins, making the buttercream less prone to weeping and more stable at room temperature compared to some other types. Its light consistency also takes color beautifully.
This buttercream is particularly well-suited for achieving that coveted flawless, smooth cake finish. Its elasticity allows for easy spreading and scraping, helping to eliminate air bubbles and achieve crisp edges with a cake scraper. While it requires a bit more effort than American buttercream, its superior texture and stability make it ideal for tiered cakes and complex designs where structure and appearance are paramount. It typically uses a higher ratio of butter to meringue, contributing to its richness and ability to hold shape when chilled.
Italian Meringue Buttercream: A Silky and Luxurious Option
Italian meringue buttercream is arguably the most stable of the meringue-based buttercreams, offering a luxurious, silky texture and excellent heat resistance. It's created by pouring hot sugar syrup (heated to the soft-ball stage, typically 240°F/115°C) into whipping egg whites, creating a very stable meringue. Once the meringue cools, softened butter is gradually added. The high temperature of the sugar syrup cooks the egg whites, resulting in a very safe and stable buttercream that can withstand warmer conditions better than Swiss or French versions.
Due to its exceptional stability, Italian meringue buttercream is perfect for intricate piping work, including detailed flowers and delicate lace patterns, as it holds its shape beautifully. It's also excellent for covering cakes that need to travel or be displayed for extended periods. While the process of making sugar syrup might seem daunting initially, the resulting buttercream's smooth consistency and robust structure make it a top choice for advanced buttercream decorating techniques that demand precision and durability. It tends to be slightly less sweet than American buttercream, allowing other flavors to shine.
American Buttercream: Quick, Easy, and Customizable
American buttercream is the simplest and quickest to make, typically consisting of powdered sugar, butter, a liquid (like milk or cream), and flavoring. Its ease of preparation makes it a popular choice, especially for beginner buttercream decorating techniques. It has a denser, sweeter texture compared to meringue-based buttercreams. While it might not be as smooth or stable for intricate piping in warm conditions, its versatility for simple swirls, borders, and filling layers is undeniable.
Despite its simplicity, American buttercream can be adapted for more advanced uses. Adjusting the ratio of butter to sugar can alter its consistency for different applications – adding more liquid or fat makes it softer for spreading, while increasing the powdered sugar creates a stiffer consistency suitable for basic piping. It also takes color very well, producing vibrant hues.
However, its high sugar content can make it overly sweet for some palates, and it can crust over quickly, which needs to be managed when aiming for a smooth finish. For specific advanced techniques like palette knife painting, its texture can sometimes be too grainy unless sifted meticulously.
French Buttercream: Rich and Decadent
French buttercream stands out for its rich, custard-like texture and deep yellow hue, derived from its base of whipped egg yolks and hot sugar syrup. Similar to Italian meringue, hot sugar syrup is streamed into whipping egg yolks until thick and pale. Once cooled, softened butter is incorporated. This buttercream is incredibly smooth and melts beautifully in the mouth, offering a luxurious sensory experience.
However, French buttercream is less stable than its meringue counterparts due to the presence of egg yolks and the absence of egg whites' structural proteins. It is best suited for fillings or as a softer, less structural frosting layer. While not typically used for sharp edges or intricate, upright piping that requires significant hold, its decadent texture makes it wonderful for softer applications like spreading or creating gentle swirls. It's also more sensitive to temperature and best used and served at cooler room temperatures to maintain its consistency.
Color Mixing Secrets for Vibrant Buttercream Designs
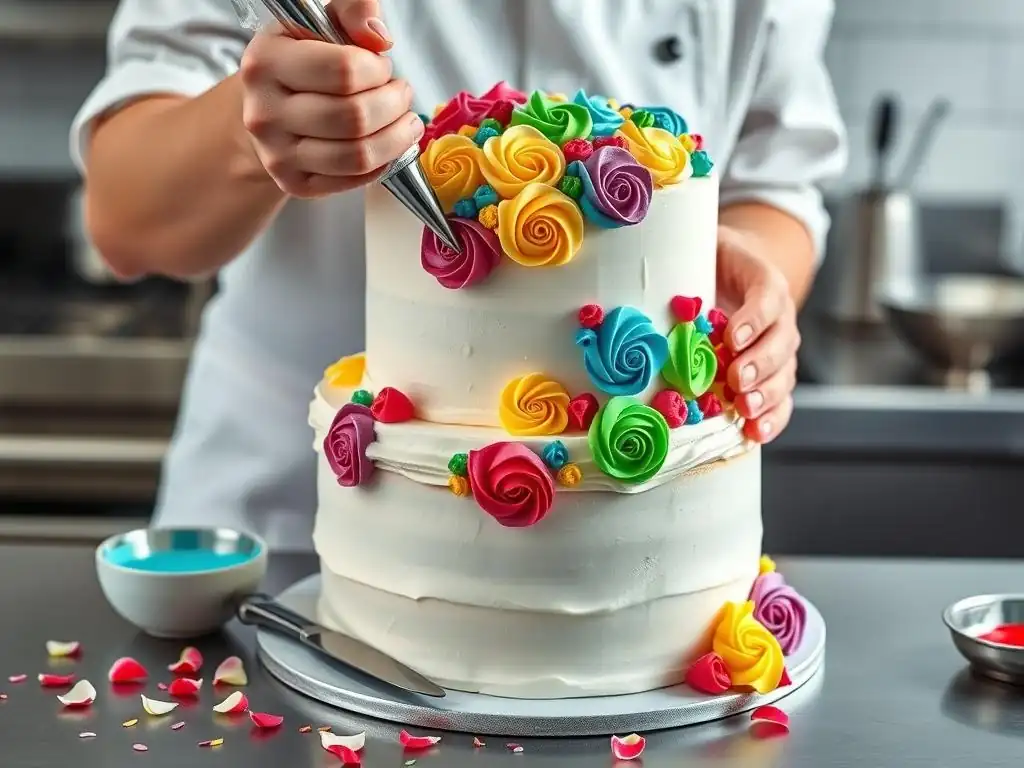
Color is a powerful tool in cake decorating, transforming simple buttercream into expressive art. Mastering color mixing is essential for advanced buttercream decorating techniques, allowing you to create specific moods, match themes, and achieve stunning visual effects like gradients and painted designs.
Understanding Color Theory for Cake Decorating
Applying basic color theory principles is fundamental to achieving desired hues in buttercream. Understanding the primary colors (red, blue, yellow), secondary colors (green, orange, violet), and how they interact helps you mix custom shades accurately. Knowledge of complementary colors (opposite each other on the color wheel, like red and green) is useful for creating contrast or, conversely, for neutralizing unwanted tones. Analogous colors (next to each other on the wheel, like blue and green) create harmonious palettes.
Beyond the basic color wheel, understanding tints (adding white), shades (adding black or a darker color), and tones (adding grey) allows for subtle variations and sophistication in your buttercream palette. For instance, adding a tiny amount of purple to a yellow buttercream can create a more muted, naturalistic yellow, while adding white makes a lighter tint. Keeping a color wheel handy and experimenting with small batches of buttercream are excellent practices for developing your color mixing intuition for cake decorating.
Achieving Accurate Colors with Gel Food Coloring
Gel food coloring is the preferred choice for coloring buttercream due to its concentrated pigment and minimal liquid content, which prevents thinning the frosting. Unlike liquid dyes, a small amount of gel coloring goes a long way, allowing you to achieve vibrant, deep colors without significantly altering the buttercream's consistency. It's important to add gel coloring gradually, mixing thoroughly after each addition, as colors deepen slightly over time.
For accurate color matching, start with a small amount and slowly build up the intensity. If trying to match a specific shade, mix a test batch on a plate first. Remember that the base color of your buttercream (especially if using butter, which has a yellow tint) will affect the final outcome; a bright white buttercream base, often achieved with shortening or a specific recipe, yields the purest colors. For instance, achieving a true bright white with a butter-based buttercream often requires adding a tiny amount of violet coloring to counteract the yellow.
Creating Ombre and Gradient Effects with Buttercream
Ombre and gradient effects involve transitioning seamlessly between different shades of the same color or between related colors. This technique adds depth and visual interest to cakes. To create an ombre effect with buttercream, you typically start with your darkest shade at the bottom of the cake and gradually lighten it towards the top. Divide your buttercream into several portions. Color the first portion the darkest shade, the next slightly lighter, and so on, by adding more plain buttercream or white coloring.
Applying the different shades in bands around the cake, from dark to light, is the first step. Then, use a bench scraper or palette knife to smooth and blend the colors together. Holding the scraper against the cake at a slight angle and rotating the cake allows the edges of the colored bands to meld, creating a smooth transition. Practice is key to achieving a flawless gradient, ensuring even pressure and consistent scraping around the entire cake surface. For a vertical ombre, you might color separate batches and pipe lines of color up the cake before smoothing.
Neutralizing Unwanted Tones in Buttercream
Sometimes, buttercream can have unwanted undertones, such as the yellow tint from butter or a slightly grey cast from certain flavorings. Knowing how to neutralize these tones is a crucial advanced buttercream decorating skill. The principle is based on using a tiny amount of the color opposite the unwanted hue on the color wheel.
For example, to counteract the yellow tint in butter-based buttercream and achieve a brighter white, add a very small amount of purple or violet food coloring. Since purple is the complementary color to yellow, it cancels out the yellow tone. Similarly, if a color appears too vibrant or artificial, adding a tiny touch of its complementary color can mute it slightly. This technique requires a light hand; too much neutralizing color will tint the entire batch. Start with a toothpick's worth and mix thoroughly before adding more.
Advanced Buttercream Piping Techniques
Moving beyond simple stars and shells unlocks a vast repertoire of decorative possibilities with buttercream. Advanced piping techniques require precision, practice, and a good understanding of different piping tips and their uses.
Mastering the Rose Swirl: A Classic Buttercream Design
The buttercream rose swirl is a popular and elegant technique that creates the illusion of a blooming rose directly on the cake or cupcake. While seemingly simple, achieving uniform and attractive swirls requires practice. You typically use a large open star tip (like a 1M or 2D). Start piping in the center of where you want the rose, then swirl outwards in a continuous motion, keeping consistent pressure, until you reach the desired size.
For a more realistic rose, you can start from the outside and swirl inwards, overlapping the buttercream slightly to create petal-like layers. The consistency of your buttercream is crucial here; it needs to be firm enough to hold its shape but soft enough to flow smoothly through the tip. Using a chilled cake helps the piped buttercream set quickly, preventing it from slumping. Practice piping on parchment paper first to get a feel for the pressure and motion required.
Creating Buttercream Ruffles and Textures
Buttercream ruffles add beautiful texture and movement to a cake's surface. There are several ways to create ruffles, often involving a petal tip (like a 104 or 125). By holding the tip with the wider end against the cake and the narrower end slightly away, you can pipe waves or overlapping layers of buttercream, gently moving your hand back and forth or up and down as you pipe along the cake side. Varying the angle and movement creates different ruffle styles, from delicate waves to bold, dramatic folds.
Beyond ruffles, various piping tips can create a multitude of textures. Using a grass tip (like a 233) creates a furry or grassy effect. Basketweave tips (like a 47) can mimic woven patterns. Round tips of different sizes can create dots, beads, or raised patterns. Experimenting with pressure and tip movement allows for further variation, such as pulling the tip away quickly to create spikes or holding it steady to form mounds. These textures add visual and tactile interest to your advanced buttercream designs.
Piping Intricate Buttercream Flowers: Lilacs, Peonies, and More
Creating realistic buttercream flowers directly on the cake or on flower nails is a hallmark of advanced buttercream decorating. Techniques range from simple rosettes to complex multi-petal blossoms like peonies, hydrangeas, and lilacs. Each flower requires specific piping tips (petal tips, leaf tips, round tips) and distinct hand movements and pressure control. For example, piping a realistic peony involves building layers of petals around a central bud using a large curved petal tip.
Using a flower nail allows you to rotate the base as you pipe, making it easier to build symmetrical flowers layer by layer. Once completed, the flower can be carefully transferred to the cake using a spatula. For flowers like hydrangeas or lilacs, multiple small florets are piped using small star or round tips to create clusters directly onto the cake surface. This level of detail requires a buttercream that holds its shape exceptionally well, such as Italian or Swiss meringue buttercream, and significant practice to achieve natural-looking results.
Using Piping Tips for Unique Buttercream Effects
Beyond standard uses, many piping tips can be used creatively to achieve unique textures and patterns. A simple round tip isn't just for dots; varying pressure and pulling away can create teardrops or elongated shapes. A star tip used in different ways can create shells, zigzags, or full coverage textures. Even less common tips, like those designed for specific purposes (e.g., a basketweave tip), can be used in unconventional ways to create abstract patterns or textures.
Consider using multiple tips together or layering different piping techniques. For instance, piping a base layer of smooth buttercream and then adding textured elements on top with a small star or round tip. Or, using a leaf tip not just for leaves but for creating feathered or scaled effects on the cake side. Exploring the possibilities of each tip beyond its intended use is a key part of developing advanced buttercream decorating skills and finding your unique style.
Decorating Cakes with Professional Buttercream Finishes
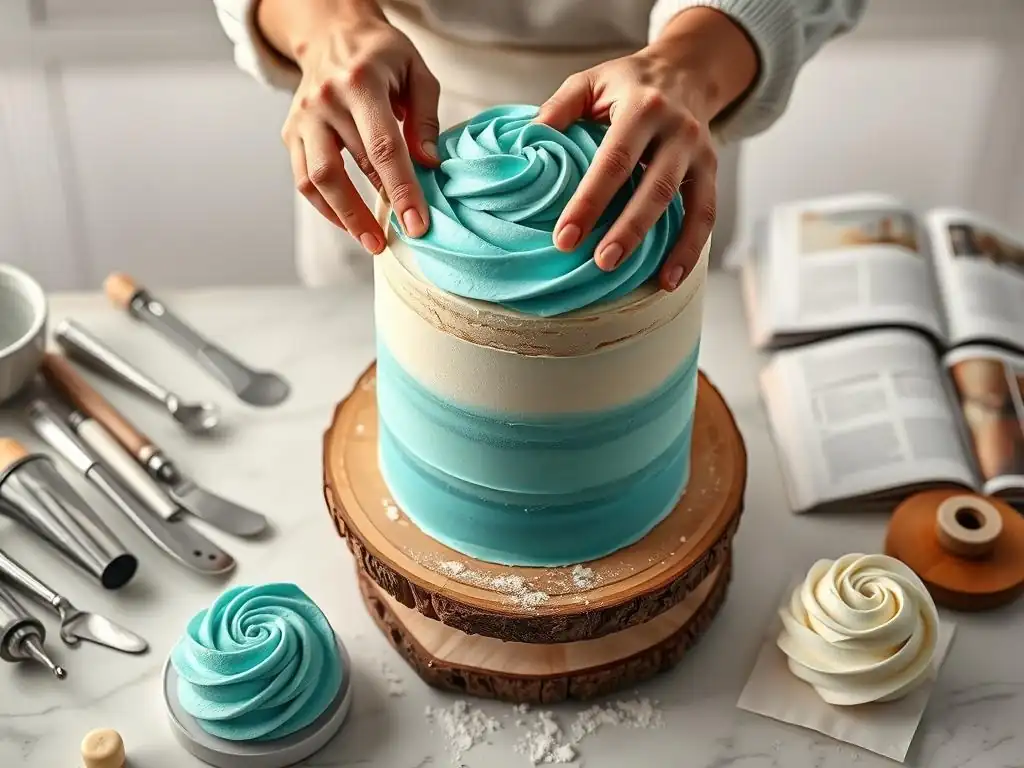
Achieving a smooth, professional finish is fundamental to advanced buttercream decorating, providing a clean canvas for further embellishments or standing alone as an elegant design. This involves techniques to ensure even coverage, sharp edges, and a flawless surface.
Achieving a Smooth Buttercream Finish: The Crumb Coat and Final Coat
A smooth buttercream finish begins with a proper crumb coat. This is a thin layer of buttercream applied to the cake to trap any loose crumbs. Chill the cake until this layer is firm, typically 15-20 minutes in the refrigerator. This step is crucial for preventing crumbs from appearing in your final, visible layer of buttercream.
Once the crumb coat is firm, apply the final, thicker layer of buttercream. Use an offset spatula to apply a generous amount, ensuring full coverage. Then, using a bench scraper held against the side of the cake at a slight angle (around 45 degrees), rotate the cake on a turntable to smooth the sides. For the top, use a palette knife or offset spatula to gently pull the excess buttercream from the edges towards the center. Repeat these steps, warming your scraper slightly if needed, until the surface is smooth and even.
Using Cake Scrapers for Sharp Edges
Sharp, defined edges are a hallmark of professional cake decorating. Cake scrapers, available in various materials (metal, plastic) and shapes (straight, toothed), are essential tools for this. To achieve sharp edges on the top, apply slightly more buttercream than needed, especially around the top edge. Use a straight bench scraper to smooth the sides as described above. This will create a slight lip of buttercream overhanging the top edge.
Then, use a smaller offset spatula or a straight scraper held parallel to the top surface, starting from the outside edge and pulling inwards towards the center. Wipe the spatula clean after each pull. Repeat this motion around the entire top edge until the overhang is removed and a crisp angle is formed where the side meets the top. Practice and a consistent hand are key to achieving perfectly sharp edges.
Adding Buttercream Borders for a Polished Look
Buttercream borders serve both an aesthetic and functional purpose, providing a clean transition between the cake sides and the cake board, or along the top edge. Borders add a finished, professional look and can hide any slight imperfections at the base or top edge. Common border techniques include the classic shell border (using a star tip), rope border (using a round tip and specific overlapping motion), or simple bead borders (using a round tip).
The key to a successful border is consistent pressure and angle as you pipe around the cake. Practice piping the chosen border on a flat surface first to get a feel for the required motion and pressure. Ensure your buttercream is the right consistency – firm enough to hold the border's shape but soft enough to pipe smoothly. For advanced borders, consider using multiple tips or colors, or combining different border styles for a more elaborate finish.
Incorporating Textures and Elements
Elevating buttercream decorated cakes often involves incorporating elements beyond just piping and smoothing. Adding sprinkles, stencils, edible paint, or ganache drips introduces new textures, colors, and dimensions.
Adding Sprinkles and Edible Glitter
Sprinkles and edible glitter are simple yet effective ways to add texture and sparkle to buttercream. They can be applied in various ways: pressing them into a freshly buttercreamed surface (especially effective on the sides of a cake), scattering them over the top, or using them to fill stenciled patterns. Different types of sprinkles, from fine sanding sugar to jimmies and nonpareils, offer varied textures and visual effects.
For full coverage on the sides, place the cake on a smaller board or stand that fits inside a larger tray or bowl to catch excess sprinkles. Gently press handfuls of sprinkles against the sides of the cake, rotating as you go. Edible glitter can be carefully brushed onto specific areas or lightly sprinkled for a shimmering effect. Ensure the buttercream is slightly chilled but still soft enough for the sprinkles to adhere.
Creating Buttercream Accents with Stencils
Stencils allow you to add intricate patterns or designs to a smooth buttercream surface with relative ease. Place the stencil against a chilled, smooth buttercream surface. Using an offset spatula or scraper, apply a thin layer of buttercream over the stencil, ensuring it fills all the openings. Carefully scrape away the excess buttercream to reveal the pattern.
Gently peel the stencil away from the cake, pulling it straight back to avoid smudging the design. This technique works best on a firm, chilled buttercream surface (like Swiss or Italian meringue) and with a buttercream used to apply through the stencil that is slightly thicker than your base coat. Stencils can be used to create lace patterns, geometric shapes, or even custom designs.
Using Edible Paint on Buttercream
Edible paint, made from food coloring mixed with a medium like vodka, lemon extract, or edible alcohol, can be used to add hand-painted details to a buttercream cake. This technique works best on a firm, crusted buttercream surface, such as American buttercream that has been allowed to air dry for a while, or a very well-chilled meringue-based buttercream.
Use food-safe brushes to paint designs directly onto the cake. The alcohol in the paint evaporates quickly, leaving the color behind. This allows for artistic expression, from delicate brush strokes and watercolor effects to bold painted patterns. You can paint entire sections, add metallic accents with edible luster dust mixed with alcohol, or paint fine details onto piped buttercream elements like flowers.
Making Chocolate Ganache Drip Cakes with Buttercream
Drip cakes, where ganache or another glaze is allowed to drip down the sides of a buttercream-covered cake, are a popular advanced technique. While the drip itself isn't buttercream, it's applied over a buttercream finish. Achieve a sharp-edged, smooth buttercream coat on a well-chilled cake for the best drip effect. The cold surface helps control the drips.
Prepare your ganache (typically chocolate and cream) to the correct consistency and temperature – it should be warm enough to flow but not so hot that it melts the buttercream. Apply the ganache to the top edge of the cake, either using a piping bag with a small round tip to control individual drips or pouring it onto the center and spreading it towards the edges to create drips as it flows over. Ensure the ganache is not too thin, or the drips will run too far down the cake.
Troubleshooting Common Buttercream Decorating Problems
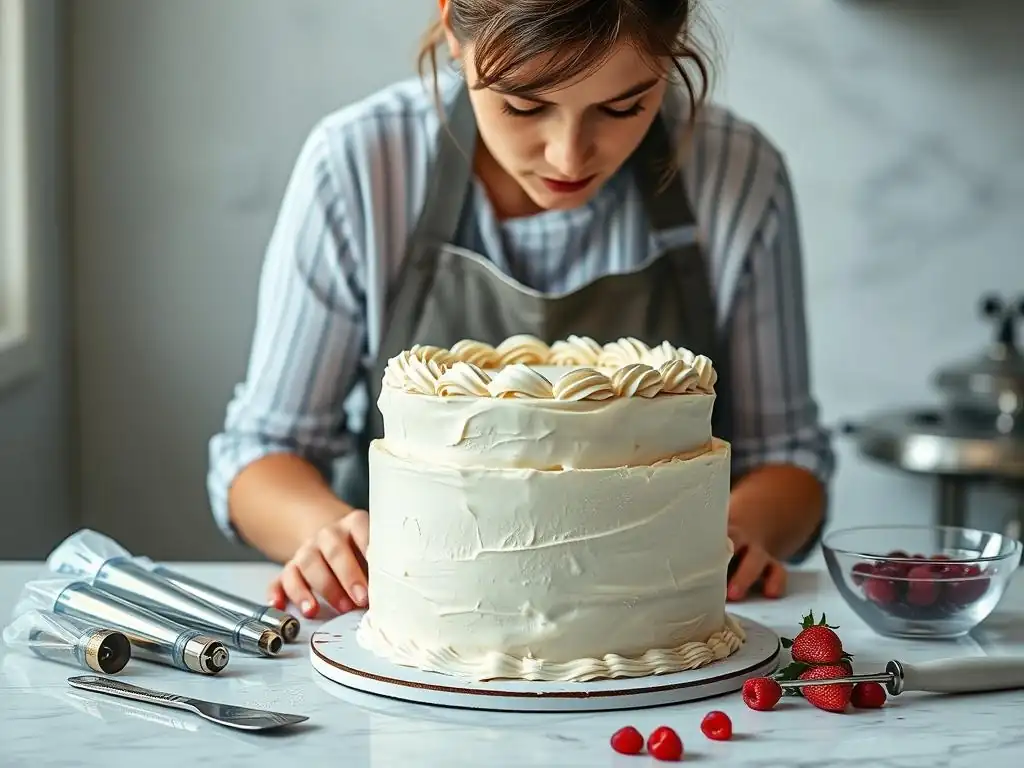
Even with advanced skills, issues can arise. Knowing how to troubleshoot common buttercream problems is key to salvaging your work and achieving successful results.
Preventing Buttercream from Melting or Separating
Buttercream can melt or separate due to heat or incorrect emulsification during preparation. To prevent melting while decorating, work in a cool environment (ideally below 70°F/21°C). Chill your cake periodically, especially if working on complex designs or in a warm kitchen. If buttercream becomes too soft while piping, place the piping bag in the refrigerator for a few minutes to firm it up.
Separated buttercream, where the butter and liquid/sugar have split, can often be fixed. If it looks curdled, it might be too cold. Gently warm a small portion and beat it back into the rest. If it looks greasy or soupy, it might be too warm. Chill the entire batch for a bit, then re-whip it, sometimes over an ice bath, until it comes together. Adding a tablespoon of powdered sugar or a bit more softened butter can sometimes help re-emulsify it.
Fixing Air Bubbles in Buttercream
Air bubbles can ruin a smooth buttercream finish or cause breaks in piped lines. They are often incorporated during the whipping process. To minimize bubbles, mix your buttercream on a lower speed for the final few minutes after it's fully combined.
If air bubbles are present when smoothing a cake, use your spatula or bench scraper to gently press them out as you smooth. For stubborn bubbles, pop them with a pin and then smooth the area. For piping buttercream, knead the piping bag gently before use to help push air pockets out. You can also press the filled piping bag flat on the counter and roll it slightly with a rolling pin to force bubbles towards the opening.
Achieving the Right Buttercream Consistency for Piping
Different piping techniques require different buttercream consistencies. For intricate flowers and sharp details, the buttercream needs to be firm enough to hold its shape precisely. For smooth coverage or ruffles, it needs to be spreadable but not runny. The key is knowing how to adjust consistency.
If your buttercream is too stiff for piping, add a tiny amount of liquid (milk, cream, or water, depending on the recipe) or softened butter, a teaspoon at a time, mixing thoroughly until the desired consistency is reached. If it's too soft, add more powdered sugar (for American buttercream) or chill it briefly (for meringue-based buttercreams) and re-whip. Always test the consistency on a small area before applying it to the cake.
Stabilizing Buttercream in Warm Weather
Warm weather is the nemesis of buttercream. To stabilize buttercream for warmer conditions, especially if using American buttercream, you can add a tablespoon or two of meringue powder or cornstarch during mixing. These absorb moisture and help the buttercream hold its structure better. Using a recipe with a higher ratio of fat to sugar also increases stability.
For meringue-based buttercreams, ensuring the meringue is whipped to very stiff peaks and the butter is incorporated correctly helps. Chilling the cake frequently during the decorating process is the most effective strategy in warm environments. If transporting a cake in warm weather, ensure it is well-chilled beforehand and transported in a cooler or insulated carrier. Consider using a recipe specifically designed for heat tolerance, such as a shortening-based buttercream or a very stable Italian meringue.
Level Up Your Cake Design: Advanced Buttercream Cake Ideas
Ready to put your advanced buttercream decorating skills to the test? Here are a few popular and visually striking cake ideas that go beyond beginner buttercream decorating techniques.
Floral Buttercream Wreath Cake
A floral buttercream wreath cake features a beautiful arrangement of piped buttercream flowers and leaves encircling the top or sides of the cake, often on a smooth buttercream finish. This design allows you to showcase your skills in piping various types of buttercream flowers, leaves, and buds, arranging them harmoniously to create a naturalistic or stylized wreath. It's a perfect canvas for using multiple colors and different piping tips.
Geode Buttercream Cake
The geode cake trend involves creating a cavity in the cake, filling it with rock candy or sugar crystals, and then using buttercream to create the illusion of stone layers around the geode. This requires precise carving (or building up with cake/buttercream) and careful application and coloring of buttercream to mimic the look of natural rock formations. Achieving realistic stone textures with buttercream involves techniques like palette knife painting, texturizing with spatulas, and blending multiple shades of gray, brown, and black buttercream.
Fault Line Buttercream Cake
A fault line cake features a band of decorative elements (like sprinkles, edible glitter, or patterned buttercream) running horizontally around the cake, framed by a "fault line" created with more buttercream. The area outside the fault line is typically covered in smooth buttercream. This design requires achieving a very smooth finish on the outer buttercream layers and carefully building up the buttercream along the fault line to create the raised edge that frames the inner design. It allows for creative use of texture and contrast between the smooth and the decorated areas.
Painted Buttercream Cake
Using edible paints or colored buttercream applied with palette knives allows you to treat the cake surface as a canvas. Painted buttercream cakes can range from abstract strokes and textures created with a palette knife (often called palette knife painting) to detailed, hand-painted images applied with brushes onto a crusted buttercream surface. This technique requires a good understanding of color mixing and artistic skill, transforming the cake into a unique piece of edible art.
Conclusion: Embrace the Art of Advanced Buttercream Cake Decorating
Mastering advanced buttercream decorating skills is a rewarding journey that allows you to transform simple baked goods into stunning works of art. By understanding the properties of different buttercream types, honing your color mixing abilities, practicing intricate piping techniques, and perfecting your finishing skills, you can elevate your cakes to a professional level. Moving beyond beginner buttercream decorating techniques opens up endless possibilities for creativity and expression in your baking. Don't be afraid to experiment, practice diligently, and most importantly, have fun bringing your sweetest visions to life with the versatile magic of buttercream.
Frequently Asked Questions
What are the essential tools needed for buttercream decorating on beginner cakes?
The most essential tools include a piping bag, a variety of piping tips, an offset spatula, and a turntable to help rotate the cake smoothly.
What type of buttercream is best for beginner cake decorating?
American buttercream is often recommended for beginners because it's relatively easy to make and holds its shape well. Other options are Swiss meringue buttercream and Italian meringue buttercream, but they are more challenging.
What are some simple buttercream decorating techniques perfect for beginner cakes?
Start with basic techniques like smooth frosting, piping rosettes, and creating simple borders. These are easy to master and add a professional touch to your cakes.
How can I achieve a smooth buttercream finish on a cake?
Use an offset spatula and a turntable. Apply a thin "crumb coat" first, chill the cake, and then apply the final coat of buttercream, smoothing it as you rotate the turntable.
How do I avoid air bubbles in my buttercream when decorating?
Make sure your buttercream is properly creamed and that you're not overmixing it. Gently tap your piping bag on the counter to release any trapped air before decorating.
Final Reflection: Mastering the Art of Buttercream, One Cake at a Time
The art of buttercream decorating isn't just about creating beautiful cakes; it's about expressing creativity, celebrating life's moments, and bringing joy to others. In today's world, where visual appeal holds immense power, mastering even basic buttercream techniques can unlock a world of possibilities, from charming birthday cakes to stunning wedding masterpieces. The skills discussed in this article are not just fleeting trends; they are foundational elements of a timeless craft.
The journey of learning buttercream decorating has been a deeply personal one for me, transforming a simple hobby into a source of immense satisfaction and connection. It's about more than just the perfect swirl or intricate piping; it's about the process of creation, the quiet moments of focus, and the sheer delight of seeing a blank canvas transformed into something beautiful. As the renowned pastry chef, Jacques Torres, once said, Baking is about love. It's about sharing. It's about creating something beautiful.
This sentiment perfectly encapsulates the spirit of buttercream decorating, extending far beyond the technical skills involved.
Now, it's your turn. Don't be intimidated by the seemingly complex techniques; embrace the challenge, experiment with different nozzles and colors, and most importantly, have fun! Each piped rose, each perfectly smooth surface, represents a step forward in your creative journey. Pick up your piping bag, embrace the mess, and let your imagination run wild. The world of buttercream decorating awaits, ready to be shaped by your unique vision and talent.
Unleash Your Inner Cake Artist!
Thanks for diving into the world of advanced buttercream decorating! We hope you've gained valuable techniques to elevate your baking game. Ready to put your new skills to the test?
- Master your first rosette: Practice the techniques you learned today with a simple cake, focusing on perfecting your rosette technique. Don't be afraid to experiment with different piping tips!
- Share your creations: Post a photo of your masterpiece on social media and tag us—we'd love to see your progress! Use #BakeWithEaseMasterpiece.
- Explore new designs: Browse online for inspiration, and try a new, more complex design this week. Challenge yourself!
What incredible cake creation will you bake next?