
Fixing Air Bubbles in Your Buttercream

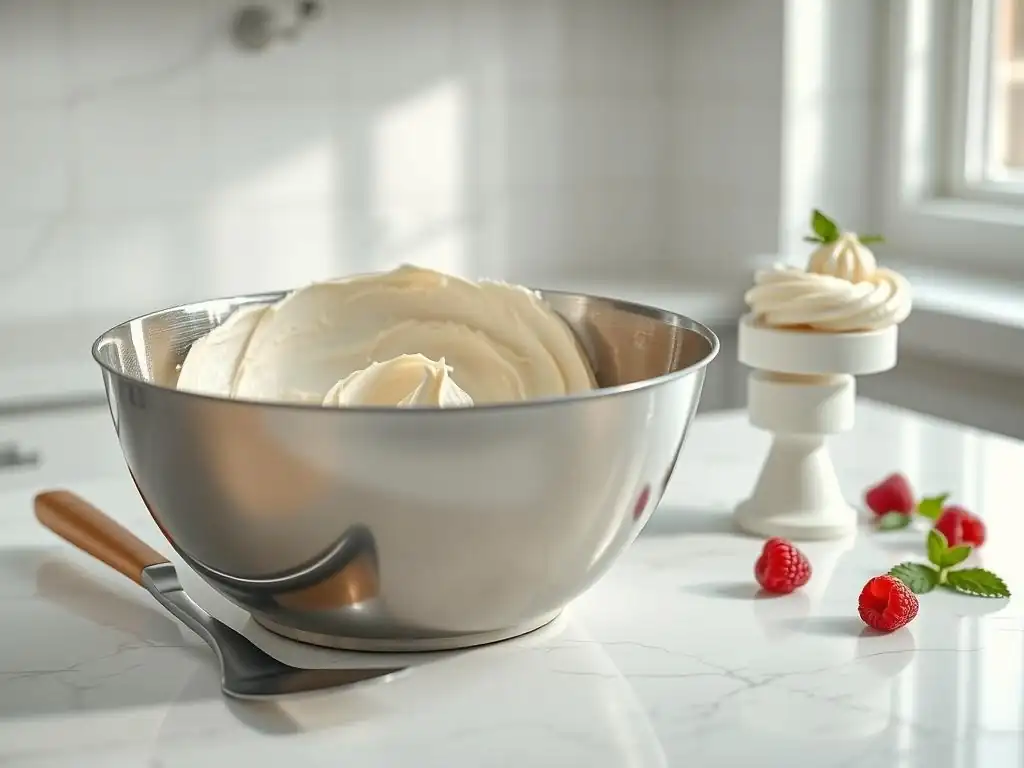
Welcome to BakeWithEase, your trusted companion on your baking journey! Have you ever spent hours perfecting a cake, only to be greeted by unsightly air bubbles in your buttercream? It's a frustrating experience, but fear not! This week, we're diving deep into the art of smooth frosting with our guide on How to Remove Buttercream Bubbles. Discover the secrets to achieving a flawless finish and elevate your baking game. Ready to banish those bubbles forever? Let's get started!
- Fixing Air Bubbles in Your Buttercream: A BakeWithEase Guide
- Introduction: Achieving Smooth, Bubble-Free Buttercream
- Understanding the Causes of Air Bubbles in Buttercream
- Troubleshooting: Step-by-Step Solutions for Bubble-Free Buttercream
- Preventing Air Bubbles in Buttercream: Proactive Measures
- Buttercream Bubble FAQs: Addressing Common Concerns
- Tools and Equipment to Help Minimize Buttercream Bubbles
- Conclusion: Enjoying Smooth, Professional-Looking Buttercream
-
Frequently Asked Questions
- How can I prevent air bubbles from forming in my buttercream in the first place?
- What is the best method for removing air bubbles after the buttercream is made?
- Does the type of mixer I use affect the number of air bubbles in my buttercream?
- Will letting my buttercream rest help reduce the number of air bubbles?
- Can I use a kitchen torch to remove air bubbles from buttercream on a cake?
- Final Reflection: The Pursuit of Perfect Buttercream
- Unleash Your Perfectly Smooth Buttercream!
Fixing Air Bubbles in Your Buttercream: A BakeWithEase Guide
Introduction: Achieving Smooth, Bubble-Free Buttercream
Air bubbles are a common frustration for bakers, turning what should be a silky-smooth canvas into a pitted mess. These tiny pockets of air can appear in buttercream during the mixing process, often unexpectedly, and significantly impact the final look of your frosted cakes or piped decorations. Understanding why these bubbles form is the first step in achieving that flawless finish every baker desires.
A smooth, bubble-free buttercream is absolutely essential for professional-looking cake decorating. Whether you're striving for sharp edges on a tiered cake, a perfectly smooth surface for ganache drips, or intricate piping designs, air bubbles will mar the appearance and can even cause breaks in your frosting layer. Learning how to remove buttercream bubbles is a fundamental skill that elevates your baking from homemade to bakery-quality.
At BakeWithEase, we believe that mastering baking techniques should be accessible and enjoyable for everyone. This guide is designed to walk you through the common causes of those pesky air bubbles and, more importantly, provide practical, easy-to-follow solutions on how to remove buttercream bubbles, ensuring your frosting is always picture-perfect.
Understanding the Causes of Air Bubbles in Buttercream
Over-Mixing Buttercream: A Common Culprit
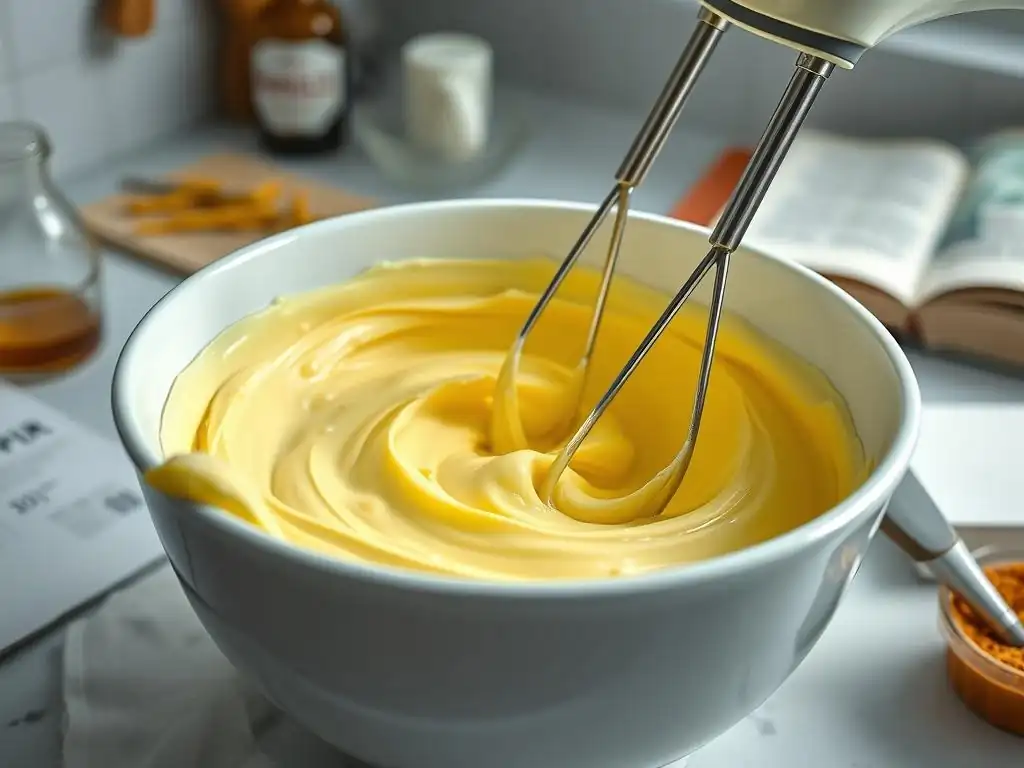
One of the most frequent reasons for excessive air bubbles in buttercream is simply mixing it for too long or at too high a speed, particularly after the ingredients have fully emulsified. While initial mixing is necessary to combine ingredients and create a stable frosting, continued high-speed agitation incorporates vast amounts of air into the mixture. Think of it like whipping cream – the goal is to trap air, but with buttercream, too much trapped air creates visible bubbles.
This over-mixing often occurs when bakers are trying to achieve a lighter, fluffier texture, or when they are incorporating large amounts of color or flavorings. For instance, mixing a standard batch of American buttercream (approximately enough for a two-layer 8-inch cake) on medium-high speed for more than 5-7 minutes after the sugar is fully incorporated can introduce enough air to cause noticeable bubbles throughout the frosting, making it difficult to spread smoothly or pipe cleanly.
Incorrect Butter Temperature: The Impact on Air Incorporation
The temperature of your butter plays a critical role in the texture of your buttercream and its propensity to develop air bubbles. Butter that is too cold will not cream properly with the sugar or other ingredients, leading to a lumpy, separated mixture that requires aggressive, high-speed mixing to bring together. This forceful mixing is a prime opportunity for air to get trapped within the frosting.
Conversely, butter that is too warm, bordering on melted, lacks the structure needed to properly emulsify with other ingredients. While it might seem to mix smoothly at first, it can become greasy and struggle to hold air evenly. The ideal temperature for butter in most buttercream recipes is cool room temperature, typically around 65-70°F (18-21°C).
At this temperature, butter is soft enough to cream smoothly but firm enough to create a stable emulsion without excessive air incorporation. Using butter that is significantly outside this range, such as straight from the refrigerator or left in a warm kitchen for too long, dramatically increases the likelihood of buttercream bubbles.
Improper Mixing Technique: How It Creates Buttercream Bubbles
Beyond just speed and duration, the way you mix your buttercream significantly impacts air incorporation. Using a whisk attachment for the entire mixing process, especially in stand mixers, is a common error that guarantees a bubble-filled frosting. Whisk attachments are designed specifically to whip air into mixtures, perfect for meringues or whipped cream, but counterproductive for smooth buttercream.
The best practice involves starting with a paddle attachment for creaming butter and sugar and incorporating liquid ingredients. If you switch to a whisk at all, it should only be briefly to lighten the texture after the frosting is fully formed, and even then, it risks adding bubbles. Failing to scrape down the sides and bottom of the mixing bowl regularly also contributes to uneven mixing, sometimes necessitating longer mixing times at higher speeds to fully combine ingredients, which in turn introduces more air and makes it harder to remove buttercream bubbles later.
Type of Buttercream: Some are More Prone to Air Bubbles
While air bubbles can appear in almost any type of buttercream, certain varieties are inherently more susceptible than others. American buttercream, which is primarily butter and powdered sugar, is notorious for trapping air due to the volume of dry sugar and the common practice of whipping it extensively to achieve a light texture. The density of powdered sugar can easily hold onto trapped air pockets.
Meringue-based buttercreams, such as Swiss Meringue or Italian Meringue, are generally smoother and less prone to large visible air bubbles compared to American buttercream. However, they can still incorporate tiny bubbles, particularly if the initial meringue isn't perfectly smooth or if the butter is added too quickly or at the wrong temperature.
French buttercream, made with egg yolks, tends to be denser and less likely to have significant air issues, but improper technique can still lead to imperfections. Understanding the specific characteristics of your chosen buttercream type helps anticipate potential bubble issues and apply the right techniques to remove buttercream bubbles.
Troubleshooting: Step-by-Step Solutions for Bubble-Free Buttercream
Solution 1: The Stir-Down Method for Removing Air Pockets
The stir-down method is one of the most effective and widely used techniques for how to remove buttercream bubbles after it has been mixed. This technique relies on simple mechanical action to force trapped air out of the frosting. It's particularly useful for American buttercream but can be adapted for other types as well.
This process works by gently manipulating the buttercream, breaking down the larger air pockets into smaller, less noticeable ones, and eventually pushing them out. It's a low-tech solution that requires patience and a good spatula, but it consistently yields a noticeably smoother frosting texture, making it much easier to spread and pipe without frustrating air bubbles appearing on your cake surface.
Step 1: Gently Stirring the Buttercream
Transfer your mixed buttercream to a clean, stable bowl. Using a sturdy rubber spatula or a wooden spoon, begin stirring the buttercream by hand. Start from the center of the bowl and move outwards, pushing the buttercream against the sides. The motion is less about whipping and more about folding and pressing.
Step 2: Applying Gentle Pressure to Release Trapped Air
As you stir, use the flat side of your spatula to press portions of the buttercream firmly against the side of the bowl. This pressure helps to collapse any small air pockets that are trapped within the frosting. Imagine you are trying to smear the buttercream onto the side of the bowl, then gather it back into the center.
Step 3: Repeating the Stir-Down Process for Optimal Smoothness
Continue stirring and pressing the buttercream against the bowl for several minutes. You should see the texture become noticeably smoother and silkier as you work. For a standard batch (enough for a two-layer cake), this process might take anywhere from 5 to 10 minutes of continuous stirring and pressing to achieve the desired level of smoothness and effectively remove air bubbles.
Solution 2: The Low-Speed Mixing Technique for Eliminating Buttercream Bubbles
If you prefer to use your stand mixer for troubleshooting, switching to a low-speed mixing technique is an excellent way to coax air bubbles out of buttercream without incorporating more. This method leverages the gentle, consistent movement of the mixer to smooth out the frosting.
This approach is less labor-intensive than the hand stir-down method and can be very effective for larger batches of buttercream. The key is patience and using the correct attachment and speed setting to gently work the air out rather than whipping it in. It's a proactive way to address bubbles that formed during initial, higher-speed mixing.
Step 1: Switching to a Paddle Attachment
If you used a whisk at any point, or even if you used a paddle on a higher speed initially, switch to or ensure you have the paddle attachment fitted onto your stand mixer. The paddle is designed for mixing and creaming, not whipping, making it ideal for smoothing.
Step 2: Mixing on the Lowest Speed Setting
Place the bowl of buttercream back on the mixer. Start the mixer on the absolute lowest speed setting. The goal is a slow, steady turn that helps break down air pockets without introducing new ones. Avoid the urge to increase the speed, even if the process seems slow; higher speeds will counteract your efforts to remove buttercream bubbles.
Step 3: Scraping Down the Bowl Regularly
Allow the mixer to run on low speed for several minutes, typically 5-15 minutes depending on the batch size and how many bubbles are present. Stop the mixer every few minutes to scrape down the sides and bottom of the bowl thoroughly with a spatula. This ensures all the buttercream is subjected to the gentle mixing action and helps incorporate any warmer, smoother sections from the sides back into the main mass. Continue until the buttercream appears smooth and bubble-free.
Solution 3: The Water Bath Method for Dissolving Air in Buttercream
The water bath method, sometimes called the "warm bowl" technique, uses gentle heat to slightly soften the buttercream, which helps trapped air bubbles rise to the surface and dissipate. This is particularly effective for meringue-based buttercreams but can also work for American buttercream if done carefully.
This technique requires careful temperature control to avoid melting the butter entirely, which would ruin the texture. The aim is just to warm the buttercream enough that it becomes more fluid and the air can escape more easily. It's a slightly more advanced method but incredibly effective for achieving a super-smooth finish, especially before frosting a cake that requires a pristine surface.
Step 1: Gently Heating the Bowl of Buttercream
Fill a larger bowl or pot with a few inches of warm (not hot) water. The water should be warm to the touch, similar to comfortable bathwater, not hot enough to create steam. Place the bowl containing your buttercream into the warm water bath, ensuring the water level is below the rim of the buttercream bowl.
Step 2: Stirring Continuously While Heating
Using a spatula, gently stir the buttercream continuously while the bowl is in the warm water. You will notice the buttercream closest to the edges of the bowl starting to soften and become glossy. Stir this softened portion into the rest of the buttercream. The continuous stirring helps distribute the heat evenly and encourages the air bubbles to release.
Step 3: Monitoring the Buttercream's Texture
Keep the bowl in the water bath and continue stirring only until about a third of the buttercream near the edges is visibly softened and glossy. This usually takes just a couple of minutes. Immediately remove the bowl from the water bath and continue stirring by hand for a few more minutes. The residual heat will continue to work, and the stirring will help the buttercream cool back down slightly while smoothing out any remaining bubbles and achieving a beautiful, silky texture.
Solution 4: The Resting Technique: Letting Buttercream Sit to Release Air
Sometimes, simply giving your buttercream time to rest can work wonders in reducing air bubbles. Much like resting dough, allowing buttercream to sit undisturbed gives trapped air pockets a chance to naturally rise to the surface and escape. This is a passive technique that requires no effort beyond waiting.
This method is best used proactively or in conjunction with other techniques. While it might not eliminate every single bubble, it can significantly reduce their number, especially in buttercreams that were only slightly over-mixed or have just a few stubborn pockets of air. It's particularly useful if you make your buttercream ahead of time.
Step 1: Covering the Buttercream Tightly
Once your buttercream is mixed (even if it looks a bit bubbly), transfer it to an airtight container or cover the mixing bowl tightly with plastic wrap, pressing the wrap directly onto the surface of the buttercream to minimize contact with air. This prevents a crust from forming and keeps the surface moist.
Step 2: Allowing the Buttercream to Rest at Room Temperature
Leave the covered buttercream to rest at room temperature for a period. The duration can vary depending on the temperature of your kitchen and the type of buttercream, but typically 30 minutes to a couple of hours is sufficient. For buttercreams that are very warm or soft, a shorter rest might be needed, or you might need to briefly chill it first if your kitchen is very warm (over 75°F or 24°C).
Step 3: Re-Mixing Briefly Before Using
After the resting period, the buttercream should look smoother. Before using it, give it a brief stir by hand with a spatula or mix it on the lowest speed in your stand mixer for just 30 seconds to a minute. This quick re-mix will bring it back to a uniform consistency and smooth out any remaining surface bubbles, making it ready to use for frosting or piping with fewer issues.
Preventing Air Bubbles in Buttercream: Proactive Measures
Using the Right Buttercream Recipe for Your Needs
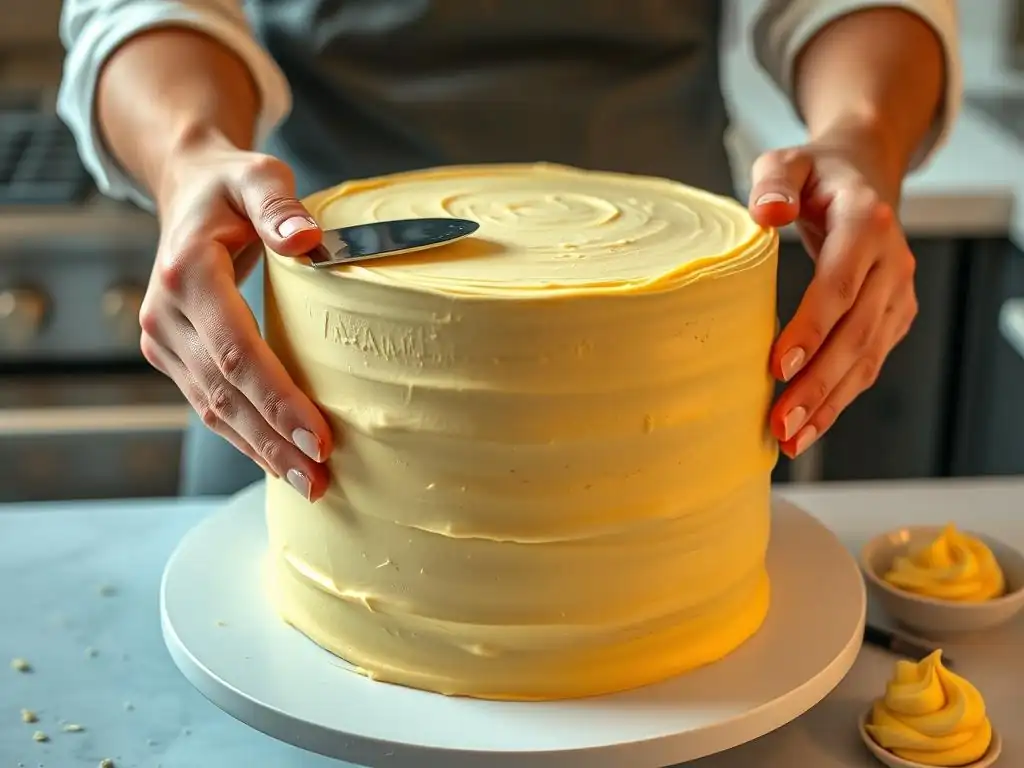
Choosing a buttercream recipe that is less prone to developing air bubbles can save you a lot of frustration later. While American buttercream is popular for its ease and stability, it inherently traps more air than meringue-based buttercreams like Swiss or Italian Meringue. If your primary goal is a super smooth, bubble-free finish for covering cakes, exploring meringue buttercreams might be a better starting point.
Additionally, some American buttercream recipes call for less powdered sugar relative to butter, which can also result in a slightly smoother texture that is less likely to hold onto air. Before you even start mixing, consider what you need the buttercream for – piping intricate flowers might require a different consistency (and tolerance for tiny bubbles) than achieving a perfectly smooth cake finish. Selecting the right recipe is the first step in knowing how to remove buttercream bubbles effectively, often by preventing them from forming in the first place.
Ensuring Proper Butter Temperature Before Mixing
Starting with butter at the correct temperature is paramount for smooth buttercream and minimizing air incorporation. As mentioned earlier, cool room temperature butter (around 65-70°F or 18-21°C) creams beautifully with sugar, creating a stable emulsion without requiring excessive mixing time or speed. Butter that is too cold is hard and will create lumps and require forceful mixing, while butter that is too warm will become greasy and unable to hold structure properly during mixing.
To ensure your butter is at the ideal temperature, take it out of the refrigerator about 1-2 hours before you plan to start mixing, depending on your kitchen's ambient temperature. You should be able to easily indent it with your finger, but it shouldn't feel greasy or soft enough to squish easily. Using butter at this perfect consistency allows for gentle, effective mixing that prevents air from being whipped in unnecessarily, significantly reducing the need to troubleshoot how to remove buttercream bubbles later.
Mastering the Correct Mixing Technique from the Start
Employing the right mixing technique from the beginning is crucial for preventing air bubbles. Always use a paddle attachment in your stand mixer (or a hand mixer with paddle beaters) for the primary mixing stages – creaming butter and sugar, and incorporating liquids and powdered sugar. The paddle mixes ingredients without whipping excessive air into them.
Once all ingredients are combined and the buttercream has reached the desired consistency, switch to the lowest speed setting on your mixer. Allow it to mix on low for several minutes (5-10 minutes is a good starting point for a standard batch). This low and slow mixing helps to smooth out the buttercream and push out any air that was incorporated during the initial mixing phase, essentially performing a gentle, mechanical stir-down within the mixer itself. This proactive step drastically reduces the number of air bubbles you'll have to deal with when it's time to frost.
Avoiding Over-Mixing Buttercream: Timing is Key
Knowing when to stop mixing is just as important as how you mix. Once your buttercream ingredients are fully combined and the frosting has reached a smooth, consistent texture, stop mixing at high speed. Continued mixing, especially at medium or high speeds, serves primarily to whip air into the mixture, creating more bubbles.
Pay attention to the visual cues of your buttercream. When it looks uniform, smooth, and all ingredients are incorporated, it's time to either move to a low-speed smoothing phase or stop mixing altogether and proceed to one of the troubleshooting techniques mentioned earlier, like the hand stir-down.
For example, if you're making American buttercream, mix until the powdered sugar is just incorporated and there are no dry streaks left, then switch to low speed for smoothing. Being mindful of mixing duration and speed is a simple yet highly effective way to prevent air bubbles and simplify the process of getting perfectly smooth frosting.
Buttercream Bubble FAQs: Addressing Common Concerns
Why does my buttercream look curdled after trying to remove air bubbles?
If your buttercream appears curdled or separated after attempting to remove air bubbles, it's often related to temperature issues, particularly if you used the water bath method. Exposing the buttercream to too much heat can cause the butter and other ingredients to separate, resulting in a greasy, curdled appearance. This happens because the fat melts too much, breaking the emulsion that holds the buttercream together in a smooth state.
This can also sometimes happen if you try to aggressively re-mix buttercream that was previously chilled and is still too cold, or if there's a significant temperature difference between ingredients added (like cold coloring to room temperature buttercream). While frustrating, sometimes this can be partially salvaged by gently warming a small portion, re-whipping it, and slowly incorporating it back into the rest, or by gently warming the entire batch over a very low heat source while stirring continuously until it comes back together, then chilling it slightly before re-whipping on low speed.
Can I fix air bubbles in Swiss Meringue Buttercream?
Yes, absolutely! While Swiss Meringue Buttercream is generally smoother than American buttercream, it can still develop air bubbles, especially if the butter was added too cold or the final mixing wasn't done on low speed. Fortunately, the techniques for how to remove buttercream bubbles work well for meringue-based versions too.
The stir-down method using a spatula is highly effective for smoothing Swiss Meringue Buttercream. The low-speed mixing technique on a stand mixer with a paddle attachment for several minutes is also excellent for working out trapped air. The water bath method is particularly suited for Swiss Meringue Buttercream, as its structure is quite stable, allowing it to become glossy and smooth with gentle heat without easily breaking the emulsion, provided the heat is kept low and it's stirred constantly.
Does the type of sugar used affect air bubbles in buttercream?
Yes, the type of sugar, particularly in American buttercream, can influence how many air bubbles form and how easily you can remove buttercream bubbles. Powdered sugar (confectioners' sugar) is very fine and contains cornstarch (in most varieties), which gives it a unique texture that easily traps air during mixing. The sheer volume of powdered sugar used in American buttercream contributes significantly to its tendency to be bubbly.
Granulated sugar is used in meringue-based buttercreams (cooked into a syrup for Italian, dissolved over heat for Swiss meringue) and French buttercream (dissolved with egg yolks). Because the sugar is dissolved and incorporated into a liquid base (meringue or egg yolks) before the butter is added, these buttercreams tend to have a finer, less aerated texture from the start. While they aren't entirely immune to bubbles, the method of incorporating sugar makes them less prone to the widespread, small bubbles common in whipped American buttercream.
How do I prevent air bubbles when adding coloring to my buttercream?
Adding coloring, especially gel or liquid food coloring, can sometimes introduce or exacerbate air bubbles if not done carefully. The act of mixing in the color requires further agitation, which can whip more air into the buttercream. Additionally, if the coloring agent is cold, it can shock the buttercream and affect its texture, potentially leading to uneven mixing and trapped air.
To prevent this, use gel food coloring, as it's concentrated and requires less liquid than traditional liquid drops. Add the coloring after your buttercream is fully mixed and smoothed, preferably while mixing on the lowest speed setting. Add the color gradually and mix just until the desired shade is achieved, scraping down the bowl frequently.
Avoid mixing at high speed solely to incorporate color. If using liquid coloring, use as little as possible and ensure it's at room temperature before adding. This careful approach minimizes additional mixing time and helps keep the buttercream smooth and free of new air bubbles.
Tools and Equipment to Help Minimize Buttercream Bubbles
Stand Mixers: Selecting the Right Attachment
A stand mixer is an invaluable tool for making buttercream, but using the correct attachment is key to minimizing air bubbles. For the majority of the mixing process, from creaming butter and sugar to incorporating powdered sugar and liquids, the paddle attachment is your best friend. Its design incorporates ingredients thoroughly without whipping in excessive amounts of air, unlike the whisk attachment.
If you need to slightly lighten the texture after the buttercream is fully mixed and smooth, you can briefly switch to the whisk attachment for just a minute or two on medium-low speed, but be aware this introduces air. For smoothing out existing bubbles using the low-speed technique, always revert back to the paddle attachment. Using the paddle consistently for the main mixing and smoothing phases significantly reduces the amount of air you'll need to remove buttercream bubbles from later.
Spatulas: Choosing the Best Type for Scraping and Stirring
A good quality spatula is essential, not only for scraping down the bowl during mixing but also for the effective hand stir-down method to remove air bubbles. Look for a sturdy rubber or silicone spatula with a comfortable handle and a head that is flexible enough to scrape the bowl clean but firm enough to apply pressure for pressing the buttercream.
Using a spatula to scrape down the bowl frequently during mixing ensures that all parts of the buttercream are being properly incorporated and mixed. This prevents uneven textures that might require longer, higher-speed mixing. For the stir-down method, a spatula with a relatively flat, broad surface area allows you to effectively press the buttercream against the sides of the bowl, physically forcing out trapped air pockets and achieving that desired smooth, bubble-free consistency.
Bowls: Opting for the Correct Size and Material
The size and material of your mixing bowl can also play a subtle role. Using a bowl that is too small for your batch of buttercream can lead to ingredients overflowing or requiring more forceful mixing to combine, potentially incorporating more air. Ensure your bowl is large enough to comfortably hold all ingredients with room for expansion during mixing.
Stainless steel or glass bowls are generally preferred for buttercream as they are non-reactive and easy to clean. For the water bath method, using a heat-safe bowl (like glass or stainless steel) is crucial. The shape of the bowl also matters; a rounded bowl allows the spatula or mixer attachment to effectively reach all parts of the mixture, facilitating better scraping and mixing, which helps in creating smooth buttercream and making it easier to remove buttercream bubbles if they do form.
Conclusion: Enjoying Smooth, Professional-Looking Buttercream
Achieving smooth, bubble-free buttercream is a skill that transforms your baked goods from delicious to stunning. We've explored the common culprits behind those frustrating air pockets – from over-mixing and incorrect butter temperature to improper technique and even the type of buttercream itself. Understanding these causes is the first step towards prevention and successful troubleshooting.
Remember the key techniques for how to remove buttercream bubbles: the patient hand stir-down method using a spatula, the gentle low-speed mixing technique in a stand mixer with a paddle attachment, the careful water bath method for slightly warming and smoothing, and even simply allowing the buttercream to rest. By incorporating these strategies into your baking routine, you'll find that achieving that coveted silky-smooth frosting is well within your reach.
Like any baking skill, perfecting your buttercream takes practice. Don't be discouraged if your first attempt isn't flawless. Keep experimenting with these techniques, pay attention to your ingredients' temperatures, and practice mindful mixing. At BakeWithEase, we're here to support your baking journey with resources and guides to help you master every frosting challenge, including how to remove buttercream bubbles effectively every time. Happy baking!
Frequently Asked Questions
How can I prevent air bubbles from forming in my buttercream in the first place?
Preventing air bubbles starts with proper technique. Make sure your butter is at the correct room temperature and avoid over-mixing the buttercream, as this incorporates excess air.
What is the best method for removing air bubbles after the buttercream is made?
One effective method is to use a low speed on your mixer to gently stir the buttercream. Another popular technique is to paddle the buttercream with a spatula on a clean surface.
Does the type of mixer I use affect the number of air bubbles in my buttercream?
Yes, the type of mixer can influence air incorporation. Stand mixers, especially when used at high speeds, can introduce more air. Using a hand mixer at a lower speed might help minimize bubbles.
Will letting my buttercream rest help reduce the number of air bubbles?
Absolutely! Allowing the buttercream to rest for at least 30 minutes can help the air bubbles rise to the surface and naturally dissipate. Gently stir before using.
Can I use a kitchen torch to remove air bubbles from buttercream on a cake?
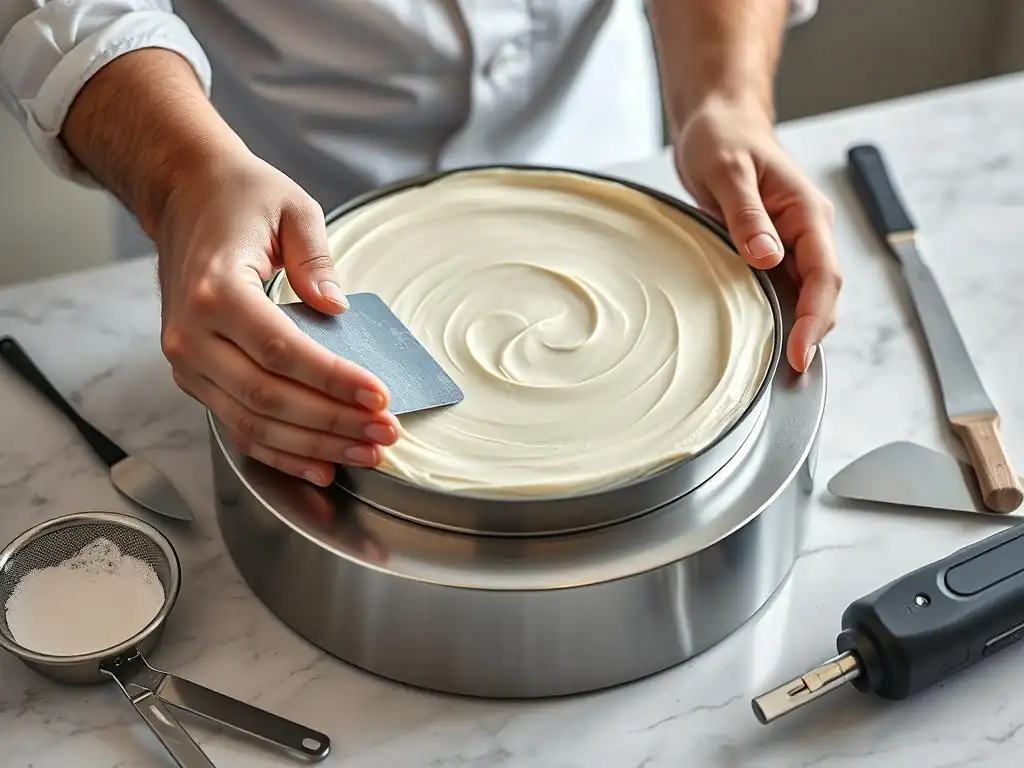
While risky, carefully using a kitchen torch can work to melt the very top layer of buttercream and release trapped air. However, exercise extreme caution to avoid melting the entire frosting layer or burning the cake.
Final Reflection: The Pursuit of Perfect Buttercream
The quest for flawlessly smooth buttercream is more than just a baking pursuit; it's a reflection of our desire for precision and perfection in a world often characterized by imperfection. From the initial frustration of those pesky air bubbles to the triumphant unveiling of a perfectly swirled rose, the journey of mastering buttercream reveals a deeper appreciation for detail and the rewarding nature of perseverance.
The seemingly simple act of creating smooth buttercream speaks volumes about our cultural obsession with aesthetics and presentation. We strive for that picture-perfect finish, mirroring our desire for flawlessness in other aspects of life. The details are not the details. They make the design.
– Charles Eames. This quote perfectly encapsulates the importance of attending to even the smallest imperfections, transforming a simple cake into a work of art. The struggle against those air bubbles becomes a metaphor for overcoming obstacles and achieving a desired outcome through patience and skill.
So, the next time you find yourself battling air bubbles in your buttercream, remember that it's not just about the final product. It's about the process, the learning, and the satisfaction of achieving a level of perfection that reflects your dedication and effort. Embrace the challenge, learn from each attempt, and celebrate the smooth, beautiful buttercream that awaits you. You might even find that the journey itself is as rewarding as the destination.
Unleash Your Perfectly Smooth Buttercream!
Thanks for taking the time to learn how to conquer those pesky air bubbles! We hope you now feel confident in creating flawlessly smooth buttercream frosting. Ready to put your new skills to the test?
- Whip up a batch of your favorite buttercream recipe and let us know how it turns out in the comments! We'd love to see your creations!
- Share this article with your fellow baking enthusiasts – let's spread the buttercream love!
- Explore our other tutorials on BakeWithEase.com for even more baking tips and tricks. You might be surprised at what you discover!
What's your go-to method for achieving perfectly smooth buttercream? Let's discuss!