
Achieving Vibrant Colors in Buttercream Without Bleeding

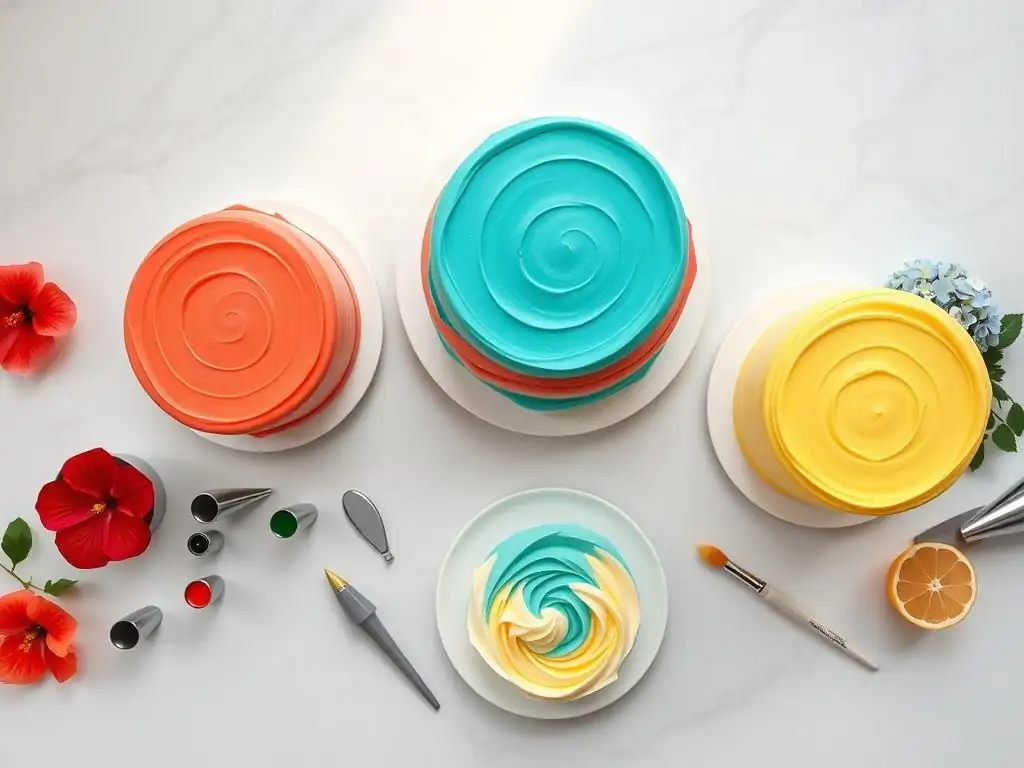
Welcome to BakeWithEase, your guide to confident baking! Ever dreamed of creating buttercream so vibrantly colored it practically leaps off the cake? This article dives deep into achieving those stunning hues without the dreaded color bleed. Discover our top vibrant buttercream color tips and unlock the secrets to truly dazzling desserts. Curious how to achieve professional-looking results? Keep reading to elevate your buttercream game!
- Achieving Vibrant Colors in Buttercream Without Bleeding: A Comprehensive Guide
- Introduction: The Secret to Bold Buttercream Colors
- Understanding Buttercream and Color Bleeding
- Pro Tips for Vibrant Buttercream Color: A Baker's Guide
- Techniques for Preventing Buttercream Color Bleeding
- Specific Color Considerations: Achieving Specific Shades Without Bleeding
- Fixing Buttercream Color Problems: Troubleshooting Guide
- Recipes for No-Bleed Vibrant Buttercream
- Conclusion: Mastering the Art of Vibrant, No-Bleed Buttercream Colors
-
Frequently Asked Questions
- How can I achieve a vibrant buttercream color without it bleeding or fading?
- What type of buttercream works best for achieving vibrant colors?
- How much food coloring is too much when aiming for a vibrant buttercream color?
- What are some tips for achieving vibrant colors if my buttercream is initially pastel?
- Can I use natural food coloring to achieve vibrant buttercream colors?
- Final Reflection: The Enduring Allure of Vibrant Buttercream
- Unleash Your Inner Pastry Artist: Master Vibrant Buttercream!
Achieving Vibrant Colors in Buttercream Without Bleeding: A Comprehensive Guide
Introduction: The Secret to Bold Buttercream Colors
Creating beautiful cakes, cupcakes, and cookies often relies on stunning, vibrantly colored buttercream. Whether you're aiming for a bold red velvet finish, a deep ocean blue, or cheerful rainbow swirls, achieving intense hues that stay true and don't bleed into neighboring colors or the cake itself is a crucial skill for any baker. Color bleeding can turn a masterpiece into a muddy mess, especially after chilling or sitting at room temperature.
Mastering vibrant buttercream color tips is key to elevating your decorating game. It's not just about adding a lot of color; it's about understanding the science behind how colors interact with the fats and liquids in buttercream and employing techniques that ensure your hues remain bright, distinct, and bleed-free. This guide will walk you through everything you need to know, from choosing the right coloring agents to advanced techniques for achieving truly striking results.
Understanding Buttercream and Color Bleeding
Buttercream, at its core, is an emulsion of fat (butter) and some form of sugar, often stabilized with milk, cream, or meringue. Its composition makes it a relatively stable medium for carrying color, but it's not immune to issues like bleeding, particularly when exposed to moisture or temperature fluctuations.
Color bleeding occurs when the dye molecules in your food coloring migrate from one area of frosting to another, or from the frosting into the cake or other decorations. This is often exacerbated by excess liquid in the coloring, high humidity, or drastic temperature changes that cause condensation. Understanding the "why" is the first step in preventing this common decorating headache and applying effective vibrant buttercream color tips.
Why Does Buttercream Color Bleed? Understanding the Science
At a fundamental level, food coloring consists of dye molecules dissolved in a solvent. The type of solvent is critical. Water-based solvents, common in liquid food colorings, are particularly prone to causing bleeding in fat-based mediums like buttercream. When these water molecules come into contact with moisture already present in the buttercream or condensation from temperature changes, the dye can spread.
Consider a typical American buttercream made with butter and powdered sugar, loosened with a splash of milk or cream. This small amount of liquid is usually manageable. However, introducing a significant amount of water from liquid food coloring can disrupt the emulsion slightly and provide a medium for the dye to travel. Gel colorings, which use a glycerin or corn syrup base instead of water, are much less likely to cause this issue because these bases are less mobile within the fat matrix of the buttercream.
Factors Contributing to Buttercream Color Bleeding
Several factors can exacerbate color bleeding, even when using appropriate coloring agents. One major culprit is temperature fluctuation. Moving a cake decorated with vibrant buttercream from a cold refrigerator to a warm room can cause condensation to form on the surface. This moisture can reactivate the dye molecules, leading to bleeding. A difference of just 10-15°F (around 5-8°C) between storage and display temperature can be enough to trigger minor bleeding.
Another significant factor is the amount of color used. To achieve very deep, intense colors, a large quantity of coloring agent is often required. While gel colors are concentrated, using an excessive amount can still introduce enough moisture or disrupt the buttercream's structure slightly, increasing the risk of bleeding. The type of buttercream also plays a role; some recipes, particularly those with a higher liquid content, may be more susceptible than others.
Pro Tips for Vibrant Buttercream Color: A Baker's Guide
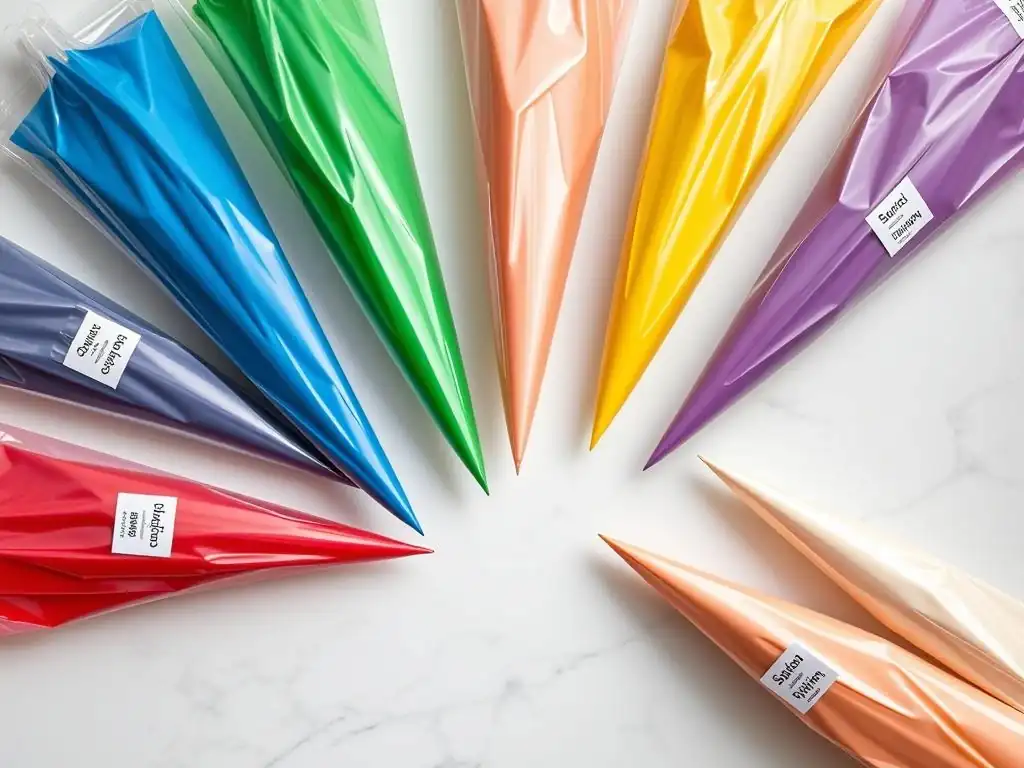
Achieving those coveted bold and vibrant buttercream colors without the dread of bleeding requires a combination of choosing the right products and employing smart techniques. Think of these as essential vibrant buttercream color tips that professional bakers rely on.
**Key Steps for Vibrant, No-Bleed Buttercream:**

*   [ ] Choose high-quality gel or paste colors.
*   [ ] Avoid liquid food coloring whenever possible.
*   [ ] Start with a very pale or white buttercream base.
*   [ ] Use the "bloom" technique for deep colors.
*   [ ] Add color gradually.
*   [ ] Ensure proper buttercream consistency.
*   [ ] Control temperature during coloring and storage.
Choosing the Right Food Coloring for Intense Buttercream Hues
The most critical decision you'll make when aiming for vibrant buttercream colors is the type of food coloring you use. This single choice can dramatically impact the intensity of your hues and the likelihood of bleeding.
Gel Food Coloring: The Best Choice for Vibrant Colors
Gel food colorings are hands-down the preferred choice for achieving intense buttercream hues. These highly concentrated colorings use a base like glycerin or corn syrup, which contains very little to no water. This means you need only a small amount to achieve a vivid color, minimizing the introduction of excess liquid into your buttercream.
A tiny drop of a good quality gel color can transform a cup of white frosting into a bright, bold shade, making them incredibly efficient and effective for implementing vibrant buttercream color tips. Popular brands known for their gel colors include AmeriColor, Wilton (specifically their gel/paste line), and Chefmaster.
Avoiding Liquid Food Coloring: Minimizing Water Content
While liquid food colorings are widely available and inexpensive, they are generally not suitable for achieving vibrant colors in buttercream without risking bleeding. Their primary solvent is water. To get a deep shade, you would need to add a significant amount of this watery coloring, which can thin out your buttercream, make it greasy, and most importantly, introduce enough moisture to cause dyes to migrate and bleed, especially over time or with temperature changes. Stick to gel or paste colors for the best results when aiming for intense, stable shades.
Achieving Deep Colors: The No-Bleed Buttercream Coloring Method
Getting truly deep colors like black, red, or navy blue can be challenging. Simply adding more and more color often results in a bitter taste and still might not give you the depth you desire without risking bleeding. There are specific techniques that work better.
Start with a White Buttercream Base: Achieving a Clean Canvas
To get the truest, most vibrant colors, it's helpful to start with the whitest possible buttercream base. If your buttercream is naturally yellowish (common with butter-based recipes), this yellow tint can affect the final color, especially blues and purples. For example, adding blue to a yellow base will result in a greenish tint, not a true blue.
You can achieve a whiter base by using a tiny amount of violet or purple food coloring to counteract the yellow, or by using a recipe that naturally results in whiter frosting, like Swiss or Italian meringue buttercream which uses less butter relative to meringue. Starting with a clean, neutral base ensures your vibrant buttercream color tips yield the intended result.
The "Bloom" Technique: Intensifying Color Before Mixing
For very deep colors like black or red, a useful technique is to let the color "bloom." Add your gel color to a very small amount of your buttercream in a separate bowl. Mix it thoroughly to create a super-concentrated paste.
Then, let this concentrated mixture sit for 15-30 minutes (or even longer) before incorporating it into the rest of your buttercream. This resting period allows the color pigments to deepen and develop their full intensity before being diluted in the larger batch. You'll find you need less overall coloring using this method, reducing the risk of bitterness and bleeding.
Using High-Quality Ingredients: Ensuring Stability and Color Retention
The quality of your buttercream ingredients also plays a role in color vibrancy and stability. High-fat butter (typically 82% fat content) creates a more stable emulsion than lower-fat varieties. Using pure vanilla extract instead of imitation vanilla, which can sometimes have a yellow tint, helps maintain a white base. Ensuring your powdered sugar is lump-free and properly sifted contributes to a smooth consistency that takes color more evenly. Using high-quality, fresh ingredients creates a better canvas for achieving vibrant buttercream colors.
Techniques for Preventing Buttercream Color Bleeding
Beyond choosing the right coloring, several techniques during the coloring and decorating process can help prevent those frustrating color migrations.
Less is More: Gradual Color Addition for Optimal Results
It might seem counterintuitive when aiming for vibrancy, but adding color gradually is far more effective than dumping in a large amount at once. Start with a small amount of gel color – literally a tiny drop or a smear on a toothpick. Mix it in thoroughly. The color will deepen slightly as it sits, especially if you are using the bloom technique mentioned earlier.
Continue adding small amounts, mixing well each time, until you reach the desired shade. This allows you to control the intensity precisely and avoids oversaturating the buttercream with dye, which increases the risk of bleeding. This is one of the most fundamental vibrant buttercream color tips.
The Importance of Buttercream Consistency: Finding the Sweet Spot
The consistency of your buttercream is crucial for both application and color stability. Buttercream that is too soft or greasy is more likely to experience color bleeding because the fat and liquid components are less stable. If your buttercream is too soft, chill it slightly in the refrigerator for 10-15 minutes, then re-whip it. The ideal consistency is smooth, spreadable, and holds peaks well. It should not feel greasy or look separated. Adjusting consistency with a tiny amount of powdered sugar or liquid (milk/cream, but sparingly!) should be done before adding significant color.
Temperature Control: Preventing Excess Moisture and Bleeding
Temperature management is perhaps the most overlooked aspect of preventing color bleeding. Work in a cool environment if possible. When decorating, if your buttercream starts to get too soft from the warmth of your hands or the room, pop the piping bag or bowl into the refrigerator for a few minutes.
After decorating, chill your finished cake or cupcakes until the buttercream is firm. When moving them from cold storage to display, try to do so gradually or allow them to temper slightly in a cooler area before bringing them into a warm, humid room to minimize condensation. Storing cakes in airtight containers can also help regulate temperature and humidity.
Specific Color Considerations: Achieving Specific Shades Without Bleeding
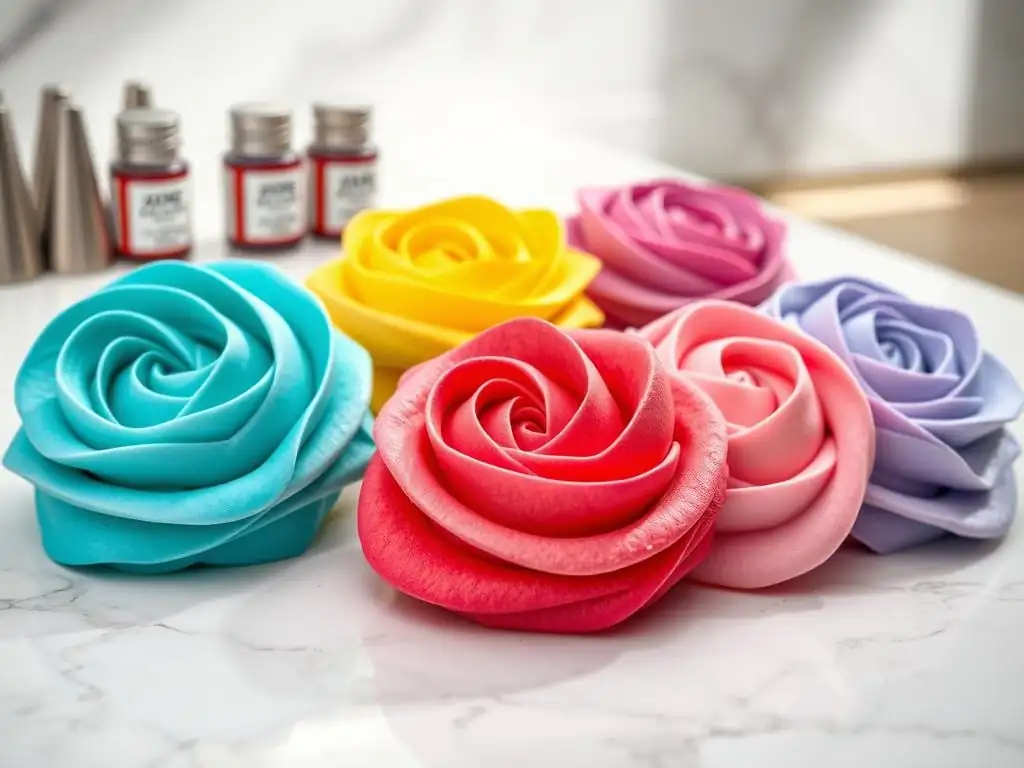
Some colors are notoriously difficult to achieve perfectly without issues. Red, black, and certain blues often require extra care and specific techniques to get right and prevent bleeding or off-shades.
Getting True Red Buttercream: Tips and Tricks
Achieving a true, non-bleeding red is arguably the most challenging color. Many red food colorings require a large quantity to reach a deep hue, which increases the risk of bitterness and bleeding.
- Use a "Super Red" Gel Color: Invest in a high-quality "super red" gel color designed for intense results with less product.
- Start with a Pink Base: Instead of trying to go from white to deep red in one go, add red coloring until you achieve a vibrant pink. Let it sit for 15-30 minutes. The color will deepen. Then, add more red gradually until you reach your desired shade. This layering method helps build intensity.
- Consider Red Cocoa Powder: For red velvet cakes, incorporating a small amount of high-quality red cocoa powder (like King Arthur Baking's) into the buttercream can help achieve a deeper, richer red with less reliance on dye alone, adding flavor as well. However, this works best with chocolate or red velvet flavored buttercreams.
Achieving a Deep Black Buttercream: Avoiding Grey Tones
Black buttercream often starts as a dark grey and can be tricky to get truly opaque without using excessive amounts of coloring.
- Start with a Dark Base: It's much easier to color buttercream black if you start with a chocolate buttercream base rather than white. The brown cocoa powder provides a head start on the dark hue.
- Use a High-Quality Black Gel Color: Look for concentrated black gel colors specifically designed for deep shades.
- Combine Colors: Sometimes, using a mix of black, a touch of navy blue, and a hint of brown or even red gel color can help achieve a deeper, richer black than just black alone. Experiment with small batches.
- Let it Rest: Similar to red, black buttercream benefits significantly from resting. Color the buttercream to a very dark grey/light black, then let it sit for at least an hour, or even overnight in the refrigerator. The color will deepen considerably as it sits.
Creating Vibrant Blue Buttercream: Preventing a Green Tint
Blue can sometimes turn greenish in buttercream, especially if the base is yellow or if the blue coloring has slightly yellow undertones.
- Ensure a White Base: As mentioned earlier, starting with the whitest possible buttercream base is crucial for a true blue. Use a tiny bit of violet if needed to neutralize yellow.
- Use a True Blue Gel Color: Not all blue food colorings are created equal. Some lean greener, others more purple. Find a brand known for producing a true, vibrant blue. Navy blue gel colors can also be used to create deeper blue shades.
- Avoid Over-Mixing: Excessive mixing after adding blue color can sometimes incorporate more air and slightly change the hue. Mix until just combined.
Fixing Buttercream Color Problems: Troubleshooting Guide
Even with the best vibrant buttercream color tips, sometimes things don't go exactly as planned. Here's how to troubleshoot common issues.
Addressing Color Fading: Restoring Vibrancy
Color fading can occur over time, especially if the buttercream is exposed to light or fluctuating temperatures.
- If the buttercream is already on a cake, there's little you can do to restore the color directly without re-frosting the area.
- If the buttercream is still in the bowl, you can try adding a tiny bit more gel color and mixing it in carefully. Be cautious not to add too much.
- Ensure cakes are stored away from direct sunlight and in stable temperatures to prevent fading.
Correcting Color Bleeding: Salvaging Your Buttercream
Once bleeding has occurred, it's very difficult to fully reverse, especially if the dye has migrated significantly.
- If it's minor surface bleeding, you might be able to gently scrape away the affected area.
- If colors have bled into each other on the surface of the cake, you might need to remove that section of frosting and re-pipe or re-spread it.
- If the bleeding is extensive, particularly into the cake itself (common with dark colors on light cake), salvaging may not be possible without removing and replacing the affected frosting and cake layers. Prevention is key!
Troubleshooting Common Buttercream Coloring Issues
- Streaky Color: This means the color wasn't mixed in thoroughly. Continue mixing until the color is uniform. Scrape down the bowl sides and bottom frequently.
- Color Too Light: Add more gel color gradually, mixing well after each addition, until the desired shade is reached.
- Color Too Dark: It's very hard to lighten buttercream once colored. You can try mixing the overly dark buttercream with a batch of uncolored (white) buttercream. This will increase the overall quantity but can dilute the color to a lighter shade.
- Buttercream Too Soft After Adding Color: This usually means you added too much liquid or gel color. Try chilling the buttercream for 10-15 minutes, then re-whipping. If still too soft, you can try adding a tablespoon or two of sifted powdered sugar, mixing thoroughly.
Recipes for No-Bleed Vibrant Buttercream
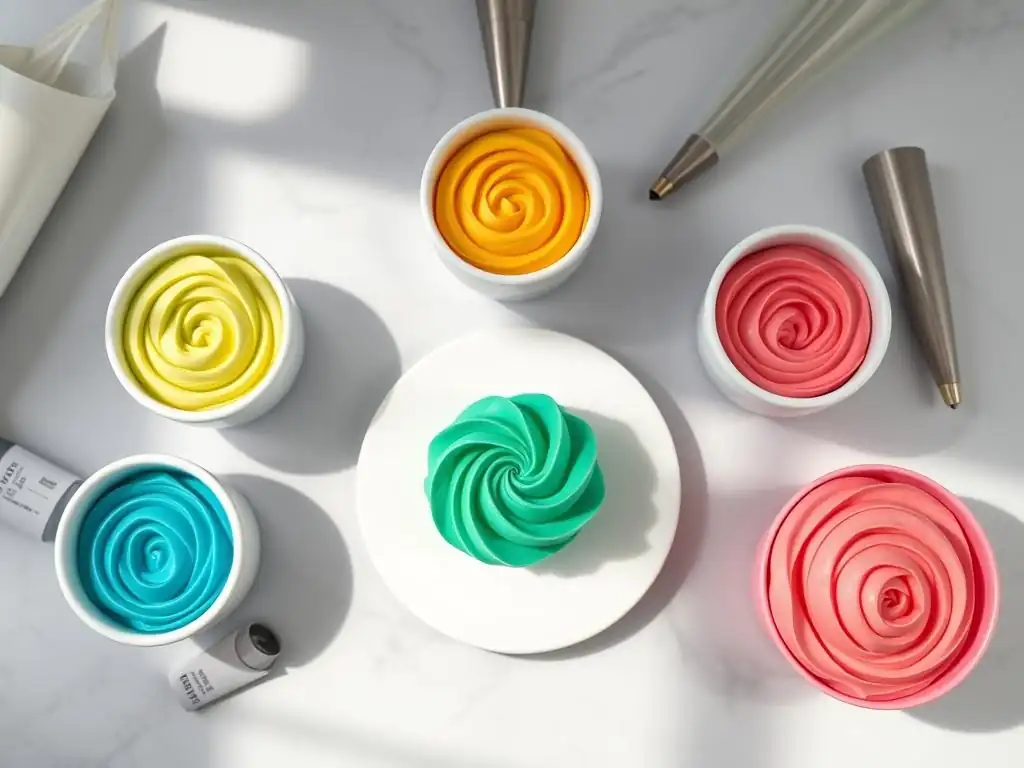
While the coloring techniques are paramount, the base buttercream recipe also influences stability and how well it takes color. Here are two types that work well for achieving vibrant, no-bleed colors.
American Buttercream for Bold Colors
American buttercream, made from butter and powdered sugar, is a popular choice due to its ease of preparation. While it can sometimes be prone to greasiness if overworked or too warm, its relatively low moisture content compared to some other frostings makes it a good candidate for vibrant colors if you use concentrated gel colors and manage temperature.
- Suitability: Excellent for achieving bold, opaque colors quickly. Takes color readily.
- Considerations: Can be very sweet. Requires careful temperature control and gradual color addition to prevent issues. Starting with a small amount of liquid (milk/cream) during mixing helps control consistency for coloring.
Swiss Meringue Buttercream for Pastel and Vibrant Shades
Swiss meringue buttercream (SMBC) is made by whisking egg whites and sugar over heat to create a meringue, then whipping in butter. It has a silky smooth texture and is less sweet than American buttercream. Its base is naturally whiter than American buttercream, making it ideal for achieving true colors.
- Suitability: Perfect for achieving both delicate pastel shades and vibrant hues with excellent stability. Less prone to bleeding due to its stable emulsion.
- Considerations: Requires more steps to prepare than American buttercream. Takes slightly longer to color compared to American buttercream, but the colors achieved are often truer and more stable.
Conclusion: Mastering the Art of Vibrant, No-Bleed Buttercream Colors
Achieving stunning, vibrant colors in your buttercream without the frustration of bleeding is entirely within your reach. It boils down to a few core principles: choosing the right type of coloring agent (gel or paste, avoiding liquid), understanding how temperature and consistency affect your frosting, and employing smart techniques like gradual addition and allowing colors to bloom.
By applying these vibrant buttercream color tips, you can transform your cakes and bakes into eye-catching masterpieces with hues that pop and stay put. Experiment with different brands and techniques, and don't be afraid to practice. With a little knowledge and care, you'll be creating beautifully colored buttercream that enhances your decorating and delights everyone who sees (and tastes!) your creations. Happy baking and coloring!
Frequently Asked Questions
How can I achieve a vibrant buttercream color without it bleeding or fading?
Use gel food coloring instead of liquid. Gel colors are more concentrated and won't alter the buttercream's consistency as much, which helps prevent bleeding and fading.
What type of buttercream works best for achieving vibrant colors?
American buttercream is generally the easiest to color vibrantly, but it can be quite sweet. Swiss meringue buttercream and Italian meringue buttercream also work well but require more skill.
How much food coloring is too much when aiming for a vibrant buttercream color?
Start with a small amount of gel food coloring and gradually add more, mixing well after each addition. Over-coloring can lead to a bitter taste or a compromised buttercream texture.
What are some tips for achieving vibrant colors if my buttercream is initially pastel?
Allow the colored buttercream to sit for a few hours, or even overnight, at room temperature. The color will deepen over time, resulting in a more vibrant hue.
Can I use natural food coloring to achieve vibrant buttercream colors?
While possible, achieving true vibrant colors with natural food coloring can be challenging. Natural colors tend to be more muted and may affect the flavor or texture of the buttercream more noticeably than gel food coloring.
Final Reflection: The Enduring Allure of Vibrant Buttercream
The pursuit of vibrant, bleed-free buttercream is more than just a baking technique; it's a testament to the power of precision and artistry in creating truly stunning desserts. In a world saturated with images of perfectly colored cakes, mastering this skill elevates your baking from hobby to craft, transforming ordinary treats into breathtaking works of edible art. The demand for visually appealing baked goods remains high, making the ability to achieve consistently vibrant colors a crucial skill for both amateur bakers and professional pastry chefs alike.
The journey to mastering vibrant buttercream colors has been a fascinating exploration of both science and art. Understanding the interplay of fat, pigment, and emulsifiers is key, and the subtle nuances of each ingredient can dramatically impact the final result. The details are not the details. They make the design.
– Charles Eames. This quote perfectly encapsulates the importance of attention to detail in achieving the vibrant, bleed-free buttercream we've discussed. The seemingly small adjustments – from the type of food coloring used to the temperature of the buttercream – can have a profound effect on the final product, highlighting the artistry involved in this seemingly simple process.
Now, it's your turn. Consider the techniques and tips outlined in this article, and experiment with different color combinations and methods. Don't be afraid to embrace the process, to learn from your mistakes, and to celebrate the beauty that emerges from your efforts. The vibrant buttercream you create isn't just a delicious treat; it's a reflection of your dedication, creativity, and passion for baking. So, go forth and create something truly spectacular!
Unleash Your Inner Pastry Artist: Master Vibrant Buttercream!
Thanks for joining us on this colorful journey into buttercream artistry! We hope you now feel confident tackling even the most vibrant designs. Ready to put your newfound skills to the test?
- Create your masterpiece! Try out one of the techniques we discussed – perhaps a stunning ombre cake or intricately piped flowers – and share your creation with us!
- Experiment with new color combinations. Step outside your comfort zone and explore unexpected pairings. What exciting hues will you discover?
- Discuss your experience in the comments below! What challenges did you face, and what tips do you have for other bakers?
What incredible buttercream creations will you bake next?