
Piping Perfect Buttercream Rosettes: A StepbyStep Guide

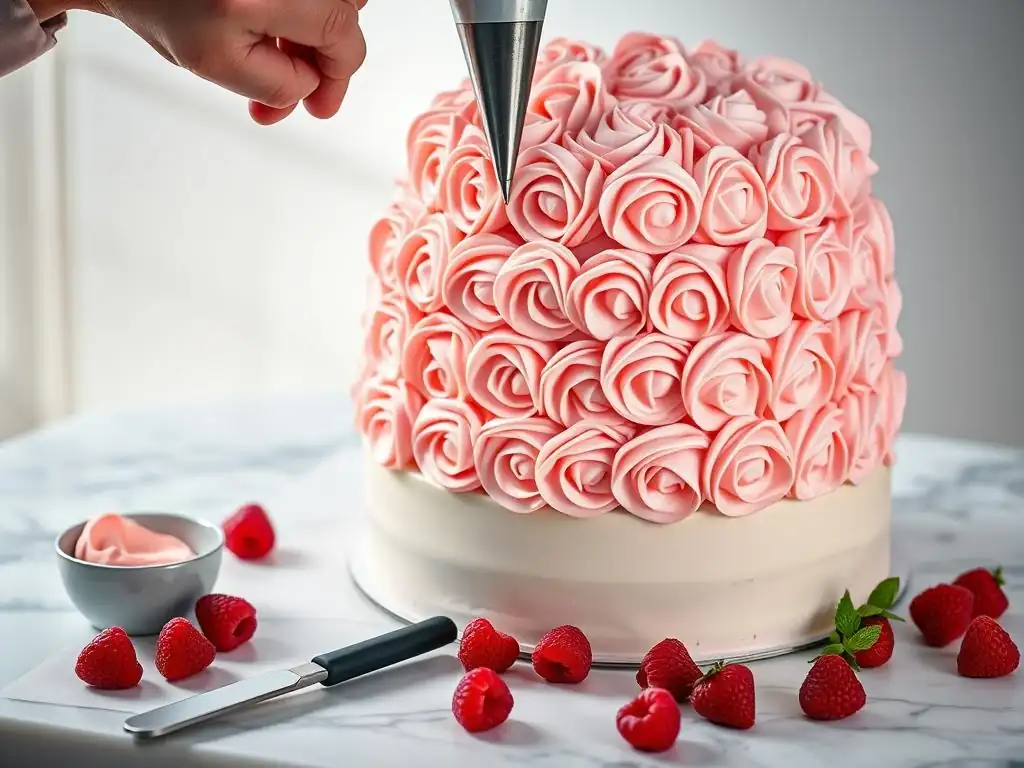
Welcome to BakeWithEase, your trusted guide to baking bliss! Ever dreamt of creating those picture-perfect buttercream rosettes you see online? This week, we're demystifying the process with our step-by-step guide to easy buttercream rosette piping. Discover the secrets to achieving stunning floral designs with minimal fuss, and learn how to elevate your cakes and cupcakes to a whole new level of artistry. Ready to transform your baking into edible masterpieces? Let's get started!
- Perfect Buttercream Rosettes: A Step-by-Step Guide
- Introduction to Buttercream Rosette Piping
- Essential Tools and Ingredients for Buttercream Rosettes
- Step-by-Step Guide to Piping Perfect Buttercream Rosettes
- Advanced Buttercream Rosette Techniques
- Buttercream Rosette Inspiration and Ideas
- Conclusion: Mastering Buttercream Rosette Piping
-
Frequently Asked Questions
- How do I make my buttercream the right consistency for piping rosettes?
- What kind of piping tip is best for creating buttercream rosettes?
- How do I prevent air bubbles in my buttercream while piping?
- What's the best way to practice my buttercream rosette piping technique?
- How do I keep my buttercream rosettes from melting or drooping, especially in warmer temperatures?
- Final Reflection: Mastering the Art of the Easy Buttercream Rosette
- Unleash Your Inner Pastry Artist: Master the Buttercream Rose!
Perfect Buttercream Rosettes: A Step-by-Step Guide
Introduction to Buttercream Rosette Piping
Why Master the Buttercream Rosette Technique?
Mastering the technique of piping buttercream rosettes is a foundational skill in cake decorating that unlocks a world of creative possibilities. These elegant swirls of frosting add a touch of sophistication and beauty to any baked good, whether it's a simple cupcake or a multi-tiered celebration cake. Learning this technique allows you to transform plain surfaces into stunning edible artwork, making your desserts not just delicious but also visually captivating. It's a relatively simple technique to learn, making easy buttercream rosette piping accessible even for beginners.
Beyond aesthetics, understanding how to pipe rosettes properly gives you control over the consistency and flow of your buttercream, skills essential for many other piping techniques. It builds confidence in handling piping bags and nozzles, preparing you for more complex designs like piped flowers, borders, and intricate patterns. Achieving perfect rosettes consistently is a rewarding milestone for any home baker looking to elevate their decorating game and impress friends and family with professional-looking results.
A Guide to Flawless Buttercream Rosettes
Achieving flawless buttercream rosettes requires attention to detail, from selecting the right tools to perfecting your piping technique. This guide will walk you through each step, providing the knowledge and tips you need to create beautiful, uniform rosettes every time. We'll cover everything from preparing your buttercream to troubleshooting common issues, ensuring your journey to easy buttercream rosette piping is smooth and successful.
We'll delve into the specifics of buttercream consistency, nozzle selection, and piping bag handling. By breaking down the process into manageable steps, you'll gain a clear understanding of the mechanics behind a perfect rosette. Get ready to transform your baking projects with this classic and versatile decorating method.
Essential Tools and Ingredients for Buttercream Rosettes
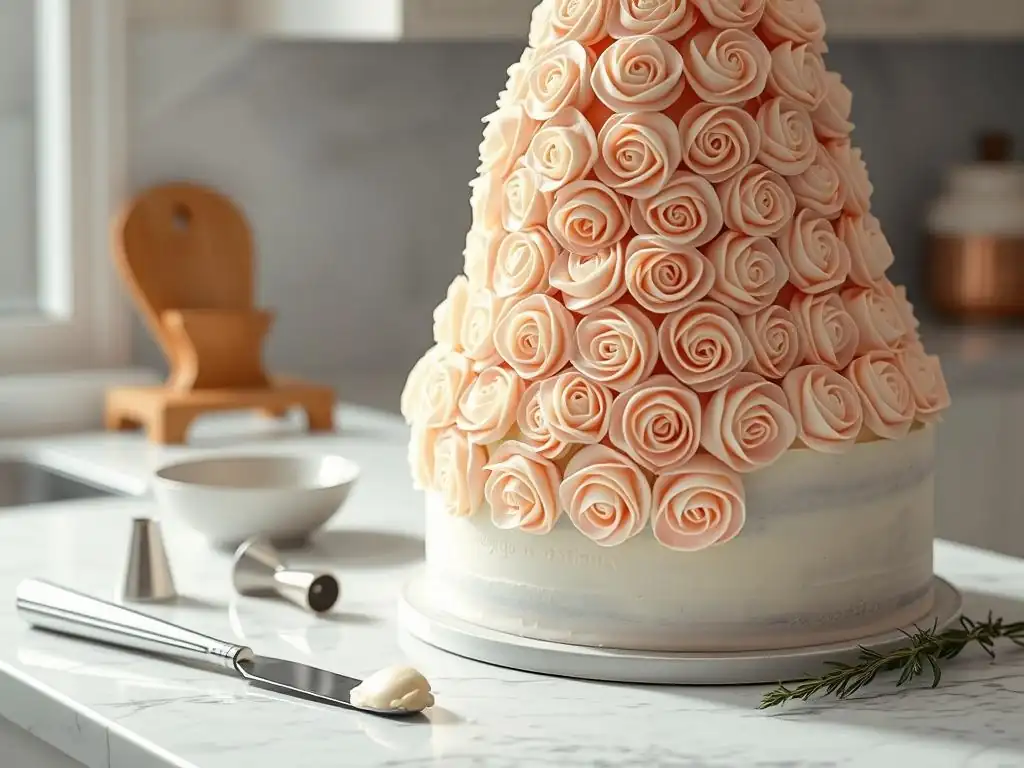
Swiss Meringue Buttercream Recipe for Rosettes
A stable and smooth buttercream is key to piping defined rosettes. Swiss meringue buttercream is often preferred for its silky texture and ability to hold its shape beautifully.
Here is a reliable recipe:
Ingredients:
- 5 large egg whites (approx. 150g)
- 1 cup (200g) granulated sugar
- 1 ½ cups (340g) unsalted butter, softened but not melted, cut into cubes
- 1 teaspoon vanilla extract
- Pinch of salt (optional)

Instructions:
1. Combine egg whites and sugar in a heatproof bowl set over a saucepan of simmering water (do not let the bowl touch the water).
2. Whisk constantly until the sugar is dissolved and the mixture reaches 160°F (71°C). Test by rubbing a small amount between your fingers – it should feel smooth, not grainy.
3. Carefully remove the bowl from the heat and transfer the mixture to a stand mixer fitted with the whisk attachment.
4. Beat on high speed until stiff, glossy peaks form and the meringue is completely cool (this can take 10-15 minutes). The bowl should feel cool to the touch.
5. Switch to the paddle attachment. With the mixer on low speed, add the softened butter cubes one at a time, waiting until each cube is mostly incorporated before adding the next.
6. The mixture may look curdled or separated – keep mixing! It will come together into a smooth buttercream.
7. Once all butter is added and the buttercream is smooth, mix in the vanilla extract and salt (if using).
8. Beat on low speed for a few minutes to remove air bubbles and achieve a super smooth consistency perfect for piping buttercream rosettes.
This recipe yields approximately 4 cups of buttercream, enough to generously frost about 24 standard cupcakes or a 9-inch layer cake. The temperature stability of Swiss meringue buttercream makes it excellent for piping details that hold their form, even at room temperature for a reasonable time.
Piping Bags: Choosing Between Disposable and Reusable
When it comes to piping bags for easy buttercream rosette piping, you have two main choices: disposable plastic bags or reusable canvas/silicone bags. Disposable bags are convenient for cleanup – simply discard them when finished. They are often made from a flexible plastic that allows for good control and visibility of the buttercream inside. A standard 12-inch disposable bag is a good starting size for most rosette work.
Reusable bags, typically made from nylon, canvas, or silicone, are more environmentally friendly and durable. They require washing after each use, which can be a bit messy with buttercream. Silicone bags offer good grip, while canvas bags are sturdy. The choice often comes down to personal preference regarding feel, cleanup tolerance, and environmental considerations. Both types work well for piping buttercream rosettes, so try both if you can to see which you prefer for your piping style.
Rosette Piping Nozzles: Wilton 1M, 2D, and Open Star Comparison
The magic behind the classic buttercream rosette shape comes from the piping nozzle. The most popular and recommended nozzle for easy buttercream rosette piping is the Wilton 1M, also known as a large open star tip. This tip has deep, serrated teeth and a wide opening, which creates the distinctive ruffled edge and full swirl of a traditional rosette. It's incredibly versatile and a must-have for this technique.
Other star tips can also create beautiful rosettes, though with slightly different appearances. The Wilton 2D tip is a closed star tip, meaning its teeth curve slightly inward. This produces rosettes with more defined, tighter petals and a slightly different texture. Open star tips with fewer or more teeth (like Wilton 4B or 6B) will yield rosettes with varying numbers of points and fullness. Experimenting with different star tips is part of the fun in mastering piping buttercream rosettes.
Other Essential Tools: Offset Spatulas, Turntables, and Parchment Paper
Beyond the piping bag and nozzle, a few other tools will make your buttercream rosette piping experience smoother and more efficient. An offset spatula is invaluable for transferring buttercream into the piping bag cleanly and for smoothing cake surfaces before piping. Its angled blade keeps your hand away from the frosting, allowing for precise work.
A turntable is highly recommended, especially when piping rosettes on cakes. It allows you to easily rotate the cake as you pipe, ensuring continuous, even pressure and consistent rosette placement without awkward reaching. For cupcakes, a smaller turntable or even just rotating the cupcake by hand works well. Finally, small squares of parchment paper are useful for practicing your rosettes before piping directly onto your finished product, saving frustration and wasted buttercream.
Step-by-Step Guide to Piping Perfect Buttercream Rosettes
Step 1: Preparing Your Buttercream for Piping
The consistency of your buttercream is paramount for piping defined, elegant rosettes. If the buttercream is too stiff, it will be difficult to pipe smoothly and may tear. If it's too soft, your rosettes will lose their shape and slump.
Achieving the Perfect Buttercream Consistency: Soft Peaks
The ideal consistency for piping buttercream rosettes is often described as "soft peaks" or similar to smooth peanut butter. It should be pliable enough to flow easily through the piping tip but firm enough to hold a distinct shape once piped. If your buttercream is too stiff, beat it on low speed for a few minutes, possibly adding a tiny splash of milk or cream (about ½ to 1 teaspoon at a time) while mixing, until it reaches the desired consistency.
If it's too soft, especially in a warm environment, refrigerate it for 10-15 minutes, then stir it to check the consistency. Avoid over-mixing once it's ready, as this can incorporate too much air.
Coloring Your Buttercream for Rosettes: Gel Food Coloring Guide
Gel food coloring is the best choice for coloring buttercream for piping. Unlike liquid food coloring, gel colors are highly concentrated, meaning you need only a small amount to achieve vibrant hues without adding excess moisture that can destabilize the buttercream. Start with a small amount (a toothpick dip is often enough for pastel shades) and gradually add more until you reach your desired color. Mix thoroughly to ensure the color is evenly distributed. Remember that colors can deepen slightly over time, so aim for a shade slightly lighter than your final goal.
Step 2: Setting Up Your Piping Bag
Properly setting up your piping bag is crucial for a smooth piping process, preventing leaks and ensuring control.
How to Properly Insert the Nozzle and Coupler
If you are using a coupler (a two-part plastic piece that allows you to change tips without changing bags), drop the base part into the piping bag first, narrow end pointing towards the tip opening. Push it down until the narrow end is snug against the opening. Mark the bag just above the end of the coupler base and snip off the tip of the bag at that mark.
Place your chosen piping nozzle over the coupler base on the outside of the bag, then screw the ring part of the coupler over the nozzle and bag tip to secure it. If not using a coupler, simply drop the nozzle into the bag, push it down firmly, and snip the bag tip just enough so the end of the nozzle is exposed.
Filling the Piping Bag: The Fold-Over Method
The fold-over method helps keep the outside of your piping bag clean and makes filling easier. Fold the top edge of the piping bag down by about 2-3 inches, creating a cuff. Hold the bag with the cuffed edge resting on your hand, forming a wide opening. Use an offset spatula to scoop buttercream into the bag, filling it no more than two-thirds full. This prevents the buttercream from squeezing out the top while you're piping. Unfold the cuff and twist the top of the bag closed, gently pushing the buttercream down towards the nozzle.
Step 3: The Rosette Piping Technique: A Visual Guide
Piping a perfect buttercream rosette is essentially drawing a spiral with frosting. The key is consistent pressure and movement.
Starting the Rosette: The Center Swirl (Video)
Imagine you're drawing a spiral. Hold the piping bag with the twisted end gripped firmly in your dominant hand to control the flow, and use your other hand to guide the bag. Position the tip (like the Wilton 1M) perpendicular to the surface (cake, cupcake, or parchment paper). Apply steady, even pressure. Start in the center of where you want your rosette to be and pipe a small swirl, moving outwards in a circular motion. (Note: While a video is ideal for demonstrating this, the motion is a continuous outward spiral from the center.)
Creating the Outer Petals: Angle and Pressure Control (Diagram)
As you continue the spiral outwards from the center, maintain consistent pressure. Keep the tip angled slightly towards the surface, but not pressing into it. The speed of your movement and the pressure you apply will determine the size and fullness of the rosette. A slower movement with steady pressure creates a thicker, more defined swirl. Aim for overlapping layers as you spiral outwards, building the characteristic rosette shape. (Note: A diagram would show an overhead view of the spiral motion, indicating steady pressure and overlapping circles.)
Completing the Rosette: Finishing Touches (Image)
Once your rosette reaches the desired size, stop applying pressure to the bag and quickly flick the tip away to break the flow cleanly. This prevents a messy tail. Practice this stopping motion on parchment paper until you can do it smoothly. Ideally, the end of your spiral should blend seamlessly into the side of the rosette. (Note: An image would show a finished rosette on a cupcake, highlighting the clean stop point.)
Step 4: Practice Makes Perfect: Common Mistakes and How to Avoid Them
Even with detailed instructions, mastering easy buttercream rosette piping takes practice. Learning to identify and correct common issues will significantly improve your results.
Uneven Rosettes: Troubleshooting Tips (Leveling Cake Surface)
Uneven rosettes often stem from inconsistent pressure or an uneven surface. Ensure you are applying steady pressure throughout the piping motion. If piping on a cake, make sure the buttercream base layer is smooth and level before you start piping rosettes. Use an offset spatula to scrape and smooth the surface if needed. Piping on a flat, stable surface like a leveled cake or a flat cupcake top is crucial for achieving uniform rosettes.
Buttercream Too Soft: Solutions for a Stable Rosette (Refrigeration)
If your buttercream is too soft due to a warm kitchen or over-mixing, your rosettes will look flat and mushy instead of holding their shape. The simplest solution is refrigeration. Place the bowl of buttercream or the filled piping bag in the refrigerator for 10-20 minutes. Check the consistency – it should be firmer but still pliable. You might need to stir it gently to reincorporate if it has stiffened too much. Work in batches if your environment is warm, keeping the unused buttercream chilled.
Piping Bag Problems: Avoiding Air Bubbles and Leaks (Burping Technique)
Air bubbles in the piping bag can cause breaks in your piped line, resulting in incomplete or bumpy rosettes. To avoid this, fill your bag properly, pushing the buttercream down towards the tip to eliminate air pockets. Before you start piping, hold the bag tip up and gently squeeze the bag to force any air bubbles out through the top opening (the "burping" technique). Leaks usually occur if the bag is overfilled or if the tip wasn't cut properly. Ensure you don't overfill the bag and that the tip opening is just large enough for the nozzle or coupler.
Advanced Buttercream Rosette Techniques
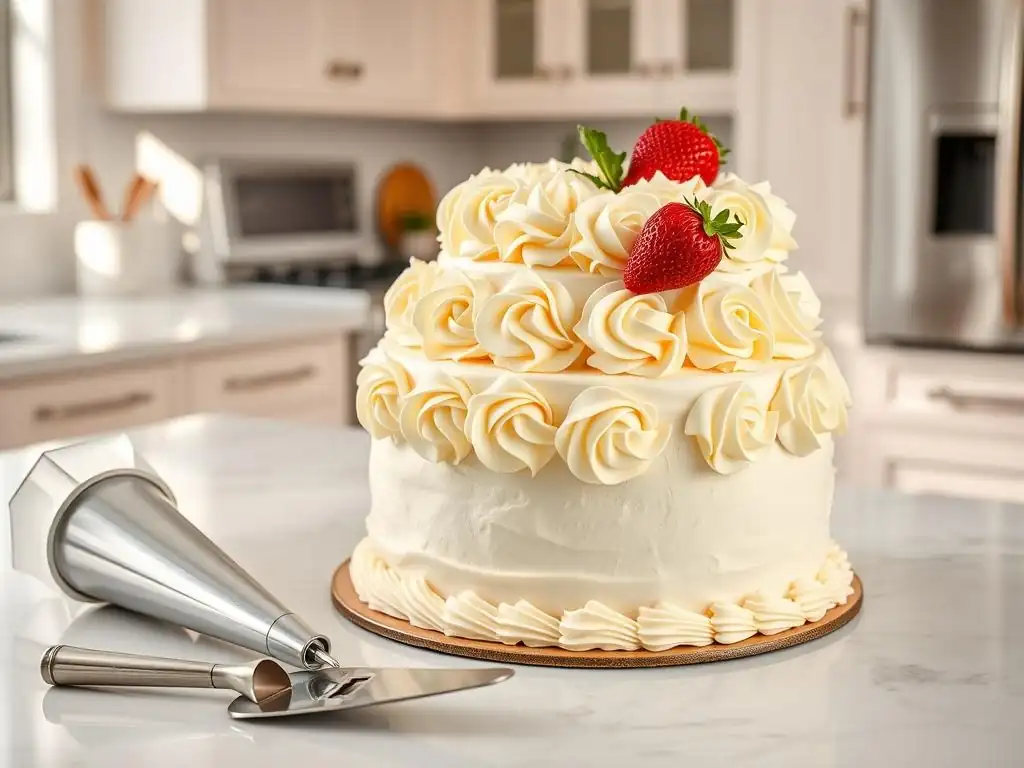
Creating Ombre Rosettes: A Color Blending Guide
Ombre rosettes create a beautiful gradient effect using multiple colors of buttercream. To achieve this, prepare your buttercream and divide it into portions. Color each portion a different shade of the same color, from light to dark. Lay out a large piece of plastic wrap.
Spread stripes of each color side-by-side onto the plastic wrap, arranging them from lightest to darkest. Roll the plastic wrap tightly around the buttercream log, twisting the ends like a candy wrapper. Snip off one end of the plastic wrap roll and insert this end into your piping bag fitted with the rosette tip. As you pipe, the colors will blend from dark to light (or vice-versa), creating a stunning ombre effect on your easy buttercream rosette piping.
The technique for piping buttercream rosettes remains the same, but the application varies slightly depending on the surface. For cupcakes, you can pipe a single large rosette covering the entire top or pipe smaller rosettes around the edge. For cakes, rosettes can cover the entire cake surface for a dramatic look, form borders, or be used as accents.
When covering a cake, start from the bottom row and work your way up, overlapping the rosettes slightly to create a seamless finish. On cookies, ensure the surface is cool and firm before piping. The size of the rosette should be proportionate to the size of the cookie.
Different Rosette Variations: Inverted and Two-Toned Designs
Once you've mastered the standard rosette, try variations. An inverted rosette is piped by starting at the outer edge and spiraling inwards towards the center. This creates a different look with the "peak" in the middle.
For two-toned rosettes, you can either stripe the inside of the piping bag with a second color before adding the main buttercream (less precise than the ombre method) or use a special piping bag divider insert. Alternatively, carefully spoon two different colors side-by-side into the bag without mixing them too much. As you pipe, the two colors will emerge simultaneously, creating a striking effect.
Buttercream Rosette Inspiration and Ideas
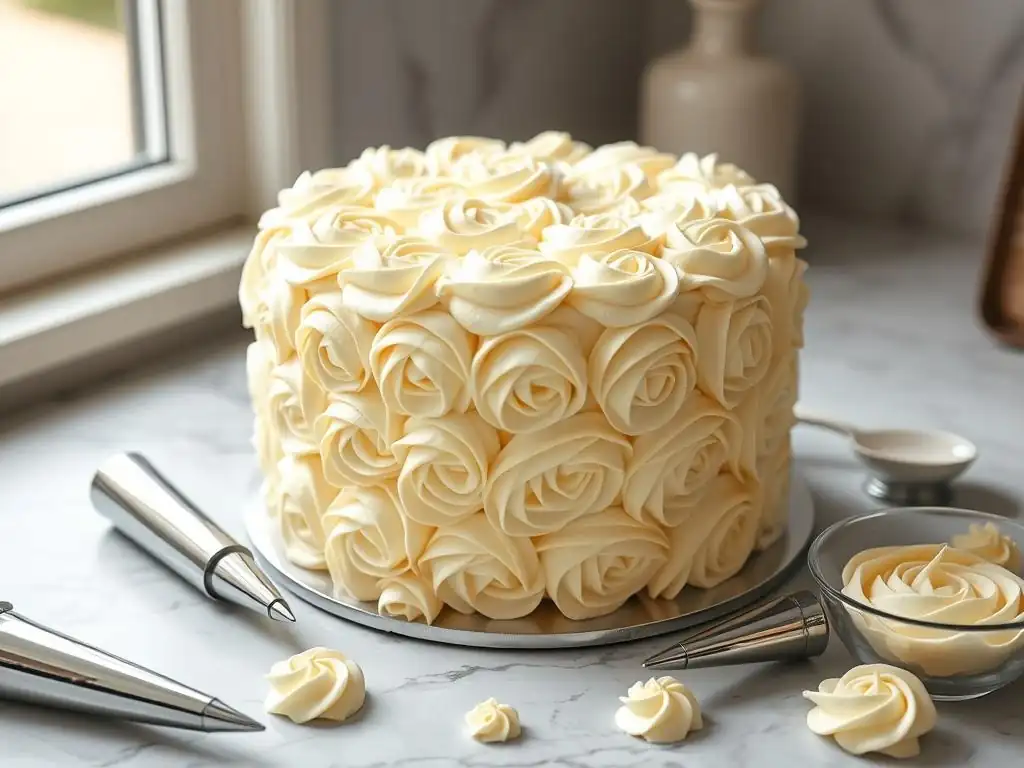
Photo Gallery: Stunning Buttercream Rosette Designs
- A collection showcasing rosettes in various colors covering a tiered cake.
- Cupcakes decorated with single, large rosettes in pastel shades.
- Cookies adorned with mini rosettes around the edge.
- A cake border made entirely of uniform buttercream rosettes.
- Examples of ombre and two-toned rosette effects.
[Link to Buttercream Flower Tutorials]
Conclusion: Mastering Buttercream Rosette Piping
Mastering easy buttercream rosette piping is a skill that will significantly enhance your cake decorating abilities. With the right tools, a stable buttercream recipe like Swiss meringue, and dedicated practice, you can consistently create beautiful, professional-looking rosettes. Remember to focus on steady pressure, smooth motion, and clean stops. Don't be discouraged by imperfect rosettes initially; practice is the key to achieving uniformity and elegance.
We love seeing what you create! Share photos of your beautiful buttercream rosette cakes, cupcakes, and cookies on Instagram. Tag us or use our hashtag so we can admire your work and celebrate your progress in easy buttercream rosette piping. Your creations can inspire others!
Next Steps: Expanding Your Buttercream Piping Skills (Piping Flowers)
Now that you've conquered the buttercream rosette, you have a solid foundation for more complex piping techniques. The control and precision you've developed are directly transferable to piping other types of buttercream flowers, such as roses, peonies, or hydrangeas, using different tips and techniques. Continue experimenting with various star tips, leaf tips, and petal tips to expand your repertoire and create even more intricate and stunning edible floral arrangements on your baked goods.
Frequently Asked Questions
How do I make my buttercream the right consistency for piping rosettes?
The correct buttercream consistency is crucial. It should be stiff enough to hold its shape but smooth enough to pipe easily. Adjust with small amounts of milk or powdered sugar until you achieve a pipeable, yet firm texture.
What kind of piping tip is best for creating buttercream rosettes?
A 1M star tip is widely considered the best for achieving the classic rosette swirl. Other similar star tips can also work, but 1M provides excellent definition.
How do I prevent air bubbles in my buttercream while piping?
Before filling your piping bag, gently press the buttercream against the side of the bowl to remove any trapped air. Also, avoid overmixing, as this can incorporate more air.
What's the best way to practice my buttercream rosette piping technique?
Practice on a piece of parchment paper first. You can then scrape the buttercream back into the bowl and reuse it. This saves ingredients and allows you to perfect your technique before decorating your cake.
How do I keep my buttercream rosettes from melting or drooping, especially in warmer temperatures?
Use a Swiss meringue buttercream which is more stable in warmer temperatures than American buttercream. You can also chill your cake and piped rosettes in the refrigerator to help them set.
Final Reflection: Mastering the Art of the Easy Buttercream Rosette
The pursuit of the perfect buttercream rosette is more than just a baking challenge; it's a testament to the power of patience and precision in achieving beauty. In today's fast-paced world, where instant gratification often reigns supreme, the deliberate process of creating these elegant swirls offers a welcome counterpoint. The detailed steps outlined in this guide demonstrate that even seemingly complex techniques can be broken down into manageable, achievable parts.
The enduring appeal of the buttercream rosette lies in its versatility and timeless elegance. It transcends mere decoration, becoming a symbol of celebration, artistry, and the joy of creating something beautiful with your own hands. This simple technique, passed down through generations of bakers, continues to inspire and delight. The best things in life are simple,
a sentiment perfectly embodied by the understated yet impactful beauty of a well-piped rosette. Its presence elevates any dessert, transforming a simple cake into a masterpiece.
Now, it's your turn. Don't be intimidated by the initial steps; embrace the process. Experiment with different piping tips, colors, and textures. Let the rhythmic swirl of the buttercream become a meditative practice, a moment of mindful creation in your day. The satisfaction of crafting your own perfect buttercream rosettes, whether for a special occasion or simply to brighten your day, is a reward in itself. Go forth, and pipe your heart out!
Unleash Your Inner Pastry Artist: Master the Buttercream Rose!
Thanks for joining us on this delicious journey into the world of buttercream rosettes! We hope you now feel confident and inspired to create stunning floral decorations. Ready to take your baking skills to the next level?
- Practice makes perfect! Try creating your own rosette masterpiece today. Experiment with different piping tips and colors to find your signature style.
- Share your creations! Post a picture of your buttercream roses on social media and tag us – we’d love to see your beautiful work!
- Explore other BakeWithEase tutorials for more advanced piping techniques and delicious cake recipes.
What unique flavor combination will you try for your next buttercream rosette creation?