
Buttercream Temperature Control: Key to Easy Application

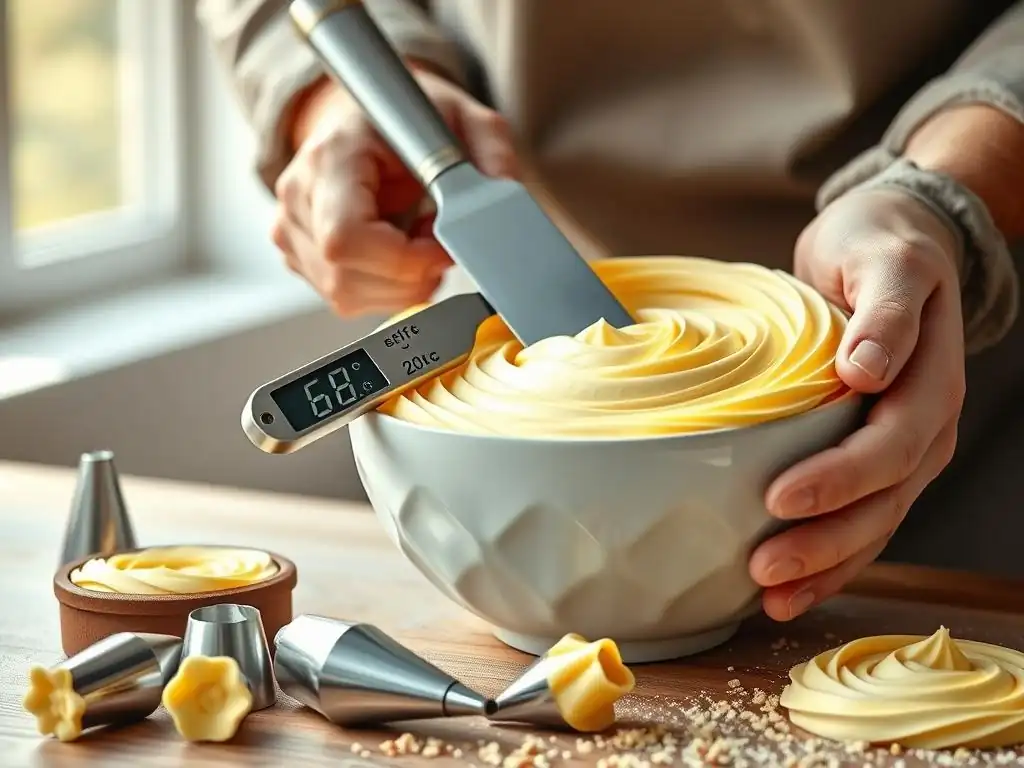
Welcome to BakeWithEase, your friendly guide to unlocking baking brilliance! Ever wondered how to achieve that flawlessly smooth finish on your cakes? This article dives deep into perfect buttercream consistency tips, revealing the secrets to temperature control that will transform your frosting game. Get ready to say goodbye to grainy textures and hello to buttercream perfection – let's get baking!
- Mastering Buttercream: Temperature's Crucial Role in Consistency
- A Baker's Guide to Achieving Perfect Buttercream
- Understanding Buttercream and Temperature: The Science Behind Success
-
Step-by-Step Temperature Control for Ideal Buttercream Consistency
- Step 1: Butter Temperature - Laying the Foundation
- Step 2: Creaming Butter and Sugar: Temperature's Impact on Aeration
- Step 3: Incorporating Liquids: Preventing Separation
- Step 4: Chilling Buttercream: When and Why to Firm It Up
- Step 5: Re-whipping Chilled Buttercream: Restoring Smoothness and Volume
- Troubleshooting Temperature-Related Buttercream Issues
- Maintaining Perfect Buttercream Consistency During Application
- Advanced Buttercream Techniques and Temperature Sensitivity
- Unlock Baking Success: Mastering Buttercream Temperature
- Frequently Asked Questions
- Final Reflection: Mastering the Art of Perfect Buttercream
- Unlock Your Perfect Buttercream: Take the Next Step!
Mastering Buttercream: Temperature's Crucial Role in Consistency
A Baker's Guide to Achieving Perfect Buttercream
Buttercream frosting is a classic for a reason – it's delicious, versatile, and the perfect canvas for decorating cakes and cupcakes. However, achieving that dreamily smooth, easily spreadable, and pipeable texture can sometimes feel like a mystery. Many bakers focus on ingredients and ratios, but often overlook one of the most critical factors: temperature. Mastering temperature control is perhaps the most significant of all perfect buttercream consistency tips. It dictates everything from how well your ingredients emulsify to how smoothly the frosting spreads and holds its shape.
Think of temperature as the conductor of your buttercream orchestra. When the temperature is just right, all the elements harmonize, resulting in a frosting that is light, airy, and a joy to work with. When it's off, you can end up with a greasy mess, a lumpy texture, or a frosting that simply won't cooperate. Understanding how temperature affects the components of buttercream is fundamental to consistently achieving that perfect consistency, making your baking projects much more enjoyable and successful.
Understanding Buttercream and Temperature: The Science Behind Success
The Science of Buttercream Texture: Fat Crystallization and Stability
Butter is the backbone of most buttercreams, and its unique structure is highly sensitive to temperature. Butter is primarily an emulsion of fat (around 80-82%) and water (about 16-18%), with a small percentage of milk solids. The fat exists in various crystalline forms.
At cold temperatures (below 50°F or 10°C), the fat crystals are hard and rigid, making the butter solid and difficult to work with. As the temperature rises (into the 60s°F or 15-20°C), some crystals soften while others remain stable, reaching a state where the butter is pliable yet still holds structure. This is the ideal state for creaming.
Heating butter further, especially above 90°F (32°C), melts most of the fat crystals. When this happens, the structure collapses, and the fat and water components are more likely to separate, leading to a greasy, unstable mixture. The ability of butterfat to solidify and soften within specific temperature ranges is what gives buttercream its unique ability to be whipped into a stable foam and then firm up when chilled. Controlling this fat crystallization process through temperature is paramount for achieving perfect buttercream consistency tips.
Why Temperature is Key for Smooth, Spreadable Buttercream
Temperature directly impacts the physical state of the butterfat, which in turn determines the overall texture of your buttercream. If the butter is too cold, it won't cream properly with the sugar, resulting in a lumpy, heavy frosting that's hard to spread. The sugar crystals won't dissolve or disperse evenly within the cold, hard fat.
Conversely, if the butter is too warm, the fat crystals will have melted too much. When you try to whip it, the mixture will become greasy and potentially separate, lacking the structure needed for a light, airy texture or for holding piped shapes. Finding that "sweet spot" temperature where the butter is soft enough to incorporate air and ingredients smoothly, but cool enough to maintain stability, is the secret to achieving that coveted smooth, spreadable, and pipeable perfect consistency for buttercream.
Step-by-Step Temperature Control for Ideal Buttercream Consistency
Step 1: Butter Temperature - Laying the Foundation
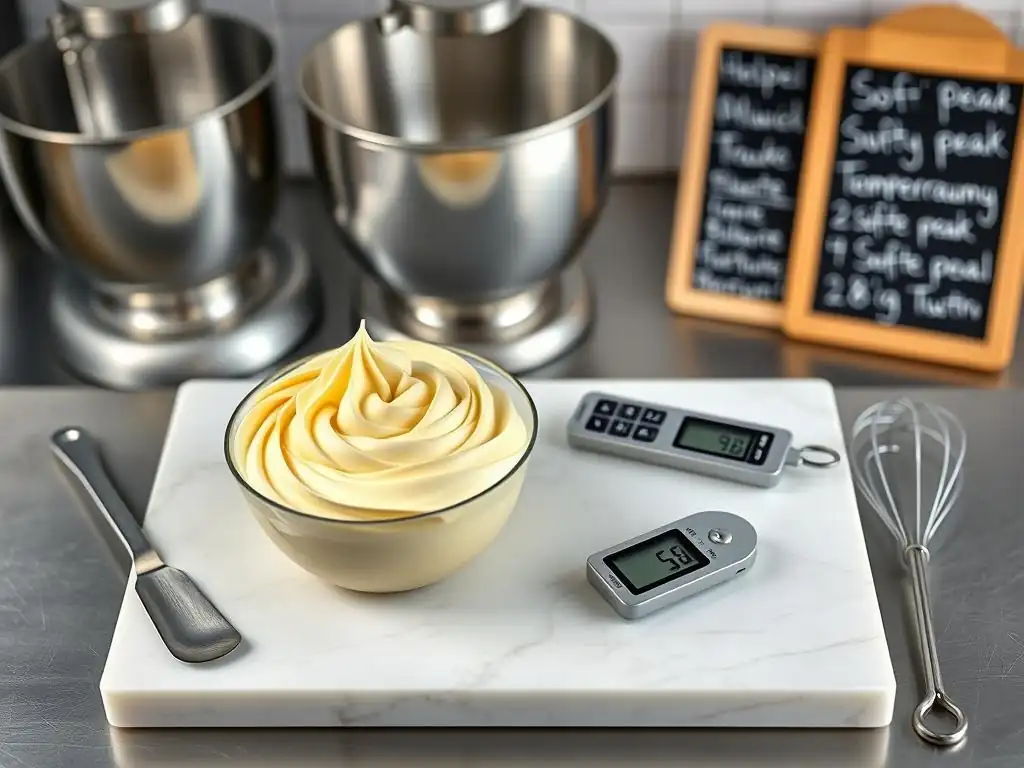
The Goldilocks Zone: Achieving Perfectly Softened Butter (Around 65°F)
The temperature of your butter at the start is perhaps the single most important factor. For most standard buttercreams (like American buttercream), the ideal butter temperature is typically between 65°F and 68°F (about 18°C to 20°C). At this temperature, the butter is soft enough to be easily indented with a finger but still holds its shape and is not shiny or greasy. This allows it to cream effectively with sugar, trapping tiny air pockets that give the buttercream its light texture.
Using butter that is too cold (straight from the fridge, say 35°F or 2°C) will result in a lumpy, dense frosting because the sugar cannot properly incorporate into the hard fat. Using butter that is too warm (like 75°F or 24°C and above) will melt the fat crystals, leading to a greasy, separated, and heavy buttercream that lacks structure. Aiming for this specific temperature range sets you up for success in achieving perfect buttercream consistency tips right from the start.
The Fingerprint Test: Gauging Butter Softness
A simple and reliable method for checking if your butter is at the ideal temperature is the fingerprint test. Gently press your finger into the stick of butter. If it leaves a clear indentation without your finger sinking in too easily, it's likely in the perfect range (around 65-68°F).
If your finger barely makes a mark, the butter is too cold and needs more time at room temperature. If your finger goes straight through or the butter feels oily and looks shiny, it's too warm and needs to be chilled slightly. This tactile test is an invaluable skill for consistently achieving the right starting point for your perfect consistency for buttercream.
Step 2: Creaming Butter and Sugar: Temperature's Impact on Aeration
Ensuring Uniform Incorporation: The Importance of Even Temperature
When you cream butter and sugar together, you are essentially creating a stable foam by incorporating air into the butterfat matrix. The temperature of the butter is critical for this process. If the butter is not evenly softened, you'll have a mixture of hard lumps and soft spots, leading to inconsistent aeration and a lumpy final texture.
Using butter that is uniformly at the ideal temperature (around 65-68°F) ensures that the sugar crystals can effectively cut into the soft butterfat, creating pockets that trap air as the mixture is beaten. This creaming process is essential for developing a light and fluffy texture, a key characteristic of perfect buttercream consistency tips.
Troubleshooting: Temperature-Related Creaming Issues (Too Cold, Too Warm)
If your butter is too cold when you start creaming, you'll notice the butter breaking into chunks instead of becoming smooth. The sugar won't incorporate well, and you'll likely end up with a dense, heavy, and potentially gritty buttercream. The fix is to gently warm the bowl (perhaps over a very slightly warm water bath, or by holding a warm towel around it for a moment) and continue beating until it becomes smooth and uniform.
If your butter is too warm, the mixture will quickly become greasy and might even look separated. It won't lighten in color or volume as much as it should because the fat crystals are melted and can't effectively trap air. While harder to fix completely, you can try chilling the bowl and contents for 10-15 minutes and then re-whipping vigorously. Sometimes this can help the fat re-crystallize enough to regain some structure, salvaging the mixture and getting closer to that perfect consistency for buttercream.
Step 3: Incorporating Liquids: Preventing Separation
Liquid Temperature: Avoiding Butterfat Shock (Room Temperature Liquids Recommended)
When adding liquids like milk, cream, or water to your creamed butter and sugar, their temperature is crucial to prevent temperature shock to the butterfat. Adding cold liquid (say, 40°F or 4°C) to softened butter (around 65°F) can cause the butterfat to seize up or partially solidify rapidly, leading to a curdled or broken appearance.
It is always best practice to use liquids that are at room temperature (ideally between 65-70°F or 18-21°C) or even slightly warmer. This allows them to integrate smoothly into the butter mixture without causing the fat to solidify unevenly. Using room temperature liquids is a simple yet vital step towards achieving perfect buttercream consistency tips.
Integrating Extracts and Colors: Minimal Temperature Impact
Fortunately, adding extracts and food coloring typically involves very small volumes compared to the total amount of buttercream. Because the volume is so small, their temperature usually has a minimal impact on the overall temperature of the buttercream and is less likely to cause temperature shock.
However, if you are adding a significant amount of liquid coloring or a large quantity of extract, it's still wise to ensure they are at room temperature. For standard amounts (like a teaspoon of vanilla or a few drops of gel color), you generally don't need to worry about their temperature affecting the consistency.
Step 4: Chilling Buttercream: When and Why to Firm It Up
Addressing Soft Buttercream: A Controlled Chill for Stability
Sometimes, despite your best efforts, your buttercream might end up too soft, especially in a warm kitchen. This can happen if the butter was slightly too warm to begin with, or if the friction from whipping generated too much heat. When buttercream is too soft, it can be difficult to spread neatly and impossible to pipe intricate designs.
Chilling the buttercream is the solution. Placing the bowl of buttercream in the refrigerator allows the butterfat crystals to firm up, restoring stability and structure to the frosting. This controlled cooling process is essential for salvaging overly soft buttercream and making it workable again, helping you achieve perfect buttercream consistency tips.
Optimal Refrigeration Time: Achieving the Right Firmness (30-60 Minutes)
The amount of time needed to chill buttercream depends on several factors, including the quantity of buttercream, the temperature of your refrigerator, and how soft the buttercream was initially. A good starting point is 30-60 minutes in the refrigerator.
After 30 minutes, check the consistency. It should be noticeably firmer but not rock hard. Stir it with a spatula; it should feel thick but still pliable. If it's still too soft, return it to the fridge and check every 15-20 minutes. The goal is to firm it up just enough to work with, not make it solid. Over-chilling will require additional steps to make it usable again.
Step 5: Re-whipping Chilled Buttercream: Restoring Smoothness and Volume
The Re-whipping Process: Achieving a Light and Airy Texture
After chilling, buttercream will be quite firm and dense. While this might seem counterproductive to achieving a smooth consistency, it's a necessary step before re-whipping. Once the buttercream is firm enough (but not rock hard), take it out of the fridge and let it sit at room temperature for 10-20 minutes to soften slightly around the edges.
Then, transfer it to your mixer and whip it again on medium-low speed initially, gradually increasing to medium speed. The chilling and subsequent re-whipping process breaks down the larger fat crystal structures that formed during cooling and reincorporates air, restoring the light, fluffy, and smooth texture needed for perfect buttercream consistency tips.
Assessing Readiness: Signs of Successfully Re-whipped Buttercream
You'll know your chilled buttercream has been successfully re-whipped when it transforms from a dense, putty-like texture back into a smooth, light, and airy consistency. The color will typically lighten again, and it will become easily spreadable or pipeable.
If it still feels too stiff, you can add a tiny splash of room temperature milk or cream (about a teaspoon at a time) while whipping to help loosen it. If it becomes too soft from whipping (due to friction heat), you can briefly chill it again for 5-10 minutes and then give it another quick whip. Patience and small adjustments are key to nailing the perfect consistency for buttercream after chilling.
Buttercream Soup: Overcoming Over-Softening
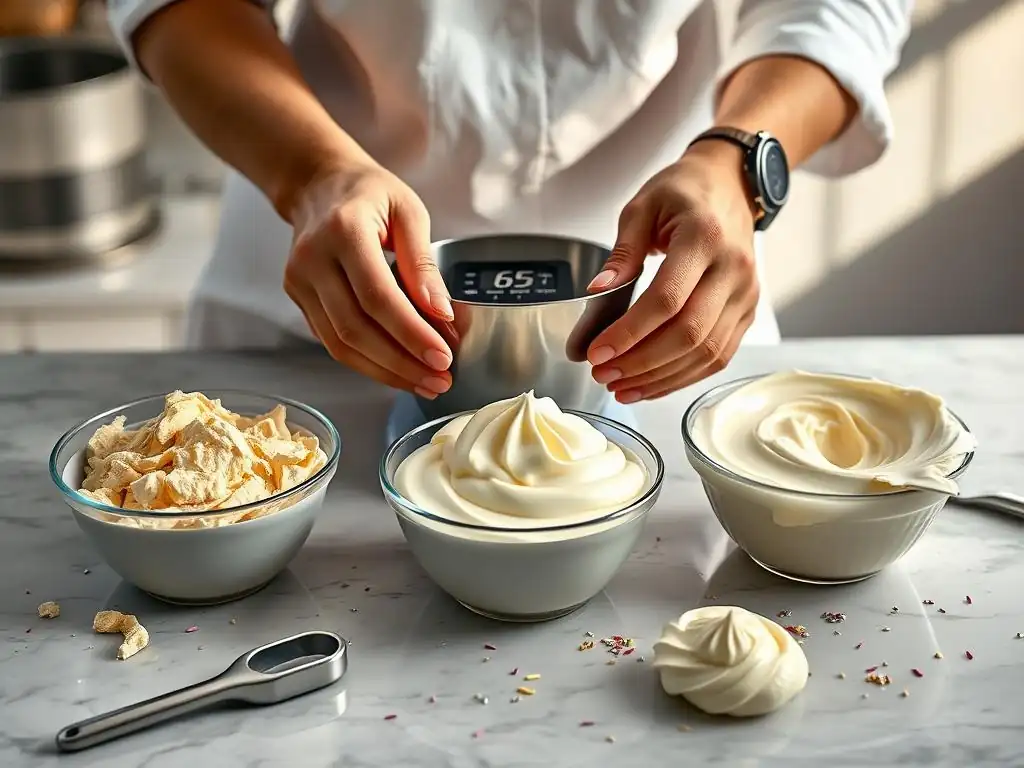
Encountering buttercream that's too soft, often referred to as "buttercream soup" or "greasy buttercream," is a common issue, especially in warm environments. This happens when the butterfat has melted too much, causing the emulsion to break or become unstable. The mixture looks shiny, feels greasy, and lacks any structure.
The primary solution is chilling. Place the entire bowl of buttercream into the refrigerator. Depending on how soft it is, this could take anywhere from 30 minutes to over an hour. Check periodically.
Once it's firm enough to hold its shape when stirred (but not rock hard), remove it from the fridge and re-whip it thoroughly using your mixer. This re-cooling allows the fat crystals to re-solidify, and re-whipping restores the texture. Adding a tablespoon or two of sifted powdered sugar can sometimes help absorb excess liquid if separation was also an issue, aiding in achieving perfect buttercream consistency tips.
Buttercream Curdling: Addressing Temperature Shock During Liquid Addition
Buttercream can appear curdled or broken, looking lumpy with pockets of liquid or separated fat, often when liquids (like milk or egg whites in meringue buttercreams) are added at the wrong temperature. Adding cold liquid to creamed butter is a frequent culprit, causing the butterfat to seize.
If your buttercream curdles, the first step is often temperature adjustment. If it seems too cold (lumpy, stiff), gently warm the bowl slightly while mixing. If it seems too warm (greasy, separated), chill it briefly until slightly firmed, then re-whip.
For curdling due to cold liquids, sometimes warming a small portion of the curdled buttercream gently (microwave on low power for a few seconds or over a warm water bath) until just melted, then slowly incorporating it back into the rest of the mixture while whipping, can help re-emulsify the batch. This technique leverages temperature to bring the components back together for a smoother perfect consistency for buttercream.
Buttercream Too Stiff: Reviving Over-Chilled Buttercream
If you've chilled your buttercream for too long, it can become very hard and difficult to work with. Trying to spread or pipe rock-hard buttercream is frustrating and can damage your cake.
The solution is to bring it back to a workable temperature. Take the buttercream out of the refrigerator and let it sit at room temperature. The time needed will vary greatly depending on the amount and room temperature, but it could take 30 minutes to over an hour.
Once it has softened enough around the edges to be scoopable, transfer it to your mixer and re-whip it until it is smooth and pliable again. You can also try warming the bowl gently with a warm towel or brief warm water bath while whipping to speed up the process. Adding a tiny amount (teaspoon by teaspoon) of room temperature liquid (milk, cream, or even water) while whipping can also help loosen it to the desired perfect consistency for buttercream.
Maintaining Perfect Buttercream Consistency During Application
Baking in a Warm Environment: Strategies for Temperature Management
Working with buttercream in a warm kitchen or during hot weather poses a significant challenge to maintaining perfect buttercream consistency. High ambient temperatures can quickly cause the butterfat to soften, leading to droopy, greasy frosting that loses its shape.
Strategies include working in the coolest part of your house, using air conditioning or fans (but not blowing directly on the buttercream), and keeping the buttercream chilled until you are ready to use small portions. You can chill your mixing bowl before starting, or place the bowl of finished buttercream over an ice bath while coloring or preparing to use it. Work quickly when decorating, and return the buttercream to the fridge periodically if it starts to soften. Having chilled cakes and cupcakes also helps prevent the buttercream from melting instantly upon contact.
On-the-Fly Adjustments: Quick Fixes for Buttercream Texture
Even with careful preparation, you might need to make minor adjustments to your buttercream's consistency while you're working. If it starts to feel a little too soft while you're spreading or piping, pop the bowl (or even the piping bag) into the refrigerator for 5-10 minutes to firm it up slightly.
If it feels a bit too stiff or resistant, you can add a tiny amount (like half a teaspoon) of room temperature liquid (milk, cream, or water) and stir it in vigorously with a spatula, or give it a quick whip in the mixer. These small, immediate adjustments can help you maintain the ideal perfect consistency for buttercream throughout your decorating session.
Piping Considerations: Maintaining Buttercream Temperature in a Piping Bag
Body heat transferred through your hands can significantly warm the buttercream inside a piping bag, especially when working on intricate designs or for extended periods. This causes the buttercream near your hands to soften, potentially leading to inconsistent piping pressure and melting shapes.
To combat this, avoid overfilling piping bags; fill them only halfway or two-thirds full to minimize contact with your hands. Work with one bag at a time and keep the rest of the buttercream chilled in the bowl. If a piping bag feels like it's warming up, place it in the refrigerator for 5-10 minutes to cool down before continuing. Using multiple piping bags and rotating them can also help maintain the perfect consistency for buttercream during piping projects.
Advanced Buttercream Techniques and Temperature Sensitivity
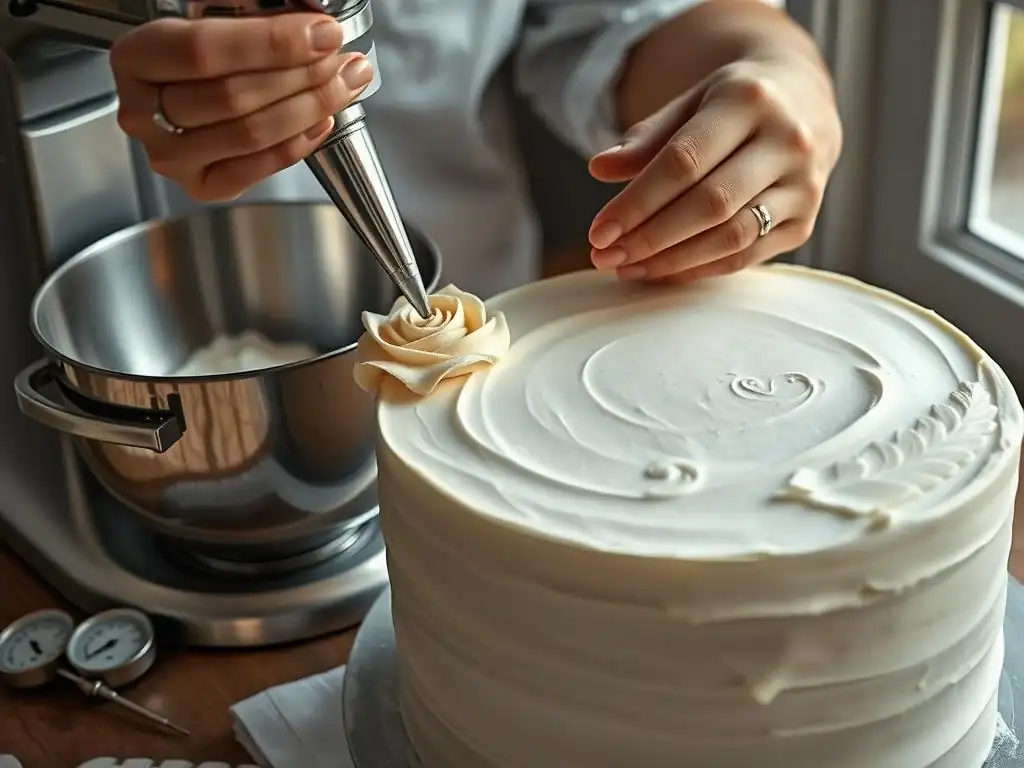
Swiss Meringue Buttercream: Temperature Control During Meringue and Butter Incorporation
Swiss Meringue Buttercream (SMBC) is known for its silky smooth texture, but it is highly sensitive to temperature. You heat egg whites and sugar over a water bath until the sugar dissolves and the mixture reaches about 160°F (71°C). This meringue must then be whipped until it cools to room temperature (around 70-75°F or 21-24°C) before adding the butter.
Adding butter that is too cold or too warm, or adding it to a meringue that is still warm, will break the emulsion. The butter should be soft but cool (around 65°F or 18°C). If the mixture separates after adding butter, it's almost always a temperature issue. If it's too cold (lumpy, curdled), gently warm the bowl. If it's too warm (soupy, separated), chill the bowl. Re-whipping at the correct temperature is key to achieving its signature perfect buttercream consistency.
Italian Meringue Buttercream: Temperature of Syrup and Butter Incorporation
Italian Meringue Buttercream (IMBC) involves pouring hot sugar syrup (heated to 240-245°F or 115-118°C) into whipping egg whites, cooking them while they whip into a stiff, glossy meringue. Like SMBC, the meringue must cool significantly before adding butter.
The meringue should cool to around 80-85°F (27-29°C) before you start adding the soft, cool butter (around 65°F or 18°C). Adding butter too early while the meringue is too hot will melt the butter immediately, resulting in a liquidy mess. Adding butter that's too cold can cause lumps. Temperature precision in both the syrup and the meringue before butter incorporation is paramount for the stability and smooth perfect consistency tips for IMBC.
French Buttercream: Careful Egg Yolk and Butter Temperature Management
French buttercream, made with egg yolks whipped with hot sugar syrup, is incredibly rich and smooth but also delicate. The hot syrup is streamed into whipping egg yolks, similar to IMBC.
After the egg yolks and syrup are whipped into a thick, pale foam, this mixture must cool significantly before adding the butter. The butter should be soft but cool (around 65°F or 18°C), and the yolk mixture should be close to room temperature (around 70-75°F or 21-24°C). Adding butter to a warm yolk mixture will lead to a greasy, separated buttercream. Temperature control at both the syrup stage and during the butter incorporation is vital for achieving the characteristic smooth, velvety perfect consistency for this type of buttercream.
Unlock Baking Success: Mastering Buttercream Temperature
Achieving Consistent Results: The Benefits of Precise Temperature Control
Ultimately, understanding and controlling temperature is the single most impactful skill you can develop for consistently achieving perfect buttercream consistency tips, regardless of the type you're making. It's the difference between a frustrating, lumpy or greasy mess and a silky-smooth frosting that is effortless to spread, pipe, and decorate with.
By paying attention to the temperature of your butter, liquids, and the buttercream itself throughout the process – from the initial creaming to potential chilling and re-whipping – you gain control over the fat crystallization and emulsion stability. This leads to reliable results, enhances the texture and appearance of your baked goods, and makes the entire decorating process more enjoyable. Embrace temperature control, and unlock your potential for truly stunning and delicious buttercream creations.
Frequently Asked Questions
What is the most common problem bakers face with buttercream?
The most common problem is achieving the perfect buttercream consistency. It's often either too stiff or too soupy, making it difficult to work with and apply smoothly.
Why is temperature control so crucial for buttercream?
Temperature directly impacts the butter's texture, the main component of buttercream. Slight variations can drastically alter the final consistency, affecting its spreadability and stability.
What are some signs my buttercream is too cold?
If your buttercream is too cold, it will be stiff, difficult to spread, and potentially look curdled. It might also crack easily when applied to a cake.
What can I do if my buttercream is too warm and soupy?
If your buttercream is too warm, try chilling it in the refrigerator for short intervals (5-10 minutes) and then re-whipping it. This helps the butter to firm up without becoming too hard.
Does the type of butter I use affect buttercream consistency?
Yes, the type of butter definitely matters. Using high-quality butter with a higher fat content generally leads to a smoother and more stable buttercream.
Final Reflection: Mastering the Art of Perfect Buttercream
The quest for flawlessly smooth buttercream frosting is more than just a baking pursuit; it's a testament to precision and understanding. Achieving that perfect consistency, as we've explored throughout this article, unlocks a world of creative possibilities, from elegant cake designs to delicate piping details. The seemingly simple act of controlling buttercream temperature significantly impacts the final product, transforming a frustrating experience into a joyful one.
The impact of understanding buttercream temperature extends far beyond the kitchen. It's a microcosm of the larger principle of mastering technique through understanding the underlying science. This knowledge empowers bakers of all levels, fostering confidence and encouraging experimentation. As the renowned pastry chef, Jacques Torres, once said, Baking is a science, but it's also an art. You need to understand the science to create the art.
This perfectly encapsulates the journey we've undertaken in exploring the nuances of buttercream temperature control.
Now, it's your turn to take the reins. Remember the lessons learned—the importance of gradual additions, the subtle shifts in texture with temperature changes, and the power of patience. Don't be afraid to experiment, to adjust, and to find your perfect buttercream consistency. Each batch, each cake, is an opportunity to refine your technique and create something truly beautiful. Embrace the process, and let the smooth, creamy perfection of your buttercream be a testament to your dedication and skill.
Unlock Your Perfect Buttercream: Take the Next Step!
Thanks for taking the time to learn about mastering buttercream temperature! You've now got the knowledge to create flawlessly smooth frosting every time. Ready to put your new skills into practice?
- Bake a cake this weekend and try applying your perfectly-tempered buttercream. This is the best way to solidify your learning!
- Share your buttercream creations on social media – tag us @BakeWithEase so we can see your amazing work!
- Join our community forum (link removed as per instructions) to discuss your frosting adventures and ask any lingering questions. Let's help each other perfect the art of buttercream!
What delicious buttercream flavor will you create next?