
Foolproof Sourdough Discard Focaccia: No Kneading Required

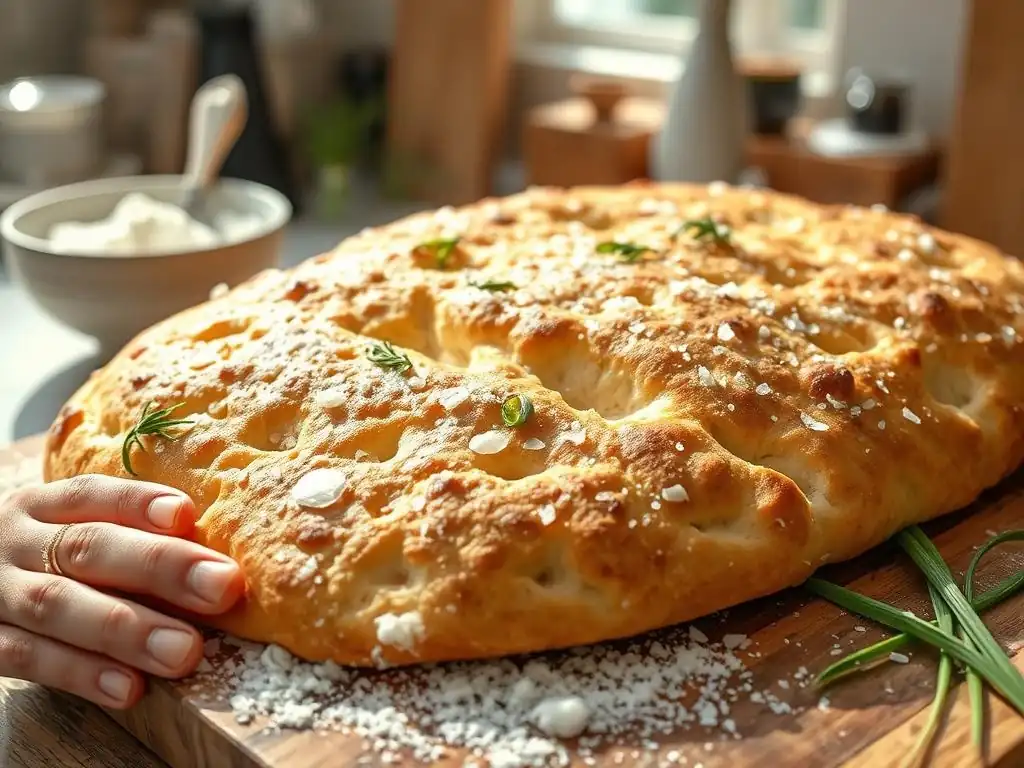
Welcome to BakeWithEase, your trusted guide to baking brilliance! Are you ready to unlock the secrets of artisan bread without the fuss? Dive in and discover how to create a stunning No Kneading Sourdough Focaccia that's bursting with flavor. Forget the kneading marathon – we'll show you a surprisingly simple method that delivers bakery-worthy results every time. Intrigued? Let's get baking!
- BakeWithEase Presents: The Easiest No-Knead Sourdough Focaccia Recipe
- Understanding Sourdough Discard and Its Role in Focaccia
- Mastering the No-Knead Sourdough Focaccia Technique
- Foolproof Sourdough Discard Focaccia: Step-by-Step Recipe
- Troubleshooting Common Sourdough Focaccia Issues
- Sourdough Discard Focaccia Variations and Flavor Ideas
- Storing Your Sourdough Discard Focaccia for Maximum Freshness
- Enjoy Your Homemade No-Knead Sourdough Focaccia!
- Frequently Asked Questions
- Final Reflection: The Unexpected Joy of No-Knead Sourdough
- Unleash Your Inner Focaccia Master!
BakeWithEase Presents: The Easiest No-Knead Sourdough Focaccia Recipe
Welcome to BakeWithEase! We're thrilled to share a recipe that demystifies sourdough baking, making it accessible and incredibly rewarding. This no-kneading sourdough focaccia recipe is designed for everyone, whether you're just starting your sourdough journey or looking for a simple way to use up your discard. Forget the strenuous kneading; time and hydration do the work here, resulting in a light, airy, and flavorful bread with minimal effort.
This recipe focuses on simplicity without sacrificing quality. By leveraging the unique properties of sourdough discard, we achieve a delightful texture and complex flavor profile that rivals traditional focaccia. Get ready to bake a beautiful loaf that's perfect for dipping in olive oil, serving with meals, or simply enjoying on its own. Let's dive into the world of easy no-knead sourdough focaccia!
Understanding Sourdough Discard and Its Role in Focaccia
What is Sourdough Discard and Why Use It?
Sourdough discard refers to the portion of your sourdough starter that you remove before feeding it. It's essentially the unfed or less active part of your culture. While it may not have the vigorous leavening power of a freshly fed, active starter, discard is packed with flavor developed through fermentation. It contains a complex ecosystem of wild yeast and bacteria that have been breaking down flour and water over time, creating organic acids and other compounds.
Using sourdough discard is a fantastic way to minimize waste from maintaining your starter. Instead of throwing it away, you can incorporate it into a wide variety of recipes, adding a tangy depth and unique structure. Discard typically has a hydration level similar to your fed starter, often 100% (equal weight of flour and water), which contributes moisture and helps with the dough's overall hydration in recipes like this no-kneading sourdough focaccia.
Benefits of Using Sourdough Discard in Focaccia
Incorporating sourdough discard into your focaccia recipe offers several distinct advantages. Firstly, it imparts a wonderful, slightly tangy flavor that complements the richness of olive oil beautifully. This complex taste is difficult to achieve with commercial yeast alone and adds a gourmet touch to your homemade bread. Beyond flavor, the enzymes present in the discard contribute to breaking down the flour, potentially making the bread easier to digest for some people.
Secondly, sourdough discard contributes to the texture of the focaccia. While it doesn't provide significant lift on its own in this no-knead application (the primary leavening comes from a longer fermentation and often a small amount of commercial yeast or the residual activity of the discard combined with time), it influences the dough's structure. The acids in the discard can help tenderize the gluten, leading to a softer crumb. Furthermore, the residual sugars and fermentation products contribute to better browning during baking, resulting in that desirable golden crust on your no-kneading sourdough focaccia.
Mastering the No-Knead Sourdough Focaccia Technique
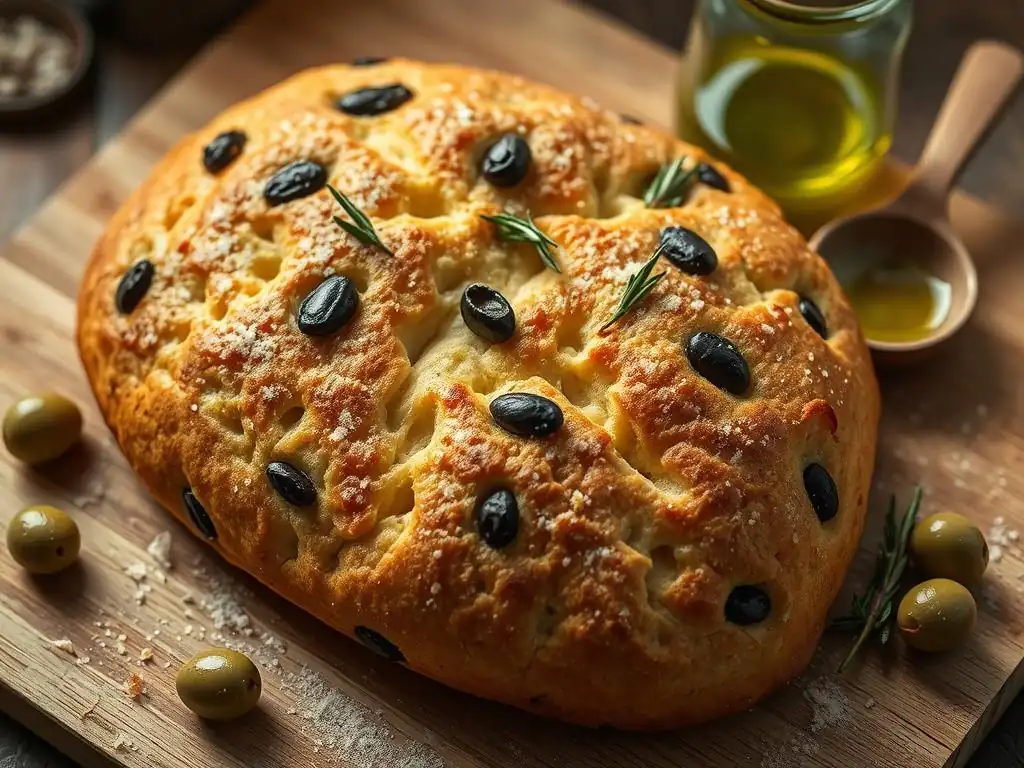
Why No-Knead Focaccia is Perfect for Beginners
The no-knead method is a game-changer for anyone new to baking, especially those intimidated by traditional bread making. It eliminates the need for vigorous physical activity and the technical skill required to develop gluten through kneading. Instead, you simply mix the ingredients together until a shaggy dough forms, and then let time and hydration do the work. This drastically reduces the barrier to entry, making delicious homemade bread achievable with minimal effort.
For beginners, the no-kneading sourdough focaccia approach is particularly forgiving. The high hydration level typical of focaccia dough combined with a long fermentation period allows the gluten network to develop naturally without manual manipulation. This means less stress about whether you've kneaded enough or too much. It's a process that requires patience more than skill, making it an ideal starting point for building confidence in your baking abilities. Plus, the results are consistently impressive – a beautiful, bubbly focaccia with a wonderful texture.
The Science Behind the No-Knead Method
The magic of the no-knead method lies in time and water. When flour and water are mixed, the proteins glutenin and gliadin bond to form gluten, the network that gives bread structure. In traditional methods, kneading accelerates this process. In the no-knead approach, with sufficient hydration (often 70% or higher relative to flour weight, sometimes even exceeding 80-90% for focaccia) and a long rest period, the gluten strands hydrate and align themselves naturally. This autolysis process, where water helps break down proteins, builds the gluten network over several hours.
Furthermore, the long bulk fermentation period (which can range from 8 to 24 hours, or even longer in the refrigerator) allows enzymes in the flour and sourdough discard to further break down complex starches and proteins. This not only develops flavor but also contributes to a more extensible dough that is easier to handle and dimple later. The slow fermentation also produces gases that are trapped by the developing gluten network, creating the airy, open crumb characteristic of a good no-kneading sourdough focaccia.
Foolproof Sourdough Discard Focaccia: Step-by-Step Recipe
Ingredients for Your Easy Sourdough Focaccia
Here is a list of the key ingredients you'll need to make this delicious no-kneading sourdough focaccia.
Sourdough Discard: The Key Ingredient
- Approximately 150-200 grams of unfed sourdough discard (ideally at 100% hydration, though slight variations are fine). Ensure it's discard that is at least a few days old for maximum tang.
Flour Choices for Optimal Focaccia Texture
- 300-350 grams of strong bread flour or all-purpose flour. Bread flour will give a slightly chewier texture due to higher protein content (typically 12-14%), while all-purpose flour (around 10-12% protein) yields a softer crumb. A blend can also work well.
Olive Oil: The Flavor Enhancer
- A generous amount of good quality extra virgin olive oil. You'll need about 50-75 ml for the dough and another 50-75 ml (or more!) for the pan and drizzling.
Other Essential Ingredients: Salt, Water, and Optional Add-ins
- 250-300 ml of lukewarm water (adjust based on flour absorption and discard hydration). Aim for a total hydration around 80-90% including the discard.
- 1-2 teaspoons of fine sea salt or kosher salt for the dough, plus flaky sea salt for topping.
- Optional: A pinch (around 1/4 teaspoon) of instant dry yeast if your discard is very inactive and you want a little extra lift, though it's often not necessary with sufficient fermentation time.
- Optional Add-ins: Fresh rosemary sprigs, sliced garlic, olives, cherry tomatoes, flaky sea salt, etc.
Equipment Needed for Baking Focaccia
- Large mixing bowl
- Measuring cups and spoons or, preferably, a kitchen scale for accuracy
- Rubber spatula or wooden spoon
- Plastic wrap or a damp kitchen towel
- A baking pan (a 9x13 inch rectangular pan or a 9 or 10 inch round pan works well). Cast iron or a heavy-duty metal pan is recommended for good heat distribution.
- Parchment paper (optional, but makes cleanup easier)
Detailed Instructions: Making the No-Knead Dough
Follow these steps carefully to achieve the perfect no-kneading sourdough focaccia.
Mixing the Ingredients: The Initial Steps
In your large mixing bowl, combine the sourdough discard, lukewarm water, and salt. Stir gently with a spatula or wooden spoon to help dissolve the salt and disperse the discard. This initial mix ensures that the flavors are evenly distributed throughout the dough. If using optional instant yeast, add it here as well.
Next, add the flour to the wet ingredients. Stir everything together until no dry pockets of flour remain and a shaggy, wet dough forms. The dough will look quite wet and sticky – this is normal for high-hydration no-knead doughs like this no-kneading sourdough focaccia. Avoid the urge to add more flour unless it is excessively soupy. Drizzle about 1-2 tablespoons of olive oil over the surface of the dough to prevent it from drying out and sticking to the bowl.
The Bulk Fermentation: Letting the Dough Rise
Cover the bowl tightly with plastic wrap or a damp kitchen towel. Place the bowl in a warm spot (around 70-75°F or 21-24°C) for the bulk fermentation. This is where the magic of the no-knead method happens. The dough will slowly develop gluten and flavor over time.
Allow the dough to ferment for a significant period. At room temperature, this could take anywhere from 8 to 18 hours, depending on the temperature of your kitchen and the activity of your discard (if not using added yeast). Look for the dough to increase significantly in volume, perhaps doubling or even tripling, and show signs of fermentation like small bubbles on the surface. For a longer, slower fermentation that develops more complex flavors, you can refrigerate the dough for 24-72 hours after an initial hour or two at room temperature.
Folding the Dough: Building Strength and Flavor
During the bulk fermentation, especially if fermenting at room temperature for less than 12 hours, performing a few sets of folds can help build structure. After about 30-60 minutes into the bulk fermentation, and then perhaps 1 or 2 more times over the next few hours, perform a set of stretch and folds. To do this, wet your hand slightly, grab one edge of the dough, stretch it upwards gently, and fold it over the center. Rotate the bowl and repeat this action 3-4 times until all sides have been folded.
These folds help to align the gluten strands and build tension in the dough, which contributes to a better crumb structure in your finished no-kneading sourdough focaccia. If you are doing a very long, slow fermentation (like overnight or in the fridge), the folds are less critical as time handles much of the gluten development, but they can still be beneficial. Be gentle to avoid degassing the dough too much.
Preparing the Pan: Oiling and Stretching the Dough
Generously coat the bottom and sides of your baking pan with a substantial amount of olive oil, at least 3-4 tablespoons. Don't be shy with the oil; it contributes significantly to the crispy bottom crust and overall flavor of the focaccia. You want a visible pool of oil in the bottom of the pan.
Gently scrape the fermented dough out of the bowl and into the prepared pan. Try to keep the dough in one piece as much as possible. Allow the dough to rest in the pan for 15-20 minutes. This resting period is crucial as it allows the gluten to relax, making the dough easier to stretch. After resting, gently begin to push and dimple the dough outwards towards the edges of the pan. The dough should stretch easily without tearing. If it resists, let it rest for another 10 minutes before continuing.
The Second Proof: Achieving a Light and Airy Texture
Once the dough is stretched to fill the pan, cover it lightly with plastic wrap or a towel. This is the second proof (or final proof), where the dough rests and proofs in its final shape before baking. Place the pan back in a warm spot.
The duration of the second proof can vary, typically taking 1-2 hours at room temperature. The dough should look visibly puffy and airy, and when gently poked, an indentation should spring back slowly but not completely. This indicates that the dough is properly proofed and ready for baking. Don't over-proof, as this can lead to a less airy texture.
Baking Your Sourdough Discard Focaccia
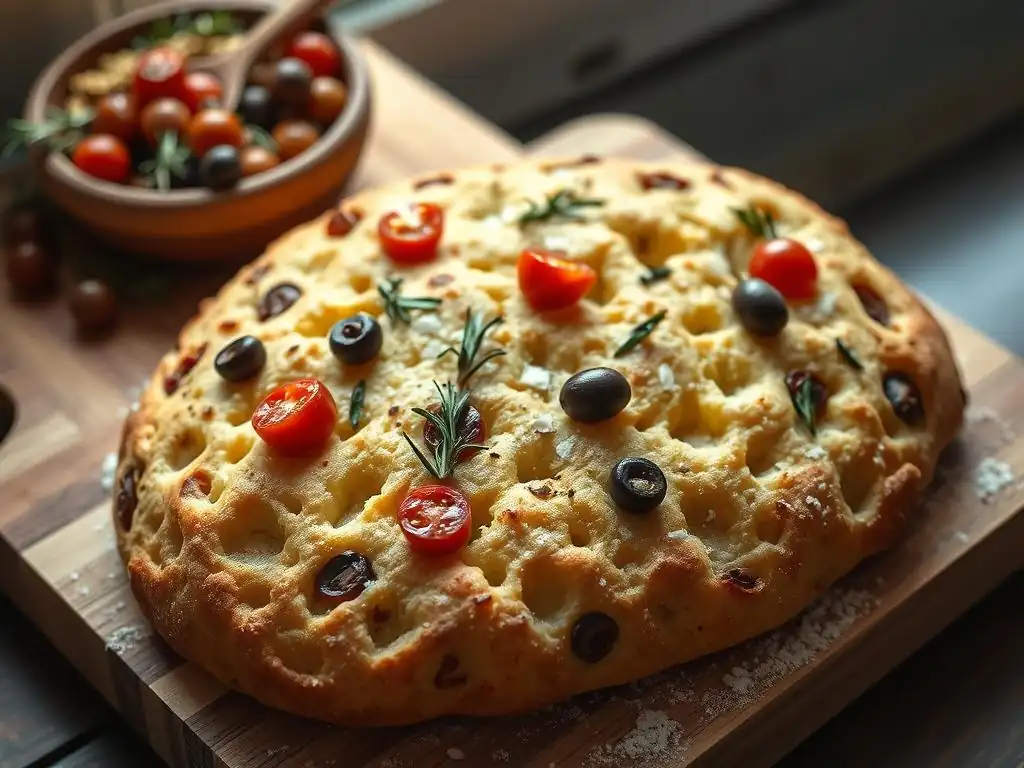
Now comes the exciting part – baking your beautiful no-kneading sourdough focaccia!
Oven Temperature and Baking Time
Preheat your oven to a high temperature, typically between 400°F and 450°F (200°C to 230°C). A higher temperature helps create a crispy crust and a light interior. Ensure the oven is fully preheated for at least 20-30 minutes before baking.
Bake the focaccia for approximately 20-30 minutes. The exact time will depend on your oven and the size and thickness of your focaccia. Look for the top to be golden brown and the bottom crust to be crispy and golden when lifted slightly with a spatula. If the top is browning too quickly, you can loosely tent it with foil.
Creating the Signature Dimples: The Art of Focaccia
Just before placing the pan in the oven, it's time to create the signature dimples! Generously drizzle the top of the dough with more olive oil (another 2-3 tablespoons). Then, using oiled fingers, gently press straight down into the dough, creating deep indentations that go almost to the bottom of the pan. These dimples prevent large air pockets from forming on the surface and create little pools of olive oil and toppings, which become intensely flavorful when baked.
Be firm but gentle when dimpling, trying not to completely deflate the dough. Ensure your fingers are well-oiled to prevent sticking. This step is not just for aesthetics; it truly impacts the texture and flavor distribution of your no-kneading sourdough focaccia.
Adding Toppings: Flavor Combinations and Inspiration
After dimpling, it's the perfect time to add your desired toppings. Sprinkle flaky sea salt generously over the surface. This provides bursts of salty flavor and a pleasant crunch.
Beyond salt, the possibilities are endless! Press fresh rosemary sprigs into the dimples, scatter thinly sliced garlic, halved cherry tomatoes, olives, or even caramelized onions. The olive oil helps the toppings adhere and infuses them with flavor as the focaccia bakes. Get creative with your no-kneading sourdough focaccia!
Cooling and Serving Your Focaccia
Once baked to a beautiful golden brown, carefully remove the focaccia from the oven. For the crispiest bottom crust, immediately transfer the focaccia from the pan to a wire cooling rack. If left in the hot pan, steam can condense and make the bottom soggy.
Allow the focaccia to cool on the rack for at least 10-15 minutes before slicing. This allows the internal structure to set. Serve warm, perhaps with a side of good quality olive oil for dipping. Enjoy the fruits of your minimal labor – a delicious, airy, and flavorful no-kneading sourdough focaccia!
Troubleshooting Common Sourdough Focaccia Issues
Dough Not Rising? Possible Causes and Solutions
If your no-kneading sourdough focaccia dough isn't rising as expected during the bulk fermentation or second proof, several factors could be at play. One common reason is a cold environment; sourdough discard is less active in cooler temperatures. Ensure your proofing spot is warm, ideally 70-75°F (21-24°C). If your kitchen is cold, you can place the bowl in a turned-off oven with the light on, which often provides enough warmth.
Another possibility is that your sourdough discard was not active enough, even for discard standards. While discard doesn't need peak activity for flavor, some residual yeast activity helps with the long fermentation. If you suspect your discard is particularly dormant, consider adding a tiny pinch (like 1/4 teaspoon) of instant dry yeast when you mix the dough initially. Also, simply giving the dough more time is often the solution; no-knead methods rely on long fermentation, and sometimes it just needs longer than anticipated, potentially 18-24 hours or more at room temperature.
Focaccia Too Dense? Tips for a Lighter Texture
A dense focaccia can be disappointing after anticipating a light and airy crumb. This is often related to hydration, proofing, or handling. Ensure you used enough water in the dough; focaccia is a high-hydration bread, and too little water results in a tight crumb. Aim for a dough that feels very wet and shaggy after mixing.
Overworking the dough after the bulk fermentation can also lead to density. When transferring to the pan and dimpling, be gentle to avoid pressing out all the accumulated gases. Additionally, insufficient proofing time in the pan before baking will result in a dense texture as the dough hasn't had enough time to fill with air bubbles. Ensure the dough looks visibly puffy and springs back slowly when poked before baking.
Preventing a Soggy Bottom: Ensuring a Crispy Crust
A soggy bottom crust is usually caused by moisture. The most common culprit is not using enough olive oil in the pan. A generous layer of oil helps fry the bottom of the dough, creating a crispy barrier. Don't hesitate to use 4-5 tablespoons or even more for a standard 9x13 inch pan.
Another critical step is transferring the baked focaccia to a wire rack immediately after removing it from the oven. Leaving it in the hot pan allows steam to collect underneath, making the bottom soggy. A wire rack allows air to circulate freely around the bottom crust, helping it stay crispy as it cools slightly. Ensure your oven is fully preheated to a high temperature; insufficient heat can lead to longer baking times and a less effective crust development.
Sourdough Discard Focaccia Variations and Flavor Ideas

One of the joys of making no-kneading sourdough focaccia is how easily you can customize it with different toppings.
Savory Focaccia Topping Ideas
Savory toppings are classic for focaccia and pair wonderfully with the slight tang from the sourdough discard.
Rosemary and Sea Salt Focaccia
This is perhaps the most iconic focaccia topping for a reason. The fragrant, slightly resinous flavor of fresh rosemary (use about 2-3 sprigs, leaves stripped) infused into the olive oil, combined with the sharp crunch of flaky sea salt (1-2 teaspoons sprinkled generously), creates a simple yet incredibly satisfying experience. Press the rosemary leaves and salt into the dimples just before baking. The heat of the oven releases the aromatic oils from the rosemary, perfuming the entire loaf.
Roasted Garlic and Herb Focaccia
Roasting garlic beforehand mellows its pungent bite and turns it sweet and creamy. Mash a few cloves of roasted garlic (roast a whole head with olive oil until soft) and scatter over the dimpled dough. Combine with a mix of fresh herbs like thyme, oregano, and parsley (about 1-2 tablespoons chopped total). The roasted garlic melts into the bread, offering pockets of intense flavor, while the herbs add freshness. This variation adds a deeper, more complex savory profile to your no-kneading sourdough focaccia.
Olive and Sun-Dried Tomato Focaccia
For a Mediterranean twist, scatter pitted olives (like Kalamata or Castelvetrano, about 1/2 cup) and chopped sun-dried tomatoes (about 1/4 cup, oil-packed and drained) over the dimpled dough. The briny olives and sweet-tart sun-dried tomatoes provide bursts of intense flavor in every bite. This combination is particularly good served alongside salads or as part of an antipasto platter.
Sweet Focaccia Variations
While less common, focaccia can also lend itself to sweet preparations, creating a unique dessert or breakfast treat.
Fruit and Nut Focaccia
Before dimpling, gently press fresh or dried fruits (like thinly sliced apples, berries, or chopped figs, about 1/2 cup total) and nuts (such as walnuts or almonds, about 1/4 cup) into the dough. Drizzle with olive oil as usual, but consider adding a sprinkle of sugar or a drizzle of honey before baking instead of or in addition to the flaky sea salt. This creates a delightful contrast of textures and flavors, with the slight tang of the sourdough discard balancing the sweetness.
Honey and Sea Salt Focaccia
A simple yet delicious sweet-savory variation. Drizzle the dimpled dough generously with good quality honey (2-3 tablespoons) and then sprinkle with flaky sea salt. The honey caramelizes slightly in the oven, creating sweet pockets, while the sea salt provides a necessary counterpoint. This minimal approach highlights the quality of the ingredients and the unique flavor of the no-kneading sourdough focaccia base itself.
Storing Your Sourdough Discard Focaccia for Maximum Freshness
Proper storage is key to keeping your delicious no-kneading sourdough focaccia enjoyable for as long as possible.
Tips for Keeping Your Focaccia Soft and Delicious
Focaccia is generally best enjoyed the day it is baked, especially if you want to experience that perfect crispy bottom crust and airy interior. However, you can store leftovers. Once completely cooled, wrap the focaccia tightly in plastic wrap or aluminum foil, or place it in an airtight container. This will help prevent it from drying out. Stored this way at room temperature, it will typically remain soft for 1-2 days.
For longer storage, you can refrigerate the focaccia, where it will keep for up to 4-5 days. However, refrigeration can alter the texture, sometimes making it a bit chewier. To refresh refrigerated or day-old focaccia, sprinkle it lightly with water and warm it in a preheated oven at 350°F (175°C) for 5-10 minutes until heated through and the crust crisps up slightly. You can also freeze cooled focaccia wrapped tightly; it will keep for up to 2-3 months. Thaw at room temperature and reheat as needed.
Enjoy Your Homemade No-Knead Sourdough Focaccia!
You've done it! You've successfully baked a delicious, airy, no-kneading sourdough focaccia using your discard. This simple method proves that amazing bread is within reach for bakers of all levels. The minimal effort required yields maximum flavor and satisfaction.
We love seeing what our community bakes! Share photos of your beautiful no-kneading sourdough focaccia creations on social media. Let us know what toppings you chose and how you enjoyed your loaf. Your baking journey is an inspiration to others, and we can't wait to celebrate your success. Happy baking from all of us at BakeWithEase!
Frequently Asked Questions
What is sourdough discard and why is it used in this focaccia recipe?
Sourdough discard is the unfed portion of your sourdough starter. It adds flavor and texture without requiring active starter for leavening, making it perfect for recipes like focaccia.
Does this recipe really require no kneading?
Yes! This recipe is designed for minimal effort. The wet dough and long fermentation create the desired texture without any kneading.
What kind of flour is best for this no-kneading sourdough focaccia?
Bread flour is recommended for a chewy texture. However, you can also use all-purpose flour for a slightly softer focaccia.
How long does the focaccia need to proof or rise?
The dough needs a first proof of at least 12 hours, or up to 24 hours, in the refrigerator. This slow fermentation develops the complex sourdough flavor.
Can I customize the toppings on this focaccia?
Absolutely! Get creative with your toppings. Classic options include rosemary, olives, and sea salt, but you can also add tomatoes, onions, or other herbs and vegetables.
Final Reflection: The Unexpected Joy of No-Knead Sourdough
The humble sourdough discard, once destined for the compost bin, has been transformed into a culinary goldmine. This article has demonstrated that creating delicious, impressive focaccia doesn't require hours of kneading or specialized skills. The ease and accessibility of this no-knead method democratizes the joy of sourdough baking, making it achievable for everyone.
The impact of this simple recipe extends beyond the kitchen. It speaks to a broader cultural shift towards mindful consumption and reducing food waste. By repurposing sourdough discard, we're not only saving resources but also embracing a more sustainable approach to baking. This resonates deeply with me, as I've always believed in finding creative solutions to common problems. Waste not, want not
– a timeless adage that perfectly encapsulates the spirit of this recipe and its underlying philosophy.
Now, I invite you to embrace the simplicity and deliciousness of this no-knead focaccia. Don't be intimidated by sourdough; experiment with your discard, unleash your creativity with toppings, and share the joy of this surprisingly easy bread with loved ones. The satisfying crust, the airy interior, and the knowledge that you've transformed something discarded into something truly special – that's the magic of no-knead sourdough focaccia. Go forth and bake!
Unleash Your Inner Focaccia Master!
Thanks for taking the time to explore the magic of sourdough discard focaccia! You've now unlocked a simple yet delicious way to reduce food waste and elevate your baking game. Ready to put your newfound knowledge into practice?
- Bake your first sourdough discard focaccia: This recipe is designed for success, even for beginners. Follow the steps and enjoy the incredible taste and texture. Don't forget to share a picture of your creation on social media using #BakeWithEaseFocaccia!
- Experiment with toppings: Get creative! Try different herbs, cheeses, or vegetables to personalize your focaccia. What unexpected flavor combinations will you discover?
- Join our BakeWithEase community: Connect with fellow baking enthusiasts, share your tips and tricks, and discover more amazing recipes.
Ready to transform your sourdough discard into a culinary masterpiece? What unique toppings will you use to make your focaccia truly special?