
Handling Delicate Puff Pastry Dough Without Damage

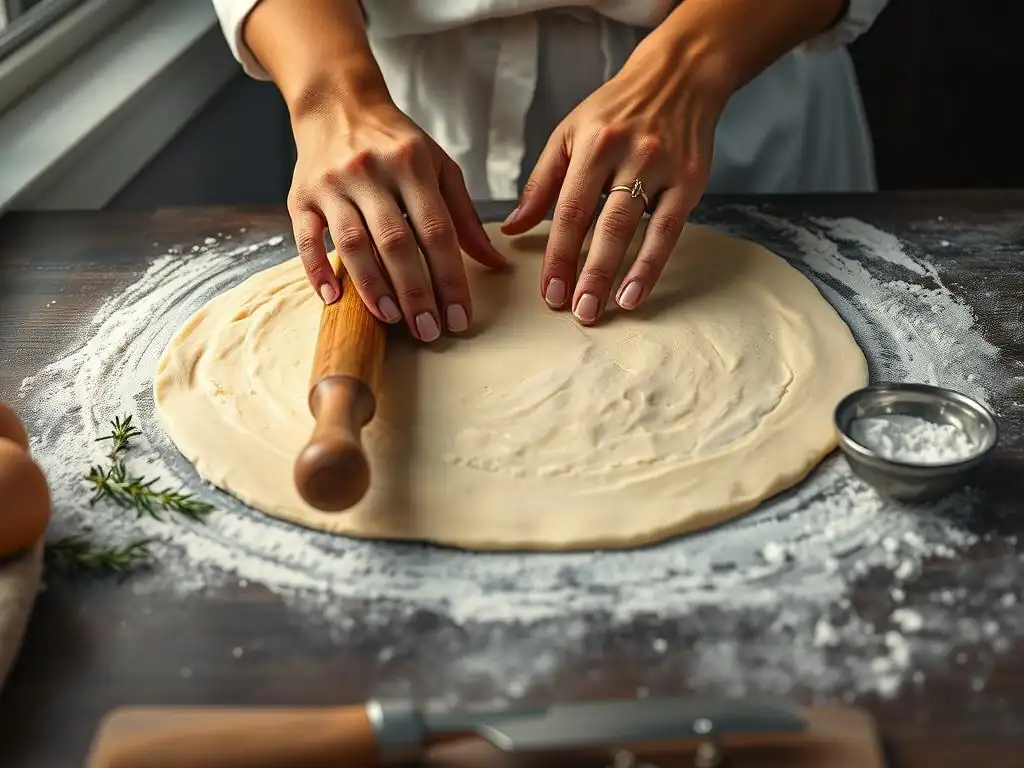
Welcome to BakeWithEase, your trusted guide to baking brilliance! Ever dreamt of flawlessly flaky croissants or melt-in-your-mouth palmiers? Then you're in the right place. This week, we're diving deep into the secrets of perfecting puff pastry, starting with essential puff pastry dough rolling tips that will transform your baking. Discover how to handle this notoriously delicate dough with confidence and avoid common pitfalls – but that's just the beginning. What other secrets are we hiding? Let's find out!
- Handling Delicate Puff Pastry Dough Without Damage: BakeWithEase Guide
- Introduction to Puff Pastry Dough: Achieving Flaky Perfection
- Essential Tools for Working with Puff Pastry Dough
-
Puff Pastry Dough Rolling Tips: A Step-by-Step Guide
- Preparing Your Puff Pastry Dough for Rolling: Temperature Control is Key
- The Importance of Cold Dough: Preventing Butter from Melting
- Lightly Flouring Your Work Surface: Avoiding Sticking and Tearing
- Rolling Techniques for Even Thickness: Gentle and Consistent Pressure
- Folding and Turning Puff Pastry Dough: Creating the Layers
- Resting the Dough: Relaxation for Optimal Flakiness
- Preventing Damage to Puff Pastry: Troubleshooting Common Issues
- Storing Puff Pastry Dough: Maintaining Quality and Freshness
- Baking with Puff Pastry: Achieving Maximum Rise and Flakiness
- Mastering Puff Pastry: Advanced Techniques and Tips
- Conclusion: The Art of Delicate Puff Pastry Handling
-
Frequently Asked Questions
- How do I prevent the butter from melting while rolling puff pastry dough?
- What's the best technique for rolling puff pastry to ensure even layers?
- What type of flour is recommended for making or handling puff pastry dough?
- How long should I chill the puff pastry dough between turns?
- What if my puff pastry dough tears during rolling?
- Final Reflection: Mastering the Flaky Dance of Puff Pastry
- Unleash Your Inner Pastry Chef: Master Puff Pastry!
Handling Delicate Puff Pastry Dough Without Damage: BakeWithEase Guide
Introduction to Puff Pastry Dough: Achieving Flaky Perfection
Puff pastry dough is a marvel of baking, renowned for its incredible flakiness and light, airy texture. This is achieved through a meticulous process of layering butter and dough, which, when baked, creates thousands of delicate strata. The success of puff pastry lies in maintaining these distinct layers throughout the handling and rolling process. When done correctly, the result is a pastry that puffs dramatically in the oven, yielding crisp, buttery layers that shatter delightfully with every bite.
However, working with puff pastry dough presents unique challenges. Its structure is inherently fragile, and mishandling can easily disrupt the precious layers, leading to a less impressive rise and a heavier, doughy texture. Understanding the science behind the layers – how cold butter creates steam that lifts the dough – is crucial. Mastering the techniques to preserve this structure is what separates a good puff pastry from a truly spectacular one. This guide will walk you through essential puff pastry dough rolling tips and handling techniques to ensure your baking endeavors are successful.
Understanding the Challenges of Delicate Puff Pastry
The primary challenge when working with puff pastry is its delicate lamellated structure. This structure consists of alternating layers of dough (détrempe) and butter (beurre). A well-made puff pastry can have hundreds, even thousands, of these layers. For instance, after just six single folds, you can achieve over 1,400 layers! The difficulty lies in preventing the butter from melting into the dough or the layers from sticking together before baking. Warm temperatures, excessive handling, or rough rolling can easily compromise this structure, leading to a pastry that bakes unevenly and lacks the characteristic puff.
Another significant hurdle is maintaining an even thickness during rolling. If one part of the dough is thicker than another, it will bake unevenly. The thinner sections may brown too quickly or become brittle, while thicker parts might remain undercooked or fail to rise properly. This requires consistent pressure and careful technique when applying puff pastry dough rolling tips. Additionally, tears or holes in the dough can cause butter to leak out during baking, further hindering the rise and resulting in a greasy, less flaky product.
Why Puff Pastry Dough Requires Special Care: A Baker's Perspective
From a baker's perspective, puff pastry demands special care because it's a living example of physical leavening at its finest. Unlike yeast-leavened doughs that rely on biological activity, puff pastry's rise is purely mechanical. The water in the butter turns to steam in the hot oven, forcing the paper-thin layers of dough apart. This process is entirely dependent on the butter remaining solid and distinct from the dough until it hits the oven's high heat, typically around 400-425°F (200-220°C).
Proper chilling and gentle handling are paramount to ensuring the butter stays cold and the layers remain separate. Think of the butter as tiny, solid pockets of future steam. If the butter melts prematurely due to warm hands, a warm surface, or rough handling, it gets absorbed into the dough, eliminating the distinct layers needed for lift. This is why adhering to strict temperature control and employing careful puff pastry dough rolling tips are non-negotiable steps for achieving that signature airy, flaky result.
Essential Tools for Working with Puff Pastry Dough
Using the right tools can make a significant difference when handling delicate puff pastry dough. They help maintain the crucial cold temperature, prevent sticking, and allow for even rolling and cutting without damaging the layers. Investing in a few key items can elevate your puff pastry game considerably.
The Best Rolling Pin for Puff Pastry: Material and Weight Considerations
Choosing the right rolling pin is fundamental for successful puff pastry. A heavy rolling pin is often preferred because its weight assists in pressing the dough evenly without requiring excessive force from your hands, which can warm the dough. Marble rolling pins, for example, are excellent because they can be chilled beforehand, helping to keep the dough cool during rolling.
A typical marble pin might weigh 5-7 pounds (2.3-3.2 kg) and have a barrel length of 10-12 inches (25-30 cm). Wooden rolling pins, especially those with a smooth, non-porous surface like maple or beech, are also good choices, though they don't retain cold as well as marble.
French-style rolling pins, which are tapered cylinders without handles, offer great control and sensitivity, allowing you to feel the dough's thickness more directly. Regardless of material, ensure your rolling pin is smooth and clean. A pin with nicks or a rough surface can tear the delicate dough. A pin about 18-20 inches (45-50 cm) in total length provides enough surface area for rolling out larger sheets of dough comfortably, which is often necessary for multiple turns.
Surface Matters: Choosing the Right Work Surface for Rolling Puff Pastry
The surface you roll puff pastry on significantly impacts your success. A cold, smooth surface is ideal to prevent the dough from sticking and to help maintain its temperature. Marble or granite countertops are excellent choices as they naturally stay cooler than wood or laminate. If you don't have a stone surface, a large, smooth wooden board can work, especially if chilled slightly beforehand (though avoid condensation). Some bakers also use large silicone baking mats, which offer a non-stick surface, but these don't provide the same cooling benefit as stone.
Regardless of the material, the surface must be impeccably clean and dry. Any crumbs or moisture can disrupt the rolling process and potentially tear the dough. A large surface area, ideally at least 2x3 feet (60x90 cm), is beneficial to accommodate the dough as it expands during rolling and turning without having to constantly adjust or move everything. This space allows for proper execution of all puff pastry dough rolling tips.
Dough Scrapers and Cutters: Protecting the Delicate Layers
Dough scrapers, also known as bench scrapers, are indispensable tools when working with puff pastry. A sturdy metal scraper with a straight edge is perfect for lifting sticky dough from the work surface without stretching or tearing it. It's also useful for portioning dough cleanly. When scraping, hold the tool at a low angle to slide under the dough gently.
For cutting puff pastry, a sharp knife or a pizza cutter is recommended. A sharp blade ensures a clean cut through the many layers, preventing them from being compressed or sealed together. Using a dull tool can squash the edges of the dough, hindering the puff along the cut lines. For specific shapes, pastry wheels or fluted cutters can be used, but again, sharpness is key. Always make decisive, clean cuts rather than sawing back and forth.
Parchment Paper and Plastic Wrap: Key Allies in Puff Pastry Handling
Parchment paper and plastic wrap are critical for handling and storing puff pastry. Rolling dough between two sheets of parchment paper is an excellent technique, especially for beginner bakers or in warmer kitchens. This method minimizes the need for excess flour on the surface (which can toughen the dough) and makes it easier to transfer the rolled dough without stretching or tearing. Simply sandwich the dough between two sheets and roll.
Plastic wrap is essential for wrapping the dough tightly during chilling periods. Proper wrapping prevents the dough from drying out and forming a skin, which can cause cracking during rolling. It also protects the dough from absorbing odors from the refrigerator. Ensure the dough is completely sealed to maintain its moisture and integrity between turns and before final use. These materials are simple but vital components of effective puff pastry dough rolling tips.
Puff Pastry Dough Rolling Tips: A Step-by-Step Guide
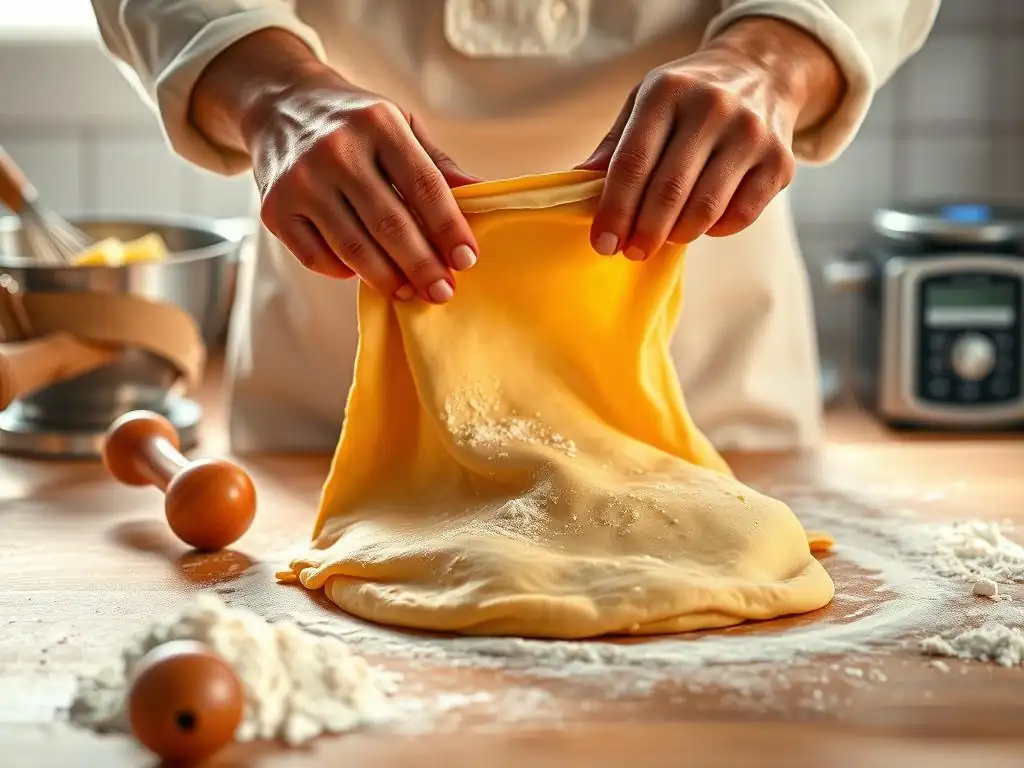
Rolling puff pastry is a process that requires patience, precision, and a gentle touch. Following these steps carefully will help you achieve beautifully layered and flaky results. Remember, the goal is to extend the dough evenly without warming the butter or tearing the layers.
Preparing Your Puff Pastry Dough for Rolling: Temperature Control is Key
Before you even touch the rolling pin, ensure your puff pastry dough is properly chilled. The ideal temperature for rolling is between 35-40°F (2-4°C). If it's too cold (straight from the freezer or deeply chilled), it will be brittle and crack when you try to roll it. If it's too warm, the butter will be too soft and might squeeze out or melt into the dough. Take the dough out of the refrigerator about 10-15 minutes before rolling, depending on your kitchen temperature, to allow it to become slightly pliable but still very cold and firm.
Place the dough on your prepared, lightly floured cold surface. Gently press down on the dough with your rolling pin or hands to slightly flatten it before beginning to roll. This initial flattening helps prevent the dough from cracking unevenly when you apply pressure. Ensure your hands are cool as well; if necessary, rinse them under cold water and dry them thoroughly before handling the dough.
The Importance of Cold Dough: Preventing Butter from Melting
Maintaining a cold temperature throughout the rolling process is arguably the most critical factor for success. The butter layers need to remain solid and distinct from the dough. As you roll, friction and contact with warmer surfaces or hands can raise the dough's temperature. If the dough starts to feel soft or the butter seems to be oozing, stop immediately. Wrap the dough tightly in plastic wrap and return it to the refrigerator for at least 30 minutes, or until it is firm again.
Working in a cool kitchen environment helps significantly. If your kitchen is warm, consider doing your rolling in cooler parts of the day or using air conditioning if available. Rolling quickly and efficiently, taking breaks to rechill the dough as needed, is far better than trying to push through with warm, sticky dough. Cold dough is cooperative dough when it comes to puff pastry. These puff pastry dough rolling tips hinge on temperature control.
Lightly Flouring Your Work Surface: Avoiding Sticking and Tearing
A lightly floured surface is essential to prevent the dough from sticking, but using too much flour can be detrimental. Excess flour can get incorporated into the dough layers, toughening the pastry. Aim for just enough flour to create a thin, almost invisible layer on your work surface and rolling pin. A good technique is to sprinkle flour, then spread it evenly with your hand or a clean cloth, wiping away any excess.
If you are rolling between parchment paper sheets, you may not need any flour on the surface at all, though a light dusting on the top sheet might help prevent the pin from sticking. If the dough starts to stick during rolling, gently lift the edge with a dough scraper and dust a tiny bit more flour underneath. Avoid the temptation to dump large amounts of flour onto sticky dough; this is where a bench scraper and a quick chill break are better solutions.
Rolling Techniques for Even Thickness: Gentle and Consistent Pressure
When rolling puff pastry, use gentle, consistent pressure. Begin rolling from the center of the dough outwards to the edges, lifting the rolling pin as you reach the edge to avoid creating thin, uneven margins. Turn the dough frequently (about every few rolls) and flip it over occasionally to ensure even thickness and prevent it from sticking in one spot.
Apply pressure evenly across the width of the rolling pin. Avoid pressing down harder on one side than the other. Roll in multiple directions – up and down, side to side, and diagonally – to help the dough expand uniformly into the desired shape, typically a rectangle. Aim for a thickness of about 1/4 inch (6-7 mm) before folding, and thinner, about 1/8 inch (3-4 mm), for the final roll-out depending on the recipe. Consistent pressure is one of the most important puff pastry dough rolling tips.
Maintaining a Rectangular Shape: Tips for Perfect Corners
Maintaining a rectangular shape is important for creating uniform layers during folding. Start with a roughly rectangular block of dough. As you roll, focus on pushing the dough out towards the corners as well as the sides. Use your hands or a bench scraper to gently nudge the edges back into a straight line if they start to become rounded or uneven.
If the corners are lagging behind, you can gently stretch them out slightly or focus your rolling pressure more towards those areas. However, be cautious not to stretch the dough excessively, as this can tear the gluten structure. Trimming the edges with a sharp knife before the final roll-out can also help achieve perfectly straight sides and clean corners for a professional finish.
Avoiding Overworking the Dough: The Gluten Factor
Puff pastry dough, like other pastry doughs, should not be overworked. The dough component (détrempe) contains flour and water, which form gluten when mixed and kneaded. While some gluten development is needed to give the dough structure to hold the butter layers, too much gluten makes the dough elastic and difficult to roll. It will constantly spring back, making it hard to achieve an even thickness and potentially tearing the delicate layers.
Roll just enough to extend the dough to the desired dimensions and thickness before each fold and for the final shape. If the dough resists rolling and keeps shrinking back significantly, it's a sign that the gluten is too tense. This usually means the dough needs to rest. Wrap it and chill it for at least 30-60 minutes to allow the gluten to relax. This patience is a key component of effective puff pastry dough rolling tips.
Folding and Turning Puff Pastry Dough: Creating the Layers
The magic of puff pastry lies in the repeated folding and rolling process, known as 'turns'. Each turn multiplies the number of butter and dough layers. The two most common methods are the single fold and the double (or book) fold. Most recipes call for a specific number and type of turns, often 4-6 turns in total, with chilling periods in between.
Before folding, ensure your dough is rolled out to the specified dimensions (typically a rectangle) and is uniform in thickness. Brush off any excess flour from the surface before folding to prevent dry spots and ensure the layers adhere properly. The way you fold directly impacts the final layer count and structure.
The Single Fold Method Explained
The single fold, also called a letter fold, is the most basic turn. Imagine your rolled-out rectangular dough divided into three equal sections. Fold one end of the rectangle inward so it covers the middle section. Then, fold the other end inward over the first folded section, like folding a letter into thirds. This creates three layers of dough and two layers of butter (or vice versa, depending on how you count).
After completing a single fold, give the dough a quarter turn (90 degrees) so the open edge is facing you, like a book spine. This prepares the dough for the next roll-out and ensures the layers are extended in different directions with each turn, leading to a more even rise. If you perform 6 single folds, you'll have an impressive 3^6 = 729 layers of dough and 728 layers of butter (starting with 2 layers).
The Double Fold Method Explained
The double fold, or book fold, creates four layers in one turn. Imagine your rolled-out rectangle. Fold both ends inward so they meet precisely in the center. Then, fold the dough in half along the center line where the two ends meet, like closing a book. This results in four layers of dough and three layers of butter.
Like the single fold, after completing a double fold, give the dough a quarter turn (90 degrees) before the next rolling step. The double fold is faster for building layers; four double folds yield 4^4 = 256 layers of dough and 255 layers of butter (starting with 2 layers). Many recipes combine fold types or specify a certain number of each to achieve the desired layer count, often aiming for roughly 500-1000 layers for optimal puff. Mastering these folds is central to successful puff pastry dough rolling tips.
Resting the Dough: Relaxation for Optimal Flakiness
Resting the dough between turns and before the final roll-out is crucial. This chilling period serves two main purposes: it allows the butter to re-solidify, and it allows the gluten in the dough to relax. If the butter isn't firm, it will melt into the dough during the next rolling step, destroying the layers. If the gluten isn't relaxed, the dough will be elastic and spring back, making it difficult to roll thinly and evenly without tearing.
Wrap the dough tightly in plastic wrap after each turn and refrigerate for at least 30-60 minutes. Some recipes recommend longer rests, up to 2-4 hours, especially between the final turns or before the final shaping and baking. A well-rested dough is pliable, easy to roll, and less likely to tear. Don't skip this step; patience during resting pays off in the final product's flakiness and rise.
Preventing Damage to Puff Pastry: Troubleshooting Common Issues
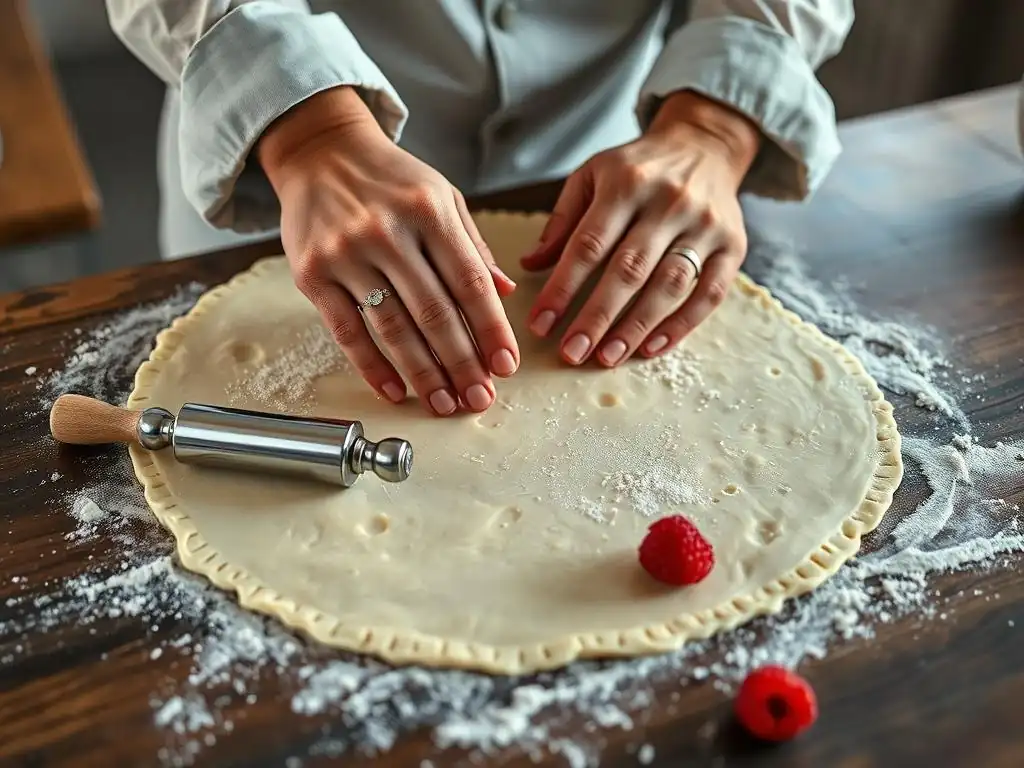
Even with careful handling, issues can arise when working with puff pastry. Knowing how to identify and address common problems can save your dough and ensure a successful bake. Many of these issues are directly related to temperature control and rolling technique, highlighting the importance of good puff pastry dough rolling tips.
Tearing and Cracking: Causes and Solutions
Tearing and cracking are common problems, often occurring during rolling, especially when the dough is too cold or the gluten hasn't rested properly. If the dough is too cold, let it sit at room temperature for 5-10 minutes to become slightly more pliable before attempting to roll. If it's resisting rolling and springing back aggressively, the gluten is too tense; wrap it and refrigerate for at least 30 minutes to allow the gluten to relax.
Small tears can sometimes be patched by gently pressing the edges together or using a small piece of scrap dough to cover the tear, pressing gently to seal it. However, significant tears, especially those that expose large areas of butter, can be difficult to fully repair and may lead to butter leakage during baking. Prevention is key: ensure proper chilling and resting times, and use gentle, even pressure when rolling.
Uneven Thickness: Correcting and Preventing
Uneven thickness leads to uneven baking. If you notice one part of your dough is significantly thicker or thinner than the rest during rolling, try to apply slightly more pressure to the thicker areas as you roll, or focus your rolling strokes on those sections. Avoid pressing down hard on the thinner parts.
Preventing unevenness starts with preparing a uniform block of dough and butter before the first turn. During rolling, roll from the center outwards and turn/flip the dough frequently to distribute pressure evenly. Using a rolling pin with a consistent diameter (rather than a tapered one, unless you are very experienced) can also help maintain evenness. Regular practice and attention to your puff pastry dough rolling tips will improve your ability to roll evenly.
Butter Leaking: Addressing Temperature Problems
Butter leaking out of the dough during rolling is a clear sign that the butter is too warm and soft. This often happens if the dough hasn't been chilled sufficiently between turns, if your work surface or hands are too warm, or if you are overworking the dough, generating heat.
The solution is simple but crucial: stop rolling immediately, gently gather the dough (if possible without smearing the butter), wrap it tightly, and return it to the refrigerator. Chill it for at least 30-60 minutes, or until it is firm again. Clean your work surface and rolling pin, perhaps even chilling the rolling pin if possible. Ensure your kitchen environment is as cool as possible. Only resume rolling once the dough is properly chilled and firm.
Sticking to the Work Surface: Proper Flour Techniques
Dough sticking to your work surface indicates insufficient flour or a surface that is too warm or not smooth enough. Ensure your cold surface is clean and dry, then apply a very light, even dusting of flour, wiping away any excess. If using parchment paper, ensure it's smooth and not wrinkled.
If the dough starts to stick mid-roll, use a dough scraper to gently lift the edge of the dough and slide a tiny amount of flour underneath. Lift and turn the dough frequently as you roll; don't let it sit in one spot for too long. If sticking is a persistent problem, consider rolling between two sheets of parchment paper, as mentioned in the tools section – this minimizes direct contact with the surface and reduces the need for dusting flour directly onto the dough.
Storing Puff Pastry Dough: Maintaining Quality and Freshness
Proper storage is essential for preserving the quality and delicate structure of puff pastry dough, whether you plan to use it in a few hours or a few months. Air and moisture are the enemies of stored dough.
Short-Term Storage: Refrigeration Techniques
For short-term storage (up to 1-2 days), wrap the finished puff pastry dough tightly in plastic wrap. Ensure there are no gaps or exposed surfaces where the dough can dry out or absorb odors. Place the wrapped dough in the coldest part of your refrigerator, typically the bottom shelf. If possible, place it on a flat surface to maintain its shape.
If you have performed multiple turns and the dough is ready for final shaping, it's best to let it rest in the refrigerator for at least 2-4 hours before rolling and cutting. This allows the gluten to fully relax and the butter to firm up completely, making the final roll-out much easier and reducing shrinkage during baking. Label the dough with the date and number of turns completed, if applicable.
Long-Term Storage: Freezing and Thawing Puff Pastry
Puff pastry dough freezes exceptionally well, allowing you to make a batch ahead of time. After completing all the turns and resting the dough, wrap it very tightly in multiple layers of plastic wrap, ensuring it is completely sealed. For extra protection against freezer burn, you can then wrap the plastic-wrapped dough in aluminum foil or place it inside a freezer bag.
To thaw frozen puff pastry, transfer it to the refrigerator and let it thaw slowly overnight (about 8-12 hours for a standard block). Thawing slowly in the fridge is crucial; thawing at room temperature can cause the butter to melt and separate from the dough layers. Once thawed, the dough should feel cold and firm but pliable. If it feels too cold, let it sit at room temperature for 10-15 minutes before rolling. Avoid refreezing thawed puff pastry dough.
Baking with Puff Pastry: Achieving Maximum Rise and Flakiness
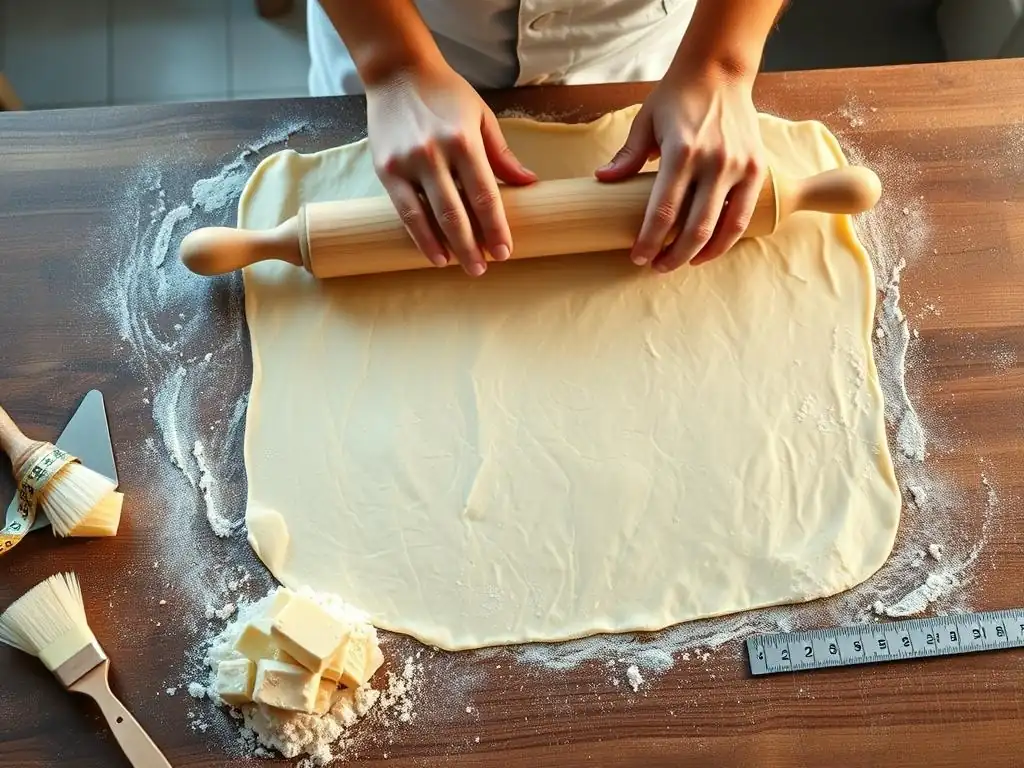
Proper baking techniques are just as important as handling when it comes to achieving maximum puff and flakiness. The high heat of the oven is what activates the steam leavening, but controlling that heat is key.
Proper Oven Temperature: The Key to Puff Pastry Success
Baking puff pastry requires a high oven temperature, typically between 400°F and 425°F (200°C and 220°C). The initial burst of high heat is crucial for quickly turning the water in the butter into steam, which rapidly expands and forces the layers apart before the butter has a chance to melt completely and seep out.
Some recipes recommend starting at a high temperature for the first 10-15 minutes to achieve maximum lift, then reducing the temperature slightly (e.g., to 375°F or 190°C) to allow the pastry to bake through and brown evenly without burning the exterior. Always ensure your oven is fully preheated before placing the pastry inside. Using an oven thermometer can help verify your oven's actual temperature.
Steam Injection: Enhancing Puff Pastry Volume
While not strictly necessary for home baking, professional bakers sometimes use steam injection in their ovens when baking puff pastry. The presence of steam in the oven environment helps keep the surface of the pastry moist in the initial stages of baking. This delays the formation of a hard crust, allowing the dough layers more time to expand fully before setting.
In a home oven, you can attempt to create a steamy environment by placing a tray of hot water on the bottom rack of the oven when you preheat it. However, be cautious when opening the oven door to place the pastry, as this releases the steam. The primary driver of puff in home ovens remains the high initial temperature and the steam generated internally from the butter layers.
Cooling Techniques: Maintaining Crispness
Once baked to a beautiful golden brown and fully puffed, proper cooling is essential to maintain puff pastry's crispness. Transfer the baked pastry from the hot baking sheet to a wire cooling rack as soon as possible. Leaving it on a solid tray can trap steam underneath, making the bottom soggy.
Allow the pastry to cool completely on the rack. This allows any residual steam to escape and the layers to set properly. For items like vol-au-vents or shells that will be filled, ensure they are fully cooled before adding any moist fillings, as moisture can quickly make the crisp pastry soggy. Enjoy your perfectly puffed creations!
Mastering Puff Pastry: Advanced Techniques and Tips
Once you're comfortable with the basics and the essential puff pastry dough rolling tips, you might explore some more advanced techniques and ways to customize your pastry.
Working with Different Types of Puff Pastry (Rough Puff, Inverted Puff)
Beyond the classic puff pastry (often called pâte feuilletée), there are variations like rough puff pastry ( pâte feuilletée rapide) and inverted puff pastry ( pâte feuilletée inversée). Rough puff is simpler and faster to make, involving cutting cold butter into the dough rather than enclosing a block. It results in a good puff, though often slightly less even layers than classic puff. It's a great starting point for many home bakers.
Inverted puff pastry is a more advanced technique where the butter block encases the dough, rather than the other way around. This involves creating a 'beurre manié' of butter and flour, rolling it out, and then encasing the détrempe (dough) within it before performing turns. This method is said to produce an exceptionally even and high rise, as the butter on the exterior helps lubricate the rolling and potentially contributes to a finer layer structure. Each type requires slight adjustments to handling and puff pastry dough rolling tips.
Flavoring Your Puff Pastry Dough: Adding Herbs and Spices
While classic puff pastry relies on the pure flavor of butter and dough, you can add subtle flavors to the dough itself. Finely minced fresh herbs like thyme, rosemary, or chives can be kneaded into the détrempe before the first turn. Spices like black pepper, paprika, or a pinch of cayenne can also add an interesting note, particularly for savory applications.
For sweet pastries, consider adding a tiny amount of finely ground cinnamon or cardamom to the dough. Ensure any additions are very fine so they don't tear the dough during rolling. Additions should be kept minimal (e.g., 1-2 teaspoons per standard batch) so they don't interfere with the gluten development or the dough's ability to laminate properly.
Puff Pastry Recipe Recommendations: Croissants, Palmiers, and Vol-au-vents
Puff pastry is the foundation for a wide array of delicious baked goods. Croissants, while technically viennoiserie made with a leavened dough that is then laminated like puff pastry, share many of the same handling principles and puff pastry dough rolling tips. True puff pastry shines in recipes like Palmiers (elephant ears), where the layers are visible and caramelized.
Vol-au-vents are classic examples of puff pastry shells, showcasing the dramatic rise when baked freestanding. Turnovers, strudels, and savory tarts also benefit from the flaky texture of puff pastry. Experimenting with different recipes allows you to practice your handling and rolling skills while creating impressive treats.
Conclusion: The Art of Delicate Puff Pastry Handling
Mastering puff pastry is a rewarding journey for any baker. It requires attention to detail, patience, and a willingness to work with a delicate medium. From selecting the right tools and maintaining strict temperature control to applying careful puff pastry dough rolling tips and understanding the science of layers, each step contributes to the final outcome.
While it may seem intimidating at first, with practice, handling puff pastry dough becomes intuitive. Remember the core principles: keep it cold, handle it gently, rest it often, and roll it evenly. Embrace the process, learn from any missteps, and soon you'll be creating beautifully flaky pastries that are a testament to your developing skills. Happy baking!
Frequently Asked Questions
How do I prevent the butter from melting while rolling puff pastry dough?
The most important thing is to keep the dough extremely cold. Chill the dough between folds and use a cold work surface like marble if possible.
What's the best technique for rolling puff pastry to ensure even layers?
Roll the dough evenly in one direction, applying gentle and consistent pressure. Avoid pressing too hard, which can compress the layers.
What type of flour is recommended for making or handling puff pastry dough?
All-purpose flour is generally suitable, but using a pastry flour or a blend can result in a more tender and flaky texture.
How long should I chill the puff pastry dough between turns?
Ideally, chill the dough for at least 30 minutes to an hour between each turn to allow the gluten to relax and the butter to solidify.
What if my puff pastry dough tears during rolling?
If the dough tears, lightly dust the area with flour and gently press the edges together. You can also use a small amount of water to help seal the tear before continuing to roll.
Final Reflection: Mastering the Flaky Dance of Puff Pastry
The delicate art of handling puff pastry remains a crucial skill for bakers of all levels, impacting not only the final aesthetic but also the textural experience of this beloved treat. A perfectly layered, golden-brown puff pastry is a testament to patience and precision, a reward that far outweighs the initial challenges. This article has explored various techniques to navigate the intricacies of this demanding dough, offering practical solutions to common pitfalls.
The influence of puff pastry extends far beyond the kitchen; it's a symbol of culinary artistry and dedication. The process itself, demanding careful attention and a gentle touch, mirrors the care and precision required in many aspects of life. The most beautiful things are the most fragile,
a sentiment that perfectly encapsulates the delicate nature of puff pastry and the rewarding feeling of success when handled correctly. From classic French pastries to modern savory creations, its versatility continues to inspire innovation and delight palates worldwide.
Now, consider your own baking journey. Have you ever felt frustrated by a torn or deflated puff pastry? Remember the tips and techniques outlined in this article – the importance of a cold environment, the gentle rolling motions, and the mindful use of flour. Don't be afraid to experiment, to embrace the learning process, and to find your own rhythm with this challenging yet rewarding dough. The next time you face a sheet of puff pastry, approach it with confidence, knowing that with patience and practice, you too can master the flaky dance and create pastries worthy of admiration.
Unleash Your Inner Pastry Chef: Master Puff Pastry!
Thanks for taking the time to explore the delicate art of handling puff pastry! You've now got the knowledge to avoid those frustrating collapses and tears. Ready to put your newfound skills to the test?
- Bake your masterpiece: Try the recipe mentioned in the article (or your own favorite!) and see how effortlessly your puff pastry transforms. Document your progress with pictures to share – we’d love to see them!
- Share your success (or challenges!): Join our BakeWithEase community and tell us about your experience. What did you learn? What surprised you?
- Explore other puff pastry techniques: Search our website for additional articles and tutorials to further hone your baking skills.
What innovative puff pastry creation will you conquer next?