
Shaping Your Pizza Dough Like a Pro: Avoiding Uneven Crusts

Welcome to BakeWithEase, where baking becomes a joy, not a chore! Are you tired of uneven pizza crusts that ruin your homemade masterpieces? Discover the secrets to shaping your pizza dough like a pro in our latest article. We'll unveil simple yet effective techniques to avoid those frustrating inconsistencies and achieve pizza perfection. Intrigued? Let's get started on your journey to flawlessly formed pizzas!
- Achieving a Uniform Pizza Crust: Mastering Dough Shaping
- Pizza Perfection: A Guide to Even Dough Distribution
- Understanding Dough Fundamentals for Even Baking
- Step-by-Step Guide to Professional Dough Shaping
- Mastering Different Shaping Methods
- Common Mistakes and How to Avoid Them
- Achieving a Perfectly Round Pizza
- Avoiding Uneven Crusts: Problems and Solutions
- Baking Your Shaped Dough
- Maintaining Consistent Results: Best Practices
- Conclusion: Elevate Your Pizza with Expert Shaping
-
Frequently Asked Questions
- What is the most common mistake people make when shaping pizza dough, leading to uneven crusts?
- Why is it important to avoid using a rolling pin when shaping pizza dough?
- What is the recommended technique for hand-stretching pizza dough?
- What should I do if my pizza dough tears while I'm shaping it?
- How does the temperature of the dough affect its ability to be shaped properly?
- Final Reflection: The Art and Science of the Perfect Pizza Crust
- Unleash Your Inner Pizzaiolo: Craft the Perfect Crust!
Achieving a Uniform Pizza Crust: Mastering Dough Shaping
Pizza Perfection: A Guide to Even Dough Distribution
Introduction to Expert Dough Shaping for Pizza
Achieving a truly exceptional homemade pizza goes far beyond the quality of the ingredients or the heat of your oven. One of the most critical, yet often overlooked, steps is mastering the art of shaping your dough. An evenly shaped dough ball is the foundation for a uniformly baked crust, free from frustratingly thick or annoyingly thin spots.
This process is key to perfecting pizza dough shaping tips that elevate your baking from good to outstanding. Without proper shaping techniques, even the best dough recipe can result in a pizza that bakes inconsistently, with some parts potentially burning while others remain undercooked. Learning to handle and stretch your dough with confidence ensures that every slice offers that perfect balance of crispness and chewiness.
Perfecting pizza dough shaping tips involves understanding the dough's properties and how to work with them, not against them. It’s a skill that improves with practice, but starting with the right knowledge makes the journey much smoother. We’ll explore the fundamentals that influence dough behavior, walk through step-by-step shaping methods suitable for various skill levels, and address common pitfalls.
Whether you aim for a classic Neapolitan-style thin crust or a slightly thicker, airy base, achieving an even distribution of dough is paramount for a successful bake. Embrace these techniques, and you'll be well on your way to crafting pizzas that look as good as they taste, boasting that enviable, uniform crust every time.
Understanding Dough Fundamentals for Even Baking
Hydration's Impact on Crust Consistency
Hydration, or the ratio of water to flour in your dough, plays a significant role in how easily and evenly you can shape your pizza base. A dough with higher hydration, typically ranging from 70% to 80% water relative to flour weight (e.g., 700g water to 1000g flour), tends to be stickier and more challenging for beginners to handle initially.
However, this high moisture content makes the dough more extensible, meaning it can be stretched thinner with less resistance, often leading to a lighter, airier, and more uniformly thin crust when baked. The water turns to steam during baking, contributing to oven spring and creating desirable air pockets.
Conversely, a lower hydration dough, often between 55% and 65% (e.g., 600g water to 1000g flour), is much easier to manage and shape, making it ideal for those new to pizza making or perfecting pizza dough shaping tips. While less sticky, lower hydration dough can be less extensible and may resist stretching, potentially leading to thicker spots if not handled carefully.
It requires more effort to achieve a very thin crust compared to high hydration dough. Understanding your dough's hydration level is the first step in anticipating its behavior during shaping and adapting your technique accordingly to ensure an even thickness across the entire pizza.
Gluten's Role in Dough Shaping
Gluten development is absolutely crucial for successful and even pizza dough shaping. Gluten, formed when proteins in flour (glutenin and gliadin) combine with water through mixing and kneading, creates a network that provides structure and elasticity to the dough. Properly developed gluten allows the dough to stretch thinly without tearing and helps it hold its shape. Imagine trying to stretch a piece of wet paper – it tears easily. That's dough with underdeveloped gluten. Aiming for proper gluten development is a key part of perfecting pizza dough shaping tips.
Dough with insufficient gluten development (perhaps kneaded for only 2-3 minutes) will be weak, sticky, and prone to tearing, especially in the center, making it difficult to achieve a uniform thickness. Over-kneaded dough, while strong, can become too tight and spring back excessively when stretched, making it hard to get a large, thin base without significant effort and potential for unevenness.
A dough that passes the "windowpane test" – where a small piece can be stretched thinly enough to see light through it without tearing – indicates well-developed gluten that is ready for shaping. Resting periods (fermentation) also relax the gluten, making the dough more pliable and easier to shape evenly.
Temperature's Influence on Baking Evenness
The temperature of your dough significantly impacts its behavior during shaping and, consequently, the evenness of the baked crust. Cold dough, especially straight from refrigeration (around 4°C), is very stiff and elastic. The gluten network is tight, causing the dough to resist stretching and spring back significantly. Attempting to shape cold dough often leads to thick edges and a struggle to achieve a thin center, contributing to uneven baking. While cold fermentation is excellent for flavor development, the dough needs time to warm up before shaping.
Allowing your dough balls to come to room temperature (ideally between 20°C and 24°C) for at least 1-2 hours (or longer depending on room temperature and dough size) before shaping is essential for achieving a pliable, relaxed state. At this temperature, the gluten is relaxed, and the dough is much more extensible, allowing for easier and more controlled stretching. This makes perfecting pizza dough shaping tips much more achievable. Dough that is too warm, however, can become overly slack, sticky, and difficult to handle, potentially tearing easily. Finding the right temperature balance is key to smooth, even shaping.
Step-by-Step Guide to Professional Dough Shaping
Preparing Your Workspace for Success
Before you even touch the dough, setting up your workspace is crucial for efficient and clean shaping, aiding in perfecting pizza dough shaping tips. Clear a large, flat surface – your countertop or a dedicated pastry board works well. Lightly flour the surface.
The amount of flour needed depends on your dough's hydration; stickier, higher hydration doughs require a bit more. However, avoid using excessive flour, as this can dry out the surface of the dough, making it less extensible and potentially leading to a tough crust. Have your dough scraper or bench knife ready; it's invaluable for handling sticky dough and portioning.
Ensure your dough balls have had sufficient time to rest and warm up to room temperature, as discussed earlier. They should be soft and pliable, not cold and stiff. Having all your tools within reach – from flour dredger to pizza peel (if using one) – minimizes interruptions during the shaping process. A clean, well-organized space allows you to focus on the dough, ensuring a smooth workflow from ball to base, which is fundamental when perfecting pizza dough shaping tips for a uniform crust.
Dividing and Pre-Shaping: The Initial Steps
If you've made a large batch of dough, the first step is to divide it into individual portions for each pizza. Use a scale for accuracy; a typical single pizza dough ball weighs between 200g and 280g, depending on your desired crust thickness and pizza size (e.g., a 250g ball is common for a 12-inch pizza). Using a dough scraper, cut the dough cleanly without tearing or stretching it excessively.
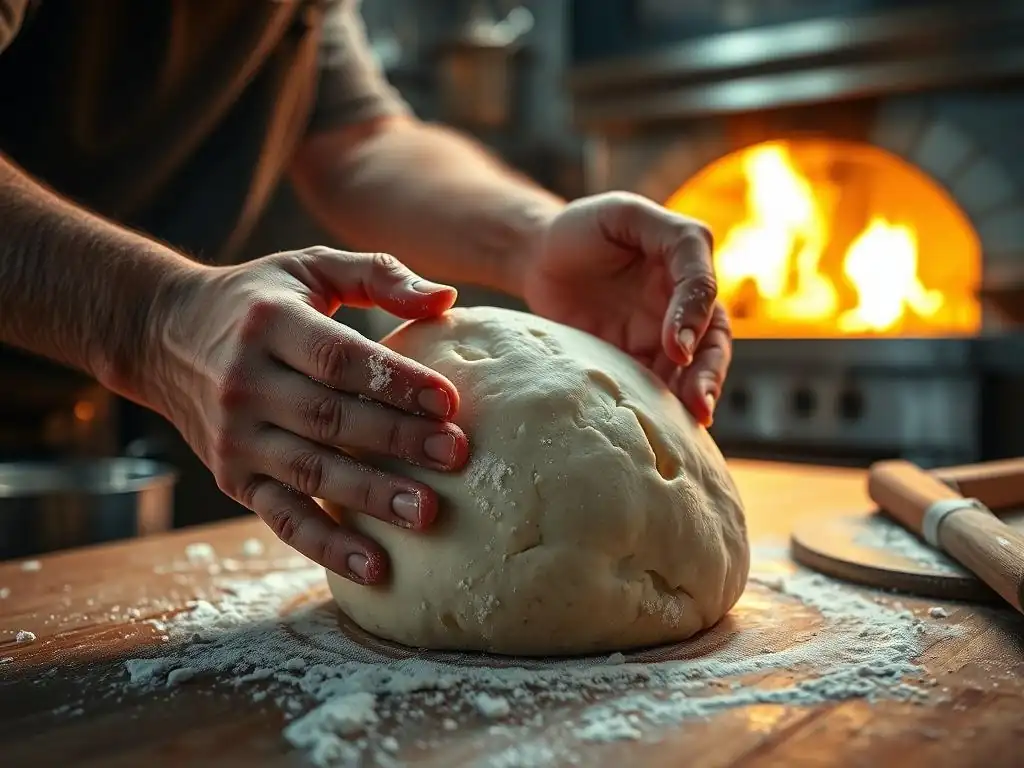
Once divided, each portion needs to be pre-shaped into a tight ball. This process creates surface tension, which helps the dough hold its round shape and makes it easier to stretch later. Gently gather the edges of the dough portion and tuck them underneath, rotating the ball against the surface with slightly cupped hands. The goal is a smooth, taut surface on top and a sealed bottom.
Allow these pre-shaped balls to rest for another 15-30 minutes, covered (to prevent drying), before final shaping. This rest period allows the gluten to relax again after handling, making the dough much easier to stretch evenly. This pre-shaping step is a foundational element in perfecting pizza dough shaping tips.
Stretching Techniques for Beginners
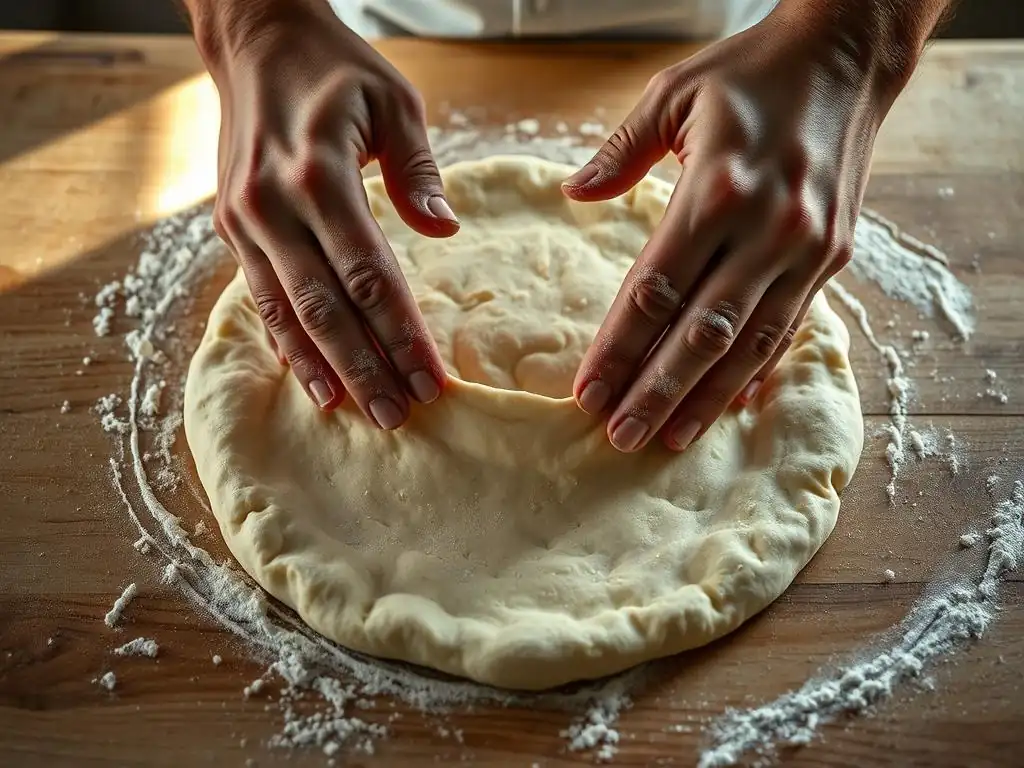
For those new to shaping, starting with gentle, controlled techniques is key to avoiding frustration and unevenness. Place a pre-shaped dough ball on your lightly floured surface. Begin by gently pressing down on the center of the ball with your fingertips, leaving a small border (about ½ to 1 inch) around the edge untouched. This border will become your crust (cornicione). Work outwards from the center, pressing and flattening the dough into a small disk, maintaining the border.
Once you have a small disk, you can start the stretching phase. One simple method is to lift the disk and let gravity assist. Hold the edge of the dough with your hands, letting the weight of the dough pull it downwards. Gently rotate the dough, allowing different sections to stretch.
You can also gently stretch the edges outwards with your knuckles or the backs of your hands, working your way around the perimeter. Avoid gripping the dough tightly or pulling aggressively, as this can cause tears or uneven stretching. The goal is a gradual expansion into a rough circle, maintaining that initial border. Practicing these gentle techniques is essential for perfecting pizza dough shaping tips without stress.
Mastering Different Shaping Methods
Hand-Stretching for Thin, Even Crusts
Hand-stretching is the classic method favoured by pizzerias for achieving thin, airy, and often slightly irregular crusts with a prominent cornicione. Start with a well-rested, room-temperature dough ball on a lightly floured surface. Gently press down on the center with your fingertips, pushing air towards the rim to form the crust. Avoid pressing the rim itself. Once you have a small disk with a defined edge, pick up the dough.
Hold the dough with your hands near the edge, letting the weight of the dough hang down. Gently rotate the dough, allowing gravity to stretch it into a larger circle. You can also drape the dough over your knuckles or the backs of your hands, carefully stretching outwards from the center while rotating.
The key is to be gentle and let the dough stretch naturally, responding to its elasticity. If it resists, let it rest for a minute or two before continuing. This method requires feel and practice but is excellent for perfecting pizza dough shaping tips for authentic results.
Rolling Pin Techniques for Avoiding Toughness
While often discouraged by purists, a rolling pin can be used, especially if you struggle with hand-stretching or prefer a very uniform, flatter crust without a large, airy rim. However, improper use can push air out of the dough and overdevelop gluten, leading to a tough crust. To minimize this, use the rolling pin gently and sparingly.
Start by flattening the dough ball as described for beginners. Then, place the rolling pin in the center and roll outwards, applying even pressure. Lift the dough, rotate it a quarter turn, and repeat. Roll from the center outwards in all directions, aiming for an even thickness.
Avoid rolling back and forth over the same spot repeatedly. Leave a slight border unrolled or gently shape it with your fingers afterwards if you desire a defined rim. This method provides uniformity but be mindful of maintaining some airiness, which is key to perfecting pizza dough shaping tips for a tender crust.
Toss and Stretch: Advanced Shaping
The theatrical "toss and stretch" method is a hallmark of experienced pizzaiolos and is part of advanced perfecting pizza dough shaping tips. It leverages centrifugal force to quickly expand the dough into a large, thin circle while maintaining an airy rim. This technique requires significant practice and a well-developed, extensible dough.
Start by creating a small disk with a thick rim as you would for hand-stretching. Then, hold the rim with both hands and gently toss the dough into the air, allowing it to spin and stretch. Catch it lightly on the backs of your hands or knuckles, rotating slightly with each toss. The spinning motion helps distribute the dough evenly. Be prepared for dough failures initially – tears and irregular shapes are common. This method is fast and effective once mastered but is best attempted after you've become comfortable with simpler stretching techniques.
Common Mistakes and How to Avoid Them
Identifying and Correcting Dough Tears
Dough tears are a common frustration when shaping, often leading to holes that expand during baking, resulting in uneven crusts or topping leakage. Tears typically occur if the dough is cold, underdeveloped, over-worked, or stretched too aggressively. If you spot a small tear while shaping, stop stretching immediately.
Gently pinch the edges of the tear together to seal it. You can moisten your fingertips with a tiny bit of water first if the dough surface is dry. Once sealed, avoid stretching that specific area again right away.
If the tear is significant or the dough feels very resistant and keeps tearing in multiple places, it indicates the gluten is too tight or underdeveloped. The best solution is often to gently fold the dough back into a ball and let it rest, covered, for another 15-30 minutes. This allows the gluten to relax, making the dough more pliable and less likely to tear during the next shaping attempt, a crucial part of perfecting pizza dough shaping tips.
Preventing Thick, Uneven Crusts: Techniques to Avoid
Thick spots, especially in the center or around the edges, are often a result of inconsistent pressure during shaping or dough that is too cold or stiff. A common mistake is pressing down too hard on the edges while trying to make the center thin, or conversely, not pressing enough in the center, leaving a dense middle. Using excessive flour can also prevent the dough from stretching evenly.
To prevent this, ensure your dough is at the correct temperature and well-rested. When pressing initially, focus on pushing air towards the rim, not flattening the rim itself. During stretching, apply even pressure and work outwards from the center consistently. Avoid letting the dough bunch up in areas. If using a rolling pin, roll evenly and avoid pressing too hard. Never try to force the dough to stretch when it's resisting; let it rest instead. Consistent, gentle technique is paramount for avoiding frustratingly thick areas when perfecting pizza dough shaping tips.
Troubleshooting Sticky Dough
Sticky dough can make shaping a messy and difficult process, often leading to unevenness as it clings to your hands or the work surface. Stickiness is usually due to high hydration, insufficient gluten development, or the dough being too warm. While some stickiness is normal, especially with high hydration doughs (70%+), excessive stickiness needs managing.
Ensure your hands and work surface are lightly floured, but remember that too much flour can dry the dough. Use a dough scraper or bench knife to help lift and handle sticky dough. If the dough is exceptionally sticky and hard to manage, it might benefit from a brief period in the refrigerator (15-30 minutes) to firm up slightly, making it easier to handle.
Alternatively, if the dough is underdeveloped, a few gentle folds might help build structure. Learning to work with slightly sticky dough is part of perfecting pizza dough shaping tips, especially for achieving those desirable airy crusts.
Achieving a Perfectly Round Pizza
The Spin and Stretch Method
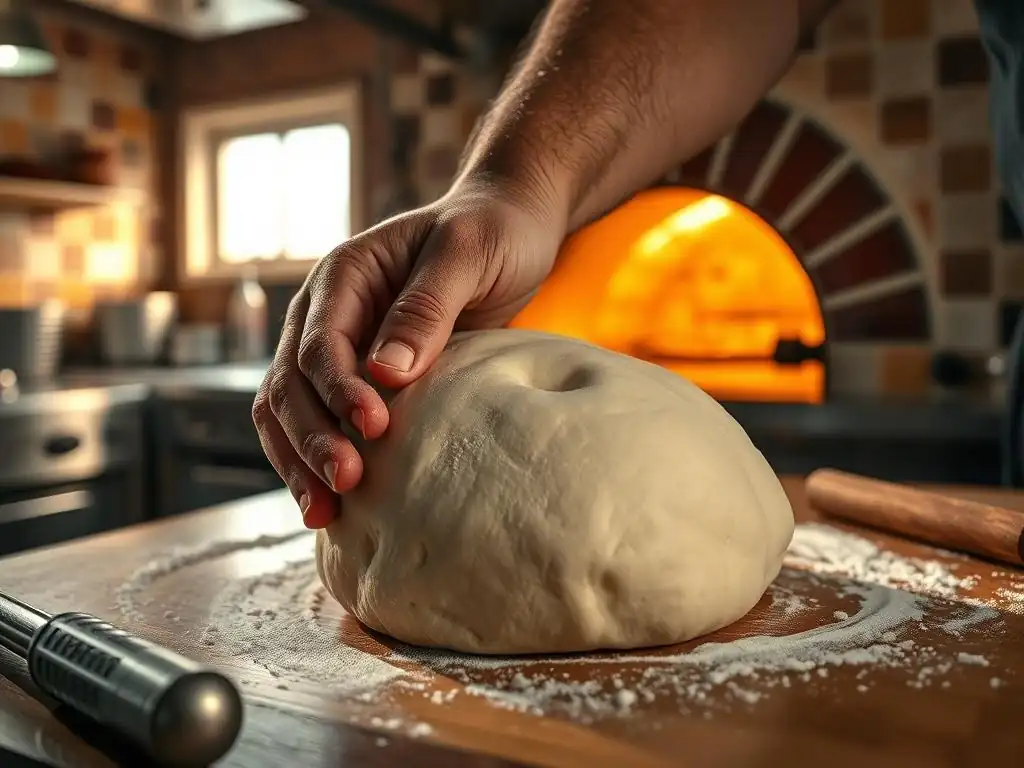
While the "toss and stretch" involves throwing the dough, the "spin and stretch" is a more grounded technique useful for achieving a round shape and thinning the dough simultaneously. After initially flattening the dough ball into a small disk, pick it up and hold it gently by the edge with both hands.
Begin rotating the dough clockwise (or counter-clockwise), allowing the weight of the dough to stretch the bottom edge downwards. As you rotate, slightly move your hands inward and outward along the edge, gently stretching and shaping the perimeter into a circle. This technique is less about aggressive stretching and more about controlled rotation and gentle manipulation. It's effective for gradually expanding the dough while maintaining a relatively round shape and is a useful skill in perfecting pizza dough shaping tips.
Using a Dough Scraper for Shape and to Prevent Sticking
A dough scraper isn't just for dividing dough; it's a versatile tool during shaping, particularly helpful in maintaining a round shape and managing stickiness. If your dough is sticking to the work surface, gently slide the scraper underneath to release it without tearing.
As you shape, you can use the straight edge of the scraper to gently nudge the edges of the dough inwards or outwards to correct the shape and encourage a rounder perimeter. This is especially useful if your hand-stretching is resulting in an irregular shape. The scraper provides a non-sticky edge to manipulate the dough without your fingers getting stuck. It's a simple tool that significantly aids in perfecting pizza dough shaping tips, helping you achieve that consistently round base.
Avoiding Uneven Crusts: Problems and Solutions
Strengthening Thin Spots
Thin spots in your pizza dough are problematic because they cook much faster than the rest of the crust, often becoming crispy or even burning while thicker areas are still baking. They are typically caused by applying too much pressure in one area during shaping or by tears that expand.
If you notice a thin spot before baking, gently push dough from the surrounding thicker areas towards the thin spot. You can use your fingertips to lightly push the dough. If the thin spot is a small hole caused by a tear, gently pinch it closed as described earlier.
For larger thin areas, sometimes the best solution is to gently fold the dough back on itself, reform a ball, and let it rest for 10-15 minutes before attempting to reshape more gently. This allows the dough to relax and redistribute, offering a second chance at perfecting pizza dough shaping tips.
Addressing Thick Spots
Thick spots, often around the rim or in the center, lead to undercooked, dense, or chewy areas in the final pizza. These result from insufficient stretching in that specific area or dough that was too cold or resistant to stretch evenly.
To address a thick spot during shaping, focus your stretching efforts on that area. If it's a thick rim, gently pull and stretch it outwards. If it's a thick center, use your fingertips to press and push dough outwards towards the edge. You can also lift the dough and let gravity stretch the thick spot downwards. Be patient; if the dough resists, let it rest briefly before trying again. Consistent, even pressure across the entire dough is key to preventing thick spots when perfecting pizza dough shaping tips.
Achieving a Consistent Rim
A consistent rim (cornicione) is desirable for both aesthetics and texture, providing that airy, chewy edge. An uneven rim means some parts will puff up nicely while others remain flat and dense. This inconsistency often stems from not leaving a defined border when initially pressing the dough or applying uneven pressure during stretching.
When you first press the dough ball, consciously leave a border untouched by your fingertips – this is the future rim. During stretching, avoid pressing or stretching the rim area aggressively. Instead, focus on stretching the dough from the center outwards towards the rim, allowing the air to push into the border you created.
If one part of the rim looks significantly thicker than another, gently stretch the thicker part outwards slightly. If it's thinner, gently push dough from the adjacent, thicker areas into the thin spot. Maintaining this consistent border throughout the process is crucial for perfecting pizza dough shaping tips for a beautiful, even crust.
Baking Your Shaped Dough
Preheating Oven and Stone
Proper oven setup is just as vital as shaping for achieving an evenly baked crust. Pizza requires high heat to cook quickly and evenly. Preheat your oven to the highest possible temperature, typically 250°C (480°F) or even higher if your oven goes there. If using a pizza stone or steel, place it on a rack in the upper third of your oven before preheating.
Allow the oven and stone/steel to preheat for at least 45-60 minutes after the oven indicator says it's reached temperature. The stone or steel needs this time to absorb enough heat to provide a burst of intense heat to the bottom of the pizza, ensuring a crispy base and promoting rapid, even cooking from the start. This extreme heat is essential for achieving the desired texture and rise, completing the work you did in perfecting pizza dough shaping tips.
Transferring Dough Safely
Transferring your carefully shaped dough onto the hot pizza stone or peel without distorting its shape or tearing is a critical step. If using a pizza peel, lightly flour it (cornmeal or semolina works well too, as it acts like tiny ball bearings). Place your shaped dough onto the floured peel. Quickly add your toppings. Work quickly but calmly; the longer the dough sits on the peel with toppings, the more likely it is to stick.
Position the tip of the peel at the back of the hot stone or steel in the oven. With a swift, confident jerk, slide the pizza off the peel onto the hot surface. This requires practice to avoid crumpling the dough.
Alternatively, you can shape the pizza directly on a sheet of parchment paper placed on your peel. The parchment allows you to slide the pizza onto the stone easily, and you can remove the parchment after the first few minutes of baking. This method minimizes the risk of sticking and distortion, preserving the even shape you worked hard to achieve.
Monitoring and Adjusting Baking Time
Once the pizza is in the oven, keep a close eye on it. Baking times for pizza at high temperatures are usually short, typically 6-10 minutes, depending on oven temperature, crust thickness, and desired crispness. Look for signs of even cooking: the crust should be puffing up (especially the rim), the cheese should be melted and bubbly, and the bottom crust should be golden brown and crispy.
If you notice one side of the pizza is browning faster than the other (common in many ovens), use your peel to carefully rotate the pizza halfway through the baking time. If the toppings seem to be cooking too fast before the crust is done, you might need to adjust your oven rack position for future bakes.
Conversely, if the crust bottom isn't browning, your stone might not have been hot enough, or you might need a few more minutes of bake time directly on the stone. Observing and adjusting is part of perfecting pizza dough shaping tips through the final bake.
Maintaining Consistent Results: Best Practices
Refining Technique Through Practice
Consistency in pizza dough shaping, and thus in achieving even crusts, comes primarily through practice. Don't be discouraged if your first few attempts aren't perfectly round or have slightly uneven spots. Each time you handle the dough, you build muscle memory and develop a better feel for its elasticity and resistance.
Try shaping dough balls of the same recipe multiple times in one session if possible. Pay attention to how the dough feels at different temperatures and hydration levels. Experiment with different shaping techniques (hand-stretching, gentle pressing, spin-and-stretch) to find what works best for you and your dough. Consider taking notes on dough temperature, rest times, and results. This iterative process is fundamental to perfecting pizza dough shaping tips over time. The more you practice, the more intuitive the process becomes, leading to more consistently beautiful and evenly baked pizzas.
Adjusting Recipe for Easier Shaping
Sometimes, the dough itself might be making shaping difficult. If you consistently struggle with tearing, excessive stickiness, or resistance to stretching, consider slightly adjusting your recipe. If tears are frequent, your dough might benefit from a slightly lower hydration (e.g., dropping from 75% to 70%) or a bit more kneading/folding to improve gluten development.
If the dough is too stiff and resists stretching, ensuring adequate rest periods (both bulk fermentation and post-division rest) is key. You might also try increasing hydration slightly (e.g., from 60% to 63%) to make it more extensible. For very sticky dough, reducing hydration or ensuring your flour has sufficient protein content can help. Small adjustments, often just a percentage point or two in hydration or a few extra minutes of rest, can make a significant difference in dough handleability and your ability to achieve an even shape, contributing greatly to perfecting pizza dough shaping tips.
Conclusion: Elevate Your Pizza with Expert Shaping
Recap of Key Techniques
Mastering pizza dough shaping is a transformative skill that directly impacts the quality of your homemade pizza, ensuring that coveted even crust. We've covered the fundamental principles, highlighting how hydration levels (like the difference between a manageable 65% and a more extensible 75%), gluten development (achieved through proper kneading and resting), and dough temperature (aiming for 20-24°C) influence shapeability. The step-by-step guide walked through essential techniques from preparing your workspace to the critical initial pressing and gentle stretching methods suitable for beginners.
We also explored more advanced methods like hand-stretching for thin crusts and managing challenges such as dough tears (pinching gently and resting) and thick spots (focusing pressure where needed). Achieving a consistent rim relies on creating that initial border and stretching from the center outwards. Remember that proper oven preheating (stone/steel at 250°C+ for an hour) and careful transfer are the final steps to preserving your perfect shape during the bake. These perfecting pizza dough shaping tips, from fundamental understanding to practical application, build the foundation for consistently excellent results.
Further Resources for Enthusiasts
For those passionate about perfecting pizza dough shaping tips and exploring the nuances of pizza making, there are many avenues for continued learning. Look for detailed guides specifically on dough hydration levels and their effects, or tutorials demonstrating the 'windowpane test' for gluten development. Many experienced bakers share their insights on optimizing fermentation times, which significantly impacts dough structure and ease of shaping.
Consider experimenting with different types of flour, such as high-protein bread flour or specific pizza flours (like Italian '00'), and observe how they affect gluten development and shaping properties. Task lists for your next baking session could include:
- [ ] Try shaping the dough at slightly different temperatures to feel the difference.
- [ ] Practice the gentle pressing method multiple times on different dough balls.
- [ ] Observe how a longer rest period after pre-shaping affects elasticity.
- [ ] Attempt the 'windowpane test' to assess gluten development.
By continuously learning and practicing these perfecting pizza dough shaping tips, you'll gain confidence and skill, leading to consistently delicious, evenly baked pizzas that you'll be proud to share. The journey of mastering pizza dough is rewarding, and each bake offers a chance to refine your technique further.
Frequently Asked Questions
What is the most common mistake people make when shaping pizza dough, leading to uneven crusts?
The most common mistake is uneven stretching. This often results from pressing too hard in certain areas or neglecting to rotate the dough, leading to thin spots and overly thick edges.
Why is it important to avoid using a rolling pin when shaping pizza dough?
Using a rolling pin compresses the dough, squeezing out the air bubbles that contribute to a light and airy crust. It also makes the crust tougher and less flavorful.
What is the recommended technique for hand-stretching pizza dough?
The recommended technique involves gently stretching the dough using your knuckles and the backs of your hands, working from the center outwards. Rotating the dough as you stretch ensures even thickness.
What should I do if my pizza dough tears while I'm shaping it?
If your dough tears, gently pinch the tear closed. You can also let the dough rest for a few minutes, allowing the gluten to relax and making it easier to work with.
How does the temperature of the dough affect its ability to be shaped properly?
Dough that is too cold will be stiff and difficult to stretch. Dough that is too warm will be too slack and prone to tearing. Room temperature dough is generally the easiest to work with.
Final Reflection: The Art and Science of the Perfect Pizza Crust
The quest for the perfect pizza crust transcends mere culinary skill; it's a journey into the heart of culinary precision and the satisfaction of a perfectly crafted meal. From understanding hydration levels to mastering the delicate art of stretching and shaping, the techniques explored in this article are not just about avoiding uneven crusts—they're about unlocking the potential for a truly exceptional pizza experience. This isn't just about following a recipe; it's about understanding the why behind each step, empowering you to create consistently delicious pizzas every time.
The impact of a perfectly shaped pizza crust extends far beyond the individual slice. It's a symbol of care, attention to detail, and the pride that comes from creating something beautiful and delicious with your own hands. The best things in life are simple, but not easy.
This quote perfectly encapsulates the journey of perfecting pizza dough shaping. While the ingredients are simple, mastering the technique requires patience, practice, and a willingness to learn from both successes and failures. The resulting pizza, however, is a testament to the effort and a source of immense satisfaction.
Now, it's your turn. Don't be afraid to experiment, to embrace the occasional misshapen crust as a learning opportunity, and to find the techniques that work best for you. The journey to perfecting your pizza dough shaping is a personal one, filled with delicious discoveries and the rewarding feeling of creating something truly special. So, gather your ingredients, embrace the process, and enjoy the journey to pizza perfection!
Unleash Your Inner Pizzaiolo: Craft the Perfect Crust!
Thanks for taking the time to learn the secrets of perfectly shaped pizza dough! You're now equipped to avoid those frustrating uneven crusts and create pizzas that are as beautiful as they are delicious. Ready to put your new skills to the test?
- Master the art of stretching: Practice your dough-stretching techniques until you achieve that even, circular perfection. Try experimenting with different flours and techniques to see what works best for you!
- Share your pizza-making journey: Post a picture of your beautifully crafted pizza on social media and tag us – we'd love to see your creations!
- Dive deeper into dough: Explore our other articles on pizza making for even more tips and techniques to elevate your pizza game.
What unique ingredient or topping will you use to showcase your perfectly shaped pizza masterpiece?