
Temperature is Key: Controlling Your Dough for Croissant Success

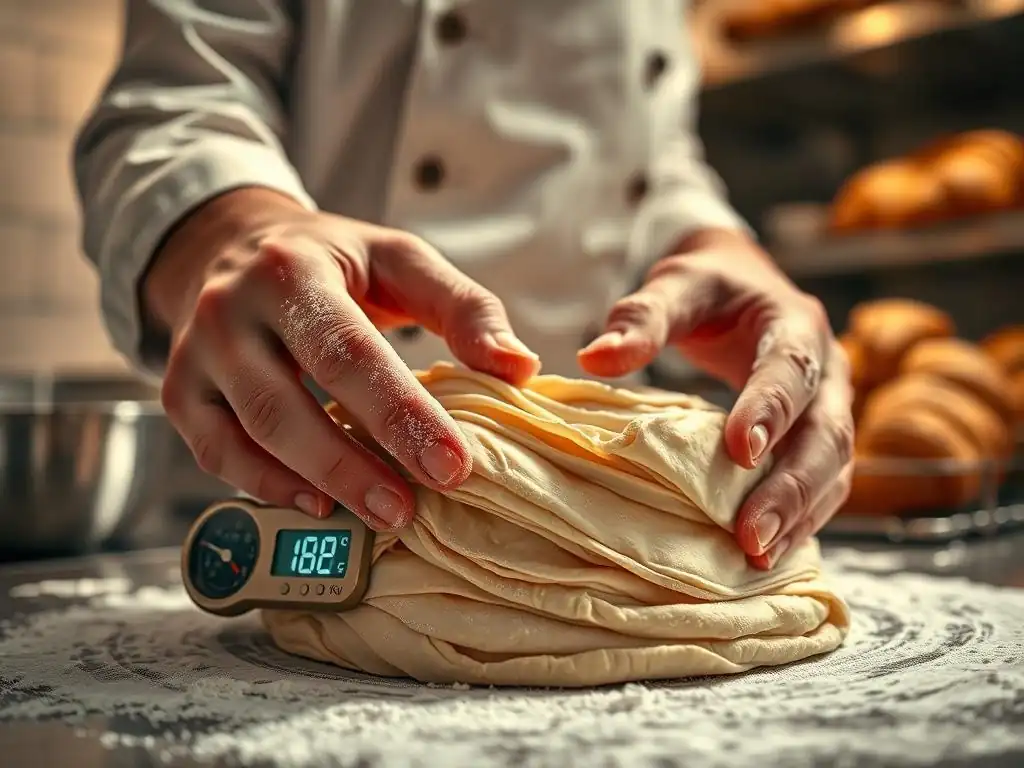
Welcome to BakeWithEase, your guide to unlocking baking brilliance! Ever wondered why your croissants aren't quite reaching that perfect, flaky ideal? This article dives deep into the crucial role of perfecting croissant dough temperature – a seemingly small detail that can make a world of difference. Discover the secrets to achieving that coveted lamination and learn how to control your dough for consistently stunning results. Ready to elevate your croissant game? Let's get baking!
- Introduction: Why Dough Temperature Matters for Perfect Croissants
- Understanding the Ideal Dough Temperature for Croissants
- The Impact of Temperature on Croissant Dough Ingredients
- Measuring Dough Temperature Accurately
- Troubleshooting Temperature-Related Croissant Dough Issues
- Step-by-Step Guide to Controlling Croissant Dough Temperature
- Advanced Techniques for Temperature Management in Croissant Dough
- Tips and Tricks for Maintaining Consistent Dough Temperature
- Conclusion: Mastering Croissant Dough Temperature for Baking Success
-
Frequently Asked Questions
- How crucial is temperature control when making croissant dough?
- What is the ideal temperature range for croissant dough during mixing?
- How does temperature affect the lamination process in croissant making?
- What are some strategies to keep croissant dough cool during the mixing and lamination processes?
- What happens if croissant dough gets too warm during proofing?
- Final Reflection: The Golden Ratio of Flour and Feeling
- Unlock Your Croissant Potential: Mastering the Perfect Dough
Introduction: Why Dough Temperature Matters for Perfect Croissants
Baking perfect croissants at home is a rewarding journey, and one of the most critical factors often overlooked is dough temperature. It's not just about following a recipe; it's about understanding the science behind the ingredients and how temperature influences their behavior throughout the process. From the initial mix to the final proof, maintaining control over your dough's temperature is paramount to achieving those coveted flaky layers and airy interior.
Think of croissant baking as a delicate dance where temperature leads the way. If the dough is too warm, the butter can melt prematurely, destroying the layers you worked so hard to create. If it's too cold, fermentation slows to a crawl, and the dough becomes difficult to work with. Mastering this aspect is essential for anyone serious about perfecting croissant dough temperature and elevating their home baking skills.
Achieving Croissant Perfection: The Importance of Temperature Control
Achieving truly perfect croissants hinges significantly on meticulous temperature management. This isn't a step you can skip or guess at; it requires precision and attention to detail at every stage. The ideal temperature range for croissant dough is quite narrow, and deviations can lead to a range of issues, from poor rise to a tough texture or lack of distinct layers.
Controlling temperature ensures that the yeast ferments properly, developing flavor and gas for a good rise. It also keeps the butter in its ideal plastic state during lamination, allowing it to spread into thin, even layers between the dough. This precise temperature control is fundamental to perfecting croissant dough temperature and achieving the signature light, airy, and buttery structure that defines a great croissant.
BakeWithEase Guide to Dough Temperature for Flaky Croissants
Welcome to the BakeWithEase guide on mastering dough temperature for the ultimate flaky croissants. We'll walk you through why temperature is so crucial, what the ideal temperatures are at different stages, and how to measure and control them effectively. Our goal is to demystify this often-intimidating aspect of croissant making, empowering you to consistently produce beautiful, delicious pastries right in your own kitchen.
This guide provides practical tips and insights, from calculating your water temperature to troubleshooting common issues. By focusing on perfecting croissant dough temperature, you'll unlock the secret to layers that shatter and a crumb that is both tender and open. Let's dive into the specifics of how temperature impacts each component and phase of your croissant journey.
Understanding the Ideal Dough Temperature for Croissants
The concept of an "ideal" dough temperature is central to successful croissant baking. It's not a single number but rather a target range that facilitates optimal conditions for yeast activity, gluten development, and, critically, the handling of the butter layer during lamination. Understanding this target temperature and the factors that influence it is the first step towards perfecting croissant dough temperature.
This target temperature is often referred to as the Target Dough Temperature (TDT). Reaching and maintaining the TDT ensures that the dough is pliable enough to work with but cool enough to prevent the butter from melting into the dough layers. It's a delicate balance that requires careful calculation and consistent monitoring throughout the process.
What is the Target Dough Temperature (TDT) for Croissant Dough?
The Target Dough Temperature (TDT) for croissant dough typically falls within a range of 22°C to 26°C (approximately 72°F to 79°F). This range is considered optimal because it allows for moderate yeast activity while keeping the dough cool enough to manage during mixing and initial handling before refrigeration. Achieving a TDT that is too high can lead to premature fermentation and a sticky, difficult-to-handle dough.
To calculate the TDT, professional bakers often use a formula that takes into account the desired final dough temperature, the temperature of the flour, the ambient room temperature, and a friction factor from the mixer. A simplified version for home bakers involves adjusting the water temperature. For instance, if you want a TDT of 24°C and your flour and room are both 20°C, you might need water significantly colder or warmer than 20°C to hit that target, depending on your mixer's friction. Aiming for this specific TDT is fundamental to perfecting croissant dough temperature from the outset.
The Science Behind Croissant Dough Temperature: Gluten Development and Butter Lamination
Temperature plays a profound role in two key processes: gluten development and butter lamination. During mixing, water hydrates the flour's proteins (glutenin and gliadin), which, with mechanical action, form the gluten network. Dough temperature affects the rate of this hydration and development. A warmer dough develops gluten faster but can also become sticky and overdeveloped quickly. A cooler dough develops gluten more slowly but allows for better structure control.
Crucially, temperature dictates the state of the butter during lamination. For successful lamination, the butter needs to be plastic – firm enough to hold its shape but pliable enough to spread thinly without breaking. This state is typically achieved when the butter is around 12°C to 15°C (approximately 54°F to 59°F). If the dough temperature is too high, the butter block within the dough will melt, integrating into the dough instead of forming distinct layers. This results in a bread-like texture rather than the characteristic flaky layers, completely undermining efforts towards perfecting croissant dough temperature.
The Impact of Temperature on Croissant Dough Ingredients
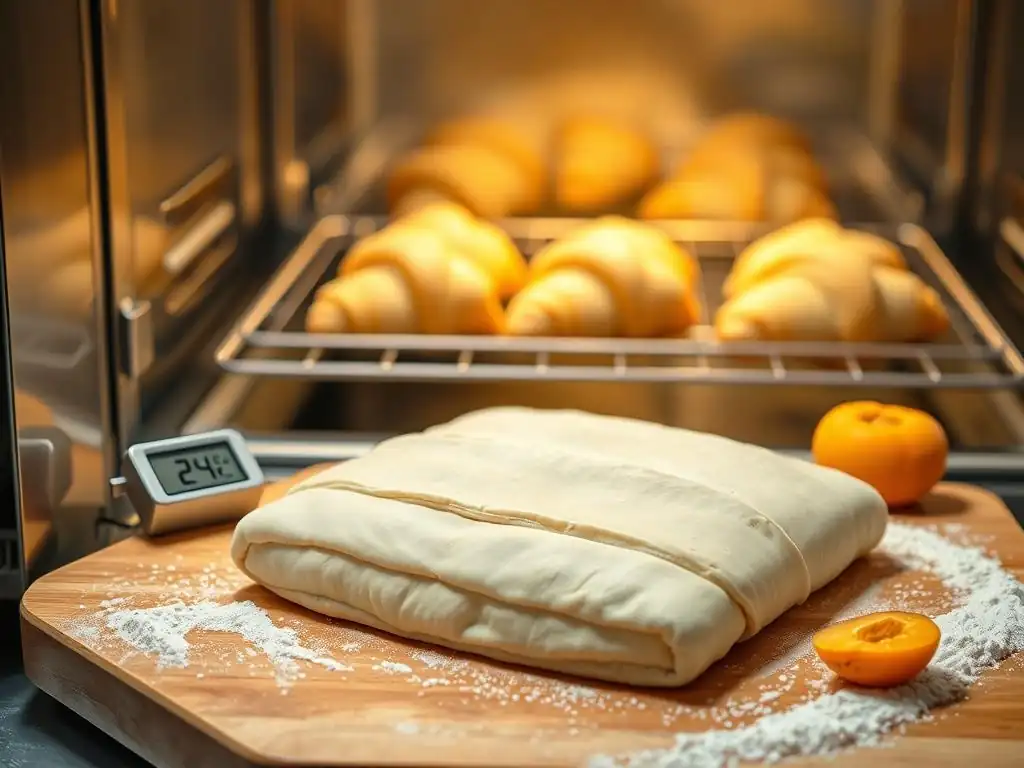
Each ingredient in your croissant dough is affected by temperature, and understanding these individual impacts is vital for controlling the final dough temperature and overall outcome. From the flour's initial state to the activity of the yeast, temperature is a silent but powerful player. Managing the temperature of your ingredients before combining them is a proactive step towards hitting your Target Dough Temperature.
Considering the starting temperature of your flour, water, and butter allows you to make informed adjustments. For example, if your kitchen is warm, you'll need colder water. If your flour has been sitting in a cold pantry, you might need slightly warmer water. Paying attention to ingredient temperatures is a cornerstone of perfecting croissant dough temperature.
Flour Temperature: Selecting the Right Flour and Its Initial Temperature
The temperature of your flour is the largest variable input into your dough's final temperature, as flour makes up the bulk of the mass. Standard all-purpose flour or a bread flour with moderate protein content (around 11-12%) is suitable for croissants. The temperature of this flour, however, is often overlooked. Flour stored in a warm pantry will contribute significantly more heat to the mix than flour stored in a cooler area.
Before you start mixing, it's a good practice to measure the temperature of your flour. If your recipe calls for a specific TDT, you can use the flour's temperature in a calculation to determine the necessary water temperature. For instance, if you want a TDT of 24°C and your flour is 22°C, you'll need cooler water than if your flour was 28°C. Keeping your flour at a consistent, cool temperature, perhaps around 20-22°C (68-72°F), can help make temperature calculations more predictable when perfecting croissant dough temperature.
Water Temperature: Calculating for Optimal Dough Hydration and Temperature
The temperature of the water is often the easiest variable to manipulate to achieve your desired Target Dough Temperature. Water hydrates the flour, initiating gluten development and activating the yeast. Using water that is too warm can accelerate gluten development and yeast activity too much, potentially leading to a sticky dough and premature fermentation before lamination.
A common method to calculate the required water temperature involves knowing your desired TDT, the flour temperature, the room temperature, and an estimated friction factor (heat added by the mixer). A simple formula approximation is: Water Temp = (Desired TDT x 3) - Flour Temp - Room Temp - Friction Factor. The friction factor is typically estimated between 8°C to 12°C (14°F to 22°F) depending on your mixer's speed and type; a stand mixer on medium speed for 5-7 minutes might add about 10°C. Adjusting your water temperature based on this calculation is a powerful tool for perfecting croissant dough temperature from the very beginning.
Butter Temperature: Achieving the Perfect Plasticity for Lamination
The butter is arguably the most critical ingredient for achieving the signature flaky layers of a croissant, and its temperature is paramount during the lamination process. Butter is composed of fat, water, and milk solids. As temperature changes, butter goes through different states: solid and brittle when very cold, plastic within a specific range, and liquid when warm.
For lamination, the butter block needs to be in a plastic state, allowing it to be rolled and folded into thin sheets alongside the dough without breaking or melting. The ideal temperature range for this plastic state is typically between 12°C and 15°C (54°F and 59°F). If the butter is too cold, it will crack and break during rolling, resulting in uneven layers.
If it's too warm, it will become too soft and melt into the dough, destroying the layering. Ensuring your butter is at this precise temperature before enclosing it in the dough is key to successful lamination and thus perfecting croissant dough temperature.
Yeast Activity: How Temperature Affects Fermentation in Croissant Dough
Yeast is a living organism responsible for fermentation, which produces the carbon dioxide gas that makes the croissants rise and contributes significantly to their flavor. Yeast activity is highly dependent on temperature. It is relatively dormant at refrigerator temperatures (around 4°C or 40°F), becomes active at room temperature (around 20-25°C or 68-77°F), and accelerates rapidly in warmer conditions.
In croissant dough, fermentation happens in stages: a short bulk fermentation after mixing, and a longer, slow fermentation during the many hours of chilling between folds (retarding), followed by the final proof. Controlling the dough temperature ensures yeast activity occurs at the desired pace at each stage. Too warm a dough accelerates fermentation, potentially leading to over-proofing or sour flavors before the structure is ready.
Too cold a dough slows fermentation, which can be beneficial for flavor development during long chilling periods but problematic if you need faster activity during final proofing. Managing yeast activity through temperature control is integral to perfecting croissant dough temperature and overall quality.
Measuring Dough Temperature Accurately
Guessing the temperature of your dough is a recipe for inconsistency. To truly master temperature control and move towards perfecting croissant dough temperature, you need reliable tools and techniques for accurate measurement. This ensures you are working within the optimal ranges discussed and can make necessary adjustments throughout the process.
Using the right thermometer and knowing how to take readings properly will give you the confidence and precision needed for successful croissant baking. It's a small investment that pays significant dividends in the quality of your final product.
Recommended Tools for Measuring Dough Temperature: Digital Thermometers
The most essential tool for measuring dough temperature is a good quality digital thermometer. Instant-read digital thermometers are preferred because they give a quick and accurate reading, minimizing the time the dough is handled or exposed to ambient temperature during measurement. Look for one with a thin probe that can easily penetrate the dough without causing significant disruption.
While older analog thermometers can work, their slower response time makes them less ideal for quick checks during mixing or handling. A digital thermometer with a range suitable for both cold (refrigerator temps) and warmer temperatures will be versatile for all stages of croissant making. Investing in a reliable digital thermometer is a non-negotiable step for perfecting croissant dough temperature.
Best Practices for Taking Dough Temperature Readings
Taking an accurate dough temperature reading requires a specific technique. Avoid measuring the surface temperature, as this can be influenced by ambient conditions. Instead, insert the probe into the center or thickest part of the dough mass. For larger batches, take readings from a couple of different spots to ensure uniformity.
Ensure the probe is fully inserted into the dough and wait a few seconds for the reading to stabilize on the digital display. Clean the probe thoroughly between uses. When checking temperature during mixing, stop the mixer and take the reading quickly. During lamination or proofing, be gentle to avoid deflating the dough. Consistent, accurate measurements are key to successfully perfecting croissant dough temperature.
Even with careful planning, temperature issues can arise. Knowing how to identify common problems caused by incorrect temperatures and having strategies to correct them is crucial for rescuing your dough and staying on track towards perfecting croissant dough temperature.
Whether your dough is too warm or too cold, there are tell-tale signs and steps you can take to mitigate the damage and get your dough back into the optimal range for success.
Dough Too Warm: Consequences and Solutions
When croissant dough becomes too warm, several problems can occur, most notably issues with the butter layers and fermentation control. Consequences include butter melting into the dough, leading to a greasy texture and lack of flakiness, and overly rapid yeast activity, which can exhaust the yeast or lead to over-proofing prematurely.
Solutions involve cooling the dough down. This almost always means returning the dough to the refrigerator for a period of time, typically 30-60 minutes or longer, until it reaches the desired cool temperature (around 4-8°C or 40-46°F before rolling). Working faster in a cooler environment can also help prevent the dough from warming up too much during handling.
Preventing Butter Melt: Keeping Your Dough Cool
Preventing butter melt is the primary battle when your dough is too warm, especially during lamination. The heat from your hands, the work surface, and the rolling action can quickly warm the dough and the butter within it. If you notice the dough becoming soft or greasy, or if you see butter starting to ooze, stop working immediately.
Place the dough back in the refrigerator on a flat tray. Allow it to chill thoroughly, often for at least 45 minutes, until both the dough and the butter are firm but still pliable. Working on a cold surface (like marble or granite) or even chilling your rolling pin can also help. Learning to recognize the signs of warming dough and taking immediate action to cool it is vital for perfecting croissant dough temperature during crucial stages.
Addressing Over-Fermentation Due to Warm Dough
If your dough has become too warm, particularly during bulk fermentation or proofing, you risk over-fermentation. Signs include a very bubbly, puffy dough that might smell strongly alcoholic or sour, and potentially collapsing upon handling. Over-fermented dough results in poor structure and flavor.
If the over-fermentation is slight, you might be able to proceed quickly to the next cold step (like lamination and chilling) to slow activity. However, if the dough has significantly over-proofed before baking, there's often little that can be done to fully recover the structure. The best approach is prevention: maintain the correct temperature throughout the process to control yeast activity, a key part of perfecting croissant dough temperature.
While less disastrous than dough that's too warm, dough that is too cold also presents challenges. It becomes stiff and difficult to work with, resisting rolling and folding during lamination. This can lead to uneven layers or even tearing the dough. Additionally, yeast activity is very slow in cold dough, which can stall fermentation and result in a poor rise during proofing.
Solutions focus on gently warming the dough to bring it into a workable temperature range. This usually involves letting it sit at room temperature for a controlled period.
Slow Fermentation and Gluten Development
Dough that is too cold inhibits both yeast activity and gluten development/relaxation. If your dough feels very tight and isn't rising as expected during bulk fermentation or proofing, its temperature is likely too low. Yeast activity is significantly reduced below 10°C (50°F), and essentially stops near freezing. Cold dough's gluten network is also less elastic, making it prone to snapping rather than stretching.
If fermentation is too slow, you need to gently raise the dough temperature. This might involve placing the dough in a slightly warmer spot in your kitchen (away from drafts), perhaps in a turned-off oven with the light on, aiming for a temperature around 24-26°C (75-79°F) for proofing. Patience is key; allow the dough to warm up gradually and fermentation to resume.
Correcting Cold Dough: Gentle Warming Techniques
If your dough is too cold and stiff for rolling (e.g., straight from the fridge and below 8°C or 46°F), you need to warm it gently before attempting lamination. Trying to force cold, stiff dough to roll will likely result in cracking or tearing.
Remove the dough from the refrigerator and let it rest at room temperature for 15-30 minutes. The exact time will depend on the ambient temperature of your kitchen. Check the dough's flexibility – it should feel pliable and slightly yielding, not rigid. You can also gently tap it with your rolling pin; it should give slightly. Avoid placing it near direct heat sources. Gradual warming ensures the butter inside also softens appropriately, essential for perfecting croissant dough temperature for successful rolling.
Step-by-Step Guide to Controlling Croissant Dough Temperature
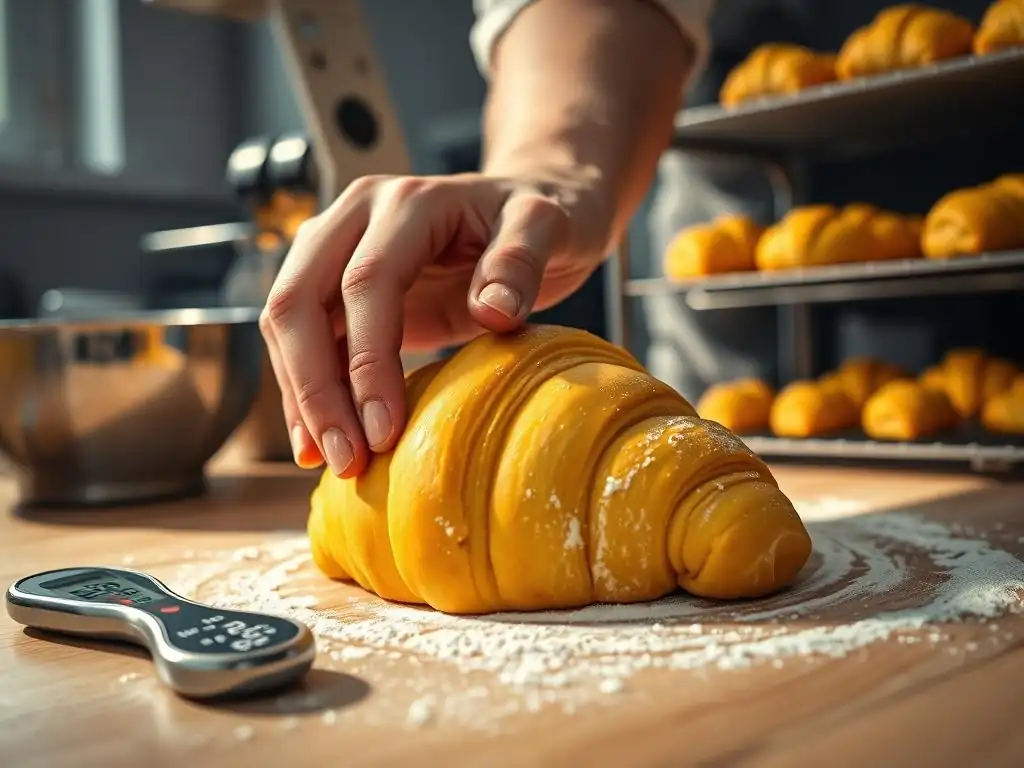
Managing dough temperature is a process that spans from selecting your ingredients to the final proof. By incorporating temperature checks and adjustments into each step, you significantly increase your chances of baking perfect croissants. Follow this step-by-step guide to integrate temperature control into your workflow, focusing on perfecting croissant dough temperature at every turn.
Each stage requires slightly different considerations, but the core principle remains the same: keep track of the temperature and react accordingly to stay within the optimal range for that specific phase.
Step 1: Preparing Ingredients at the Right Temperature
Begin by bringing your ingredients to the temperatures needed for your calculation. Measure your flour temperature. Have your water at the calculated temperature (often quite cold). Ensure your butter for the dough is soft but not melted, and your butter block for lamination is in the refrigerator, ready to be tempered to its plastic state (around 12-15°C) just before use.
Having all ingredients at their correct starting temperatures minimizes guesswork during mixing and sets you up for hitting your Target Dough Temperature for the initial dough mass. This proactive approach is the foundation for perfecting croissant dough temperature.
Step 2: Mixing the Dough and Monitoring Temperature
Mix your dough according to the recipe, typically until just combined or slightly developed. Avoid over-mixing, which can generate excess heat through friction. Use a thermometer to check the dough temperature immediately after mixing is complete.
Compare the measured temperature to your desired Target Dough Temperature (TDT). If it's too high, you know you'll need extra chilling time before proceeding. If it's too low, you might need to allow it to warm slightly during a short initial rest. This check is critical for verifying your initial temperature control efforts.
Step 3: Bulk Fermentation and Temperature Adjustments
After mixing, the dough often undergoes a short bulk fermentation at room temperature (or slightly cooler) followed by a significant chilling period in the refrigerator. Monitor the dough temperature during the initial room temperature phase if your recipe includes one. A common temperature for this short rest might be around 22-24°C (72-75°F) for 30-60 minutes.
The subsequent long chill in the refrigerator (at 4°C or 40°F) is crucial for slowing yeast activity, developing flavor, and firming the dough and butter for lamination. Ensure your refrigerator is consistently at this temperature. This cold fermentation is a key part of perfecting croissant dough temperature for structure and taste.
Step 4: Lamination and Temperature Control During Folding
Lamination, the process of enclosing the butter block and performing turns, is where temperature control is most critical. Both the dough and the butter block need to be at the correct temperature – typically dough around 8-10°C (46-50°F) and butter around 12-15°C (54-59°F) – to be pliable but firm.
Work quickly and efficiently. If the dough or butter becomes too soft or warm during rolling, stop and return the dough to the refrigerator for 20-40 minutes to chill down again before continuing. You may need to chill the dough between each turn, especially in a warm kitchen. Patience and chilling are key to successful lamination and perfecting croissant dough temperature at this stage.
Step 5: Final Proofing and Maintaining Optimal Temperature
The final proof is where the croissants get their significant rise before baking, driven by yeast activity. The optimal temperature for proofing croissants is usually warmer than fermentation but still controlled, typically around 24-26°C (75-79°F), often in a humid environment. Avoid proofing at very high temperatures (above 28°C or 82°F), which can melt the butter layers before they set in the oven.
Monitor the croissants' temperature if possible, or at least the ambient temperature of your proofing environment. Signs of readiness include increased size and a slight jiggle when gently shaken. If your proofing area is too cold, proofing will take much longer. If it's too warm, you risk melted butter. Maintaining this specific temperature range is the final step in perfecting croissant dough temperature before baking.
Advanced Techniques for Temperature Management in Croissant Dough
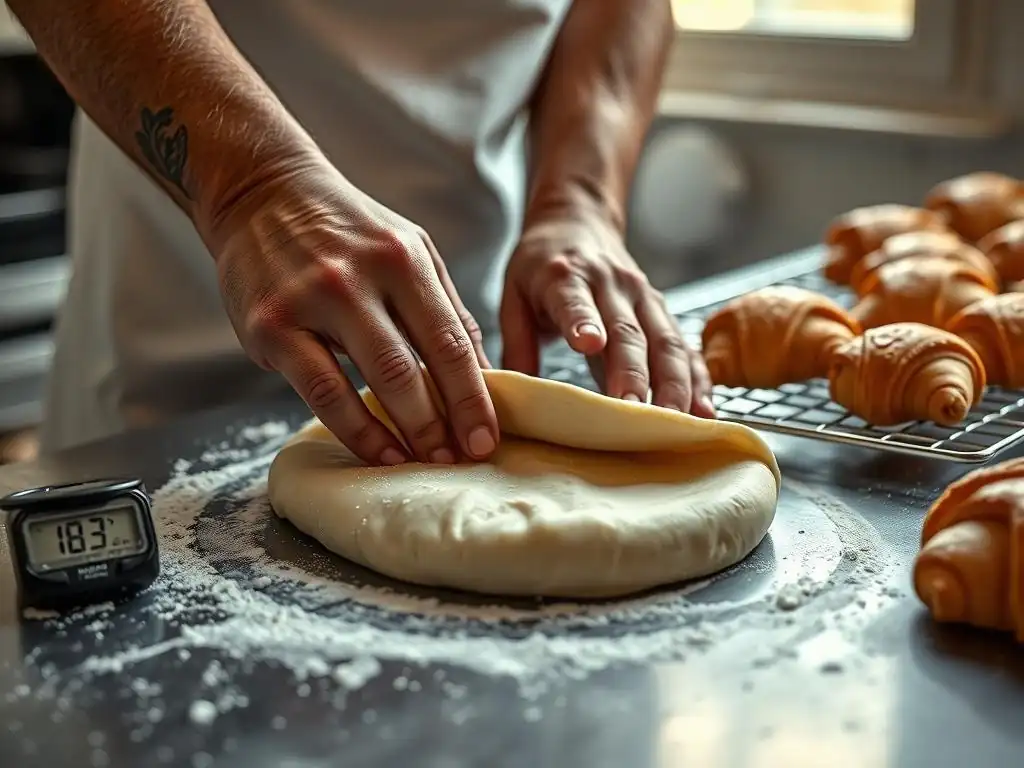
For those looking to take their croissant baking to the next level, exploring advanced temperature management techniques can offer greater control and potentially improved results. These methods go beyond basic refrigeration and ambient temperature adjustments.
Implementing these techniques requires a deeper understanding of dough behavior and potentially specialized equipment, but they are valuable tools for serious home bakers committed to perfecting croissant dough temperature.
Using a Dough Chiller for Precise Temperature Control
Professional bakeries often use dough chillers or retarders, which are essentially specialized refrigerators designed for dough. These units maintain precise temperatures and humidity levels, allowing for controlled chilling and slow fermentation. For the dedicated home baker, a wine cooler or a refrigerator with very accurate temperature controls set to around 4°C (40°F) can approximate this environment.
Using a dedicated chilling space that isn't constantly opened and closed like a kitchen refrigerator helps maintain a stable temperature, which is crucial for the long resting periods required between croissant folds. This precision significantly aids in perfecting croissant dough temperature consistently.
Adjusting Recipes Based on Ambient Temperature and Humidity
Experienced bakers learn to adjust their process based on the ambient conditions of their kitchen. In a warm, humid environment, dough will warm up faster, and yeast will be more active. You might need to use colder water initially, spend less time mixing, and increase chilling time between folds and during bulk fermentation.
Conversely, in a cold, dry environment, dough will stay cooler, and yeast activity will be slower. You might need slightly warmer water, potentially longer mixing times, and possibly a warmer spot for initial bulk fermentation and final proofing. Learning to "read" your dough and adapt to your environment is a sign of mastery in perfecting croissant dough temperature.
Cold Fermentation (Retarding) for Enhanced Flavor and Structure
Cold fermentation, or retarding, involves chilling the dough at refrigerator temperatures (around 4°C or 40°F) for extended periods, often 12-48 hours, between lamination steps or after shaping. This slow, cool fermentation significantly develops flavor compounds through enzymatic activity and allows the gluten structure to relax, making the dough easier to handle later.
This technique is a cornerstone of professional croissant making and is highly recommended for home bakers seeking deeper flavor and improved texture. The consistent low temperature of the refrigerator is key to controlling this slow fermentation process, proving once again the importance of perfecting croissant dough temperature over time.
Tips and Tricks for Maintaining Consistent Dough Temperature
Beyond specific techniques, several general practices can help you keep your croissant dough within the ideal temperature range throughout the baking process. These are simple habits that make a big difference.
Incorporating these tips into your routine will make temperature management feel less like a challenge and more like a natural part of perfecting croissant dough temperature.
Working Quickly and Efficiently
One of the best ways to prevent your dough from warming up during handling and lamination is to work quickly and efficiently. Have all your tools and ingredients ready before you start rolling. Minimize the time the dough is out of the refrigerator. The less time you spend handling the dough, the less heat is transferred from your hands and the environment.
Practice makes perfect; the more comfortable you become with the lamination process, the faster you'll be, which directly contributes to maintaining the correct temperature and perfecting croissant dough temperature.
Using Cold Work Surfaces
The surface you work on can significantly impact dough temperature. Marble or granite countertops are naturally cooler than wood or laminate and can help keep the dough cool during rolling. If you don't have a stone surface, you can try chilling a large baking sheet in the refrigerator and working on that, or even using a frozen gel pack underneath your regular cutting board (with a towel in between to absorb condensation).
A cool work surface acts as a heat sink, drawing heat away from the dough as you roll, which is especially helpful during lamination to prevent the butter from melting. This simple trick is effective for perfecting croissant dough temperature during hands-on work.
Resting the Dough in the Refrigerator
Never underestimate the power of the refrigerator. If at any point your dough feels too soft, warm, or difficult to work with, put it back in the fridge. It's better to pause and chill the dough for 15-30 minutes (or longer) than to push through with warm dough and risk ruining your layers.
Regular chilling breaks are essential, particularly between folds during lamination or if your kitchen is warm. Think of the refrigerator as your best friend in croissant making; it's indispensable for perfecting croissant dough temperature and ensuring successful outcomes.
Conclusion: Mastering Croissant Dough Temperature for Baking Success
Mastering the art of croissant baking at home is a rewarding endeavor, and at its core lies the fundamental principle of temperature control. From the initial ingredient temperatures and the target dough temperature during mixing, through the critical stages of lamination and proofing, maintaining the correct temperature is non-negotiable for achieving those signature flaky layers and delightful texture.
By understanding how temperature affects flour, water, butter, and yeast, using reliable tools to measure accurately, and employing smart techniques for chilling and warming, you gain the power to influence the outcome of your croissants profoundly. Perfecting croissant dough temperature isn't just a technicality; it's the key that unlocks true croissant success.
The Key to Perfect Croissants: Practice and Temperature Awareness
Ultimately, achieving perfect croissants requires practice and developing a keen awareness of your dough's temperature at all stages. Pay attention to how the dough feels – is it stiff and resistant, or soft and pliable? Use your thermometer regularly to confirm your instincts. Each batch you bake will teach you more about how your specific ingredients, kitchen environment, and techniques interact with temperature.
Don't be discouraged by initial challenges. Every attempt is a learning opportunity. By focusing on perfecting croissant dough temperature through diligent practice and careful observation, you will steadily improve and eventually achieve the flaky, buttery croissants you dream of baking at home.
Further Resources for Croissant Baking at Home on BakeWithEase.com
Ready to continue your journey in perfecting croissant dough temperature and mastering croissant baking? BakeWithEase.com offers a wealth of resources to support you. Explore our detailed step-by-step croissant recipes tailored for home bakers, guides on specific techniques like lamination, and tips for troubleshooting common issues.
We provide comprehensive information on ingredient selection, equipment recommendations, and variations on classic croissant recipes. Continue exploring our site to build your skills and confidence in the kitchen. Happy baking, and enjoy the delicious results of your efforts in perfecting croissant dough temperature!
Frequently Asked Questions
How crucial is temperature control when making croissant dough?
Temperature control is absolutely crucial for achieving flaky, buttery croissants. It directly impacts the gluten development and butter consistency, both vital for the final product.
What is the ideal temperature range for croissant dough during mixing?
The ideal temperature for croissant dough during mixing should be between 60-65°F (15-18°C). This range prevents the butter from melting and ensures even gluten development.
How does temperature affect the lamination process in croissant making?
Temperature significantly affects lamination. Cold temperatures are vital to keep the butter layers solid, allowing for distinct separation during baking and creating the characteristic flaky texture.
What are some strategies to keep croissant dough cool during the mixing and lamination processes?
Use cold ingredients, chill your work surface, and take breaks to refrigerate the dough. Consider using a dough chiller if you're baking frequently.
What happens if croissant dough gets too warm during proofing?
If the dough gets too warm, the butter will melt, and the layers will collapse. This results in a dense, greasy croissant instead of a light, flaky one. You should proof the dough in a cool environment.
Final Reflection: The Golden Ratio of Flour and Feeling
Mastering croissant dough temperature isn't just about achieving a flaky, buttery masterpiece; it's about understanding the delicate dance between science and artistry in baking. A seemingly small detail like temperature profoundly impacts the final product, transforming a potentially tough, dense pastry into a light, airy delight. The precision required highlights the importance of meticulous attention to detail in even the most seemingly simple recipes.
The pursuit of the perfect croissant dough temperature has resonated deeply with me, mirroring the broader quest for balance and control in life. It's a lesson in patience, observation, and the rewarding feeling of mastering a challenging skill. The difference between ordinary and extraordinary is that little extra.
This quote perfectly encapsulates the impact of precise temperature control on the final croissant, elevating it from good to exceptional. The journey, filled with both successes and failures, has taught me the value of persistence and the beauty of imperfection in the creative process.
Now, it's your turn. Consider how this pursuit of temperature precision translates to other areas of your life. What seemingly small details require your focused attention to achieve your desired outcome? Embrace the challenge, experiment with different approaches, and savor the satisfaction of mastering a skill, whether it's baking the perfect croissant or navigating a complex project. The journey, with its inherent lessons in patience and precision, is as rewarding as the destination itself.
Unlock Your Croissant Potential: Mastering the Perfect Dough
Thanks for taking the time to delve into the world of flaky, buttery croissants! We hope you now feel more confident in understanding the crucial role temperature plays in achieving that perfect, golden-brown result. Ready to put your newfound knowledge into action?
- Bake a batch of croissants today! Use the techniques you just learned to create your own masterpiece. Don't be afraid to experiment – that's how you truly master the art of baking.
- Share your croissant creation on social media! Use #BakeWithEase and tag us – we'd love to see your results.
- Explore our other baking guides for more tips and tricks to elevate your skills.
What unexpected temperature-related challenges have you faced in your baking journey, and how did you overcome them?