
Troubleshooting Common Pain au Chocolat Baking Problems

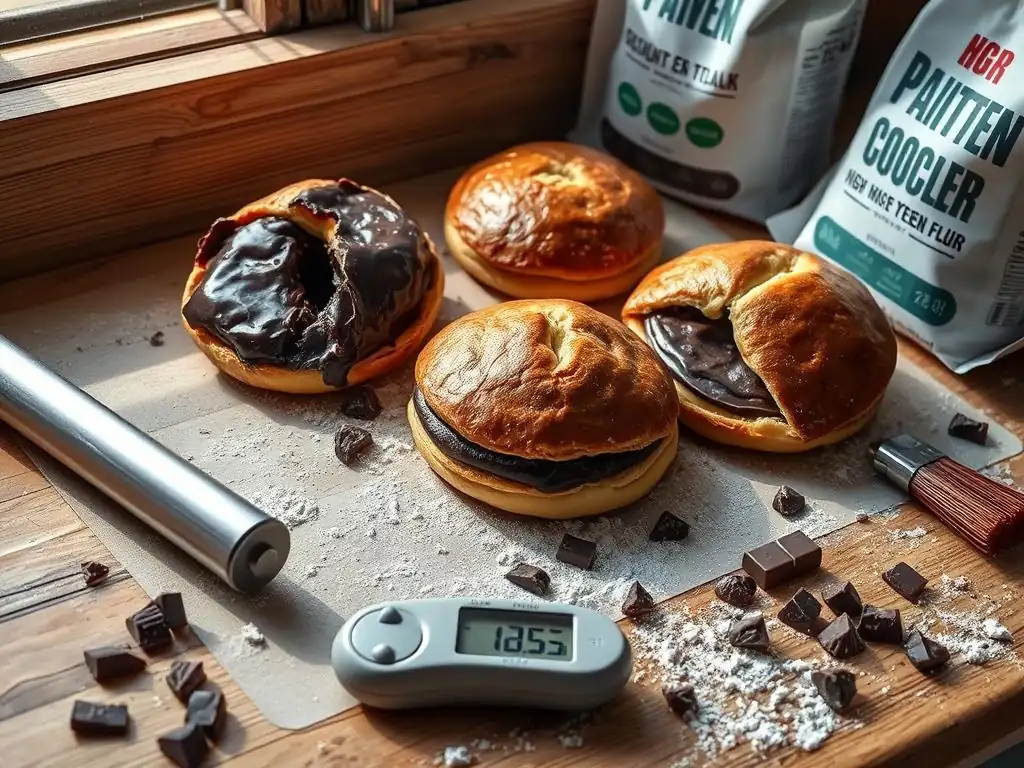
Welcome to BakeWithEase, your trusted guide to baking bliss! Ever dreamt of perfectly flaky pain au chocolat, but encountered frustrating baking hurdles? This article dives deep into common Pain au Chocolat Baking Issues, offering practical solutions to elevate your viennoiserie game. Discover the secrets to achieving that perfect rise, lamination, and chocolate distribution – are you ready to unlock the secrets to pain au chocolat perfection?
- Problem 1: Dough Too Tough or Not Proofing Properly
-
Frequently Asked Questions
- What causes the chocolate in my pain au chocolat to melt and leak out during baking?
- Why is my pain au chocolat dough tough or not flaky?
- How can I prevent my pain au chocolat from being too dense?
- My pain au chocolat looks pale and doesn't have a golden-brown color. What am I doing wrong?
- What's the best way to store leftover pain au chocolat to maintain its freshness?
- Final Reflection: The Sweet Science of Pain au Chocolat Perfection
- Unlock Your Perfect Pain au Chocolat!
Problem 1: Dough Too Tough or Not Proofing Properly
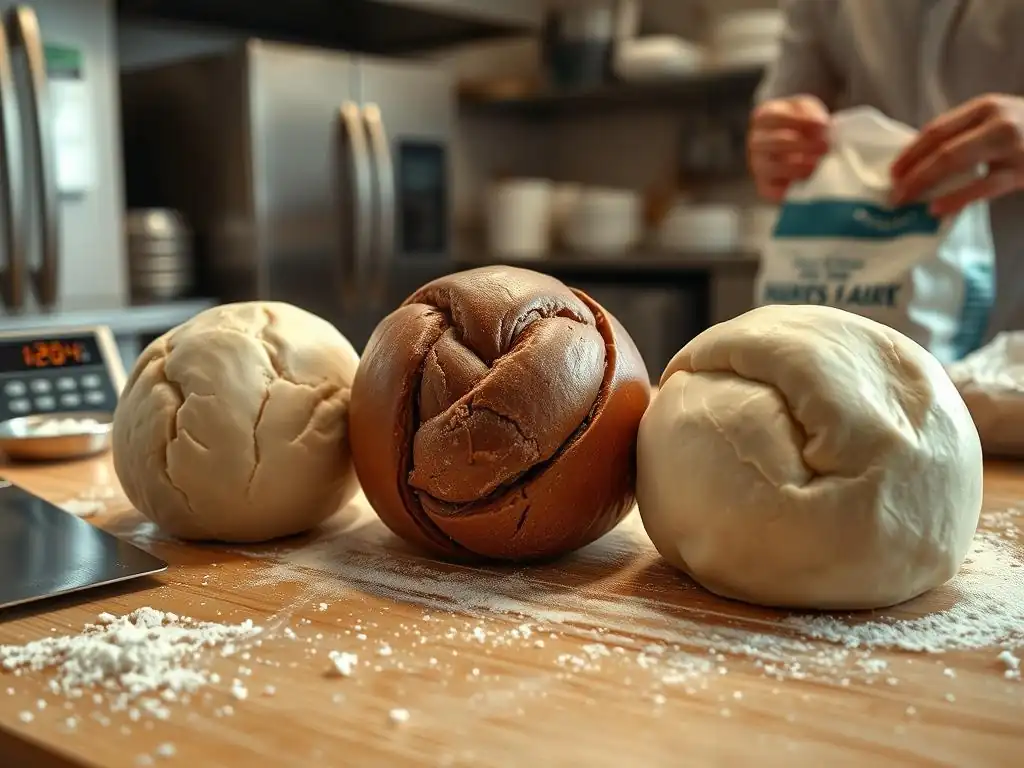
One of the most frustrating pain au chocolat baking issues beginners face is dough that refuses to cooperate. It might be too tough, resisting your attempts to roll and fold, or it simply won't rise as expected during the crucial proofing stage. These problems often stem from fundamental issues with dough development and handling. Understanding the science behind these processes is key to avoiding these common pain au chocolat baking issues and achieving the light, airy texture you crave.
This section will explore the intricacies of gluten development, common pitfalls that lead to tough dough, and why your pain au chocolat might not be proofing correctly. We'll provide practical troubleshooting steps to help you navigate these challenges and get your dough back on track. Addressing these foundational pain au chocolat baking issues early on will significantly improve your results.
Understanding Gluten Development in Pain au Chocolat Dough
Gluten is a network formed when two proteins, glutenin and gliadin, found in wheat flour, combine with water and are agitated through mixing or kneading. This network provides the dough with structure and elasticity, allowing it to trap gases produced by yeast, which is essential for a light and airy crumb in pain au chocolat. However, developing too much or too little gluten can lead to pain au chocolat baking issues. Overworking the dough results in excessive gluten development, making it tough and difficult to roll thinly without tearing, a common pain au chocolat baking issue during lamination.
Conversely, insufficient mixing or hydration can lead to poor gluten development, resulting in a weak dough that doesn't hold its shape or trap gas effectively. For pain au chocolat, the goal is a moderately developed gluten structure – strong enough to handle the lamination process but elastic enough to stretch without tearing.
Many recipes call for an initial mix followed by a period of rest (autolyse or bulk fermentation) to allow gluten to develop further with minimal handling, often for 30 minutes to several hours, before the intensive folding begins. This controlled development helps mitigate pain au chocolat baking issues related to dough structure.
Troubleshooting: Dough Too Dry or Stiff
If your pain au chocolat dough feels excessively dry or stiff right after mixing, the most likely culprit is an incorrect flour-to-liquid ratio. This could be due to inaccurate measurement, such as scooping flour directly from the bag which compacts it, or using a flour with a different absorption rate than the recipe intended.
A common approximation suggests that a cup of all-purpose flour weighs around 120-130 grams when spooned and leveled, but significantly more if scooped directly. Using too much flour relative to the water prevents proper hydration, hindering gluten development and yeast activity, leading to a tough dough and significant pain au chocolat baking issues.
To troubleshoot a dry or stiff dough, you can try gradually incorporating small amounts of additional liquid (water or milk, depending on the recipe) during the initial mixing phase, before adding the butter for lamination. Add just a teaspoon or two at a time, allowing it to be fully absorbed before adding more, until the dough reaches the desired consistency – pliable and slightly tacky but not sticky.
Avoid adding large amounts of liquid at once, as this can make the dough too wet and difficult to handle. For future batches, consider weighing your ingredients, especially flour, using a kitchen scale for greater accuracy, which is a simple yet effective way to prevent this type of pain au chocolat baking issue.
Troubleshooting: Dough Not Rising (Proofing Issues)
A pain au chocolat dough that doesn't rise during proofing indicates a problem with yeast activity, a critical step in preventing pain au chocolat baking issues related to texture. Yeast are living organisms that require warmth, moisture, and food (sugars in the flour) to produce carbon dioxide gas, which makes the dough rise. If your dough isn't proofing, first check the viability of your yeast.
If using active dry yeast, it typically needs to be proofed in warm liquid (around 105-115°F or 40-46°C) with a pinch of sugar before being added to the flour; it should become foamy within 5-10 minutes. If it doesn't foam, the yeast is likely dead and needs to be replaced.
Another common reason for poor proofing is the ambient temperature being too cold. Yeast works best in a warm environment, generally between 75-80°F (24-27°C). If your kitchen is cold, find a warmer spot – perhaps near a sunny window, on top of a warm (but not hot) appliance, or in a proofing box or oven with just the light on (check the temperature first!).
Overheating can kill the yeast, while cold temperatures significantly slow down or halt activity. Ensuring the correct temperature and active yeast are fundamental to avoiding these pain au chocolat baking issues during proofing. Also, ensure the dough hasn't been exposed to excessive salt or fat too early, which can inhibit yeast activity.
Frequently Asked Questions
What causes the chocolate in my pain au chocolat to melt and leak out during baking?
The chocolate may be melting if the oven is too hot or if the pain au chocolat is over-proofed. Make sure your oven is at the correct temperature and don't let them proof for too long.
Why is my pain au chocolat dough tough or not flaky?
A tough dough can be caused by overworking the dough or using too much flour. For a flaky texture, ensure the butter is cold and properly laminated into the dough.
How can I prevent my pain au chocolat from being too dense?
Density can be caused by insufficient proofing or not enough butter in the dough. Ensure adequate proofing time and use a high-quality butter with a good fat content.
My pain au chocolat looks pale and doesn't have a golden-brown color. What am I doing wrong?
A pale color could be from baking at too low a temperature or not using an egg wash. Brush the pain au chocolat with an egg wash before baking and ensure the oven is at the correct temperature.
What's the best way to store leftover pain au chocolat to maintain its freshness?
Store leftover pain au chocolat in an airtight container at room temperature. You can also freeze them for longer storage, then reheat them in a low oven to restore some crispness.
Final Reflection: The Sweet Science of Pain au Chocolat Perfection
The pursuit of the perfect pain au chocolat is a journey, not a destination, and one fraught with pitfalls for even the most experienced bakers. Mastering this delicate pastry requires attention to detail, precision, and a willingness to learn from inevitable mistakes. This article has explored some of the most common challenges, from soggy bottoms to unevenly distributed chocolate, offering solutions to help you achieve that coveted flaky, rich, and utterly delicious result.
The enduring appeal of the pain au chocolat lies not just in its exquisite taste, but in the process itself. It's a testament to the power of simple ingredients transformed through skill and patience. Baking is at once child's play and adult joy. And love.
– This quote, though not specifically about pain au chocolat, perfectly captures the essence of the baking experience, the blend of simple techniques and the profound satisfaction of a job well done. The challenges faced, and overcome, in baking this pastry reflect a larger human experience of striving for excellence and finding joy in the process.
Now, consider your own baking journey. What have you learned from your own pain au chocolat adventures? What techniques resonate most with you? Don't be discouraged by setbacks; embrace them as opportunities for growth. The next time you tackle this classic pastry, remember the lessons learned here, and approach the process with renewed confidence and a spirit of playful experimentation. The perfectly crafted pain au chocolat awaits – and so does the immense satisfaction of creating it yourself.
Unlock Your Perfect Pain au Chocolat!
Thanks for taking the time to explore the world of pain au chocolat baking with us! We hope you gained valuable insights and feel more confident in tackling this delicious challenge. Ready to put your new knowledge into practice?
- Bake your dream pain au chocolat today! Gather your ingredients and try out the recipe (or a variation!) – we're confident you'll be amazed by the results.
- Share your baking journey! Post a picture of your creations on social media using #BakeWithEasePainAuChocolat and tag us – we'd love to see your masterpieces!
- Challenge yourself: Experiment with different fillings or glazes to create your signature pain au chocolat.
What unique twist will you add to your next batch of pain au chocolat?